
As you explore the numerous areas in the world of God of War Ragnarok, you may have passed some gravestones sitting out in the open. These are called “Berserker” Gravestones, and when you interact with them, you’ll be placed in an arena where you’ll have to fight one (or more) of them. There are 13 Berserkers’ in total, but only 10 gravestones to beat them in. Defeating all Berserker’s is required for 100% completion as well as to unlock, and finish the Favor “Fit for a King”. This page will guide you through finding, and defeating the Berserker King, “King Hrolf Kraki”.
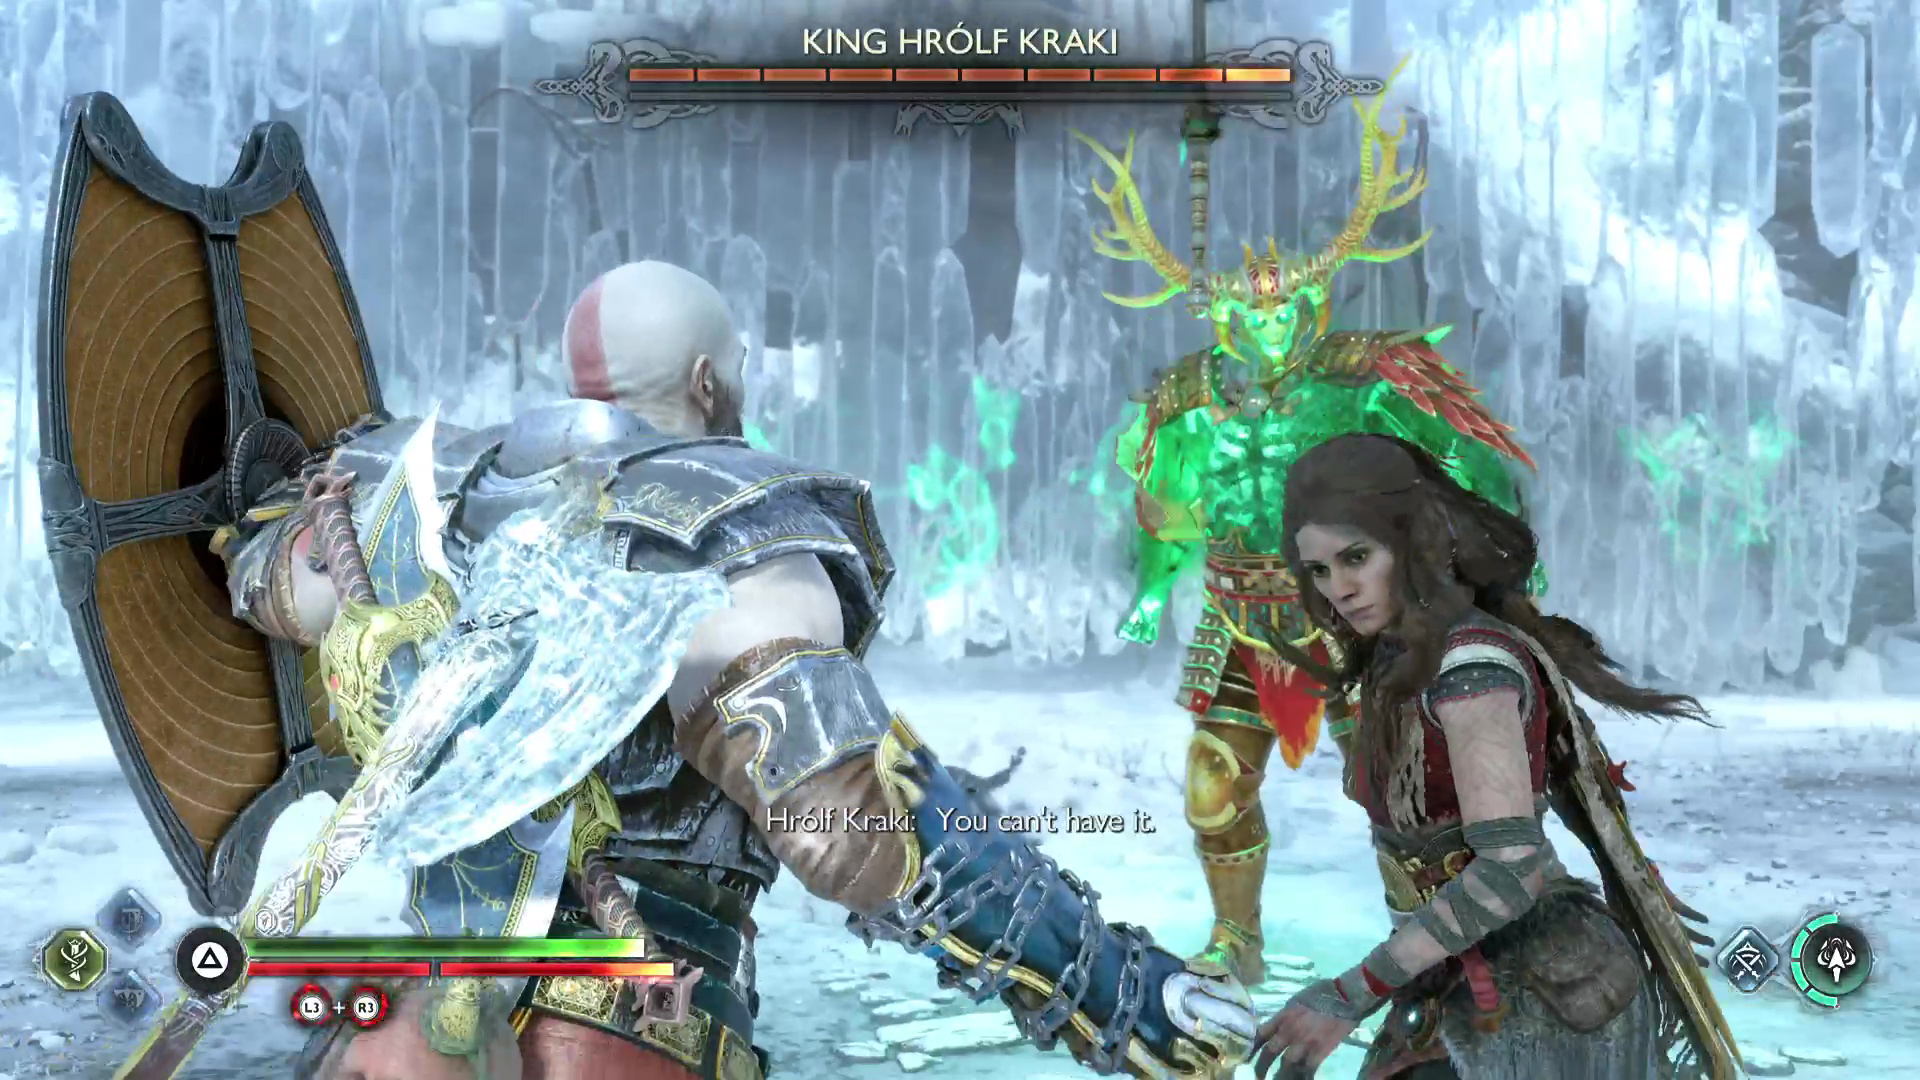
Kratos and Freya face off against the Berserker King, King Hrolf Kraki.
How to Activate the Berserker Gravestones
To activate the gravestones, you’ll need the key-item Hilt of Skofnung which you’ll acquire during the story mission “The Word of Fate”. With Hilt in hand, interact with the gravestone to place a circular arena around the gravestone, and one or more of the Berserker’s will spawn. If you die, and you most likely will, you will start near the gravestone, so there’s no reason not to try them whenever you see one.
Where to Find King Hrolf Kraki
You can find King Hrolf Kraki’s gravestone in the far east of Lake of Nine in Midgard. Teleport to the nearest Mystic Gate (King’s Grave if you have it), and follow the winding path down to the large frozen arena. You can only activate this gravestone after defeating the rest of the Berserker’s including Skjothendi the Unerring in Niflheim who can only be accessed after the main story.
King Hrolf Kraki Attacks
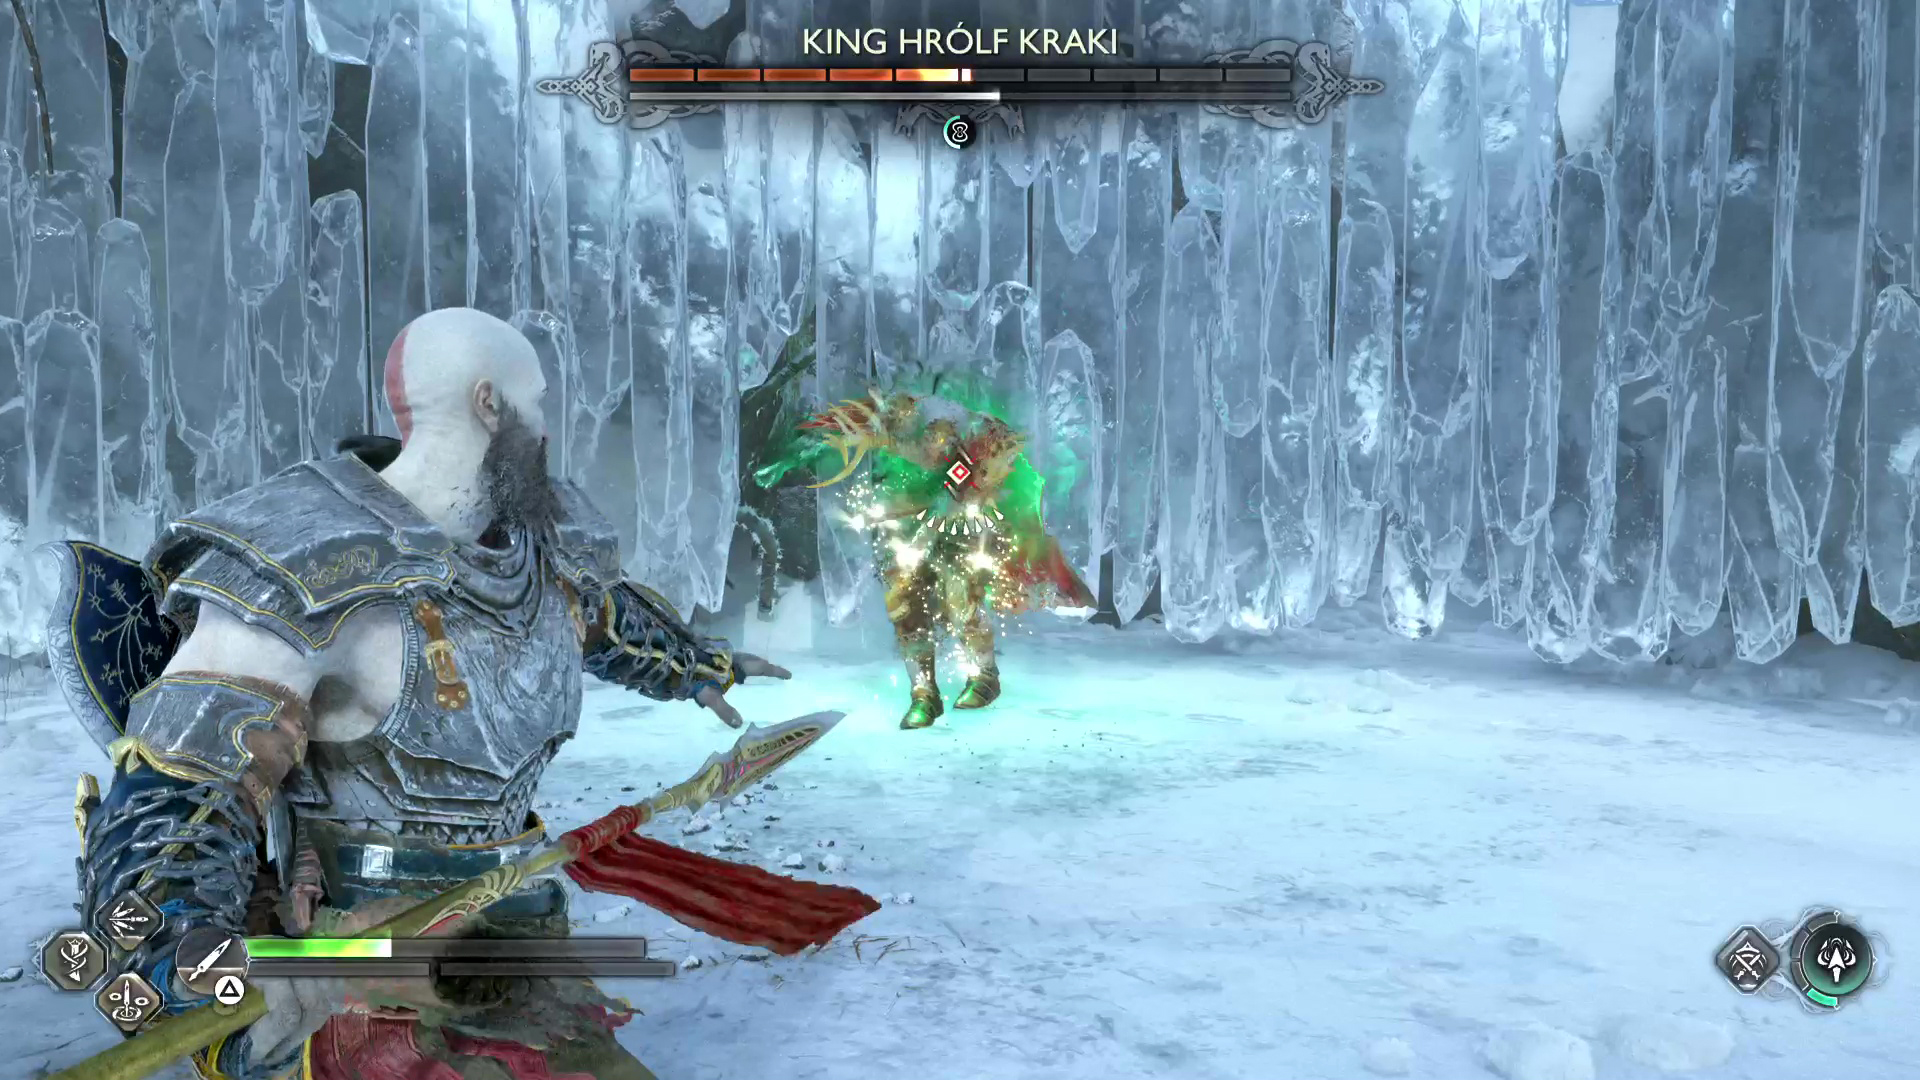
Like all Berserker’s, King Hrolf Kraki is extremely aggressive, and he has the arsenal of all the previous Berserkers you’ve fought in one. He doesn’t have a set pattern on when he uses these attacks, so you’ll have to be reactive instead of proactive. As he has all the other Berserker’s attacks, we won’t list all of them, but instead, we’ll list all the attacks that will cause you the most problems.
Leaping Sword Swing (Yellow-Ring – Parry or Dodge to the side)
Kraki will jump in the air with a great sword behind his head, and he’ll leap in and swing at you. This attack is indicated with a yellow-ring, and somewhat tracks you. The best way to deal with this attack is to parry it or double roll to the side. Both of them can be tricky to pull off, but rolling is the safer method if you’re not great at parrying.
Charged Clap (Blue-Ring – Shield Bash)
Kraki will raise both of his maces, and she’ll start charging an attack. This will be indicated with a Blue-Ring. You’ll only have a few seconds to shield bash it before you take a large amount of damage, and get knocked down. Ideally, you’ll be relatively close to him when this happens, so you can simply stun him out of it, but if you’re further away, you will most likely get hit by it. This is why we recommend taking along the Onslaught Shield as it has the ability to perform the Shield Rush Skill. This will make you charge at the enemy which is great for closing the distance as well as giving you some i-frames if you’re late to the attack.
Poison Slam (Red-Ring – Roll out of it)
A large poison circle will appear around Kraki, and then he’ll slam his Warhammer into the ground to make it explode. If you’re in the circle, you can double-roll backwards a couple of times to avoid it. You’ll have to be quick as he triggers it fairly quickly.
Fire/Frost Orb (Red-Ring – Throw spear or axe at the orb)
This is probably the most frustrating attack to deal with. Borrowed from the Sisters of Illska, Kraki will jump back and let loose either a Fire or Frost orb which tracks your location until you deal with it, or it deals with you. The worst part of this attack is quickly getting off lock-on to manually aim your throw at the orb as Kraki will perform other attacks while this is happening. If you’re struggling to deal with the orbs, jump into Rage for a second, and let them hit you as It’s better than taking the full damage from the orb.
Fire/Frost/Lightning Storm (Red-Ring – Avoid)
Kraki will head to the back of the arena, and levitate in the air while he conjures a storm of one of the elements. This will place large red circles over the floor, and your job is to avoid them. The lock-on can make this difficult to avoid, so if you’re struggling to avoid them, try dropping lock-on for the attack. Each element storm is slightly different, and requires you to avoid them differently.
-
Fire - Kraki will throw fireballs at your last location. Try to move in a large circle around the arena to avoid this. Sometimes he can throw one in the middle to catch you off guard.
-
Frost - This is the easiest to avoid. Kraki will place a large red circle under your location up to four times. These circles will rain down Ice Rain, and persist longer than the others. Just make sure you’re not in them when it goes off.
-
Lightning - This is the hardest to avoid. Similar to the Fire Storm, Kraki will place small red circles under your last location. These come at you with a quicker speed than the fireballs, and can end up just in front of you. The best way to avoid this is to unlock, and spring in a large circle around the arena.
Bifrost Blast (Throw Spear/Axe to interrupt)
This attack will have Kraki leap in the air while a Bifrost fog appears around him. This attack takes a few seconds to charge, and when he’s finished charging, he’ll raise his hands and create a blinding Bifrost Blast which deals a large amount of damage. To negate this attack, throw your spear or axe at him until it interrupts the attack.
Teleport Smash (Red-Ring – Sidestep or Double-Roll)
Kraki will teleport to the sky before landing on top of you with a smash. This attack comes quickly, but is relatively easy to avoid. When he leaps in the air, a green circle will appear under you, which is where he’s going to land. This can be avoided with a simple sidestep, but you may want to get into the habit of double-rolling away from it as later on, he’ll add elements on the end of it which will hit a bigger area.
Elemental Wave (Dodge to the Side)
This is a ranged attack where Kraki will jump back to the arena before he unleashes a wave of elemental energy in your direction. For the most part, walk one direction and dodge to the opposite side when the attack gets close. He can do this attack with any element which all have slight changes, but the above method to deal with them will be the same. Watch out for the Lightning version in particular as it appears to come at you with more speed.
Elemental Projectiles (Dodge)
Throughout the fight, Kraki will throw many projectiles at you with one of the elemental properties. These normally come at you two at a time, and they can be either a small projectile or an elemental ball (not an orb like the above attack). All of these are easily avoided with a simple sidestep or roll, and should only really hit you if you’re dealing with another attack at the same time.
Spin to Win
With Warhammer in hand, Kraki will start of with a yellow-ring attack and swing it as he spins. This is then followed-up four more times with normal melee swings before he finishes it in a downwards red-ring attack. The safest way to deal with this attack is to keep rolling away, and wait for it to finish. You could parry the first attack, block the following normal attacks, and finally avoiding the final attack, but there’s not much reward, but a lot of risk.
Melee Combo’s
As Kraki can switch weapons at will, he can perform a number of different melee combos which is dependent on what weapon he has equipped. All of these are the melee attacks from the previous Berserker’s. Most of them are multiple hits, and some of them will be yellow or red ring attacks. You can avoid most of them by rolling away to the side of the attacks while some can be parried.
Red Ring Attacks
Similar to the Melee Combo’s, Kraki has many red-ring attacks which change with what weapon he has equipped. Some of these will be a dash across the screen, others will be a leaping slam. As with all red-ring attacks, you’ll want to avoid these at all costs.
King Hrolf Kraki Strategy
At the beginning of the fight, Kraki will make you flinch as you activate the gravestone, and proceed to attack you aggressively from the start. Dodge the first few attacks until you have a little space. This fight is an endurance fight where you’ll need to be patient as there aren’t many openings to attack him. As mentioned above, he has all the attacks of the previous Berserker’s, and he can use them at any given moment. The best way to deal with this fight is to wait to see what attacks he uses, avoid them, and get a few attacks of your own. The Draupnir Spear is the best weapon for this fight as it’s quicker than the axe while still having ranged attacks.
While you wait for his attacks (you won’t have to wait long), keep throwing your spear at him whenever you have a chance, and combine that with Freya’s Sonic Arrows/Runic Summon. When you’ve thrown the maximum amount of spears at him (8), hold  to detonate them. This will chip away at his health while you avoid his attacks.
Keep throwing your spear at Kraki in-between attacks.
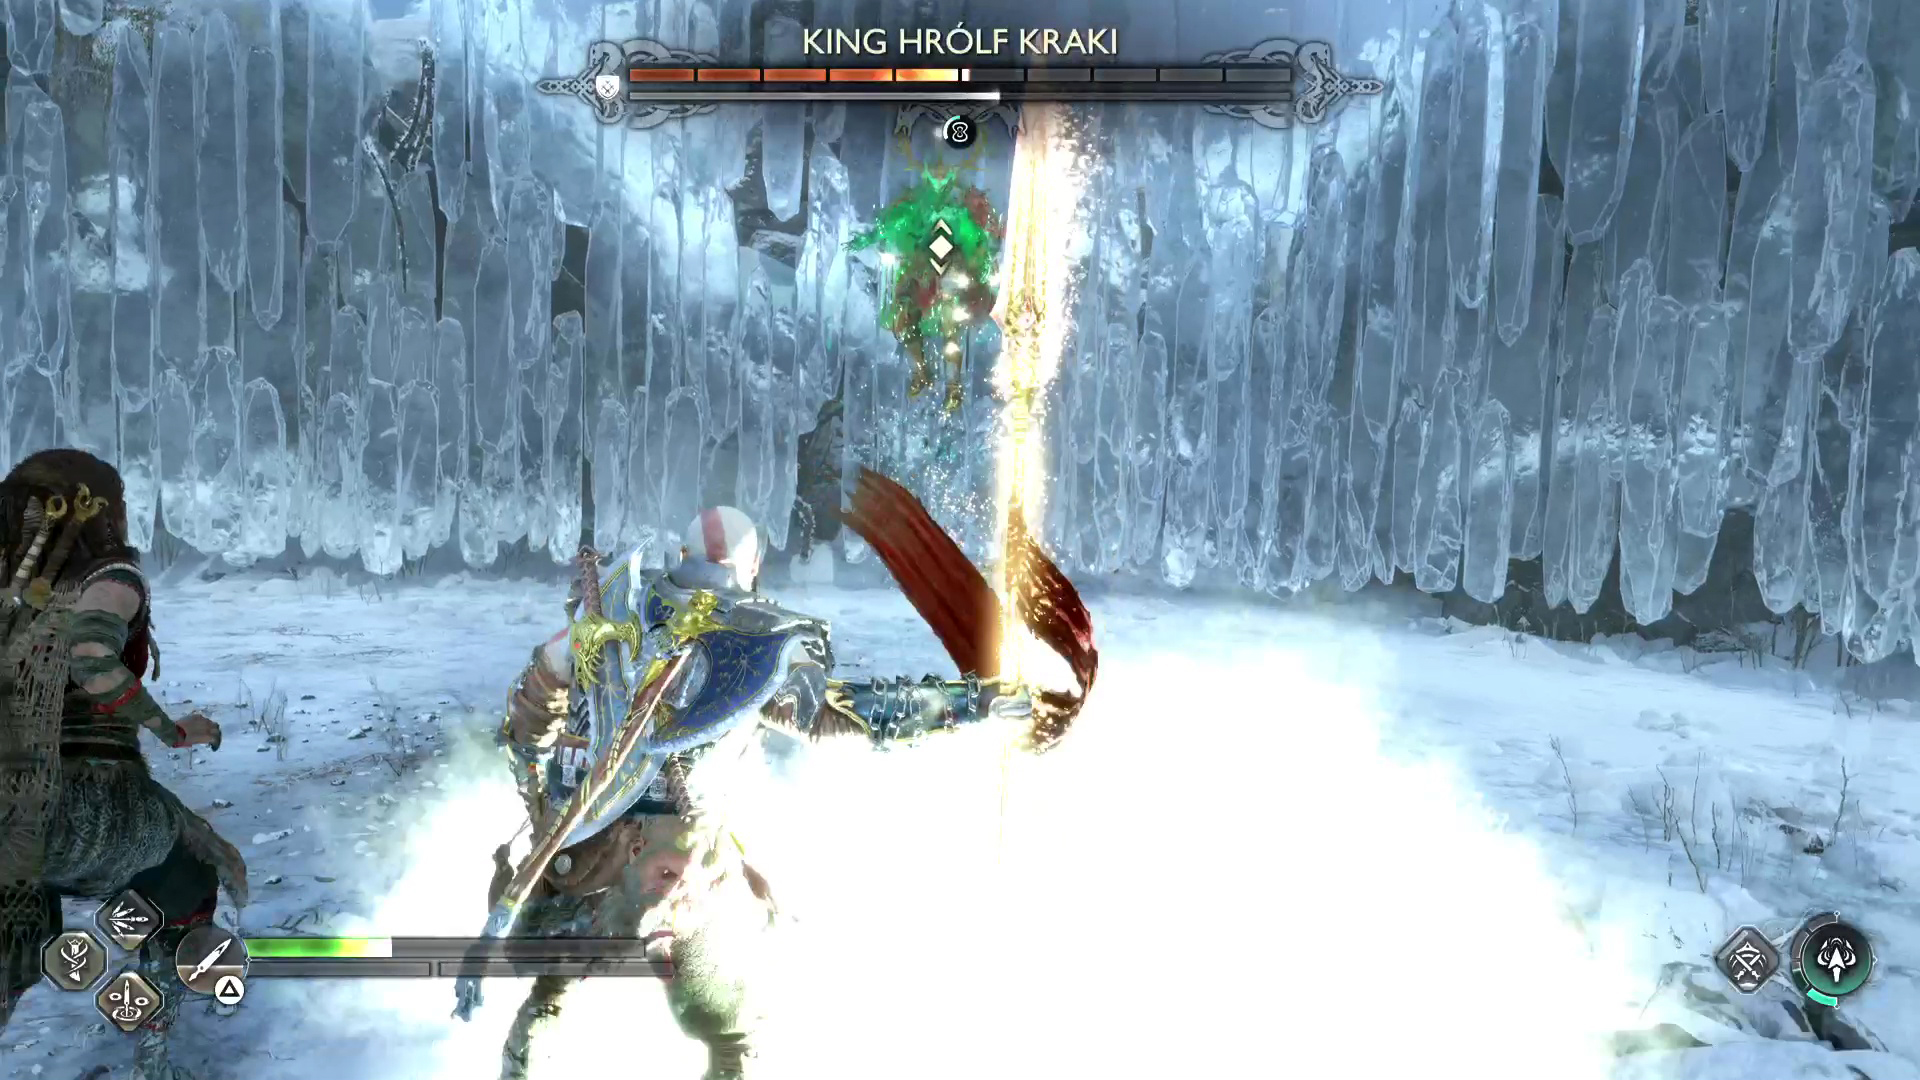
Then Detonate them while Kraki is about to perform an attack to interrupt him.
The best time to get a few combos of your own is when he performs the Teleport Smash attack where you can hit him a few times while he gets up. Be warned that he can throw a quick attack at you during this, so you’re not 100% safe attacking him. Another attack you can exploit is his blue-ring “Charged Clap” attack once you’ve stunned it. Furthermore, the Poison Slam attack can be rolled out of, and you can rush back in for a few hits.
Around 50% of Kraki’s health he’ll apply an Elemental Shield on himself which you’ll need to deal with before you can continue damaging him. For the Fire Shield, switch to the Leviathan Axe, and get near him. Now use the Breath of Thamur heavy runic attack on him. If you’re close enough to him, this one attack will shred his shield while keeping him stun-locked while it does its work. With the Frost Shield, switch over to your Blades of Chaos, and use any of the heavy runic attacks you have equipped, and then use the light one straight after if he still has a shield.
When you get him down to around 20-30%, he’ll become berserk, and he’ll not flinch from as many attacks, and he’ll be even more aggressive. This is the time to be even more passive, and only attack when you have an opening otherwise throw your spears at him to detonate, and use Freya to whittle his remaining health away.
Tips
-
Rage -You may think to yourself, “what about Rage”? Well, as the fight is an endurance fight, you’ll want to manage your Rage smartly. First, use the Fury version as it’s more reliable than the others. Only use it if your health gets low, and use it until you have around half of your health. You’ll want to save the other half for later or to absorb a difficult attack. Finally, bring along a Berserker Revive stone, so you get another bar of Rage to use throughout the battle.
-
Healthstones - Another simple, but often overlooked tip is to pick up the Healthstones around the arena. There are a few around the arena at the start of the battle, and throughout the fight, Kraki can drop some. Make sure you pick these up, but don’t rush over to them as Kraki can punish you for being out of position. Instead, only grab them after avoiding an attack, or after you’ve slowly made your way over to them while avoiding damage from Kraki.
-
Interrupts - A lot of Kraki’s attacks can be interrupted by your runic attacks, relic attacks, and Freya’s attacks. Although you shouldn’t rely on them for this reason, it can help you avoid some unnecessary damage.
-
Patience - It cannot be understated enough, patience will win you this battle. Most of Kraki’s attacks are fairly easy to avoid, especially if you’re not too aggressive. He has a lot of health, and his attacks can be any from his arsenal, so wait for the attacks, and pick your time to strike.
-
Draupnir Spear - It has to be said, the Draupnir Spear is overpowered, and you should make use of this fact, especially in this fight. If you wanted to, you could stay back, dodge Kraki’s attacks, and throw spears at his face. Once eight have landed on him, hold the
to detonate them. You can literally win the fight this way, but it will take you a lot of time which is where patience gets mentioned again. -
Build - If you’re looking for a build to defeat the Berserker King, check out our build page for him here.
King Hrolf Kraki Rewards
Defeating King Hrolf Kraki will reward you with a huge amount of Hacksilver, and late-game resources, but the real reward is the fully-powered up Relic Hilt of Skofnung. Using this will unleash three spectral blades that will go around attacking enemies. Defeating King Hrolf will unlock the Grave Mistake trophy.
No Comments