
This page details everything you need to know about where to find all collectibles in the Burning Cliffs region of Muspelheim, in God of War Ragnarok. You will find one Nornir Chest, one Legendary chest, one piece of Lore, one of Odin’s Ravens, and one Remnant of Asgard.
God of War Ragnarok - Burning Cliffs and Surtr’s Forge Collectibles Locations in Muspelheim
| Collectible | Quantity |
|---|---|
| Nornir Chests | 1 |
| Legendary Chests | 1 |
| Lore | 1 |
| Odin’s Ravens | 2 |
| Remnants of Asgard | 1 |
Where to Find the Legendary Chest in the Burning Cliffs of Muspelheim
To find this Legendary Chest, head southwest from the Mystic Gateway where you spawn into the Burning Cliffs region. Follow the path around to enter a small cave, where you’ll see the Legendary Chest at the back as you look north. This is one of the easiest collectibles to find in the area, but potentially equally easy to miss if you don’t know where to look.
You’ll find a few wisps in this cave, so be ready to kill them by using arrows to weaken them first, before hitting them in melee.
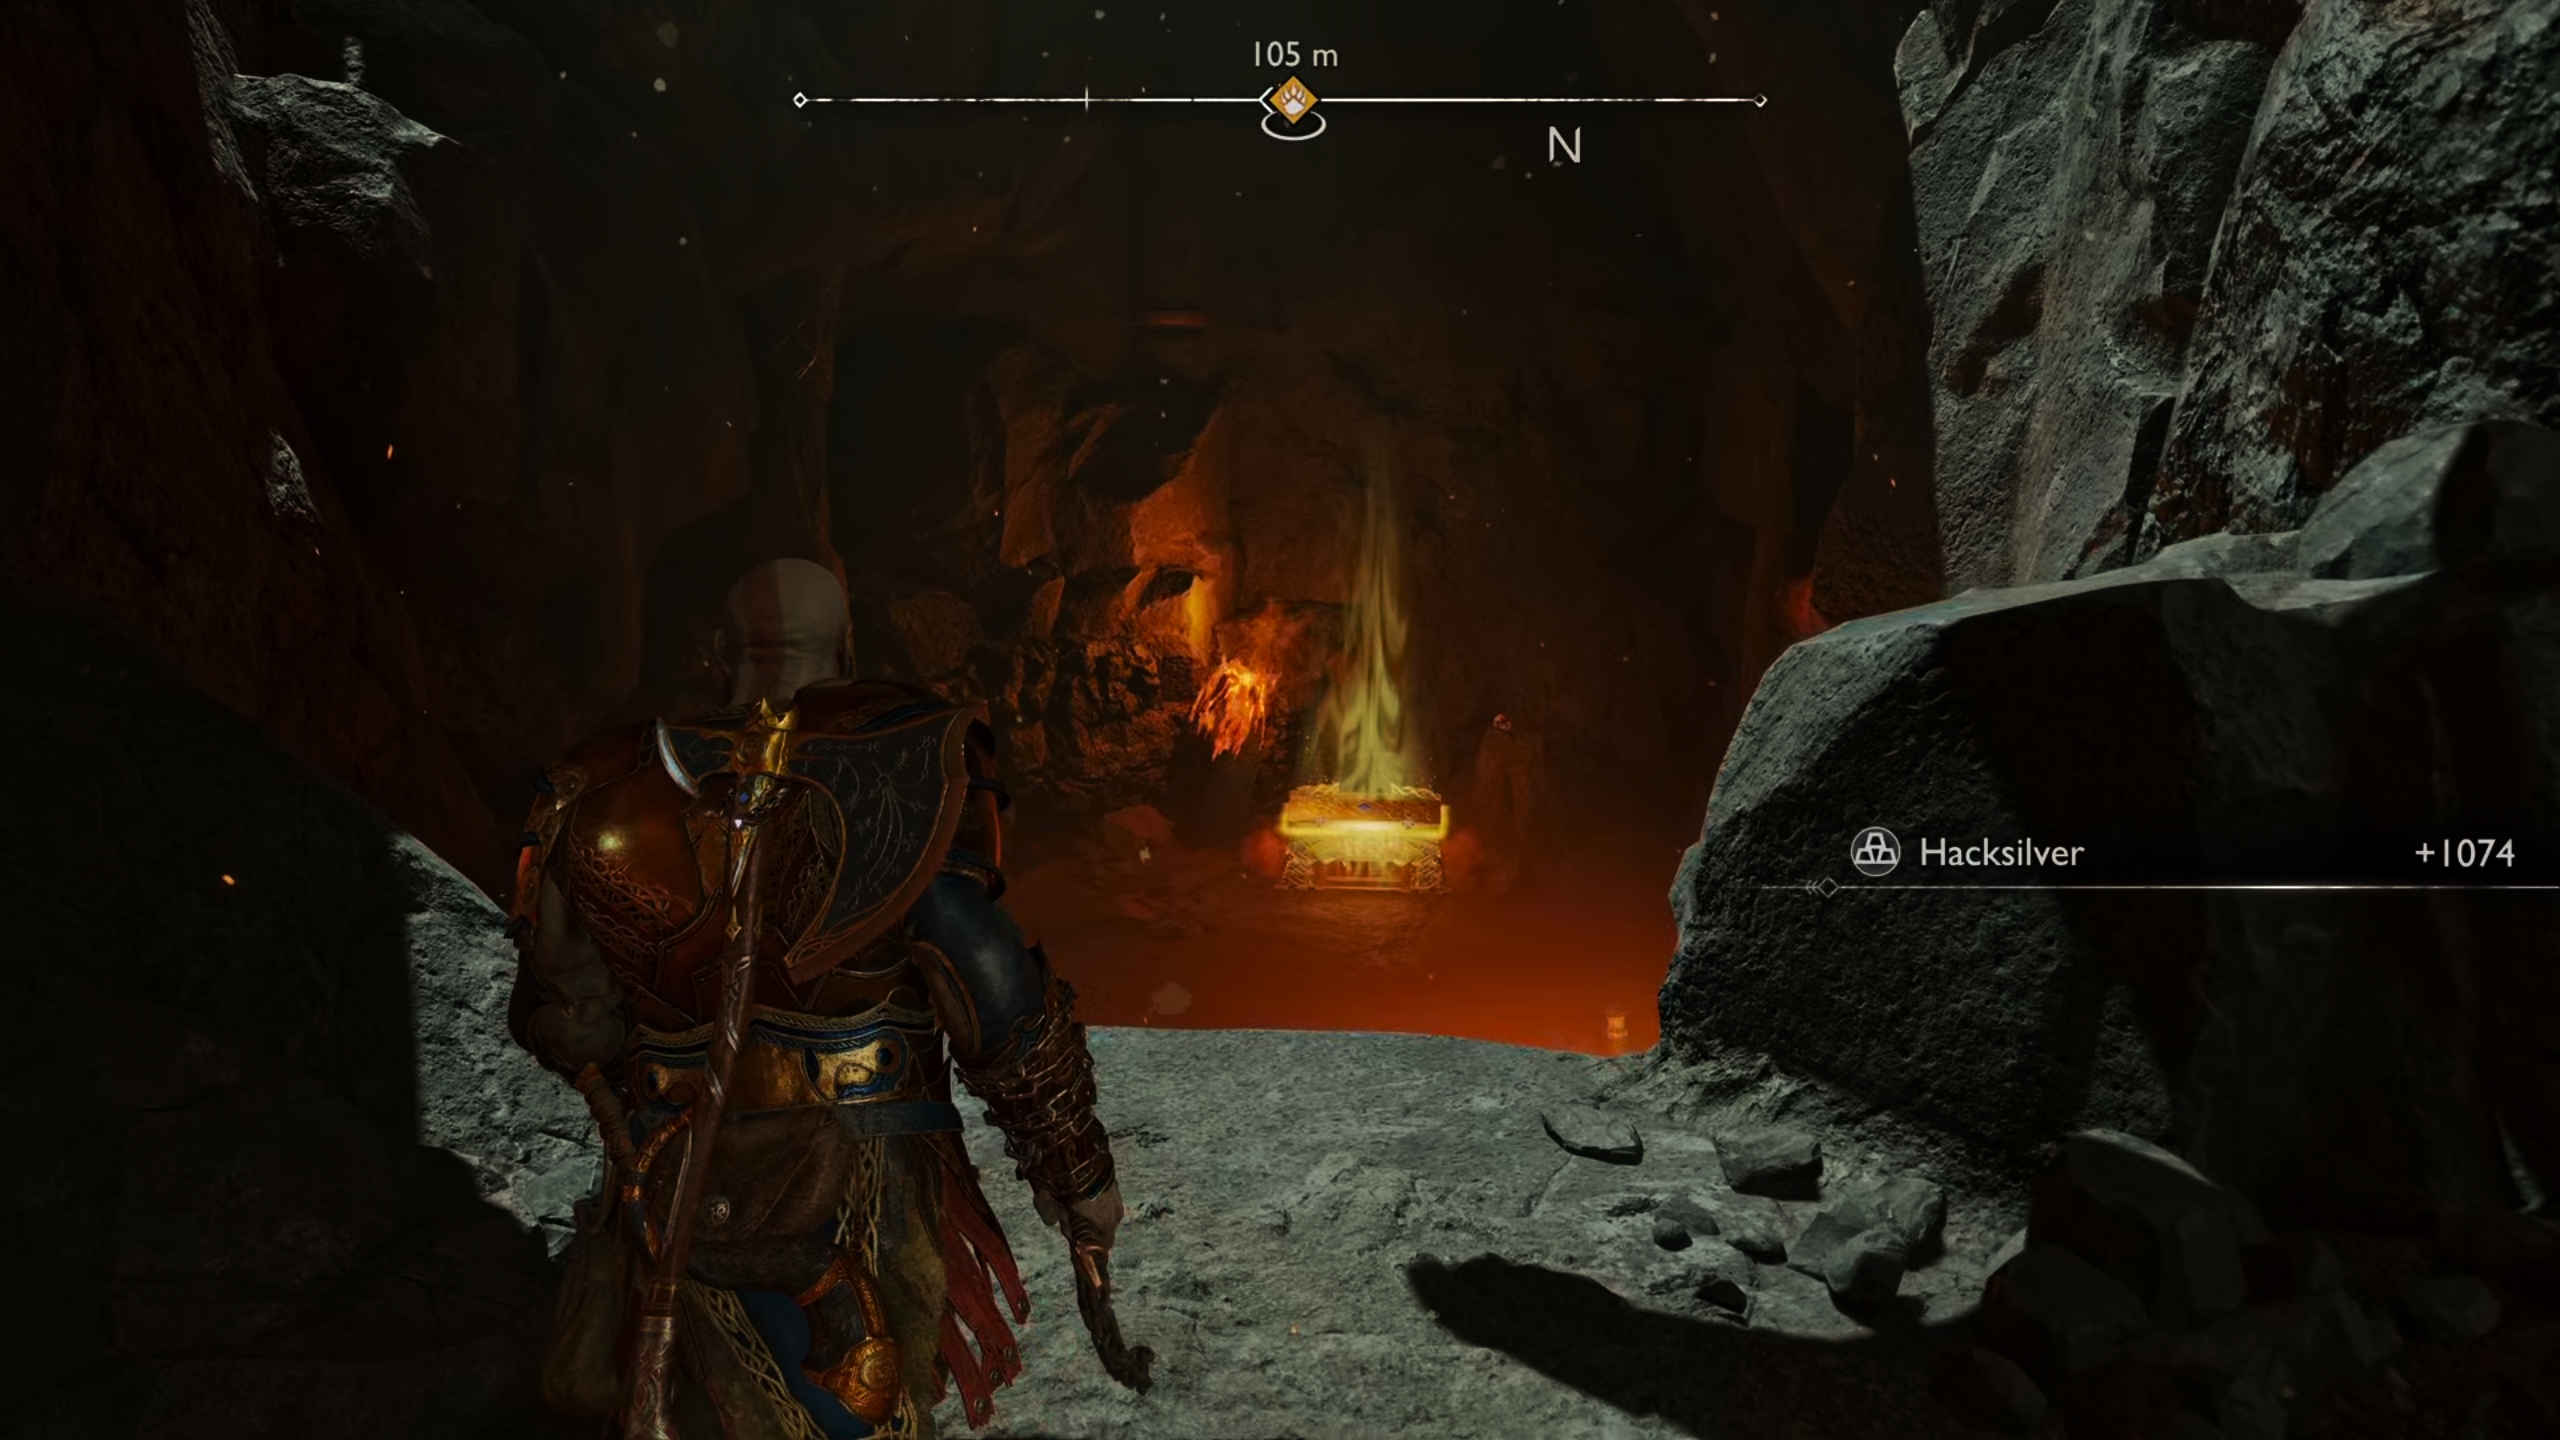
You will find the Legendary Chest in the cave as you look north after jumping down to the southwest from the Mystic Gateway.
There are a number of wisps in this cave that you will need to deal with first.
Where to Find the Odin’s Raven in the Burning Cliffs of Muspelheim
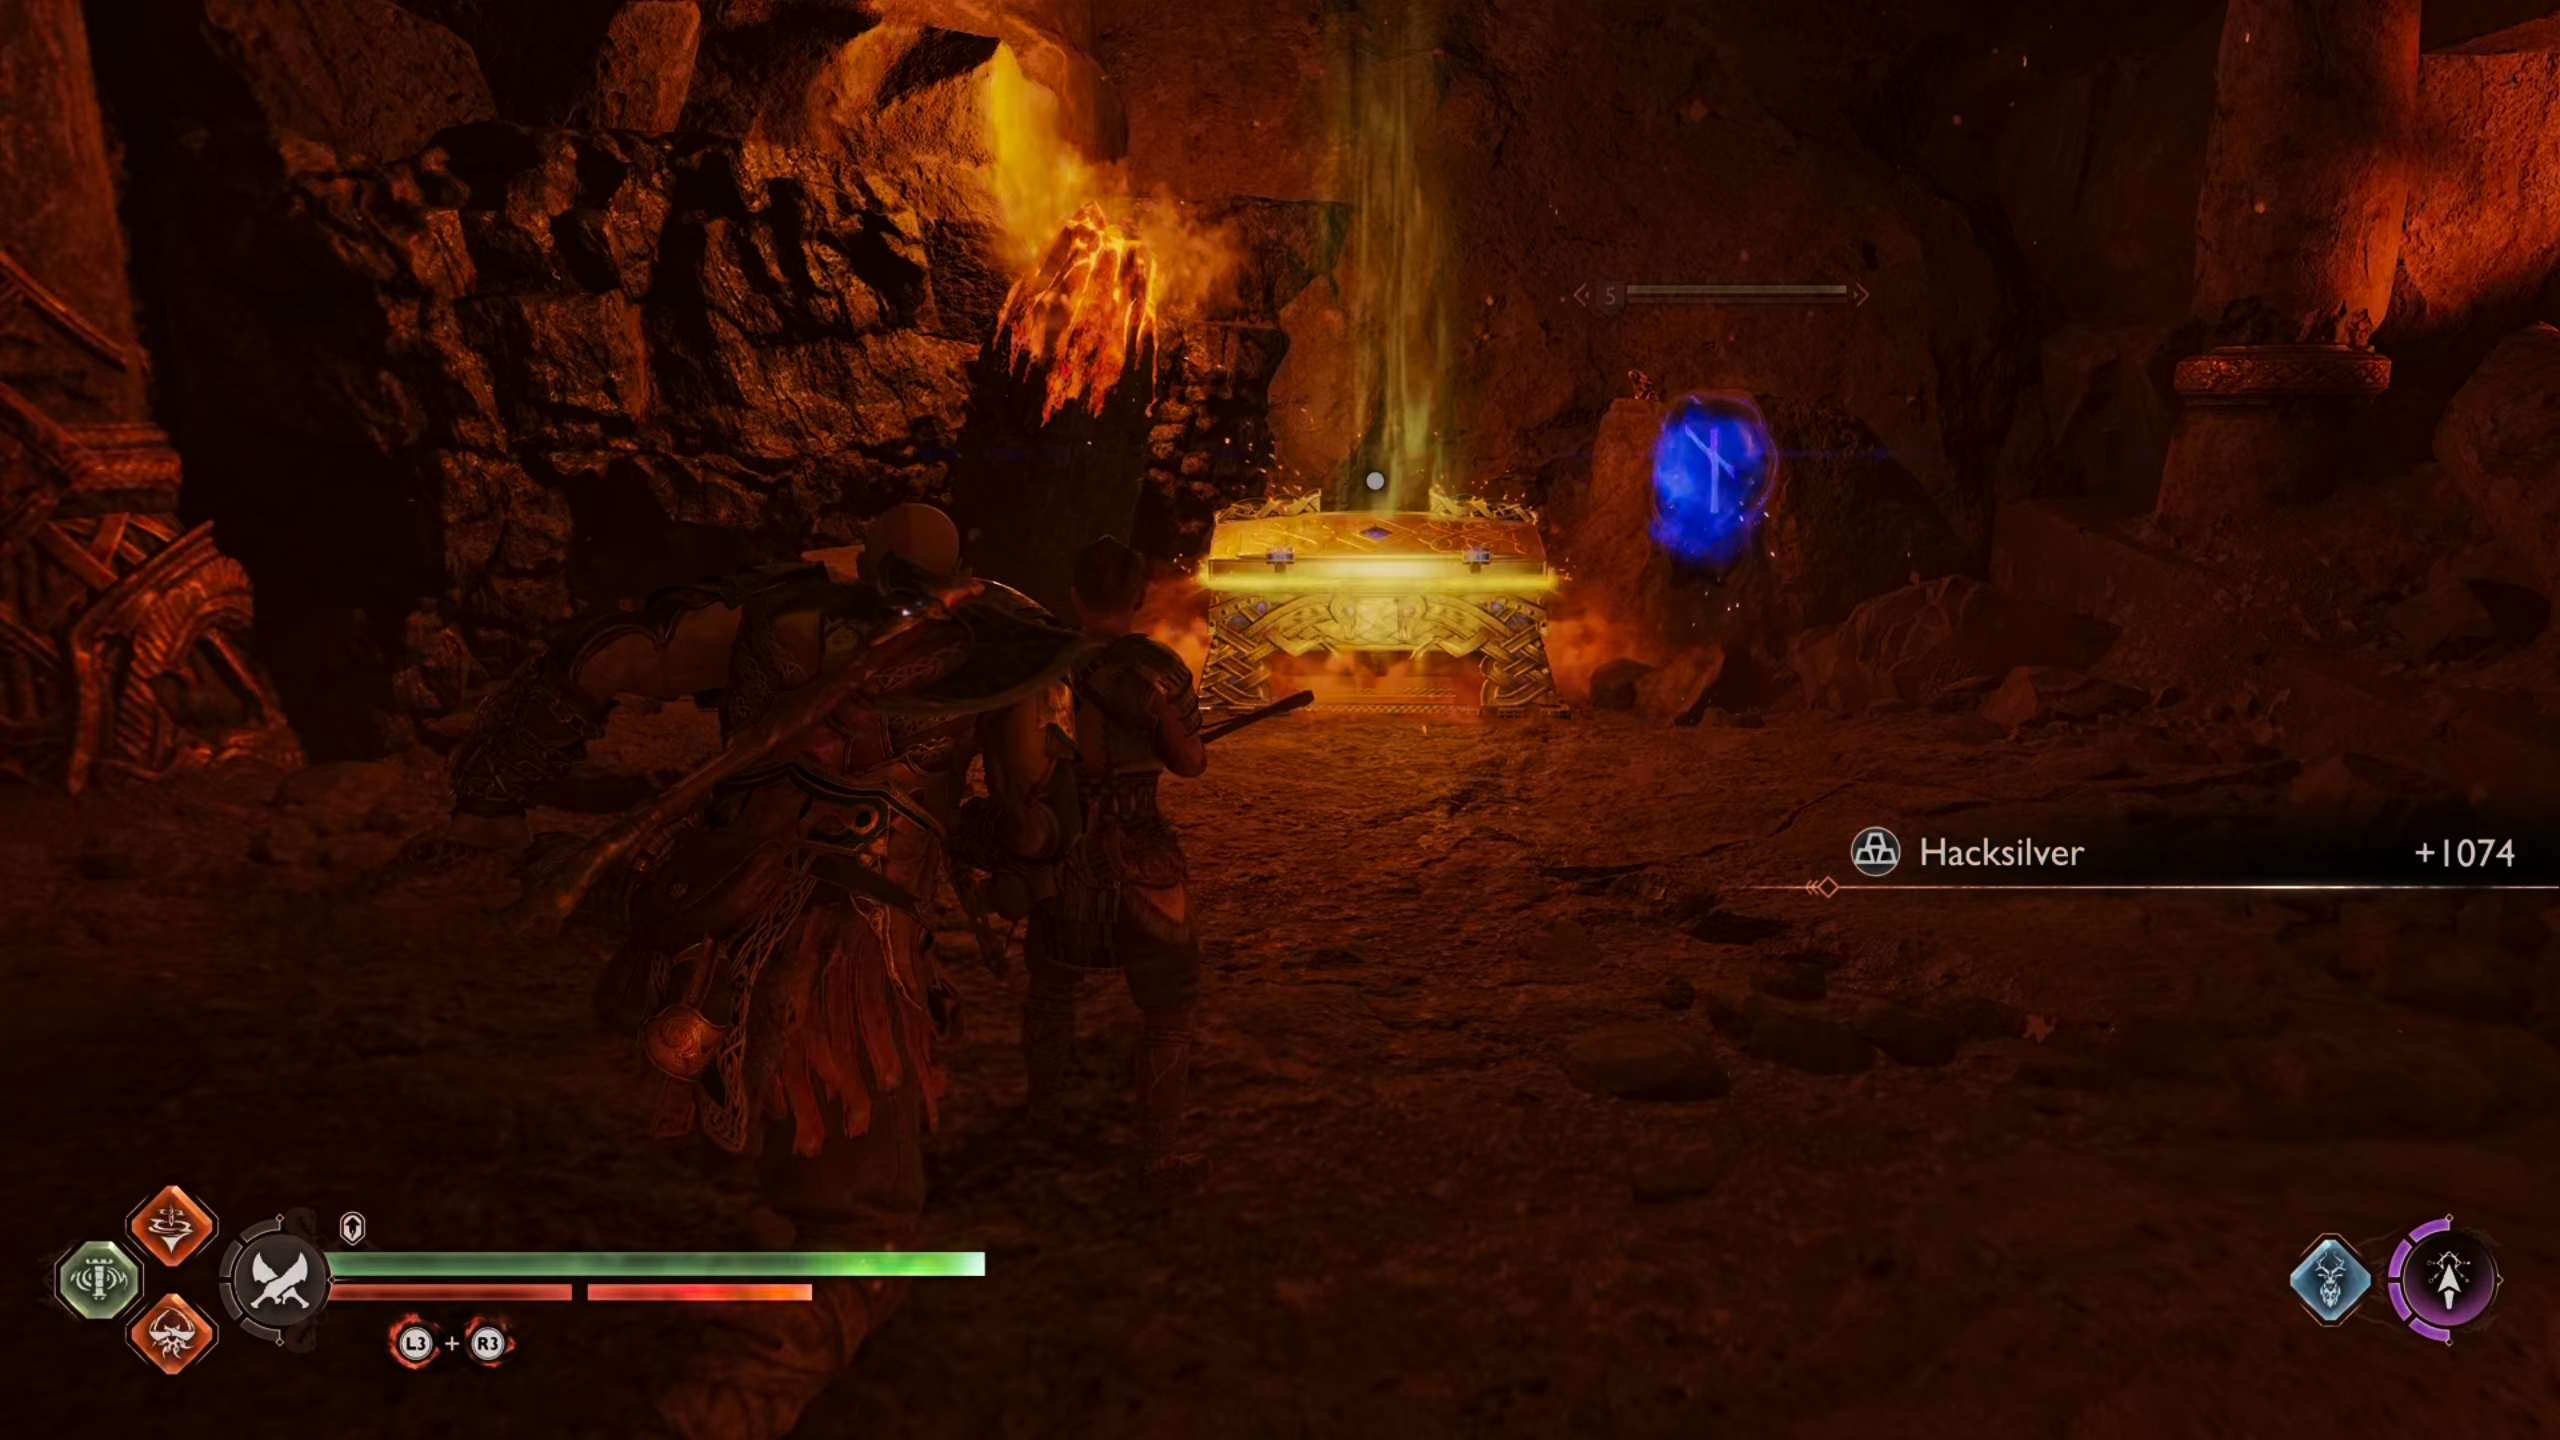
The Odin’s Raven in the Burning Cliffs is also easy to find, and you don’t need to move much at all from where you found the Legendary Chest to see it. All you need to do is step back a bit and look to the east to find the raven perched on the rocks, as shown in the screenshot below.
You can see the Odin’s Raven in the same cave where you found the Legendary Chest.
How to Open the Nornir Chest in the Burning Cliffs of Muspelheim
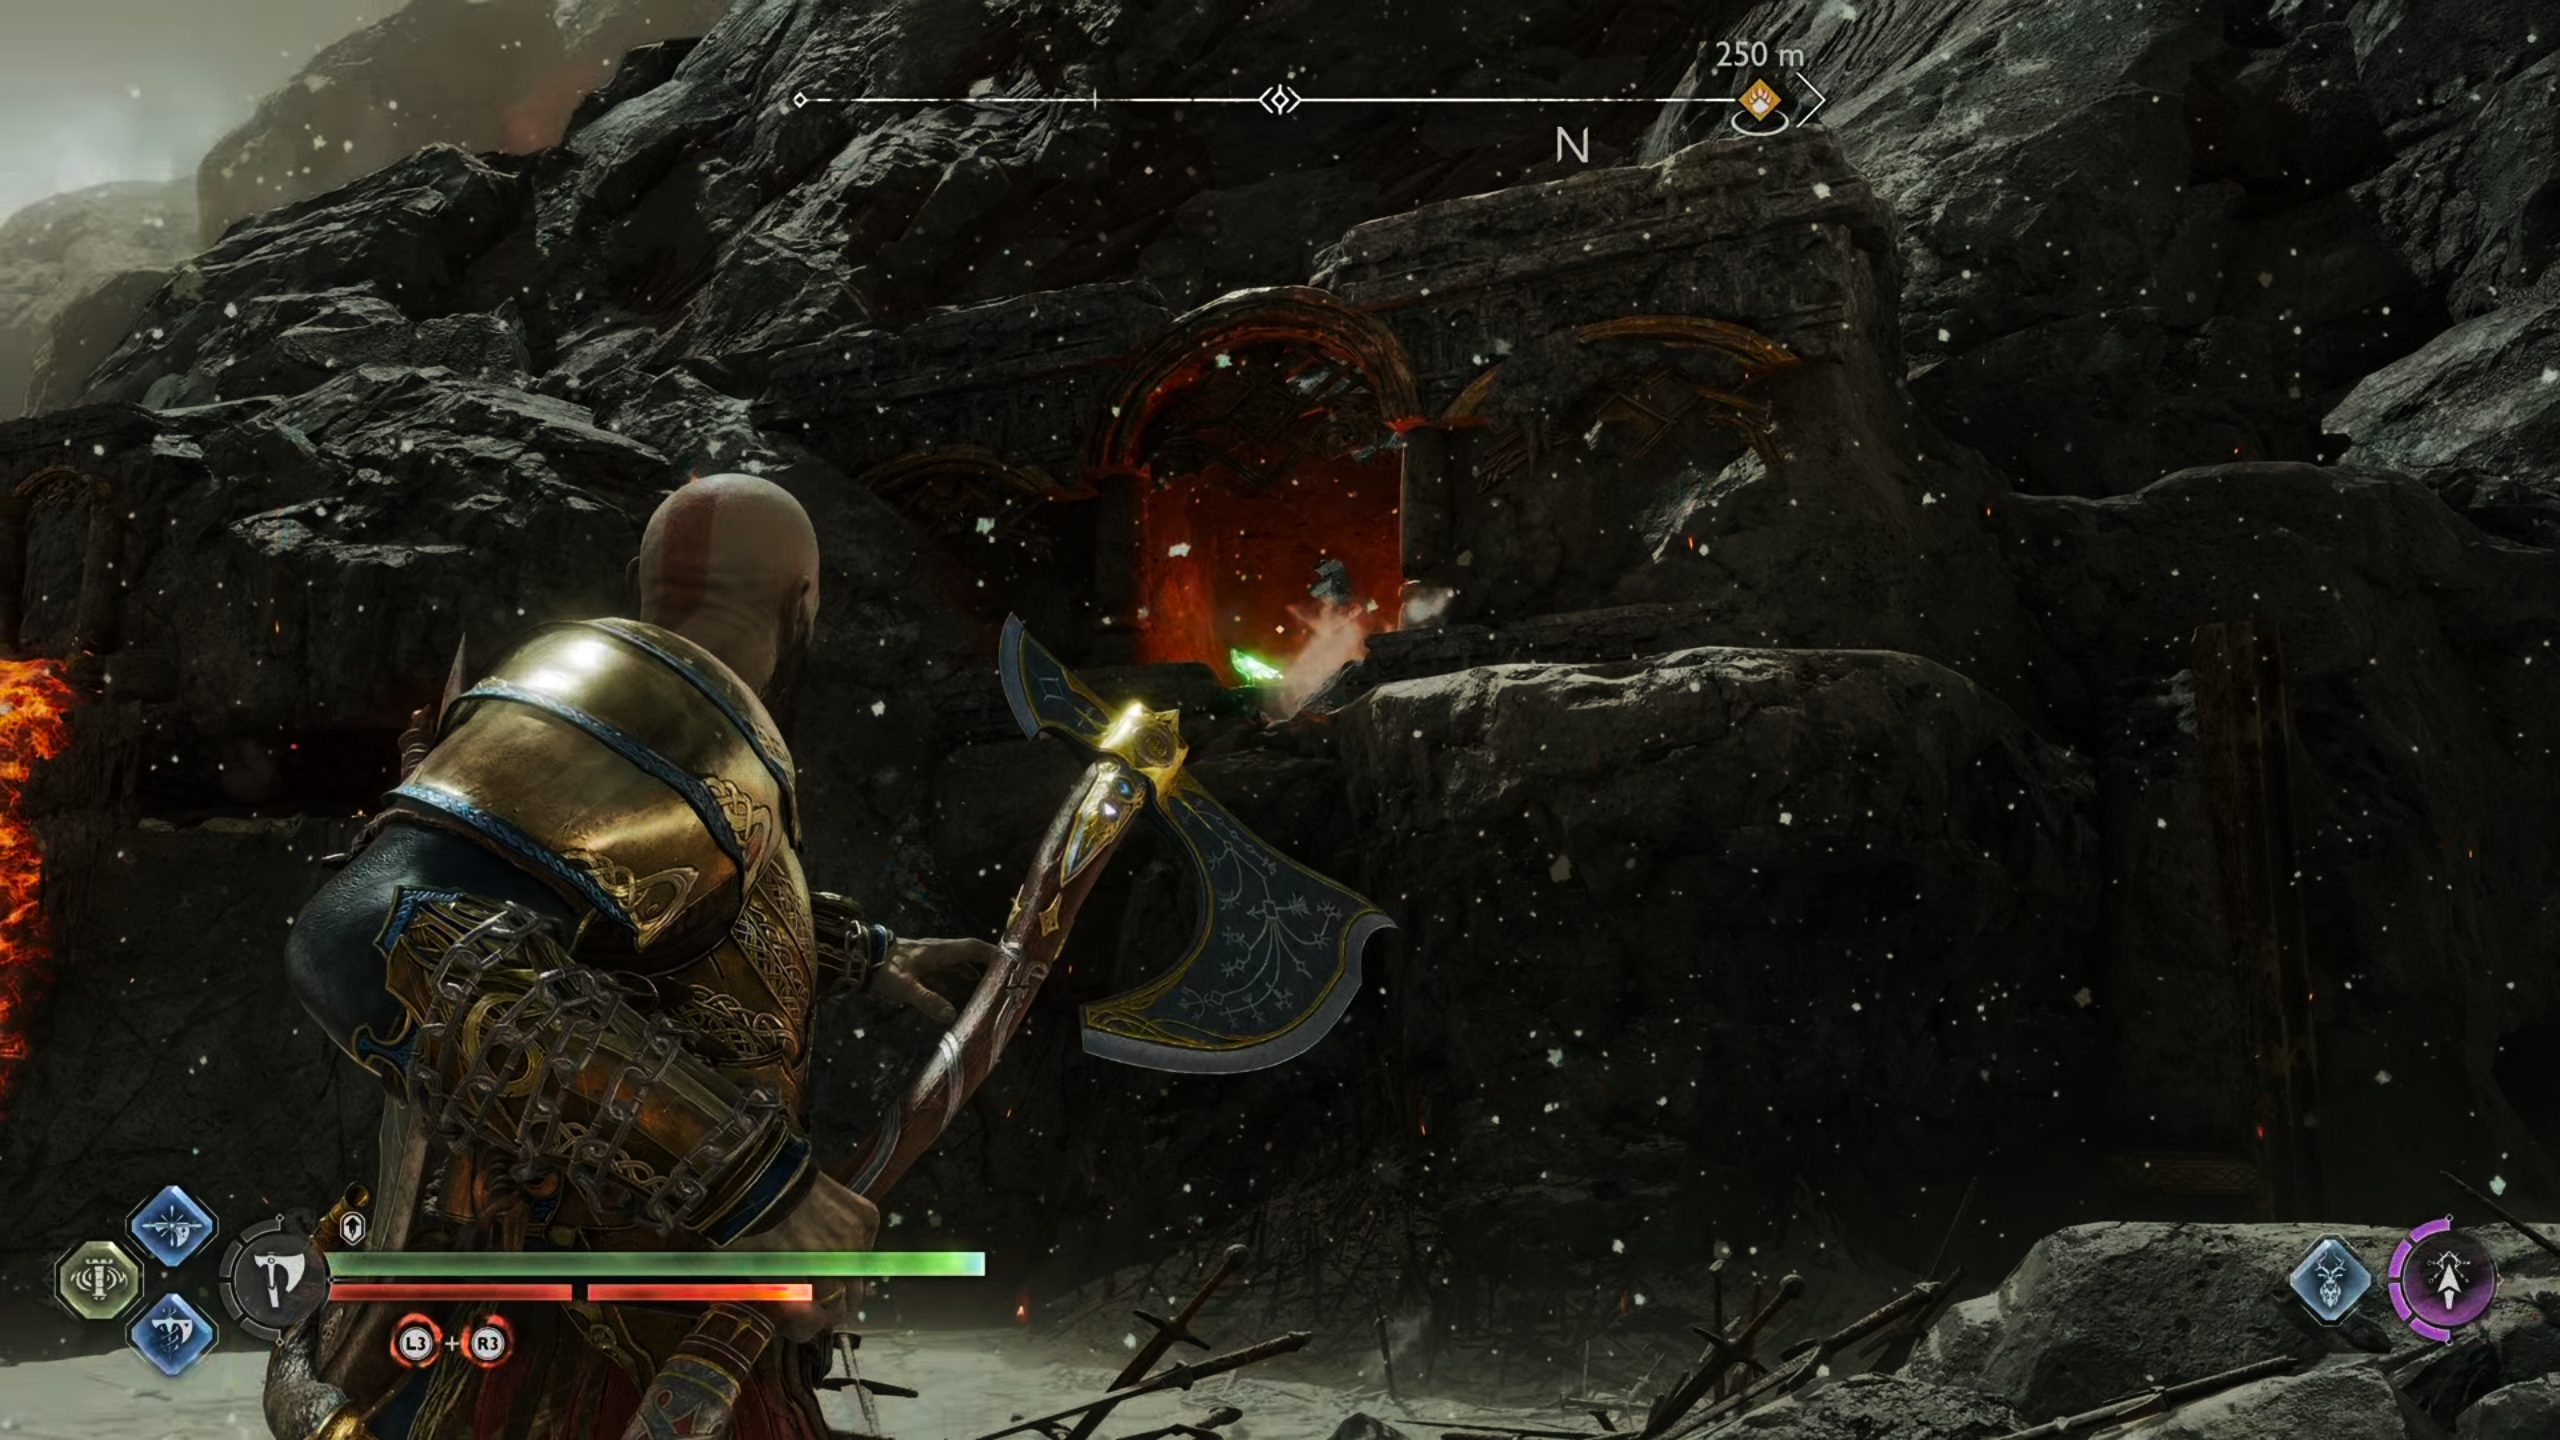
As you’re heading southeast towards Surtr’s Forge, keep looking to your right to find a a golden marking in one of the cliffside walls, indicating that you can destroy it using the Draupnir spear. This is a weapon that you acquire during the Forging Destiny main quest, so be sure to complete that before you come here if you want to acquire most of the collectibles on your first run.
If you already have the Draupnir spear you should be familiar with these types of markings by now, but as a reminder all you need to do is throw the spear into the marking, then press  to detonate it, thereby destroying the wall. You will find the Nornir Chest behind the wall, and this one requires you to light the braziers using the Blades of Chaos. You will also need to use Atreus’ Sigil Arrows to extend the burning so that you can reach each brazier with the flames from the blade.
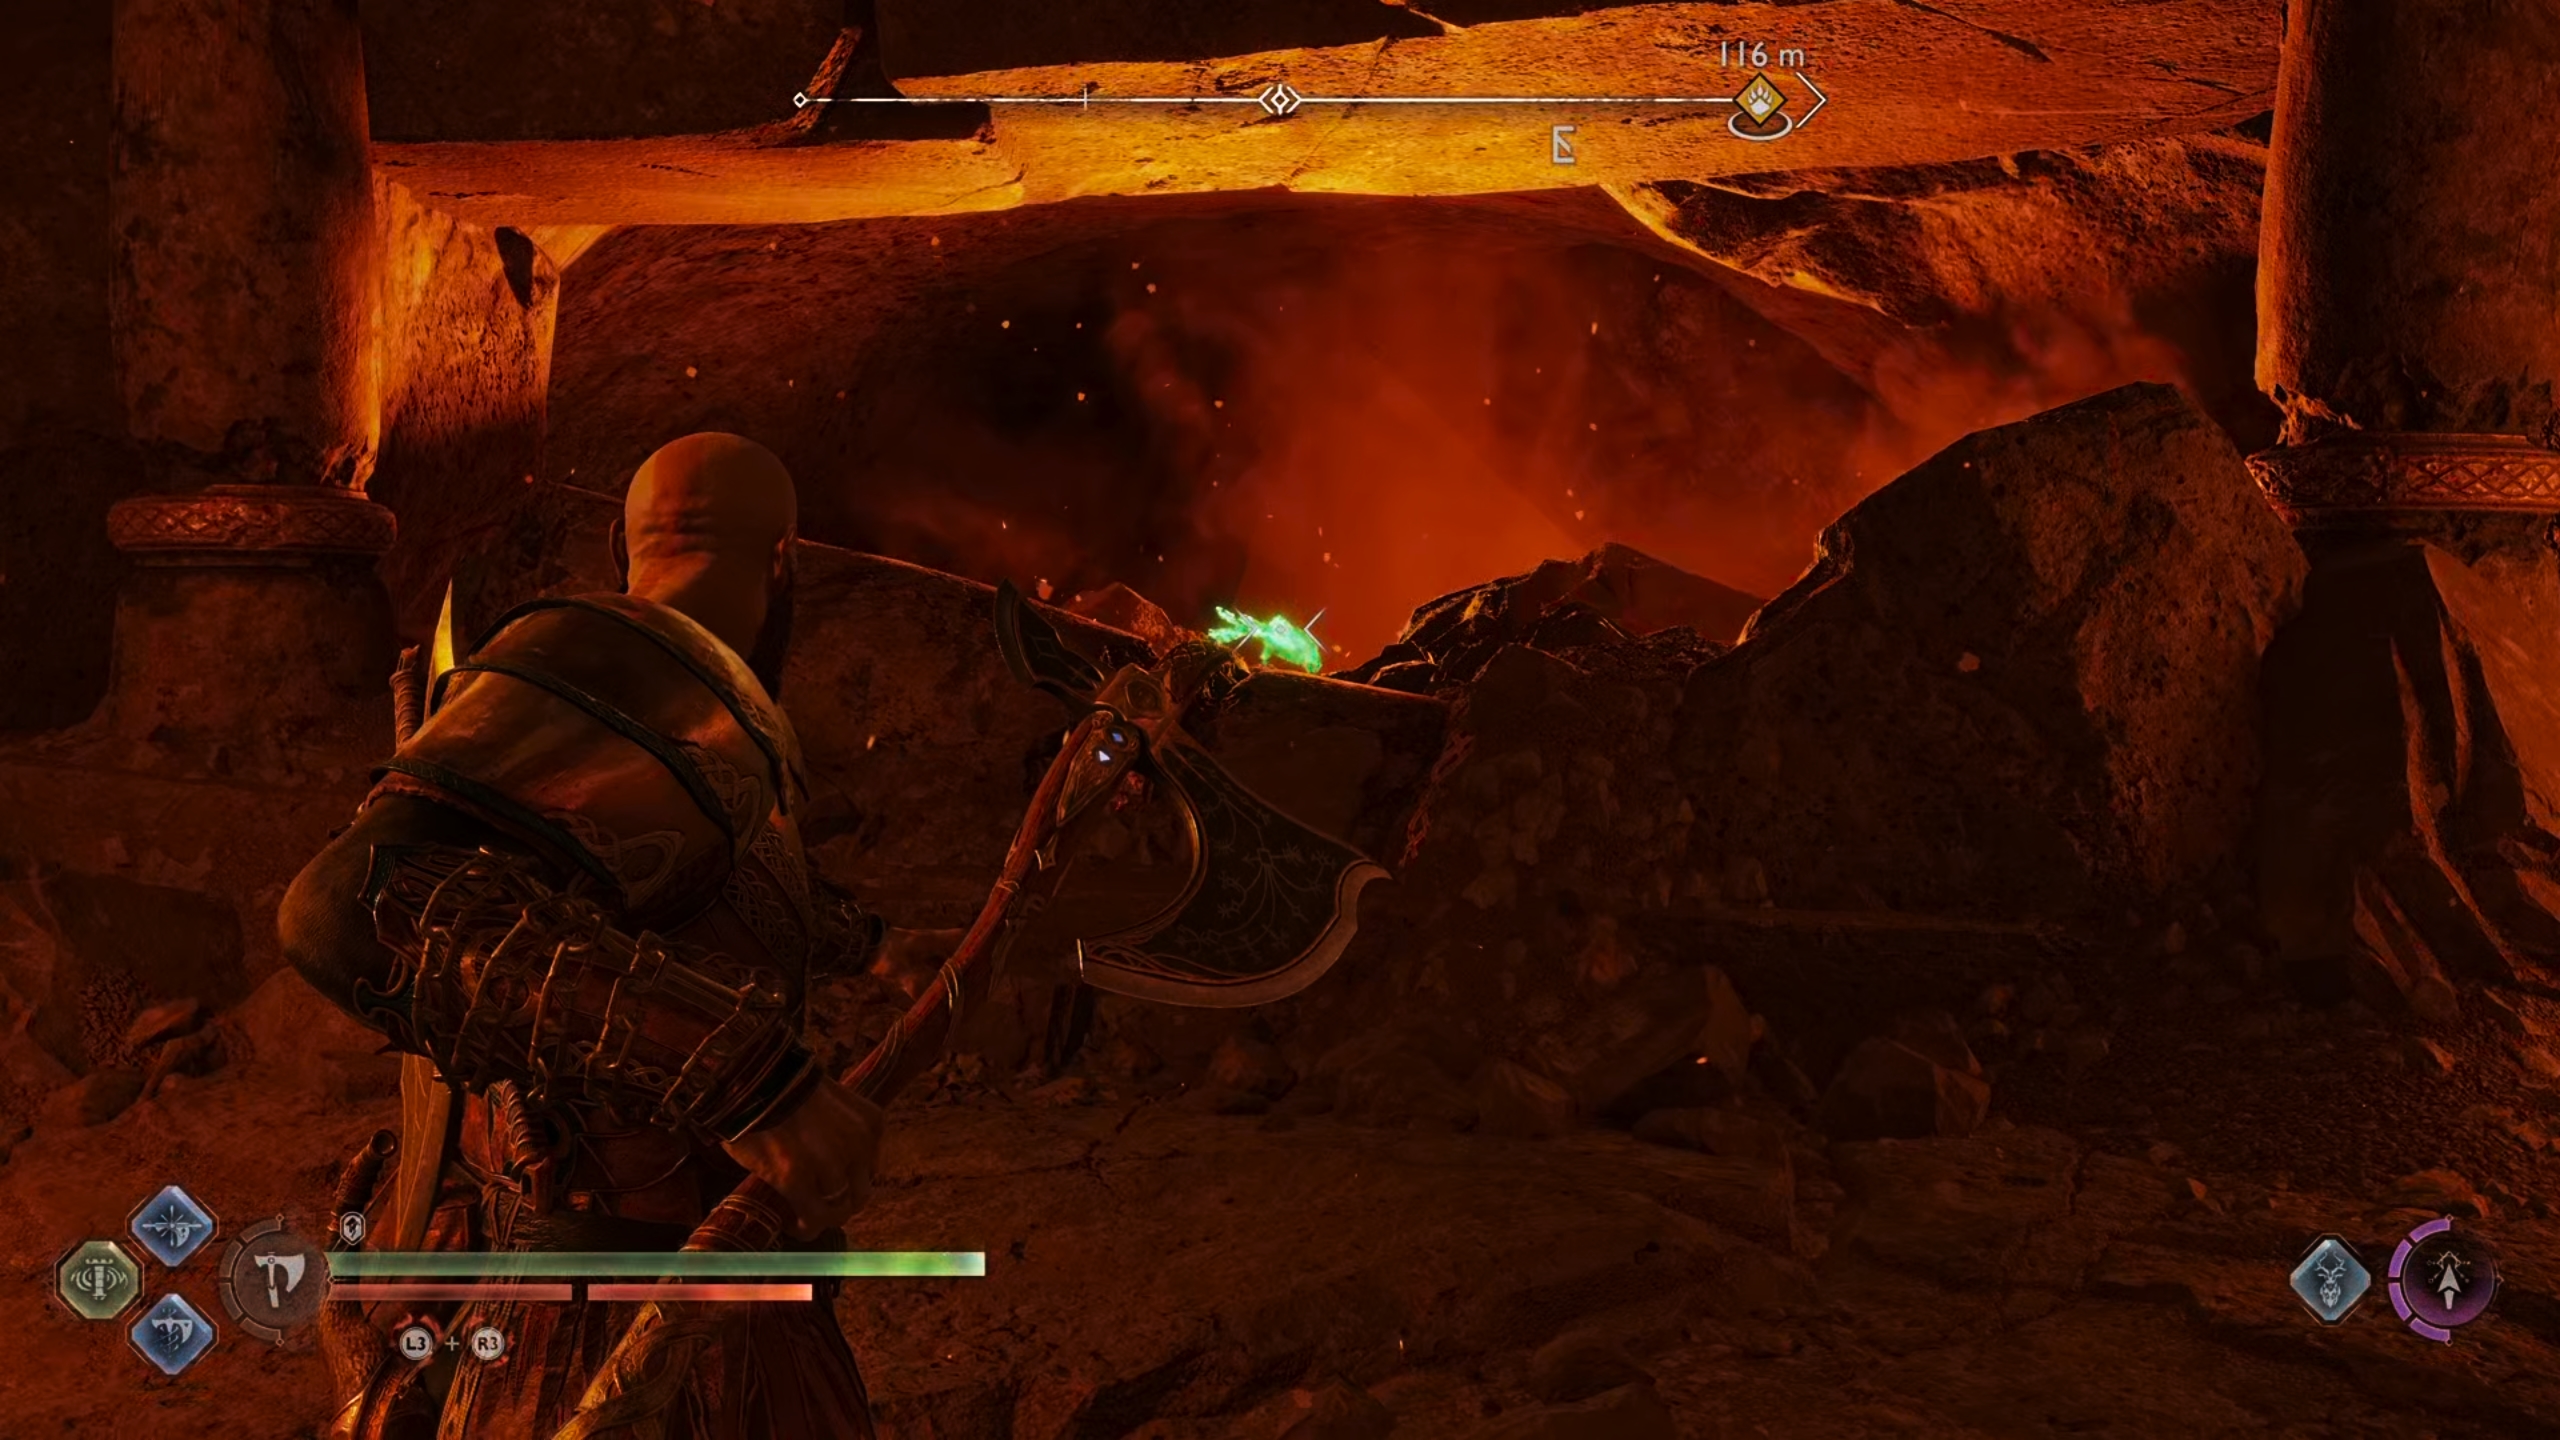
The first brazier marked by the “n” rune is perhaps the easiest to light. You’ll see this as you look north while standing in front of the Nornir Chest. You should only need to use two Sigil Arrow bubbles to light this one, as shown in the screenshot below. Keep in mind that you need to use a heavy ranged attack by holding  and pressing
  in order to successfully light the Sigil Arrow bubble. Hitting it with a light ranged attack by pressing
  won’t work.
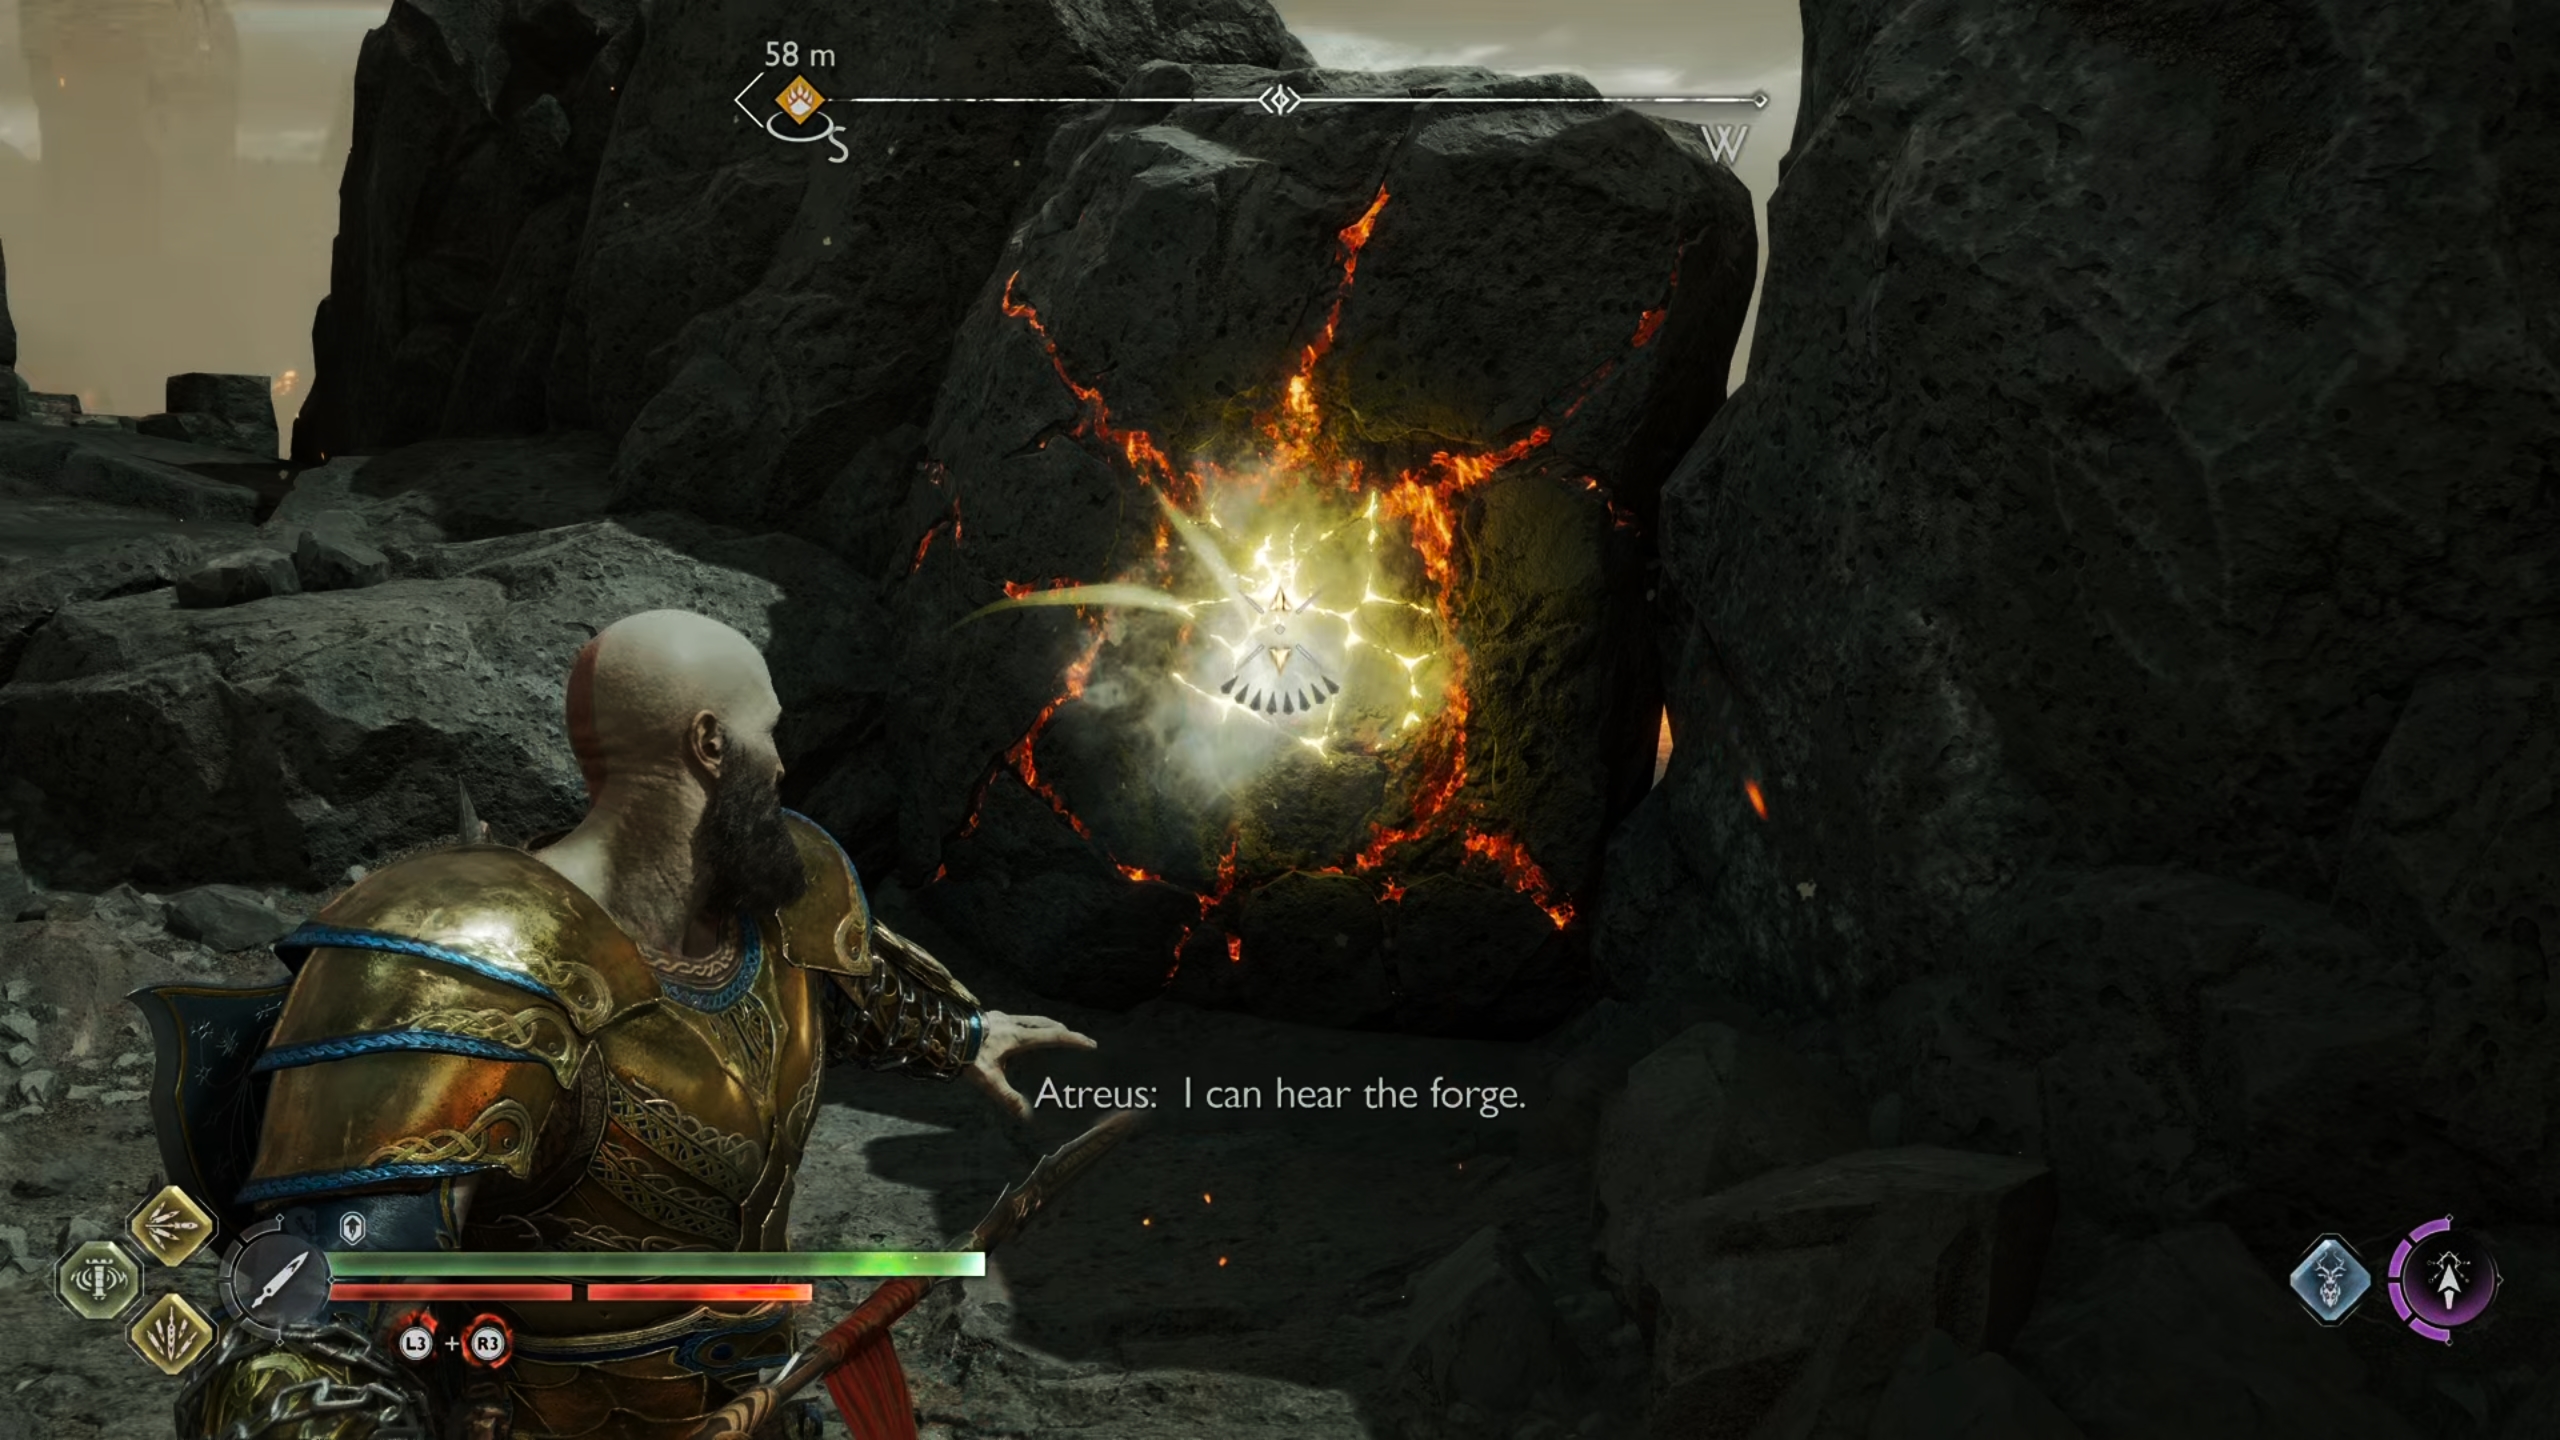
Use the Draupnir spear to destroy the marked wall.
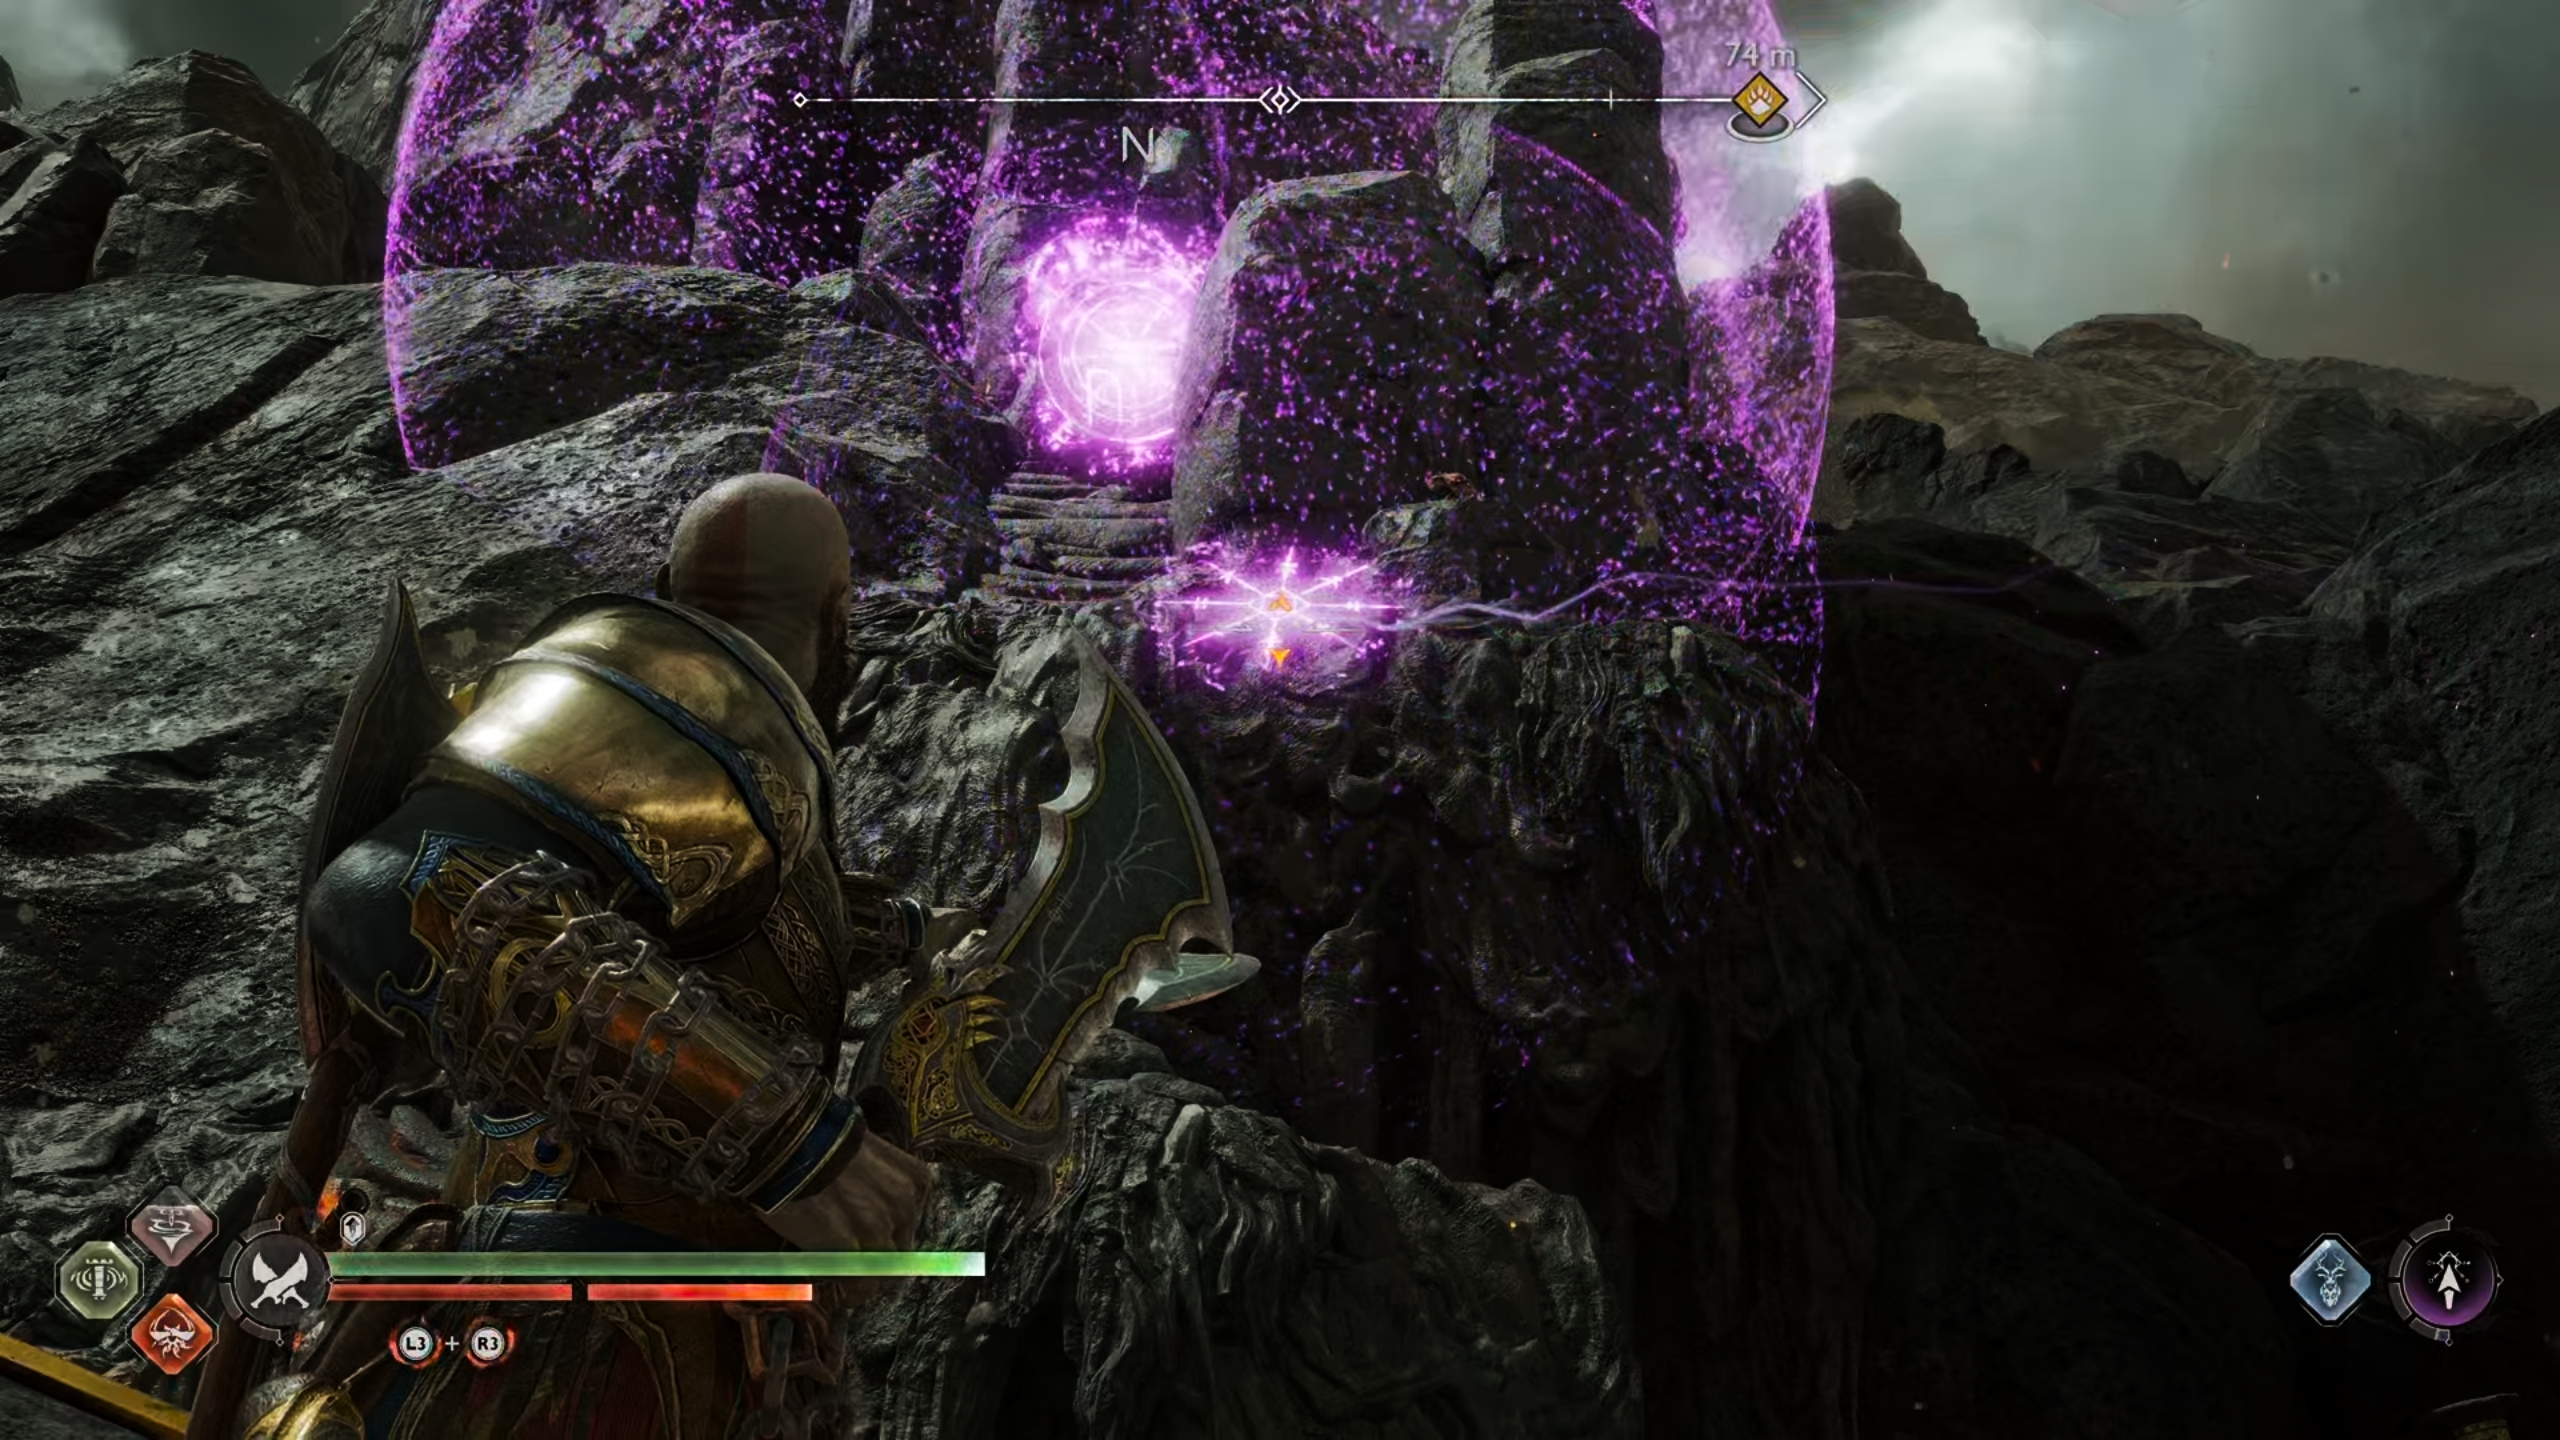
You should only need two Sigil Arrow bubbles to reach the brazier to the north, marked with the “n” rune.
The next brazier we’ll cover is the one marked with the “c” rune, to the southeast. The easiest way to reach this brazier is by looking at it from outside the area where the Nornir Chest is located, so head east through the gap in the wall that you destroyed, then look south to see the brazier. From here, you can create another set of Sigil Arrow bubbles and connect them using the stone pillars to your left or right. It may take three sets of the largest Sigil Arrow bubbles, which you can create by stacking them up to three times.
Alternatively, you’ll notice that the lava frequently erupts at a certain point here, so if you’re feeling fancy you can always place a Sigil Arrow bubble above one of these, making sure to connect it with the second brazier using another bubble, and time it so that the lava sets it on fire rather than your blades.
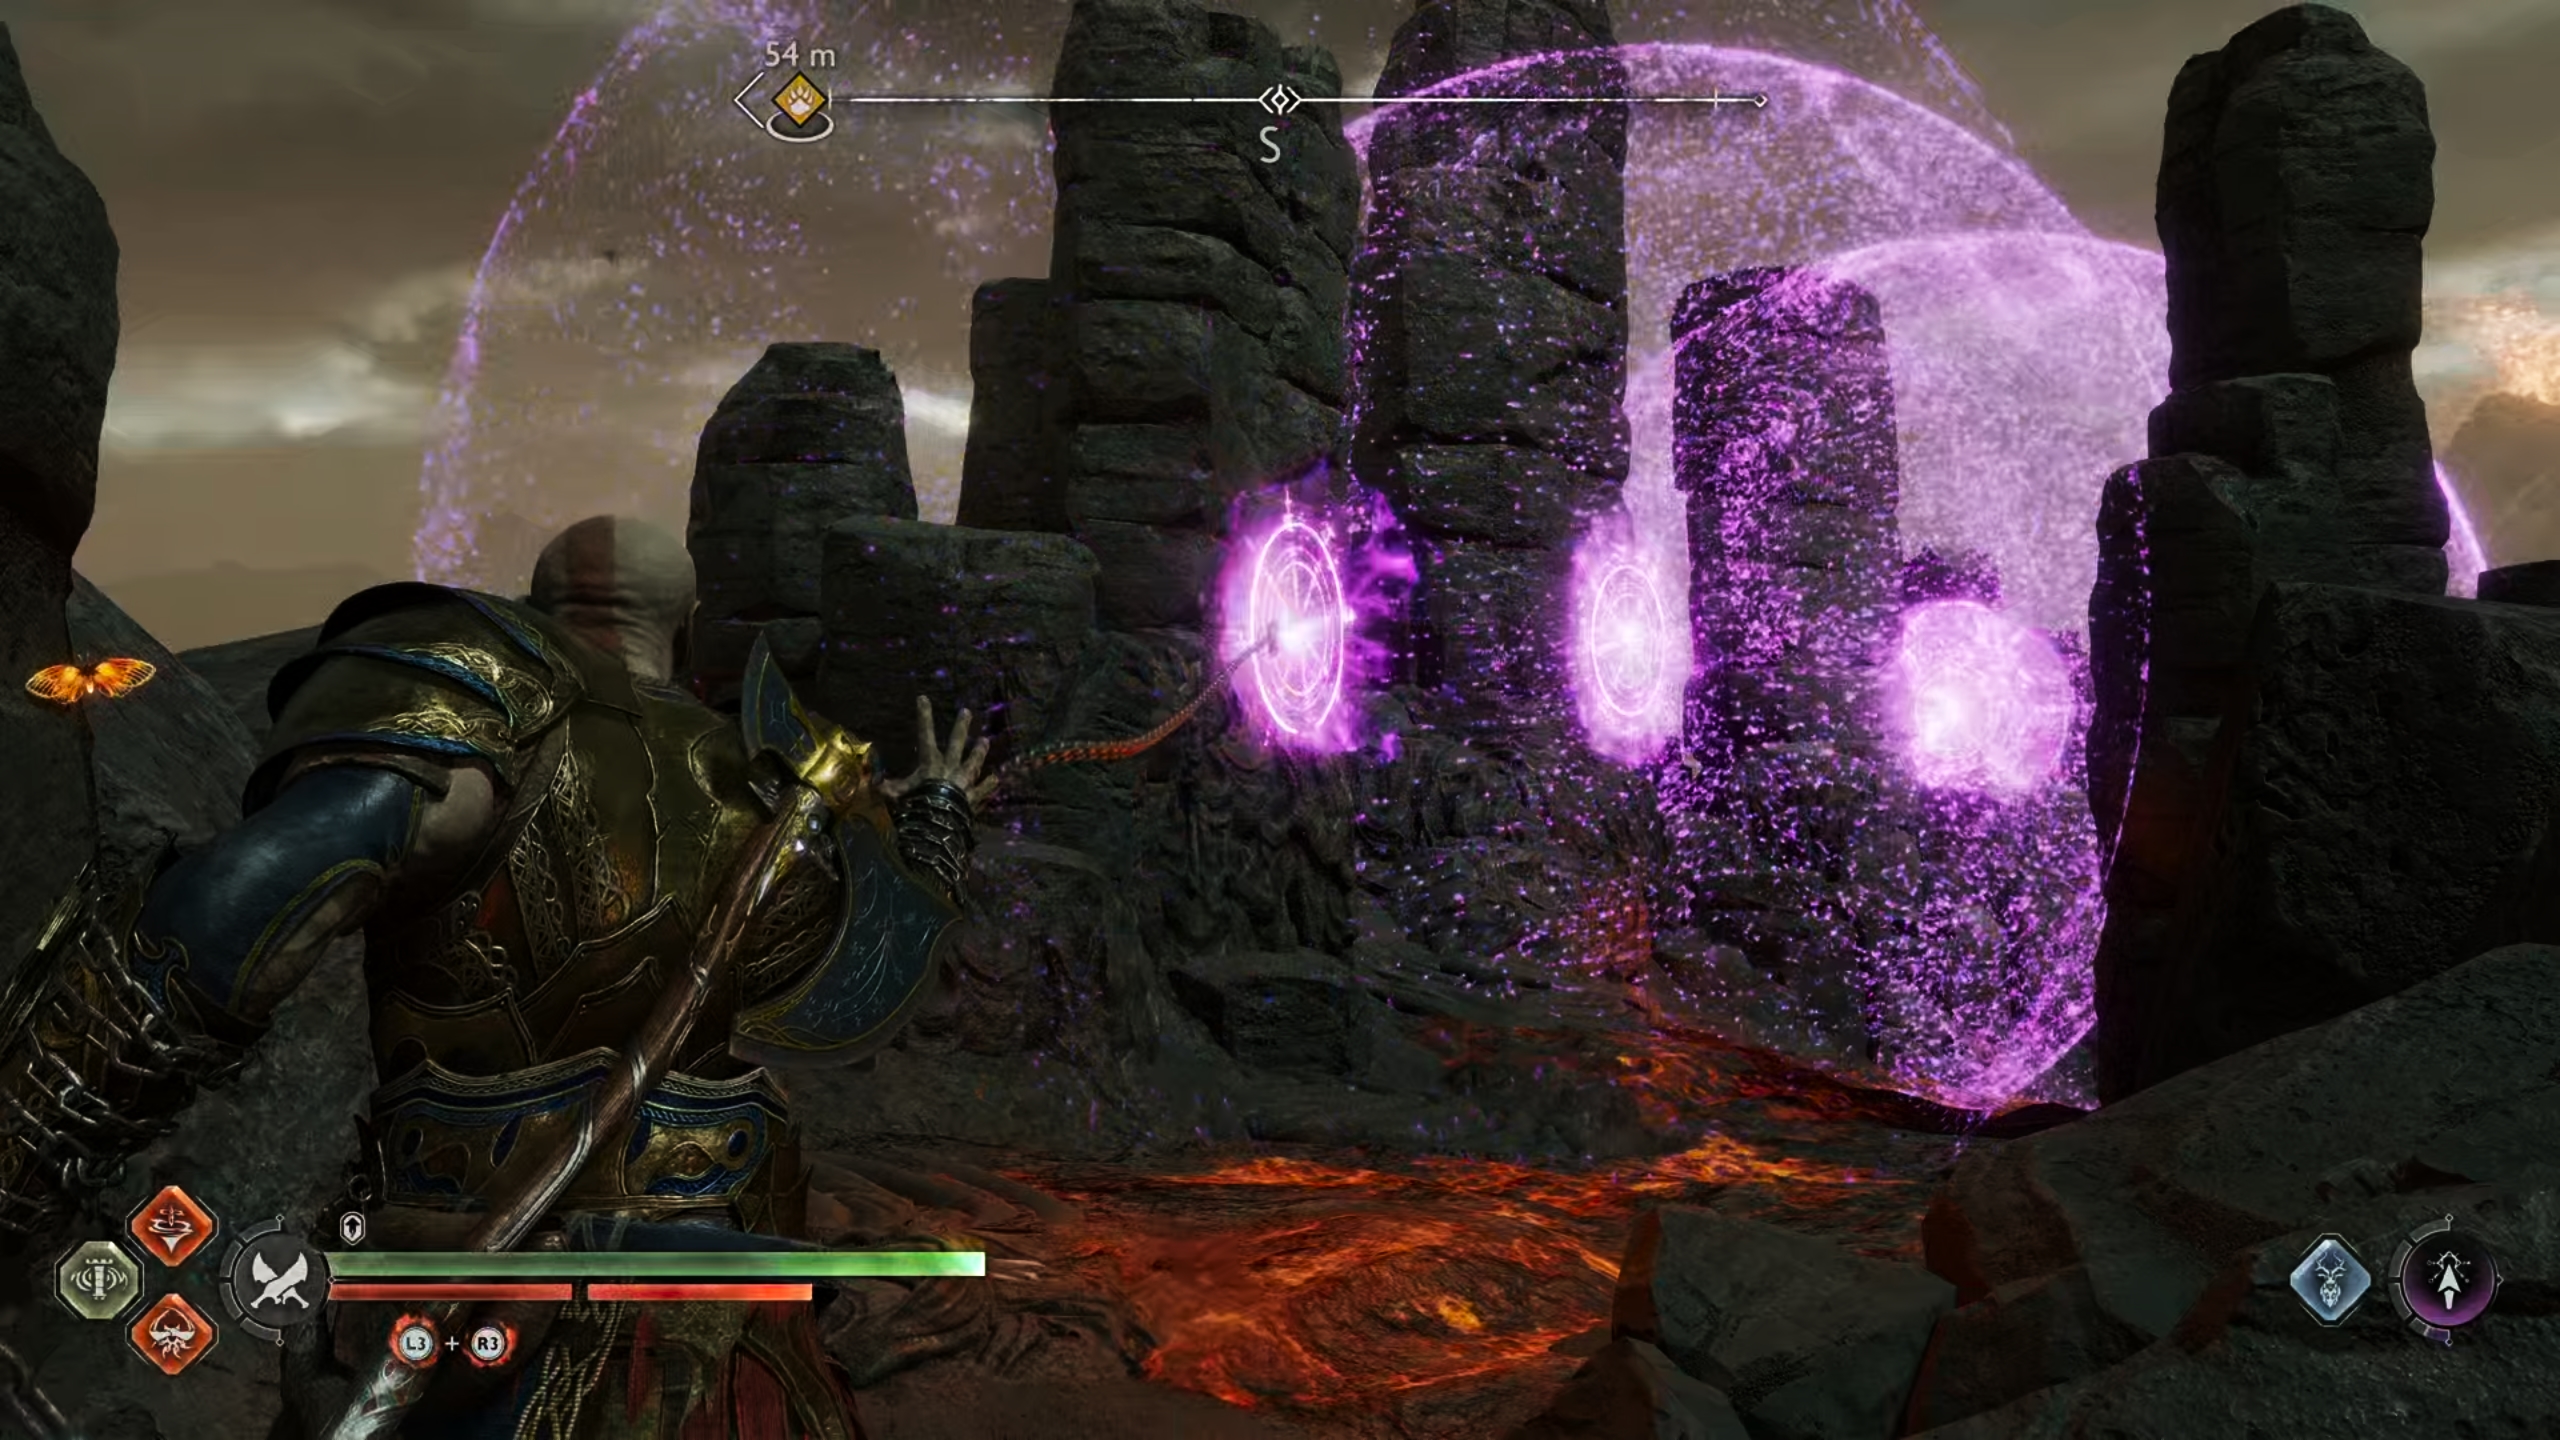
We lit this brazier by connecting three of the largest Sigil Arrow bubbles to the stone pillars.
The third brazier is marked with the “R” rune, and it can be found just behind the second brazier as you were looking at it from the north. However, you won’t be able to reach this one from the same position, so go back to where the Nornir Chest is behind the wall that you destroyed and look at the last brazier from here, facing south. For this one, you can actually use the fire from the second brazier to light it, so you don’t need to use the Blades of Chaos. Instead, place a Sigil Arrow bubble on the pillar between these braziers, so that it connects to the third brazier by lighting it up in pink, then shoot another just beneath the second brazier, as shown in the screenshot below.
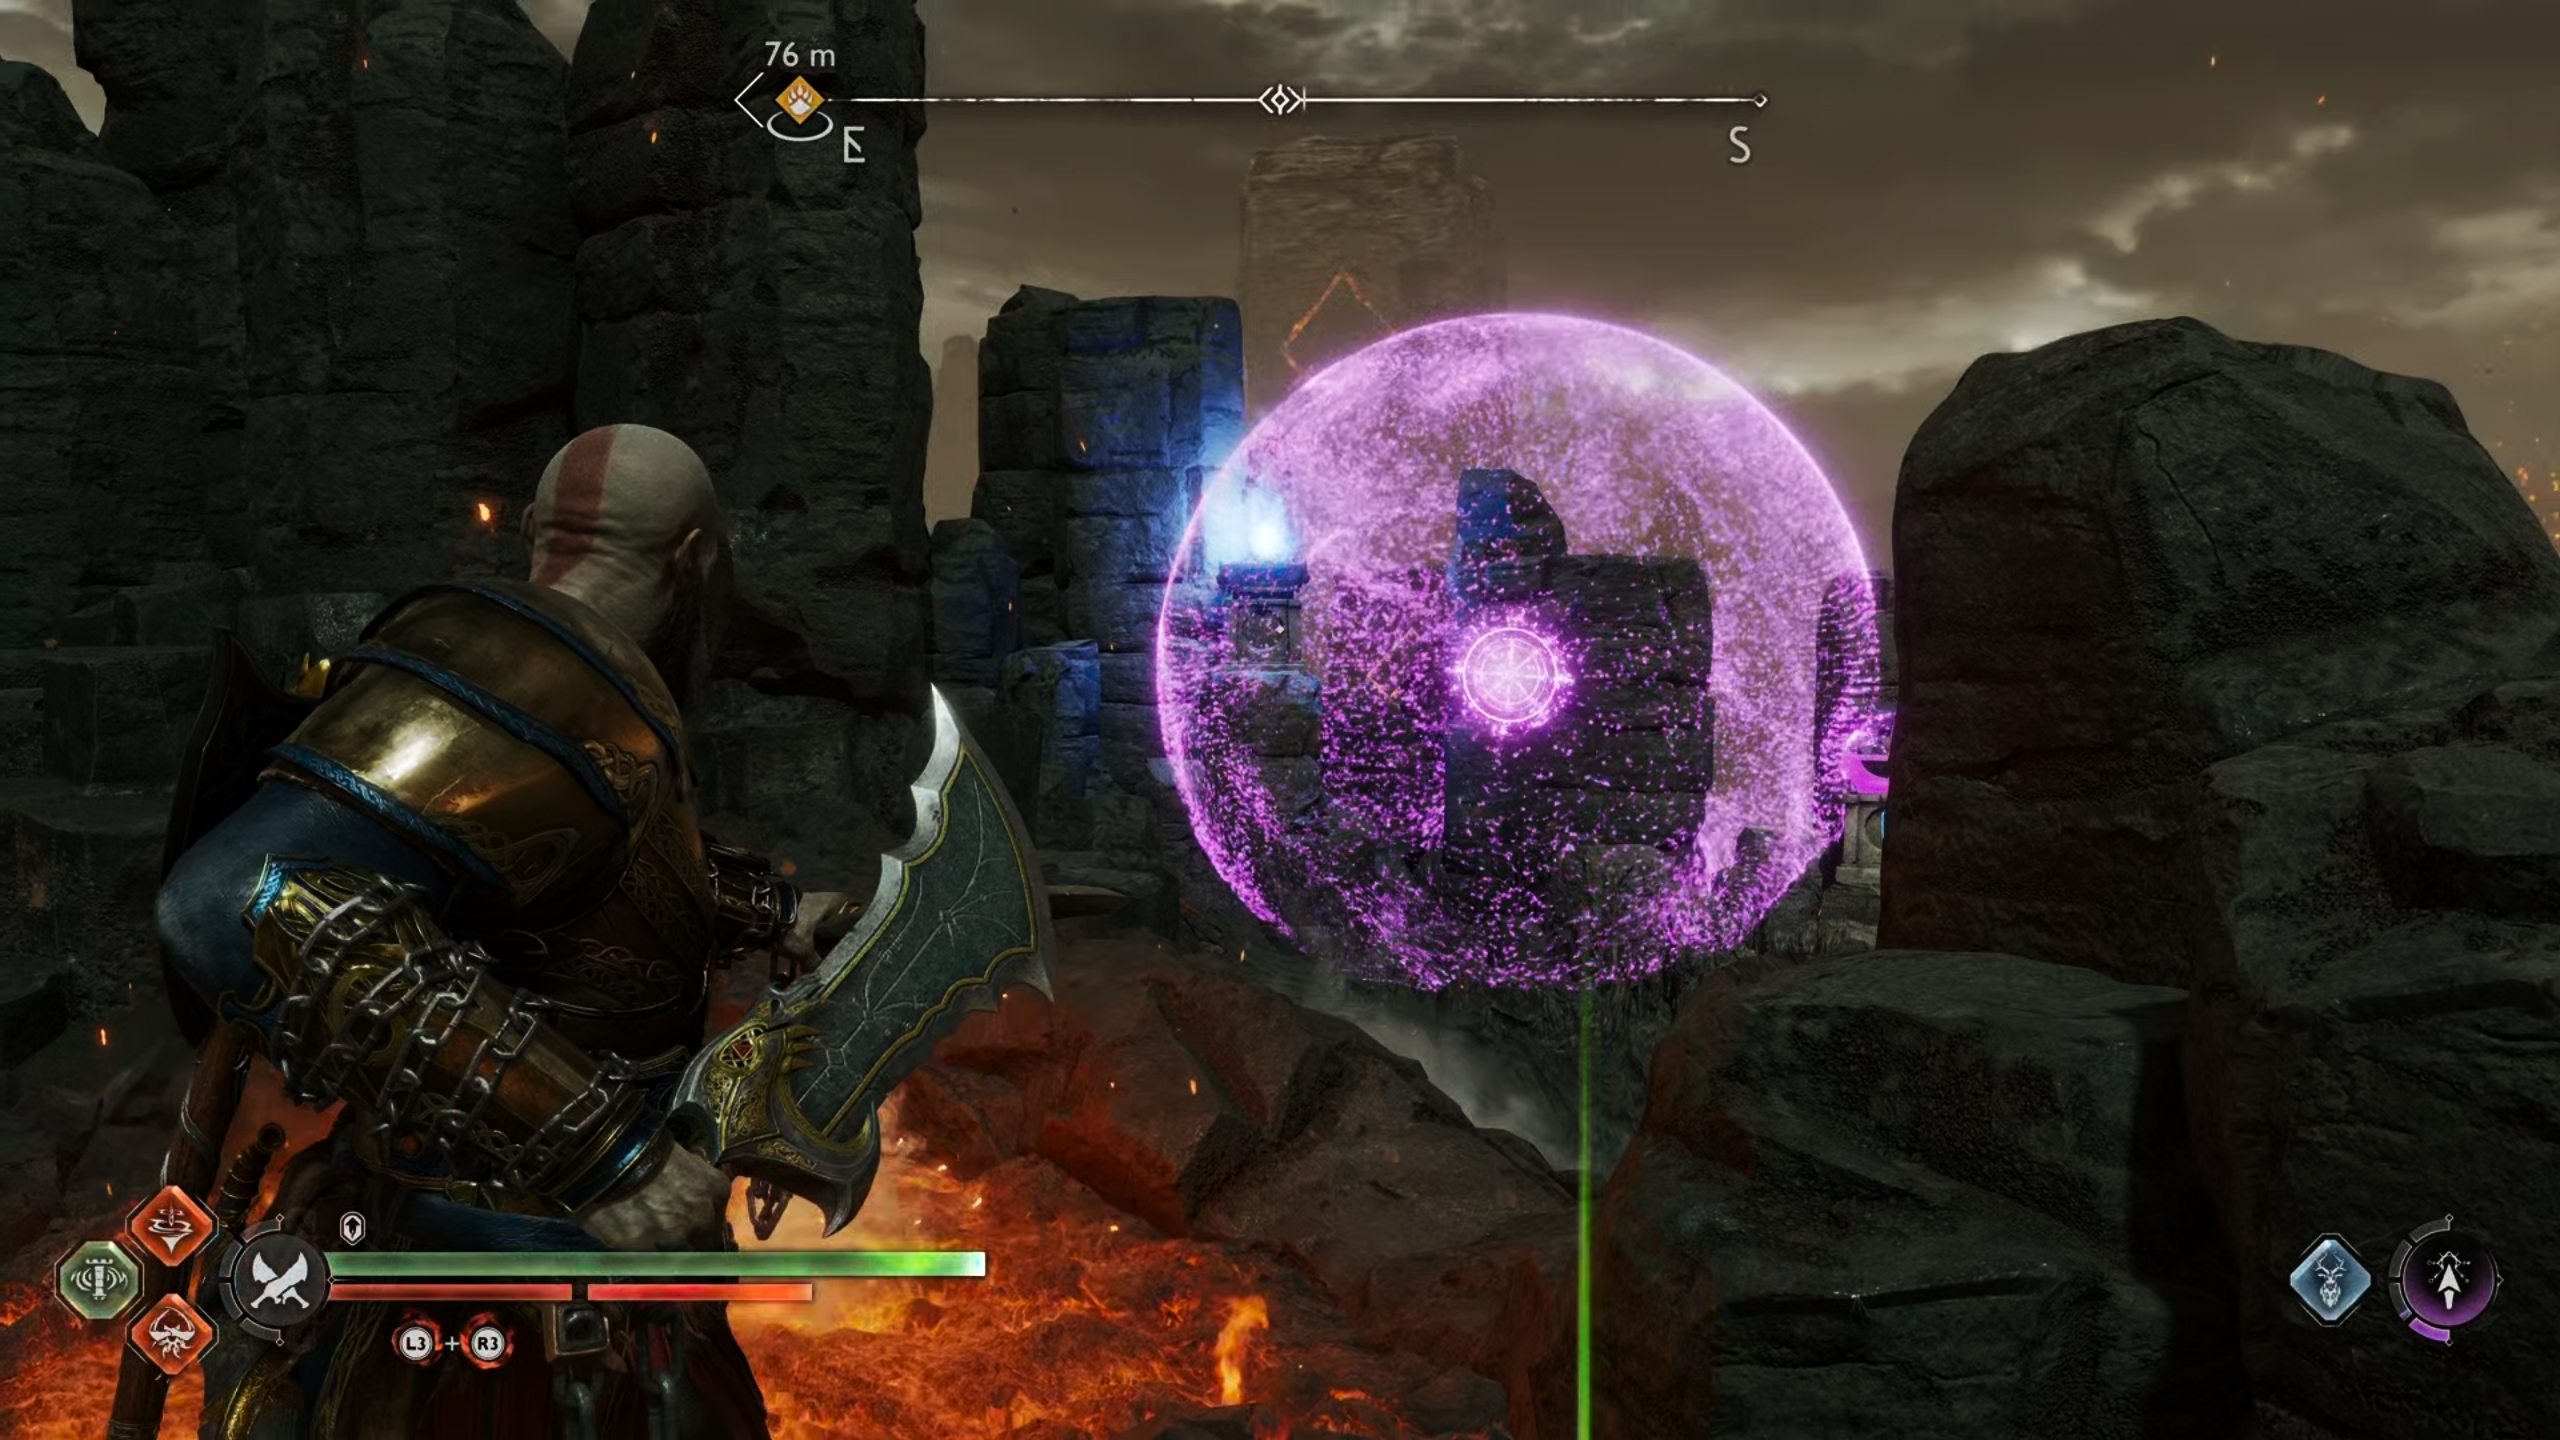
Place a Sigil Arrow bubble between these two braziers so that it connects with the third, currently unlit, brazier.
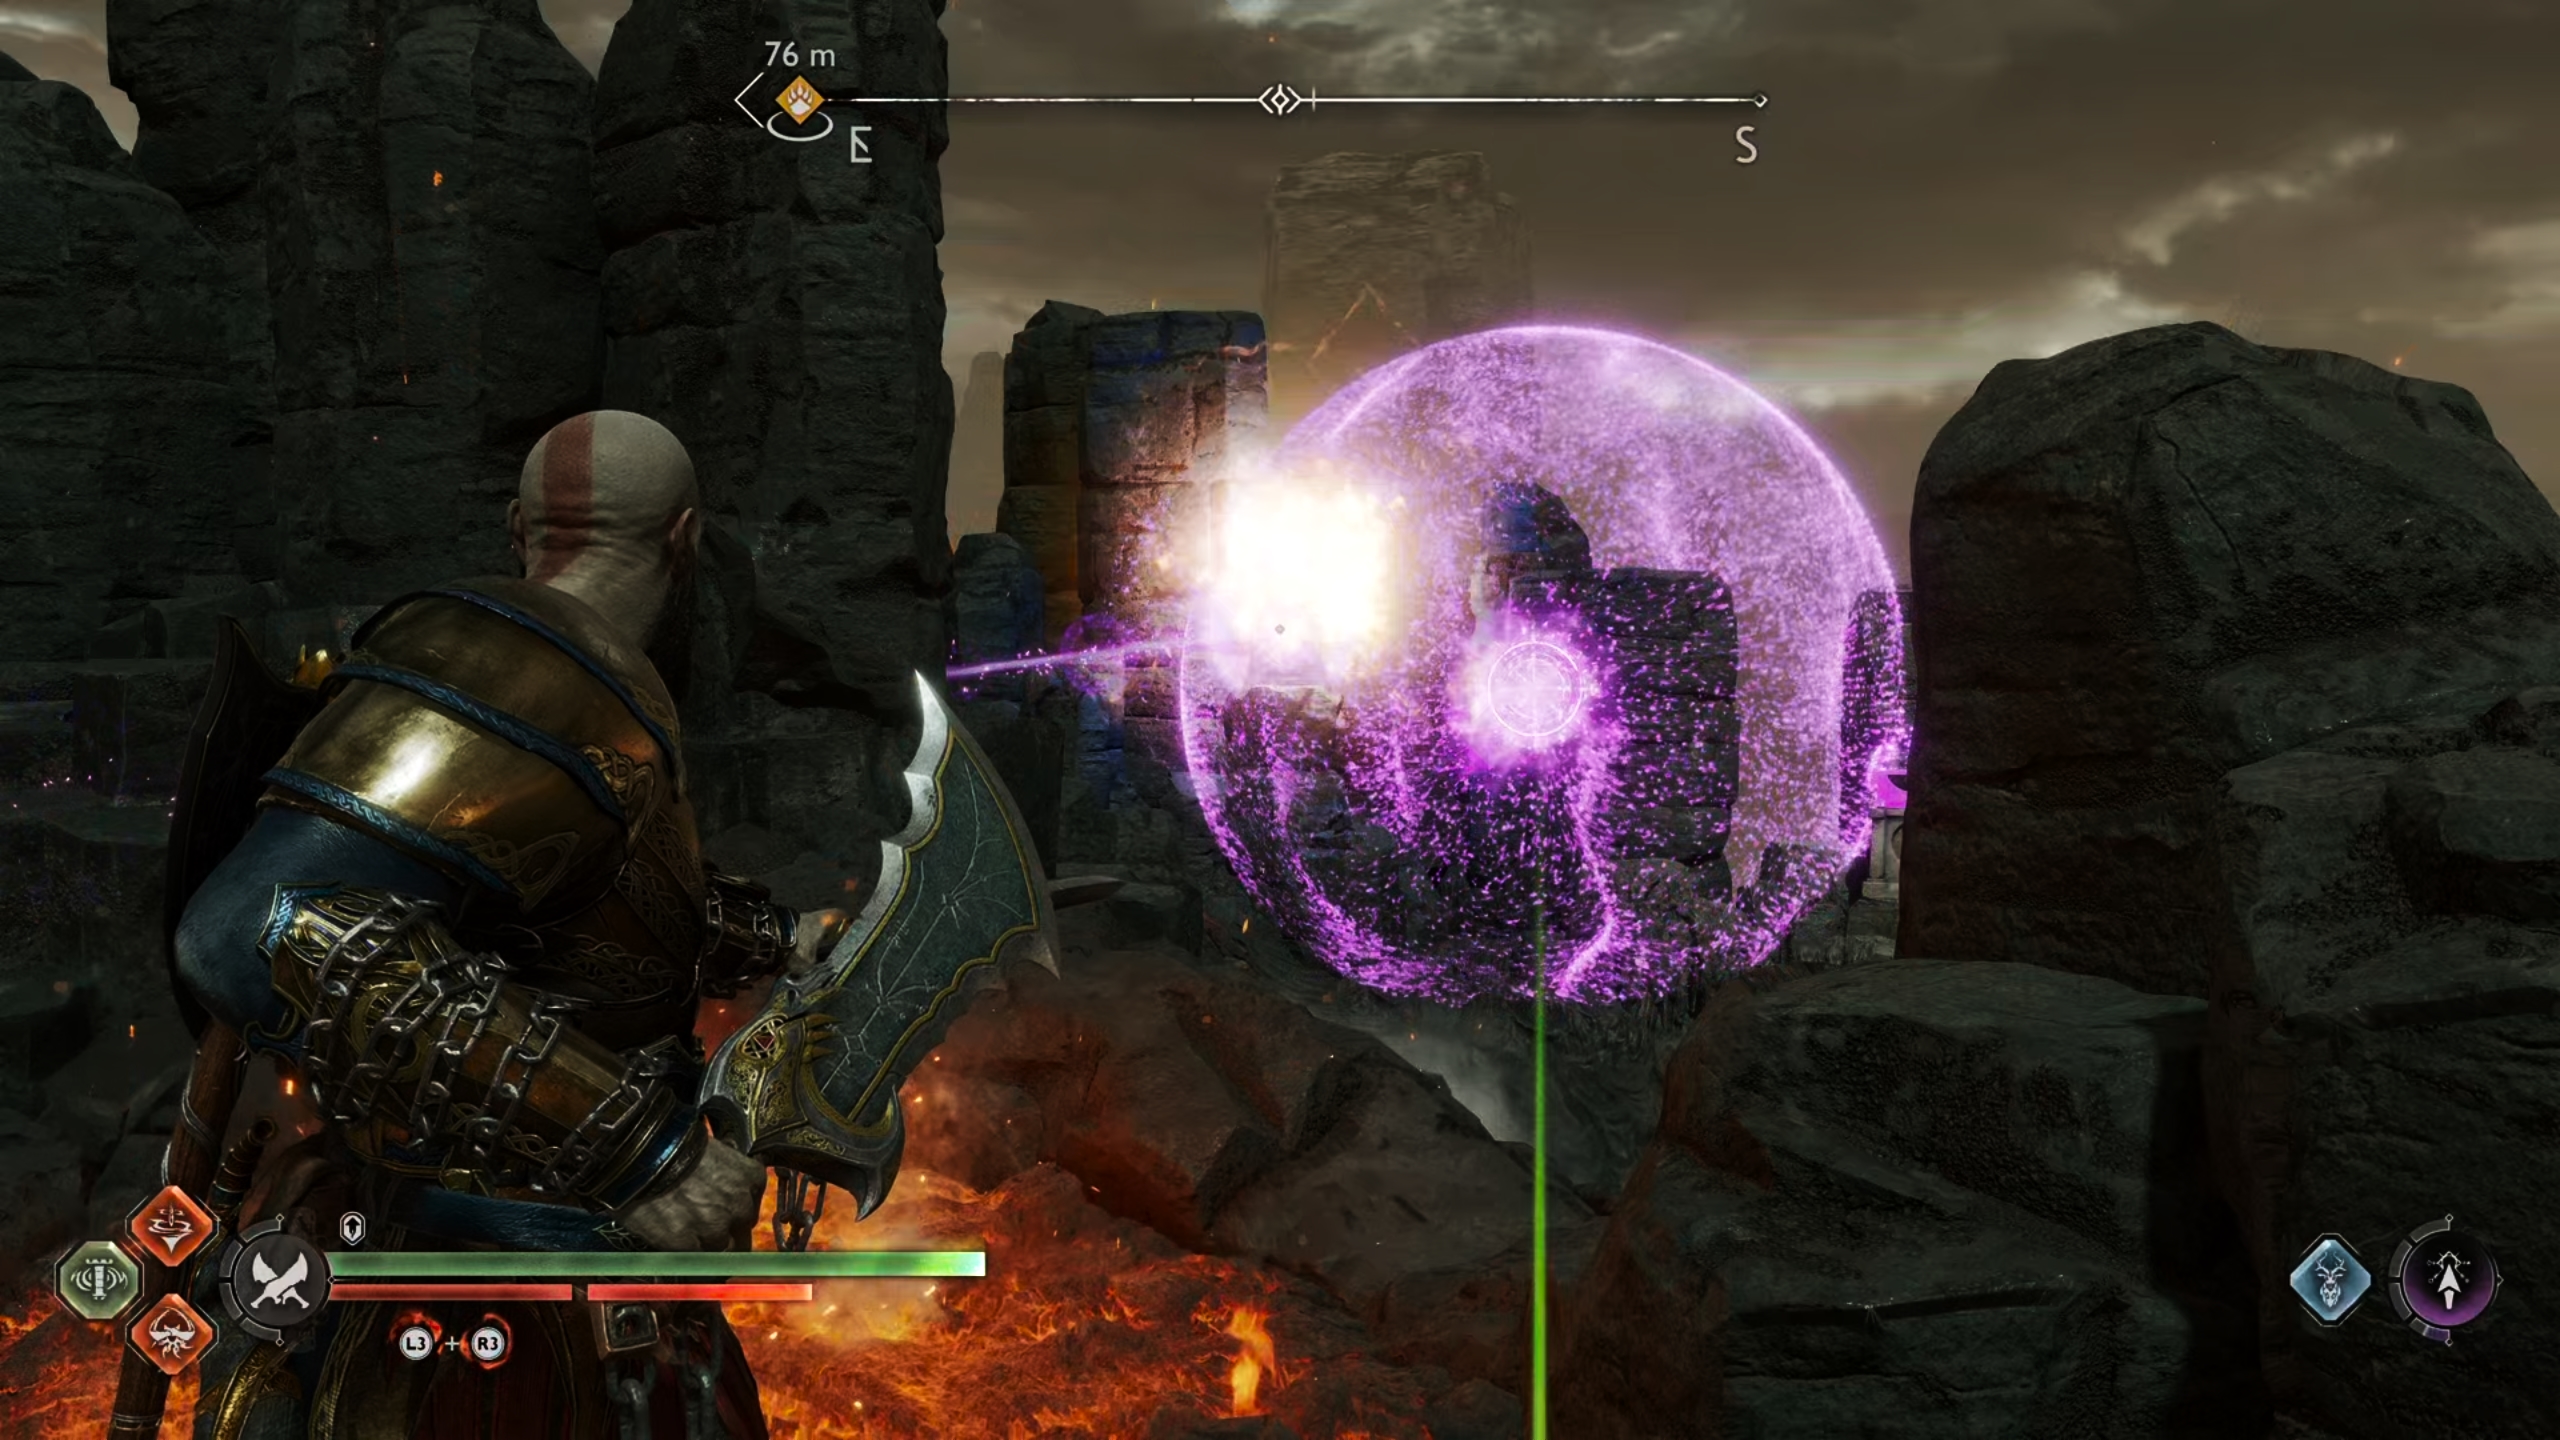
Now shoot a Sigil Arrow just beneath the second brazier to connect the bubbles and light the third.
If you’re still struggling with this Nornir Chest puzzle, take a look at our video for it below which may give you a better idea of how to open it.
Where to Find the Lore and Remnant of Asgard in the Burning Cliffs of Muspelheim
You will need to complete the main story before you can access the Lore and Remnant of Asgard to finish off the collectibles in the Burning Cliffs. We’ll be updating this page with relevant media for them soon!
Where to Find the Odin’s Raven at Surtr’s Forge in Muspelheim
This one isn’t technically part of the Burning Cliffs region of Muspelheim, and is instead counted as the only collectible in Surtr’s Forge. To reach it, you’ll take a rope wire down from the Burning Cliffs at the end of the area. Once there, and after speaking with Surtr, you can stand where you found him and look to the north to find the Odin’s Raven perched on a rock beneath the arch, as shown in the screenshot below.
Stand where you found Surtr and look north to see the Odin’s Raven beneath the arch.
Where to Find the Lore and Remnant of Asgard in the Burning Cliffs of Muspelheim
The Lore and Remnant of Asgard are located in the same place in the Burning Cliffs. However, you won’t be able to access them until you’ve completed the main story. Once you have, return to the Burning Cliffs and make your way down to Surtr’s Forge. You can’t miss the Lore on the wall and the chest containing the Remnant of Asgard, since you’ll be attacked by some Einherjar. You need to defeat these, loot the chest, then read the lore to finish the collectibles here.
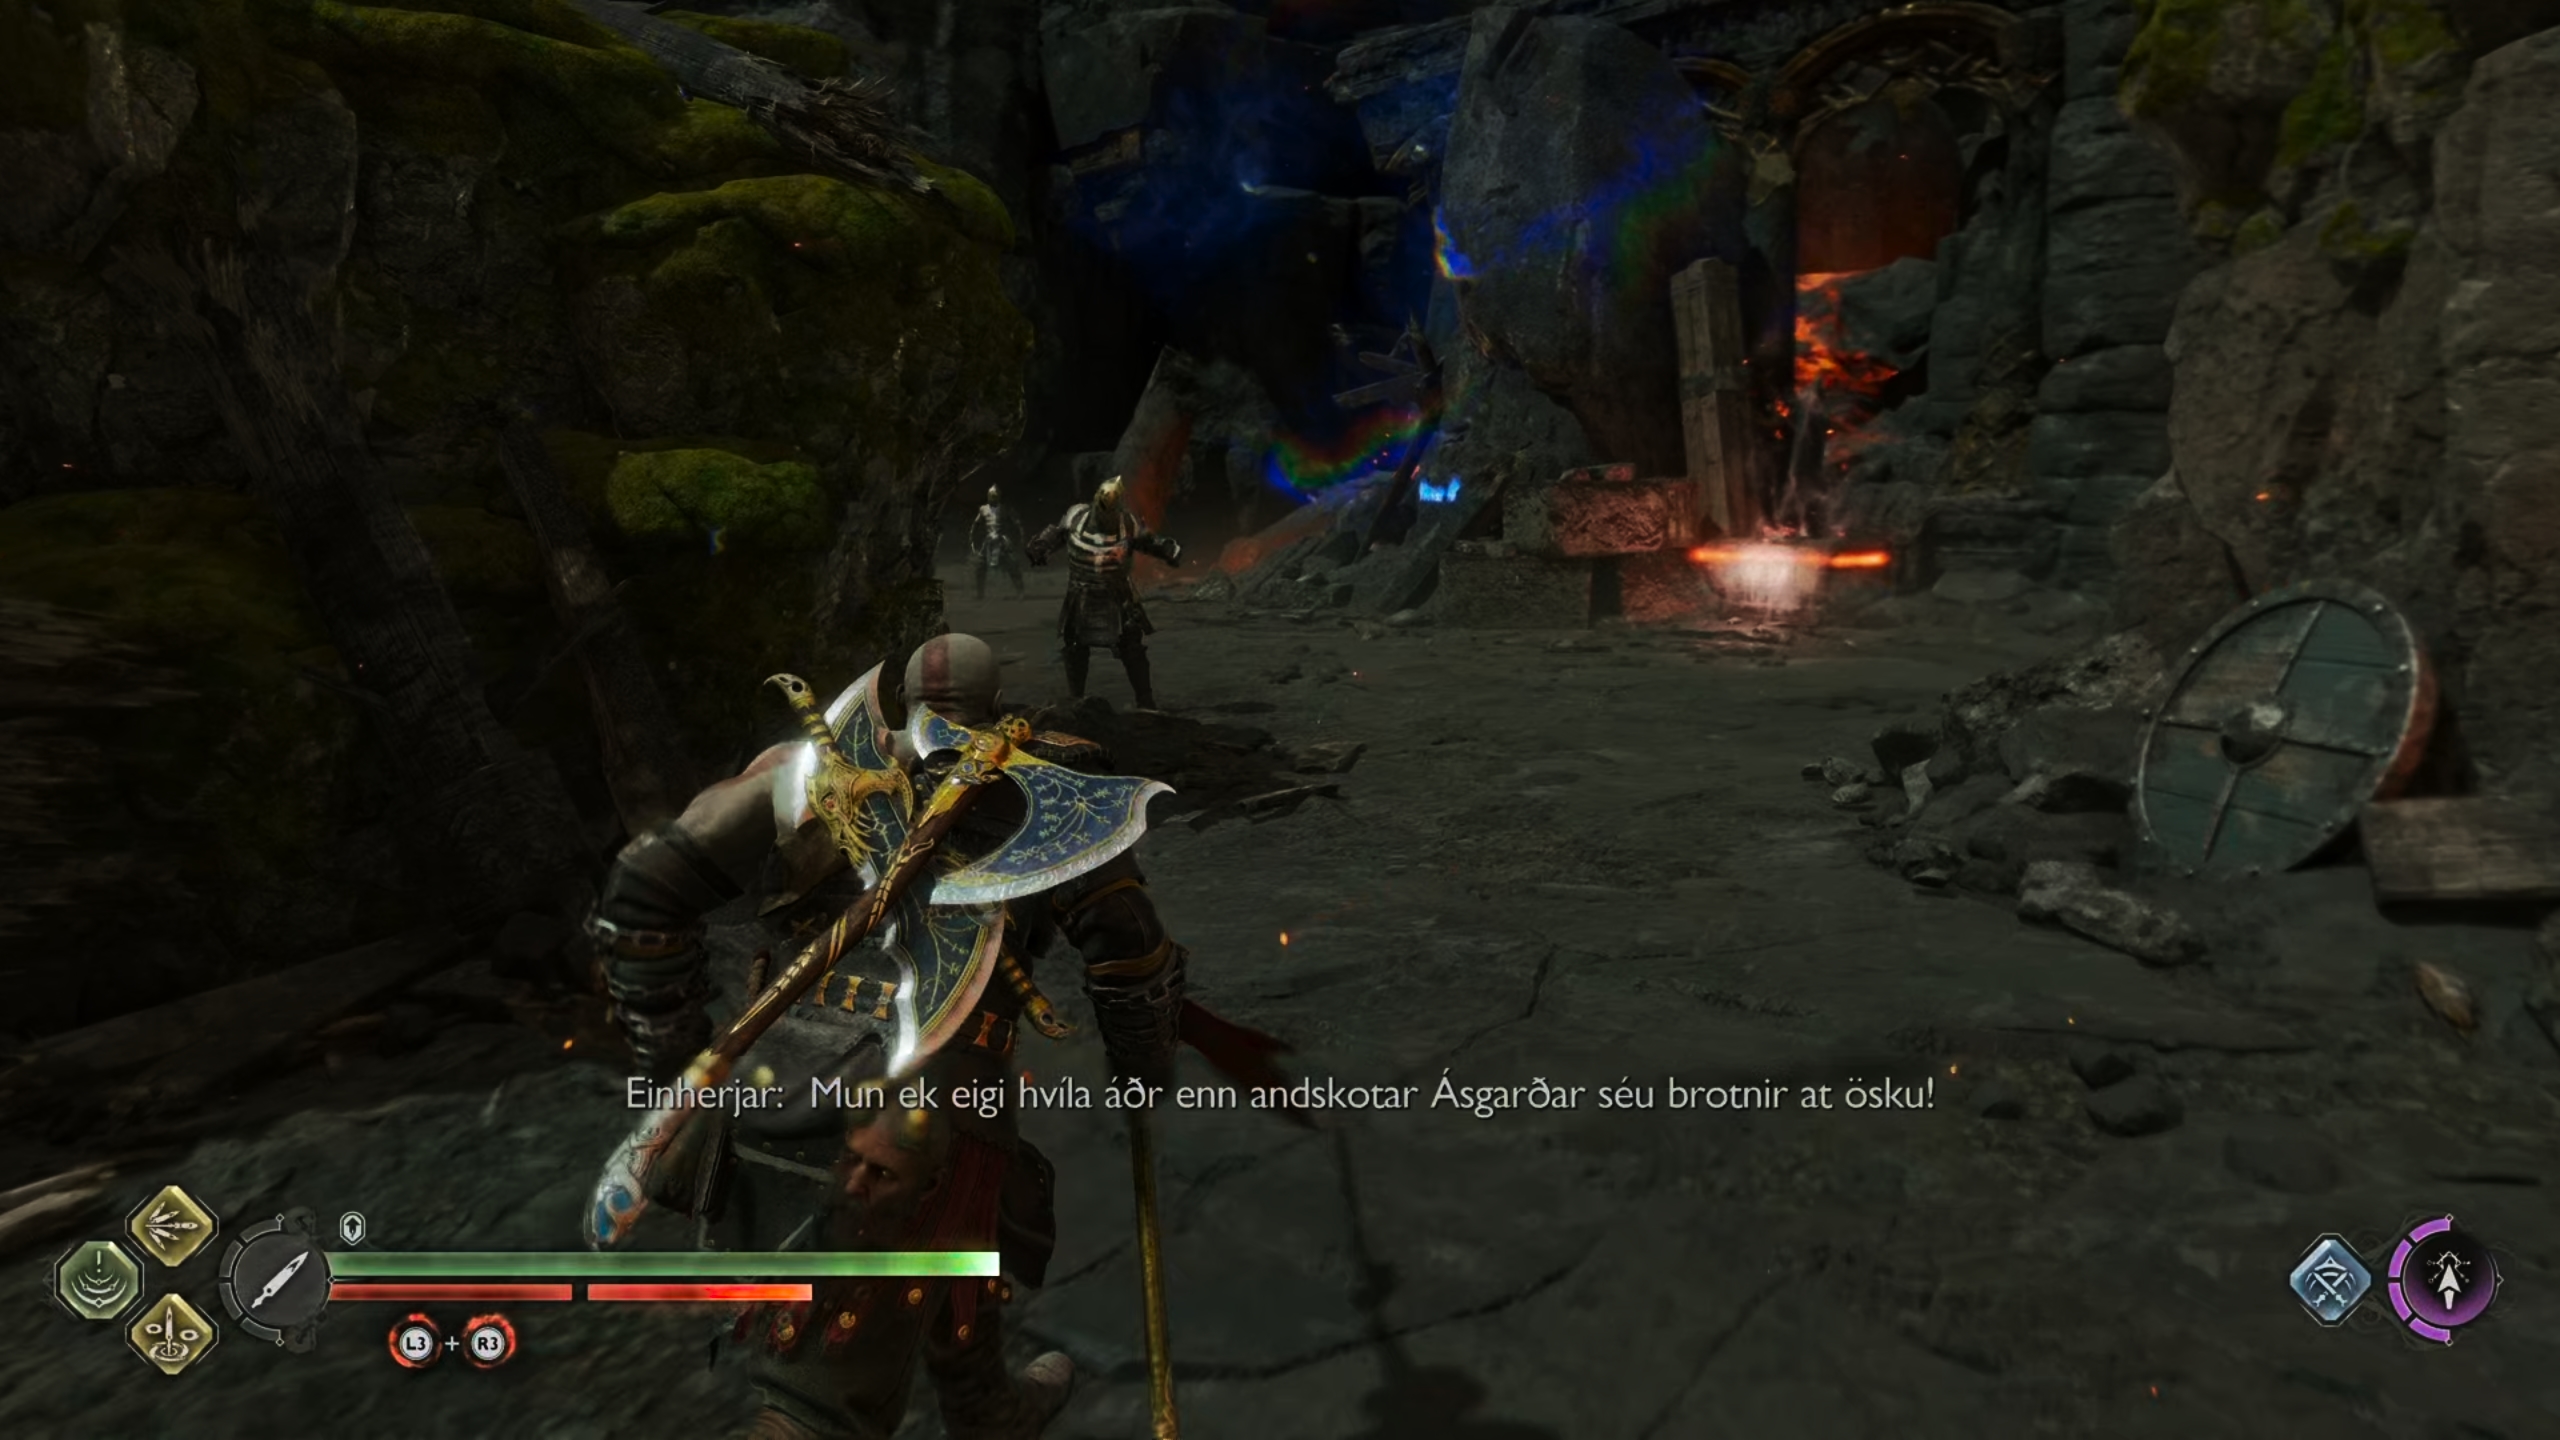
You will find the area where the lore is crawling with Einherjar.
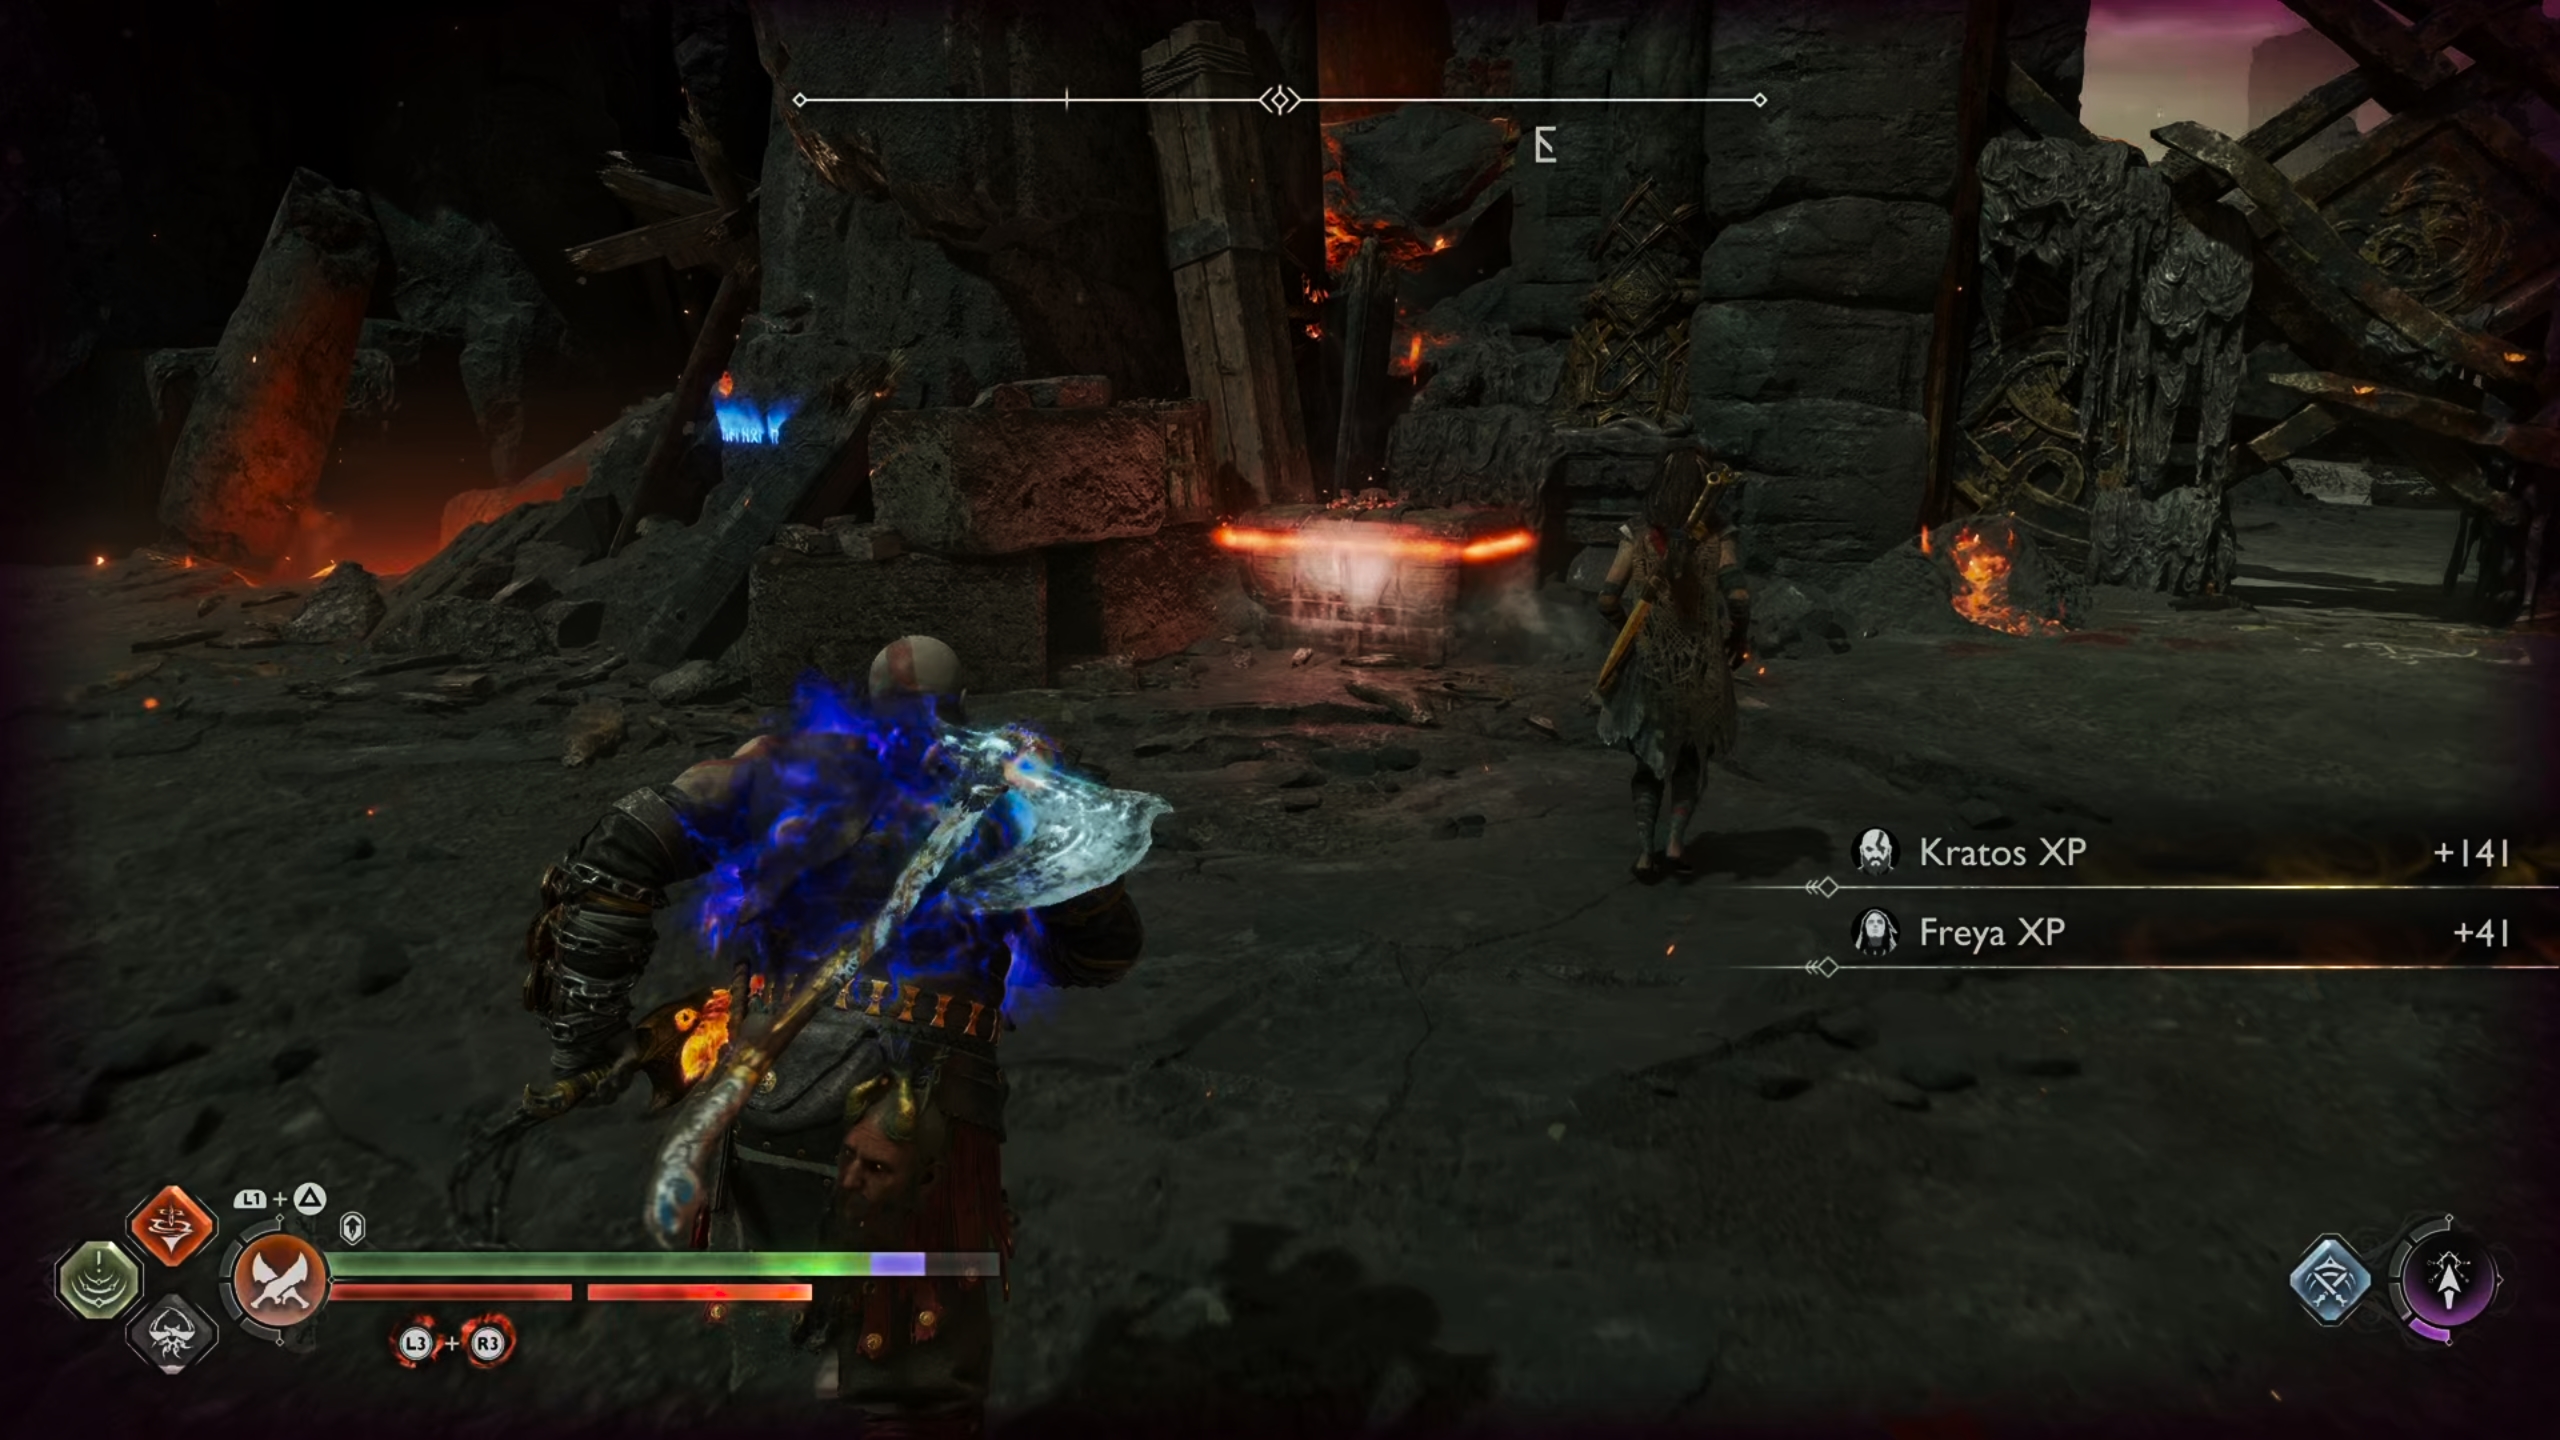
You can read the lore and collect the remnant after defeating the Einherjar.
No Comments