
Walkthrough for the Talon Peak area in Pathfinder: Kingmaker.
Talon Peak is located in the mountains northeast of your capital, beyond the border of the Varnhold region. Mim Wobblegander artisan quest, [Three Wishes] will bring you here.
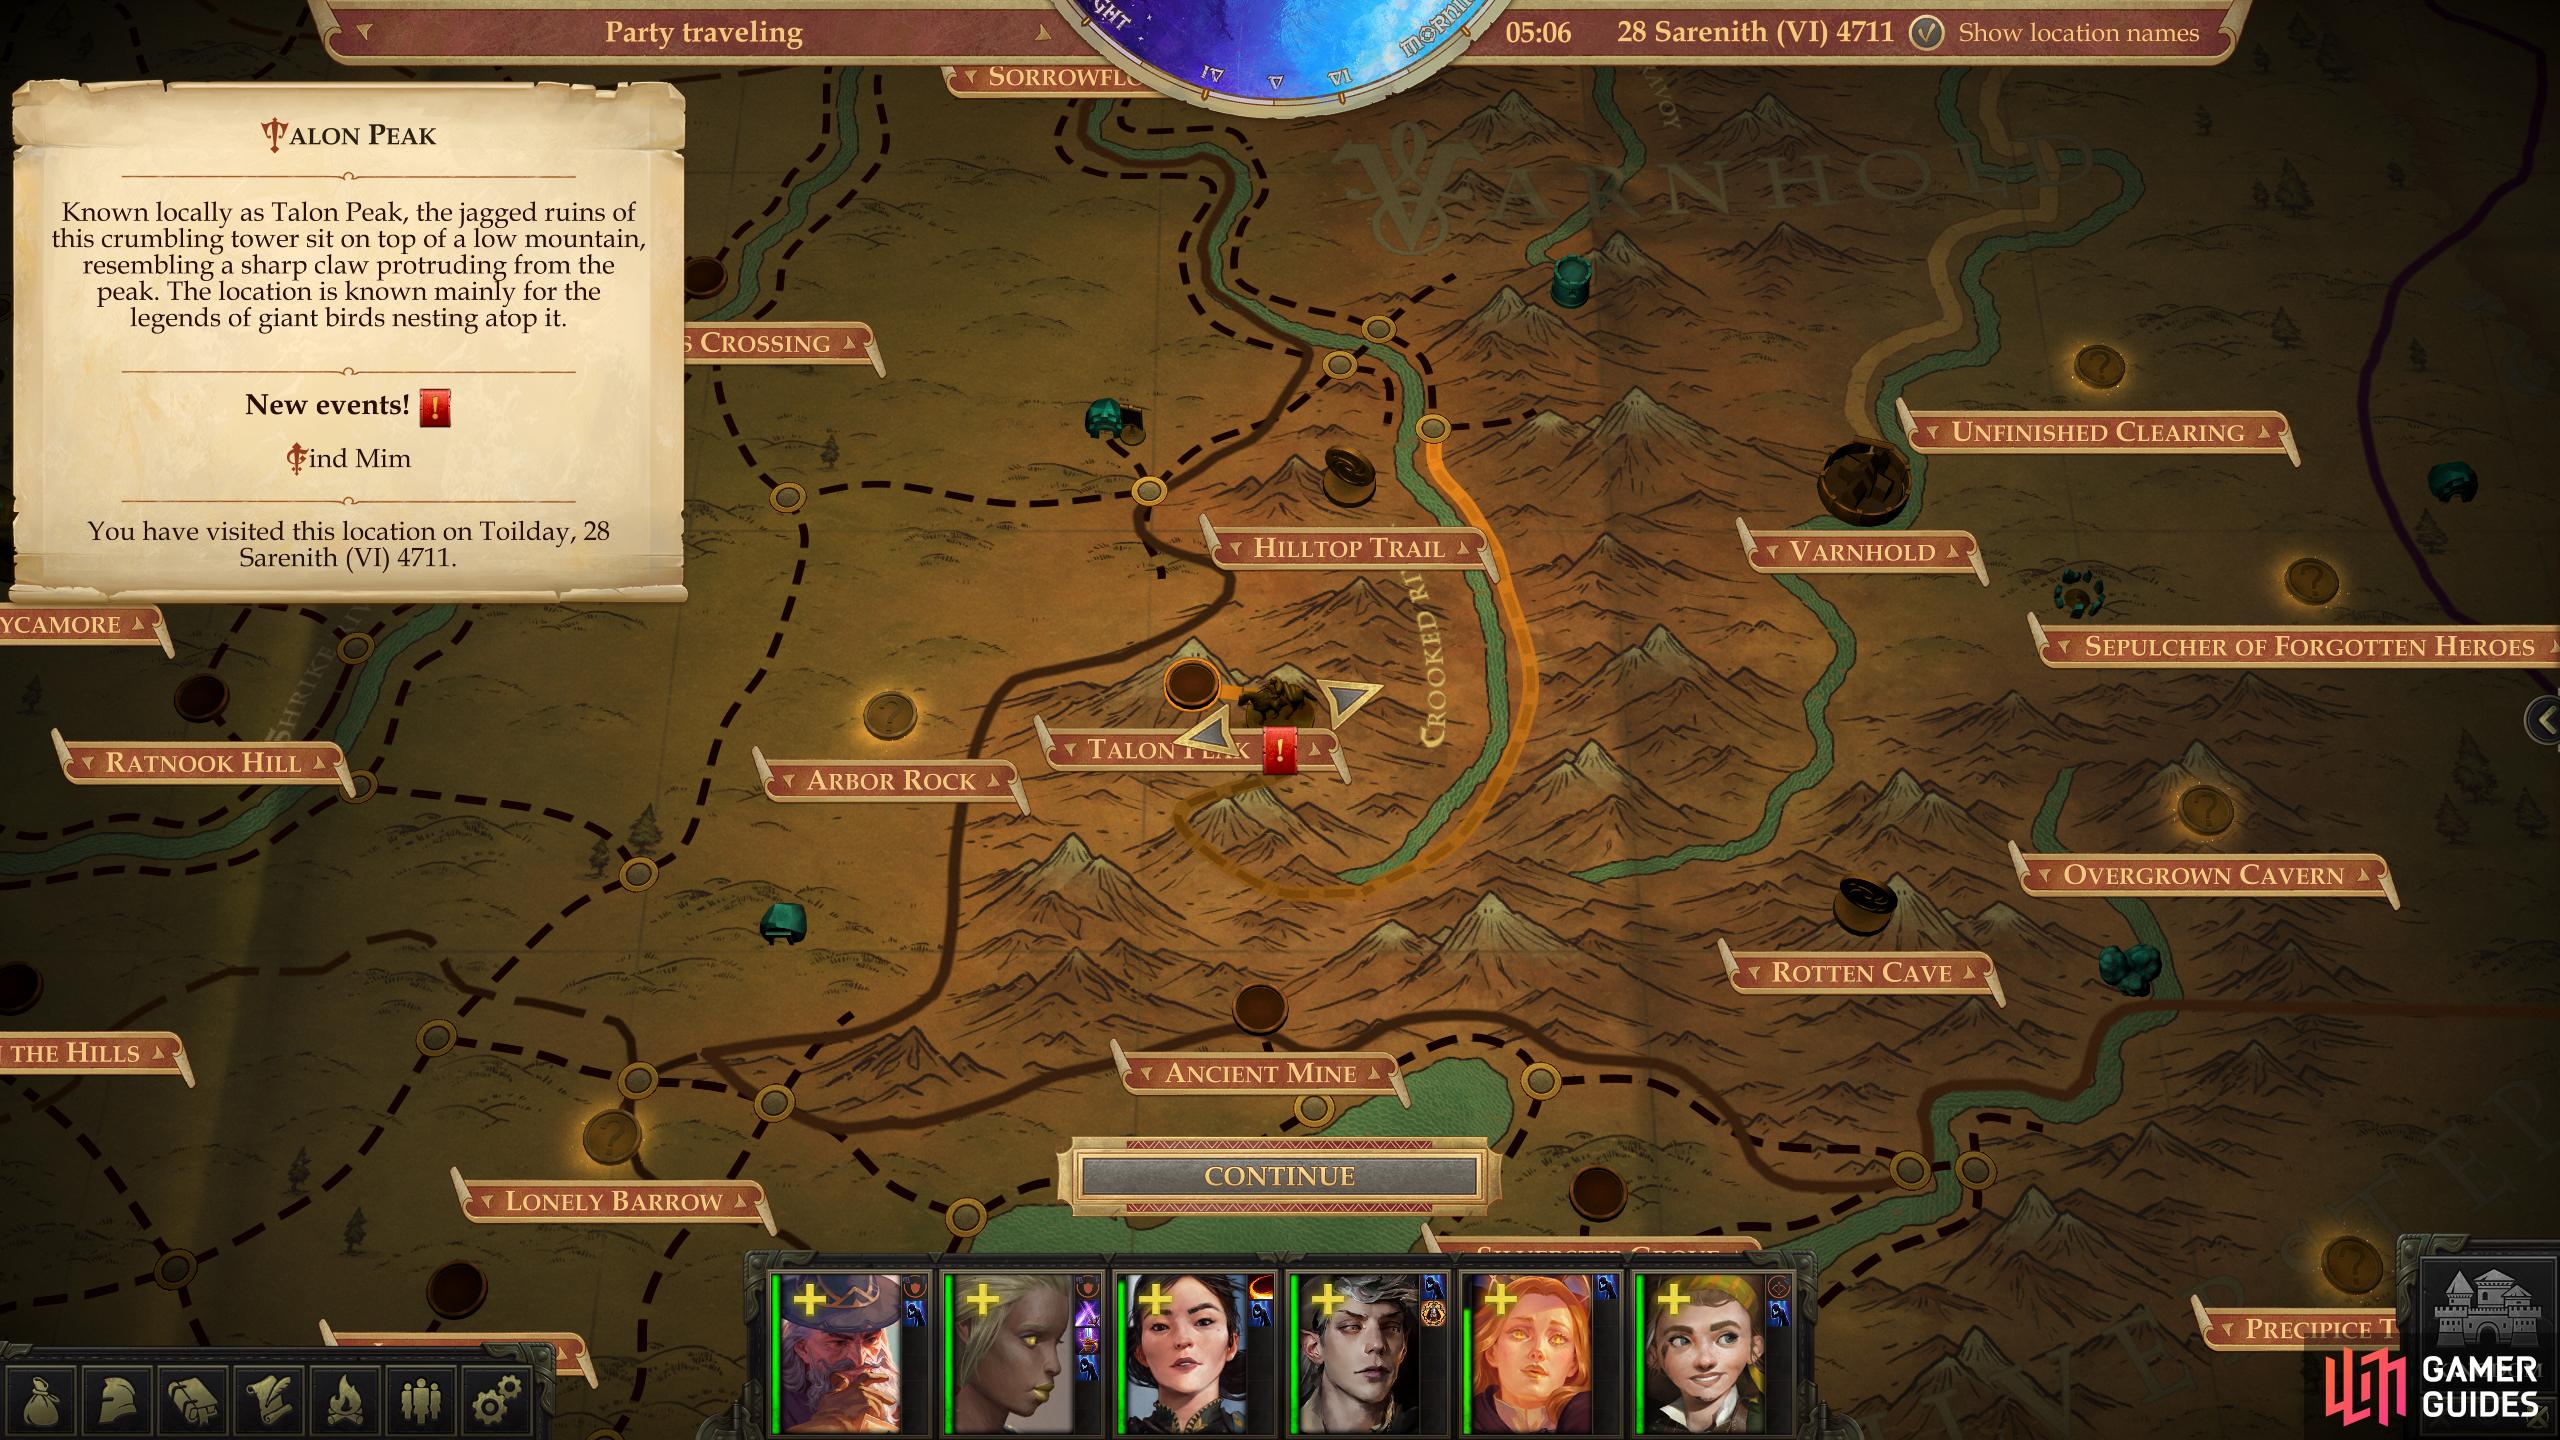
The location of Talon Peak on the map.
To reach Talon Peak from your capital, follow these directions:
- East (across the Shrike River)
- East
- East
- Northeast
- Northeast
- Northeast
- Northeast
- East
- Northeast
- Northeast (across the Crooked River)
- Southeast (along the Crooked River)
- South (along the Crooked River - path winds to Talon Peak)
As you can see, the route is not at all straight-forward or intuitive, and the journey itself will likely take over two days of travel, so prepare accordingly.
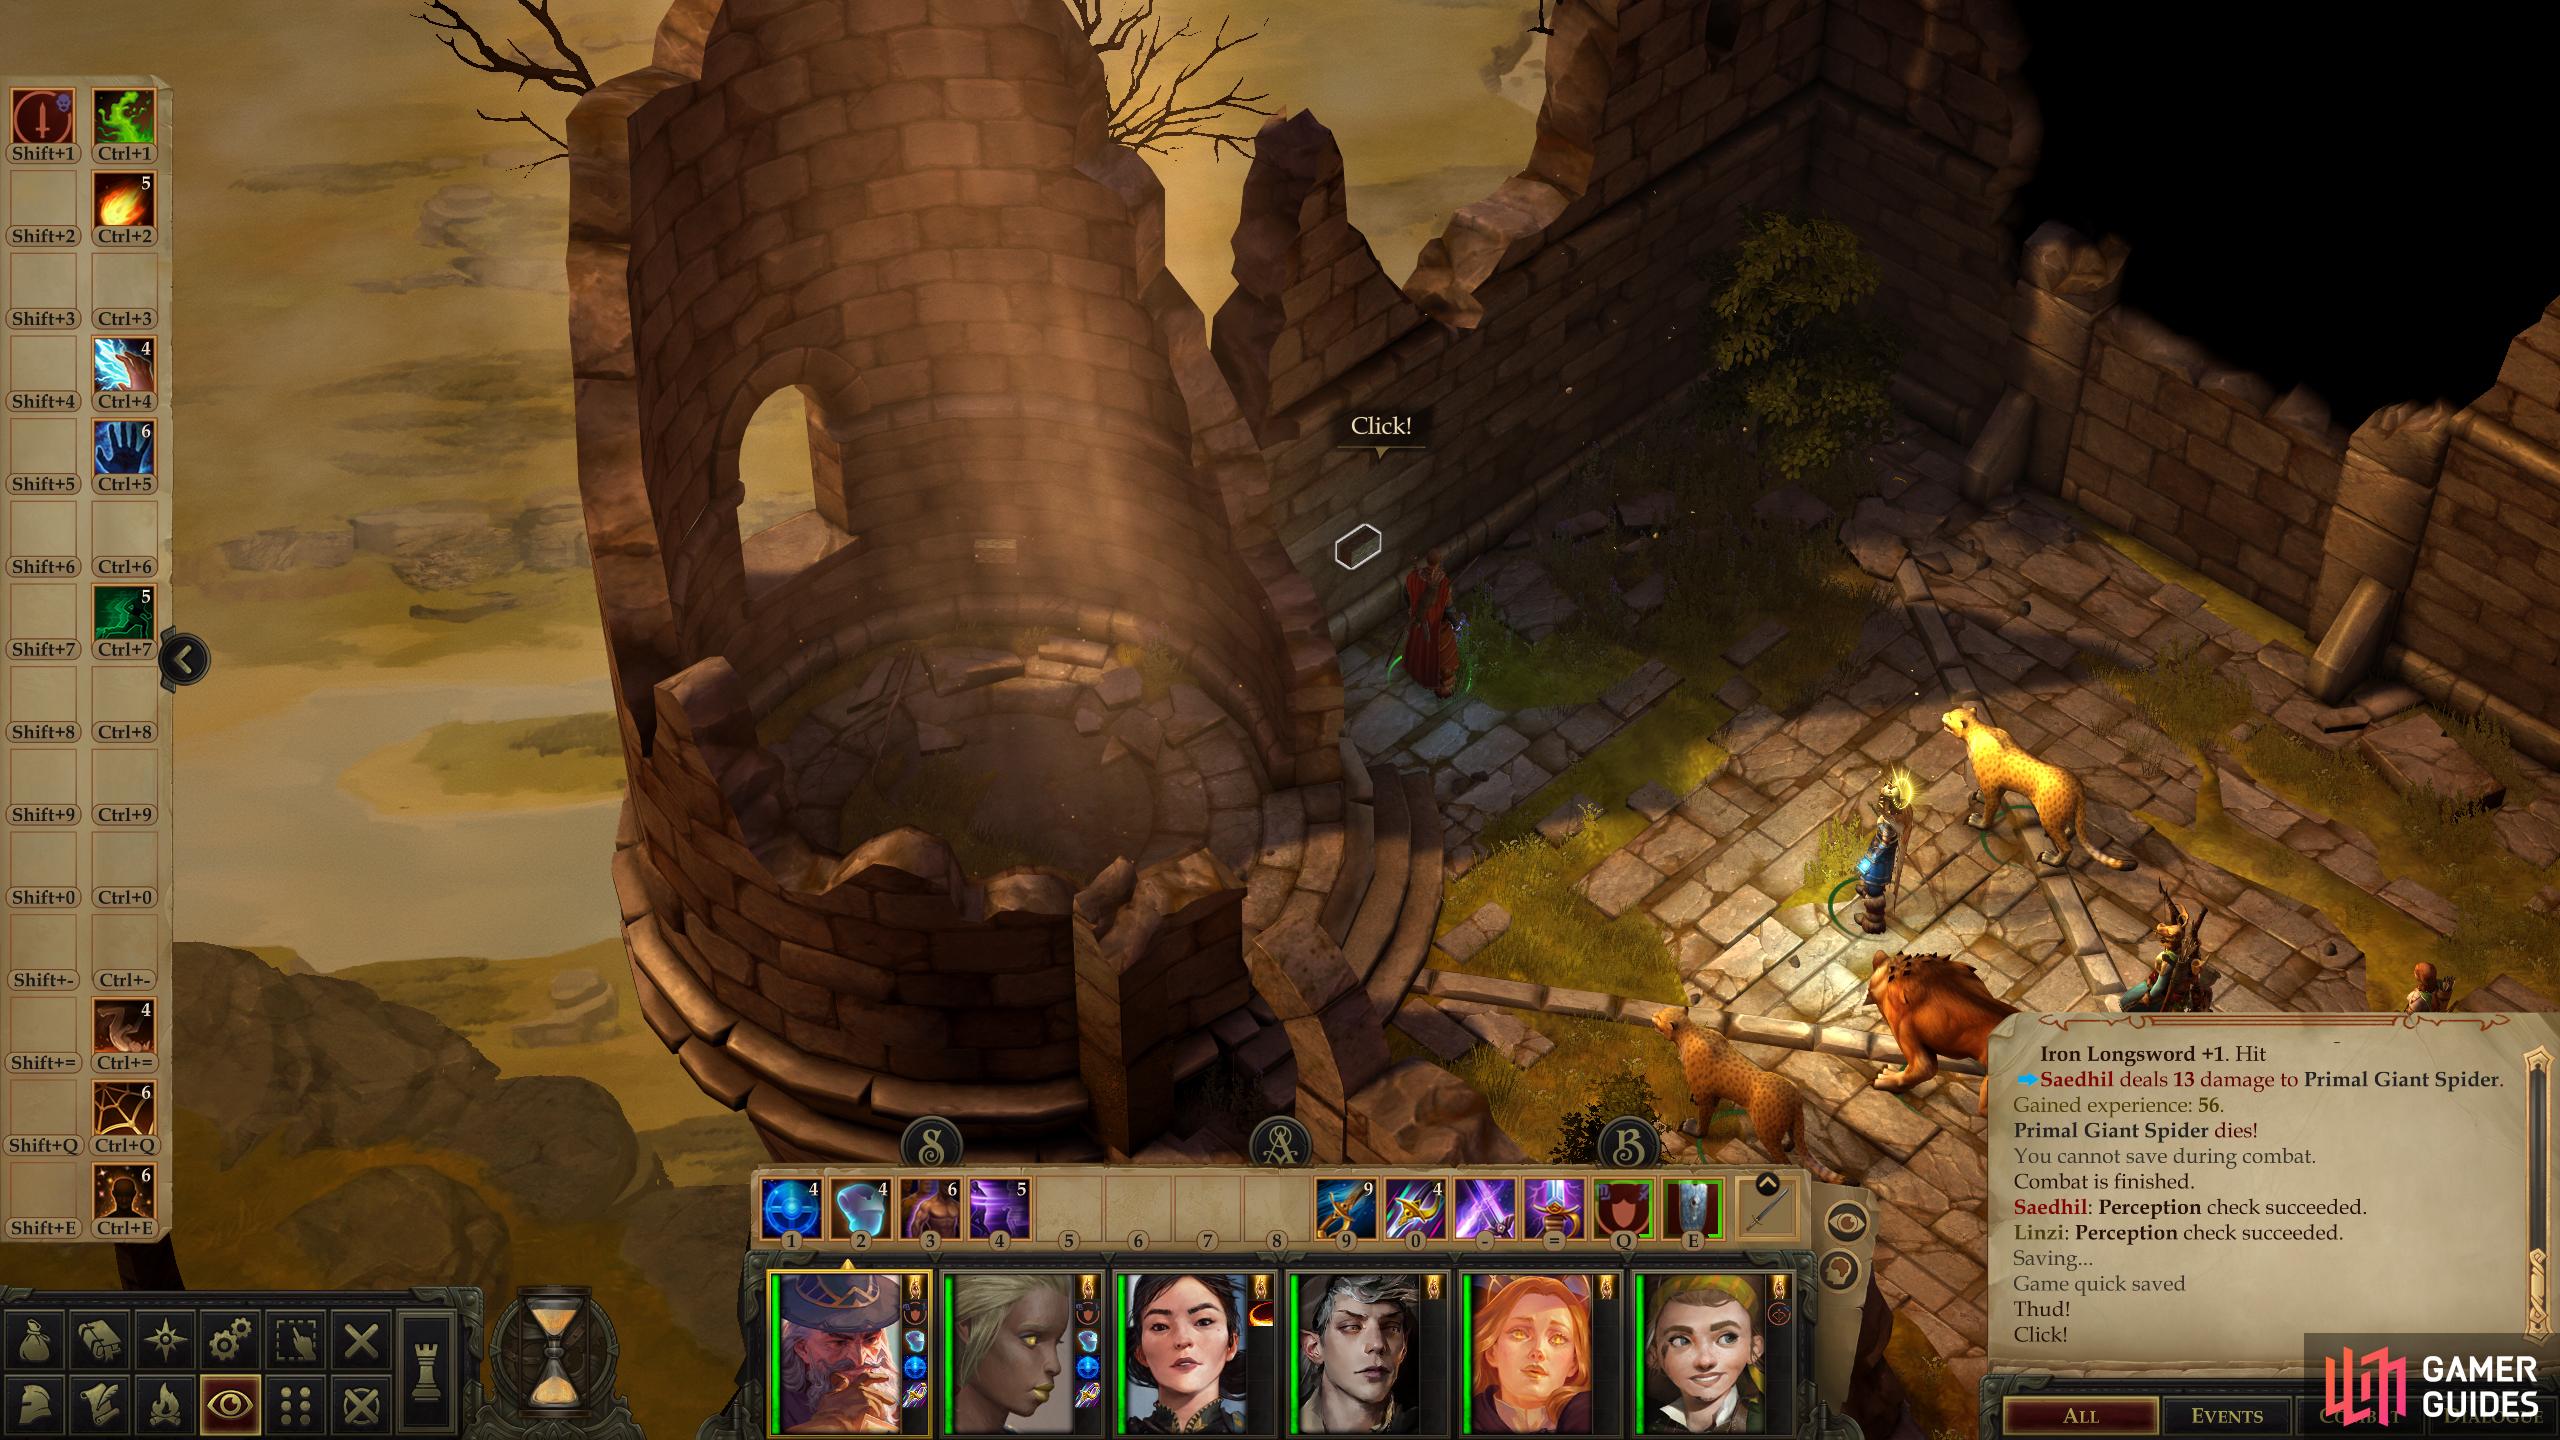
Talon Peak - Spider Path
You’ll arrive along the southwestern corner of the map - one of two maps that comprise this area. Work your way up the narrow trail east, then northwest, killing Primal Giant Spiders and Spider Swarms as you go. The enemies aren’t very numerous and shouldn’t be much of a threat now, but the narrow paths do mean you need to be mindful of which character is up front. A high Armor Class warrior (presumably one who relies on sources other than armor bonuses) with an elementally-enhanced weapon will serve well.
Pass through a cave, then follow the linear trail until you reach an area transition which will lead to the upper, more interesting Talon Peak map. Kill any bugs you find along the way, and loot the corpses of the less fortunate - you won’t find anything terribly interesting in this area.
Talon Peak - Skullcrusher
When you arrive, immediately head northwest to find some stairs and a ruined tower. On the wall nearby, within the tower and down the stairs you’ll find [Perception 1] three suspicious bricks you can interact with, producing either a thud! or a click!. Interact with the brick on the northern wall first, then the one downstairs, then the one in the tower - you’ll get a thud! if the order is wrong, click! if it’s right. Once you’ve secured three clicks!, head east to some stairs and search the wall near them for a fourth brick. Give it a click! and the nearby wall will descend, allowing you to loot a chest [Trickery 7] and claim Skullcrusher from within - a Heavy Mace +2 with the “Heavy Blow” property. With that treasure claimed, head up the stairs to the east.

Succeed at several Stealth checks to get the drop on some Bandits.

A fight is inevitable either way - but it’s easier if you dispatch a bandit via stealth.
Talon Peak - Bandits
Upon entering the next room you’ll overhear some bandits talking. Succeed at three successive and progressively more difficult [Stealth 17, 19, 21] checks for some XP, and after the third success you’ll be able to push a urinating bandit to his doom. A Bandit Alchemist, in fact. In such tight confines, it’s much easier to deal with these goons without somebody throwing bombs at you. Either way, a fight is inevitable - put the two or three bandits down, depending on your success with the stealth checks, then loot them to find the Monster Casserole recipe.
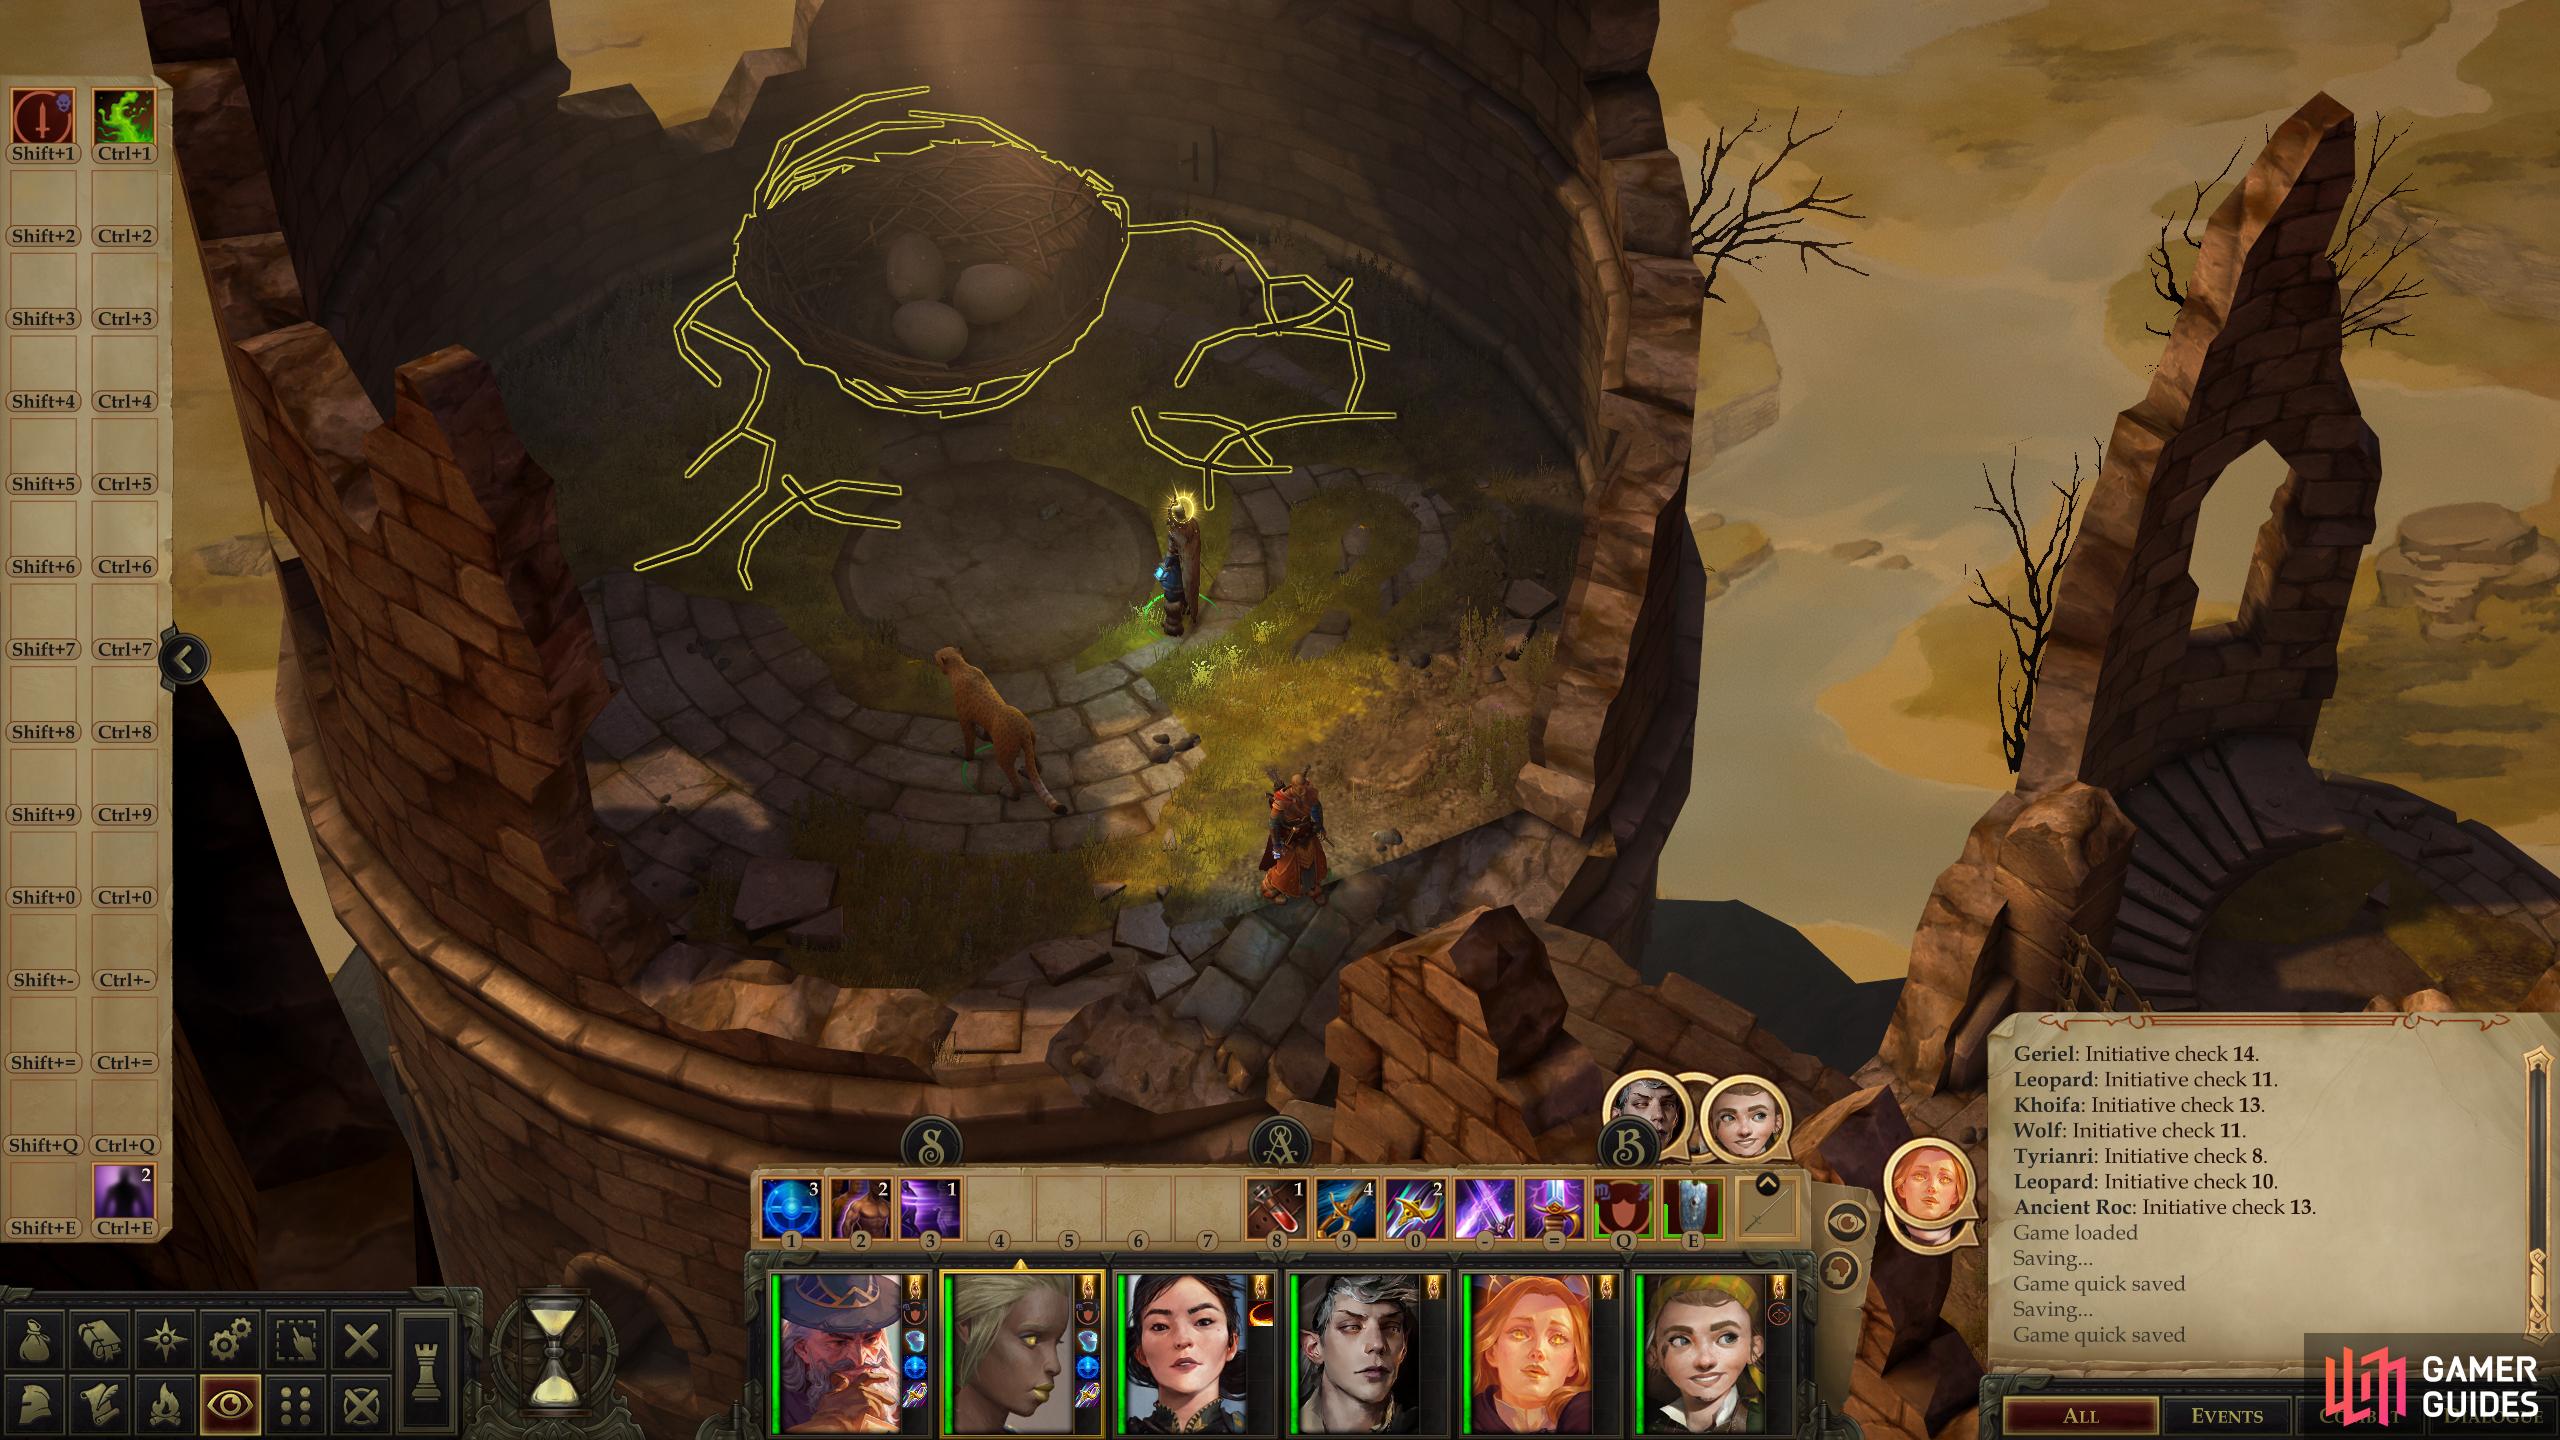
Talon Peak - Ancient Roc
From the bandits, make your way down some stairs to the northeast, then turn northwest, stopping when you find yourself on a platform with a gate to the northeast. There’s a chest you can loot here, but that’s not why you’re stopping - if you press on to the northwest you’ll find a massive nest, and something that can lay eggs that big is worth being cautious around.
Send a tank northwest towards the nest while you keep the rest of your characters back - once you get too close to the nest, an Ancient Roc will appear on the bridge between the nest and the platform where the gate is located. The critter only has around a +20~ Attack Bonus, so if you’ve got more characters who can reliably avoid being hit, feel free to move them closer to where the Ancient Roc will appear. The goal, of course, is to have it target your tank, after which your less durable warriors can join the fray, while your archers and casters stay safely out of range. While the beast has a decent Armor Class and high Hit Points, it’s not otherwise all that dangerous. Cut it down and loot the nest to acquire various treasures, including a Roc Egg, which you should hold onto for future use.
Another fun fact (apart me replaying this game for the 3rd time) if u hit this with contricting coils (lvl 5 cleric/wizard spell that you should defenetly have 1-2 in your list becouse its awesome) it has only 10 will so like half the time it will be paralyzed i tried it just for laughs and did it in 1 turn didnt even buff anything exept bard song
fun fact if u have octavia with you even if u pass all 3 stealth checks she will giggle and u will be found out... its kinda realistic tbh becouse even i was kinda amused by what they were saying