

You can pick this quest up while exploring the Old Sycamore area, just talk to a Mite Hunter on an island along the south-center of the map and he’ll tell you about a “fat wolf lord”. Asking about these wolves and agreeing to hunt it down will start the quest Death to the Worgs!.
The Worg in question can be found in the northeastern corner of the map, northeast of the old sycamore tree after which this area is named. It’s a long trek, but the only real obstacles on the way are two groups of Kobolds and Mites fighting each other and a trio of wolves. Deal with the Kobolds and Mites however you must, kill the three wolves, then continue to the western end of the map and turn north until you find your prey…
…At least, optimistically that’s how this encounter will play out. Keep your party a fair distance south of the Worg - named Grarrukh - and only move forward with a sturdy character, well protected by both HP and Armor Class. Keep the rest of your party in normal formation (warriors up front, squishy characters in the back) about half a screen away.
When you near the Worg, the beast will speak to you, constantly reminding you of both its prowess and its cruelty. If you respond with “You say we could be useful to each other?” and it’ll propose you do the opposite of what the hunters asked, and instead bring the beast “three or four bodies”, in return for which the beast promises to tell you where an old traveler buried his chest. Accepting is a [Neutral Evil] action. Alternatively, you can attack outright, which is a [Lawful Good] action.
In the latter case, immediately rush up with the rest of your party to assist the lone tank you brought up. The reason for this odd strategy is because not all your foes were content to wait in plain sight. Several subordinate wolves sneakily in service to Grarrukh start the encounter hidden, and will only appear after hostilities break out… unless, of course, your Perception skill is up to the task of spotting them ahead of time. They will hopefully show their hand by attacking your retreating tank instead of, say, surrounding your archers and casters at the beginning of the fight.
Focus all of your offense on Grarrukh, as it’s a threat on par with the Mutated Bear back in the Temple of the Elk. It has at least twice as many HP as your strongest warrior, a respectable Armor Class, and an Attack bonus that’ll make it pretty easy to punish you. While strong, against a coordinated assault by a group of level three warriors Grarrukh should fall fast enough - a good thing, too, as you don’t need it tripping you and allowing its minions to get Attacks of Opportunity. After Grarrukh dies, the rest of the wolves should fall quickly enough.
After killing Grarrukh, pick up the Amulet of Mighty Fists it drops, then continue north to find a chest containing more loot, albeit nothing noteworthy.
With Grarrukh dead, return to the Mite Hunter on the southern edge of the map and report your good deed for a generous reward. If your appetite for death and destruction is not yet sated, now you can finish up with the [Neutral Evil] attack dialogue option.
| Reward: For killing Grarrukh for the Mite Hunter |
|---|
| 200 XP / 283 GP |
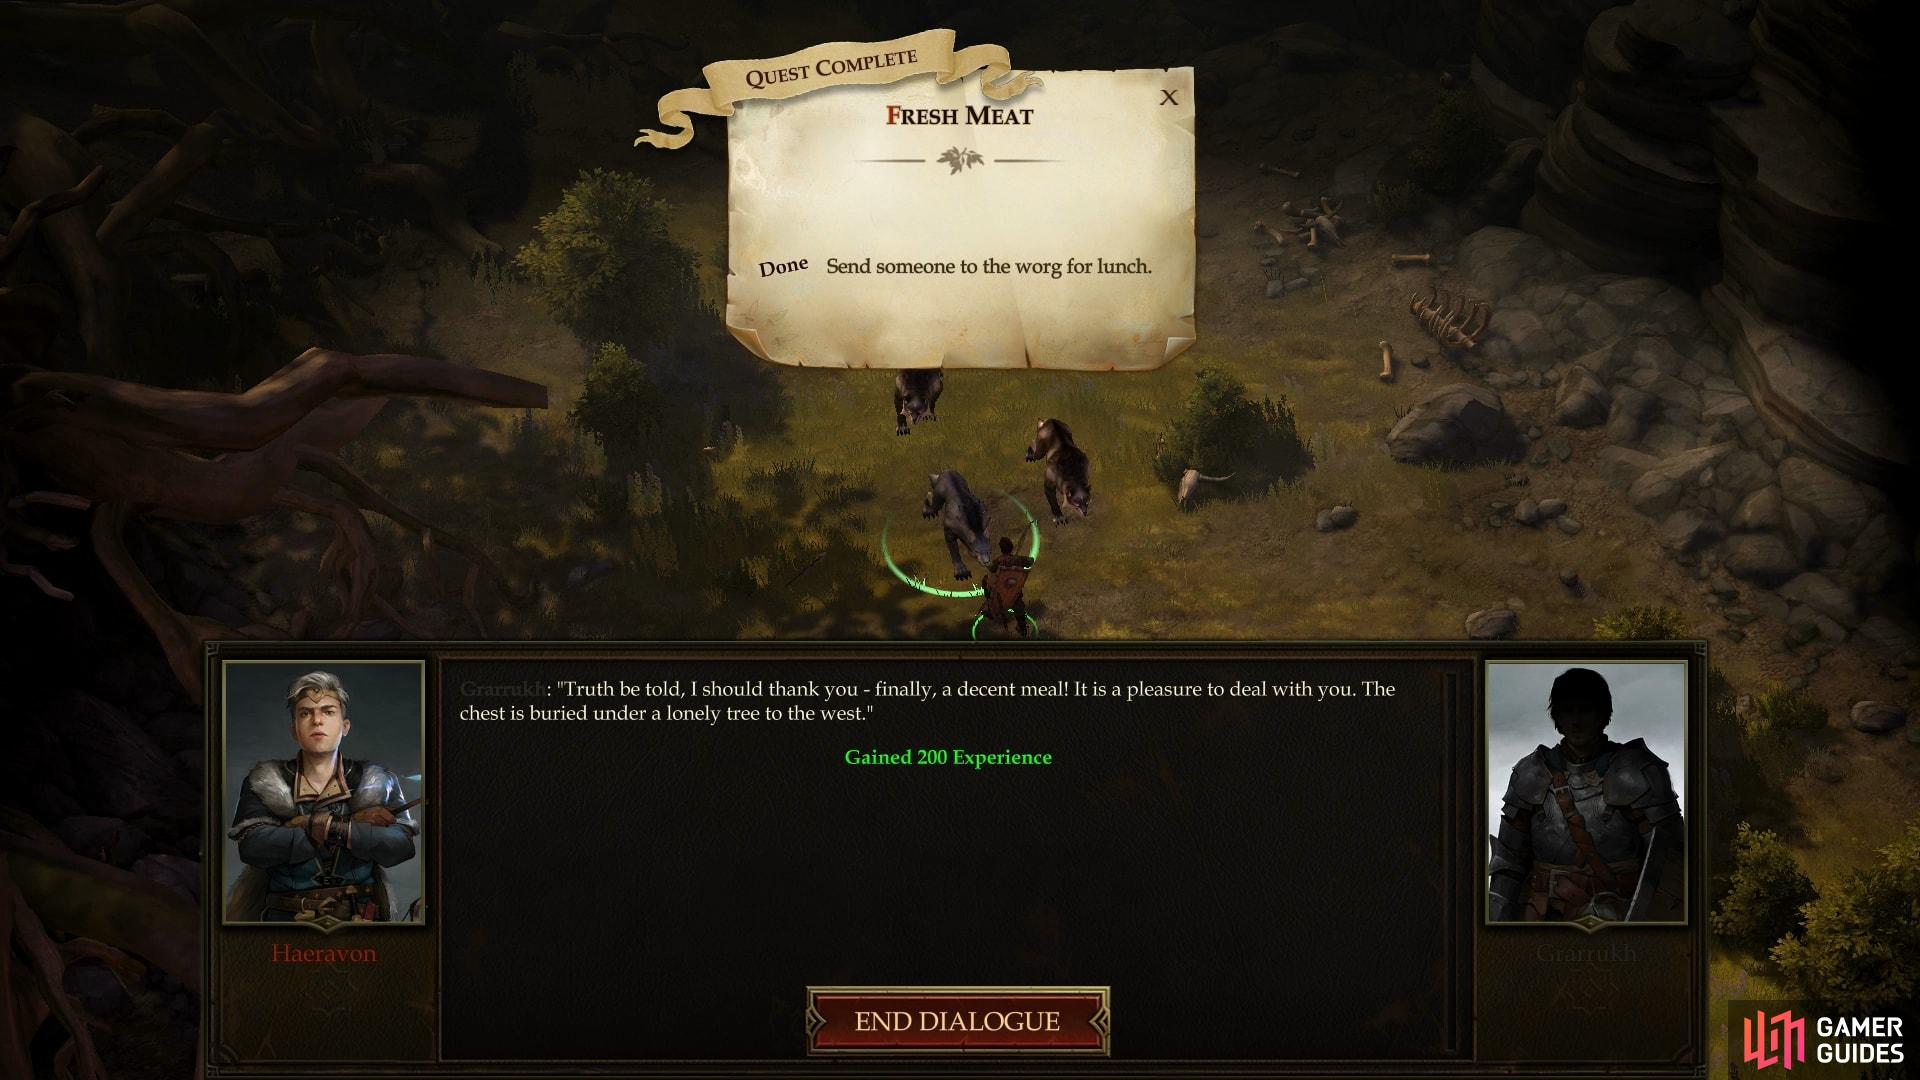
Fetch a snack for Grarrukh and he’ll reward you
More surprisingly, the worg actually lives up to its end of the bargain!
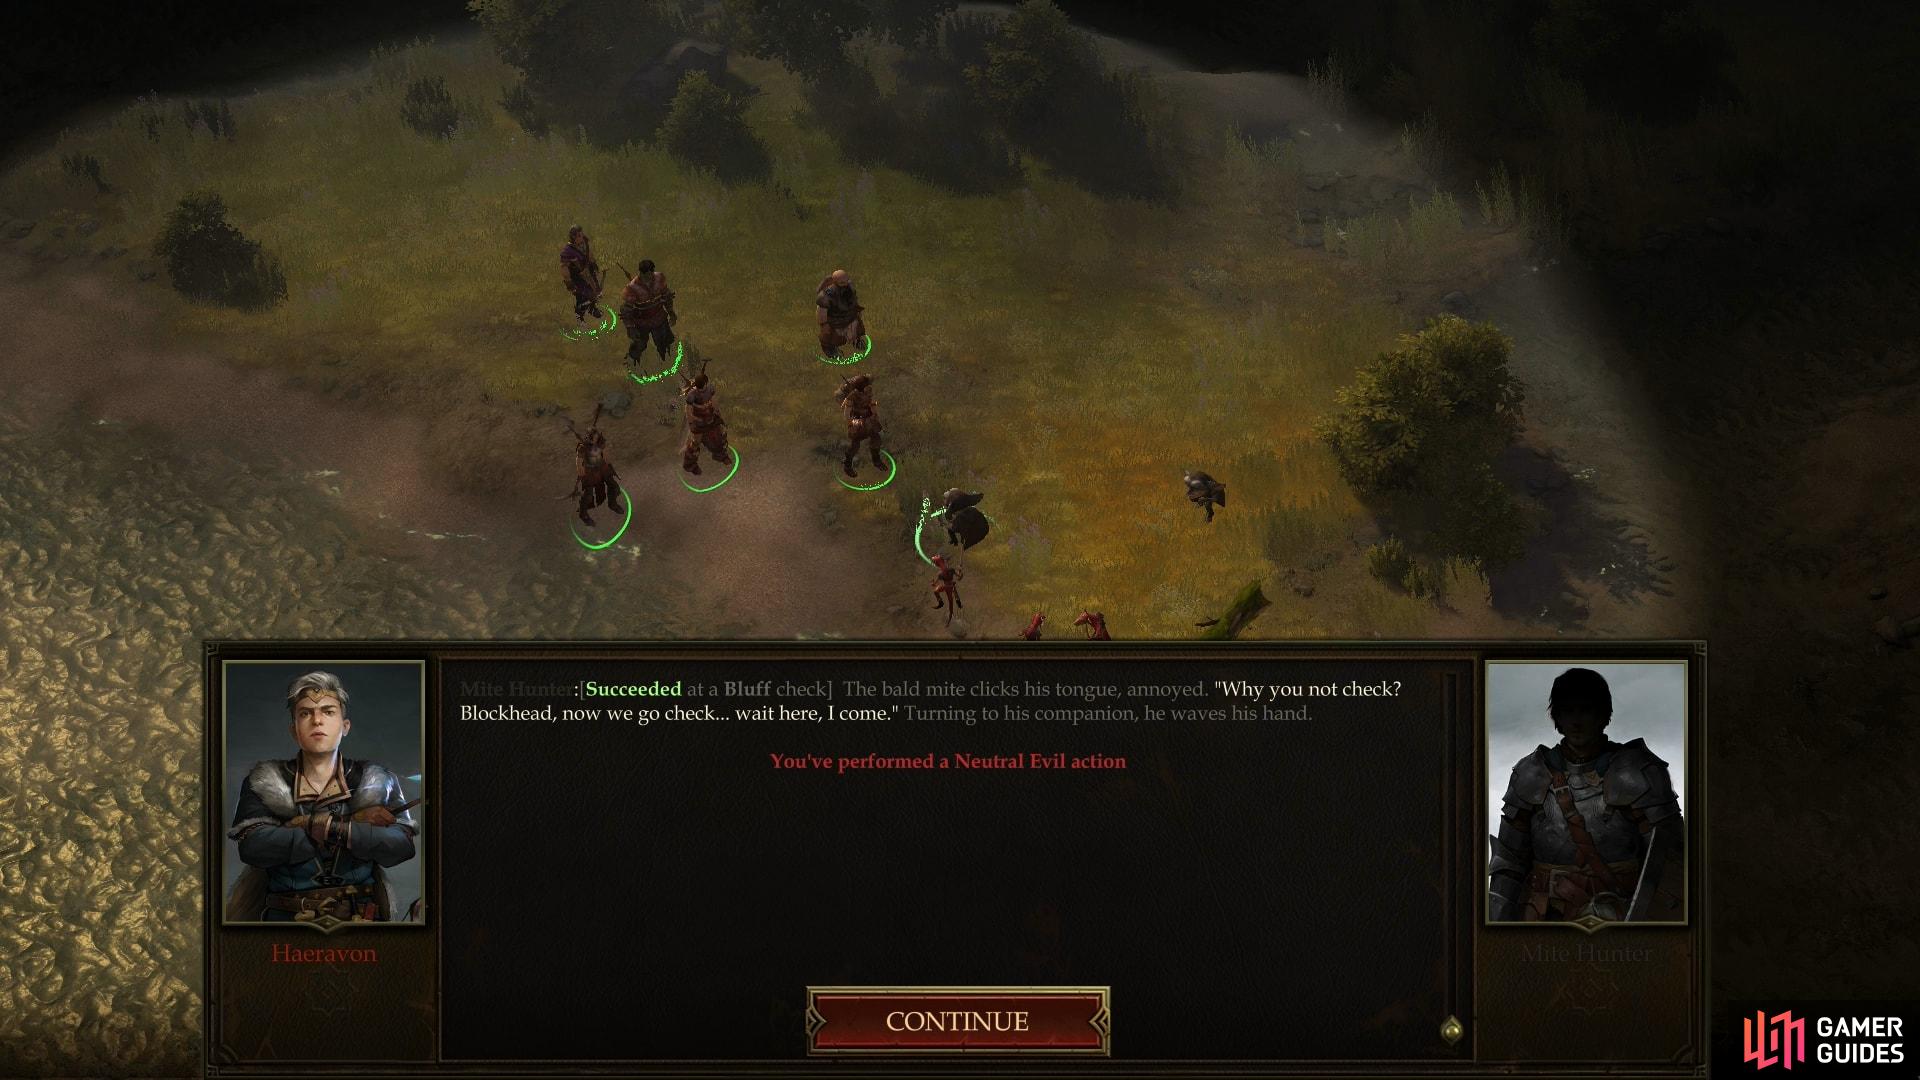
If, on the other hand, you decide to appease Grarrukh (pick the [Neutral Evil] option) you’ll need to go get him some snacks. To live up to your end of the bargain, return to the Mite Hunter who told you about the Worg and succeed at a [Bluff 22] check, which is also a [Neutral Evil] action. So evil, in fact, that you need to be wary of goodly characters (like Tristian), who will spoil things if you have them in your party. If you manage to pass the check without anybody ruining things, however, the Mite Hunter will send off some subordinates to check the truth of your claim.
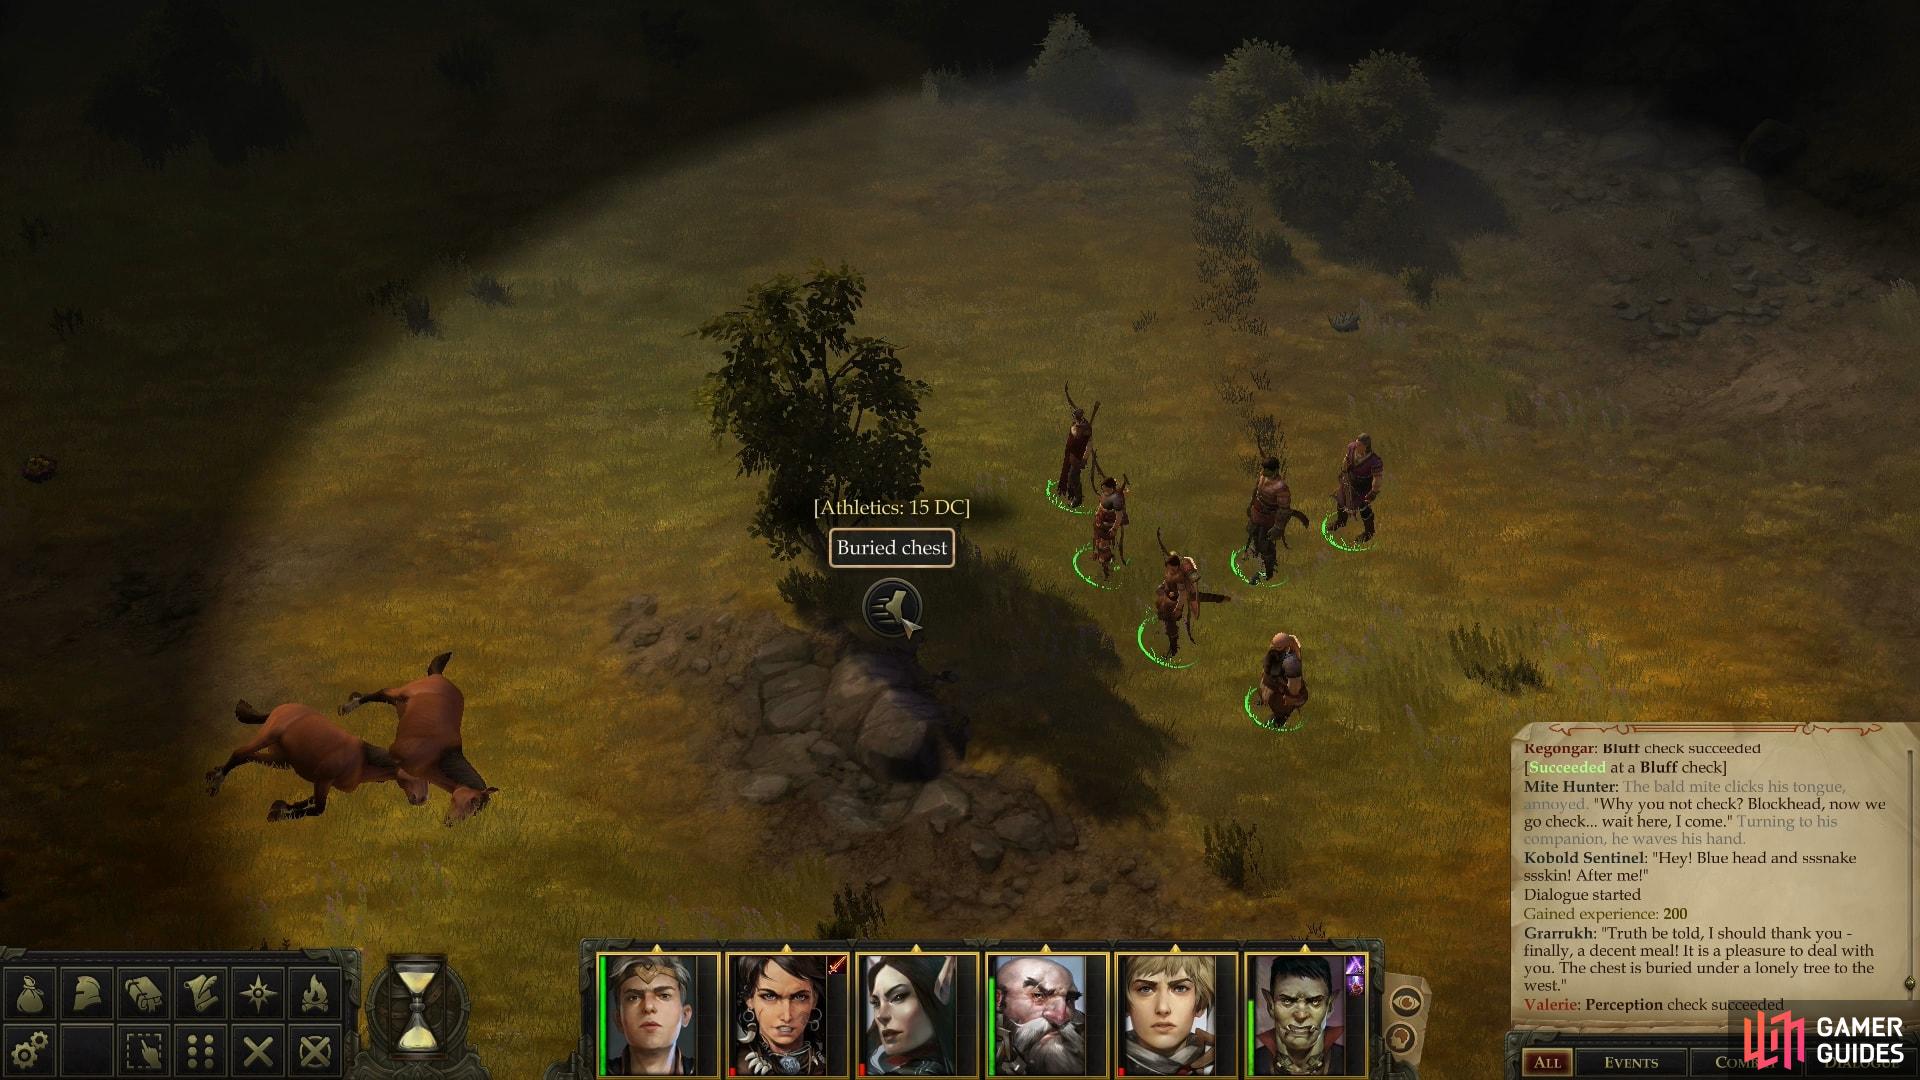
Return to Grarrukh and the Worg will surprisingly come through, pointing you towards a chest “buried under a lonely tree to the west”, which is otherwise undiscoverable. This tree is located just south of the haunted camp (see below) and southwest of the ramp leading to the Mite caves. Find it [Perception 0], then dig it up [Athletics 15] (failing the Athletics check will cause you to waste four hours of time on this trivial task). Before you get to looting, however, a word of caution: Grarrukh may have told you the location of the chest, but what the Worg conveniently failed to disclose was the fact that the chest is trapped. A Finger of Death spell (Fortitude DC 20) awaits those who tamper with the chest. If you can detect the trap, just pick the character with the highest Fortitude Save, ensure they’re at full HP, and save/load until you survive the trap. Once you get past the trap, unlock the chest [Trickery 20] to score a Lesser Phylactery of Negative Channeling, a Scroll of Slay Living and a Scroll of False Life, Greater. The phylactery might be useful if you have an evil Cleric protagonist, otherwise it’ll sell for 1,000 GP, which is something everybody can appreciate.
| Reward: For securing a meal for Grarrukh |
|---|
| 200 XP |
If you wish to be truly evil and exploitative, you can now kill Grarrukh and return to the Mite Hunter and claim the reward for that, too. Hard to argue with 400 XP, 283 GP, and some magical items for a little lying and pest extermination.
No Comments