

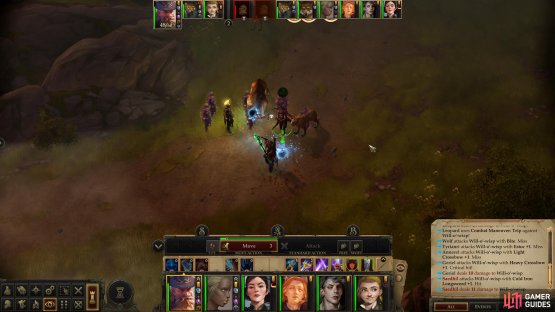
(1 of 2) Fight your way south through dire boars and will-o’-wisps,


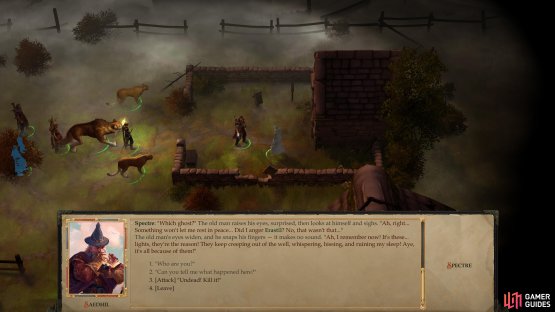
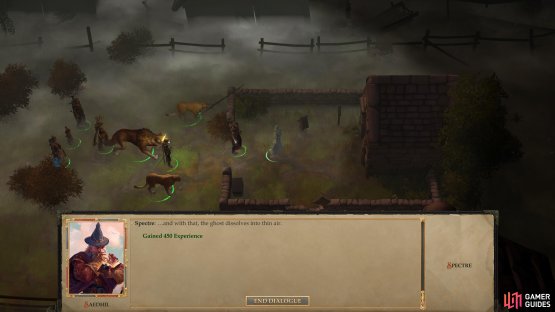
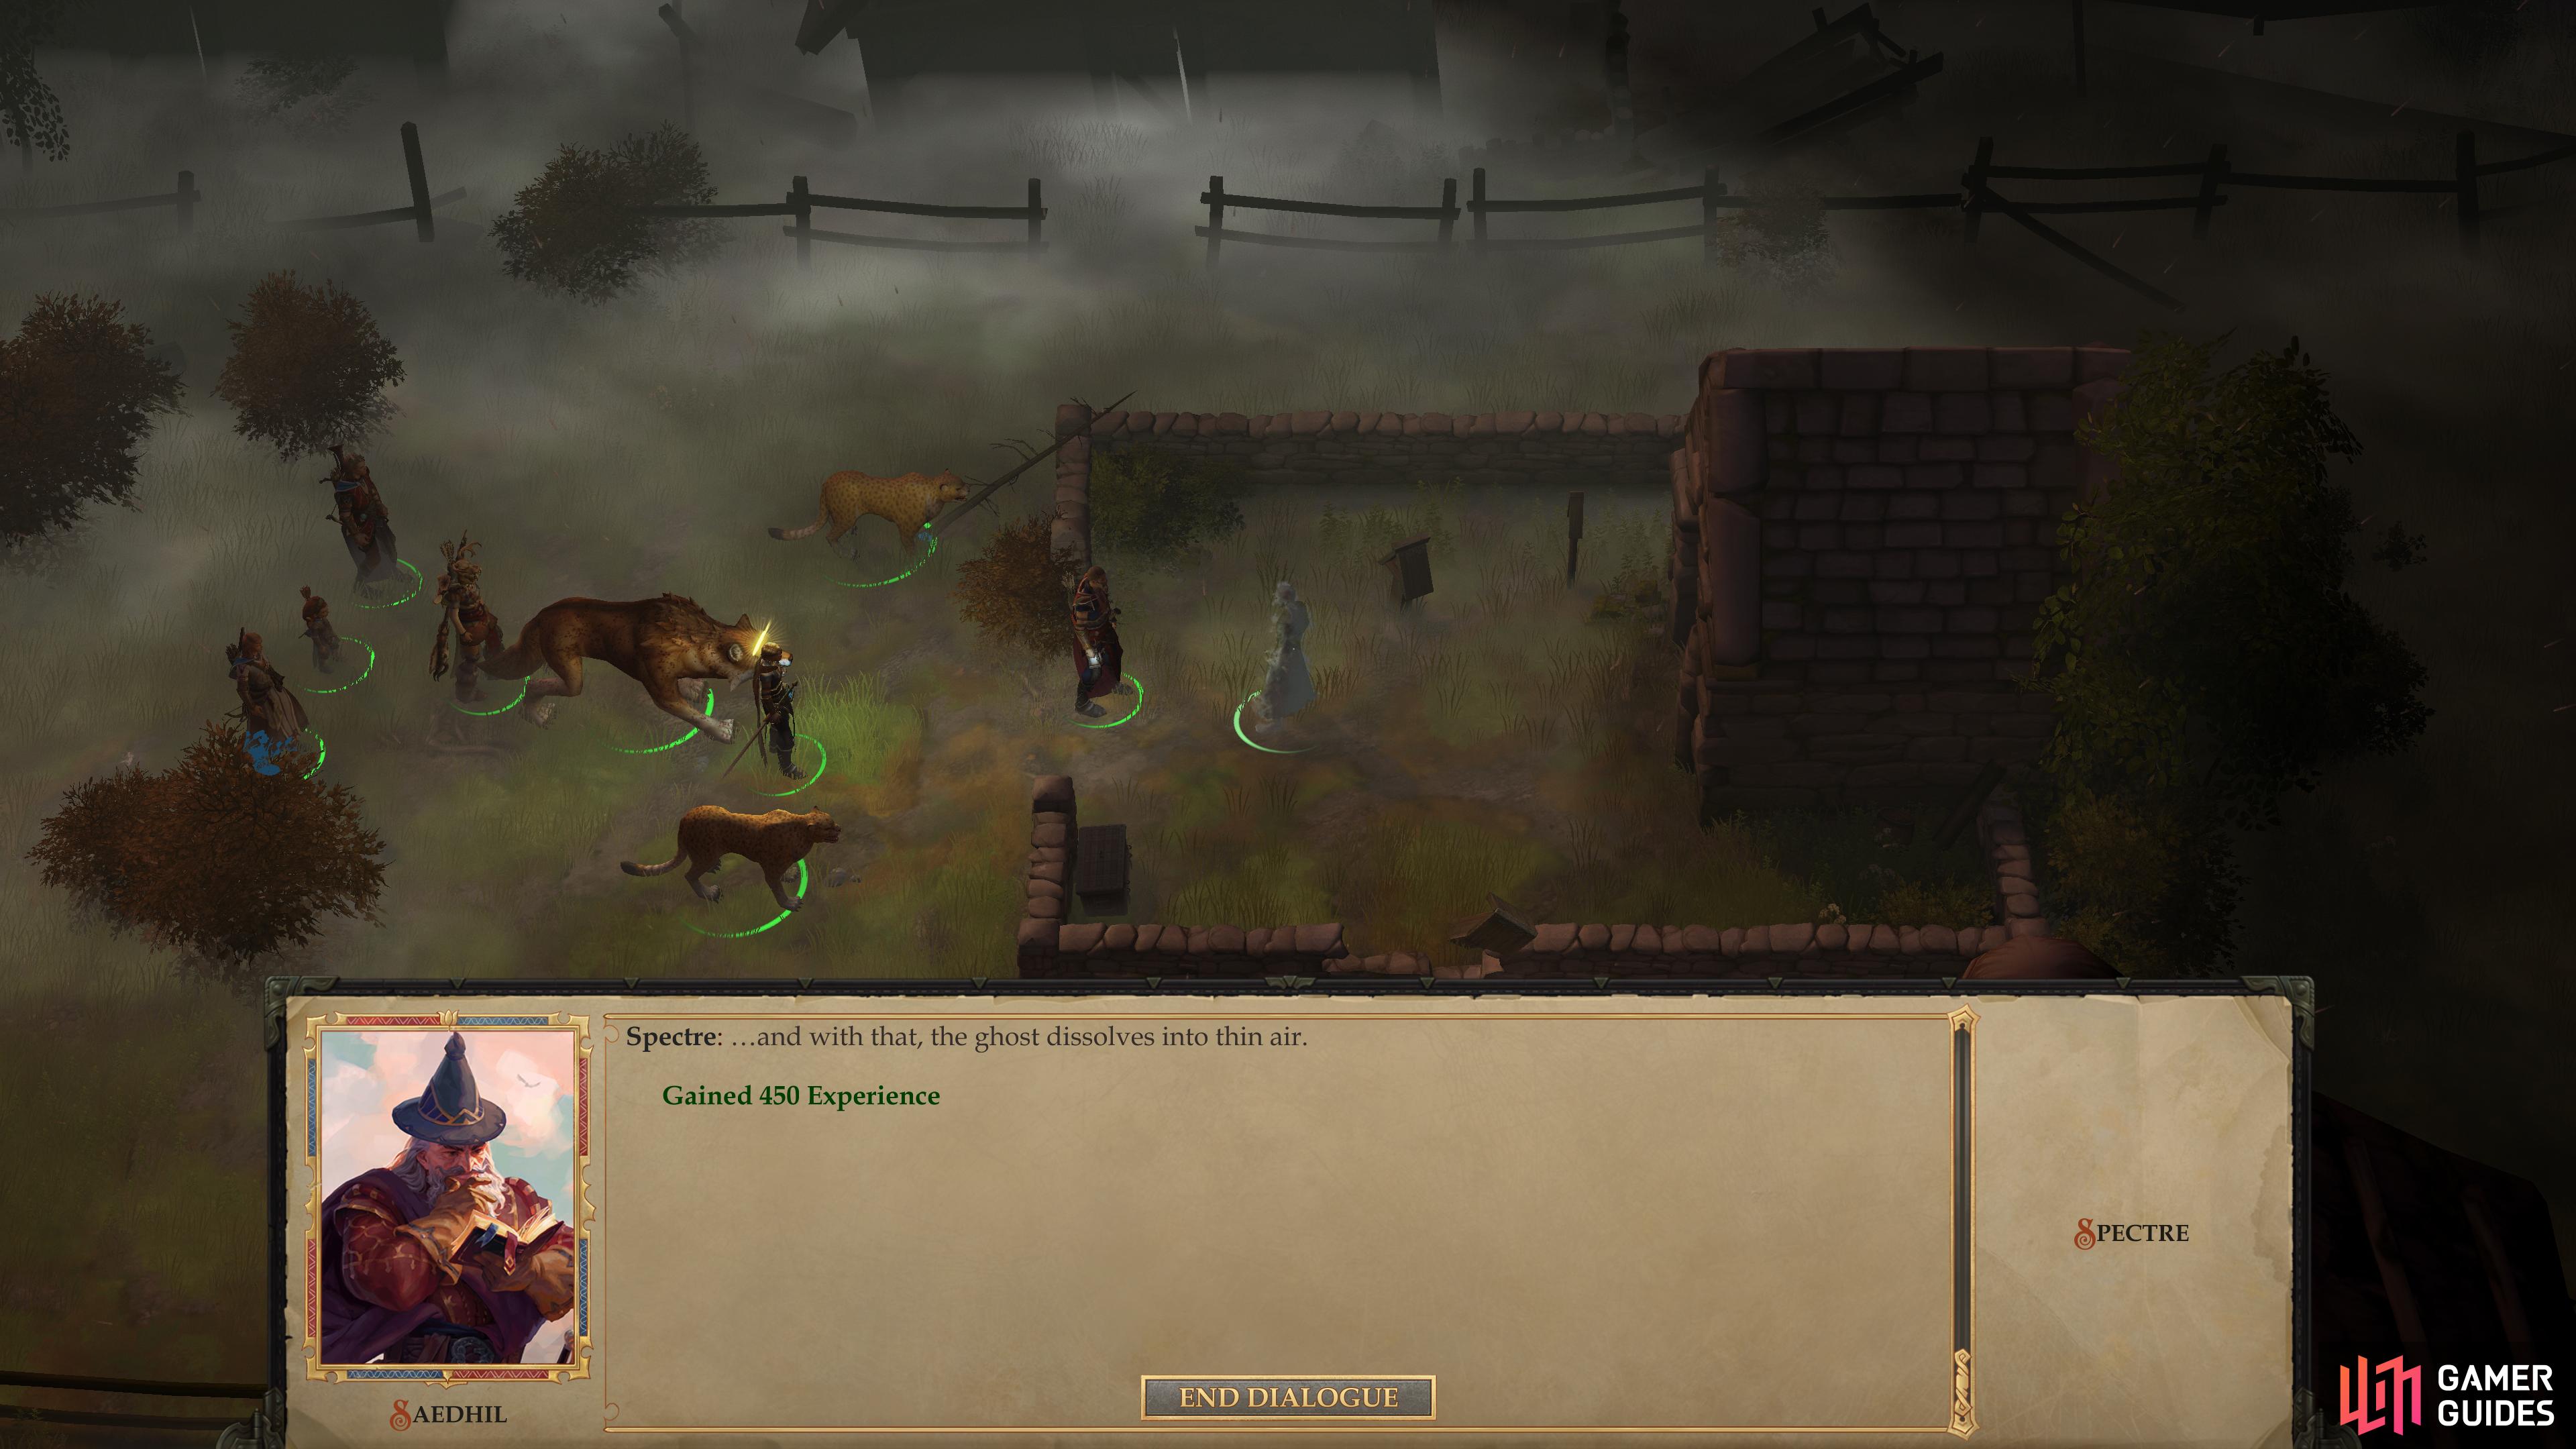
Fight your way south through dire boars and will-o’-wisps, (left), then talk to the forgetful ghost to start the quest “Coins for a Dead Man’s Eyes”. (right)
You can start - and complete in its entirety - this quest in the Swamp Witch’s Hut area. From where you enter the map in the north-center of the map, follow a road south (battling dire boars and will-o’-wisps as you go) until you find some ruined houses to the southeast. Make your way south around the western edge of these houses, then head east to find the ruins of a small chapel, which stands out due to its stone fence. Inside you’ll find a “Spectre” which will provide very little useful information save that he used to be the village Headman, and has been denied his rightful rest by some malevolent “lights” in the village well. Whispering, hissing lights. This will start the quest Coins for a Dead Man’s Eyes.
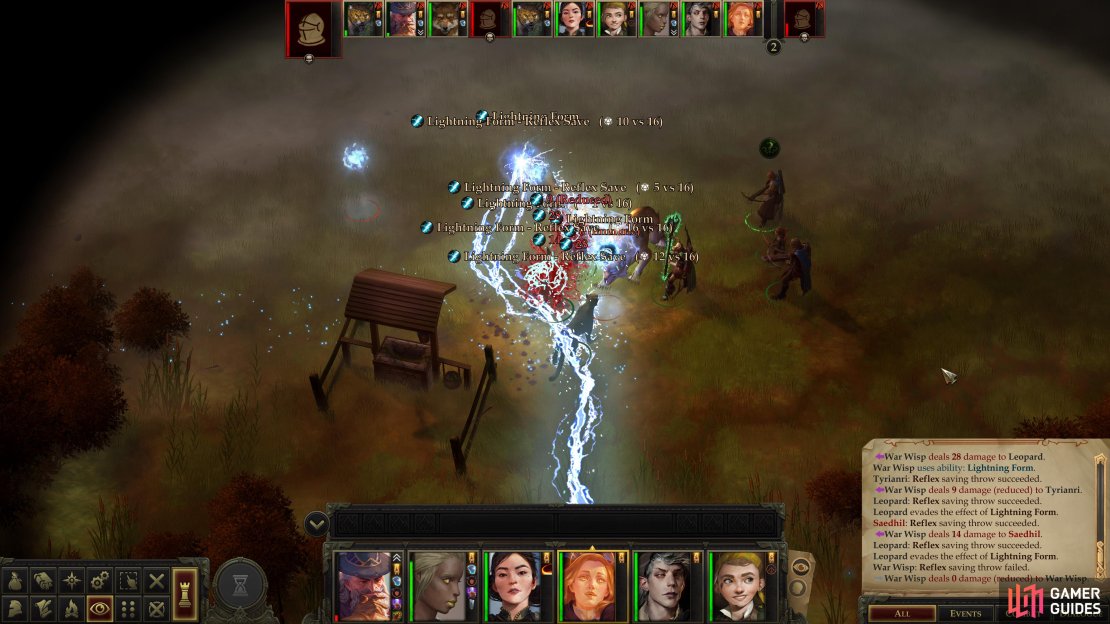

(1 of 4) If you fail to properly buff, the wisps will deal grievous damage with their Lightning Form attacks.
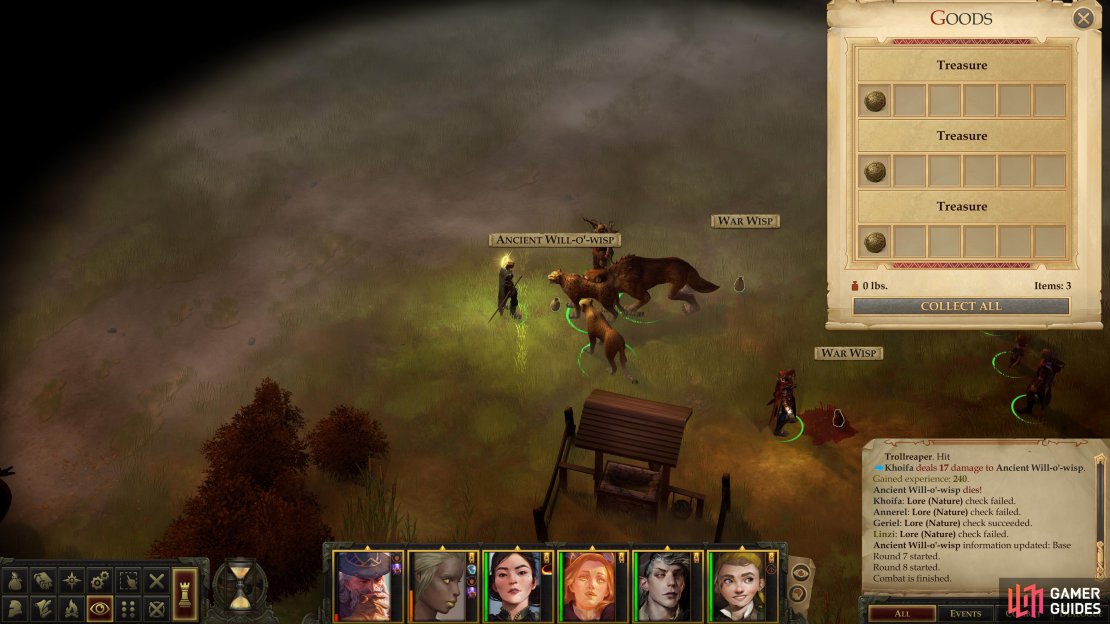
The well you’re after is to the west, and you’ll probably need to dispatch a group of worgs to get there. Once you reach the well, don’t foolishly go opening it without prior preparation, however, as the specter wasn’t lying about what lurks within. Once the well is opened (you’ll get the option to perform a [Detect Magic] and [Will 20] check at the well, but they don’t really achieve much) you’ll be confronted by two War Wisps and an Ancient Will-o-Wisp.
These foes are superficially similar to Will-o-Wisps in that they are spectral foes with a high Armor Class (a problem exacerbated by their 50% concealment) but there the similarities end. Will-o-Wisps didn’t have much damage potential, but these Wisps will readily assume a “Lightning Form”, dealing heavy (don’t be surprised to see 20-30 damage) electrical damage to all opponents in a line, essentially functioning as a Lightning Bolt spell. This damage is mitigated by a Reflex Save, not Armor Class, so your warriors will be particularly susceptible to it. Fortunately the Reflex Saves required are pretty low, and if you succeed you’ll only take half damage. If engaged in melee, the wisps are likely to resort to single-target attacks. These attacks also deal electrical damage, and only require a touch attack to hit. Thankfully they deal much less damage, but taking 15~ damage per hit on top of the Lightning Form strikes will quickly dispatch your warriors if they don’t have some aid.
Speaking of aid, two spells will largely guide you to victory here: Haste (as usual) and Resist Energy, Communal. The latter is a 3rd level Divine spell which either Harrim or Tristian (or any mercenary Cleric of 5th-level or higher) should have access to by now. Just be sure to cast the electrical variant to give all your characters Electrical Resistance 10/-. It’ll take the sting out of the wisps’ attacks, and every little bit will help. If you have access to 4th-level divine spells, stacking Protection from Energy, Communal will also help, but it’s not strictly necessary.
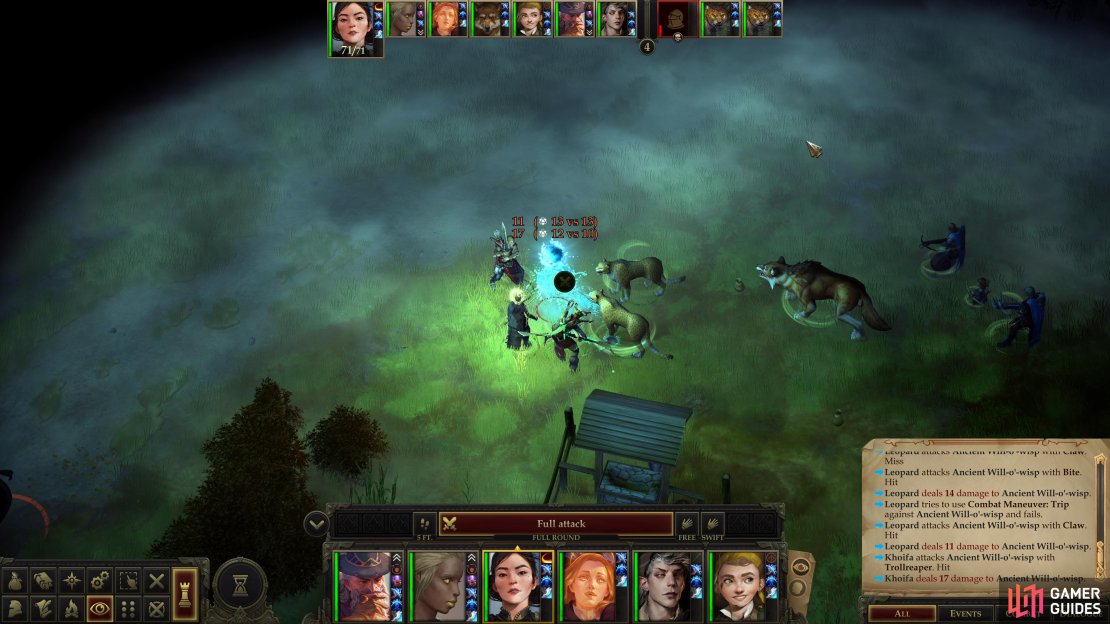
After those preparations have been made, situate your party north and slightly west of the well (be wary of the Greater Tatzlwrym and its lesser Tatzlwyrm buddies to the west - it may be a nuisance you need to get rid of, first). The Ancient Will-o-Wisp will spawn here, and since it’s the greatest threat, you should focus on it first. Not only will starting out near it allow you to surround it and cut it down quickly, but proximity may also induce the Ancient Will-o-Wisp to use its less dangerous melee attack. When it’s dead, move east to the War Wisps and cut them down one at a time. Other than endeavoring to ensure your characters don’t form an attractive line, there’s little you can do but hope RNG is on your side. With those preparations, however, you should emerge victorious.
Banish the wisps, then loot them for a pair of Coins with Wilber’s Name (War Wisps) and a Coin with Callistropsia’s Name (Ancient Will-o-Wisp).
With these coins you have the key to clearing this quest, but you have two options for which cursed inhabitant of this swamp you can free from their purgatorial existence:

(1 of 2) Bring the coins back to Wilber and you can free him from his curse.
Bring the coins back to Wilber and you can free him from his curse. (left), You’ll earn a Phylactery of Positive Channeling for your trouble. (right)
Wilber’s Release
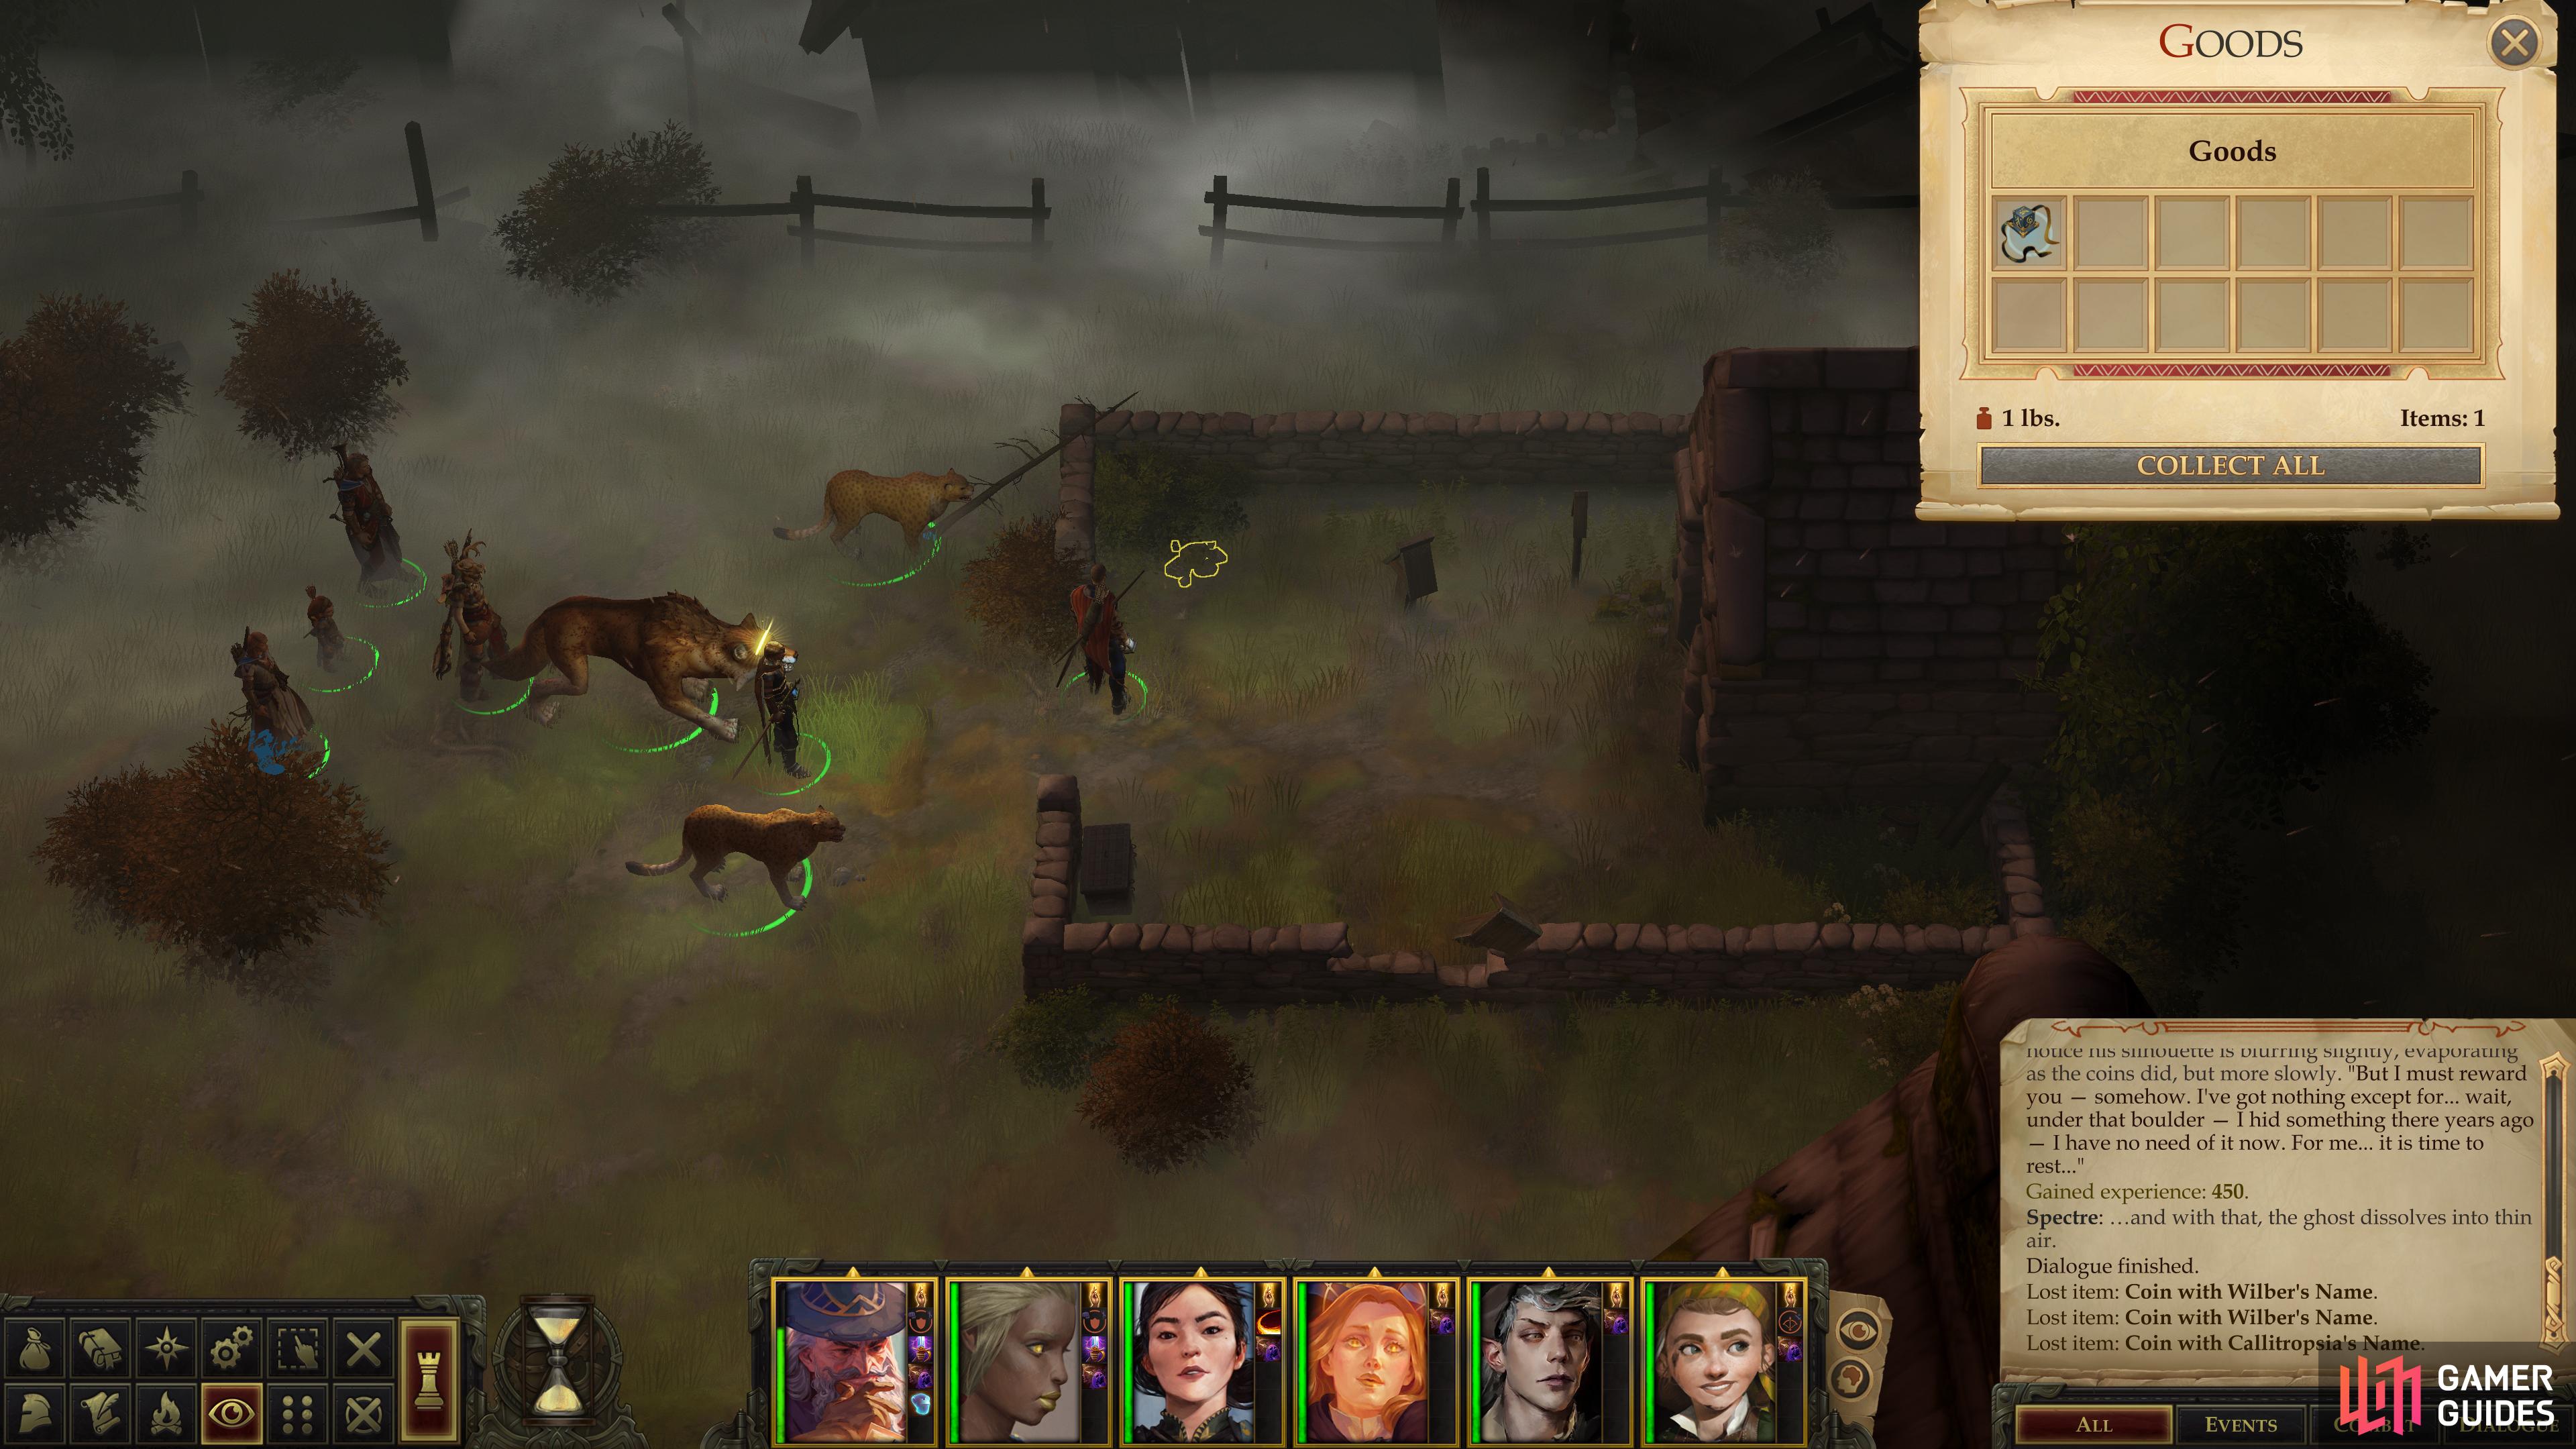
Return east to the specter near the shrine and inform it that you’ve cleared the well. Unfortunately that act alone wasn’t sufficient to rid him of whatever bonds tie him to this world, so show him the coins you found. The coins, it turns out, are the clue you were looking for, as they’re more than humble currency - they’re the tools of a curse. Not only was poor Wilber twice-cursed, but so was Callistropsia, Nyta’s bride which became the Scythe-Tree. Seems the whole affair was caused by hatred and jealousy.
There’s little you can do for Callistropsia now besides rid the world of the monster she’s become, but there may yet be the possibility of salvation for Wilber. Pick the dialogue option [Put the coins on Erastil’s altar] to free the tormented spirit, and in return it’ll reward you by telling you of a trinket it hid under a boulder. No need to search far, just hit the TAB key to spot some rocks nearby, under which you’ll find a Phylactery of Positive Channeling.
| Reward |
|---|
| 450 XP |
| Phylactery of Positive Channeling |

(1 of 2) Give the coins to Dorsy to free him from his curse for a Cloak of Resistance +2.

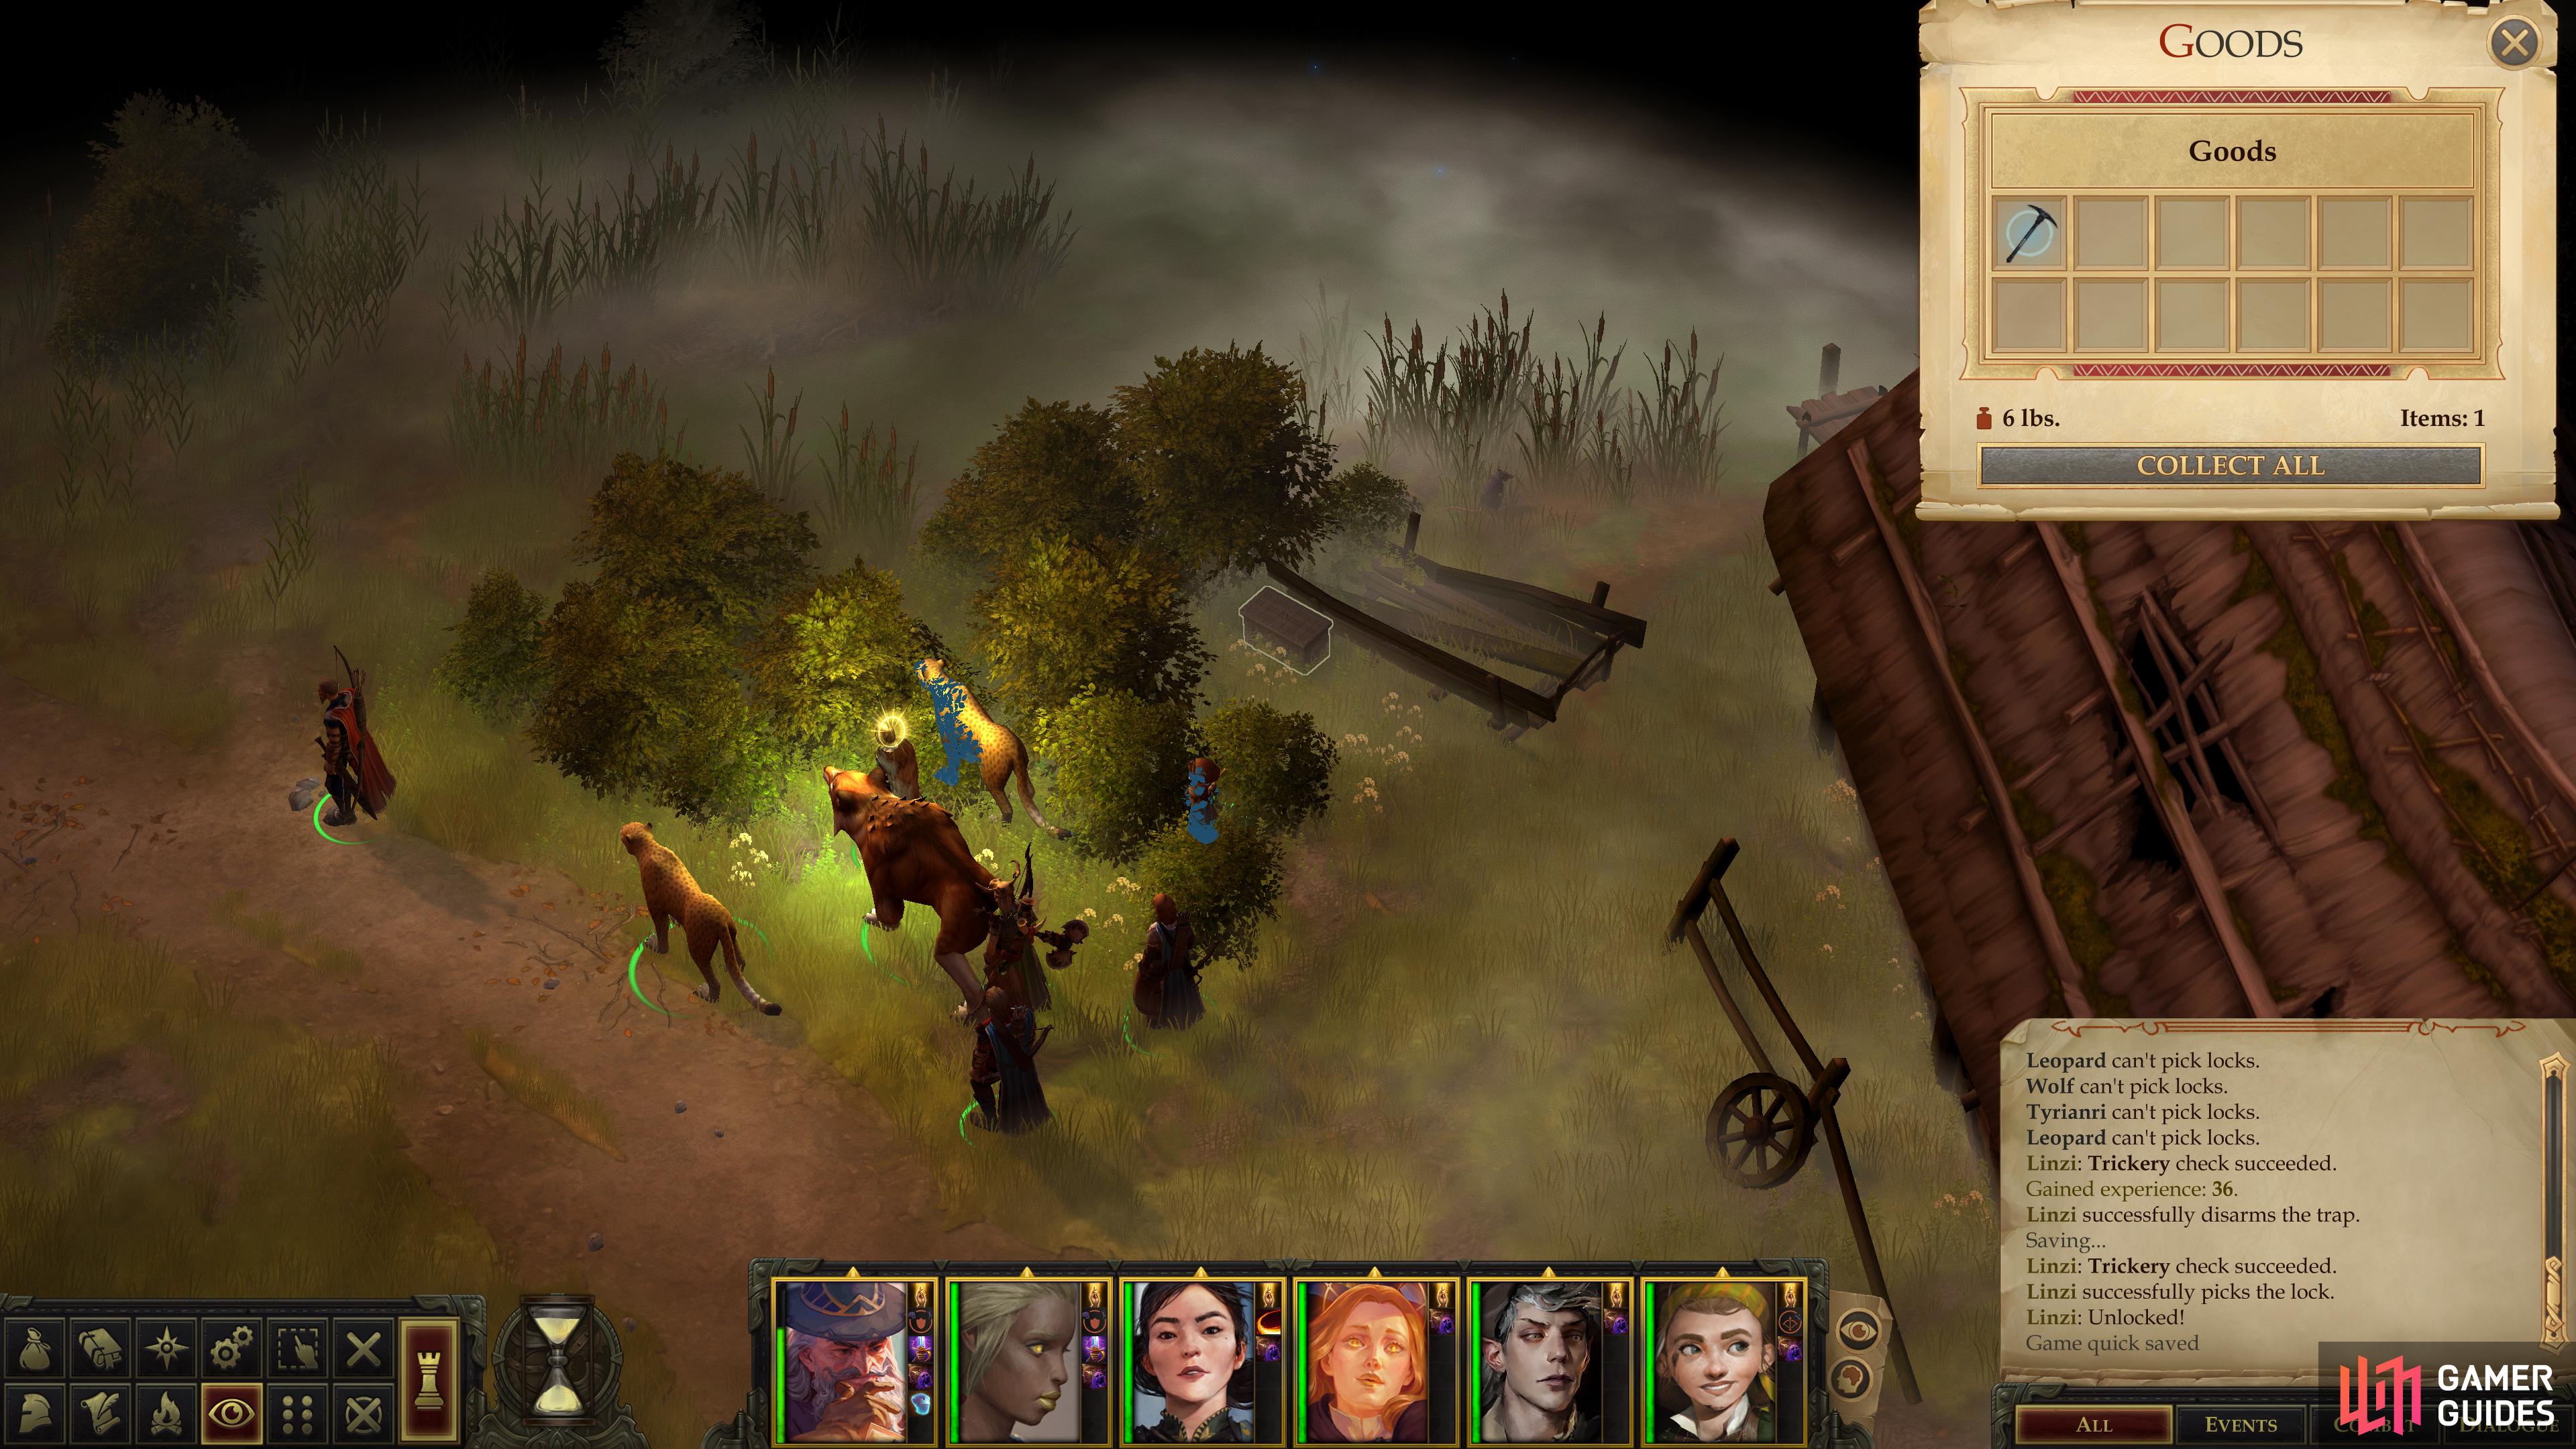
Give the coins to Dorsy to free him from his curse for a Cloak of Resistance +2. (left), Search a hidden, locked and trapped chest near Dorsy’s hut to obtain the “Demolisher” weapon. (right)
Dorsy’s Release
Alternatively, instead of Wilber you can free Dorsy from his cursed existence. From the well, head north to find the road, then follow it northeast to a fork. At this fork follow the road northwest and dispatch a group of Tatzlwyrms, led by a Greater Tatzlwyrm.
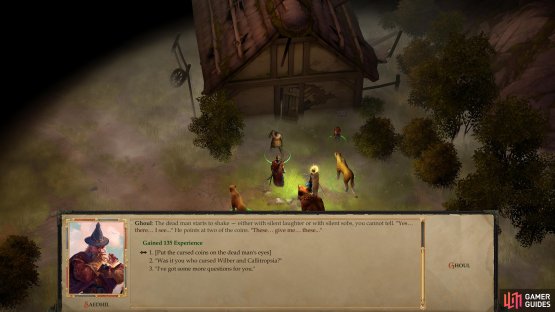
Continue following the road northwest and you’ll find another intact hut, the inhabitant of which - a Ghoul named Dorsy - is even more unsavory than the witch to the south! Despite being quite dead, this corpse insists it doesn’t want to fight, and is capable of engaging in halting speech. Ask who it is to learn its name, while further questions will confirm its role in the events that transpired at the village long ago. Seems Dorsy loved Nyta, and cast cursed coins into the well - symbols of his hatred - and he can only be freed from his undeath “when two coins serve as his eyelids”.
If you already gave the coins you got from the wisps to Wilber you won’t be able to give them to Dorsy and vice-versa, meaning one of these two souls is doomed to remain in the land of the living. Telling Dorsy you used the coins will provoke it to attack, but if there’s still a choice to be made, you can let morality or practicality guide you; in the former case Wilber is an innocent, but he hardly seems aware enough to be suffering, unlike Dorsy, although Dorsy kind of deserves it for cursing Callistropsia. In the latter case, Dorsy will reward you with a Cloak of Resistance +2, which you may prefer to the phylactery that Wilber will give you. Killing either of the undead the old fashioned way will not get you either of these rewards, but you can loot Dorsy for a Masterwork Handaxe.
| Reward |
|---|
| 450 XP |
| Cloak of Resistance +2 |
Once you’ve freed one of these cursed undead, this quest will end.
No Comments