
Walkthrough for Octavia and Regongar’s companion quest, Cruel Justice in Pathfinder: Kingmaker.
This quest will begin in Chapter 3, in the lull between the end of the Season of Bloom and before The Varnhold Vanishing begins, +20 days before the timer on [An Ancient Curse, Part 3] expires.
Octavia and Regongar will find you in your throne room, fretting over a supposed Technic League spy who brazenly haunts capital’s tavern. Tell them you’ll look into it to restrain the worst of their scheming, then head off to the tavern and find this Technic League spy - either someone named Kerreg the Cobbler, or Kalanah from the Technic League Encampment, if you spared her - loiitering near the bar.
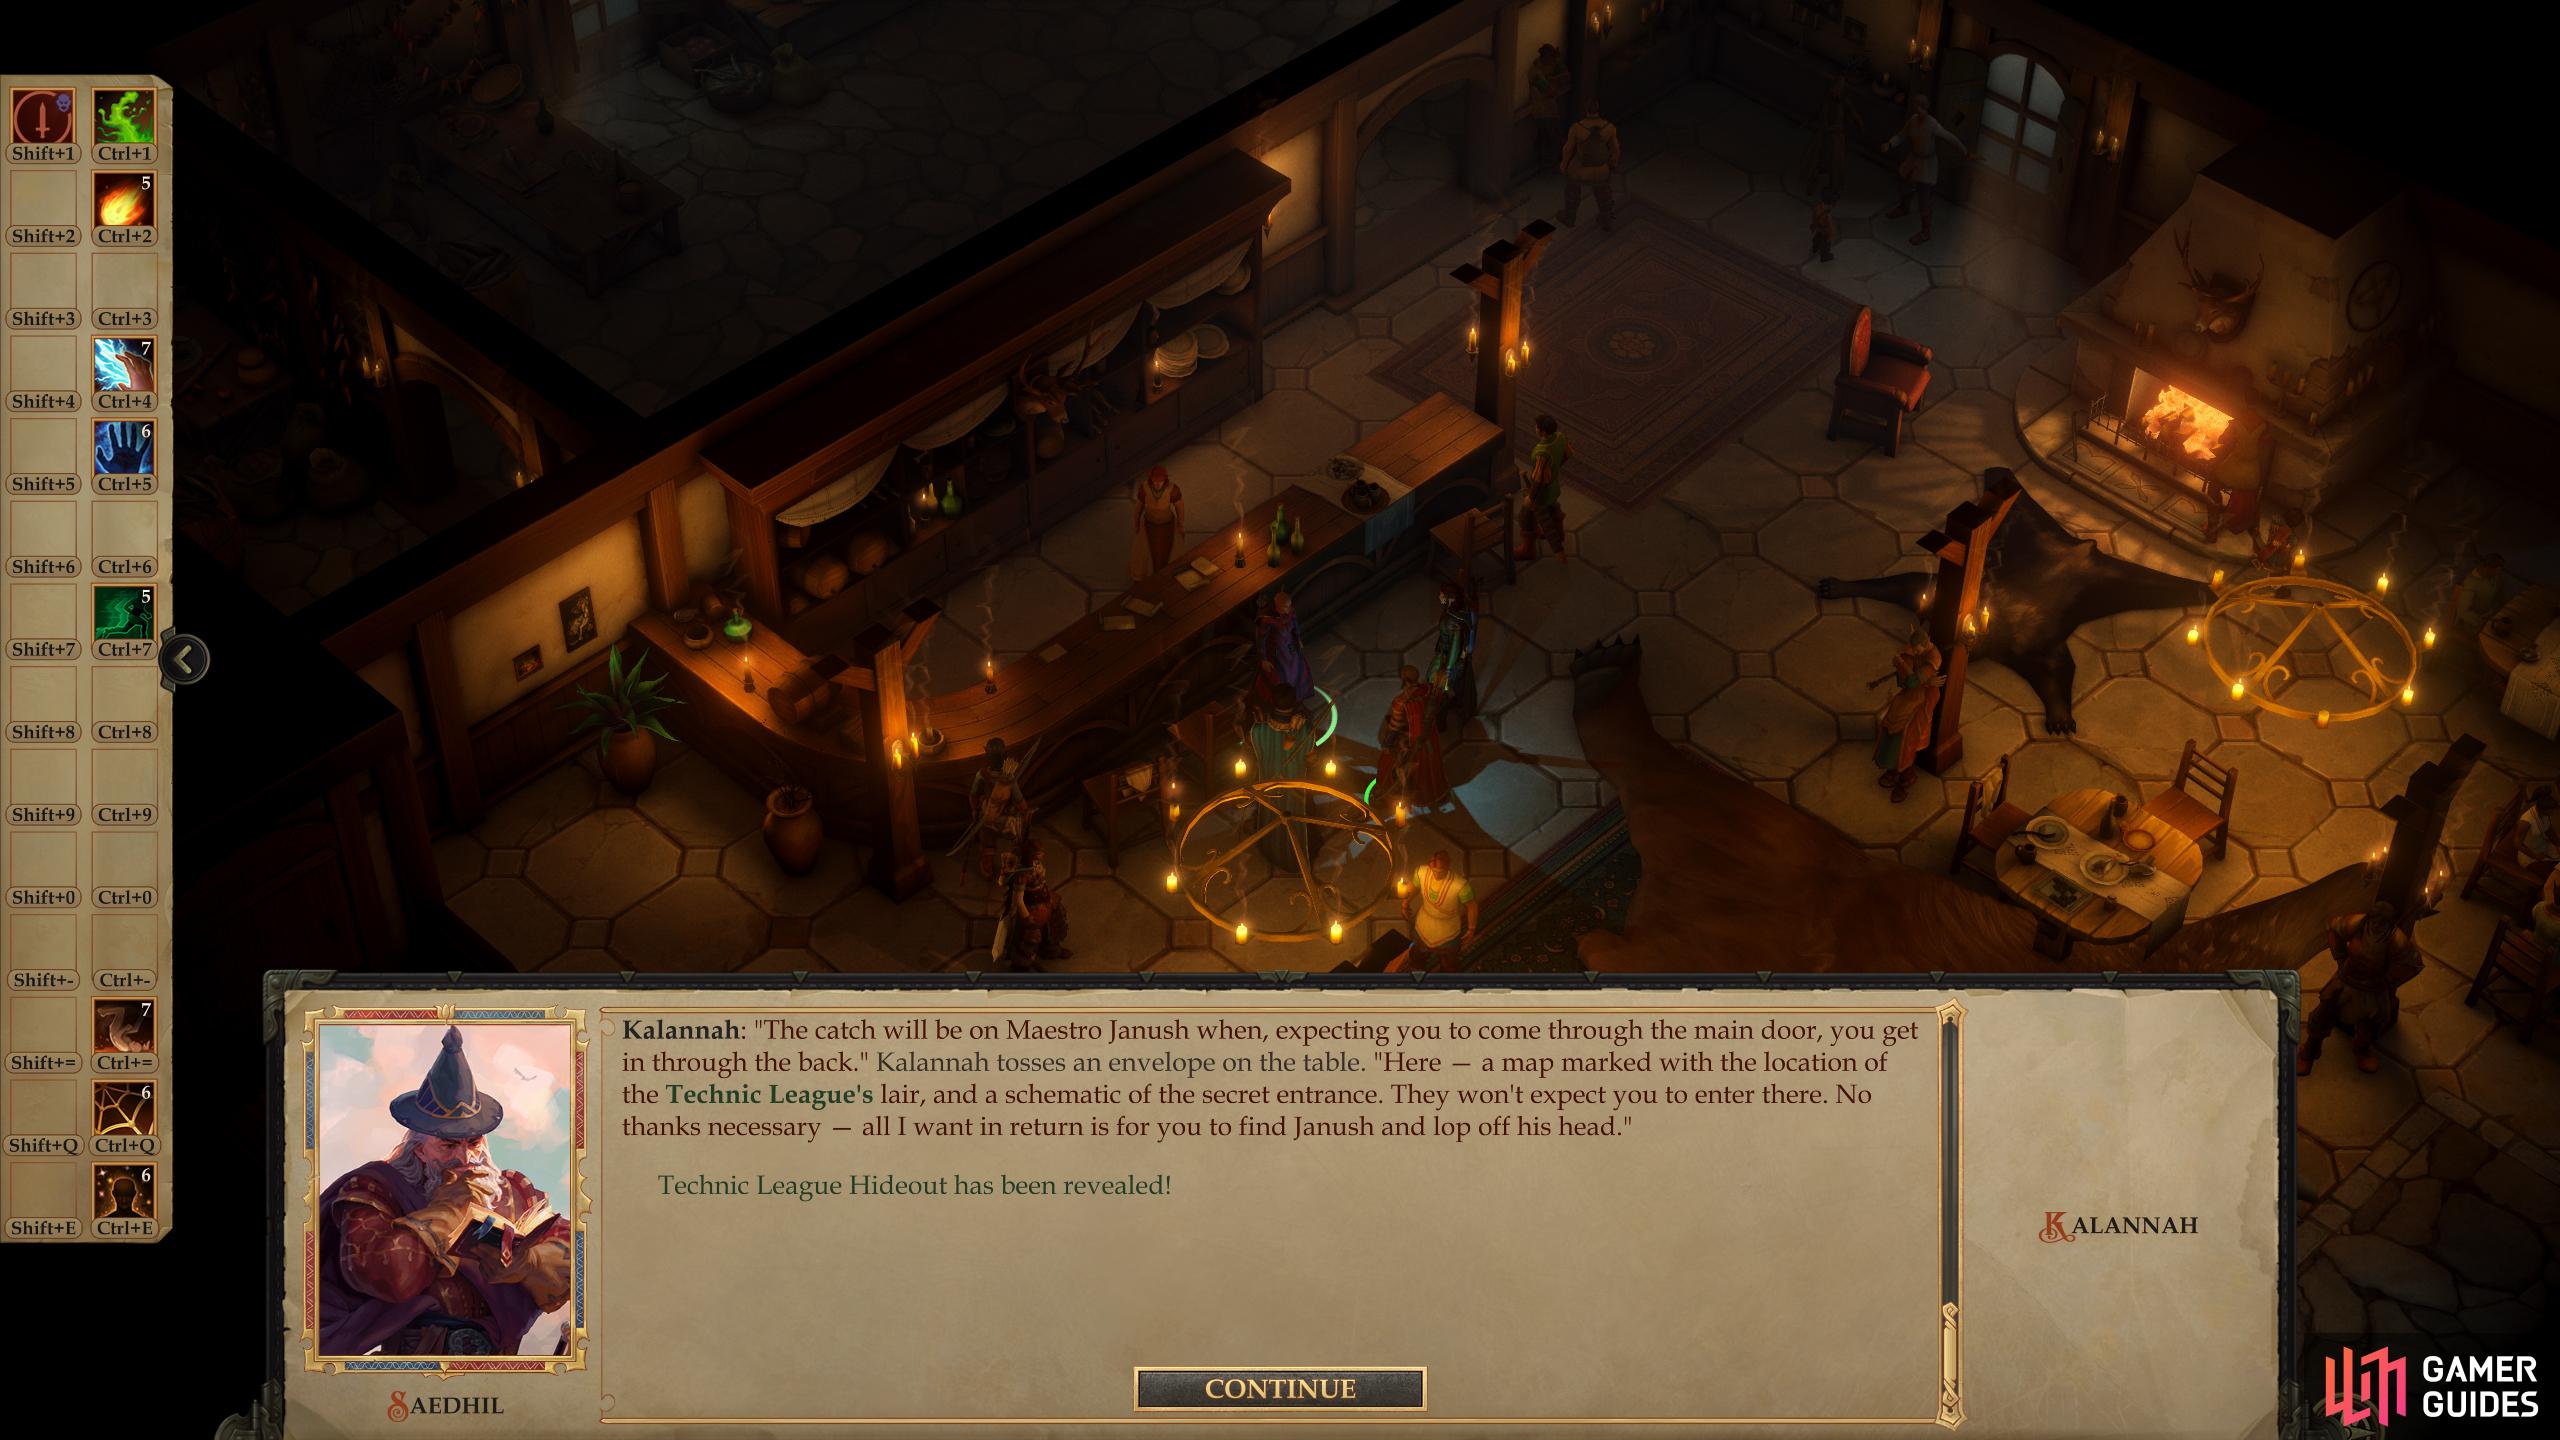
Confront Kalannah/Kerreg in the tavern.
Talk to Kalannah/Kerreg and the outcome will be roughly the same - they’ll tell you that their former oppressor, Maestro Janush, is in the region. Kalanah volunteers this information - and details a hidden entrance - while Kerreg has to be coerced. Afterwards, you’ll get the opportunity to decide Kerreg’s fate, and if you don’t end him here, just know that his behavior in the future won’t improve.Kalanah is permitted to just walk out of the tavern.
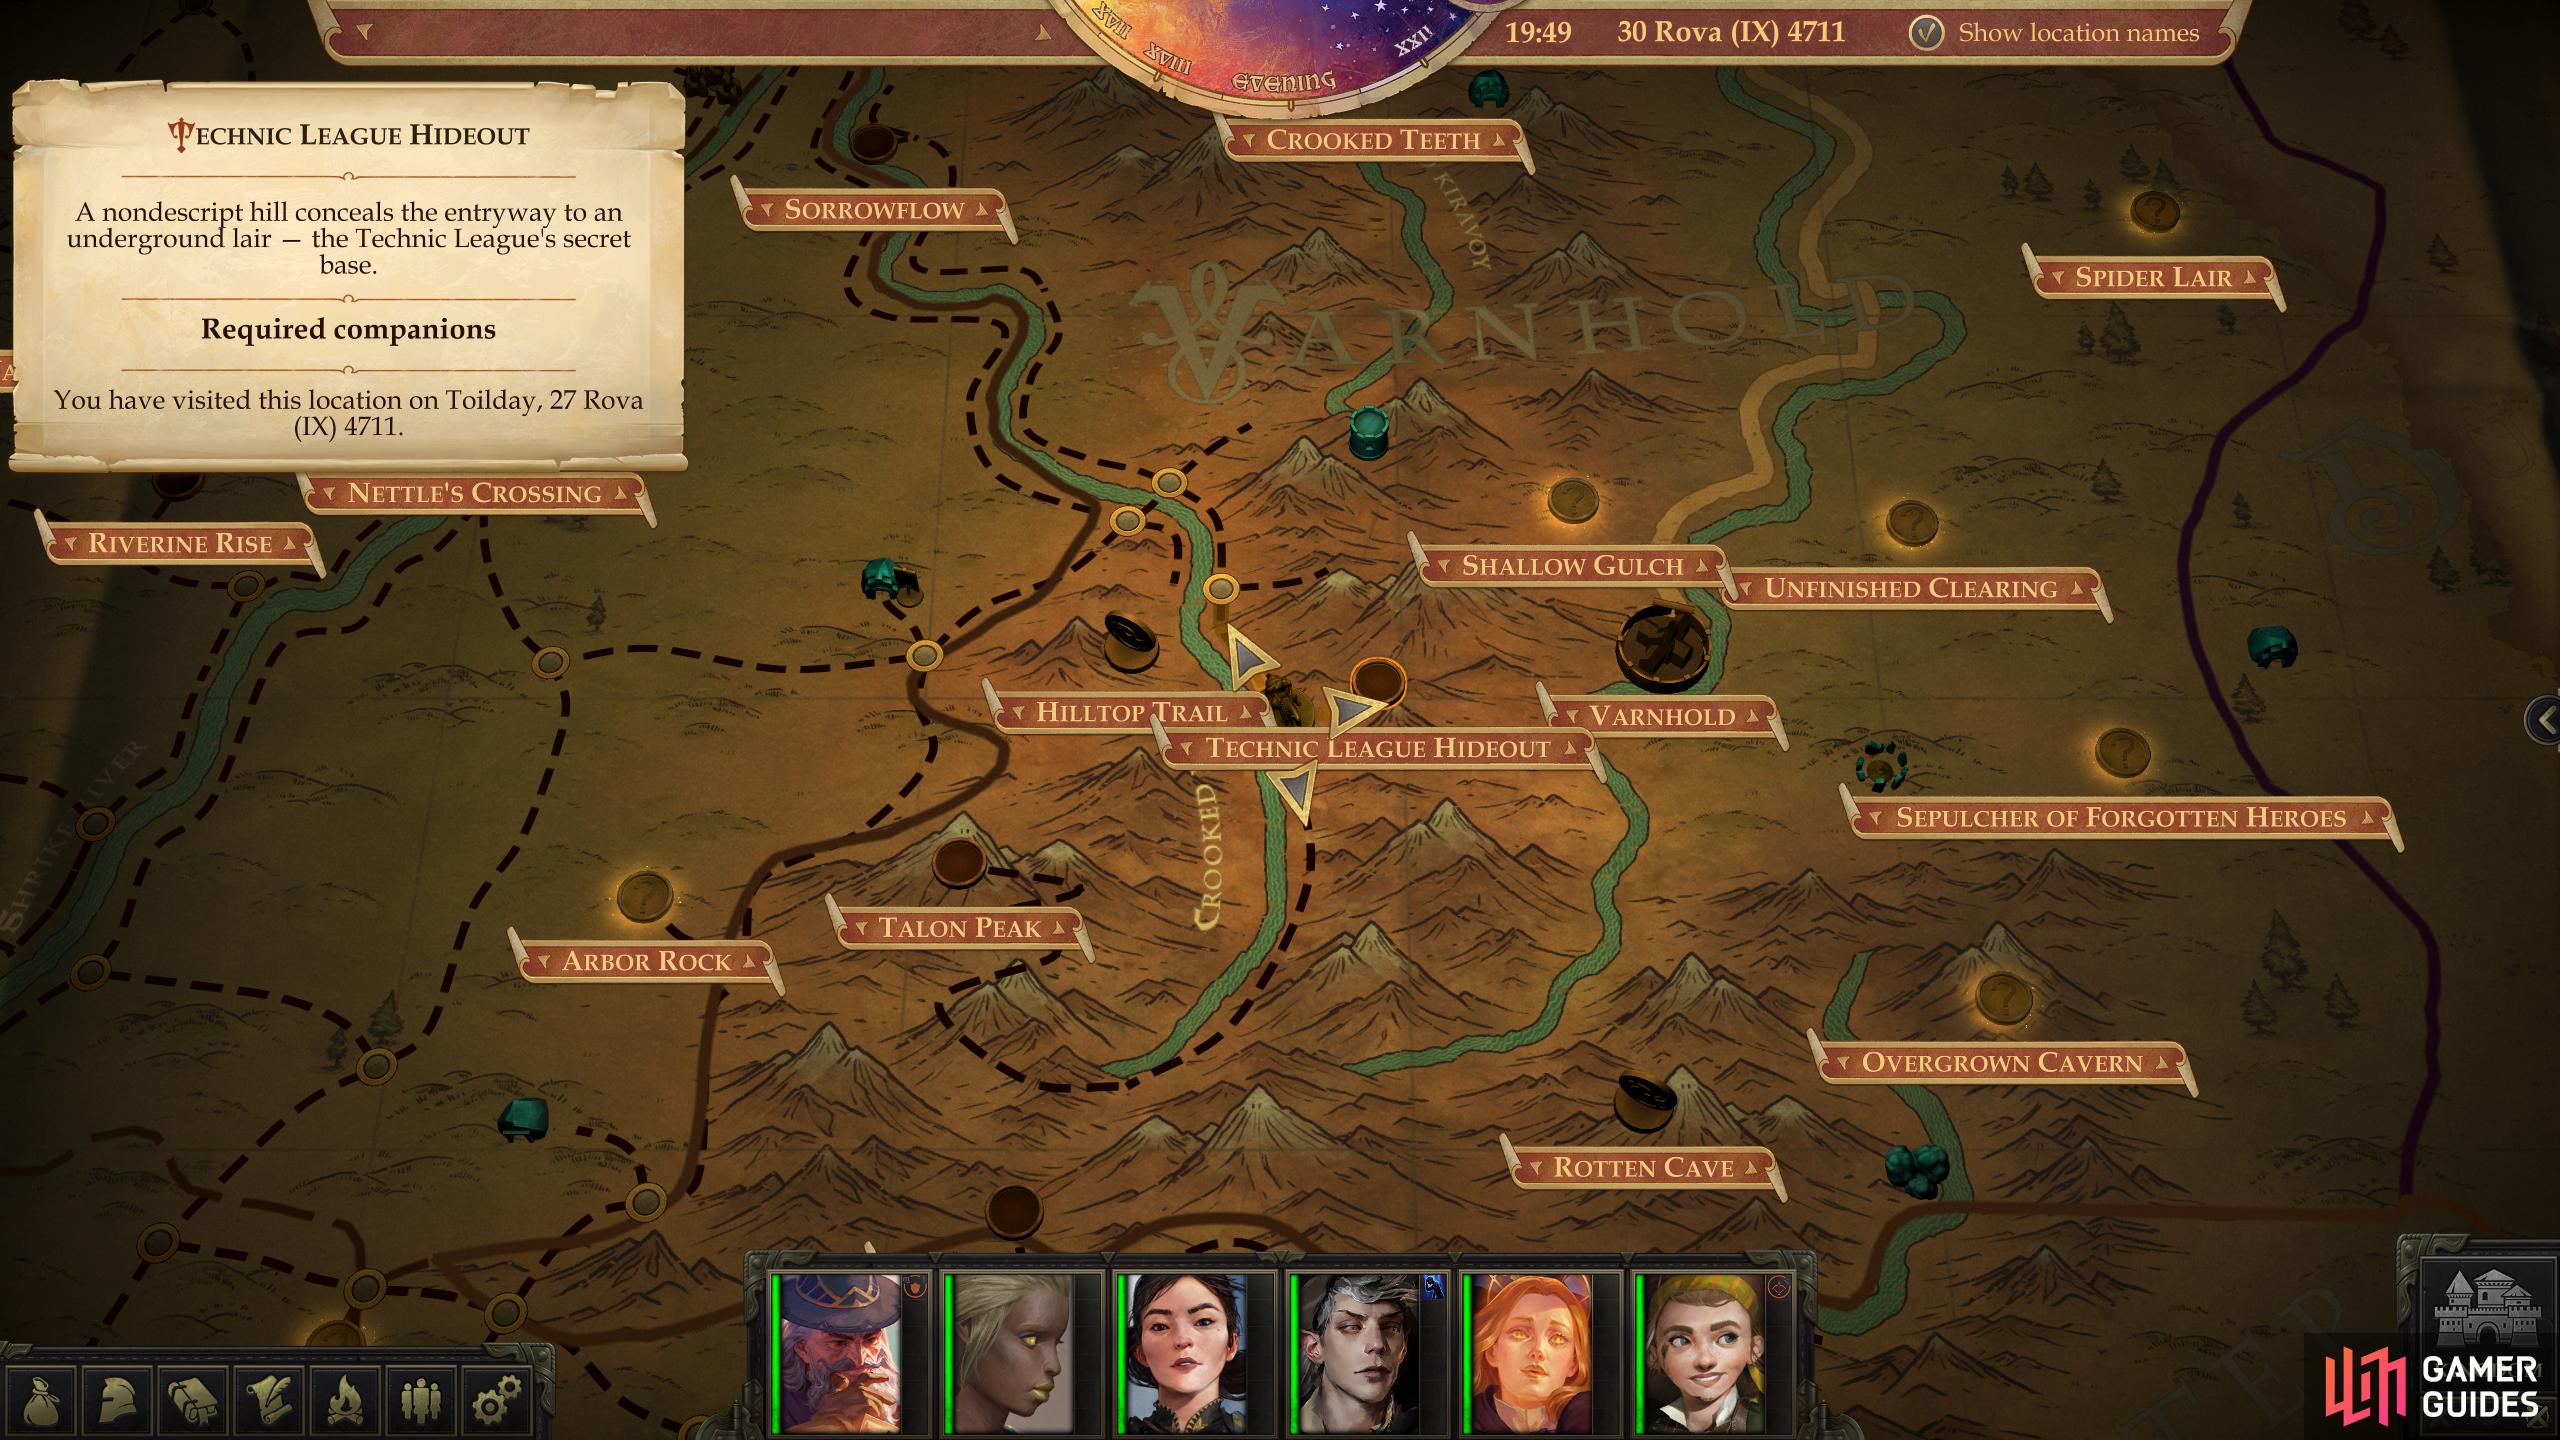
The location of the “Technic League Hideout” on the map.
Make your Octavia and Regongar are properly leveled and equipped, then make your way towards the Technic League Hideout, not to be confused with the Technic League Encampment. This area is in the mountains between Shrike and Varnhold, which you can reach by following these directions:
- East
- East
- East
- Northeast
- Northeast
- Northeast
- Northeast (path veers north)
- East
- Northeast
- Northeast (across the Crooked River)
- Southeast
- South
- East
Depending on which “spy” you found in the tavern, this area may play out differently. If you killed Kalannah back at the Technic League Encampment and hence met Kerreg in the tavern, you’ll appear in the southwestern corner of the area, in a room occupied by a Technic League Fighter, Rogue, Archer and Bard. If you met Kalannah, she’d have given you info on a secret entrance, allowing you to spawn in the northeastern corner of the map, where you’ve got some breathing room to spell buff and fewer enemies immediately in your path. In the latter case, you’ll still want to work your way west, then south to reach the southwestern room, and in the former case you’ll want to swoop around north and east to kill enemies and plunder their hideout. In either case, buffing with Haste should suffice to get you through this area with ease.
Once that’s done, loot the room to the north of the entrance to find [Perception 26] a chest containing a Scroll of Chain Lightning, a Scroll of Horrid Wilting and the Chocolate Ice Cream recipe. The rest of the loot on offer here is relatively mundane.
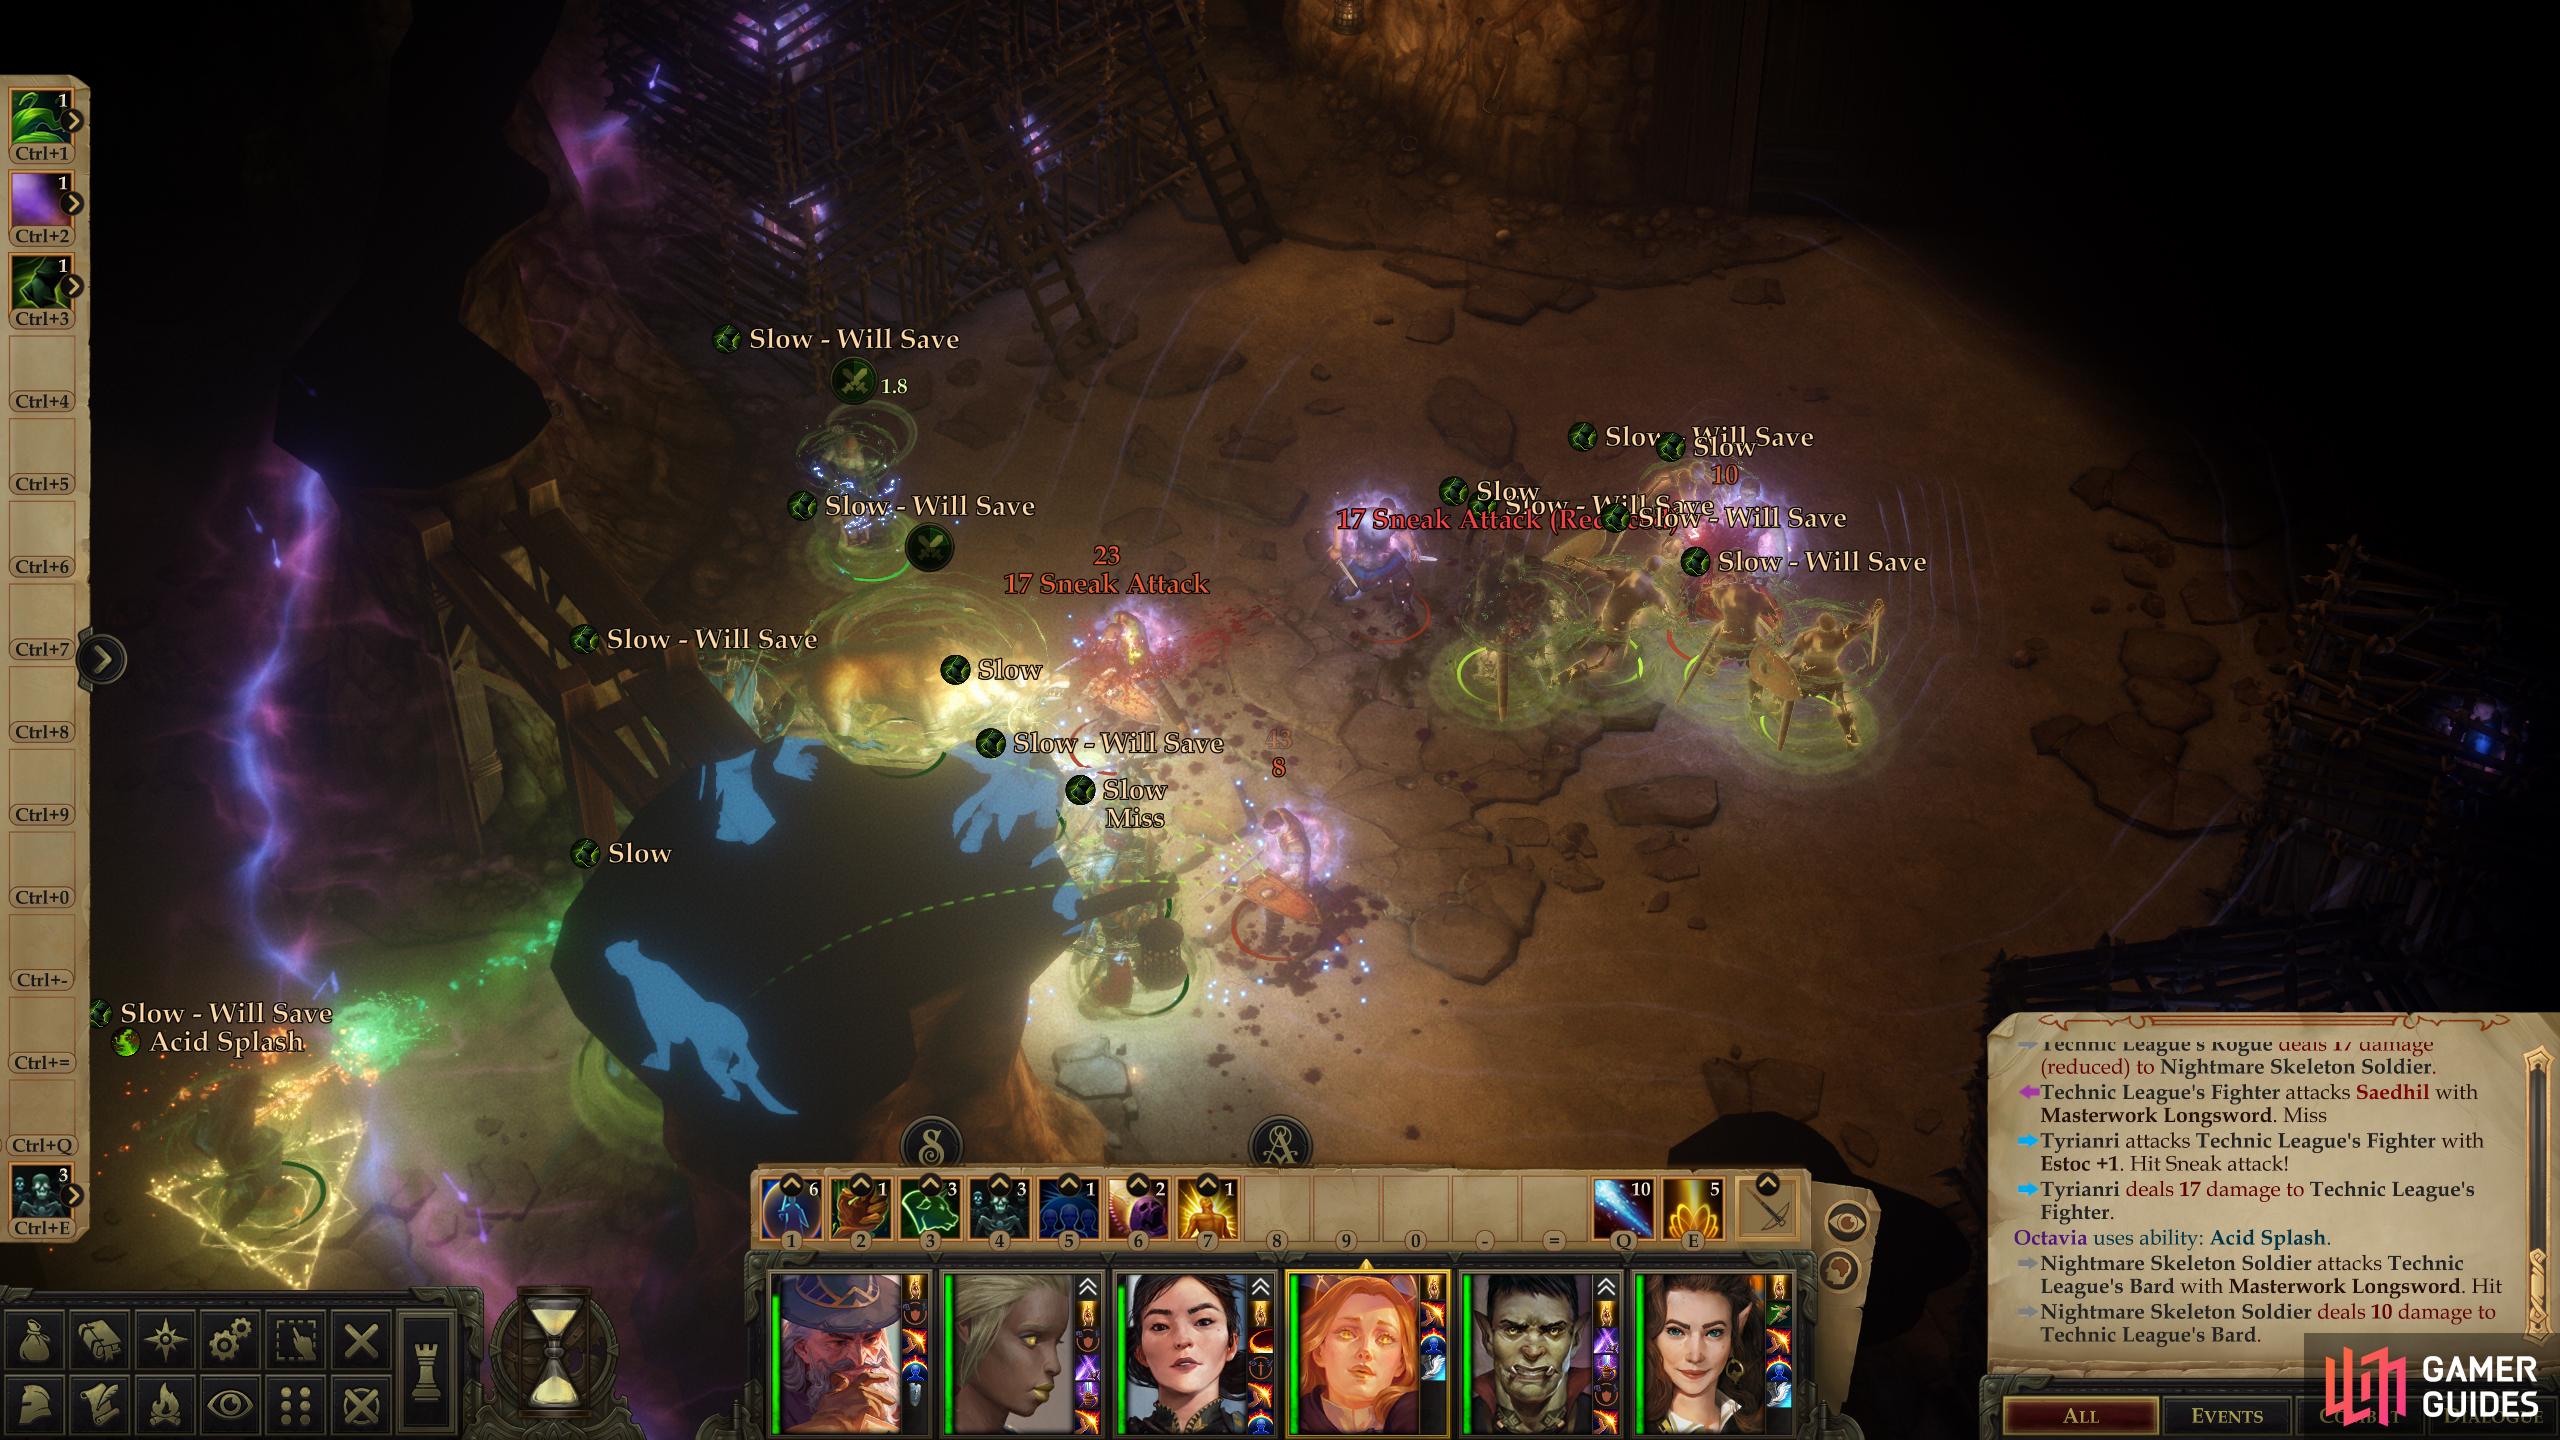
Use Animate Dead to distract your foes and ensure you can reach them safely.
When Maestro Janush shows up, concentrate on him to end the fight quickly.
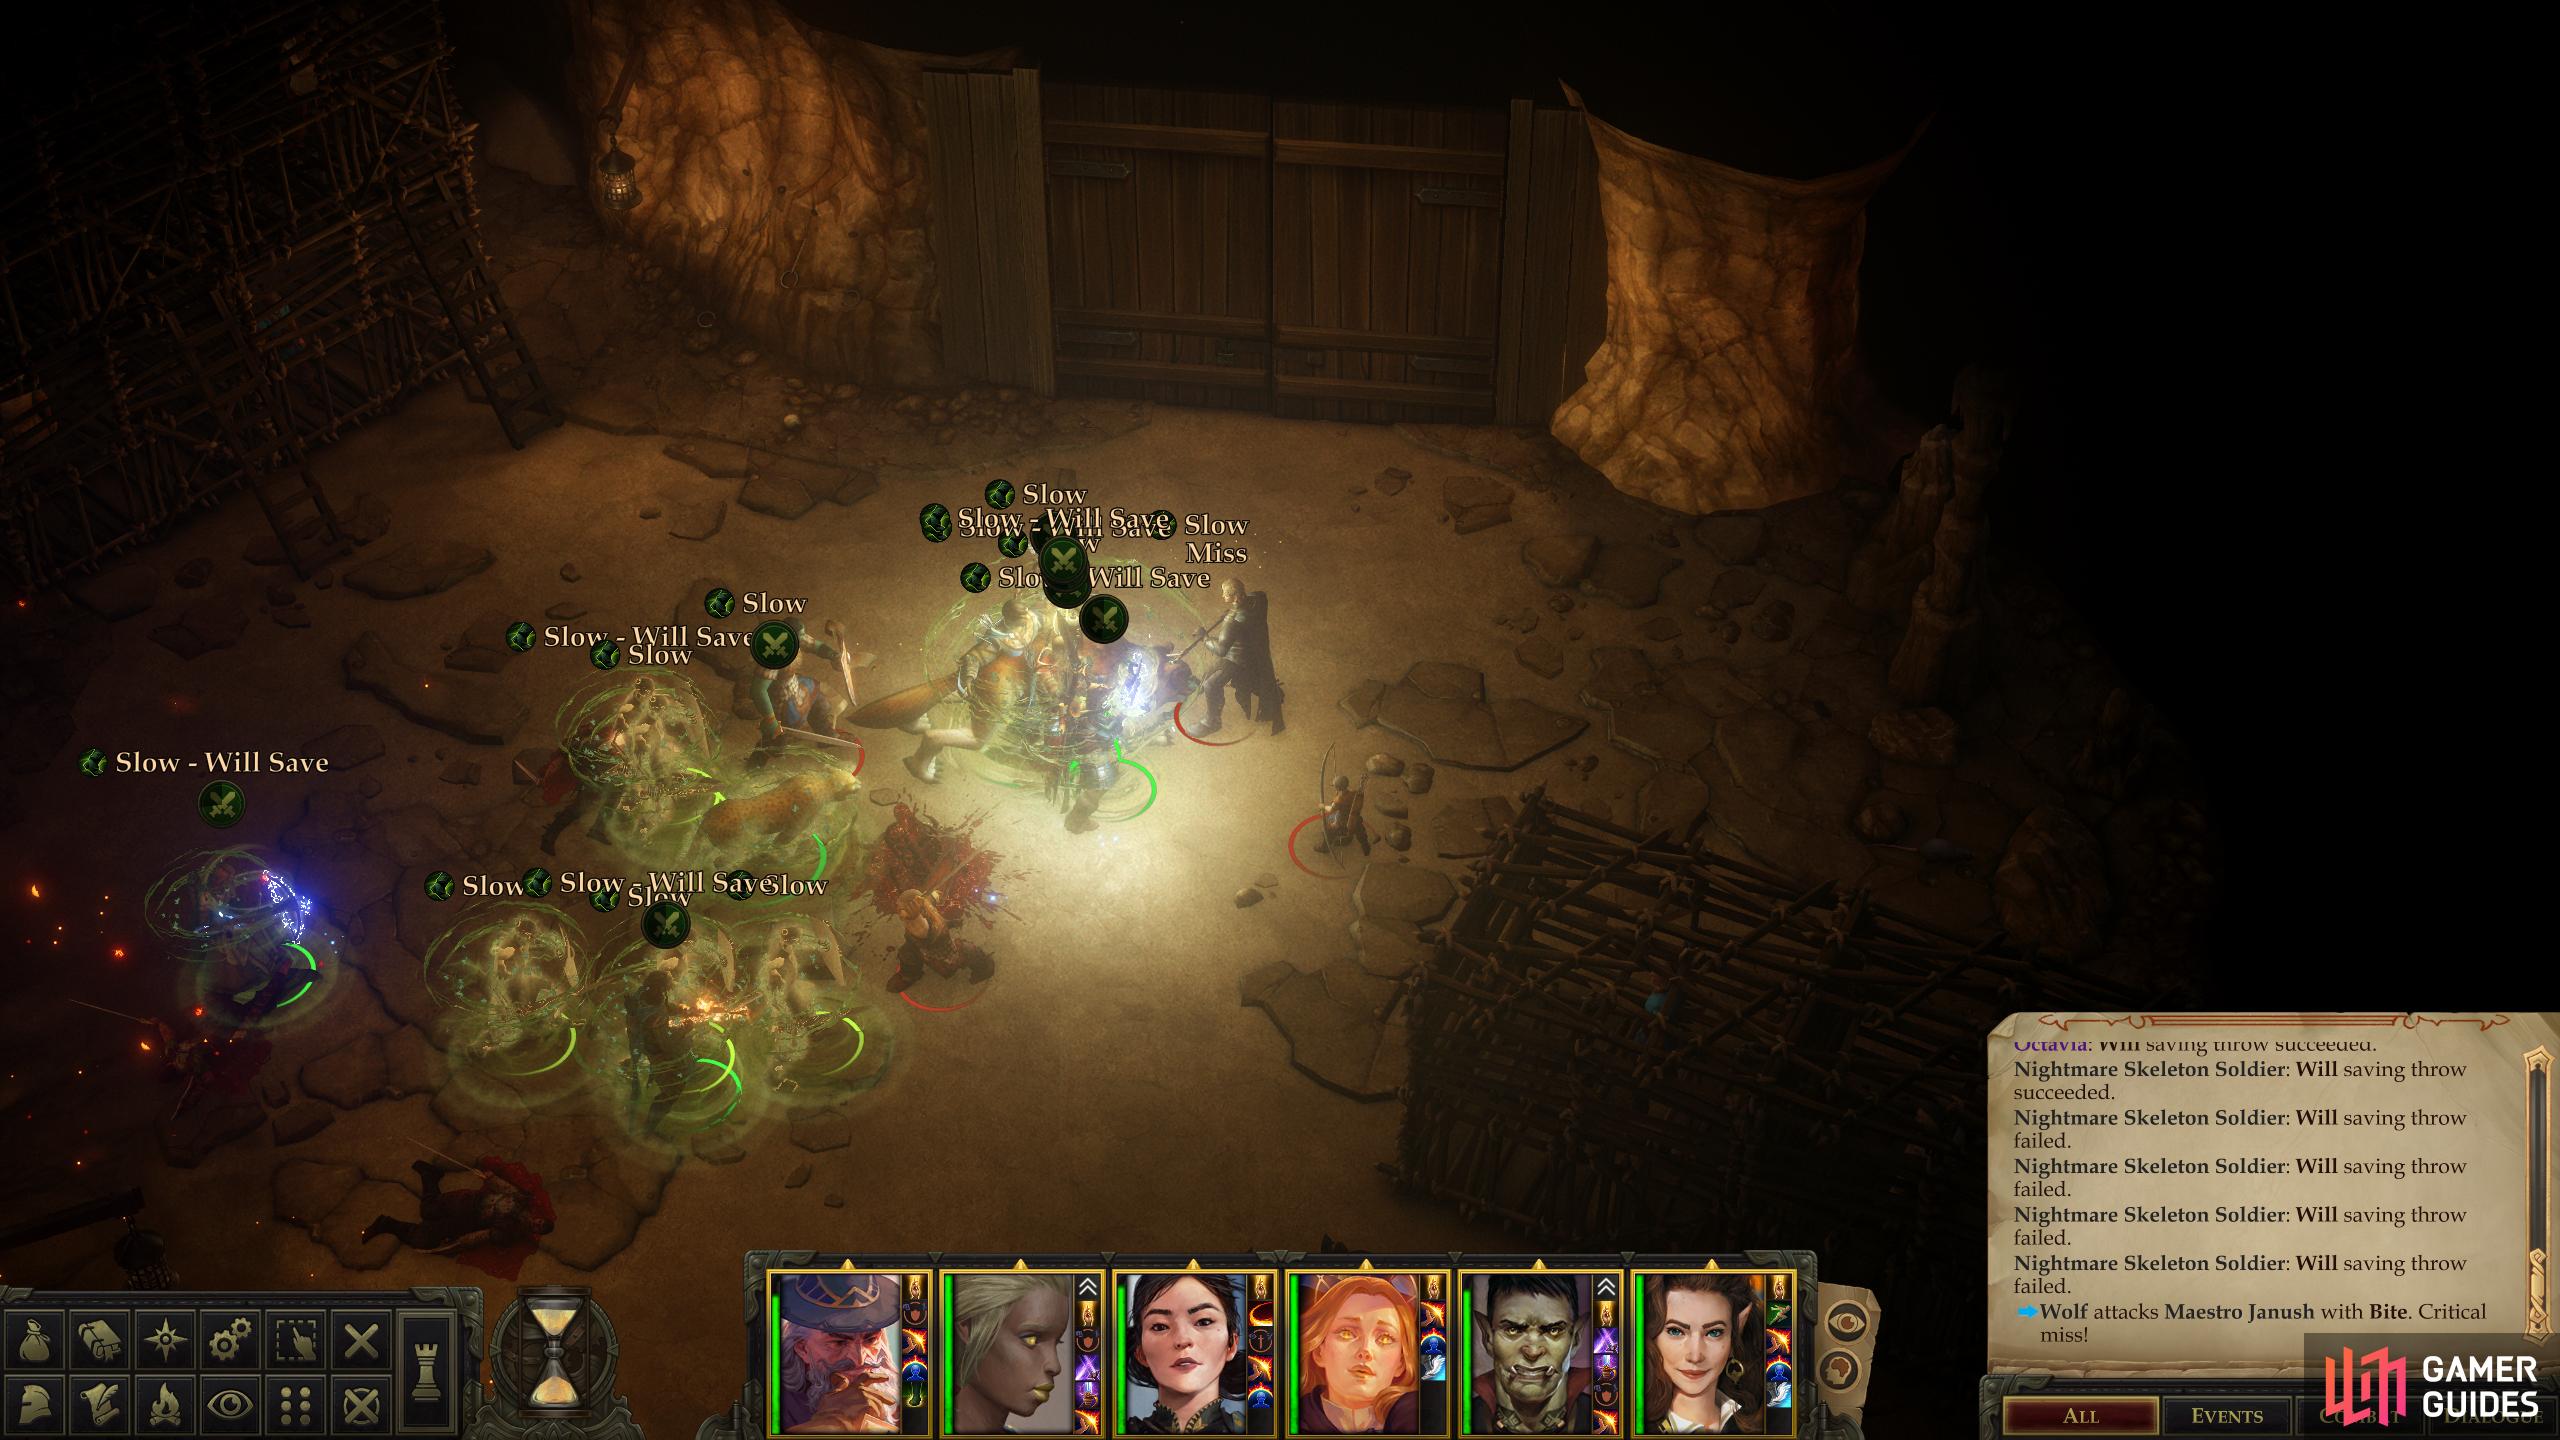
In the room northeast of the entrance/campfire room you’ll find more determined foes, including a Bard, Rogue and two Fighters, and while they’re not terribly dangerous, there’s a door bottlnecking you and a followup fight after this one, so you may as well do a bit of work to make sure this goes smoothly. Buff up again with Haste if it has (or is about to) lapse, then cast Animate Dead near your enemies. This will cause them to focus their attention on your disposable skeletons, allowing you to enter the chamber safely and cut them all down.
After the fight, Maestro Janush will arrive and make Octavia and Regongar and offer that, as it turns out, they can refuse. After a display of power, another fight begins, this time with you squaring off against Janush, two Archers and two Fighters. No tricks needed here - if you’re still hasted, the enemies are out-classed, and even if they’re not, this isn’t much of a fight. Charge Janush and cut him down (he’ll probably get off a Slow spell, but this won’t change the outcome of the fight) and he’ll flee, after which you’ll need to mop up his goons.
Either save the slaves or abandon them to their fiery fate to chase Maestro Janush.

Either way, loot Maestro Janush’s office to find his ledger.
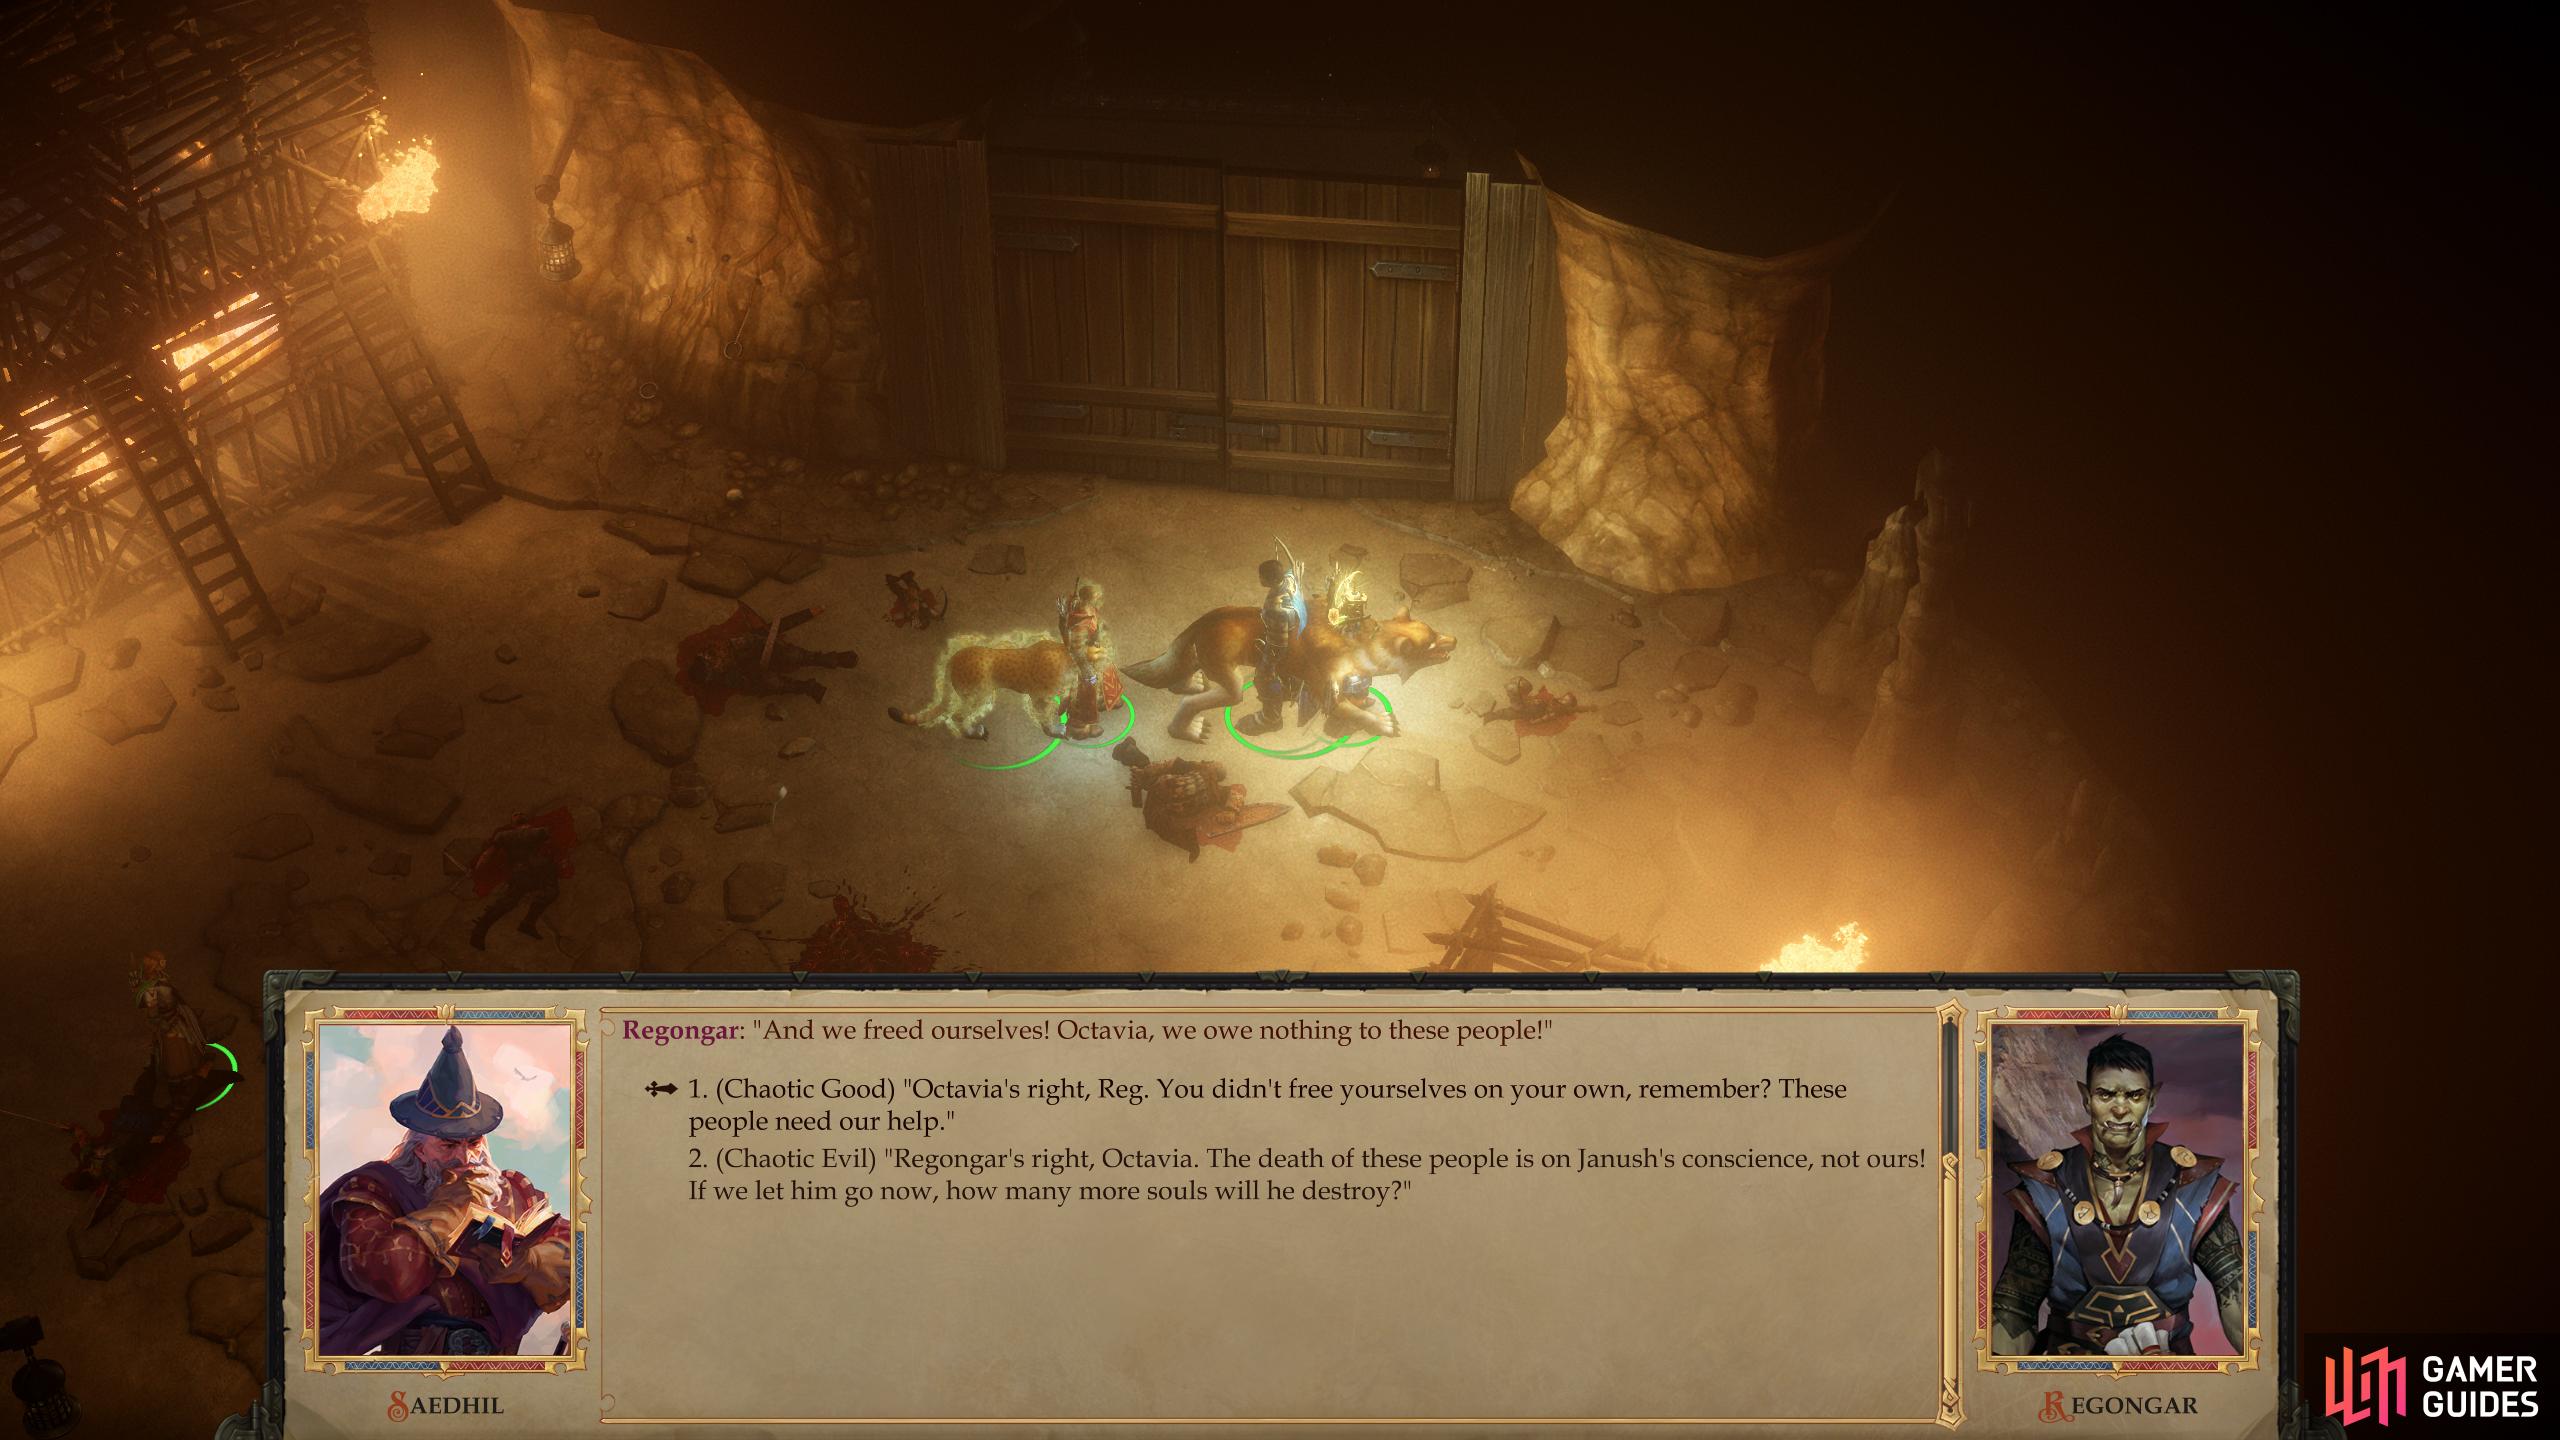
With the battle decided, you’ll be faced with a dilemma - Janush managed to set the slave cages on fire during his escape, and you must choose to either rescue the slaves [Chaotic Good] or immediately give chase to Janush [Chaotic Evil]. Octavia advocates the former, Regongar the latter.
Make what choice you will (if you choose to free the slaves, just talk to them all to set them free) then head through the doors to the north reach Janush’s study, where you’ll find three chests. One to the east [Trickery 43] which contains the figurine Gears Rule, which occupies the bracer slot and confers many bonuses (quite a few of them focused on Alchemists) and an Old Technic League Letter, a chest atop a bookshelf yields Maestro Janush’s Diary and a third chest to the west contains a Wand of Echolocation. Plunder, then investigate the desk to find Maestro Janush’s Key, which will open the doors to the north, as well as Janush’s ledgers, which may provide answers as to Octavia and Regongar’s past.
Octavia’s premonition that searching the ledgers may “find something and regret ever looking” sure seems ominous, doesn’t it?
Anywho, you’ll get 3,200 XP for examining the table, and once you open the doors to the north you can exit the area, completing the quest in the process.
| Reward: For dealing with Maestro Janush |
|---|
| 3,200 XP |
No Comments