

From Oleg’s Trading Post, follow these directions:
- South
- Southeast
- Southeast
- Southeast
- West
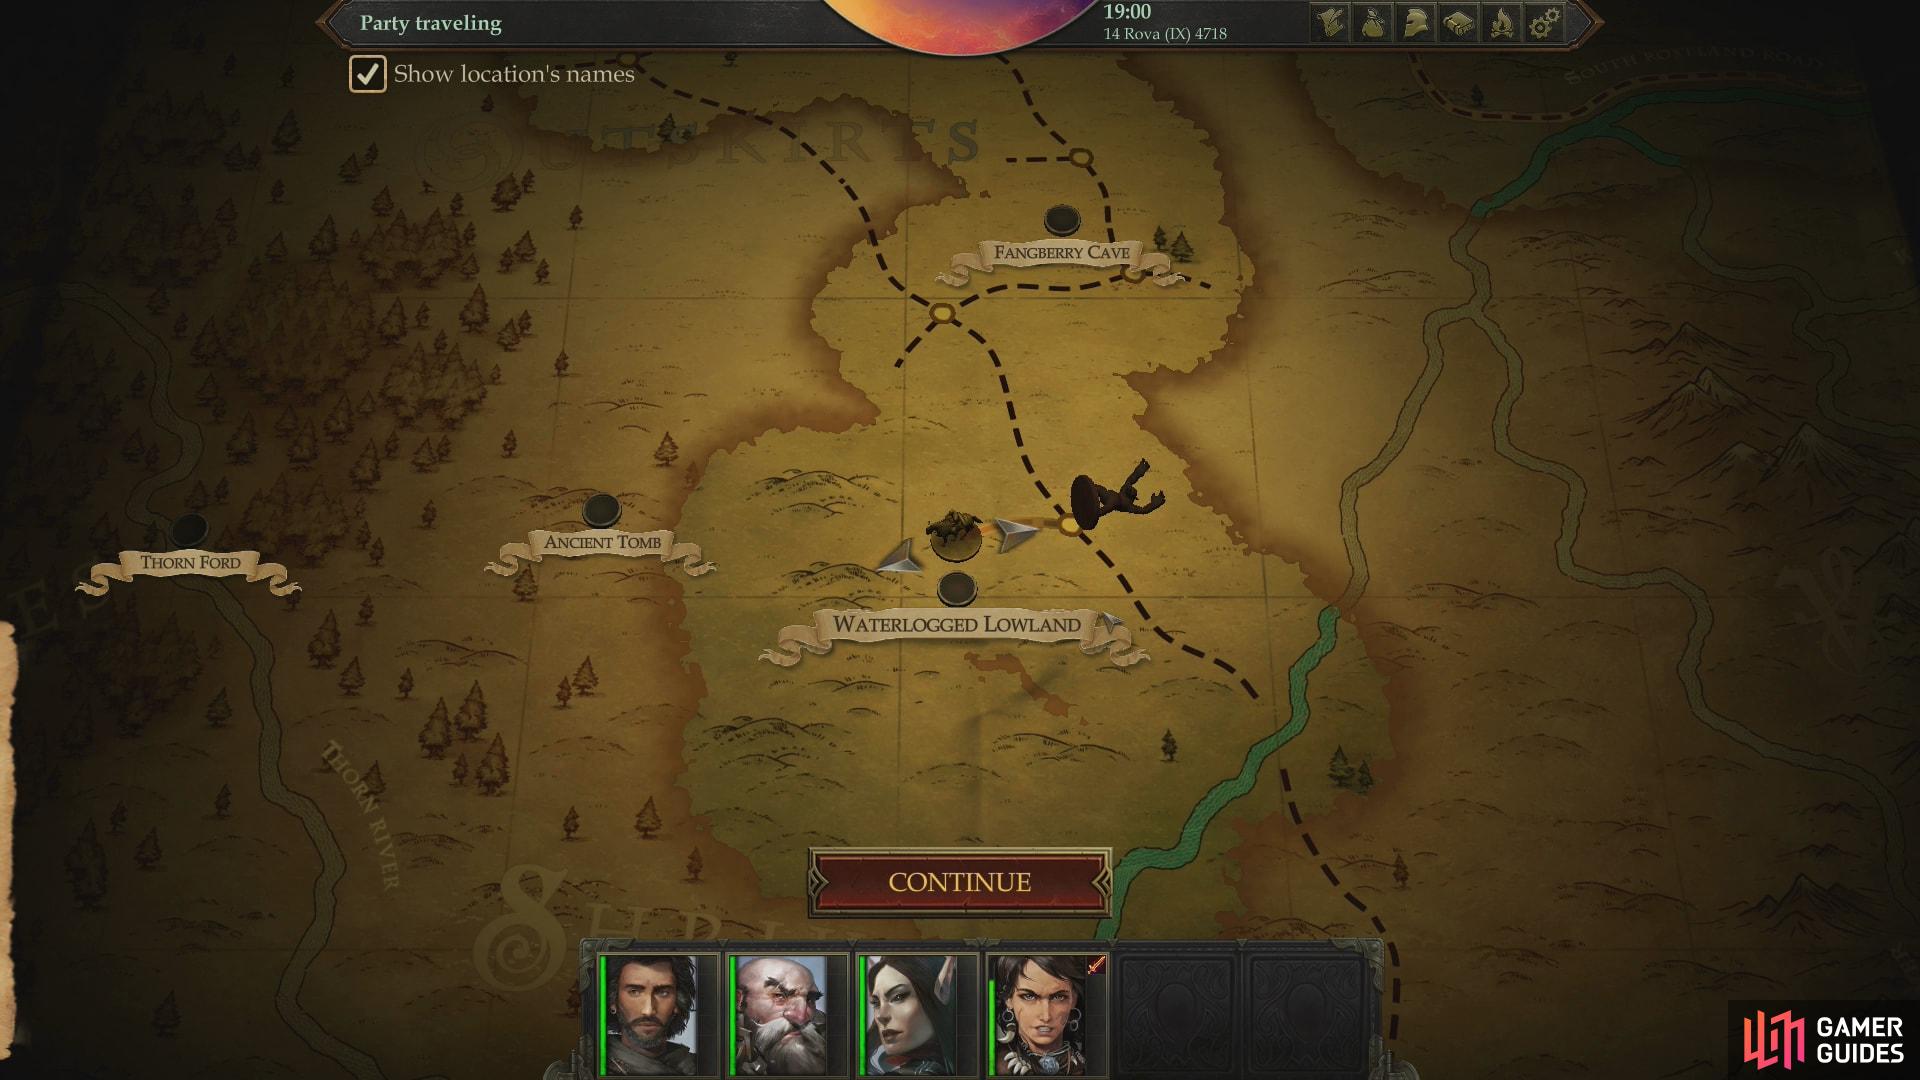
As you head west from the empty node just northwest of Nettle’s Crossing, you may find the Waterlogged Lowland south of the trail.
If you find it, travel to it and save your game outside. The entire area is covered in an Illustrated Book Episode, so you’ll have to make the right choices and hope the RNG is on your side if you wish to escape with as little damage as possible. For this event, you may want to remove your armor, at least from the character with the highest potential Athletics and Mobility skill scores - your Armor Class won’t be checked, but those two skills will be. Also note that in this generous Illustrated Book Episode you can abandon your journey to return to safety, allowing you to save your game, then return to the spot at which you left off with no penalty. There’s no reason you can’t fish for optimal rolls here. Below are the following choices you should make, in order:
-
1: “We determined that we should explore the lowland.”
-
2A: [Lore (Nature) 15] Standing one behind another, and tied together with a rope, we continued on our journey.*
or
-
2B: “We would not retreat, and moved ever forward, toward the tall tree, determined to visit the big hut on our way there.”
-
2C: “[Athletics 14] Wary of another of us getting sucked into the bog, we decided to form a living chain. Standing next to each other and holding hands, we began to pull up our fellow traveler.“
With luck on your side, you should be able to discover the Waterlogged Lowland
![Succeed at an [Athletics] check to avoid being Sickened](/assets/guides/145/Waterlogged_Lowland_Athletics_Success.jpg)
Succeed at an [Athletics] check to avoid being Sickened
If you have a rope, you can attempt the [Lore (Nature)] check (2a), which bypasses the later [Athletics] check (2c). If not, pick 2b, which leads to 2c. Failing the [Lore (Nature)] check just means you’ll have to attempt the [Athletics] check later, so there’s no harm in trying.
If you fail the Athletics check, the randomly selected character who started sinking into the swamp will only be recovered after being sickened by the swamp water. The sickened status can be removed with a Remove Sickness spell (Harrim has access to it).
Picking the other option (“We hurried to the rescue - sensing that time was short!”) risks the rest of your party suffering what the one randomly chosen party member was facing, allowing a [Fortitude 15] save to prevent it. The original character will suffer, regardless, so this option is categorically worse than the previous one, even if you fail.
Jaethal is immune to the sickened status, so if she’s randomly selected, you essentially get past that hazard for free.
You are encouraged to retreat and save your game after successfully bypassing this hazard.
- 3: “We peeked inside the hut.”
Choosing this option - which can be bypassed - will score you a Shortsword, Leather Armor, and 137 GP. The [Knowledge (World 17)] check doesn’t contribute in any way, save flavor text.

Be sure to check the hut to score some treasure
![after which pass a [Strength] or [Mobility] check to reach your destination unscathed](/assets/guides/145/Waterlogged_Lowland_Plant_Success.jpg)
after which pass a [Strength] or [Mobility] check to reach your destination unscathed
-
4: We moved forward, seeing we’d drawn so near our goal!
-
5A: [Mobility 16] We ran forward, as fast as our legs could carry us - flying towards the closing passage!
or
- 5B: [Strength 15] We drew our swords and tried cutting a way through!
Either the [Mobility 16] or [Strength 15] check, whichever is the most likely to succeed. An unfatigued Amiri or Jaethal will have a +3 Strength modifier, requiring you to roll a 12 or higher to succeed. The same characters, if you removed their armor, may well have a higher Mobility score, all things considered. If you fail, your party will take damage.
- 6A: [Lawful Good] The idol reeked of evil, to say the least. We were certain we must destroy it.
or
- 6B: [Neutral] We thought better of interfering with the sinister idol, and continued our journey.
or
- 6C: [Lore (Religion 15)] We tried to glean what sort of idol it might be.
and [Chaotic Evil] [Fortitude 18] Suddenly (protagonist) grabbed the dragonfly and held it in front of his/her mouth… oh gods, did he/she just decide to eat it?!
The final choice really depends on what you want out of this encounter. The moral choices are [Lawful Good], [Chaotic Evil] and [Neutral], although to get access to the [Chaotic Evil] check you’ll need to pass the [Lore (Religion) 15] check, first.
![If you pick the [Lawful Good] option, you may do what is right](/assets/guides/145/Waterlogged_Lowland_Lawful_Good.jpg)
If you pick the [Lawful Good] option, you may do what is right
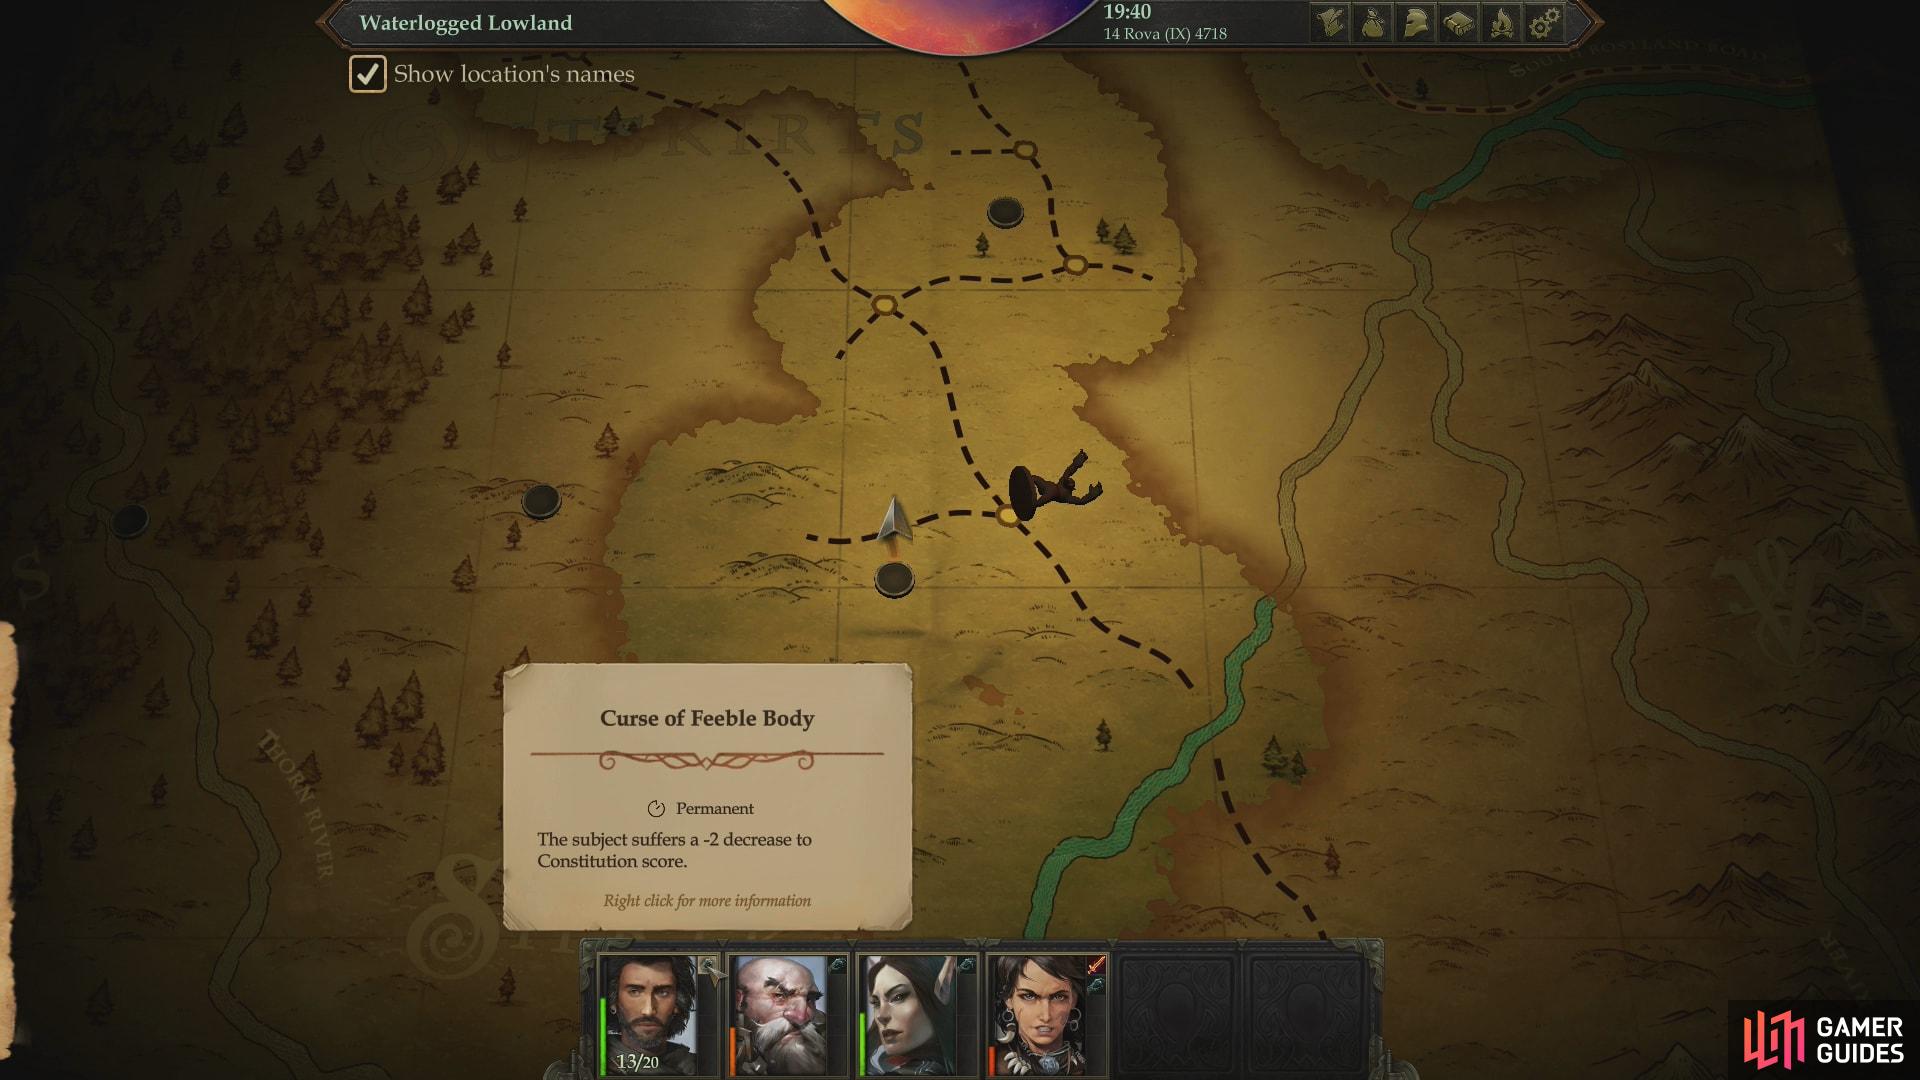
but you’ll suffer the effects of a curse for your trouble
The Lawful Good action will net you a small amount of XP, but, as should be expected from desecrating the holy place of a malefic god, it’s not without consequences. In this case, your party will be afflicted with the “Curse of Feeble Body” debuff, permanently lowering your Constitution scores by two until you get access to the Remove Curse spell, which could be quite a ways off. A hefty price to pay for some virtue signaling.
| Reward |
|---|
| 27 XP |
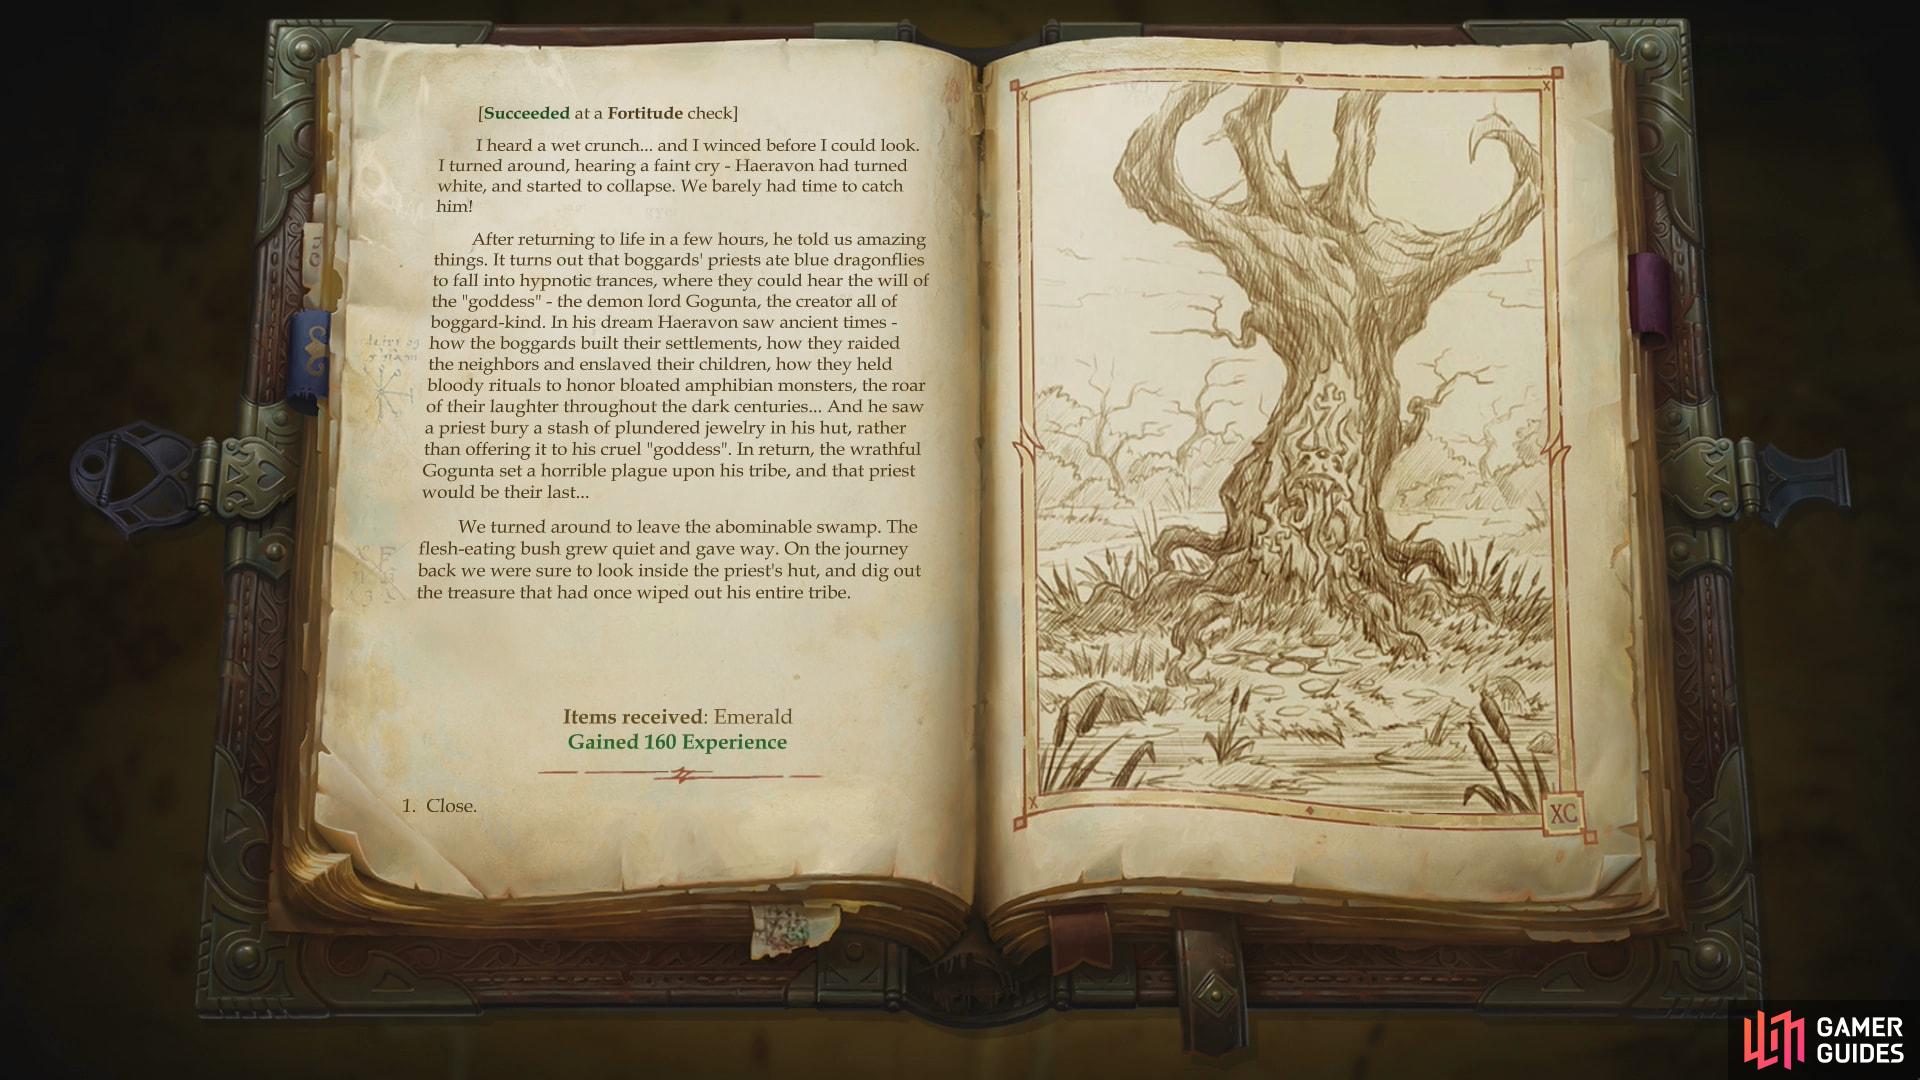
The Chaotic Evil choice is far more lucrative, especially if you pass the Fortitude Save the action imposes
The Chaotic Evil action is far more rewarding, but potentially carries some temporary side effects if you fail a [Fortitude 18] save. Your protagonist will be the one to carry this feat out, so the odds of success can be highly variable. If you fail the save, you’ll earn 54 XP and score an Emerald, and will suffer a point of Wisdom damage for your trouble (you can recover this Wisdom damage by resting). If you succeed, you’ll emerged unscathed, with 177 XP and an Emerald to show for your effort.
| Reward |
|---|
| 54 XP |
| 177 XP |
| Emerald |
The Neutral choice gets you nothing other than the satisfaction of doing a neutral deed; whatever odd form that satisfaction may take.
No Comments