

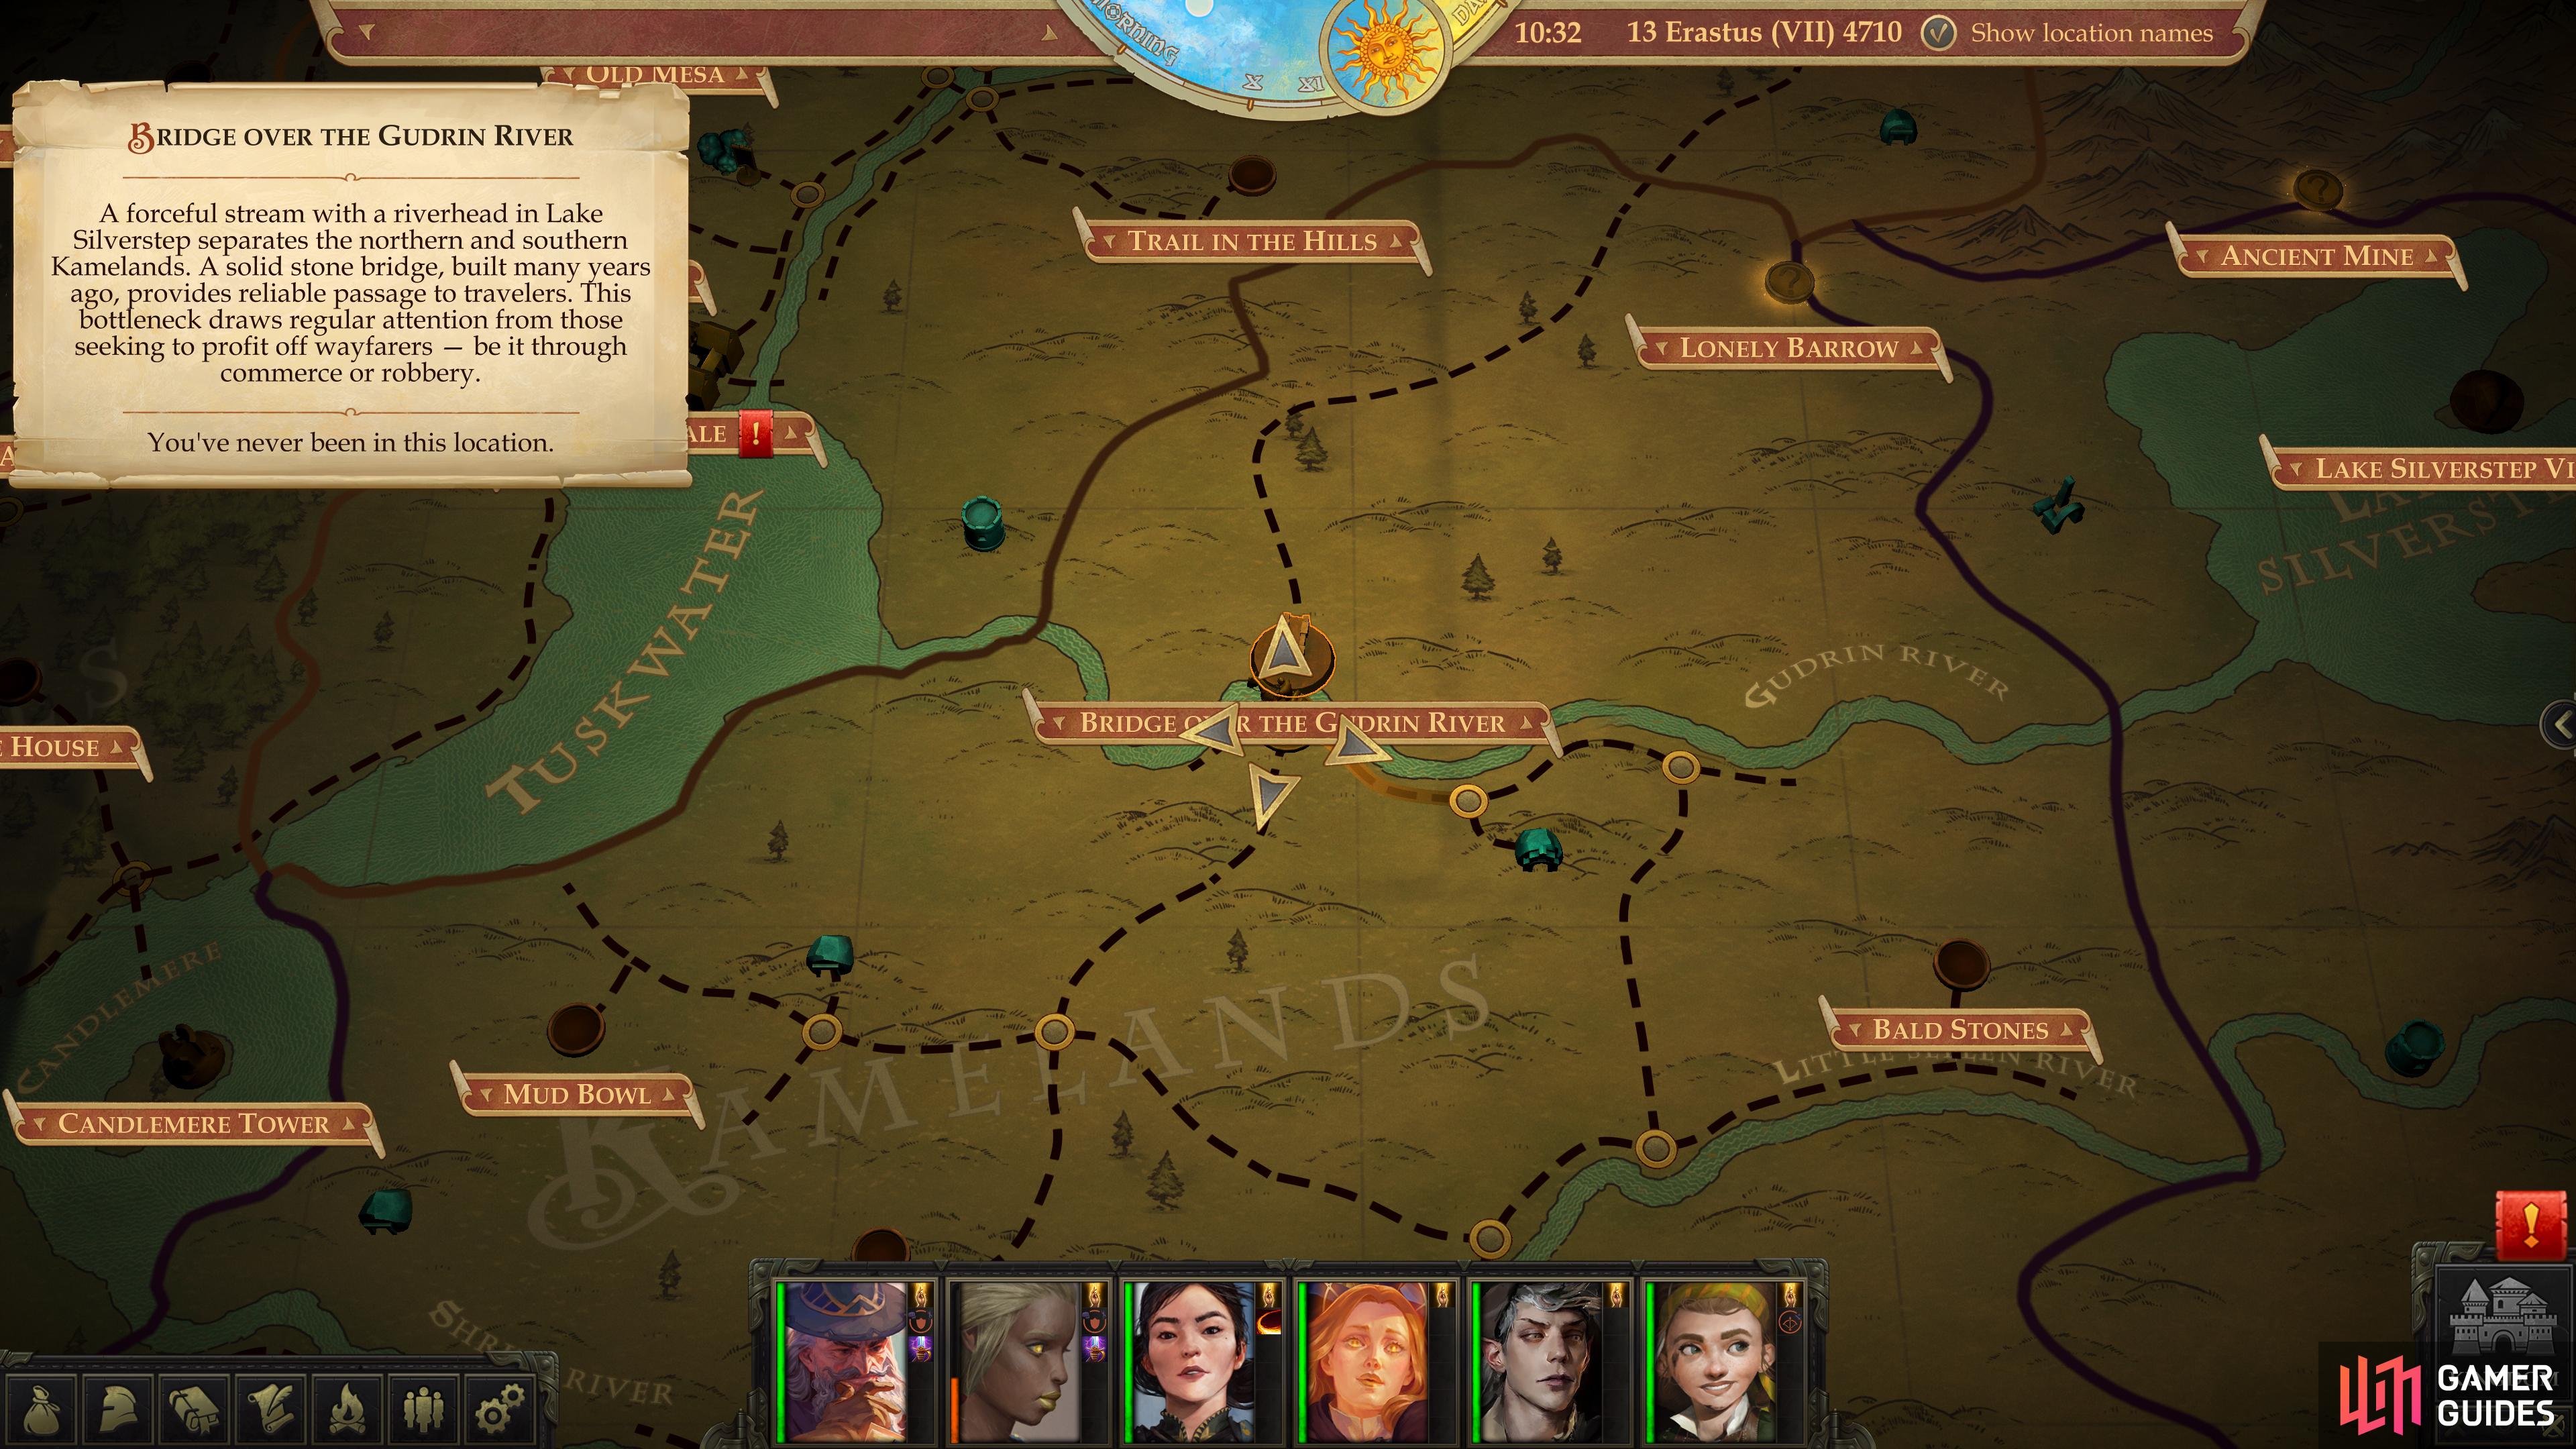
Travel: Bridge Over the Gudrin River
If you’re following the suggested Kamelands Expedition, you’ll be heading to this area after clearing the Bald Stones area. That being the case, follow these directions:
- Southwest (to Little Sellen River)
- West (along the Little Sellen River)
- North (to Gudrin River)
- Northwest (along the Gudrin River)
- West (along the Gudrin River)
- North (across the Gudrin River)
Battle: Bears, Wolves and Worgs in the North
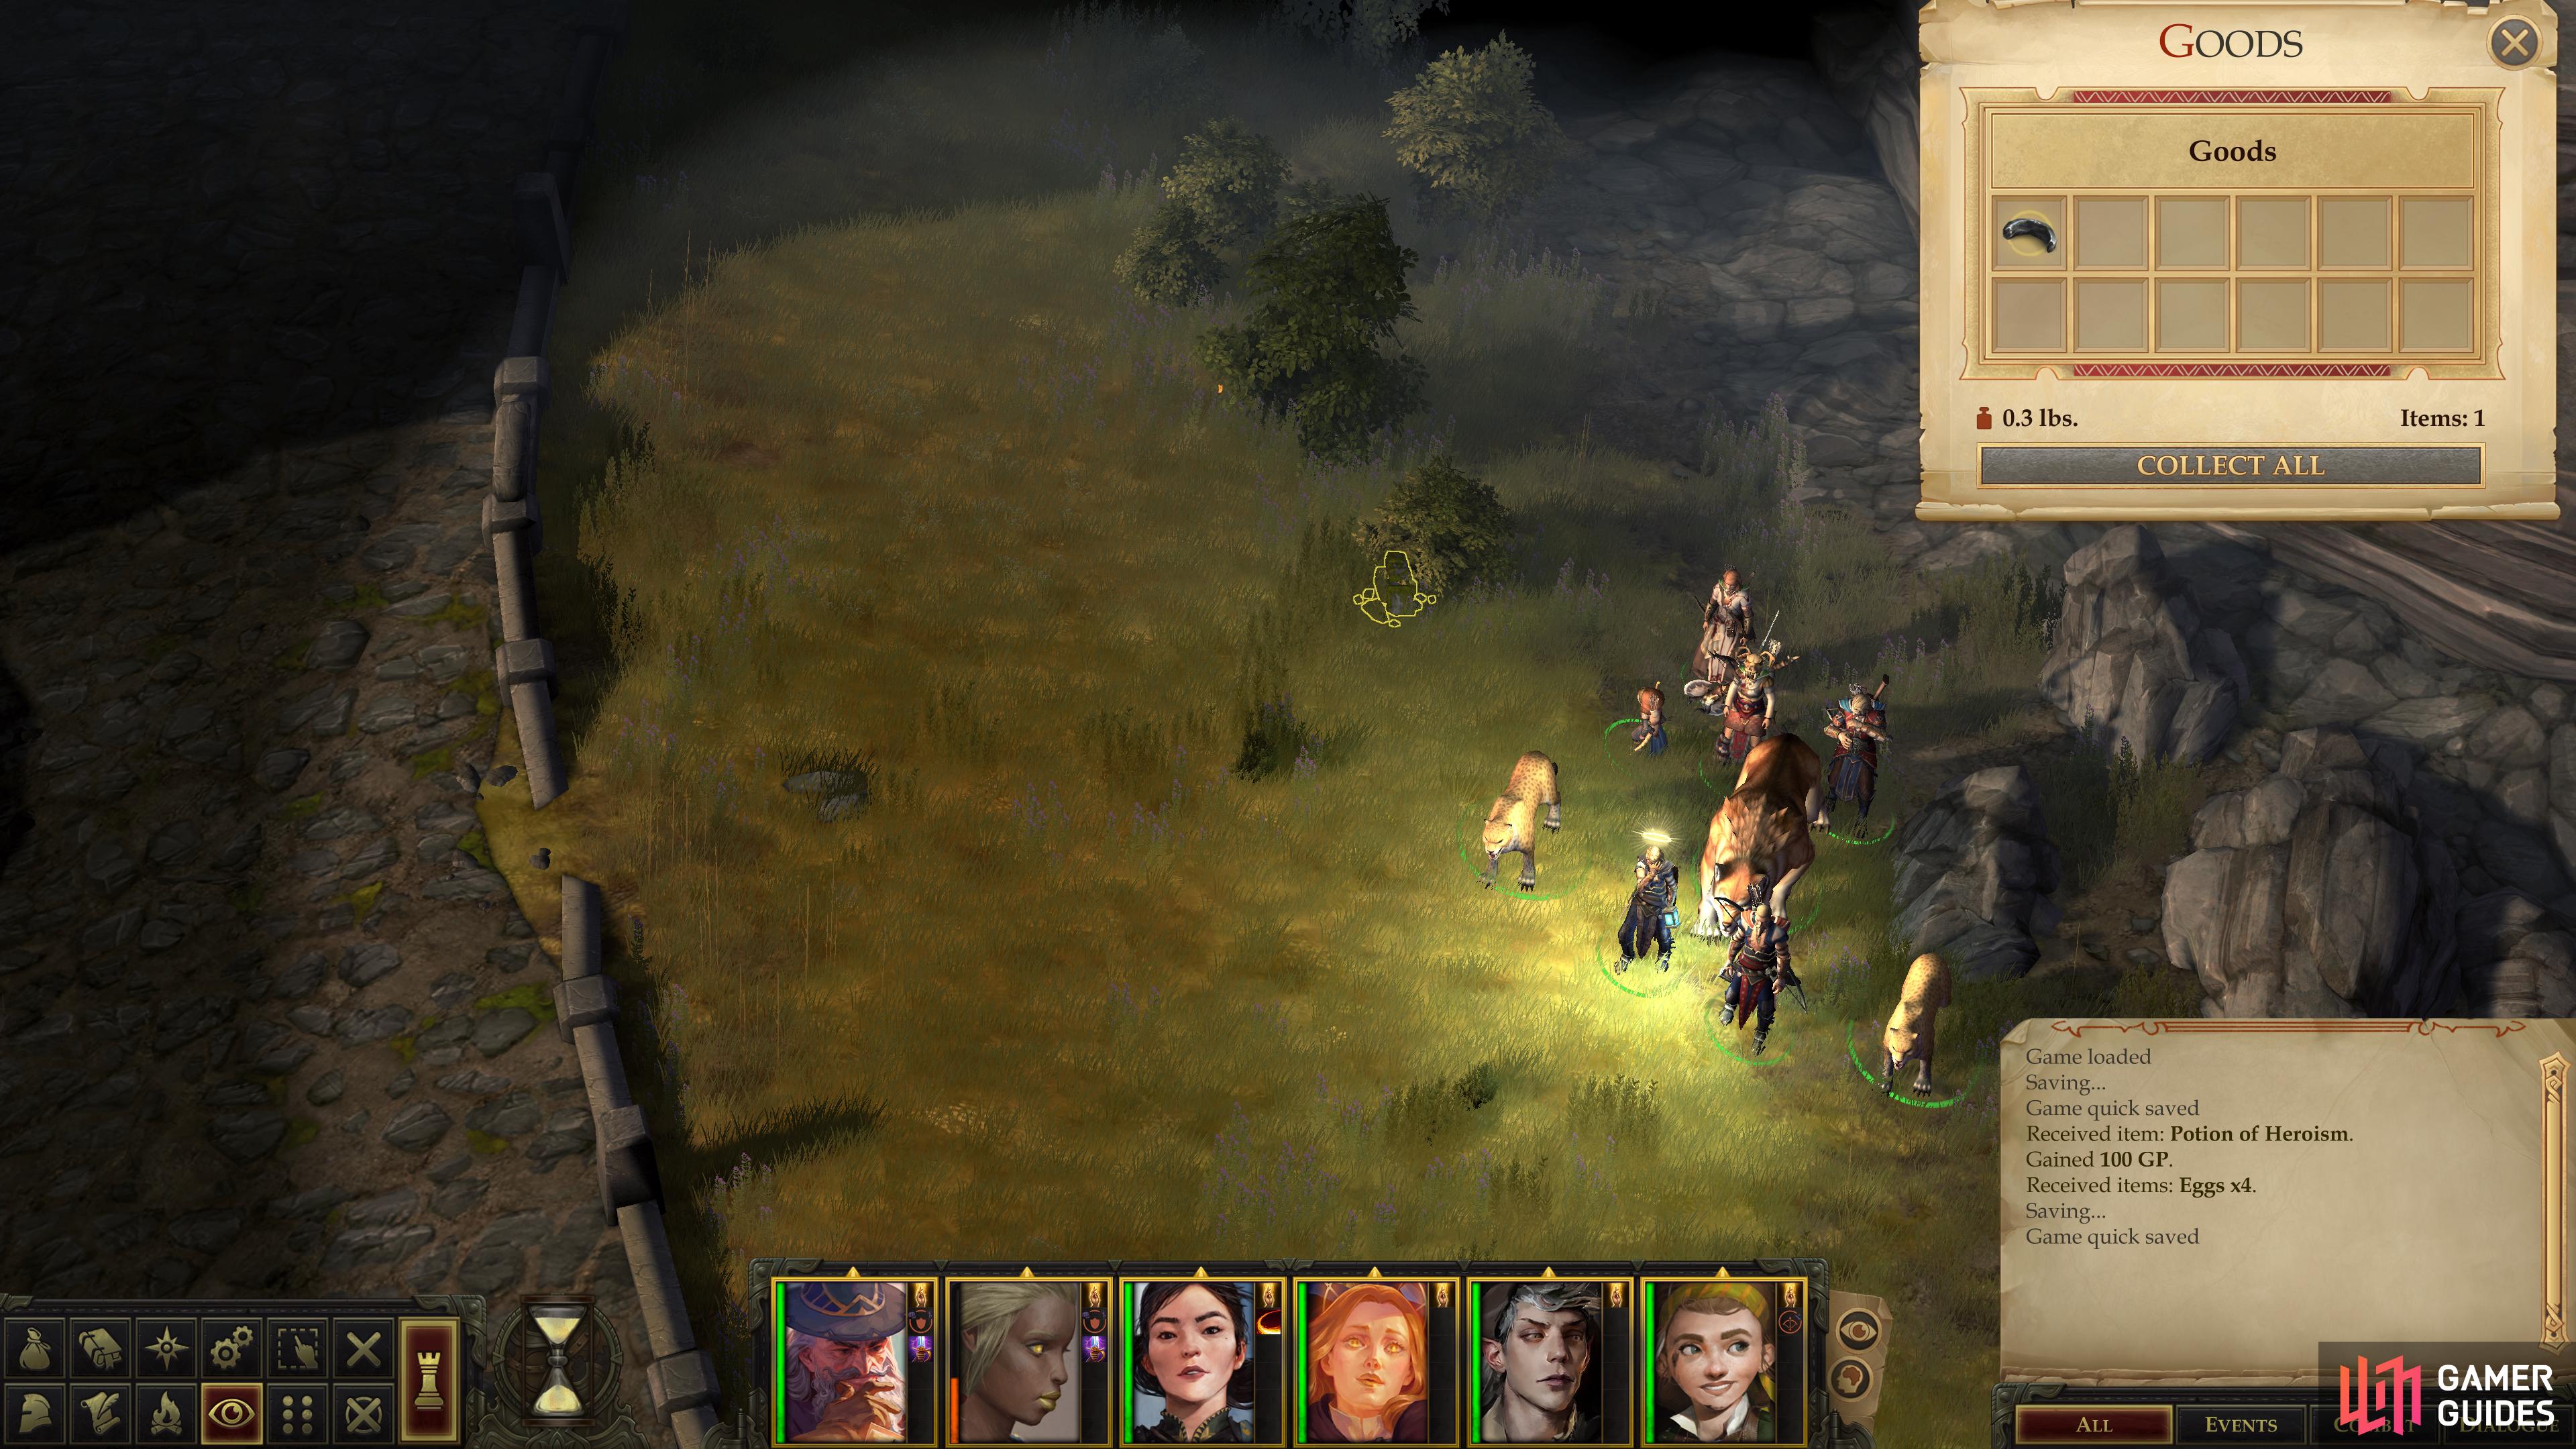
Your party will assemble along the northern edge of this area, whether you approached from the north or the south. Start out by heading south along the rocks to the west, stopping to search some branches covering a cache of treasure, including a Potion of Heroism, 100 GP and some… eggs?
Return back north to where you began exploring the area and turn your attention to the east, this time making your way south along some cliffs. Be sure to grab a Melted Shard of a Ring hidden near some bushes as you go. Continue south until you find a path to the east, which is guarded by a bear. The quality of foes you’ll encounter in this area varies considerably, and this is an example of the lower-end of the scale. This thing is weaker than most Trollhounds you’ve fought, so you really shouldn’t have any trouble defeating it.
After disposing of the bear, search some bushes to the south to find a hidden cache of gems and a Token of the Dryad, then continue east to find more hostile wildlife in the form of three Ferocious Wolves, two Alpha Wolves and a Worg. These beasts shouldn’t be much of a threat even without spells, but a single Grease or Web spell will make things go much more smoothly. Put the canines down, then continue east to find a Melted Shard of a Ring hidden in some rocks [Perception 7].
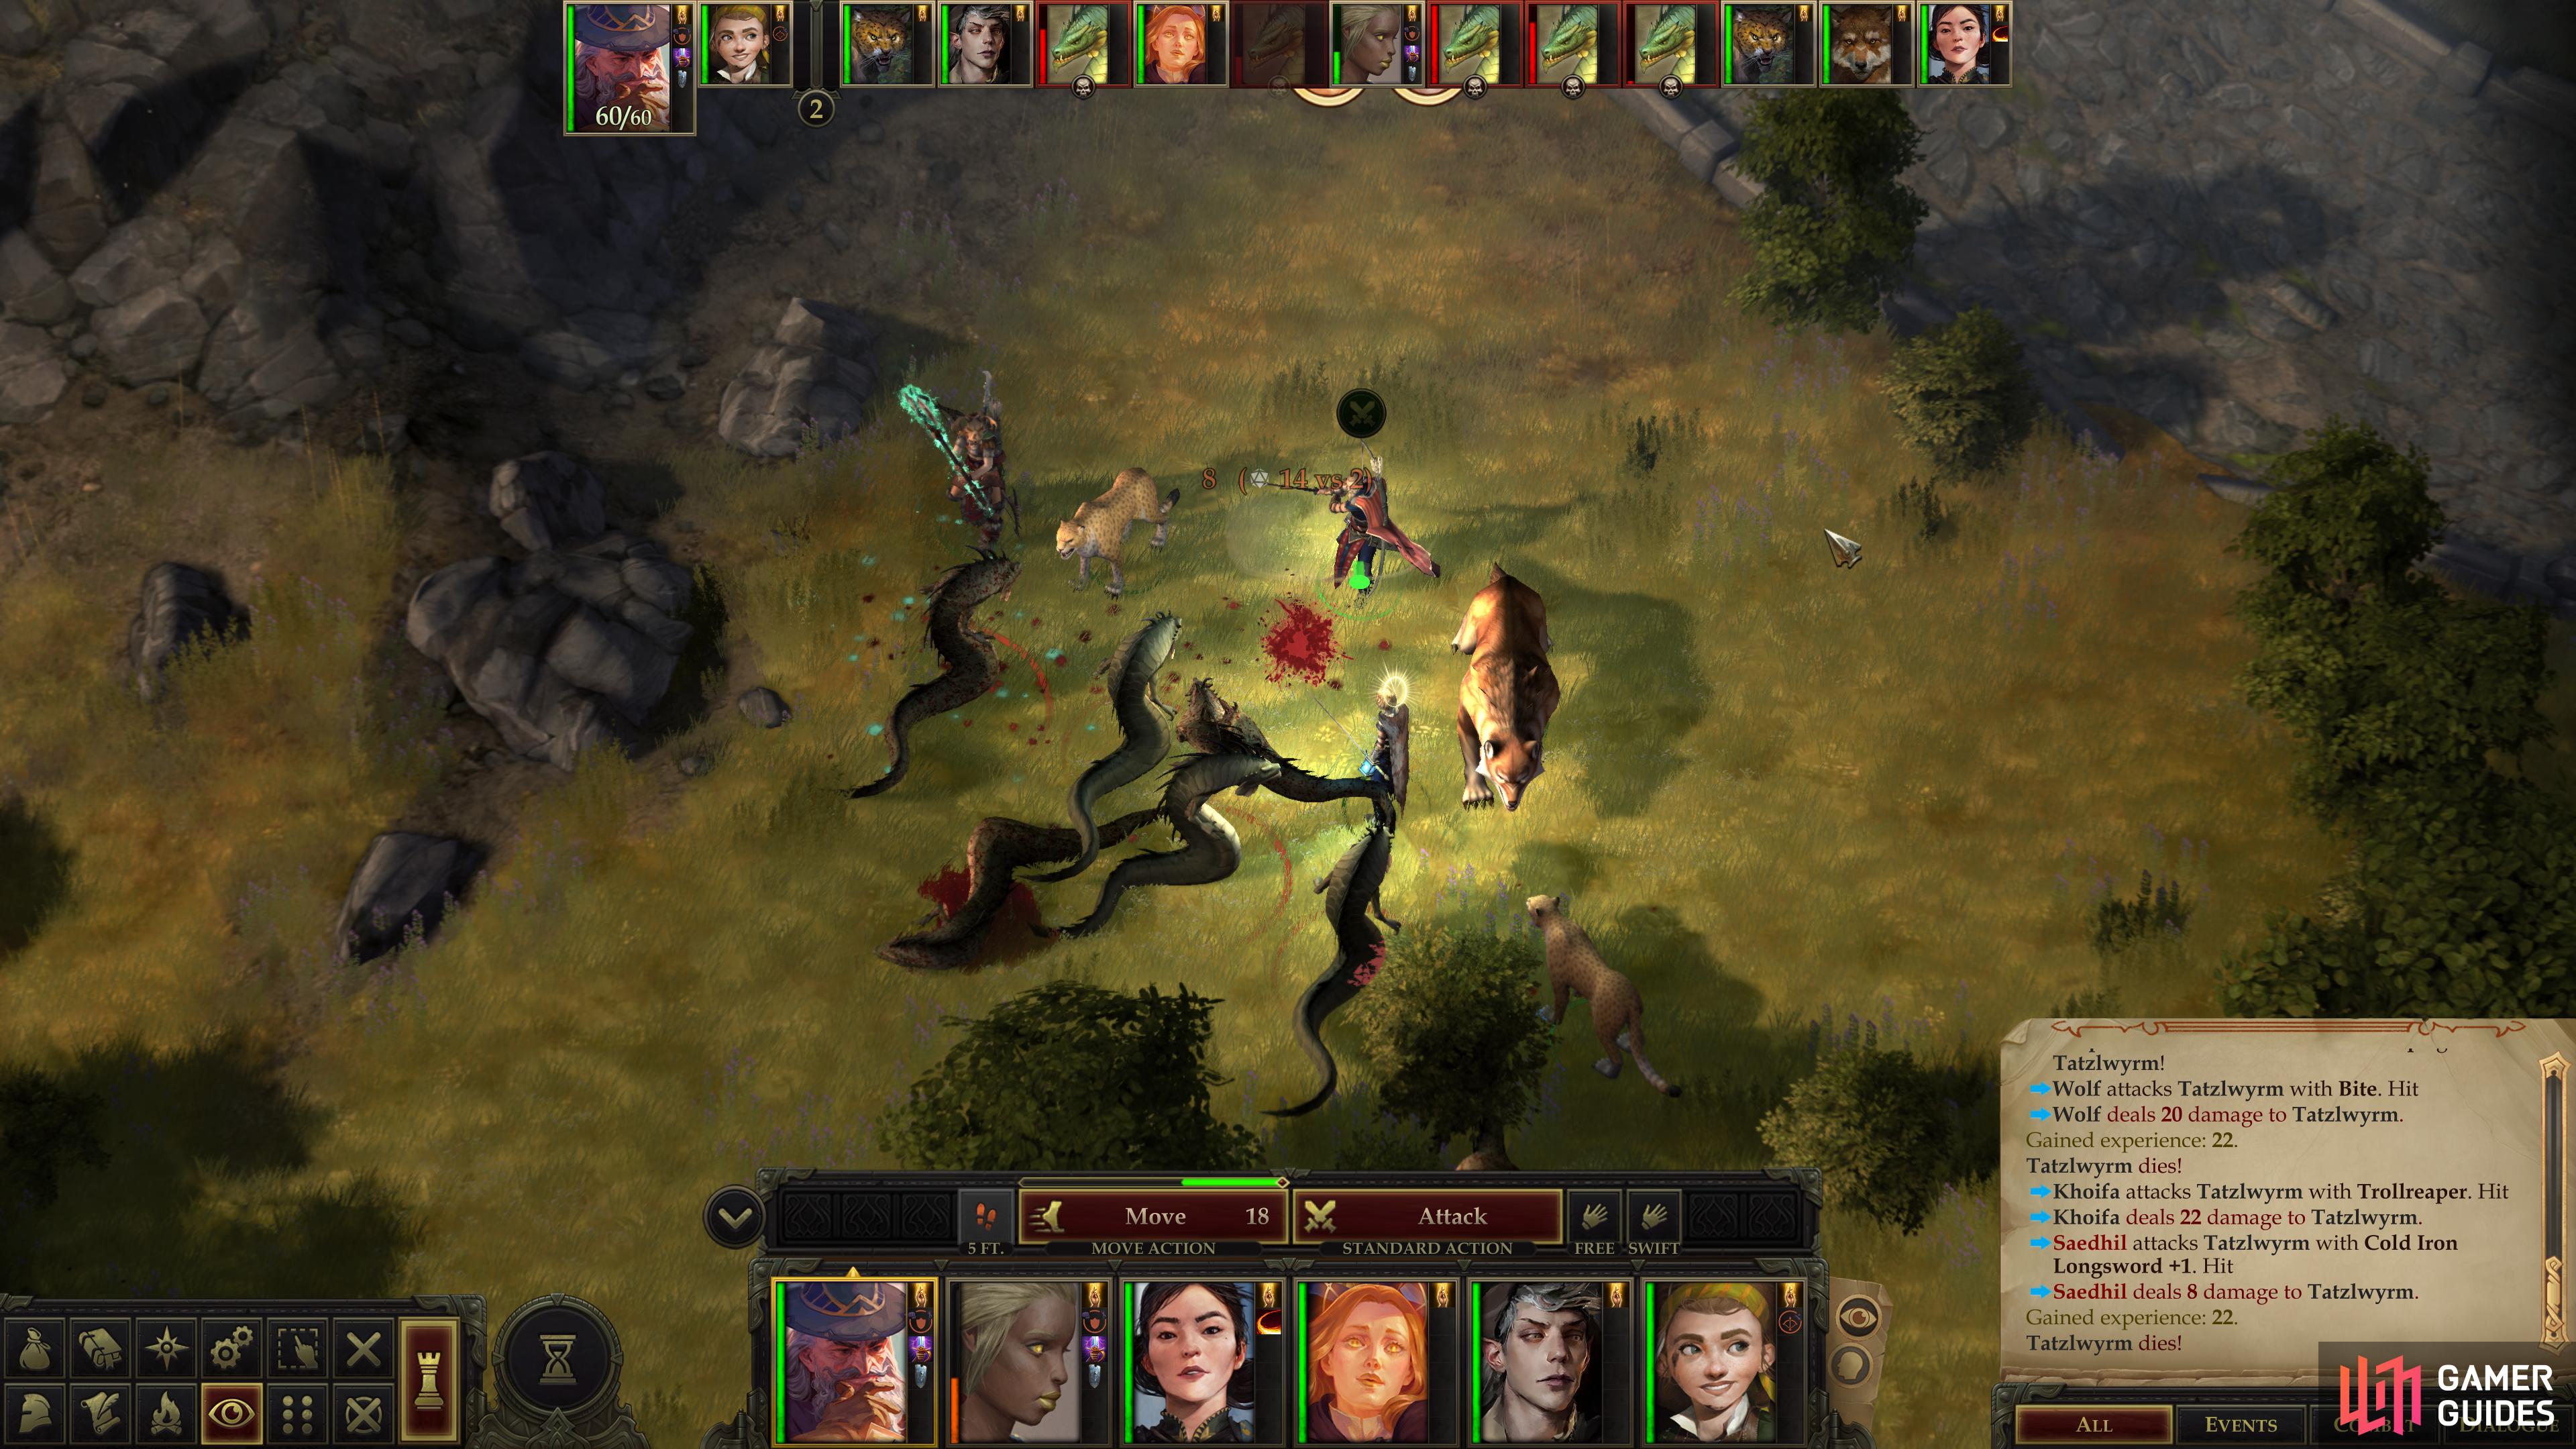
Defeat a pack of Tatzlwyrms,
then search a chest for a suit of Half Plate +2.
Battle: Tatzlwyrms
Return back west to the road that bisects the area and follow it south until it veers off to the southeast. At this point, head off-road to the southwest to find a pack of Tatzlwyrms. There’s a lot of them, but they’re just not competitive anymore, so cut through them and continue west to find a chest hidden near some bushes. Pass a [Perception 10] check to notice the chest itself, and another [Perception 22] check to recognize that it’s trapped. Disarm the trap [Trickery 22] then plunder the chest for a suit of Half-Plate +2. While boasting an impressive +10 Armor Bonus, there’s a good chance you won’t need it, as it’s not better than a normal suit of Full Plate Mail when you consider the latter suit’s superior Maximum Dexterity bonus. It should still sell for well over 1,000 GP, though.

Battle: Wolves and Wargs on the Road
Make your way south from this chest to reach the river, then turn east to find some foliage near the road. Hidden amidst these plants is a pile of rocks [Perception 7], in which you’ll find a Taldan Warrior’s Dog Tag. Pocket this trinket, then venture north to reach the road, along which you’ll find another pack of mutts (five Ferocious Wolves, an Alpha Wolf and a Worg) blocking your path. Put them down with raw muscle or use magic to assist you, then save your game.
Battle: Hodag Trio
Venture off-road to the east, and once you’ve cleared the road, immediately turn south and follow the edge of the road to find a pile of rocks near some bushes, in which you’ll find another Taldan Warrior’s Dog Tag. Continue south along the road until you reach the river, at which point turn east and follow the river until you find a more substantial pack of foes - Hodags. More specifically, a pair of Hodags and a Ferocious Hodag.
Encounter: Crag Linnorm
While more powerful than the other paltry fare you’ve encountered thus far, these Hodags should be far from threatening. Their Armor Class is mediocre, although their Hit Points are good, and while they get a lot of attacks per round, neither their Attack bonus nor their damage are anything special. Put these relatively trivial foes down and continue east if you wish to see one of this area’s more substantial enemies, but you should save your game before you do.
Along the river to the east of the Hodag pack you’ll find a cave, and the bones outside are an indication of the peril that lies within. Enter the cave and venture north to encounter a Crag Linnorm, by far the largest - and most dangerous - foe you’ve yet had the misfortune to meet. This massive, primeval, wingless dragon is in all likelihood too much for your party to handle now, or for some time to come.

(1 of 3) The Crag Linnorm is a powerful foe - its breath weapon can deal immense damage.
If you wish to give it a shot, by all means; Haste will prove essential, and its Attack Bonus really isn’t so high that a top-tier tank can’t avoid all its attacks. Be sure to use Resist Energy, Communal and Protection from Energy, Communal to resist its potent breath weapon (fire), which doesn’t care how high your tank’s Armor Class is. Even with those preparations, it has a high Armor Class (even superior to Torpor, the Great Nightmare), regeneration 10 Hit Points per round (unless you have Cold Iron weapons) and Damage Reduction 15/Cold Iron. Still, with buffs and flanking, our Barbarian was able to hit it regularly, and shave off 20+ damage per hit - even managed a Critical Hit of 66 damage!
While it proved that our over-tuned 7th-level party could defeat this beast (at least, with a little luck), it’s probably an unreasonable expectation in general. We suggest sparing yourself the frustration and just coming back later when you’ve got a few more levels under your belt. Various quests will bring you back here - the Crag Linnorm isn’t going anywhere.
If you do insist on fighting it, use the preparations above and try to flank it. Many characters won’t be able to make meaningful contributions at lower levels due to the creature’s Armor Class and Damage Reduction, but most spells that directly deal damage (even touch attacks - the Crag Linnorm’s Touch Armor Class is abysmal) will work well enough. If you’re able to bring the beat down you can loot a corpse at the back of its den to score the following items of interest:
- Flaming Earth Breaker +2: A +2 Earth Breaker that deals 1d6 fire damage. A decent weapon at this point in the game, but not significantly better than the Flaming Glaive +2 you could have obtained back at the Bald Stones area.
- Professor’s Hat: Gives the wearer +200 lbs. encumbrance capacity and a +2 bonus to all skill checks. Very useful for low Strength characters with many useful skills, like Linzi.
- Extend Metamagic Rod: Allows the user to imbue spells with the Extend Metamagic Feat (doubles spell duration) three times per day. Put this on whichever character tosses around the most/best buffs.
- Taldan Whip: An artifact of interest to the Antiquarian.
- Of Transmutations and Bodily Poisons, Part II, which is part of the quest An Ancient Formula. There are easier ways to get this volume, so don’t sweat it.
Again, we do not expect you to have these items at this point in time, so don’t fret about it too much.
Battle: Bears, Worgs and Wolves in the East
From the Crag Linnorm’s cave head west along the river, and the first opportunity you get to turn north, take it, whereupon you’ll shortly find yourself running afoul of several Bears. Kill them, then turn east and when the path splits head northeast to find a dead-end where an observant party can find [Perception 15] numerous Gems hidden under some branches.
Backtrack south to the fork, then continue east to find yet another pack of hounds, this time consisting of an Alpha wolf, two Ferocious Wolves and a Worg. Defeat them, then continue east to find their boneyard, where you can locate some branches obscured by the foreground under which waits a Scroll of Cure Serious Wounds and 100 GP, along with other trinkets.

Battle: Bandits
With that, you’re done with all the land north of the river - time to cross the bridge this area is named after and explore the significantly smaller and less interesting strip of land to the south of the river. Just return to the road and follow it south across the bridge, and once you’ve made it to the southern side of the river, abandon the road and make your way east, then north to reach the river, which you should then follow east. When your way is blocked by bushes and boulders, turn south to reach a bandit camp, occupied by five bandits all wearing Chainmail and bearing Heavy Shields and Longswords. They may have been a threat back when you were still stomping about the Outskirts, but by now, they’re simply outmatched and lacking diversity.
Cut short the lives of these bandits, then search their camp for a variety of treasures. A bush to the northwest of camp will yield a Scroll of Hold Person and a Scroll of Haste, a sack near a tent on the northern edge of camp will make you richer by one unit of Sweet Syrup, and a Taldan Warrior’s Dog Tag is hidden in some rocks west of the camp [Perception 7]. Hidden in some branches north of the camp you’ll find a variety of jewelry and gold as well as the Arcane Protector, a +1 Dagger that gives its wielder a +3 dodge bonus to Armor Class and immunity to nausea. Finally, loot a crate along the southern end of the camp to score a Phylactery of Negative Channeling and a locked [Trickery 24]… tarp…? To obtain various scrolls, jewelry and some gold. Pretty lucrative for a camp of weaklings.
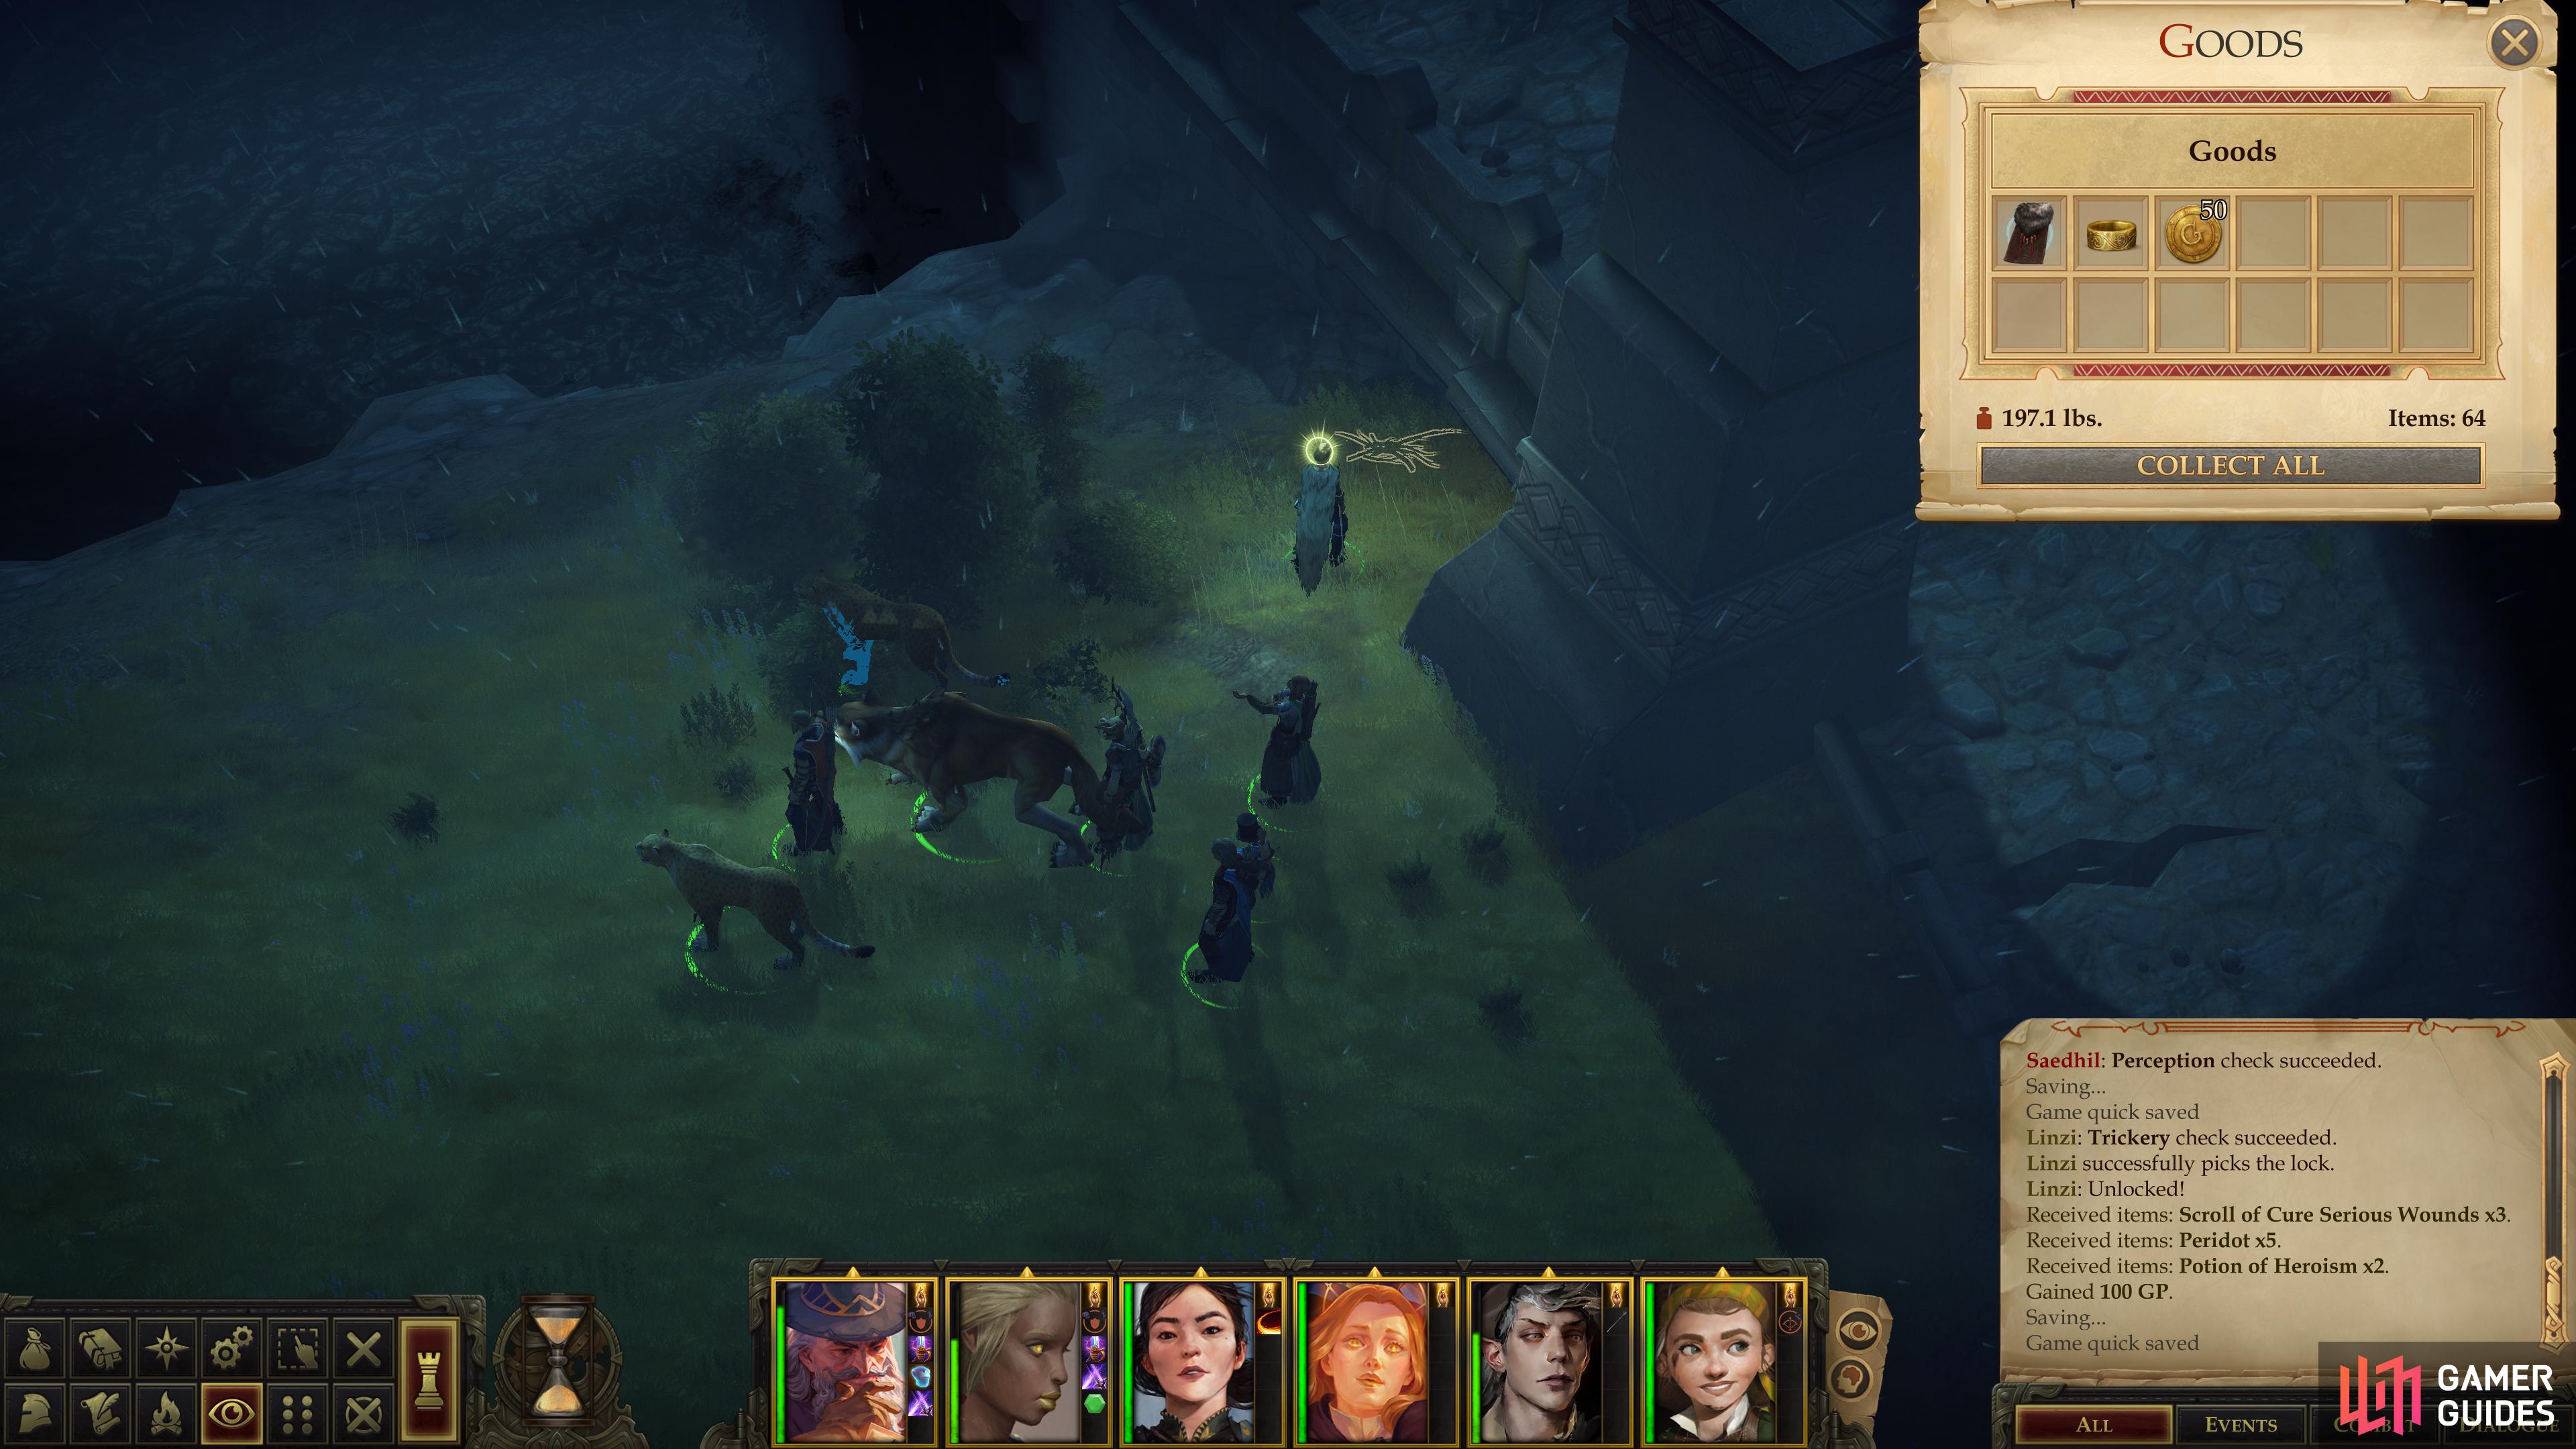
To finish off this looting spree, follow the foliage south of the bandit camp to the west, then south, keeping your eye out for a hidden chest [Perception 22] near the southern edge of the area. If you can get inside the check [Trickery 24] you’ll be further rewarded with three Scroll of Cure Serious Wounds, five Peridot gems, two Potions of Heroism, and 100 GP. Quite a generous area, this.
Battle: Wolves and Worgs in the South
Follow the road back north to the bridge, then veer off the bridge to the west. Be sure to search the bushes west of the bridge to find some branches, which conceal a Cloak of the Winter Wolf (an item really only useful for characters who use bite attacks) and some other treasures. Once done, continue stomping off to the west, only to find your way blocked by yet another pack of wolves. This group consists of two Alpha Wolves, four Ferocious Wolves and a Worg, and like the rest of the canines in this area, they can be managed more easily if you slow them with an area-denial spell like Entangle, Grease or Web.
Kill the wolf pack, then search some rocks [Perception 7] to the south to find another Taldan Warrior’s Dog Tag. After claiming this treasure, continue west until you reach a fork, at which turn north and follow the path ahead as it swings west and runs along the river. At the end of this path you’ll find a cluster of branches which hide a variety of gems.
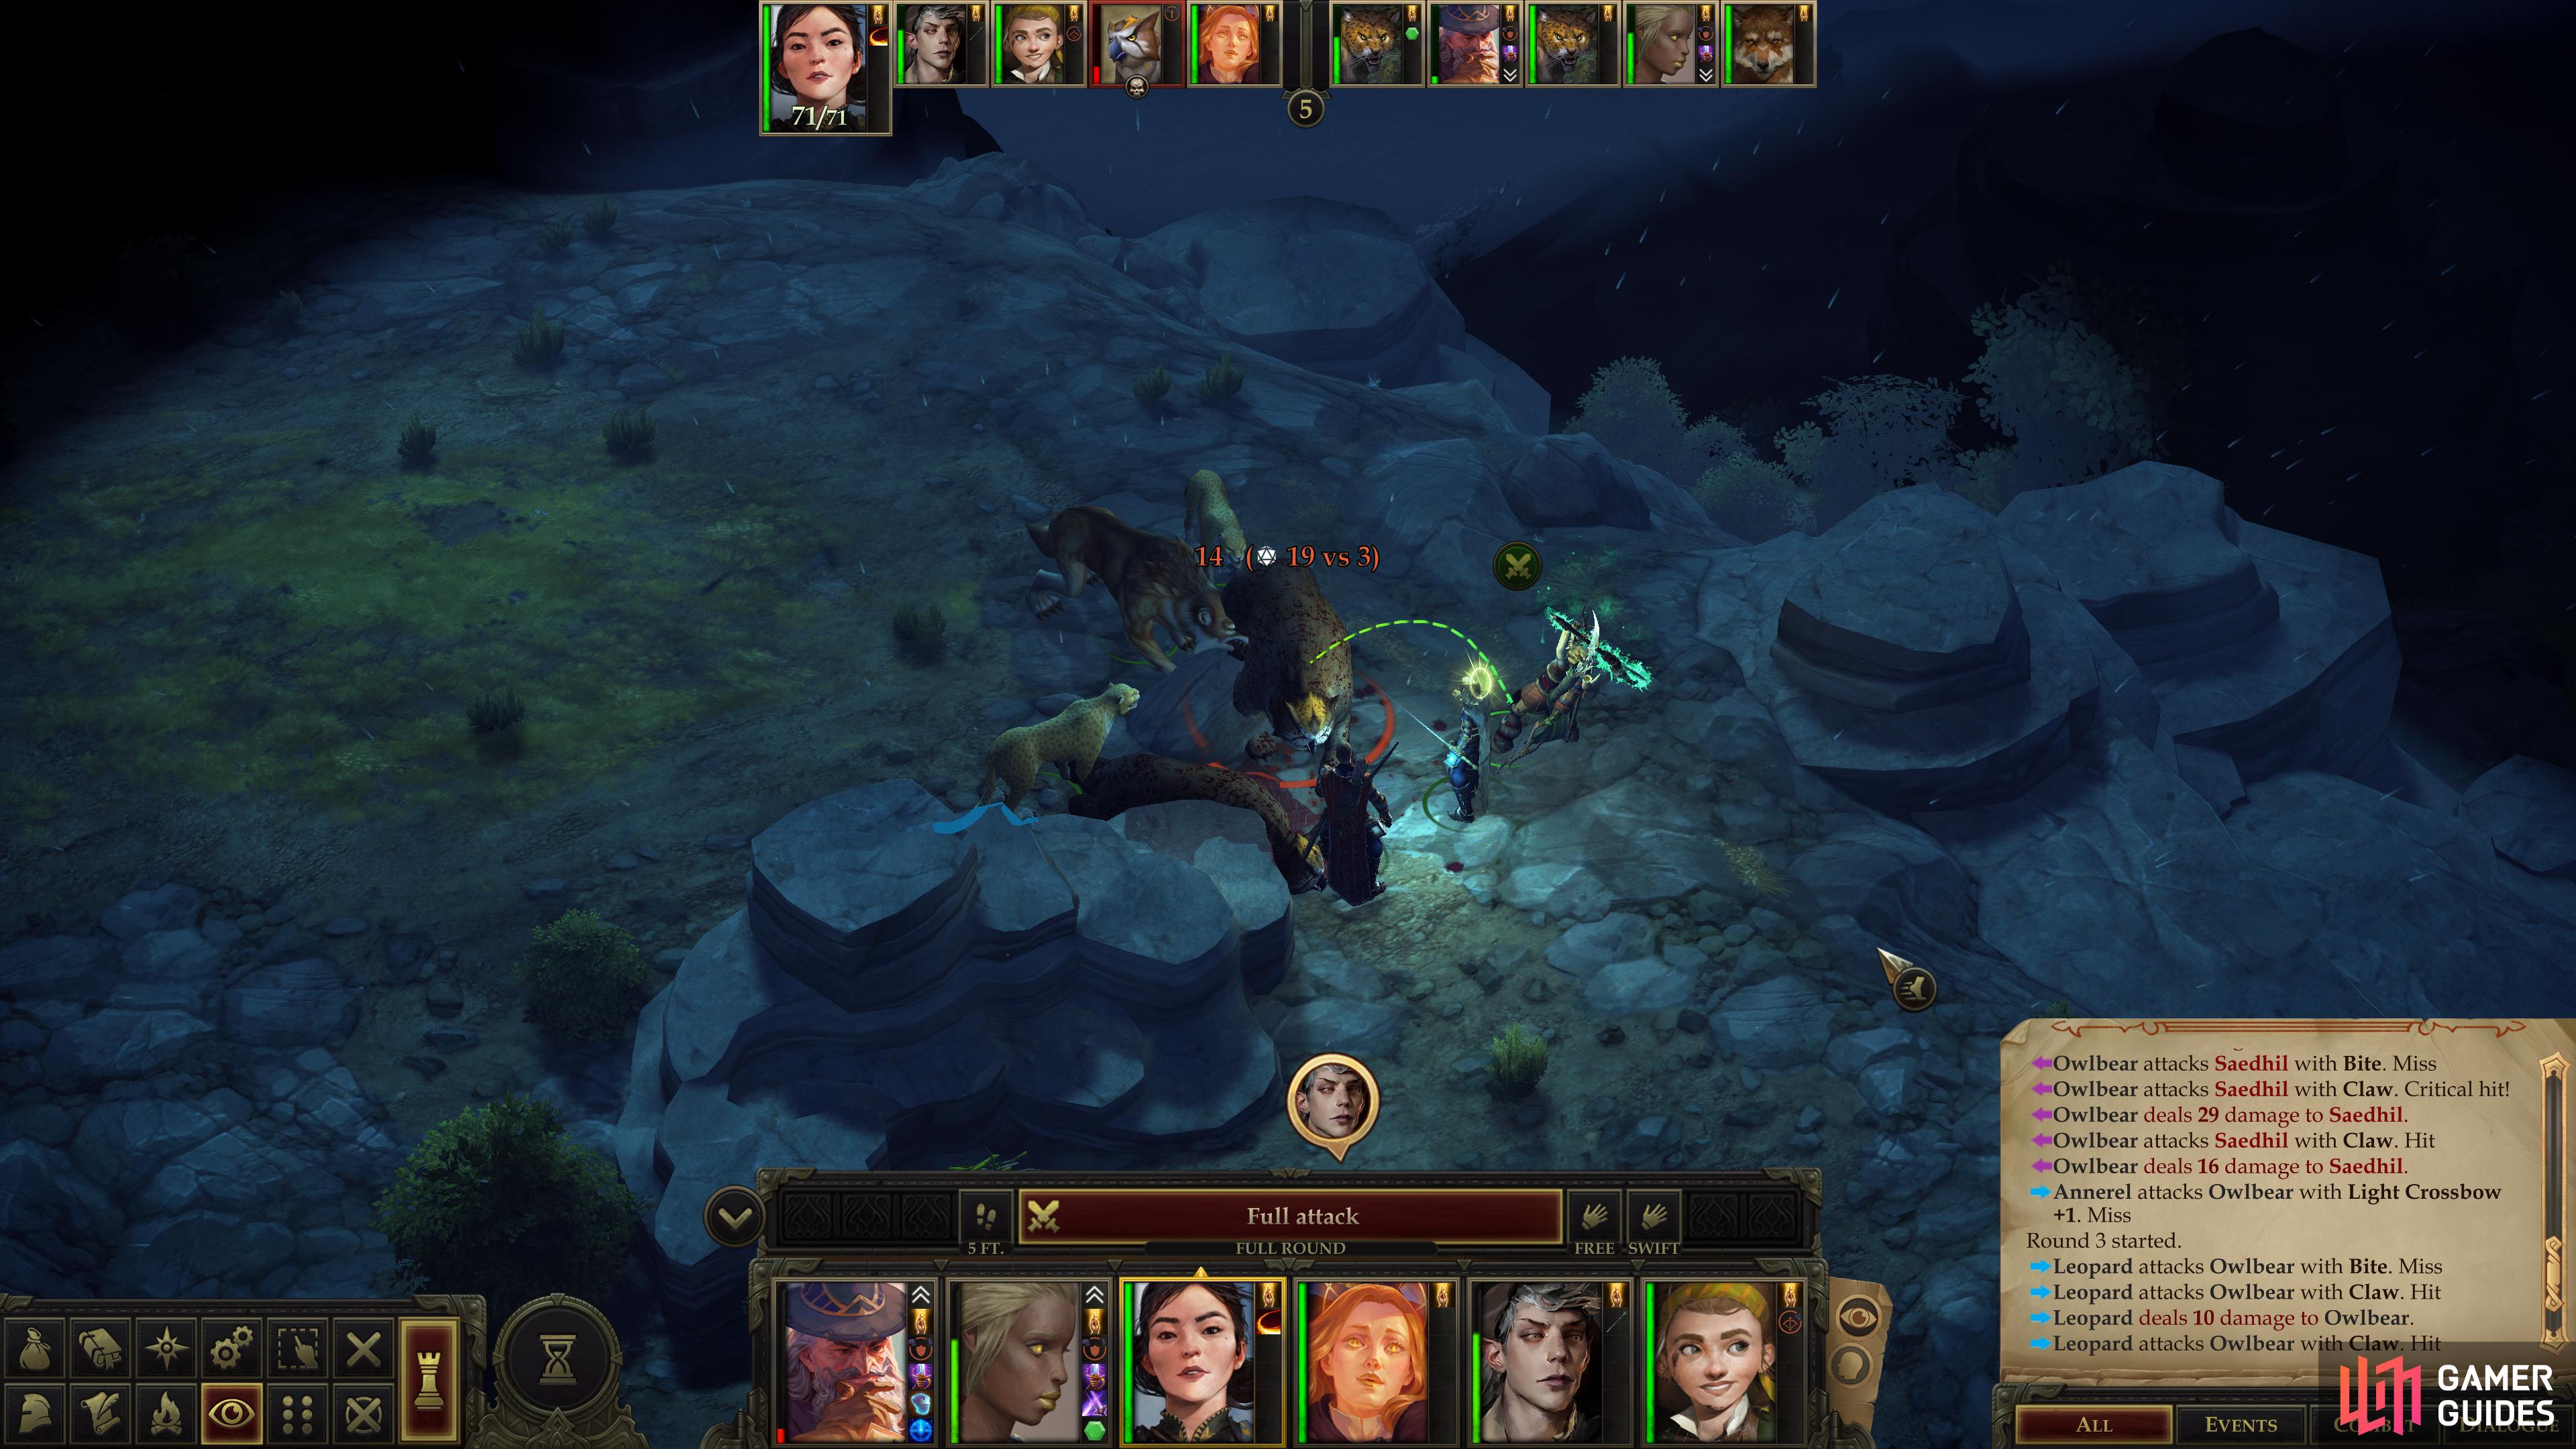
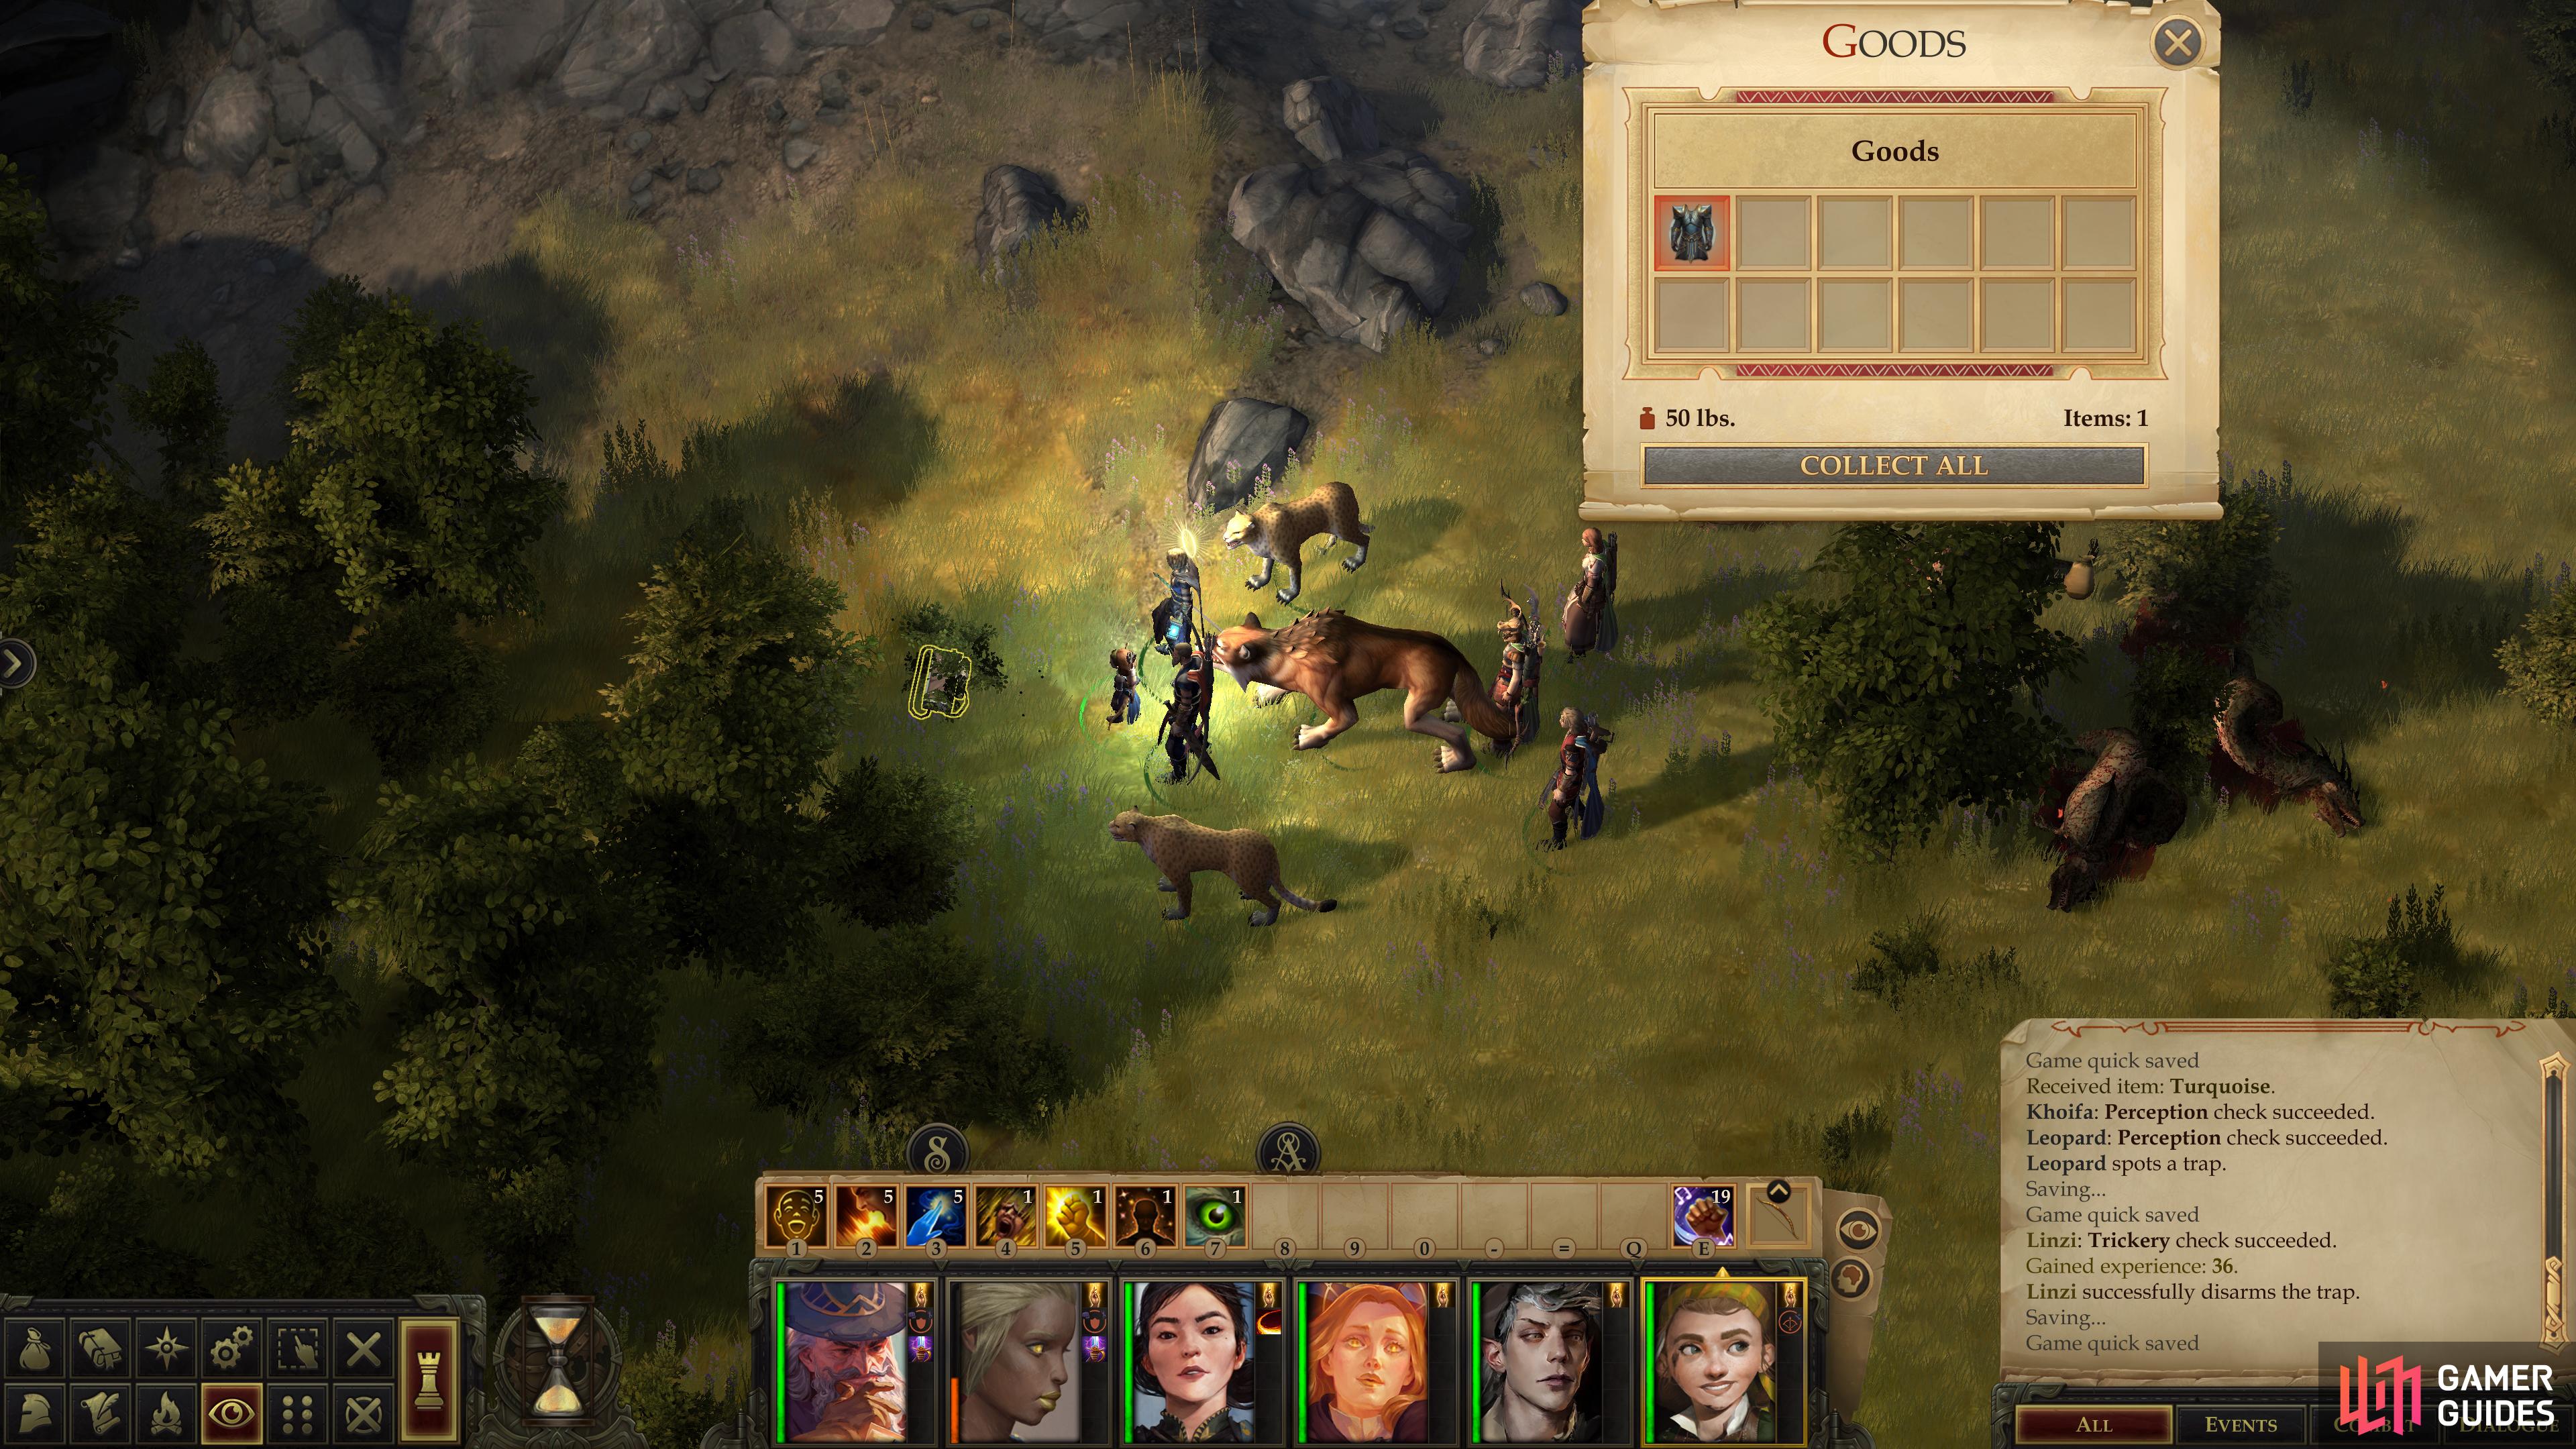
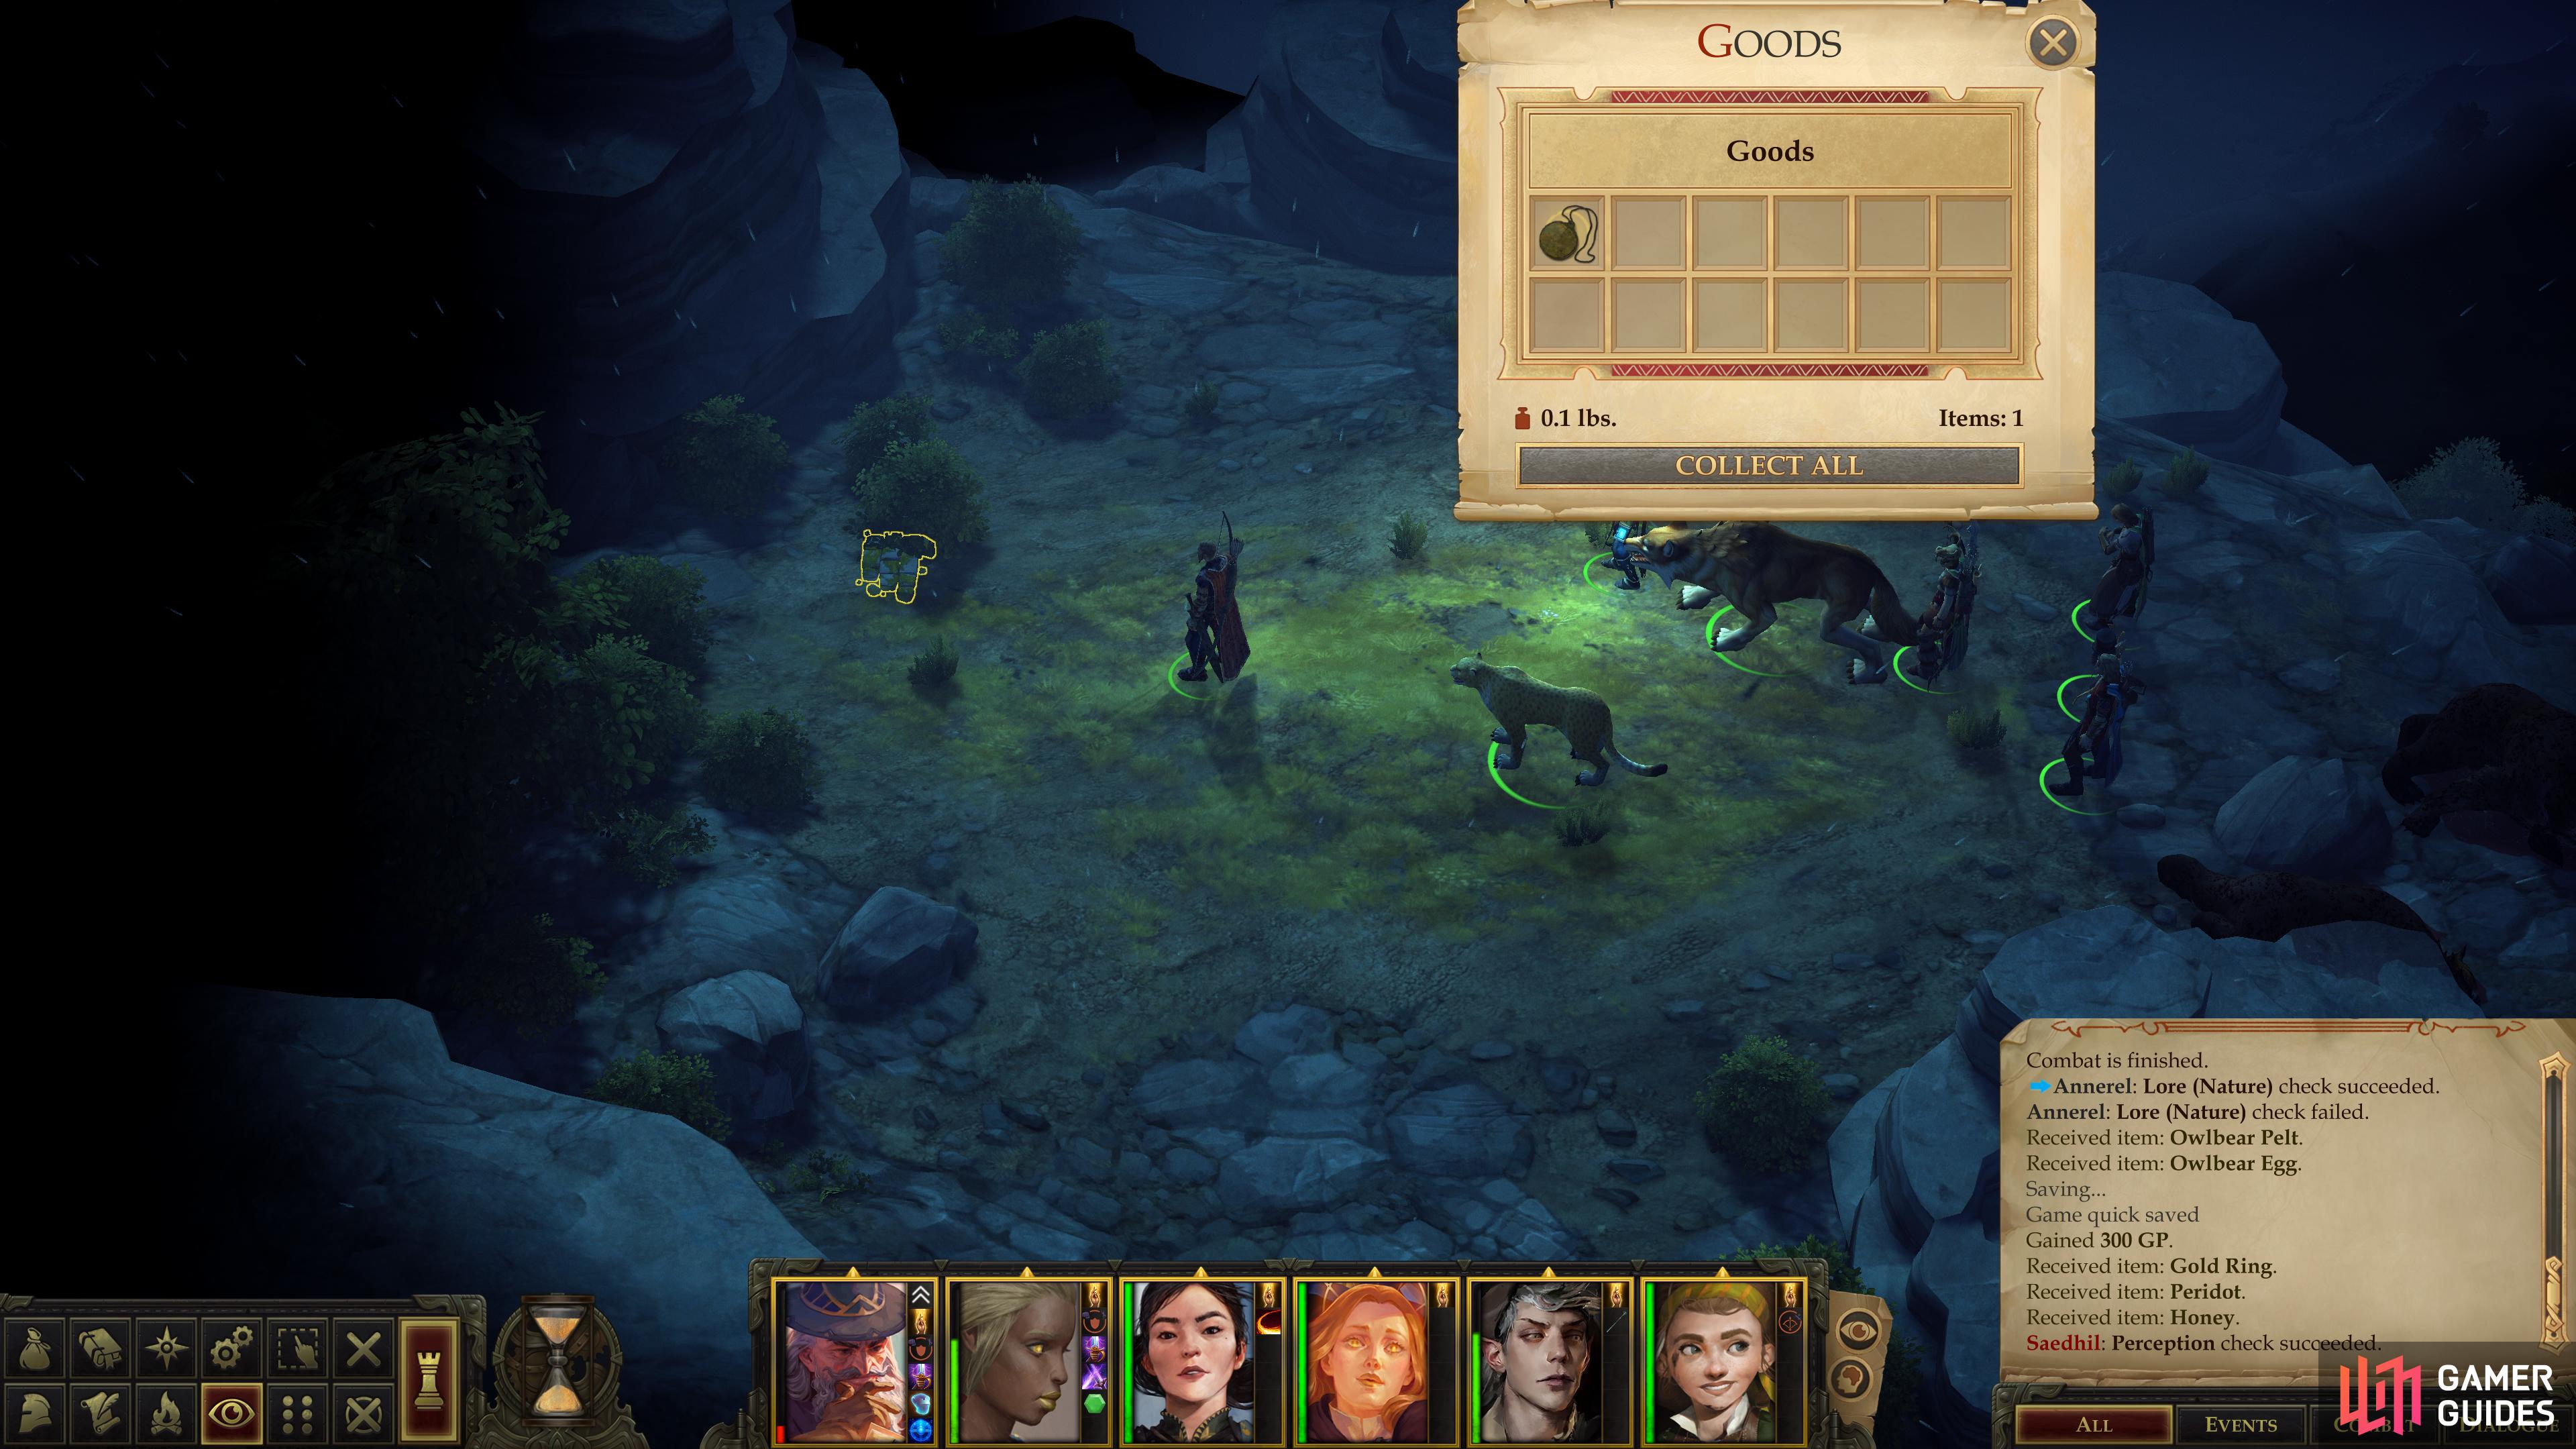
Defeat a pair of powerful Owlbears,
then pick up your fifth “Taldan Warrior’s Dog Tag” in this area.
Battle: Owlbears on High Ground
Claim these shiny stones as your own, then return to where you killed the last pack of wolves and continue west to find a series of flat stone ledges. Climb them with a successful [Athletics 22] check to reach the high ground atop the rocks and loot a bundle of sticks to claim 300 GP and various other treasures. Be wary, however, as a pair of Owlbears lurk to the north, and while they may not bear the same adjectives as others you may have encountered, they’re still ludicrously overpowered, boasting an Attack Bonus of +24 (assuming no other modifiers are applied), deal significant damage each hit and have a ton of Hit Points. Play it safe and buff yourself with Haste, while debuffing them with Slow to ensure victory, then continue north to find a hidden pile of stone [Perception 19] in which lies a Taldan Warrior’s Dog Tag.
Having gathered that final bit of loot, you’re done with this area. To return to the capital from the Bridge Over the Gudrin River, make use of the following directions:
- West (path runs along the Gudrin River)
- North
- West
something i found out is that dispel magic can remove his freedom of movement so u can slow him its not easy to pass but if u got octavia with her DC increase its not imposible if u do manage to pass it the fight is quite much easier also 2 things saved me personaly my MC was rogue with daggers (and the game give u early 1 cold iron dagger) plus the creature is evil so if u have access to wrathfull weapon (cleric 4th lvl spell) its a free 2d6 dmg that helps a lot to bypass that 15 dr other than that octavia does rly good dmg to it with snowballs 40 per maximize ( u can get the rod at your barony) and she hit almost always if u also have intensified spell metamagic you can do some rly good dmg
something i found out is that dispel magic can remove his freedom of movement so u can slow him its not easy to pass but if u got octavia with her DC increase its not imposible if u do manage to pass it the fight is quite much easier also 2 things saved me personaly my MC was rogue with daggers (and the game give u early 1 cold iron dagger) plus the creature is evil so if u have access to wrathfull weapon (cleric 4th lvl spell) its a free 2d6 dmg that helps a lot to bypass that 15 dr other than that octavia does rly good dmg to it with snowballs 40 per maximize ( u can get the rod at your barony) and she hit almost always if u also have intensified spell metamagic you can do some rly good dmg