Boss Battle: Barthandelus
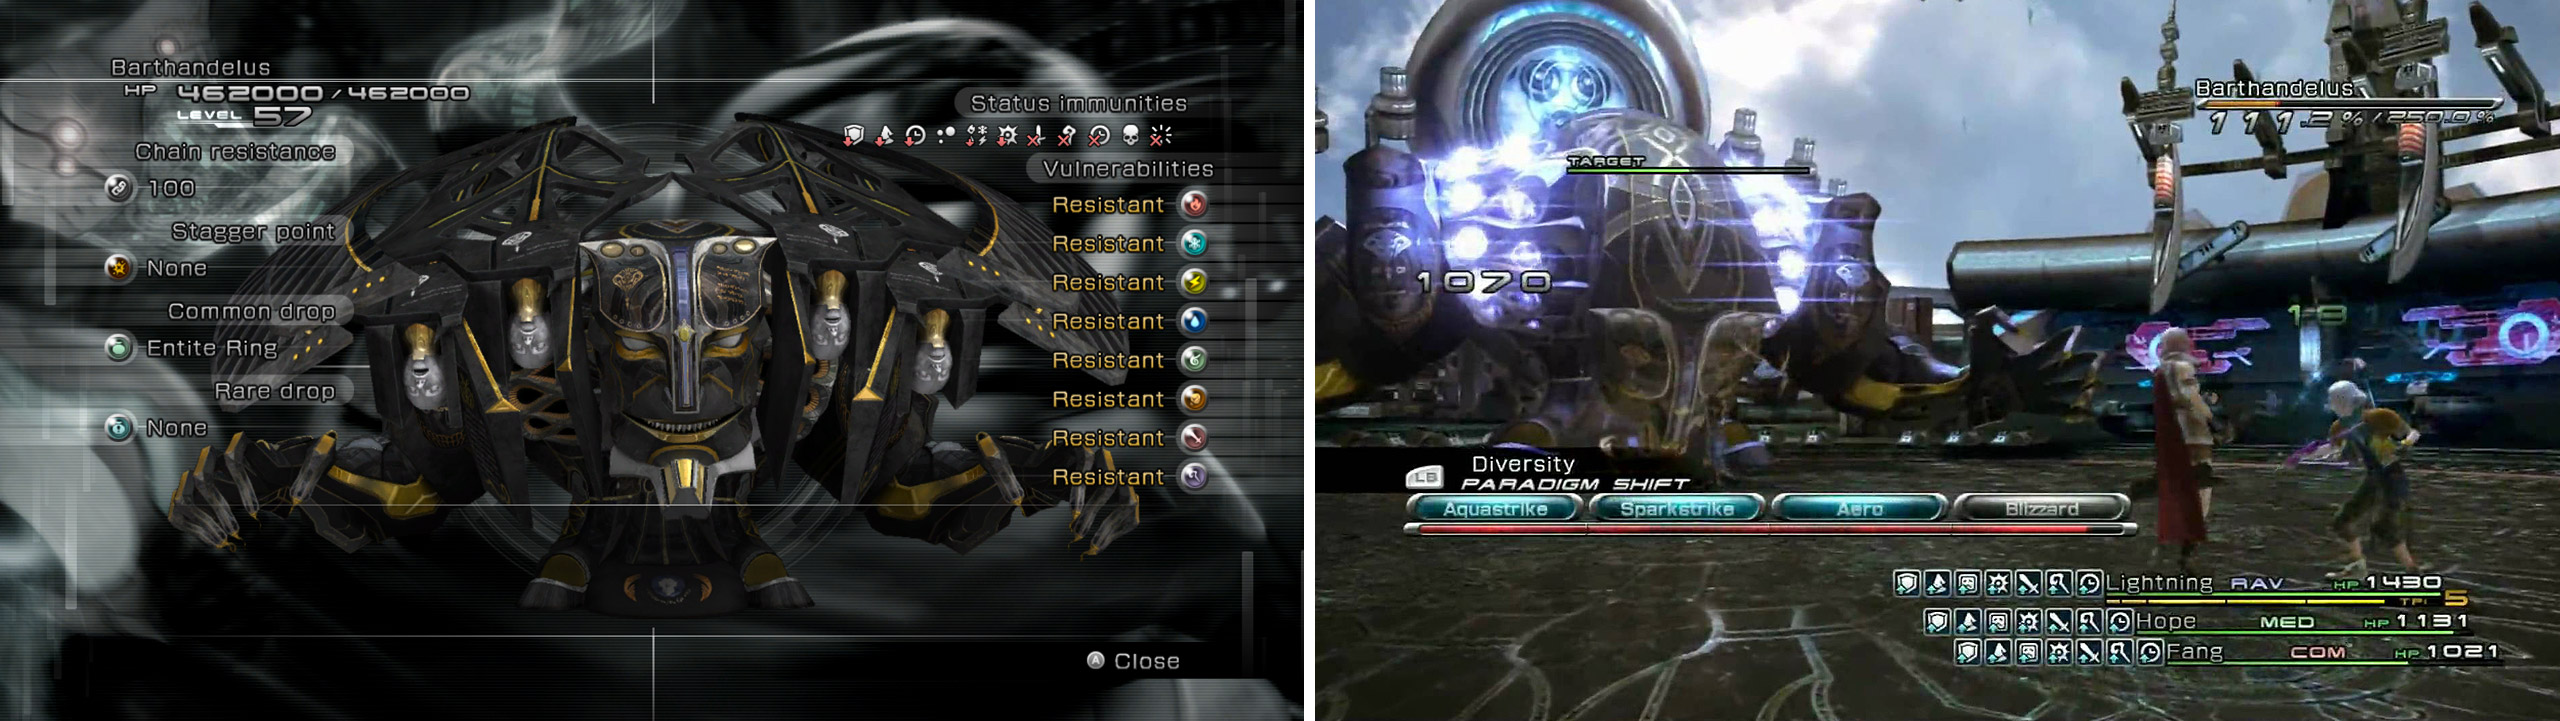
Barthandelus has four adornments attached to the sides of his head that bestow him with elemental protection and also attack the party.
| Barthandelus | Stats |
|---|---|
| Level / HP | LV 59 / 462,000 HP |
| Strength / Magic | 73 STR / 0 MAG |
| Stagger / Chain Res. / CP | None / 100 Chain Resistance / 6,000 CP |
| Vulnerabilities | Resist (All Elements) |
| Common Drop / Rare Drop | Entite Ring (100%) / None |
The effects of the Aegisol and Fortisol work for five minutes before they dissipate, so you’ll need to work fast. Also, having your ATB configured at slow is bad for this battle, so don’t do it. Let’s begin!
Toss a Librascope straight away… wow, five targets. The main head is resistant to everything, so your first task is to get rid of the four side heads. Each head absorbs one element, is weak to the opposing element, and halves damage from all other elements, hence why a Librascope is a wise idea at the start of battle. Have COM/COM/RAV attack once, then switch to RAV/RAV/RAV until the head is broken and then destroyed.
The side heads will start the fight by using simple elemental spells, but as you destroy two of them, Barthandelus will use Magic Amplification to upgrade elemental spells from level 1 to level 2. When the third head is destroyed, Magic Amplification is used again to upgrade elemental spells from level 2 to level 3. He also aids the side heads by casting Enchanted Veil and Mystic Aura on them, which adds the buffs Protect, Shell, Haste and Faith. Disregard that and just keep attacking.
Once all four side heads are history, the Chain Gauge and Stagger threshold are lowered, and status affinities change. Switch to COM/COM/SAB or RAV/RAV/SAB and assault until either Deshell or Imperil stick on the main boss, then switch back to COM/COM/RAV or RAV/RAV/RAV. Healing with Potions is recommended, but if it can’t keep up with damage, switch temporarily to MED/RAV/MED.
Barthandelus primarily uses magic attacks, and two are worth mentioning. The first is when his head gains the shape of many cannons ( Thanatosian Smile ) and it shoots a straight beam for about 500 damage to everyone caught in the blast (he will laugh before using it as an indication). The other attack is when he gains a specific stance and you’ll hear charging sounds - this is his ultimate move Destrudo , which is released after 30 seconds of charging. At this point, you must keep attacking him at all costs .
Once you deal 12000 points of damage, Barthandelus will flinch, but still keep charging. If you made him flinch, you succeeded in forcing him to launch less projectiles at you - from 20 projectiles to 12. If you accumulate a further 8000 points of damage, the amount of projectiles launched will be lowered to a measly 6. Check your HP too - if it’s below 50% maxHP, toss Potions. This is also the reason why setting the ATB to slow would be bad - your ATB would move slower, and the shrouds’ effects could wear off at a most unfortunate moment.
You may obtain Aegisol after battle.


No Comments