

The Swordlord’s Offer
Your adventure begins in the banquet hall of a rather massive mansion, having gathered here under the vague pretense that the “Aldori are looking for heroes”. Whether your personal motivations involve doing heroic deeds for the sake of such deeds needing done, or because such heroics usually put one in a position to profit is, of course, your own business. Another, more impatient adventurer named Amiri complains about the tardiness of your hosts, only to be chastised by a rather obnoxious Gnome (as if there’s any other type) named Tartuccio. After a bit of expositional dialogue your hosts will be introduced to you: Swordlord Jamandi Aldori and Lord Mayor Joseph Sellemius, who will arrive and explain matters to you.
As adventurers, your job, of course, is to embark on a grand adventure! Your reward for doing so in this case is lands, titles, and semi-autonomous rule of your own little domain. All you need to do is venture south into the Stolen Lands (apt name, given both its current “ruler” and your own intentions) and wrest control away from a bandit leader who styles himself as the Stag Lord. Ask what question you will, along with pertinent gems like which of the gathered adventurers will, exactly, become the head of this new state, and what your benefactors stand to gain from sponsoring such an effort, after which it’ll be time to rest up and prepare yourself for your aforementioned grand adventure. Even heroes need a good night’s rest, after all.
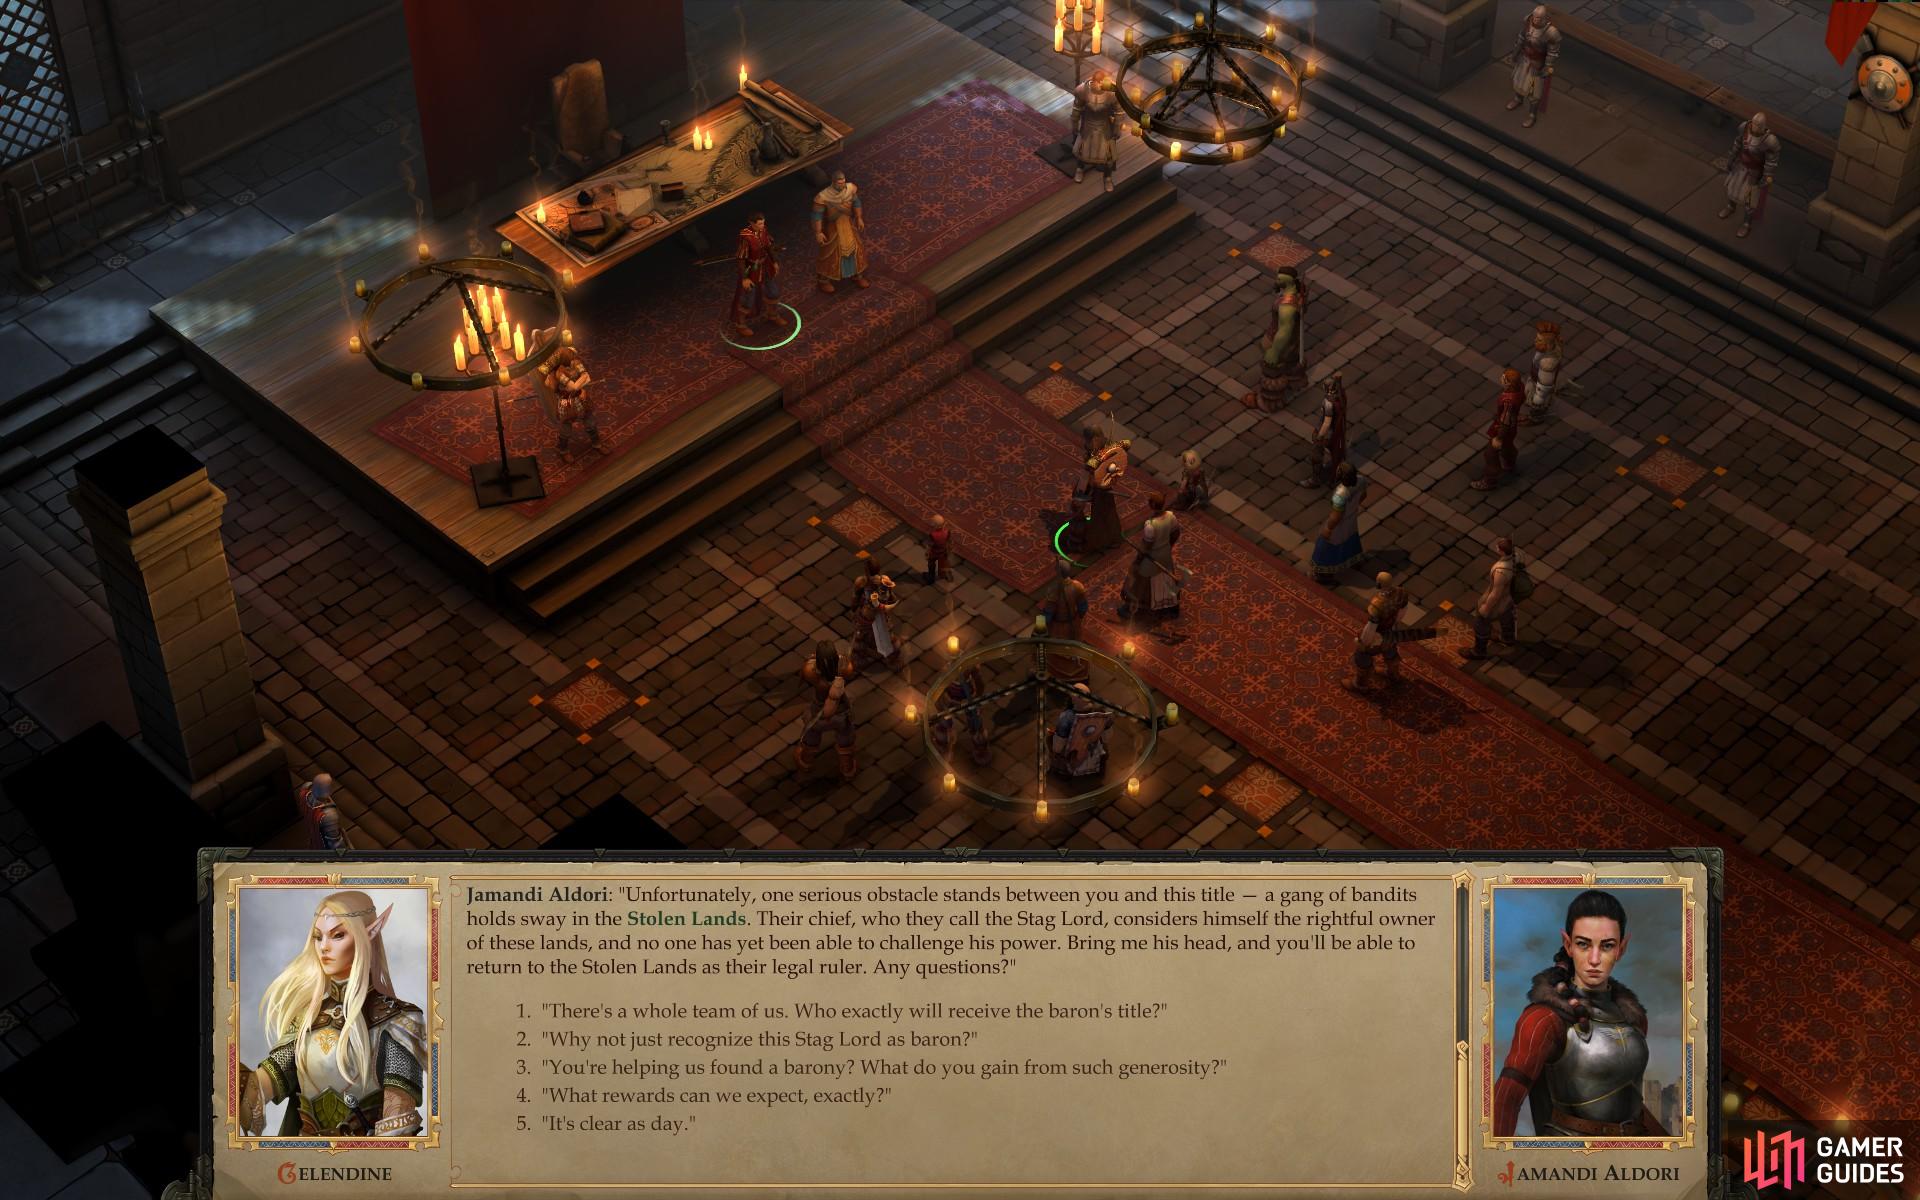
You’ll be given a quest by Lady Jamandi Aldori
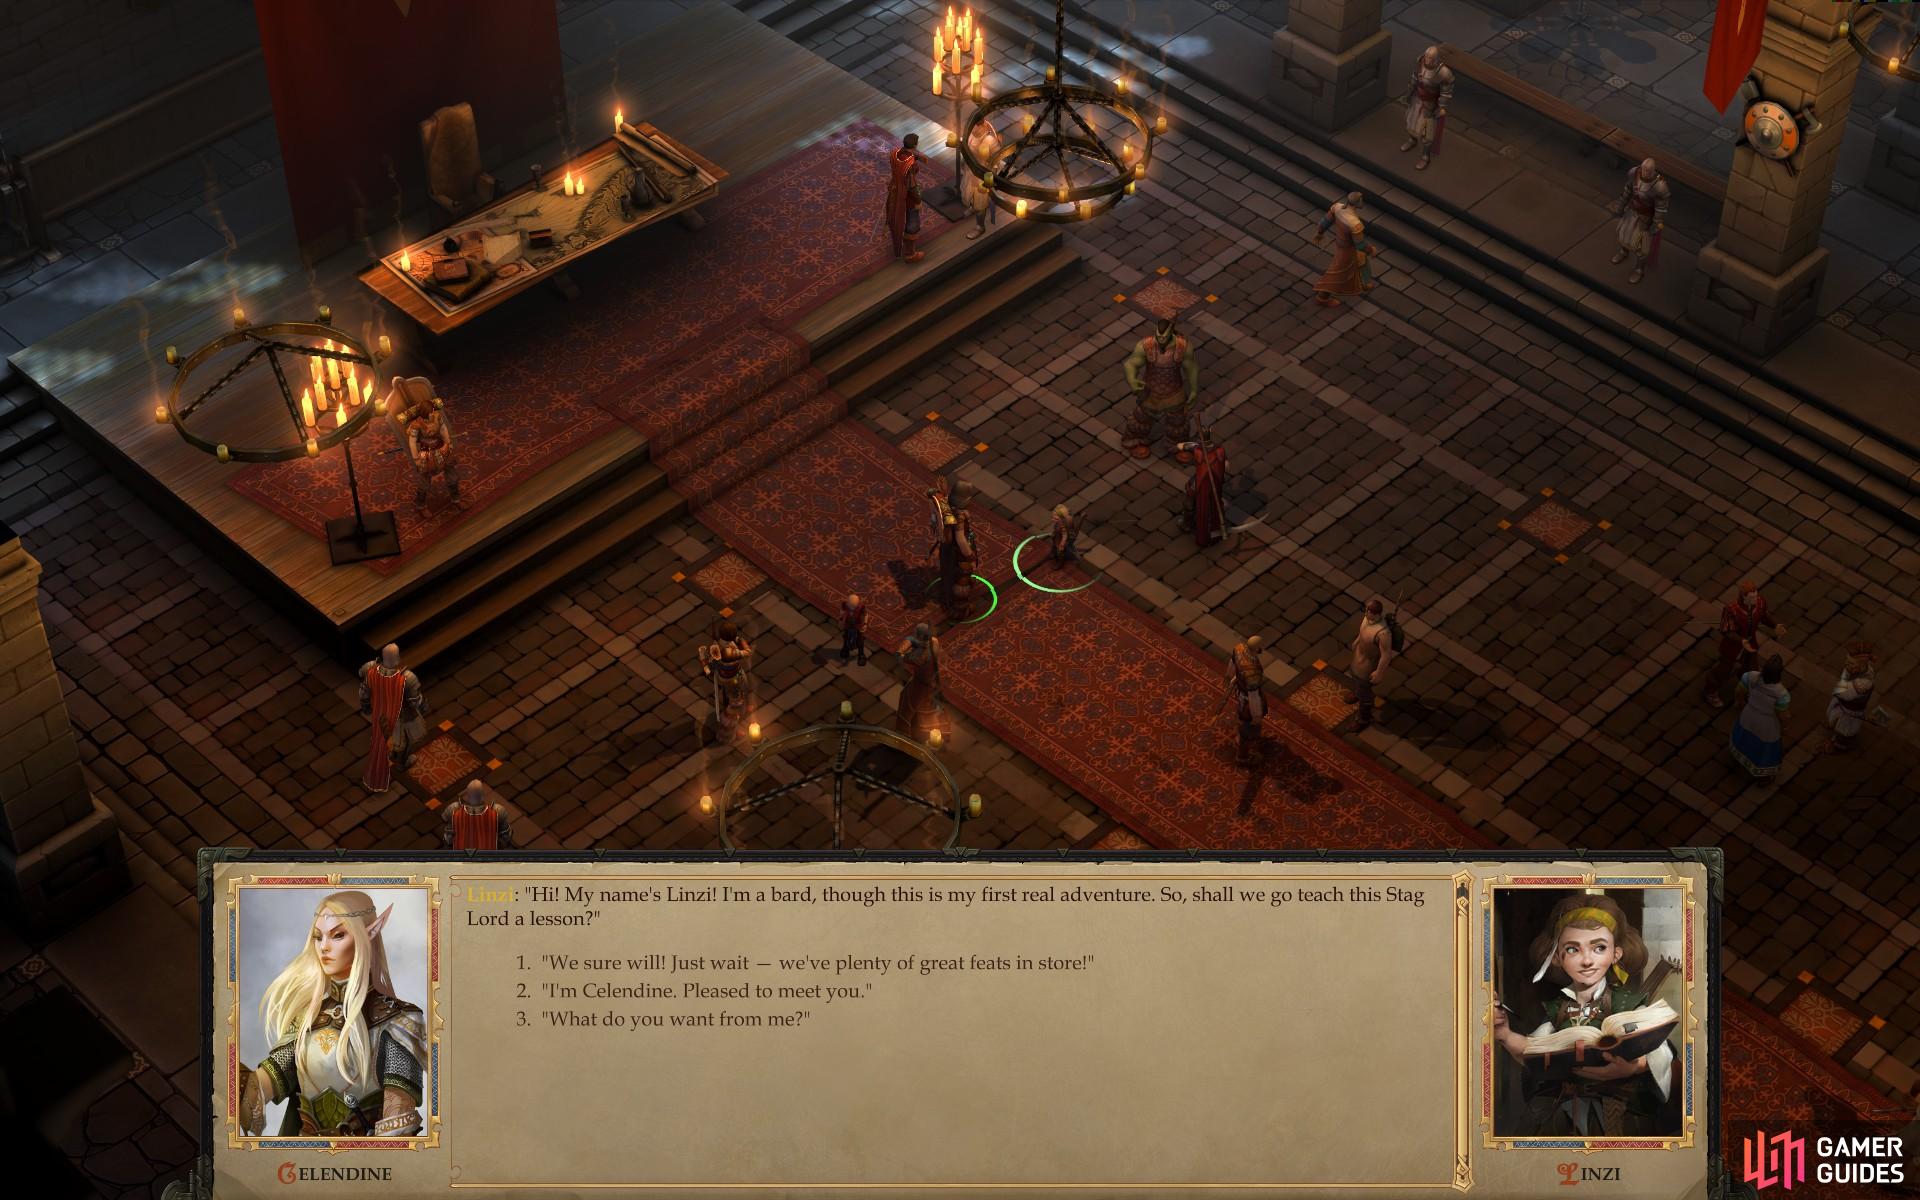
after which a Bard named Linzi will pester you, hoping to follow you and record your heroic deeds.
Before you can embark on such a lofty task, however, you’ll be bothered by a Halfling Bard named Linzi, who seems keen on making friends with you. A born follower, she’s already got her eye on you as a potential leader and subject of future works of her… but at least she’s capable of spotting Tartuccio for the contemptible wretch he is. Respond how you will, after which you’ll finally be left to your own devices in the banquet hall. There’s precious little reason to talk to everybody, and they’ll all filter off to bed soon, anyways, so you might as well take this opportunity to learn some of the basics.
Leave the Great Hall
To start you’ll be presented with tutorials on movement, controlling the camera and using the area exit. Move a character around by having them selected (left-click on your character, or click and drag a box to encompass them) and clicking on your destination.
If you’re playing full-screen, you can move the camera by moving your mouse cursor against the edge of the screen, which will then pan in the desired direction, otherwise you can use the good old WASD keys, arrow keys, or by depressing the scroll wheel button of your mouse and moving the mouse. You can also use the scroll wheel of your mouse to zoom in and out.
Clicking on other characters or objects while you have a character selected will cause that character (or characters) to interact with them. The action performed is context sensitive - clicking on a character talks to it (if non-hostile) or attacks it with your equipped weapon (if hostile), while most objects have a single, obvious function (open and close doors and chests, toggle levers, etc.).
A touch more advanced, but imminently quite handy, if your character has access to spells (you picked a spell-casting class or a pre-generated character with one) you can prepare your spells now. You know, just in case for some crazy reason you need them soon. Press the “B” button to bring up your spellbook, where the spells you know/have access to will be on the book in the center of the screen, while the memorization slots will be on the bottom left. Simply click and drag the spells you want to memorize into one of your empty spell slots, or double click the spell in the book to transfer it. Spells must be memorized before they can be cast - simply knowing them isn’t enough… unless you’re a Sorcerer, or similar sub-class, in which case you can freely cast your known spells. Most spells - save 0 level spells - can only be cast a finite number of times per day, after which you’ll need to rest to replenish them.
To cast spells, note the hotkey bar above your character’s portrait. These hotkeys do what you might expect if you played any computer RPG in the past twenty years: click on the icon and you’ll activate/select the indicated spell/ability/item. Above the hotkey bar you’ll find three icons, with the left-most one bringing up an expanded window of spells (which has its own tabs on the right side of the window to sift between spell levels), the center one doing the same for abilities, and the third being additional belt items. Icons in these windows can be activated or selected by clicking on them, and if you wish to have easier access of a particular spell/ability/item from an expanded window, you can click and drag its icon down to the hotkey bar to assign it to a hotkey.
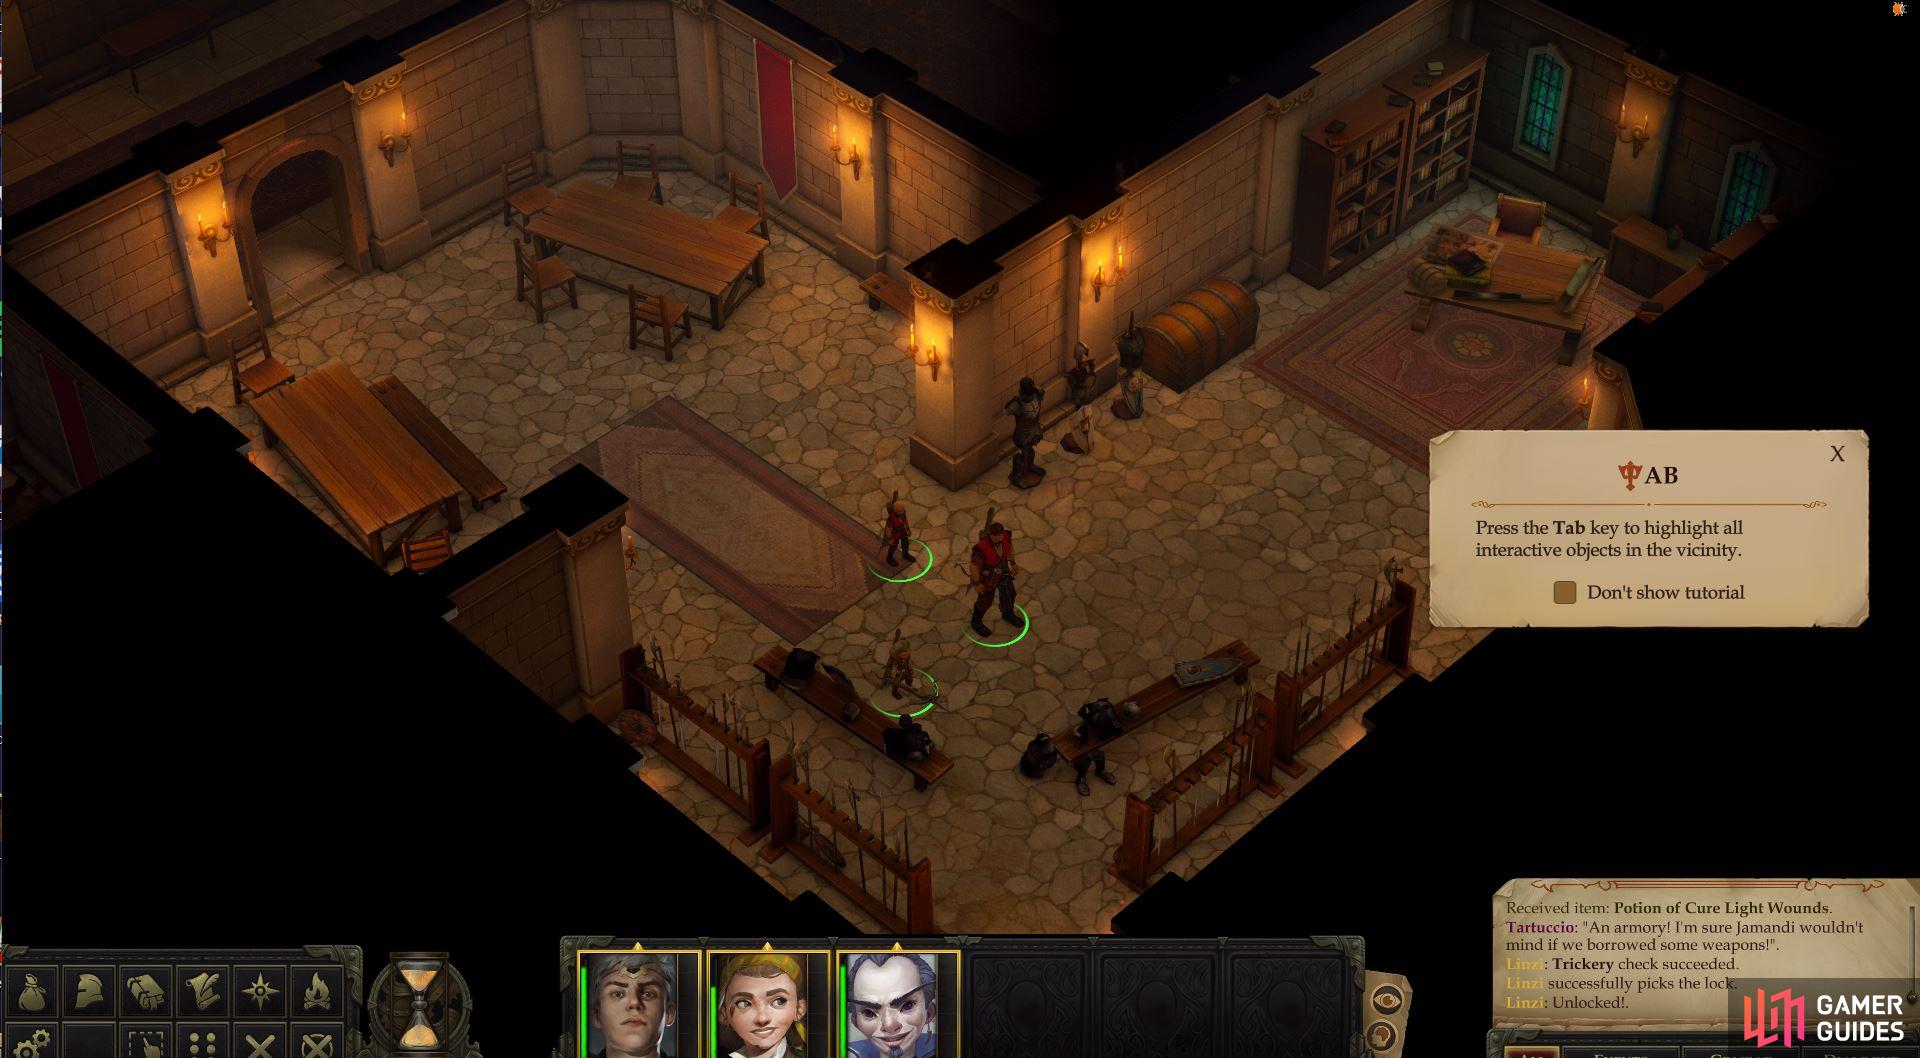
With all that, it’s time to go to bed. Don’t worry, you’ll be presented with more info about gameplay as it becomes relevant. Like right now, for instance. One of the most useful bits of advice for the entire game is the Tab key. Hold it down and every interactable object will either be highlighted, gain an icon, or have its name displayed, making it a much, much easier task to navigate through the game. Case in point, scroll down to the southeastern corner of the screen to find some large doors, beyond which you should find a cute little door icon. Give the door icon (henceforth known as an area transition) a click and your character will move on to the next area.
Attacked by Assassins
After you exit the banquet hall you’ll find yourself in your room, where Linzi bursts in warning of some attack. Her attention will be shortly drawn away by someone screaming bloody murder - literally - only to be replaced by an Assassin, giving you your first taste of combat.
Combat in Pathfinder: Kingmaker, occurs in real time - or at least, as a form of active, turn-based combat with no breaks between each round that makes a good enough facsimile of real-time as to not be worth quibbling over. Behind the scenes, your characters perform all their actions in seamless combat rounds each lasting six seconds in an order determined by their Initiative score.
The character with the highest Initiative score (generally determined by a d20 roll + that character’s Dexterity modifier) goes first and performs one action, which for now can be simplified to performing an attack or casting a spell. These sort of common combat actions are Standard Actions, one of which can be performed by each character each round.

Even though combat is in real time, you can pause and unpause the game
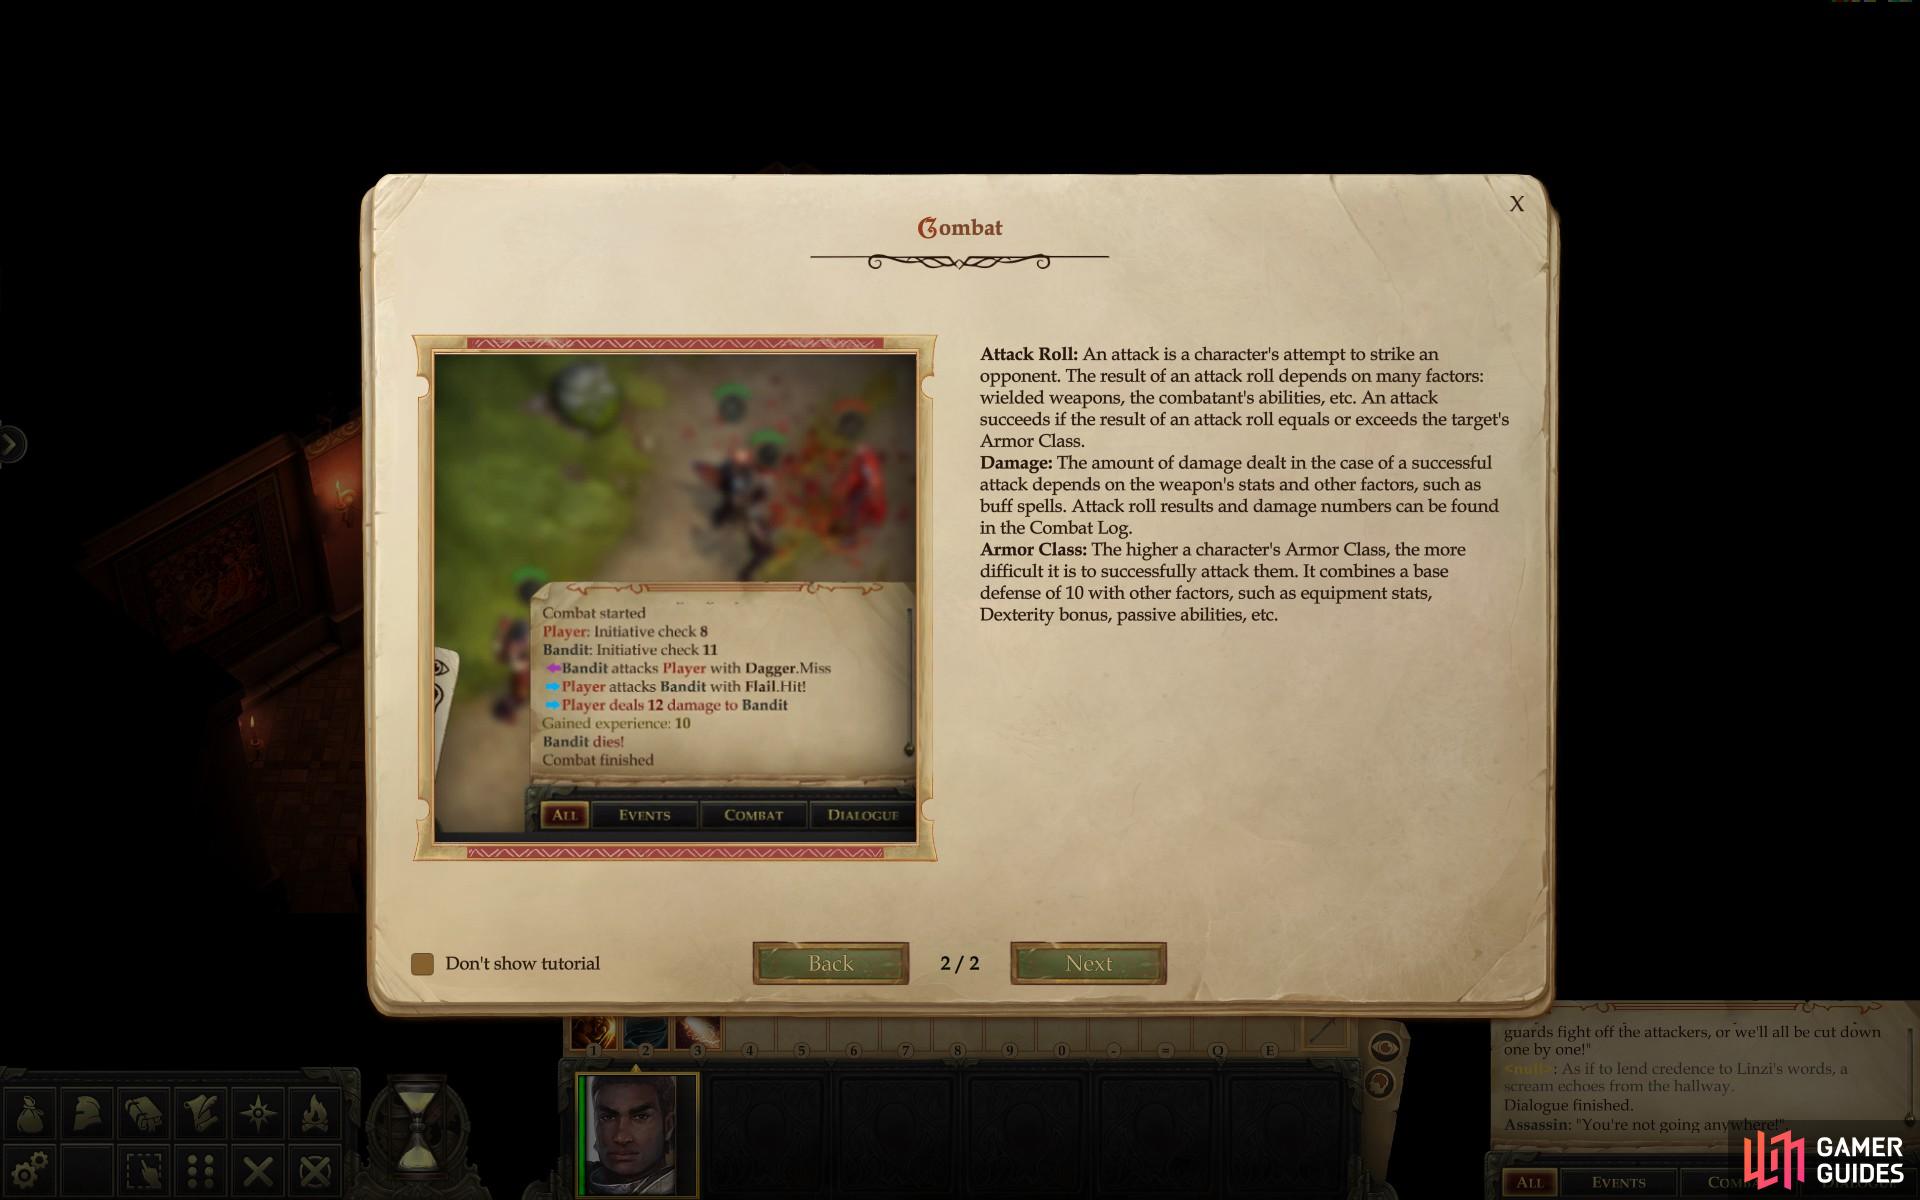
Dealing damage, dodging attacks and many other factors are based on a dice roll.
In addition each character has one Movement Action they can perform each round, which allows the to move a distance up to their Movement Speed. The “base” speed of most medium-sized creatures not encumbered by armor is thirty feet during a combat round - smaller creatures move slower, as do creatures wearing heavier armor.
Attacking in combat is pretty simple - you just click on the target you want to attack while having the intended attacker(s) selected. To cast a spell, simply select that spell’s icon from the hotkey bar (or the spell window you can open via the left-most tab above the hotkey bar) and note that each spell’s range and area of effect is represented when you hover your mouse over or select it.
Most combat actions in Pathfinder are resolved with dice rolls (the results of which can be seen in the Combat Log on the bottom-right of the screen), specifically by a d20 roll. One character’s Attack Roll is opposed by the target’s Armor Class, while a spell’s Difficulty Check is opposed by a creature’s Saving Throw (either Fortitude, Reflex, or Will - the type of Saving Throw varies based on the spell/effect.) If an attack hits, damage will be dealt (subtracted from the target’s Hit Points) according to the attacker’s weapon and a myriad of other factors. A spell’s effects can be mitigated (damage/effect reduced) or negated if the defender’s Saving Throw roll matches or exceeds the spell’s Difficulty Check.
There’s much, much more to combat than that, however, especially if you’re a magic-user, and some of it is immediately relevant. Attacks of Opportunity are going to be a sad fact of life for you, as performing certain actions - moving out of an area an opponent threatens, casting spells and using a ranged weapon (including Ranged Touch Attacks) in melee range of an opponent, standing up from a prone position, etc. - during combat lowers your guard, giving adjacent enemies a free attack on you. A magic-user or archer is therefore in a fairly compromised situation in melee combat, which may make the first few encounters somewhat more challenging.
Defeat your first opponent, then loot his remains by clicking on the treasure left behind to score a Dagger and a Chainshirt. You almost certainly started the game with a better weapon than a humble Dagger, but let’s take a gander at that Chainshirt for more tutorial purposes. Armor is divided into three categories: Light Armor, Medium Armor and Heavy Armor, which require different proficiencies to use. Generally, your tanky warrior types are going to be able to use heavier armor as a perk of that class, although anybody can pick up, say, Fighter levels later on to gain feats allowing them to wear said armor, or just purchase the feats later on when they get a feat from leveling up.
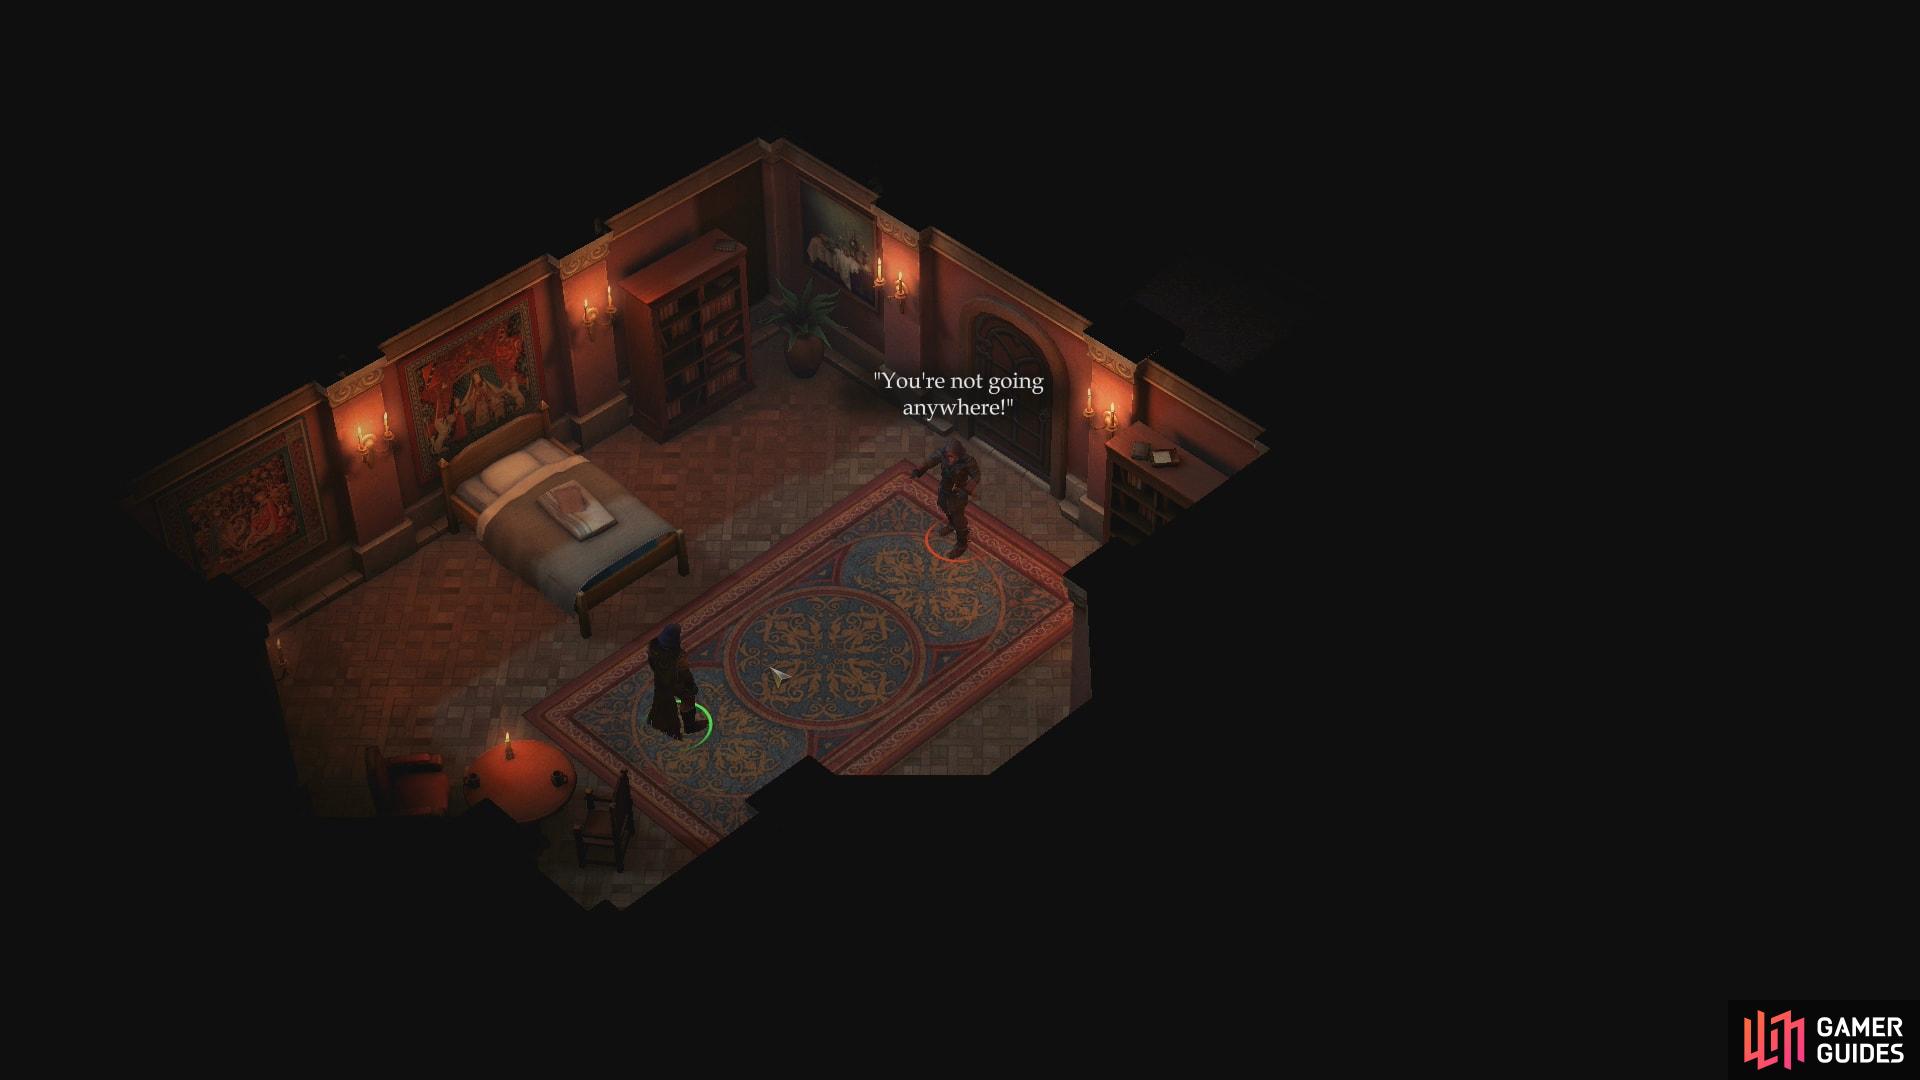
Before you can get any meaningful rest, you’ll be attacked by an assassin.
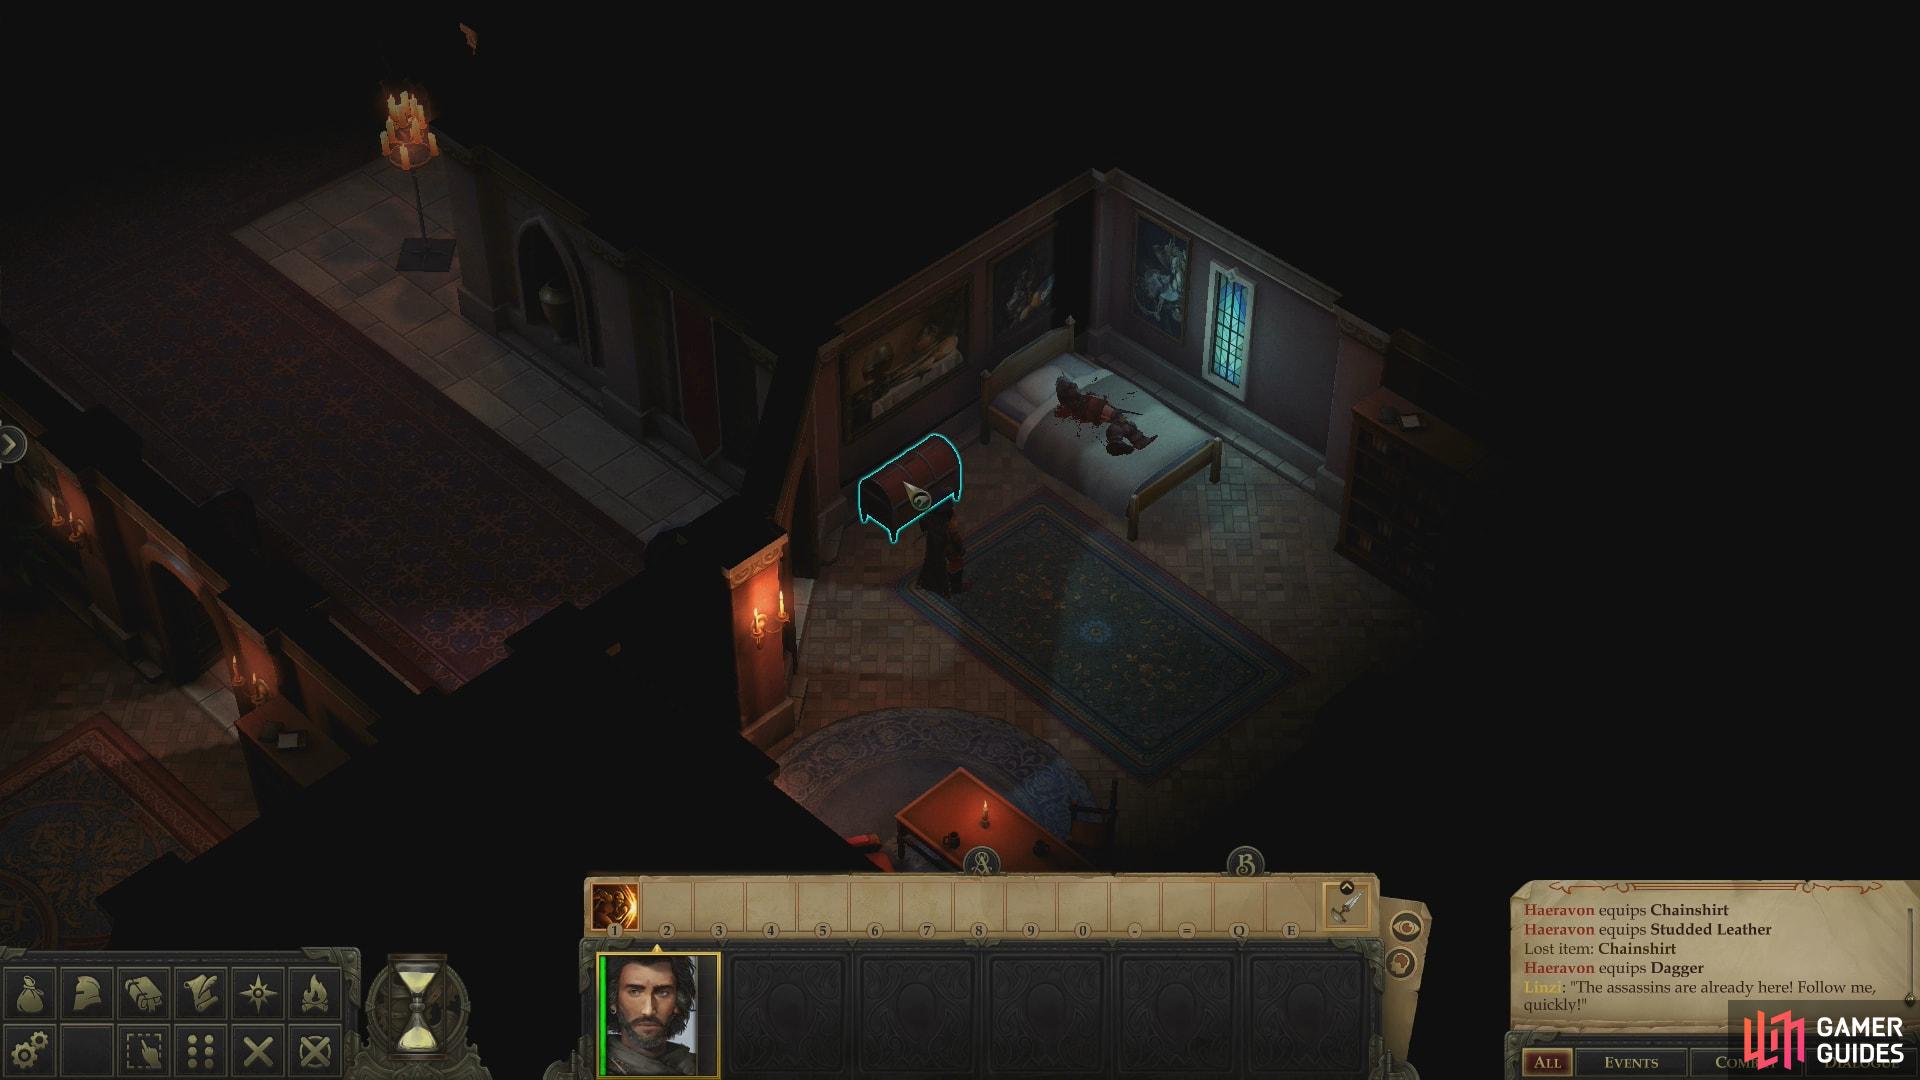
Always be on the lookout for objects to loot and interact with.
Not all characters will want to do this, however. Generally speaking, heavier armor provides higher Armor Class, which is good for obvious reasons, but heavier armor also slows a character down, reduces the maximum Dexterity modifier they can apply to their Armor Class, imposes an Armor Check Penalty which adversely affects skill checks, and the bulk of heavier armor impedes arcane (but not divine) spell casting in the form of a flat Arcane Spell Failure chance. Rangers and Rogues will want to wear lighter armor so their skills aren’t hampered too much, and so they can get the best benefit out of their higher Dexterity scores, while Sorcerers and Wizards may want to refrain from wearing any armor at all to avoid the chance that their spell-casting will be impeded.
The Chainshirt - yes, merely an excuse for another tutorial - is middling armor, Light Armor on the edge of Medium Armor, giving a +4 Armor Class bonus while retaining a +4 Max Dexterity modifier. Perfect for a Ranger or a more combat-prone Rogue.
Rescue Tartuccio
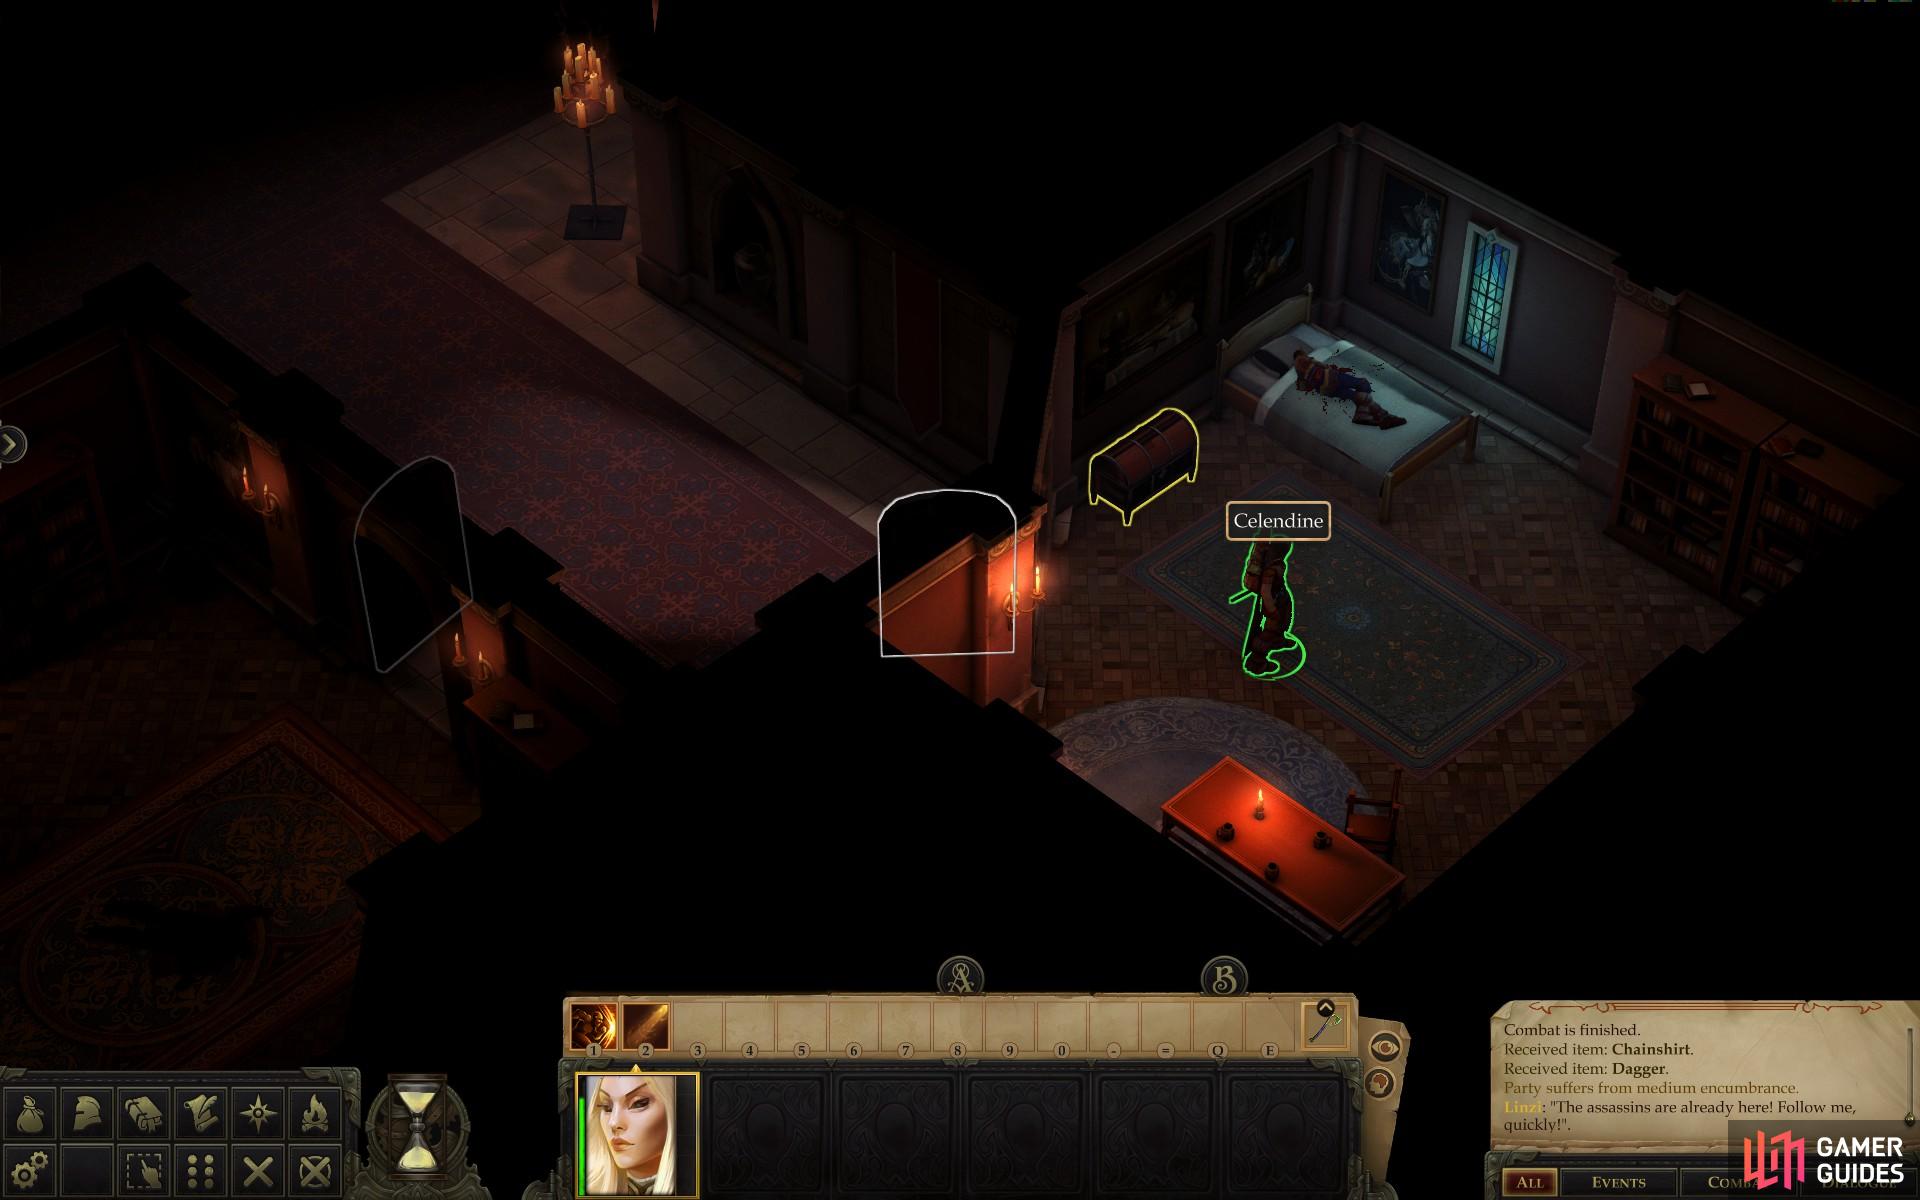
Make your way northeast and interact with the door to you room to open it and head outside, where you’ll find Linzi waiting for you. She’ll ask you to follow her, but neglect her for now and instead head through an open doorway to the southeast to reach another room, where its occupant never made it out of bed. Shame. No sense in letting their treasure go to waste, though. Search a chest near the bed to score a Longbow, a Dagger a Bloodstone and 12 Gold Coins.
Leave the room and follow Linzi to the northwest to find her waiting in another hallway. If you want to scrounge for every bit of loot you can, stay south of her and you’ll find a corpse you can loot for some baubles. In the room beyond this corpse you’ll find more treasures on a bookshelf.
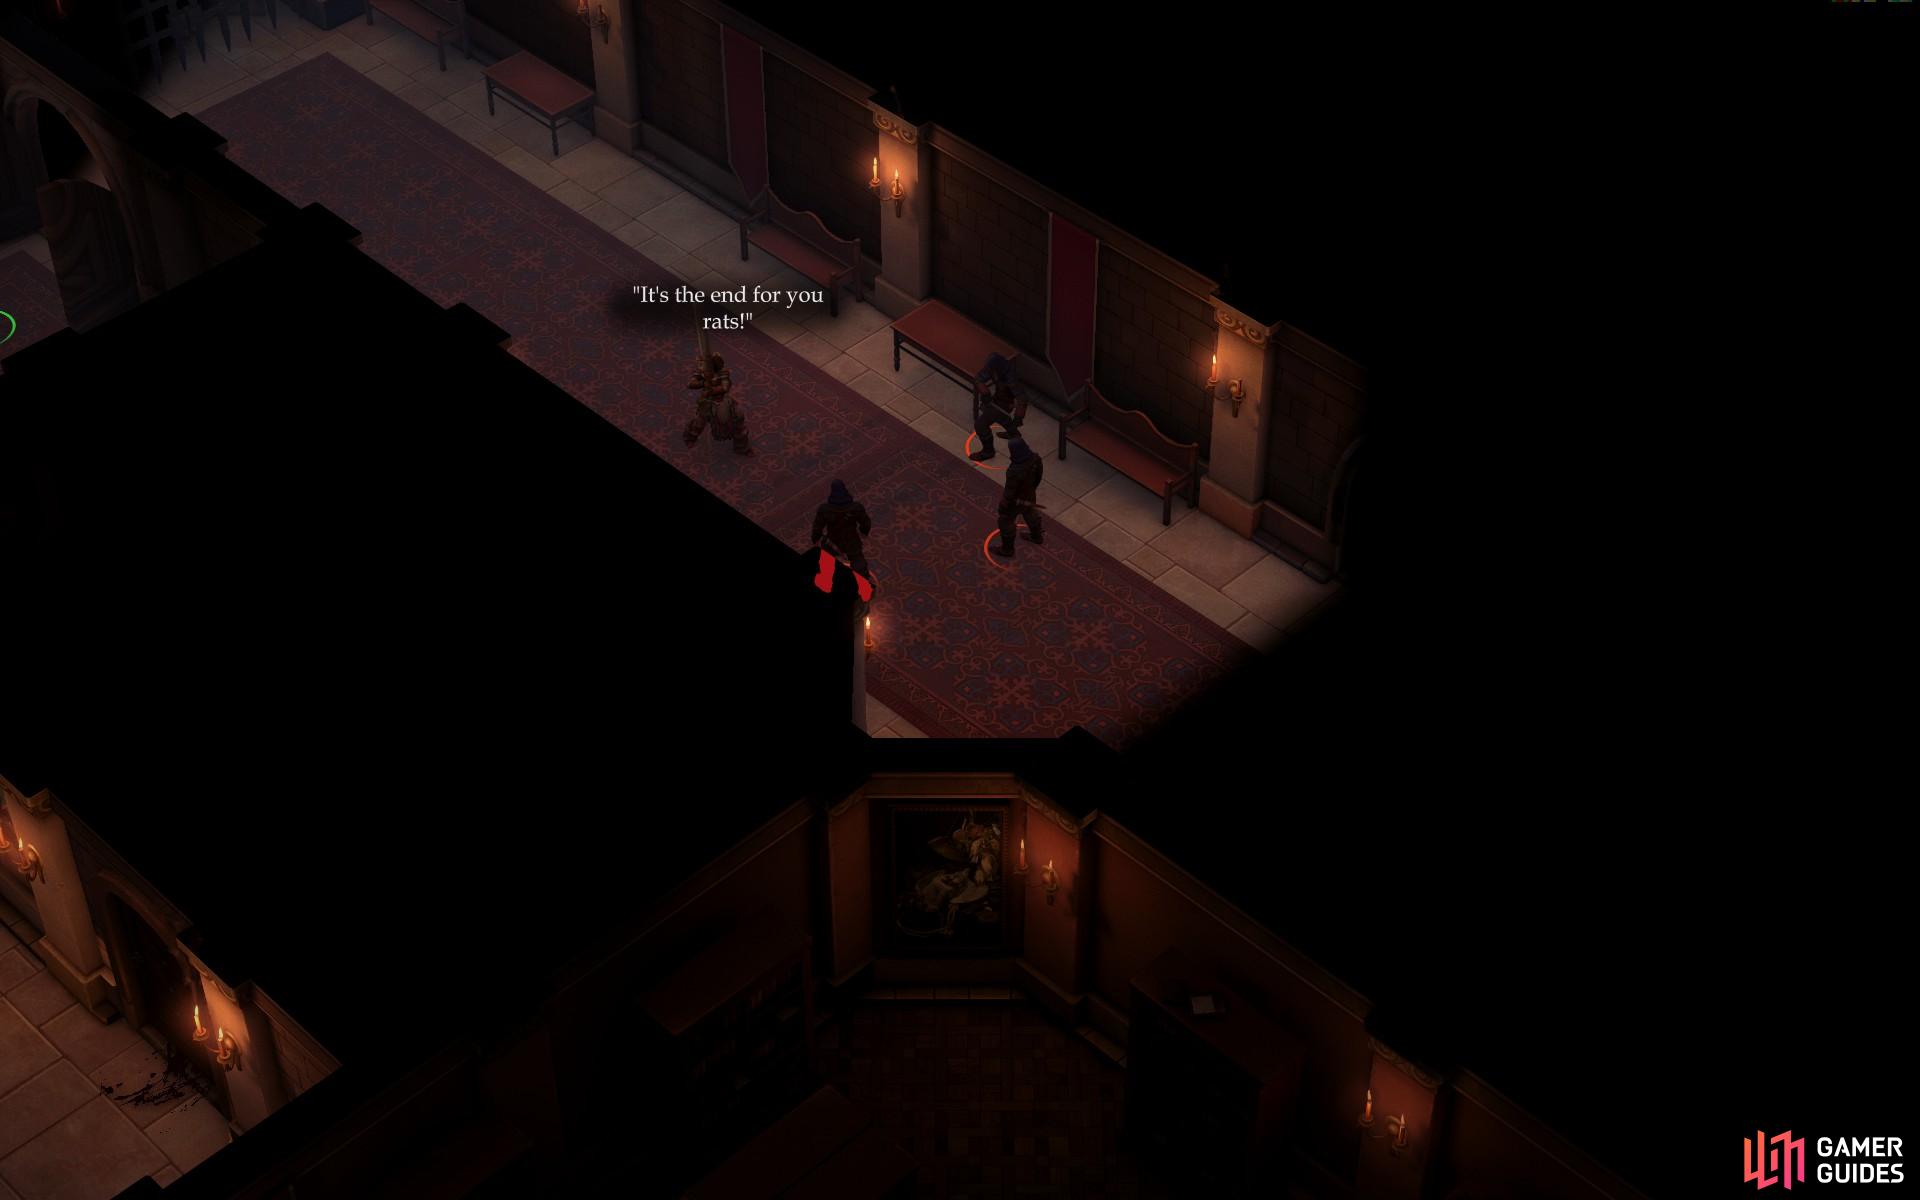
When you’re done looting the dead, return to Linzi and head northeast down the hallway she stops at to spot two Assassins standing near an unfortunately unharmed Tartuccio. They find him as contemptible as everybody else and decide to save him for later, instead turning their attention onto you. These Assassins are no stronger than the last one was, and for now you have the benefit of a Linzi decoy, so let them attack her if possible. No sense in taking any damage now if you don’t need to.
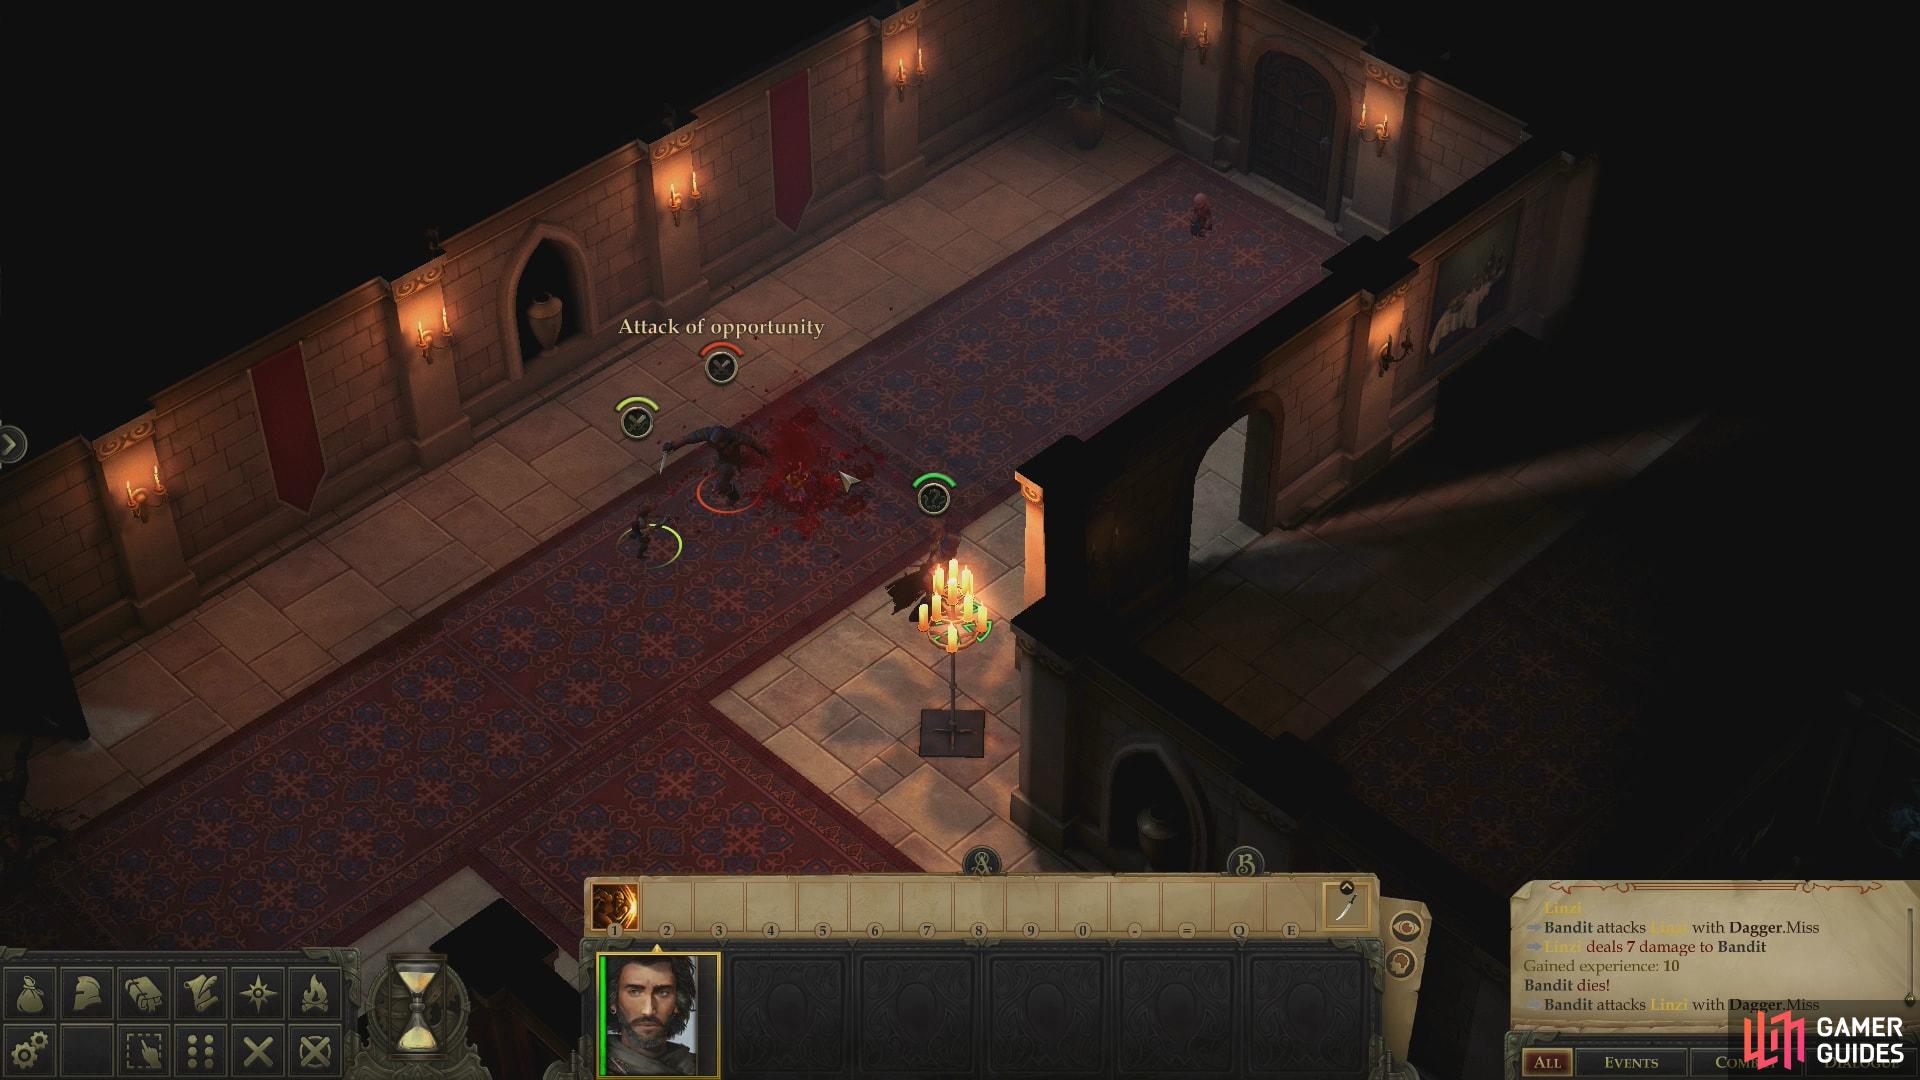
Using ranged weapons or casting spells while in melee range will provoke an Attack of Opportunity.
After rescuing him, Tartuccio will give you a magical ring… ostensibly so you can defend him better.
Once they’re dead, Tartuccio will express relief that the world isn’t yet going to be deprived of his presence, making sure to avoid doing anything resembling thanking you. Instead, he’ll attempt to adopt a leadership role with the stated purpose of rendezvousing with Jamandi in the banquet hall… and perhaps saving a few fellow adventurers along the way. Only one good thing comes of this encounter: in order to enable you to protect him, Tartuccio hands over a Tartuccio’s Present - a magical ring that boosts the wearer’s Armor Class. A suspiciously generous offering from him, but… don’t look a gift Gnome in the… oh whatever. Just open your inventory (press the “I” button) and double click the ring to equip it.
Fight Through the Mansion
After this last fight you’ll finally find yourself in a proper party, as Linzi and Tartuccio both put themselves under your control. Unfortunately, yes, that means there’s another tutorial.
You can select individual party members in a variety of ways: by clicking on them in-game, by clicking on their portrait under the hotkey bar, or by clicking and dragging a selection box over them. If you want to select/deselect specific characters, hold down Shift while you click on them or their portraits To quickly select your entire party, press the Backspace key. Double-clicking on a character’s portrait will scroll the camera to focus on them. Finally, you can select characters by pressing Alt + 1 for the first character, Alt + 2 for the second, and so on.
Selecting everybody is all well and good, but moving a group around strategically is another matter entirely. To sort this out, you have formations, represented as one of the icons on the bottom left of your screen by six dots. Click it and you’ll bring up the formation grid, which includes two tried-and-true classic formations, along with three you can customize by clicking and dragging icons. There’s usually not too much cause to get too fancy with these, so long as you keep your warriors up front and your ranged characters and arcane spell-casters in the back - letting Armor Class determine who is up front is a fine idea.
When you give a character (or characters) a move command you’ll see their target destination(s) represented by a movement reticle. You can right-click and hold at the desired location, then move your mouse about to preview and rotate the move command, letting go of the mouse button when you’re satisfied. Very useful for keeping your tanks oriented towards where you suspect danger may lurk
The path seems to fork from here, but you can rid yourself of a semblance of choice by checking the door to the northeast. Since it’s barred from the other side, you’ve got no choice but to proceed through the doorway to the southeast, then turn northeast to find another doorway to the left. Be sure to loot a cabinet as you go for a pittance of coin and the odd bit of jewelry you can pocket. In the room beyond the doorway lie another group of Assassins - three of them this time.
Put together what you’ve learned so far to defeat three assassins
It may be tempting to pick everything up, but mind your encumbrance and only pick up items that are worth the trouble
They’re mostly armed with ranged weapons, so if you’re a melee-competent character, you can take advantage of those aforementioned Attack of Opportunity rules. To refresh, if you’re adjacent to an enemy who performs an action that provokes an Attack of Opportunity (in this case, fires a ranged weapon), you’ll get a free attack against them. If not… well, you can still get the drop on them in a shoot-out, provided you don’t rush in all at once and provoke them.
It’s also worth noting that the enemies are clustered relatively closely together, and this is no accident, as it provides an excuse to share a spell tutorial… among others. To be fair, those three clustered Assassins do make an awfully tempting target for Tartuccio’s Burning Hands spell.
With all the information that’s been dumped on you you can really get a grasp of how combat works in Pathfinder: Kingmaker. Select Tartuccio and highlight the Burning Hands spell on his Hotkey bar (it’s assigned to “2”) to see the range of the spell. With a range of 15 feet, you’ll have to get somewhat close, so select a spot near the enemy, press the “SpaceBar” button to pause the game, then hold down Enter to carefully watch Tartuccio approach, stopping when you’re near enough. Once done, hover your cursor over the spell again to confirm you’re in range, select the spell to bring up an area-of-effect indicator, then left-click to confirm. If Tartuccio is taking too much fire, you can always with draw him quickly, and to improve your odds, you can have him cast Mage Armor before embarking. None of this is strictly necessary, but it is a fine way to test out for yourself some of the concepts being presented.
After your foes are slain, loot their bodies for more basic weapons and armor, along with a generous selection of healing potions (Potion of Cure Light Wounds x5 and a Potion of Cure Moderate Wounds) in case you need to heal an injured character.
Pass through another doorway to the northwest, immediately beyond which you’ll find two more doorways to search. In the one to the northeast you’ll find a corpse with a pittance of GP on it and a bookshelf with some more minor treasures. In the room beyond the southwestern door you’ll find an unattended chest, inside of which you can find a Heavy Mace and some Hide Armor. Return to the hallway and continue ahead until you find a kitchen to the west, inside of which you can score some foodstuffs. Leave the kitchen and continue up the hallway until you find another chest, which you can plunder to score a Silver Ring and 35 Gold Coins.
Go through a doorway at the end of the hallway to find Amiri, who is recklessly raging against an assortment of Assassins. That yellow HP bar above her head lets you know she’s invulnerable right now, so don’t bother getting your hands dirty - you get experience and plunder whether you lift a finger to help or not. After the Assassins are smote she’ll stop just long enough to threaten Tartuccio before running towards the sound of combat. Nice lady.
Help Amiri defeat some assassins
then witness the power disparity between yourself and your foes
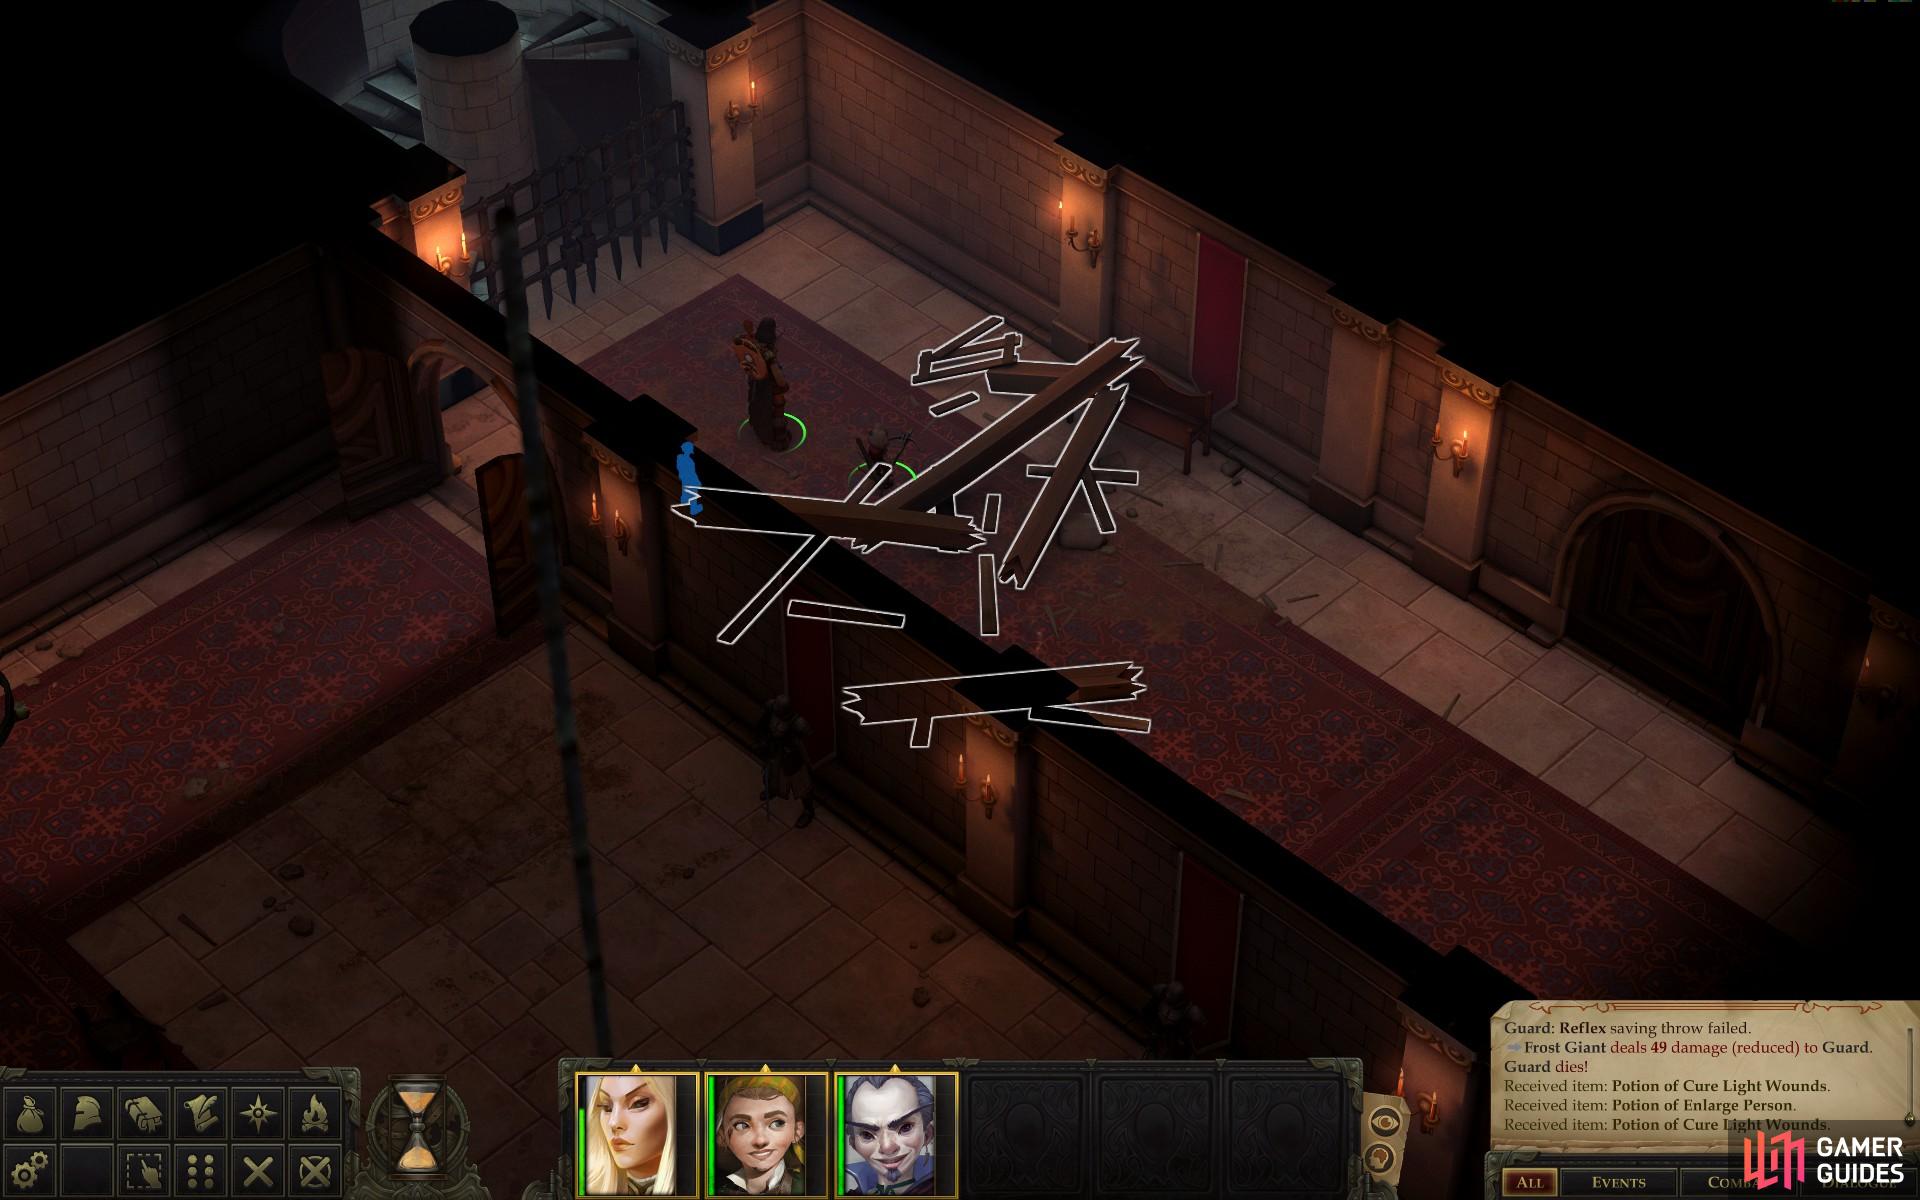
Loot the corpses left behind in Amiri’s wake, then follow her down the hallway to the southeast before turning northeast through a doorway to reach a large hall. Watch the scene that follows - a firm reminder on your place in the pecking order - and when the coast is clear make your way north to the opposite edge of the hall, stopping to loot the bodies of the slain as you go, of course. Doing so will get you two more Potions of Cure Light Wounds and a Potion of Enlarge Person as well as a few more arms and armor.
Pass through the door you find and into a smaller hallway, where your way forward (southeast) will be immediately blocked by some rubble, which serves as another excuse for a tutorial! This time the tutorial is regarding skill and ability checks, which you’ll frequently have to perform during dialogue or while interacting with the environment. These checks are frequently made while adventuring to navigate hazards or rough terrain, sometimes barring passage, wasting time or dealing damage (or a combination thereof!) should you fail. Other types of checks abound, but the general idea, obviously, is that you’ll be better off if you pass them. When attempting such a check, the character with the highest stat/skill will be given priority so long as you’ve got your entire party selected. Some checks can be retried when failed, but others require you to level up before you’re allowed another attempt.
At times you’ll have to succeed at various skill checks to navigate treacherous terrain.
Click on the rubble blocking your way to make the required [Dexterity 7] difficulty check, beyond which you’ll find more Assassins waiting. Get the drop on them if you can and use the knowledge you’ve accumulated thus far to emerge victorious.
Loot the Armory
You now have two ways to go, but again it’s a phantom choice, as the door further down the hall is currently locked. That being the case, head through the nearby door to the southeast [Trickery -1] to reach the armory.
There’s no one - friend or foe - guarding the place, and survival is your top priority, so you shouldn’t feel any qualms about securing the arms and armor you may need… although if you go wandering around in front of the estate’s owner wearing her armor and wielding her weapons… well, she might not be too pleased. If you don’t care about the potential consequences (or trust your silver tongue to get you out of trouble), you can loot a weapon stad, two armor stands and a two chests to obtain a Composite Longbow, a Light Mace, a suit of Banded Mail, a Breastplate, a Tower Shield and a Watchkeeper’s Key. If you wish to indulge in as little larceny as possible, just grab the key and leave.
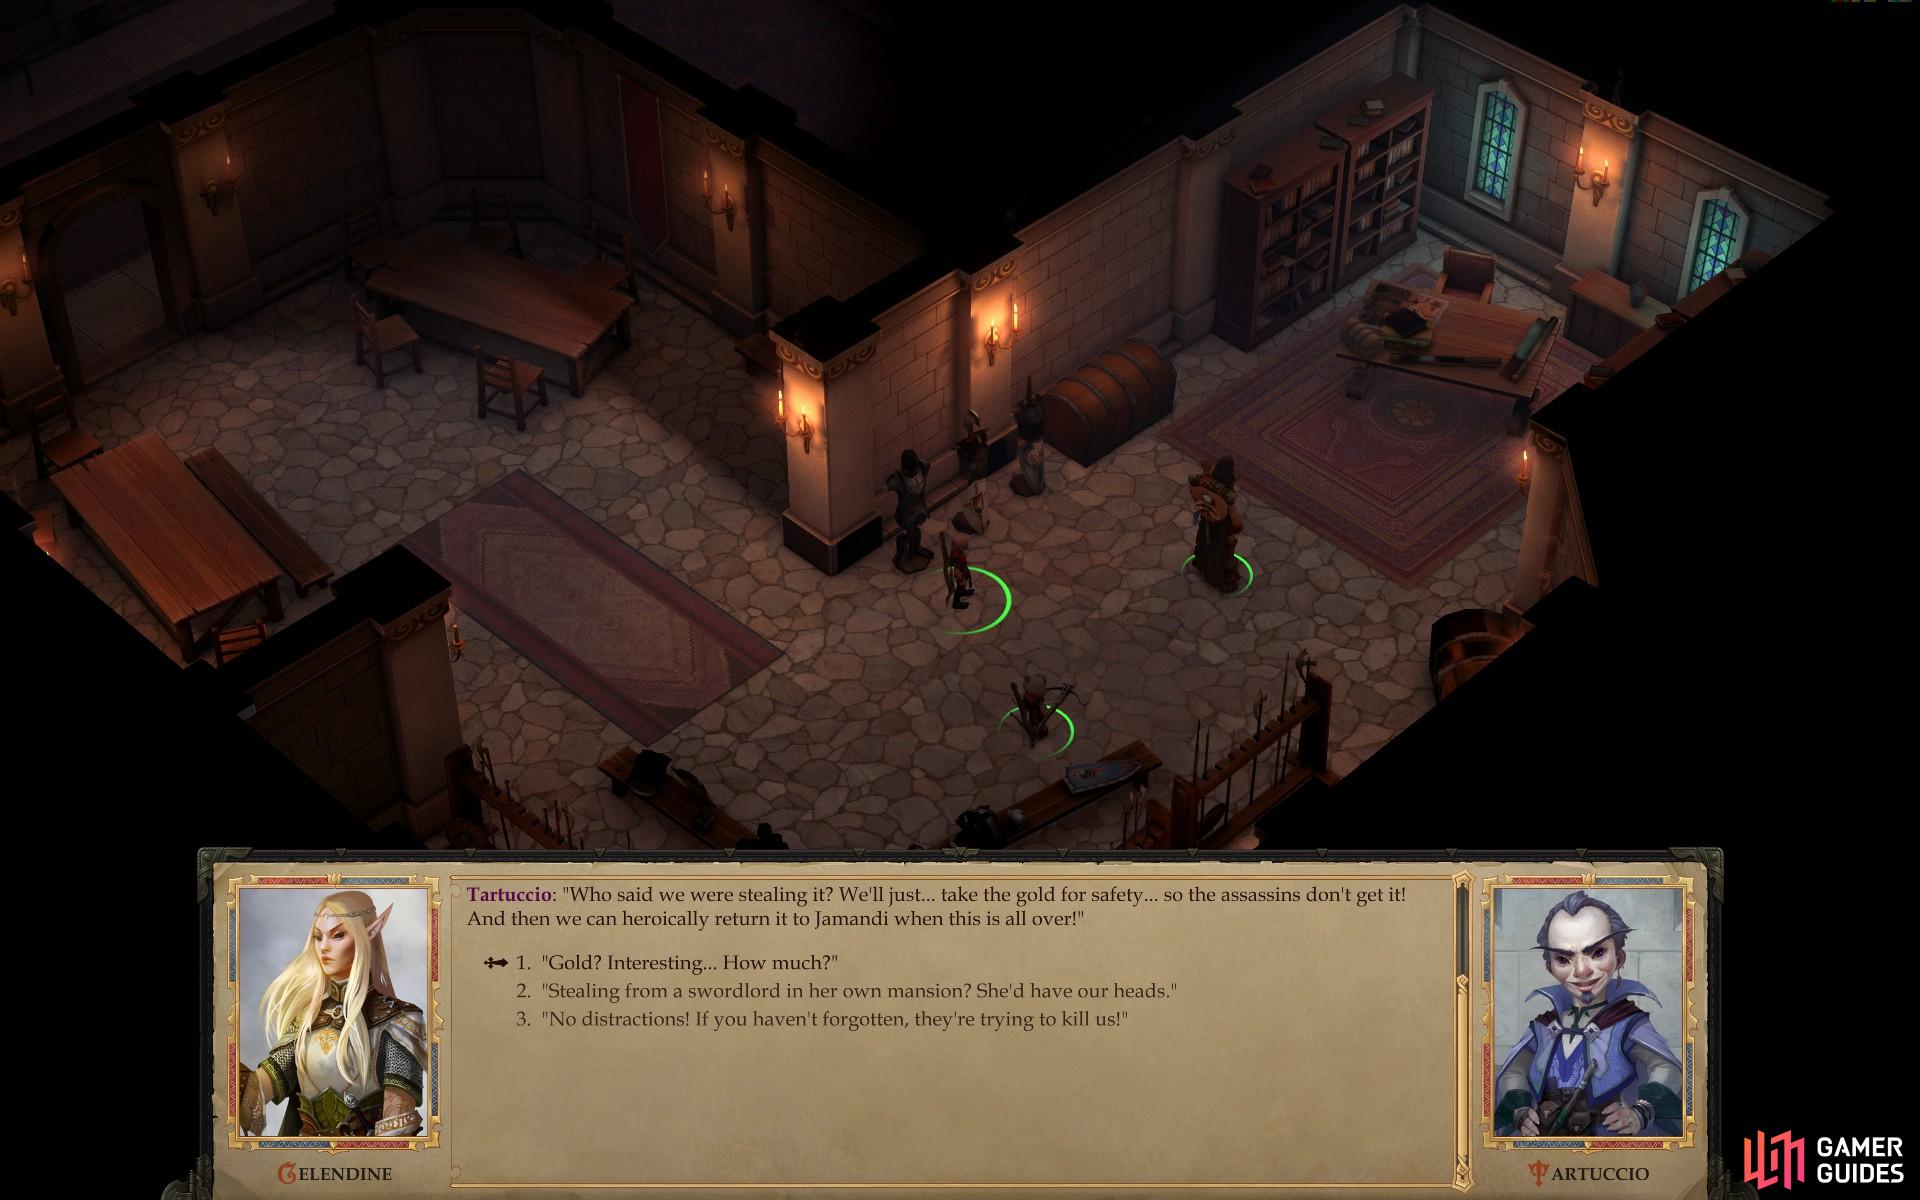
The provisional gear you’ve collected thus far should suffice to crudely satisfy all but the more specialized builds, but there’s another, somewhat more controversial bit of loot you can pick up. On the table nearby is a small chest which, if you interact with it, you’ll be informed is the guard’s pay. Tartuccio is all too eager to pocket it - or rather, to encourage you to do so - while Linzi argues for morality.
There are plenty of arms and armor available for plunder in the armory
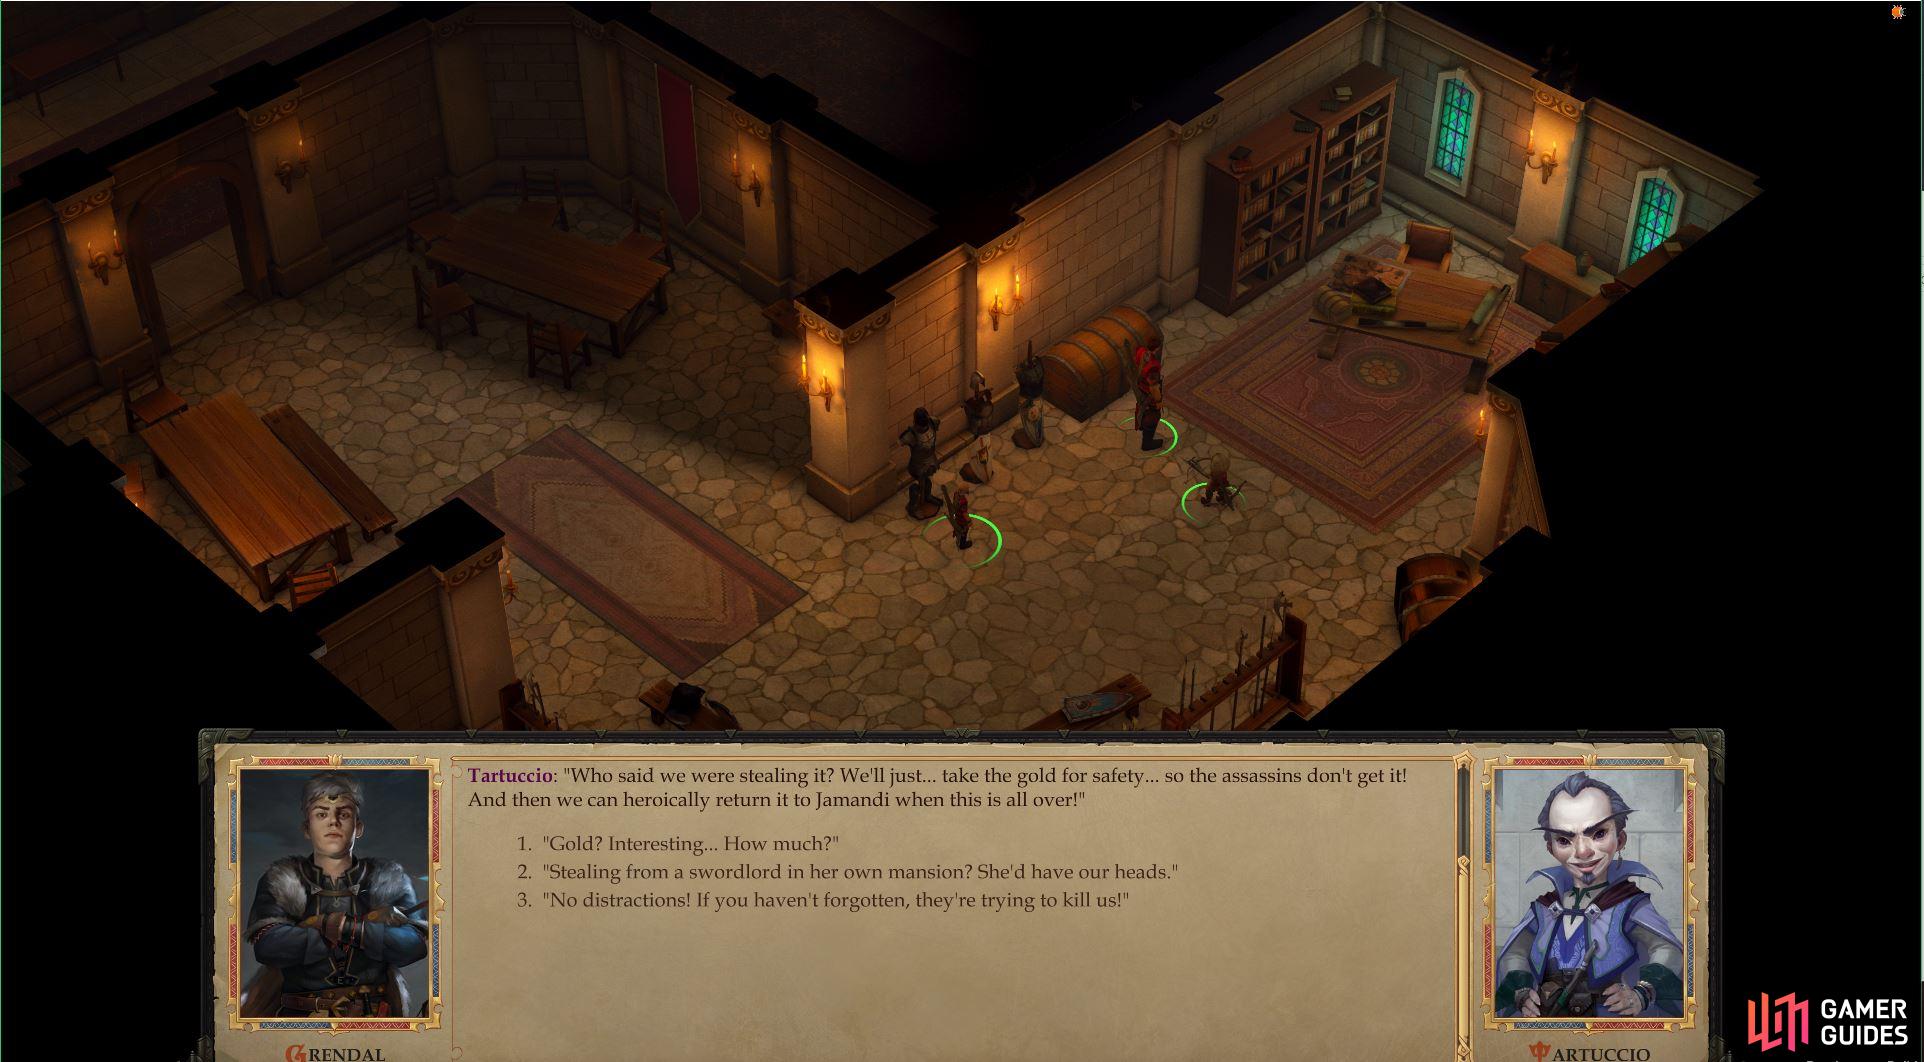
Tartuccio will also encourage you to nab the guard’s wages
Throughout Pathfinder: Kingmaker you’ll be presented with opportunities to make decisions both good and evil. These actions may have consequences, not the least of which are how your companions will react. Good characters will not approve of selfishness, greed and wanton acts of cruelty, while evil characters will quickly grow tired of a spineless do-gooder who wastes time and potential profit with misplaced gestures of morality. More than that, however, some characters may be displeased by your lack of respect, focus and deference for tradition and authority, while others will feel oppressively constrained by those very same things. You can’t make everybody happy, and should strive to travel with like-minded individuals… and perhaps avoid blatantly doing things to provoke them from time to time.
Respond to Tartuccio however you wish and do what you will with the coin - a pretty face and a quick tongue can get you out of whatever trouble you might get in later.
Join Jaethal
When you’re ready, leave the armory (picking up all that heavy armor should have prompted a tutorial about Encumbrance) and head to the doorway further down the hallway, which is now magically openable. How about that… When you open the door you’ll find another one of your fellow adventurers - Jaethal. You know, the creepy scythe-wielding elf? Apparently the hallway ahead is… somewhat less than safe, as attested by the corpses of her fellow adventurers lying about. Tartuccio wisely questions how she survived the carnage, which will prompt her to reveal her true nature.
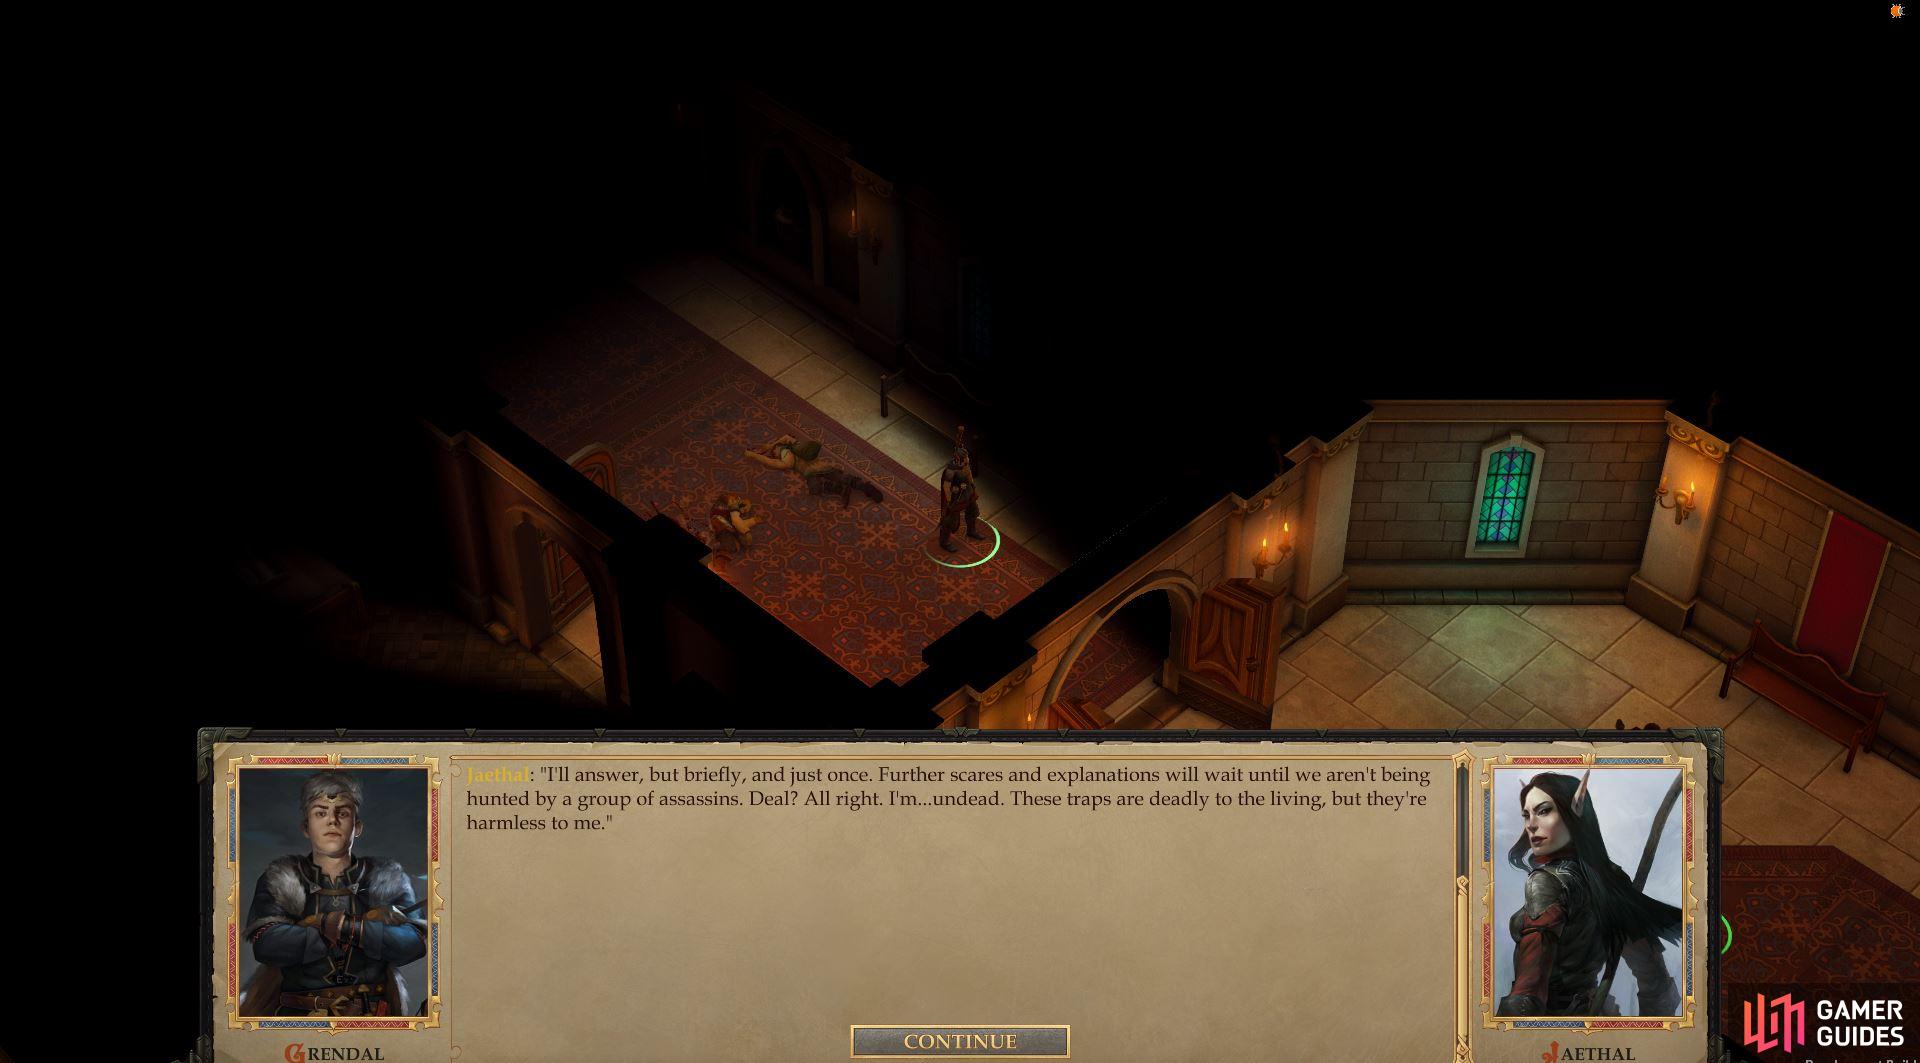
After the conversation ends, Jaethal will join your party. Except for possibly your protagonist, she’s the best combatant you’ve encountered thus far, being an Inquisitor with fair combat stats, save some questionably low HP for a front-line fighter. She also has access to divine spells, although if you were looking for a healer… well, she’s pretty much the opposite of that, as she channels negative energy. This allows her to heal herself well enough (Inflict Light Wounds will heal undead, just as Cure Light Wounds - and similar spells - will harm them), but that’ll do precious little for the majority of your companions. On top of that her high Persuasion, Perception, Knowledge (Arcana) and Lore (Religion) skills may come in handy down the line.
Or in the case of Perception, immediately. She mentioned traps ahead, ones that are harmless enough to her, but will wound the living. That being the case, send her forward to scout for traps. Their Difficulty Check is so laughably low [Perception 5] that she can’t possibly fail to detect them, although you’ll need to rely on Linzi to disarm them [Trickery 10]. Or failing that, you can just use Jaethal to trigger them, as she can’t be hurt by these traps.
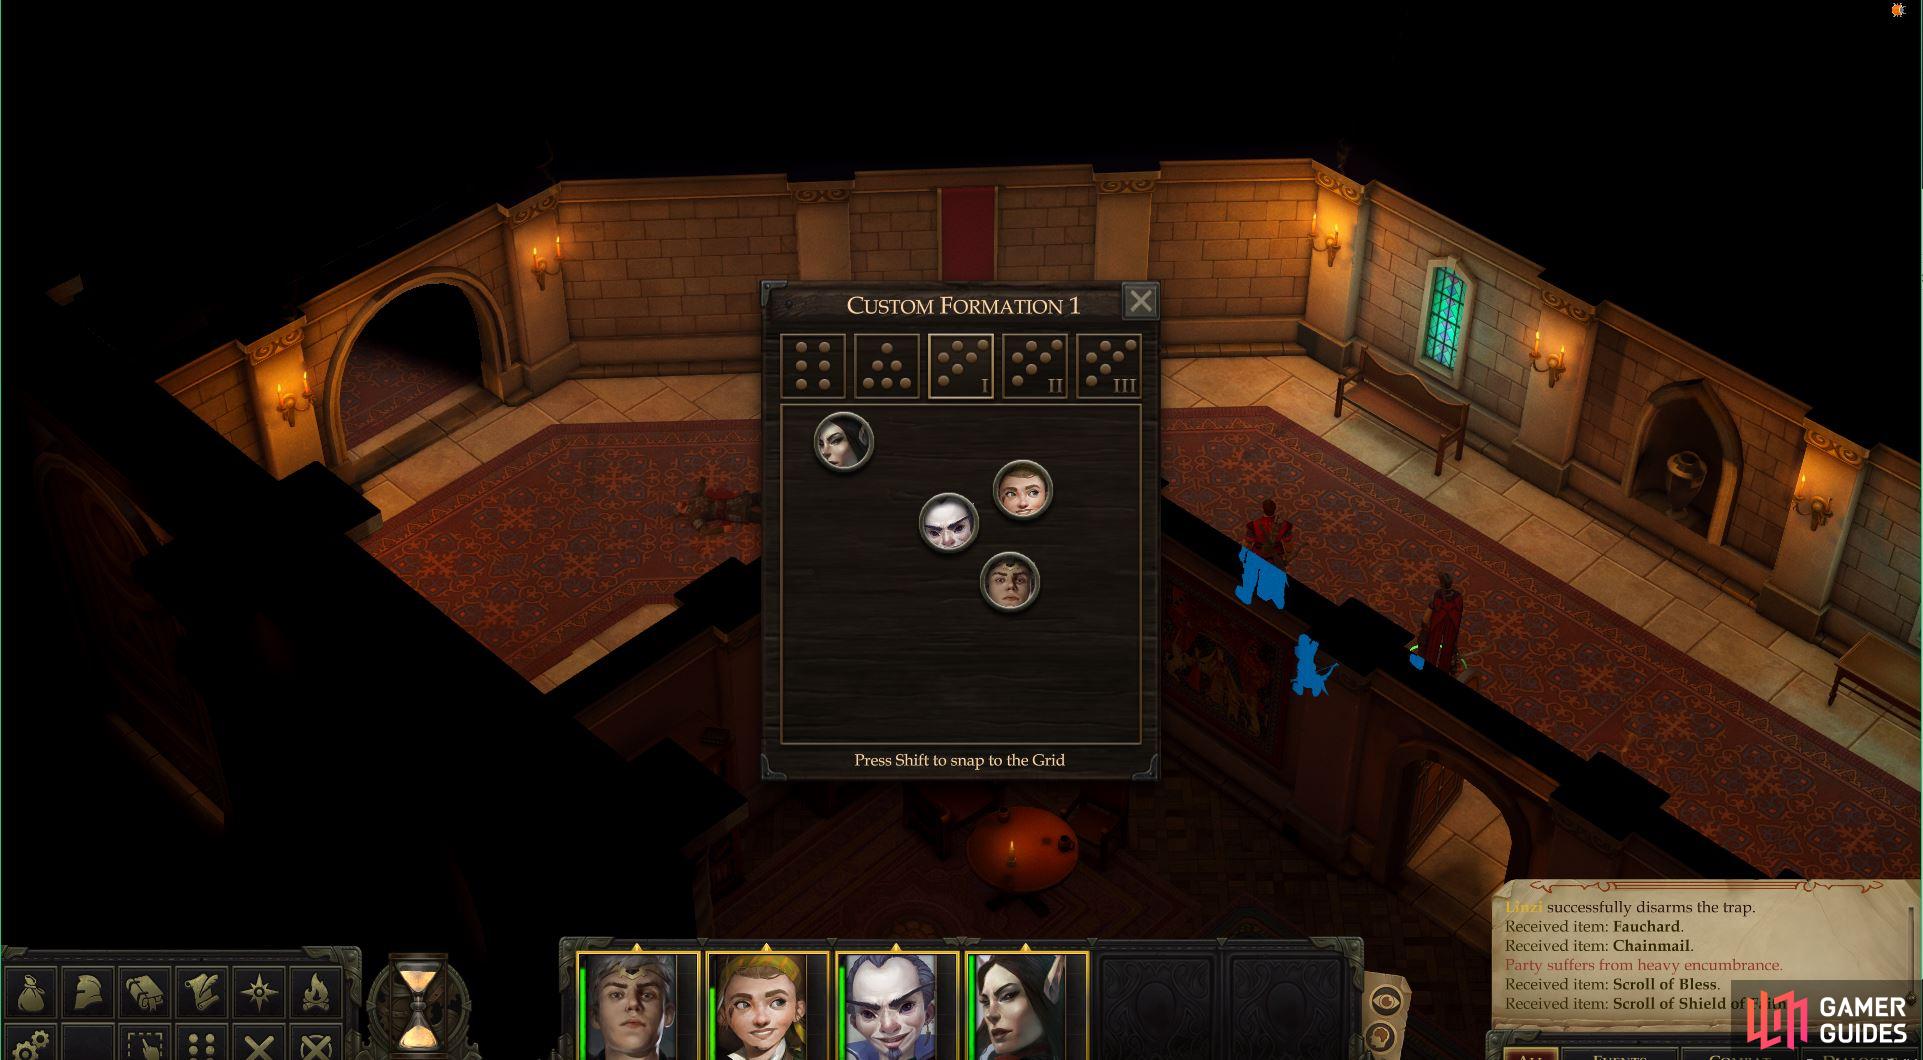
Now that your party is sufficiently large and diverse enough, it may be worth your while to customize your formation
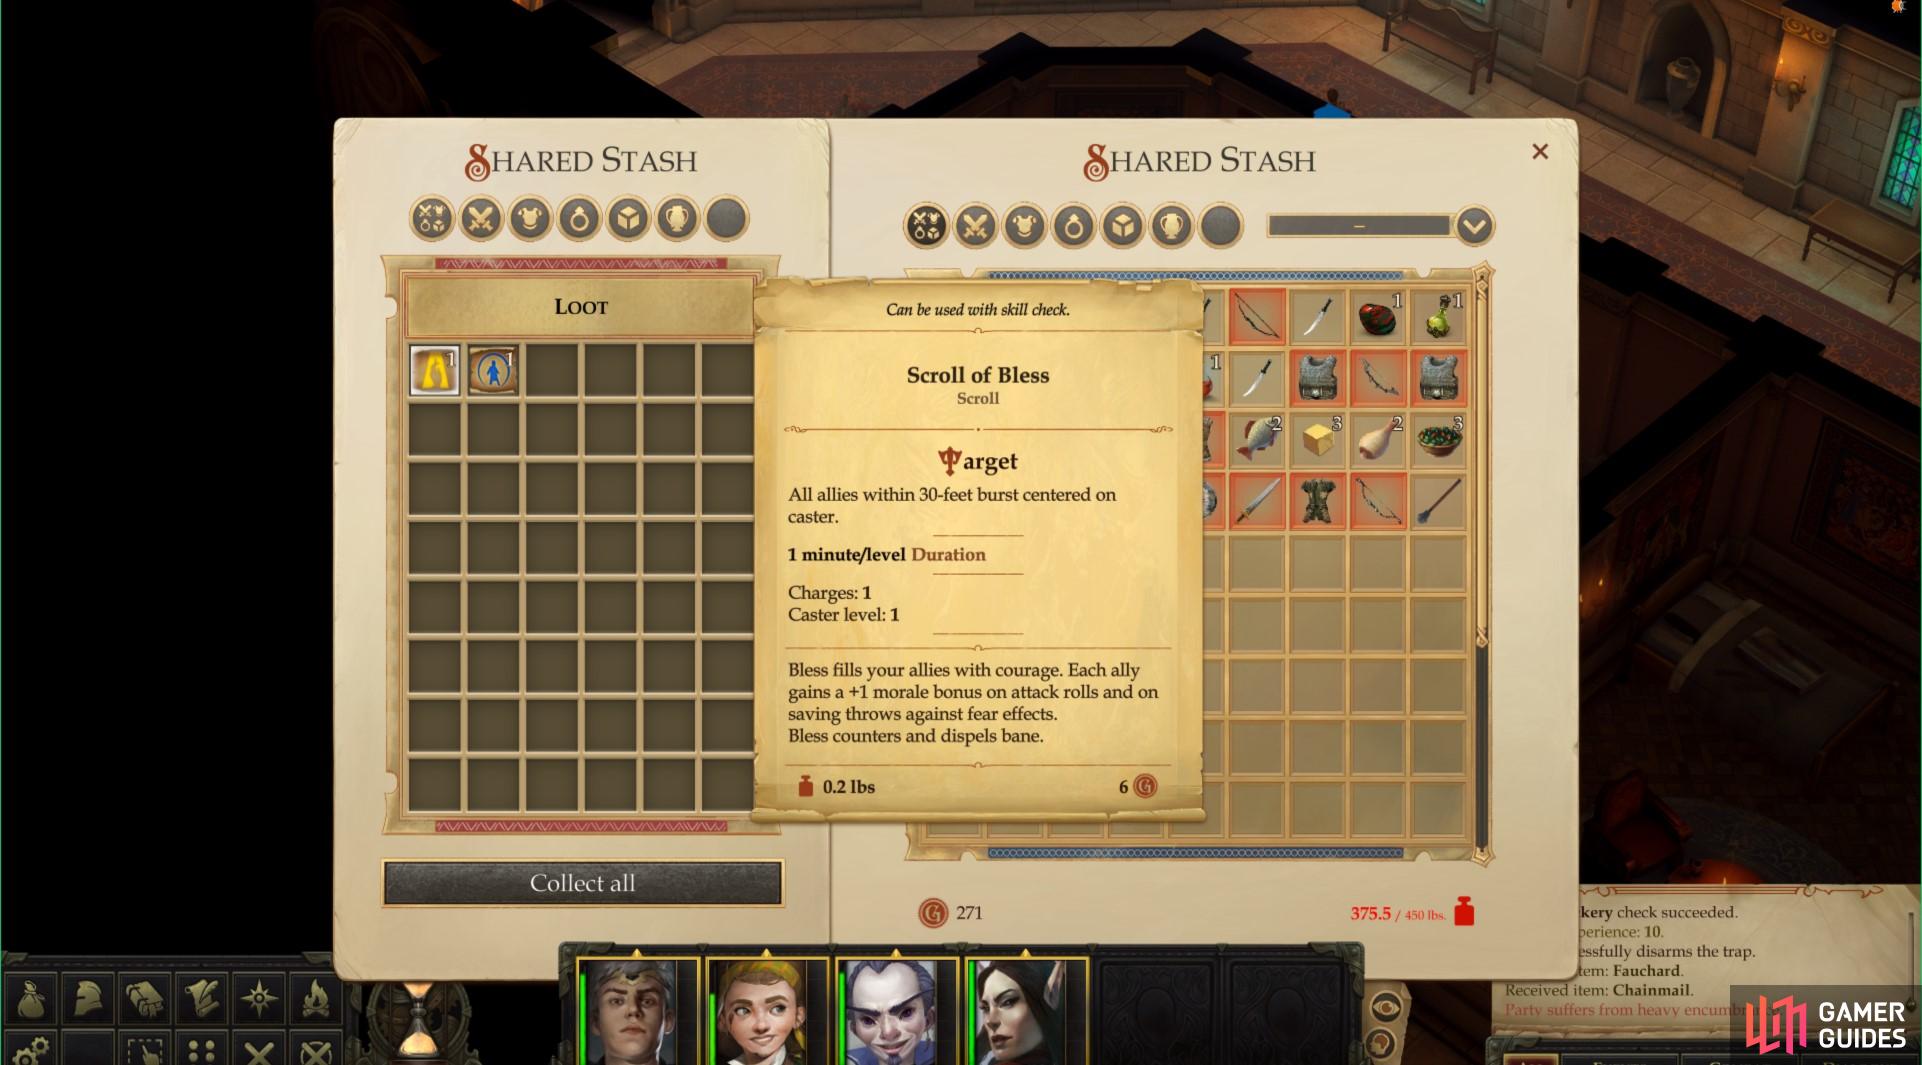
Scrolls, like potions, can be used to apply their spell effect , although a character must have levels in a class that can cast the spell or have a sufficient Use Magic Device skill score
Disarm the three traps ahead and enter the second door to your left, inside of which you’ll find a chest you can loot. Grab the Fauchard and the Chainmail from within, then continue down the previously-trapped hallway. Loot a corpse to score a Scroll of Bless and a Scroll of Shield of Faith (which prompts a tutorial on scrolls), then proceed through the doorway to the northwest.
Find Jamandi’s Stash
Beyond the doorway you’ll spot two Assassins who are apparently searching for Jamandi’s stash. You know somebody with a mansion this big and the title of “Swordlord” has to have some cool swag, right? Probably some swords, one would think. Exterminate the would-be thieves and take up their bid at larceny. Send one character into the first room to the right, while the rest should head up the hallway and into a second room.
In both rooms you’ll notice several statues: two in the southern room, four in the northern room. Half have their swords up, half have their swords down, and all can be interacted with. That’s right, a puzzle. Your goal is to get all the statues to hold their swords in either an upright position, or to put them down. The complication? Interacting with one statue will always cause others to change their positions, too.
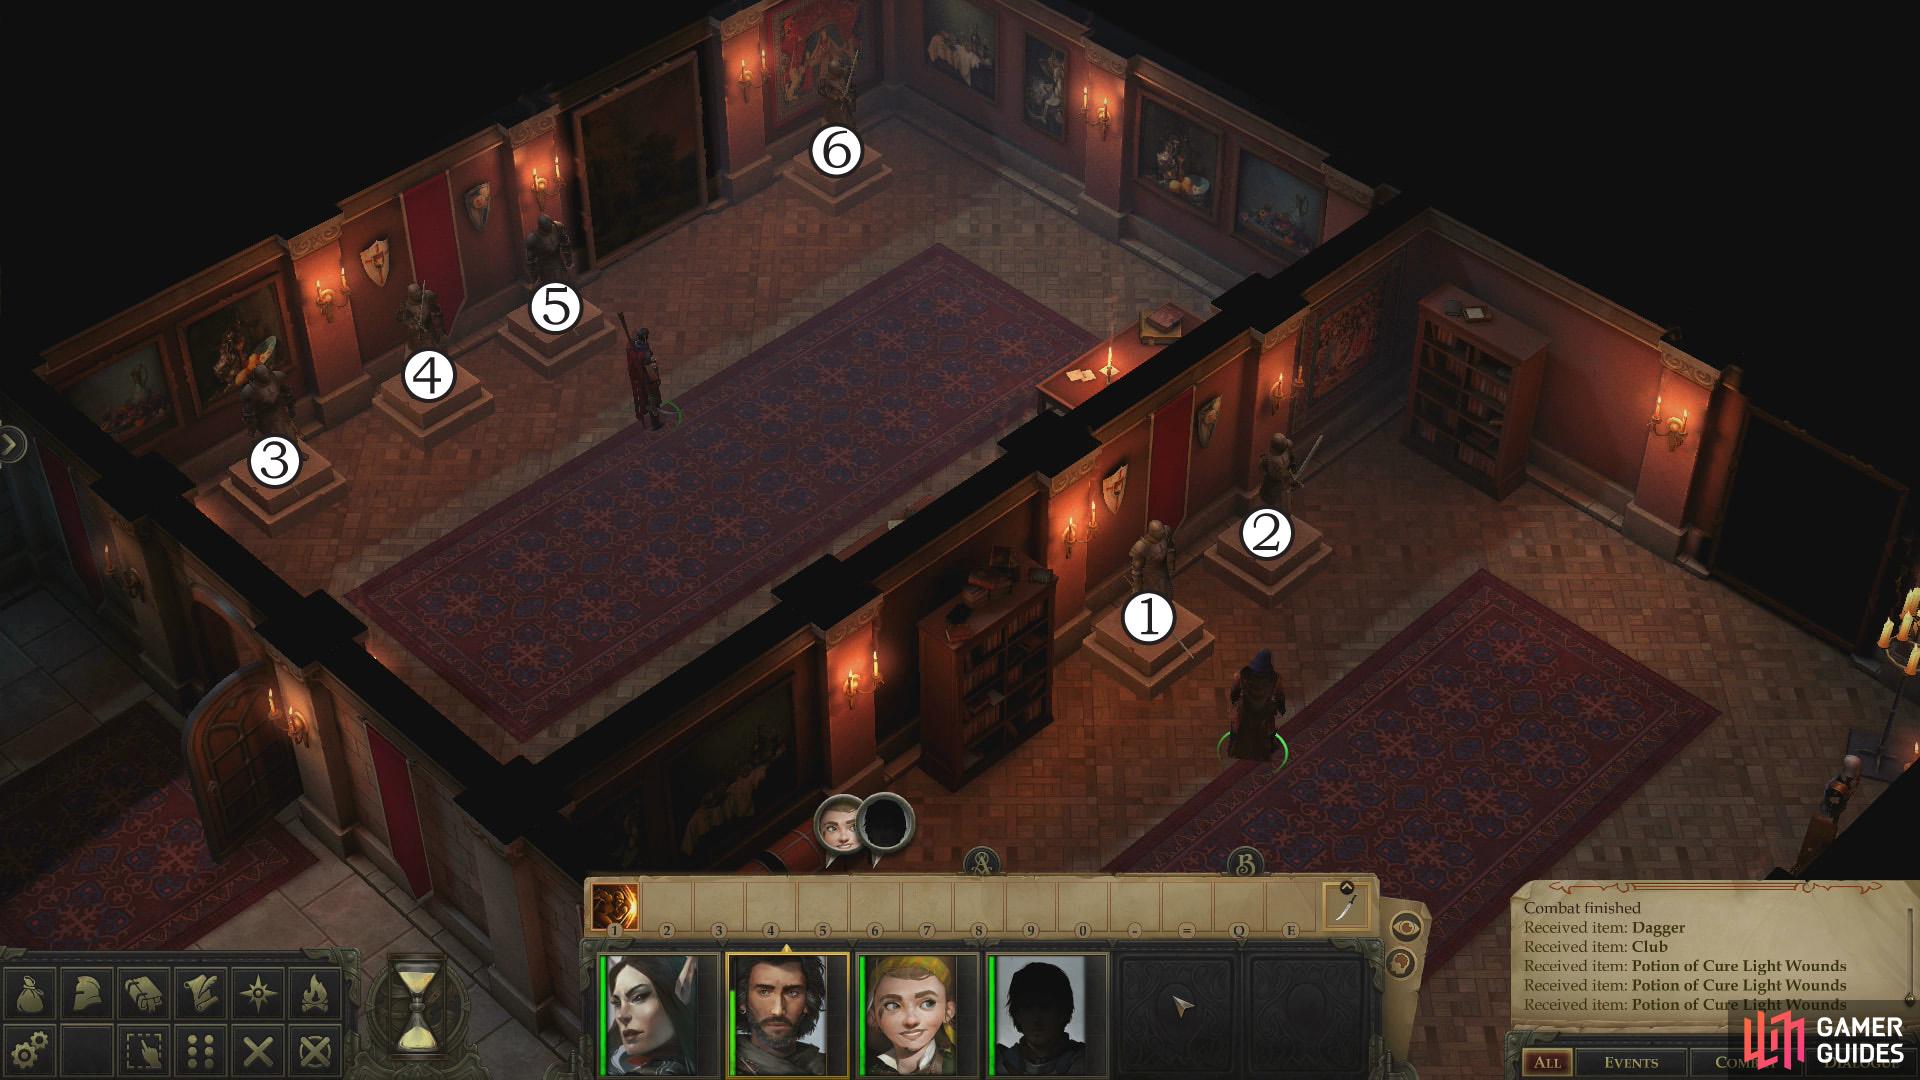
Statue puzzle, with statues marked #1 - #6, corresponding to the walkthrough text.
First, let’s map out these statues. Let’s label the ones in the southern room #1 and #2, with the southwestern-most one being #1 and the northeastern-most one being #2. In the northern room, again continuing the trend of numbering the statues from southwestern-most to northeastern-most, are statues #3, #4, #5 and #6. With that understanding, consult the following table to see which statues influence each other:
| Statue Interacted | Statue Influenced |
|---|---|
| Statue #1 | Statues #2 and #6 |
| Statue #2 | Statues #1 and #5 |
| Statue #3 | Statues #4 and #6 |
| Statue #4 | Statue #3 |
| Statue #5 | Statue #2 |
| Statue #6 | Statues #1 and #3 |
At the start, statues #1, #3 and #5 all have their swords lowered, which makes toggling statue #6 appealing, as it solves two of those issues. However, you must first resolve two issues: Getting #6’s sword lowered first, so you can finish with it (along with #1 and #3) and getting #5’s sword raised. This is simply done by interacting with statue #1 first, and #2 second. Once those two statues have been toggled, you should have statues #1, #3 and #6 with their swords lowered. Just use a character in the northern room to interact with statue #6 to solve the puzzle. Easy-peasy.

Interact with the statues in the correct order (1-2-6)
and you’ll open a secret door, beyond which treasure awaits
Alternatively, you can get all the statues to lower their swords. Starting out statues #2, #4 and #6 all have their swords raised. Interact with statue #1 to cause it to raise its sword, and get statues #2 and #6 to lower theirs. Then use statue #6 to end up with statues #3, #4 and #6 with their swords raised. Finally, interact with statue #3 to cause all three to lower their swords at once.
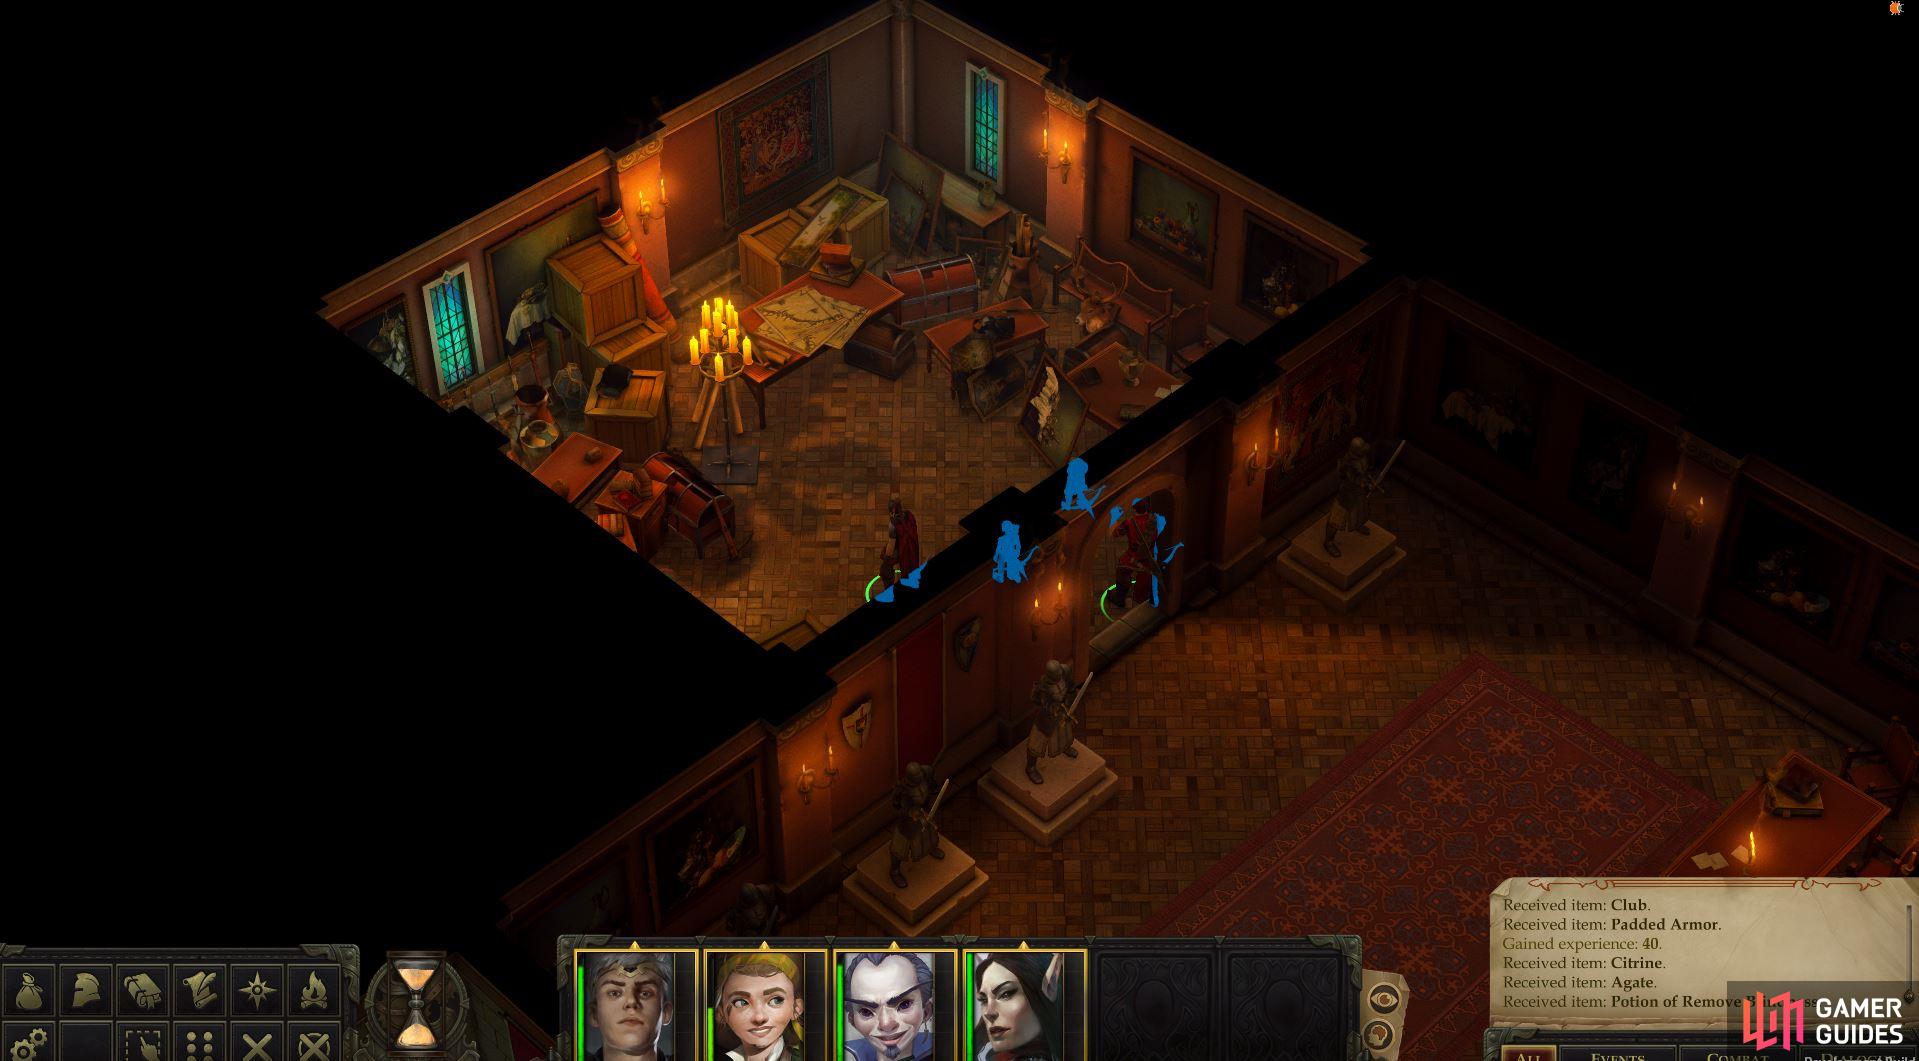
When all the statues have their swords raised, go through the doorway that appears between statues #5 and #6 and loot a chest, which disappointingly doesn’t contain a single sword. So much for being a “Swordlord”. It does, however, contain a wide variety of trinkets that can be sold, and a Potion of Remove Blindness. When all the statues have their swords lowered, a door will open along the northeastern end of the room with statues #1 and #2, where you’ll find a chest containing a Wand of Magic Missile and a Masterwork Nunchaku. Both of these notable caches of loot are accompanied by a variety of other valuable trinkets.
A full solution to get both of these doors open is: #1, #6, #3, #3, #6, #1, #1, #2, #6.
Help Harrim
Leave the statue rooms and return through the doorway to the southeast, where you should next turn your attention to another doorway to the southwest. Through this doorway is a garden, where another trio of Assassins lurks. With Jaethal added to your party, they’re woefully outmatched (provided you’re wary of sneak attacks), and it’s only going to get worse for your paltry foes soon enough. To make this fight even easier, a tiefling named Kaessi will help you by lobbing balls of fire (Fire Blast) at the Assassins.
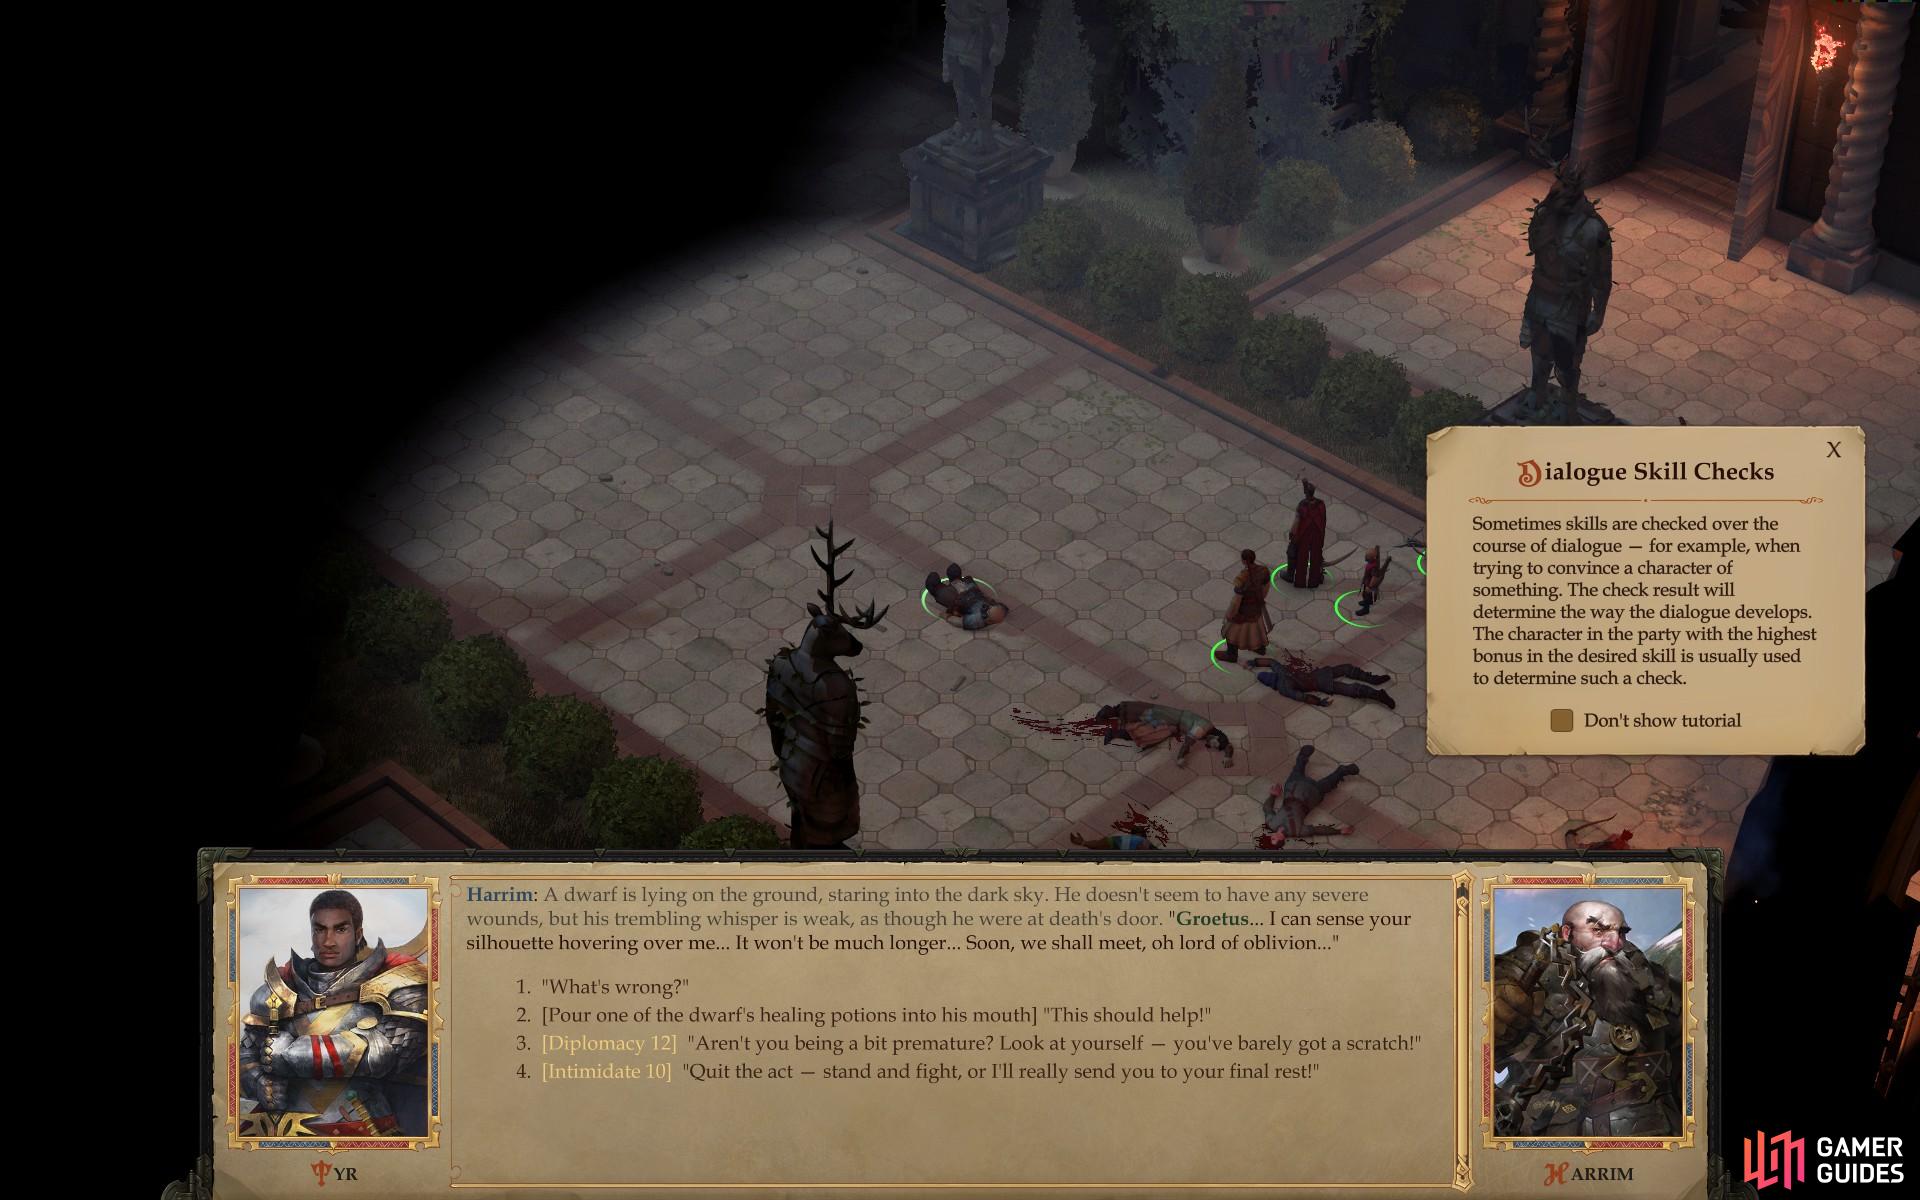
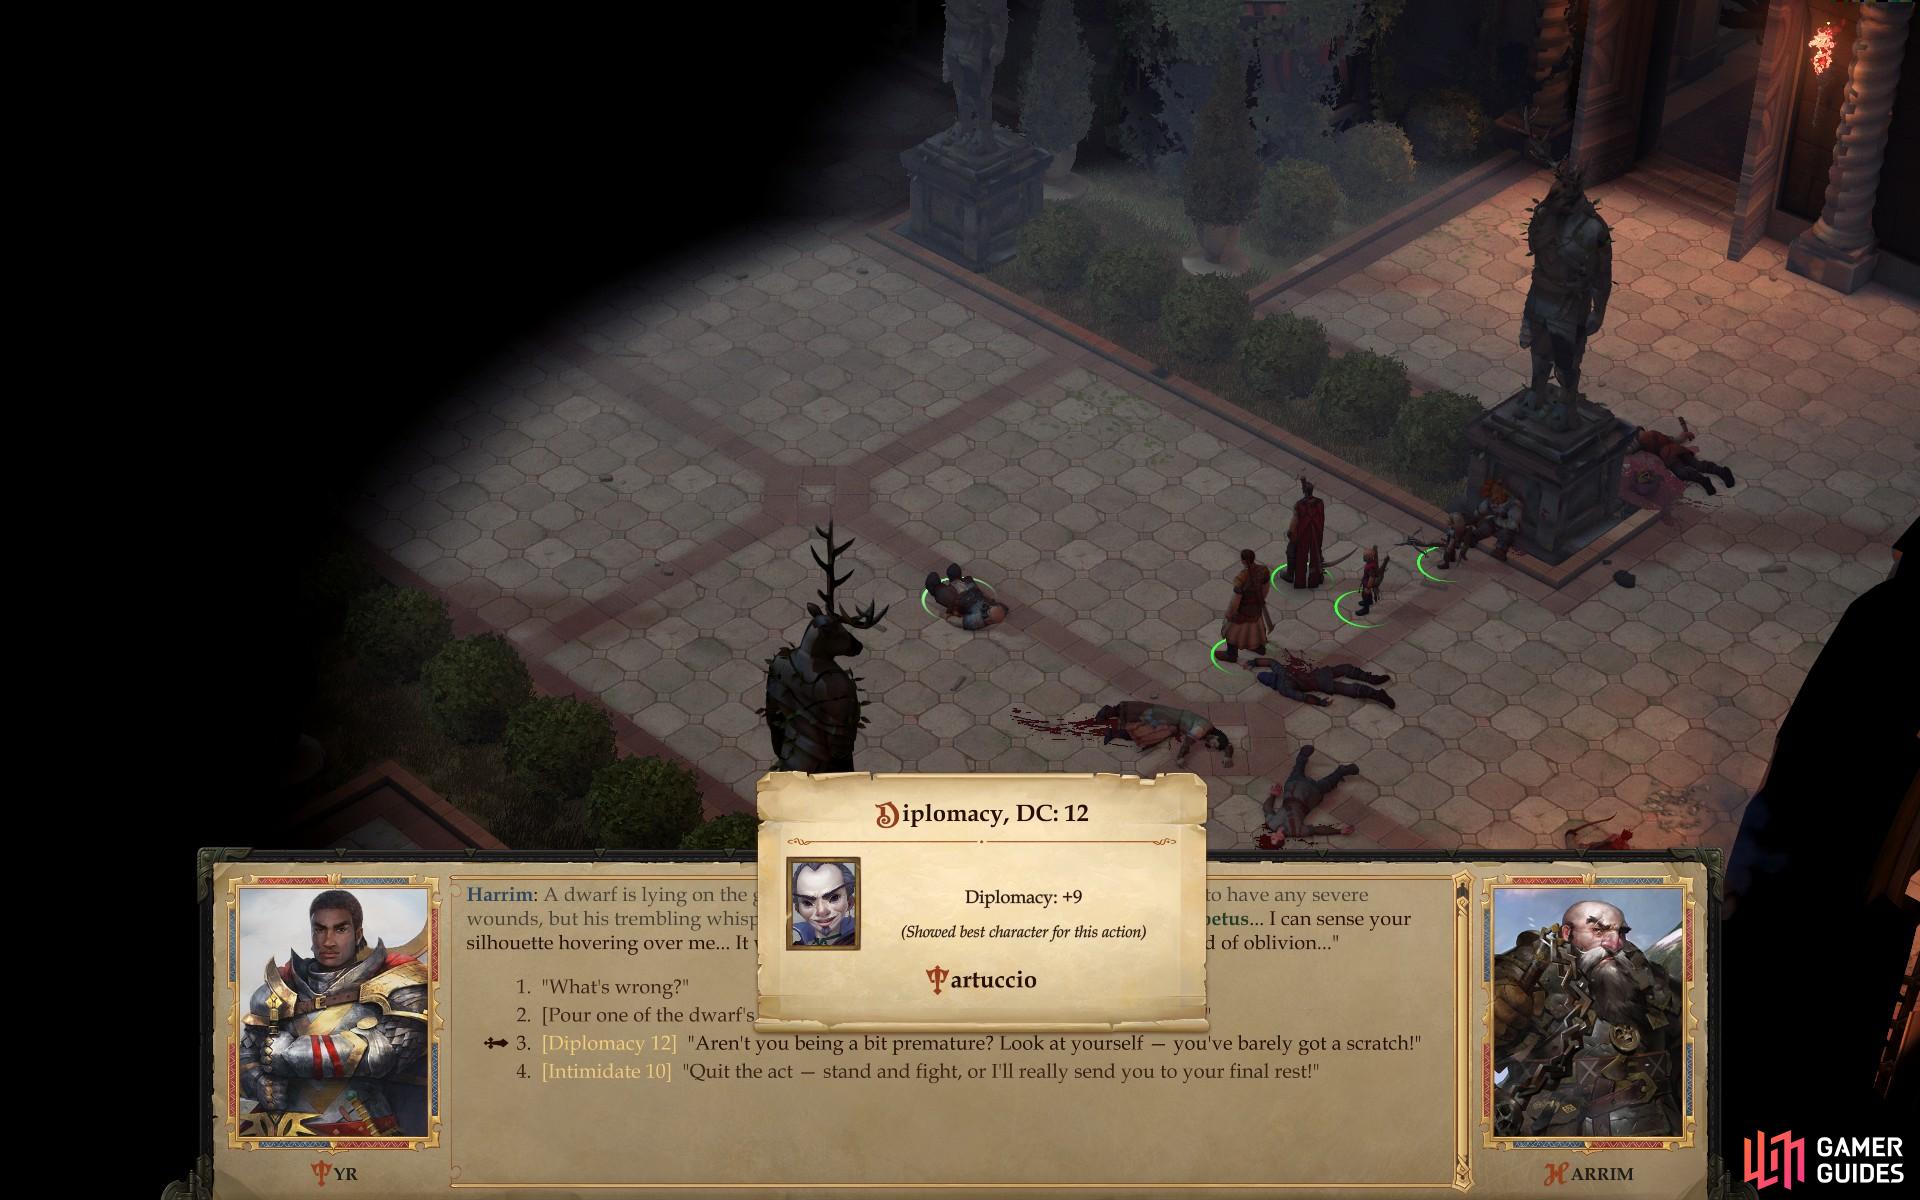
Dispatch them, loot their bodies, talk to Kaessi (she does little more than introduce herself before running off) then note the dramatically “dying” dwarf lying on the floor in the middle of the garden. Approach the poor sod and… well, since Groetus seems to be taking so long to take him your protagonist will decide to intervene.
Make whatever dialogue choice you wish - there are often multiple ways to arrive at the same result
Selecting one will force Harrim to begrudgingly admit he’s not dying and join your party
Using a potion won’t actually use up one of your potions, nor will it convince the hypochondriac dwarf that he is not, in fact, dying. As the tutorial should have hinted, you’ll need to pick an option with a dialogue skill check. Either Diplomacy or Intimidate achieve the same results, and as the tutorial note promises, Tartuccio, with his +9 modifier in both, will apply his bonuses to the rolls.
One of them is bound to succeed (since the Intimidate check is DC 10, it’s impossible for Tartuccio to fail) after which the dwarf, Harrim, will join your party. Harrim is a proper Cleric, capable of doing all that lovely healing that everybody loves Clerics for. The class is notably powerful in Pathfinder and related game systems, too, as they also possess decent combat stats and an expanded spell arsenal compared to earlier editions of… related game systems. Harrim won’t rival Jaethal, offensively, but high Armor Class is nearly as good, and his HP are superior. His spotty Dexterity score may be cause for concern down the line, but for now he’ll serve you well as a front-liner.
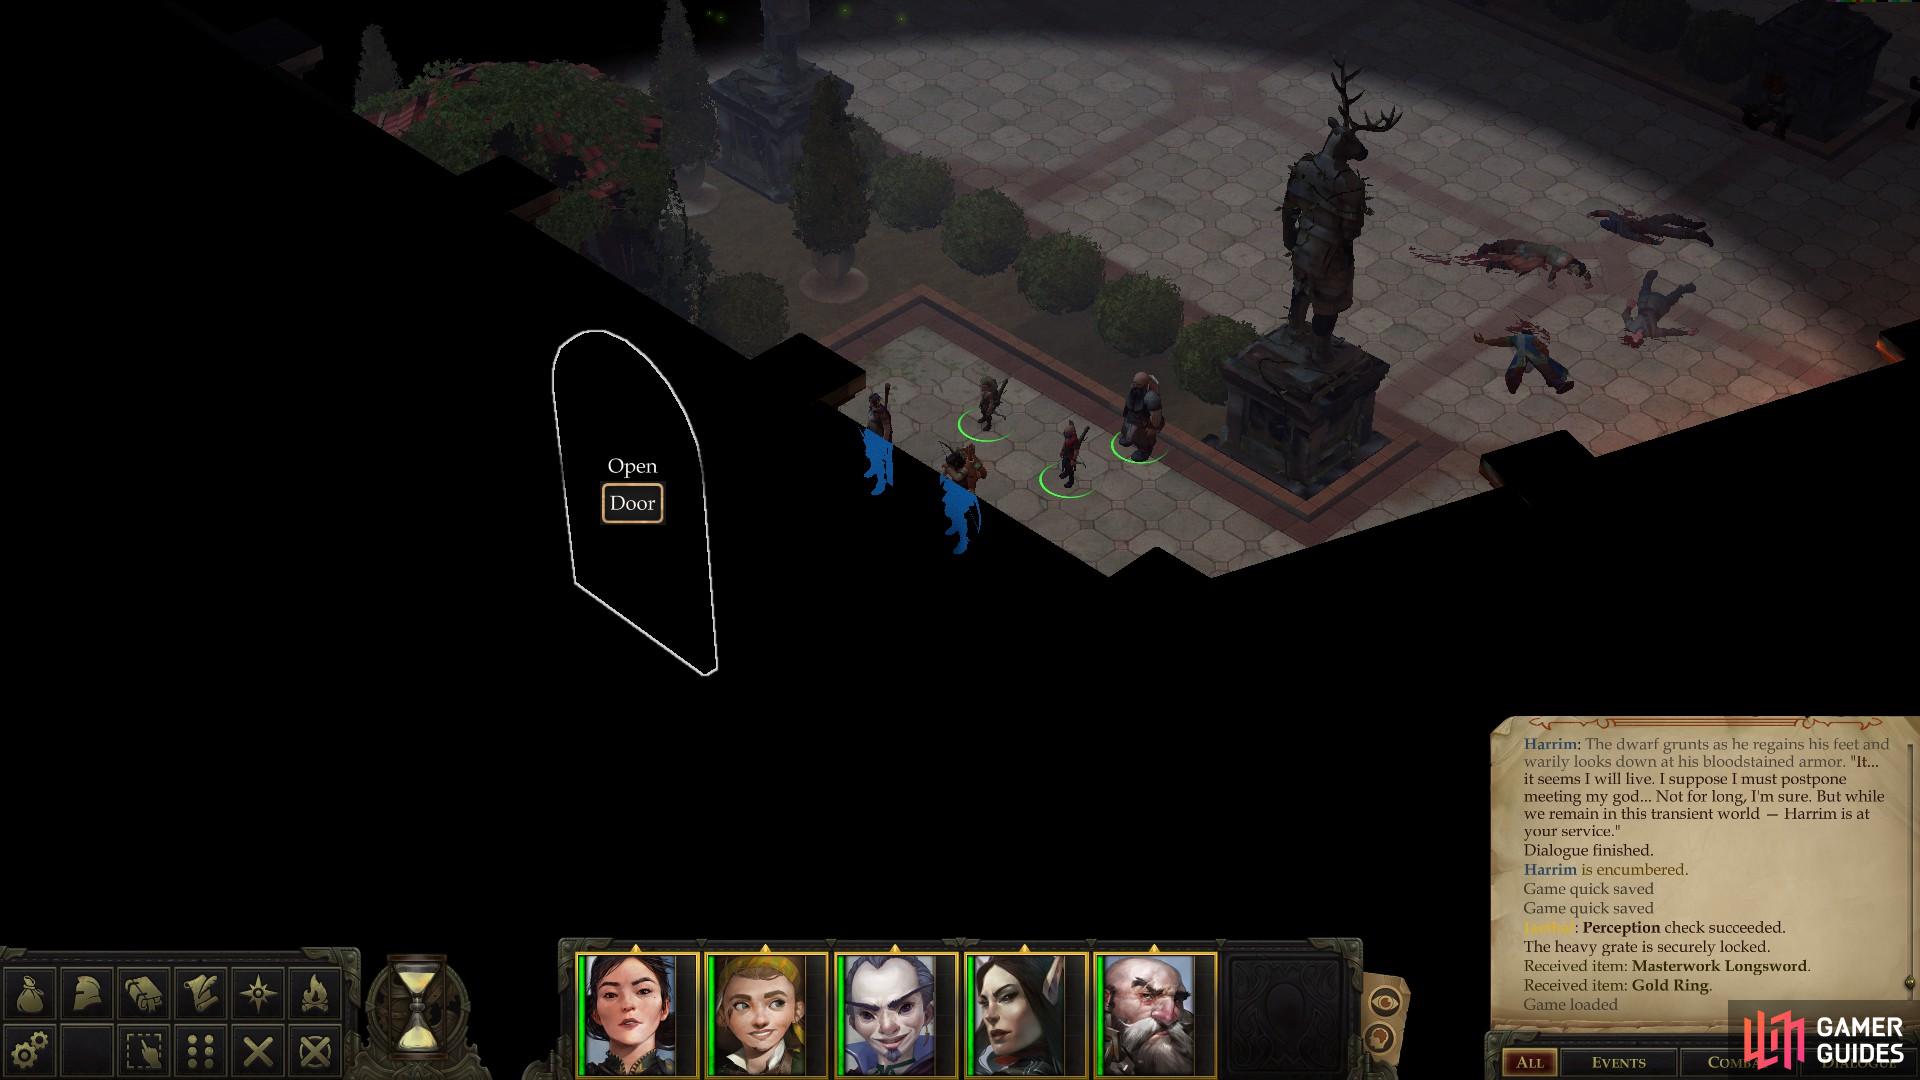
(1 of 3) Be sure to use the TAB button to search for otherwise hard-to-spot interactable objects.
Next search the southern corner of the area where you found Harrim to find a door obscured by the foreground (remember to press TAB to find such sneaky objects!). In the door beyond this room you’ll find an out-of-place stone block along the northeastern wall [Perception 1]. Behold, your first hidden item! These are quite common throughout the game, and it really makes having at least one character with a phenomenally high Perception skill score a must. Fortunately, there’s no shortage of candidates, perhaps the best of which is Jaethal. Elven senses, and all.
Interact with the block to open a secret door to the northwest, then explore the secret chamber you opened to find a chest, which contains a Masterwork Longsword and some jewelry. Finding such hidden objects is often well-rewarded, as this serves to demonstrate.
Pass Through the Fire
Make your way to the northwestern end of the garden, where you’ll find a handful of guards gathered, led by one Kesten Garess. Talk to him and after he finishes barking orders at his subordinates he’ll spare some for you, as well. Question him as you will, after which you’ll be directed to brave the fires beyond, the last obstacle that lies between you and the embattled Lady Jamandi.
Walk bravely into the flames and you’ll be introduced to a new feature of Pathfinder: Kingmaker - Illustrated Book Episodes!
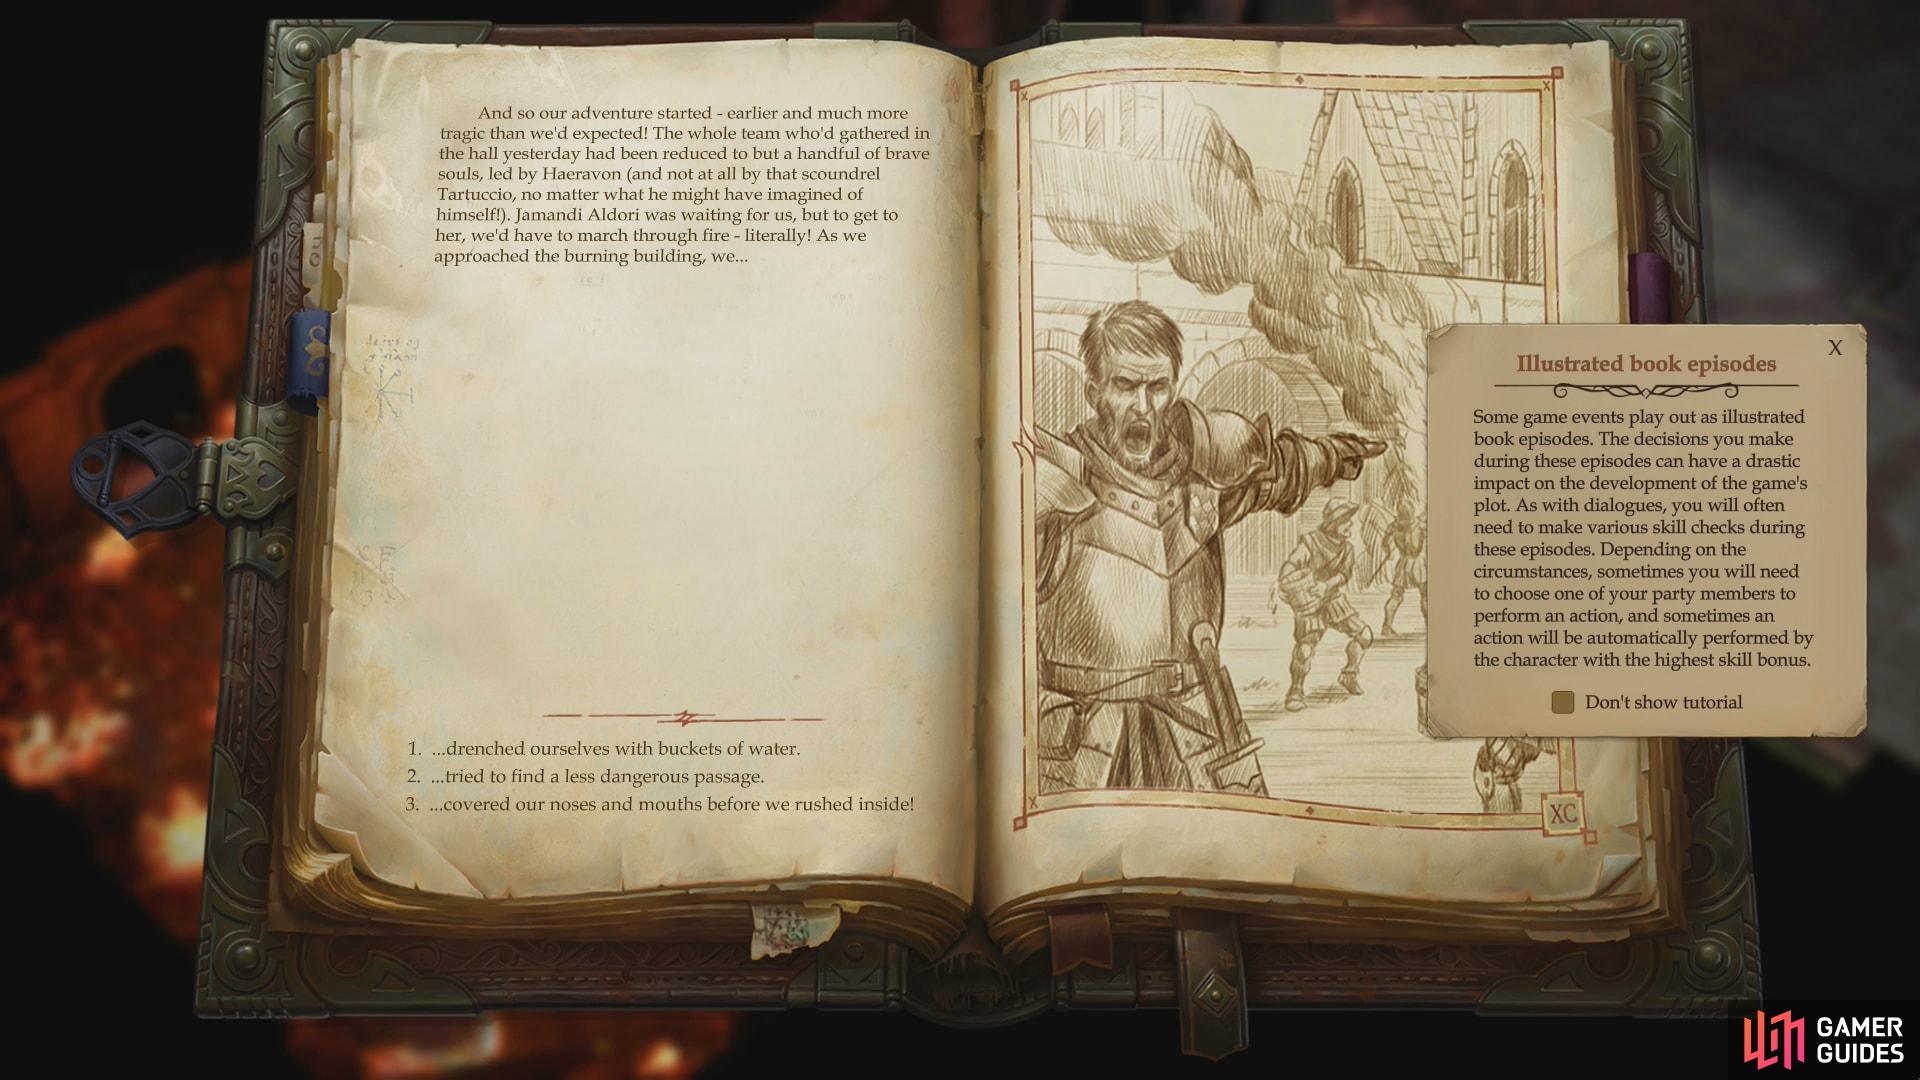
(1 of 3) Illustrated Book episodes present you with a narrative-heavy alternative for navigating through certain aspects of the game.
For this particular event, choose “drenched ourselves with buckets of water.”, but avoid “tried to find a less dangerous passage”, as the wasted time will force you to make one of several checks: [Reflex], [Mobility], [Athletics], or just take a bit of damage with one brave character (Tartuccio volunteers!). Failing one of these checks tends to have worse consequences for the party than just taking the damage with one character.
After getting through the fire, another section of the episode will force you to make another choice: either help Valerie rescue some injured guards [Athletics] or convince Valerie to abandon the effort for the good of Lady Jamandi [Diplomacy]. The scores you’ll need to pass these vary, but seem to increase if you did not choose “drenched ourselves with buckets of water” and/or did choose “tried to find a less dangerous passage”. Best case scenario, you make it through unscathed, worse case scenario, you take minor damage twice and emerge fatigued.
Valerie joins your party either way, and even if the rest of you avoid getting fatigued (save Jaethal, who cannot become fatigued - lucky girl) Valerie will start out fatigued.
Don’t let Valerie’s artificially deflated attributes fool you (fatigue imposes a -2 penalty to Strength and Dexterity), she’s a tank. With an impressively high Armor Class and stellar HP to back it up, she’s a great defensive warrior, fit for pinning down foes. Her offensive isn’t exactly top-tier, but this can be improved as she levels up.
Boss: The Assassin Leader
Make your way to the end of the hall you’re in to find an area transition. Before passing through, now might be a good time to use whatever buffs you have available. If your protagonist is a spell-caster, even if you selected spells earlier in the banquet hall, you haven’t had enough time to prepare them, so there’s precious little you can do. Harrim, however, can cast Bless, Linzi can use her bard-song, Inspire Courage, and Jaethal can buff herself with Divine Favor. Patching up any wounds you may have comes recommended, as well.
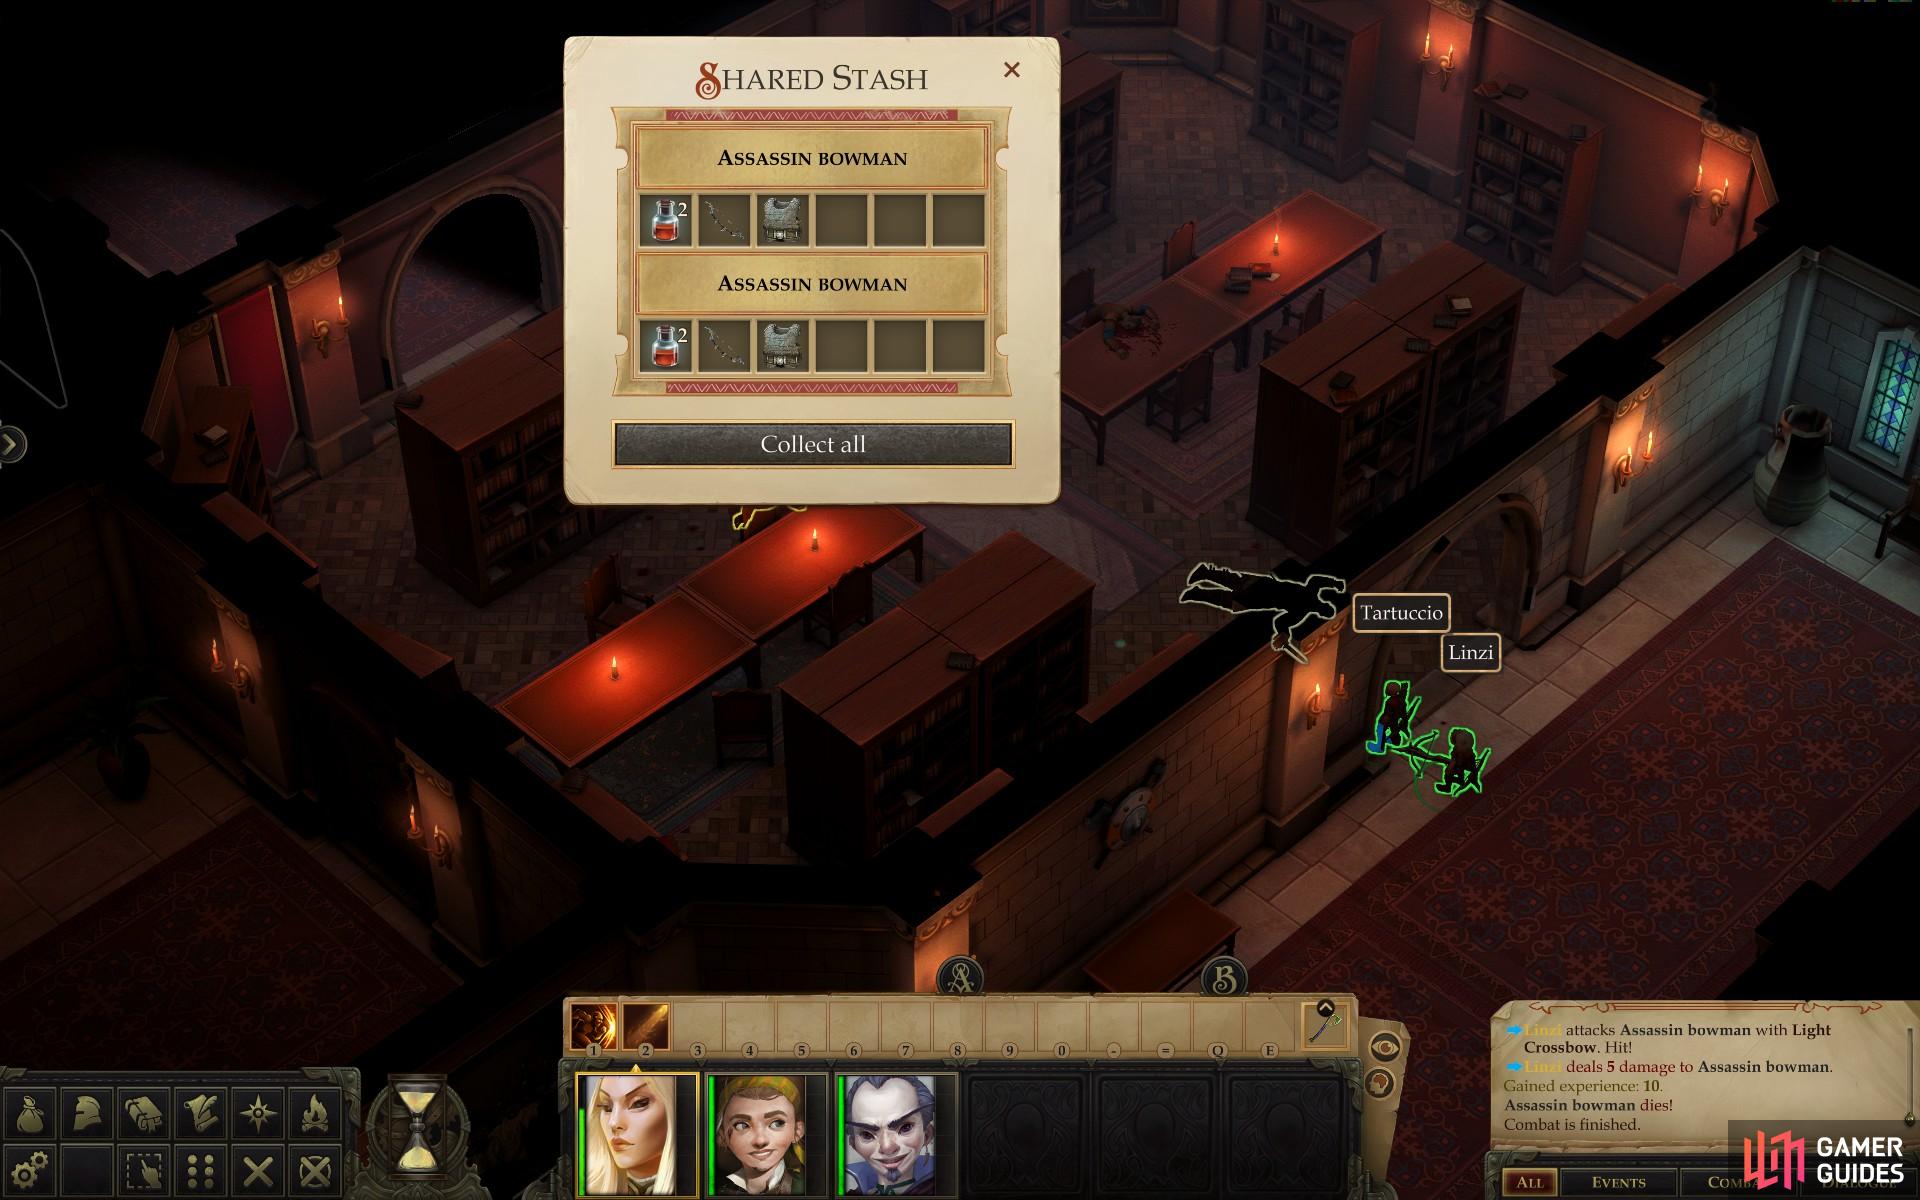
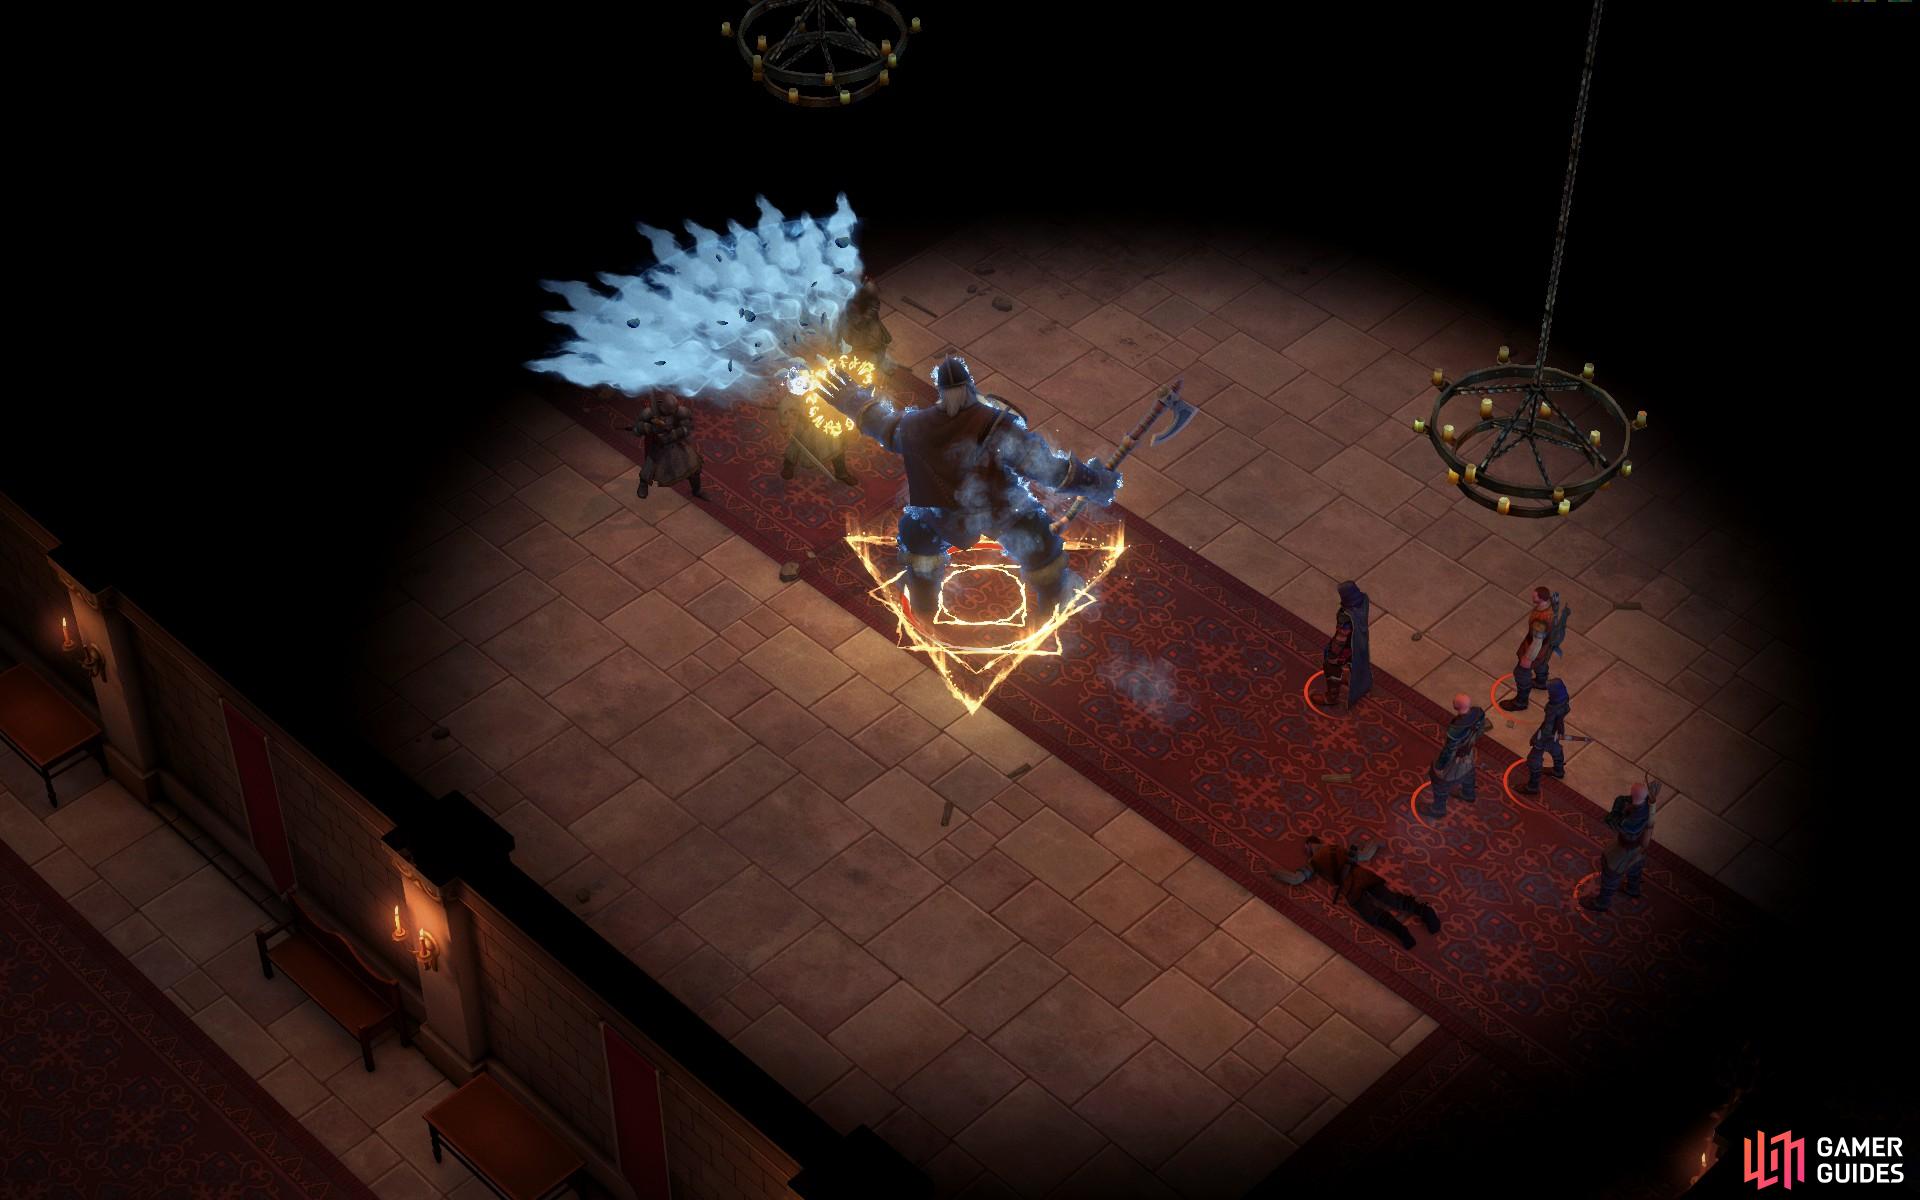
In the next room you’ll find Ezvanki Keeg and Jamandi Aldori squaring off against the Frost Giant that dispatched so many of your fellows with contemptuous ease, leaving you to fight three Assassins, two Assassin Bowmen, the Assassin Leader and three Rift Channelers. The latter trio won’t contribute much to the fight, while the first five are the normal fodder whose blood you’ve been using to paint this nice estate.
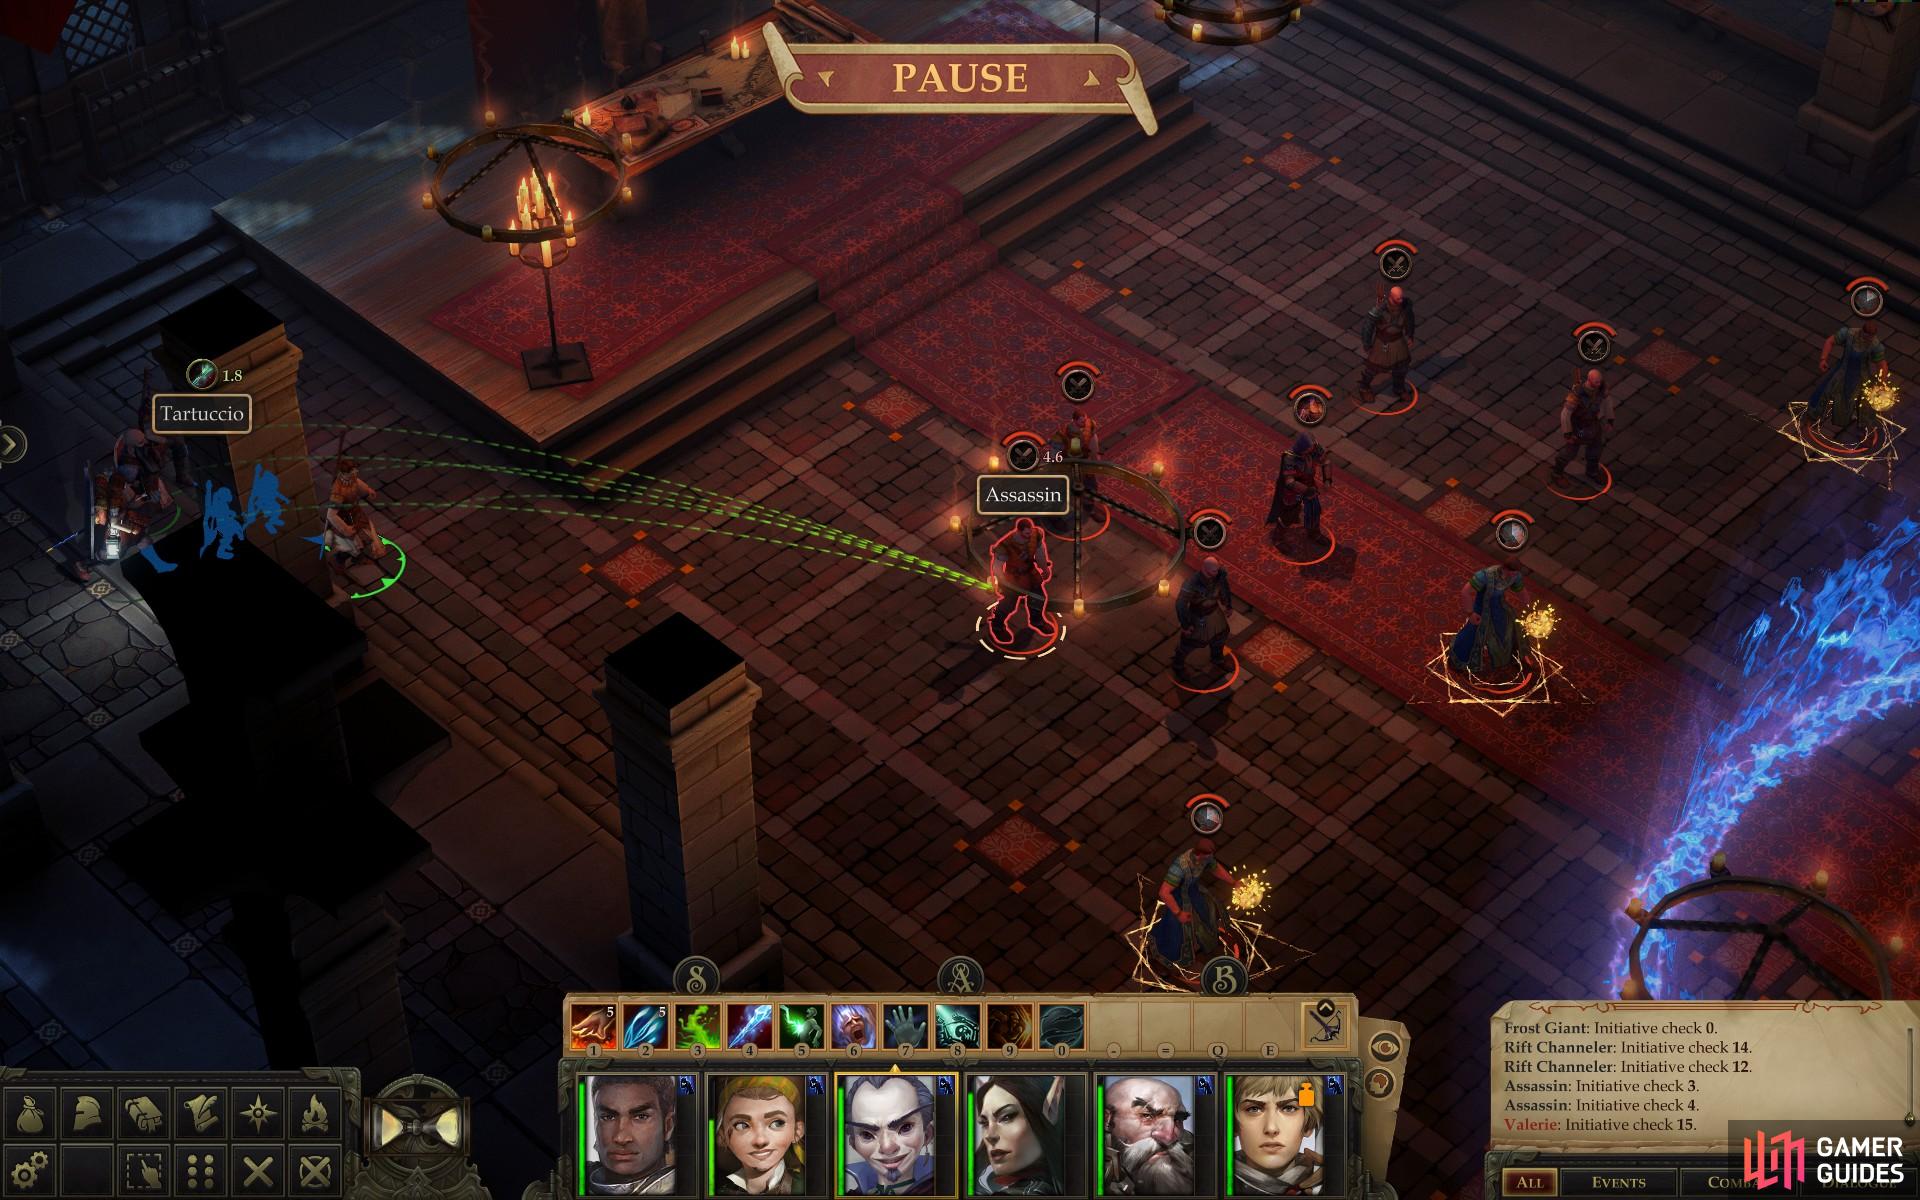
First, engage and eliminate the melee assassins that’ll block your access to the Assassin Leader
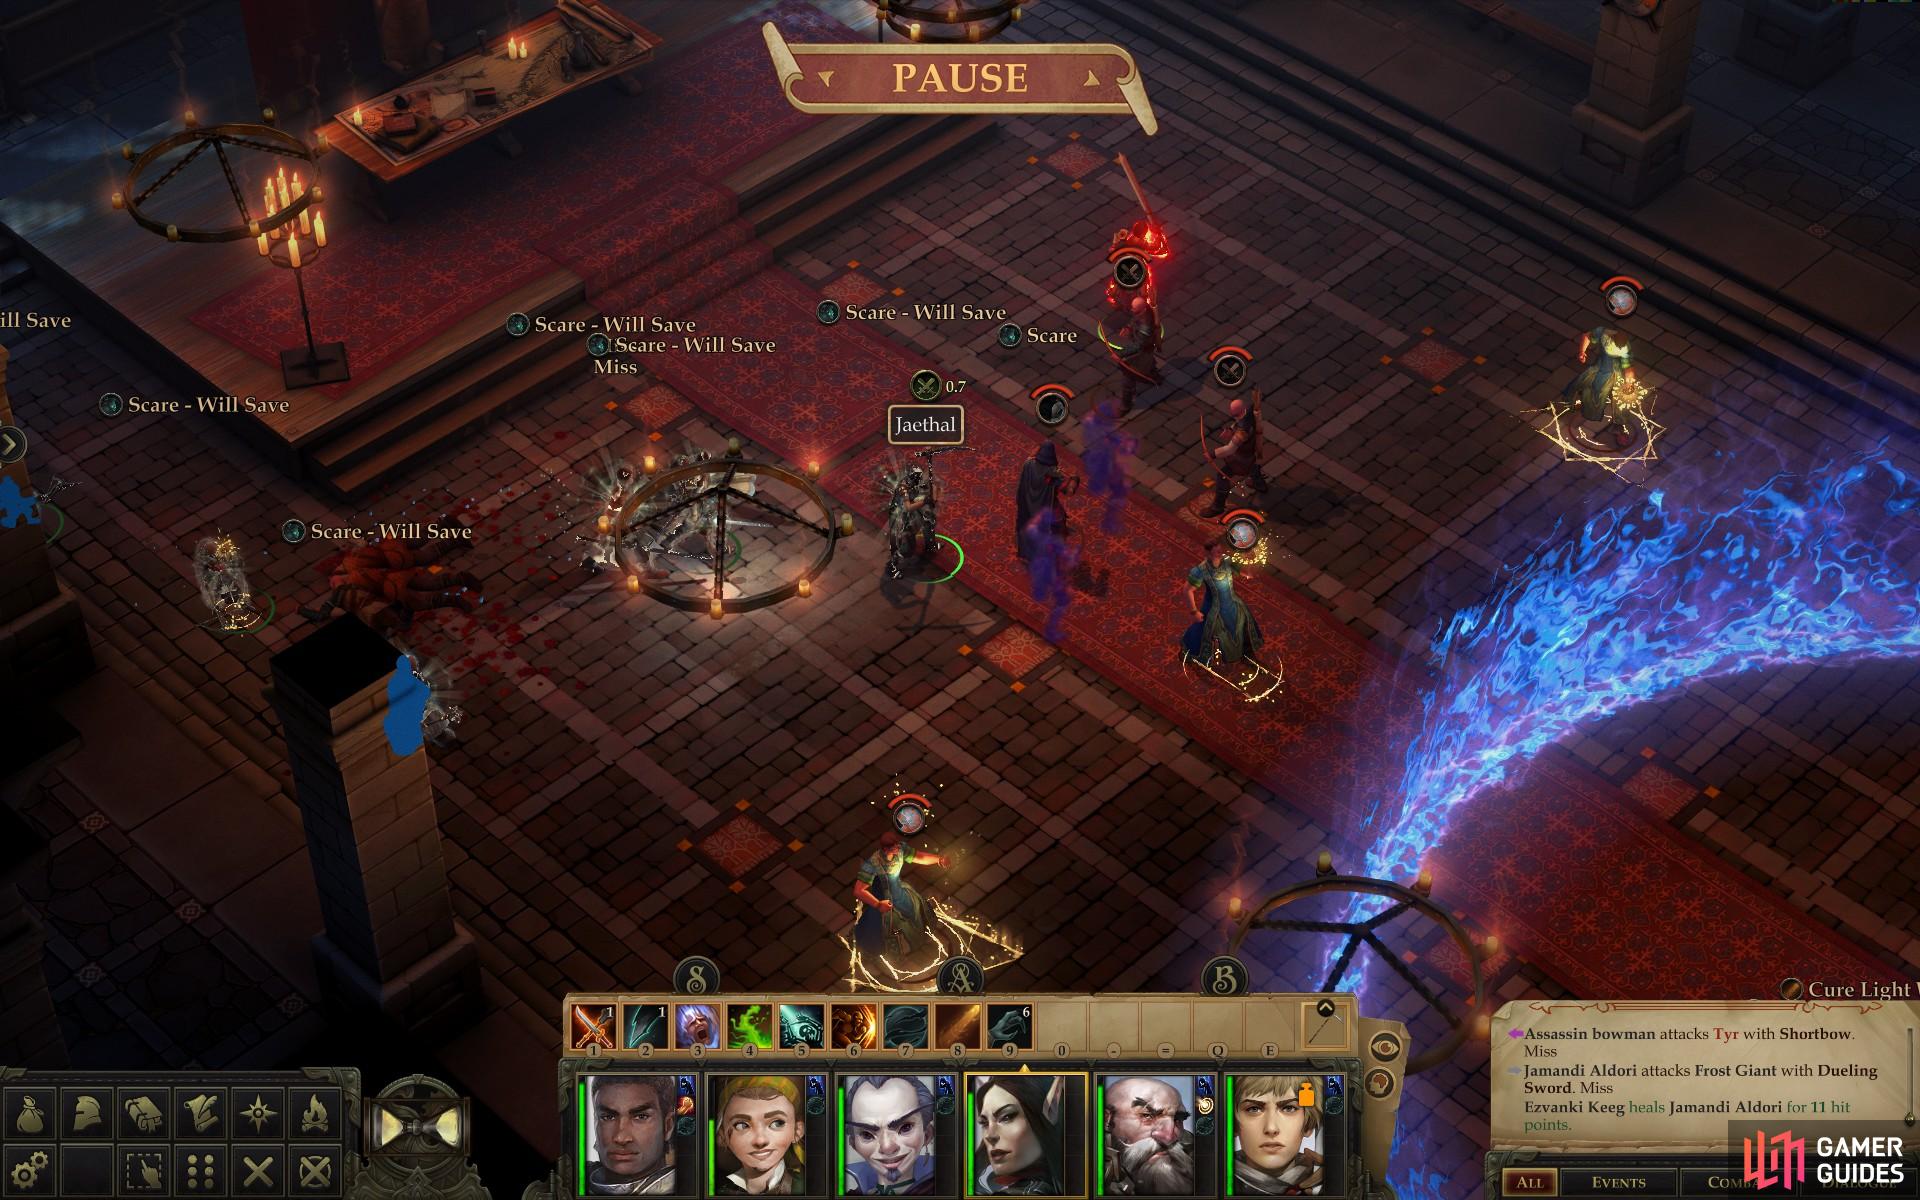
Unfortunately, this delay will allow the Assassin Leader to cast Scare, but if his melee goons are dead, the spell’s effects should be limited
The Assassin Leader, however, is a spell-caster, and somewhat more troublesome than his subordinate. In particular he’s fond of starting out the fight with Mirror Image followed by Protection from Good, Communal, after which he’ll busy himself with Cause Fear. There’s not much you can do about the latter save target him with Linzi and Tartuccio, neither of which are competent enough archers to inspire much confidence. For your melee fighters, focus on cutting down the Assassins that charge you, as their Attacks of Opportunity against fear-fleeing characters are the most dangerous part of this fight. If you can chop them down before the Cause Fear hits, you’re in pretty good shape. If your party is in need of a quick heal, don’t be shy about using Harrim’s Channel Positive Energy - Heal Living.
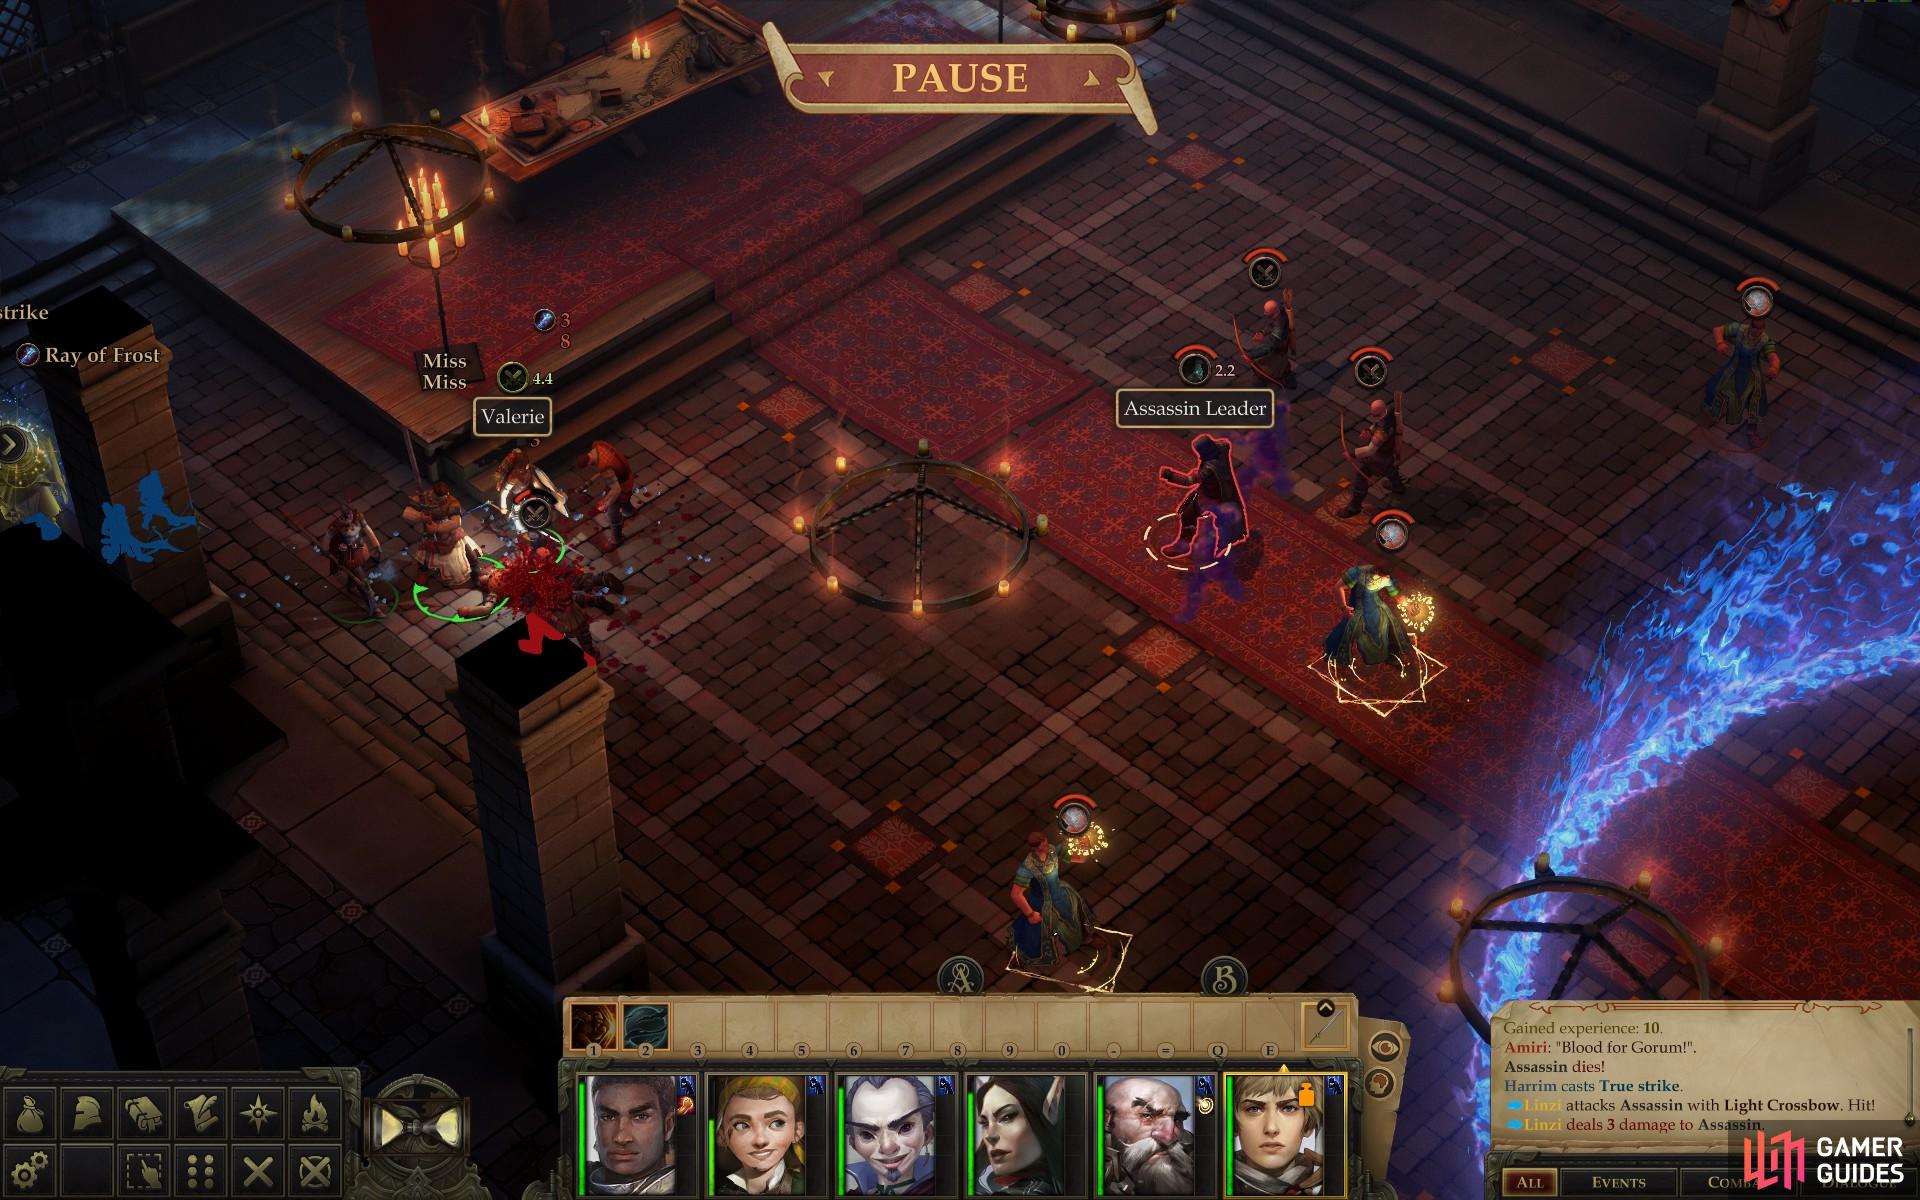
Recover from the spells and gank the Assassin Leader
then be sure to loot him and his minions before talking to Jamandi
Once you’ve recovered from the spells of the Assassin Leader, killed his Assassins, and engaged him in melee combat, the fight should be pretty well in hand. Neither he nor his archers are wise enough to avoid provoking attacks of opportunity, and his Rift Channelers are complete non-threats.
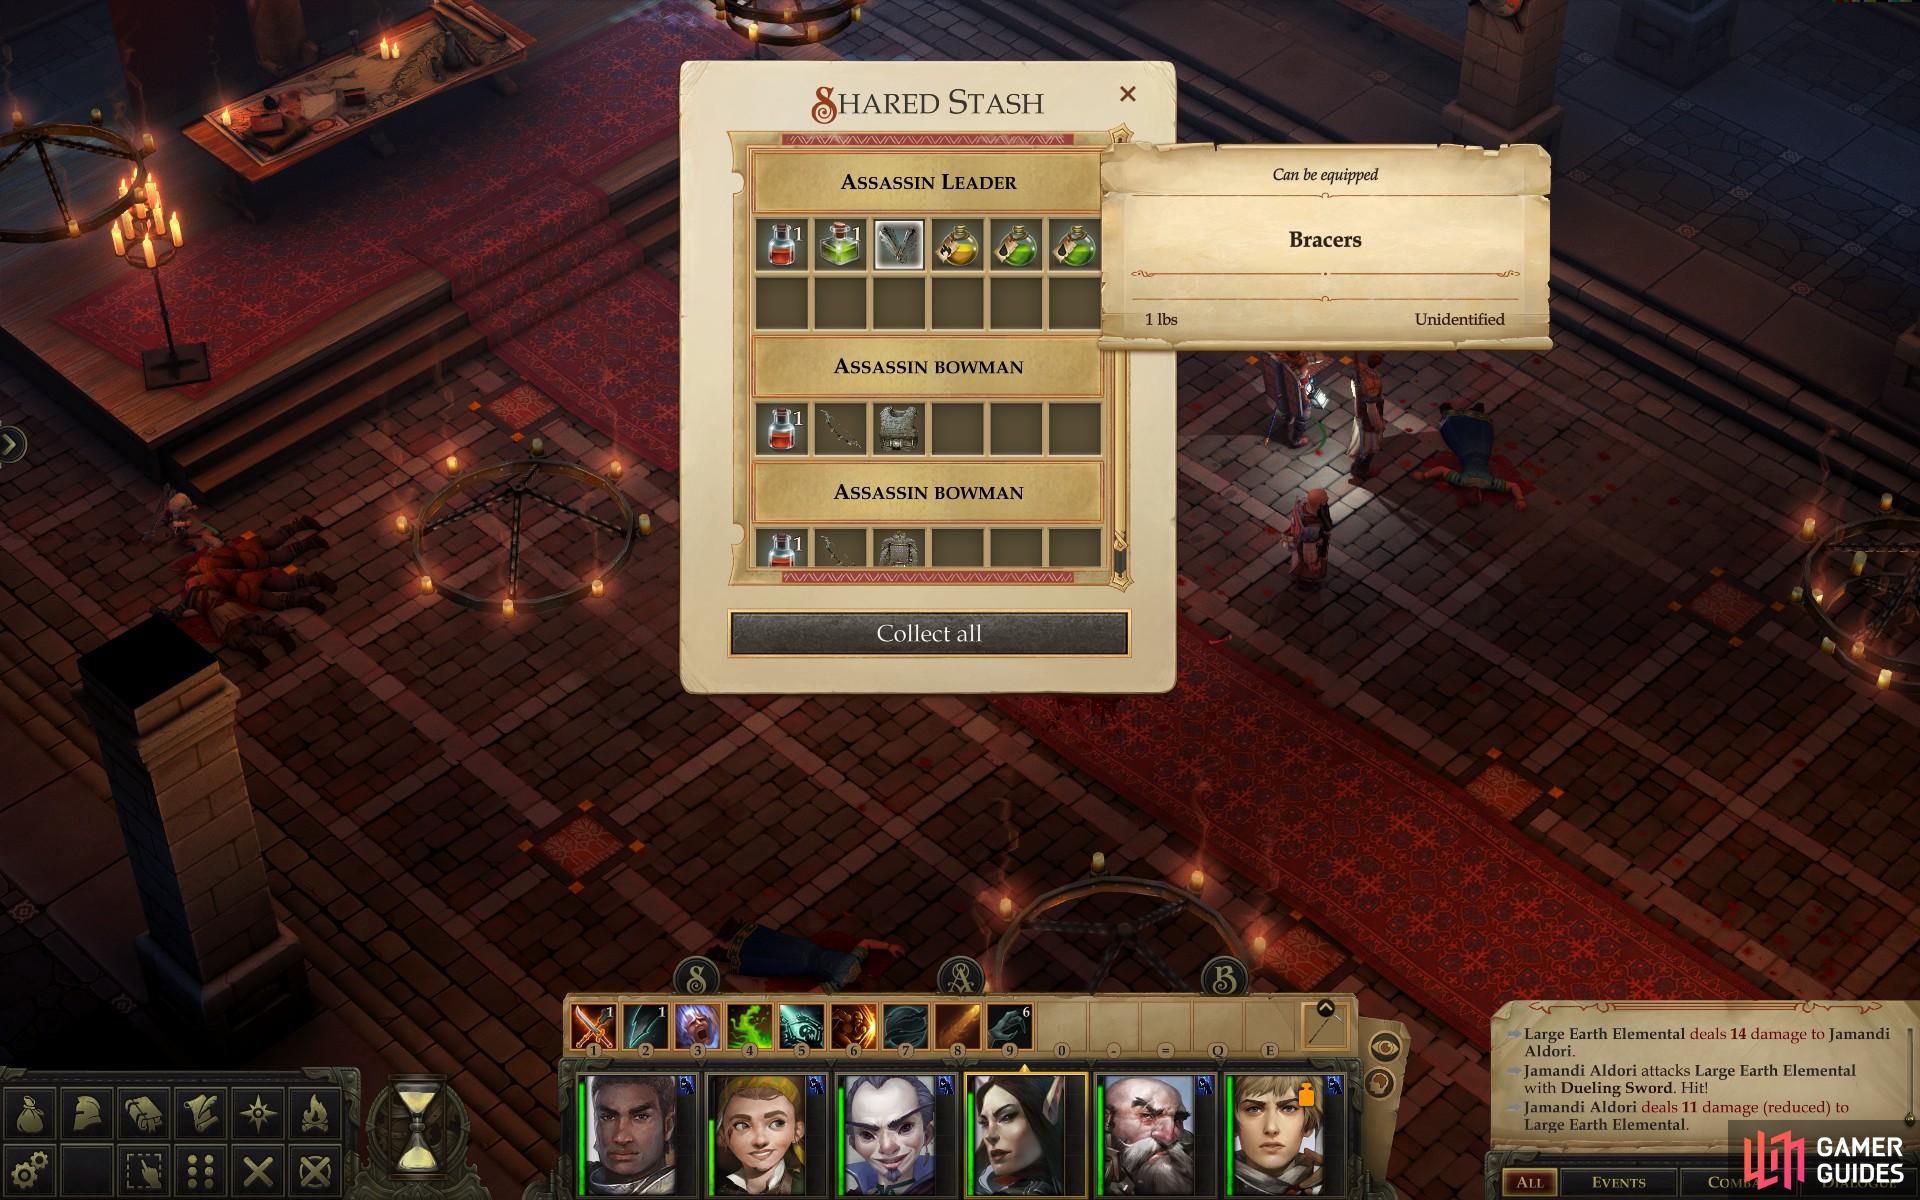
After the fight ends, before you talk to Jamandi, loot your fallen foes to score the usual Assassin junk. The Assassin Leader, however, is especially generous, as he’ll bestow some Alchemist’s Fire, a pair of Acid Flasks, a Potion of Cure Light Wounds, a Potion of Barkskin and some unidentified Bracers, which, when picked up you should be able to identify as Bracers of Armor +1.
Finally, one last thing before you talk to Jamandi… make a hard save here. The choices ahead will determine your starting party, and if you end up with buyer’s remorse and want another shot at things, you’ll have a convenient way of doing so.
Picking Sides
When you’re ready to put an end to matters in the mansion, talk to Jamandi and she’ll praise the leadership qualities of your protagonist and… Tartuccio? The deceitful little jabroni immediately takes the opportunity to slander you, accusing you of being an agent of “the vile king of Pitax, Irovetti”, and using the ring he gave you as evidence. Well, at least that explains his “generosity” earlier. Kaessi will also interject from time to time, but her contributions don’t significantly alter any of the choices ahead, nor does she join your party… at least not any time soon.
You have several ways to respond to his implausible accusations, including a [Diplomacy] check, a [Knowledge (World)] check, or by simply having the good sense not to be wearing the little git’s ring. In this case the choice - and the results of your check - are inconsequential enough, as Jamandi’s suspicious of both of you. At least Amiri seems to take your side, regardless of your true motivations or alignment.
Other choices are somewhat more consequential, however, as Tartuccio will continue to use every major action during the attack to cast doubt on you. When he brings up the fact that you robbed the armory (or if you stole the guard’s pay, he’ll use that to attack you) you’ll be presented with two responses, each of which contains a skill check [Diplomacy] and a Moral Choice. It’s one thing to pick an alignment during character creation, but your actions during the game will either reinforce - or alter - your alignment depending on your actions. In this case you have a [Lawful Neutral] response and a [Chaotic Neutral] response.
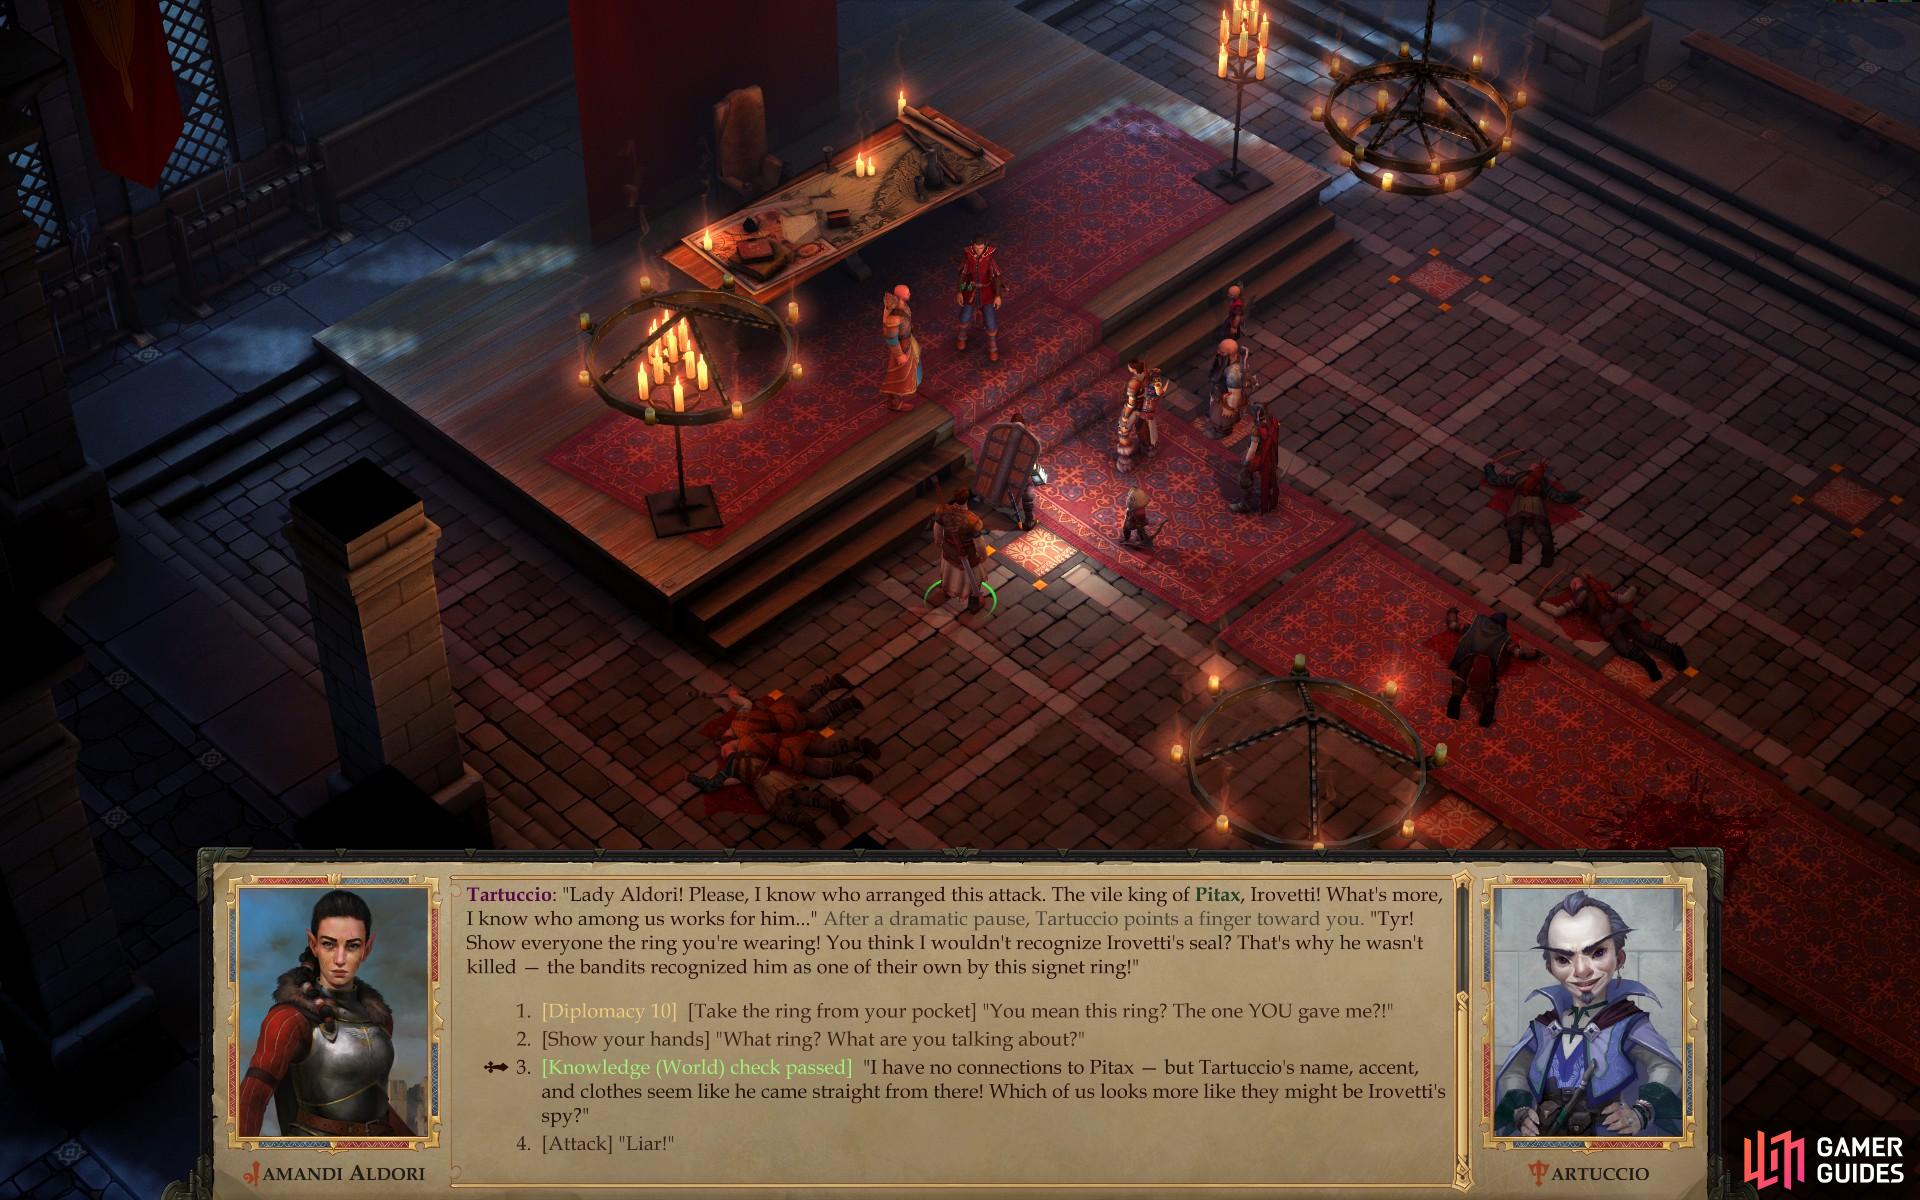
Tartuccio will do his best to undermine you, and spin every action during the tutorial in a nefarious light
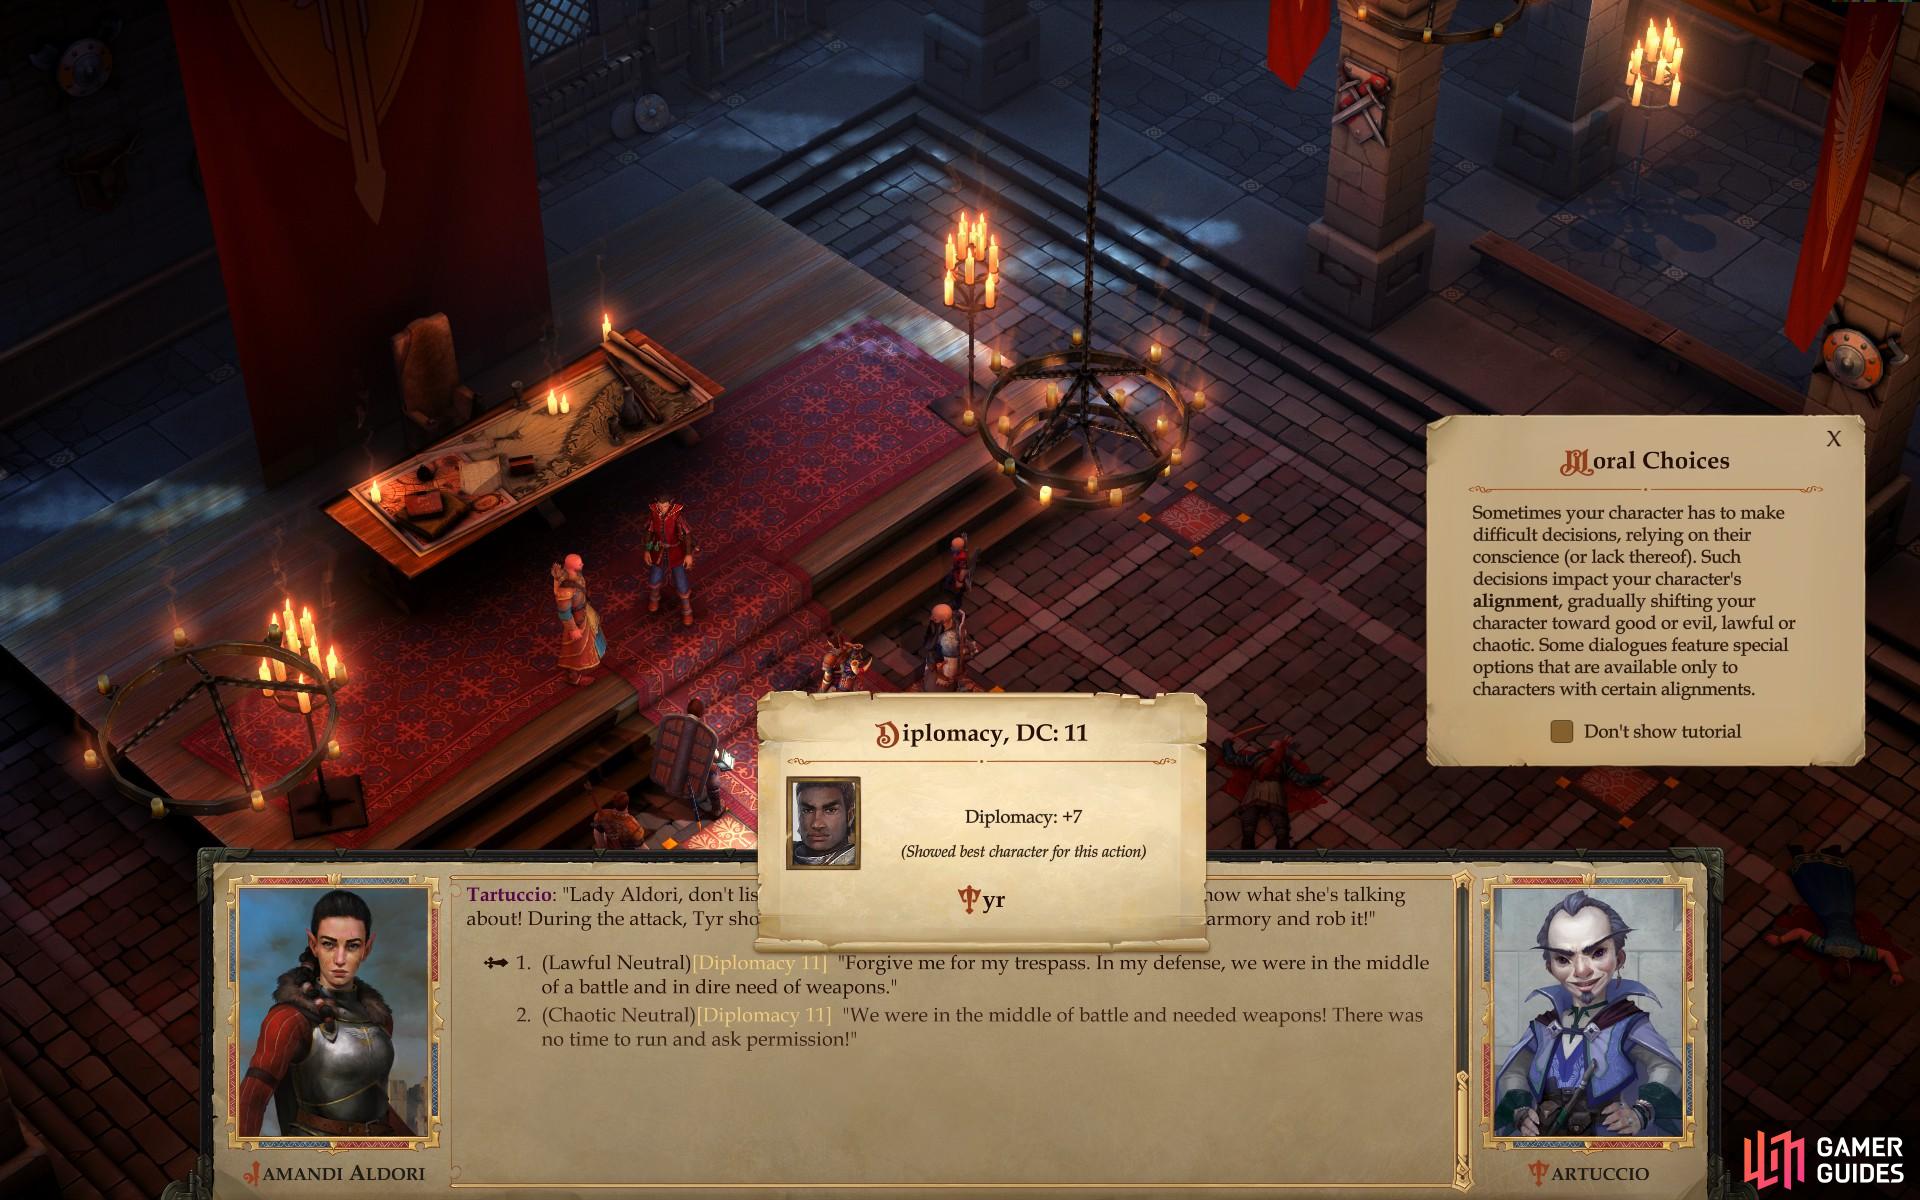
During your conversation with Jamandi, you’ll get many opportunities to define the motivation behind your actions - and influence your character’s alignment
Valerie or Harrim
While these choices aren’t enough to significantly impact your alignment on their own, they will send a clear message to your would-be companions. Valerie is inclined to lawful behavior, and choosing the Chaotic Neutral response will sour her on you… although considering the other choice is a Chaotic Evil Gnome, it’s hard to see how she expects to fare any better with Tartuccio. Harrim, however, finds the arbitrary constraints of law to be tedious at best, and folly at worst, and makes his opinion known.
Simply put, if you pick the [Lawful Neutral] responses:
“Forgive me for my trespass. In my defense, we were in the middle of a battle and in dire need of weapons.”
“We weren’t trying to take the money - we just wanted to keep it away from bandits.”
Valerie will join you during your expedition into the Stolen Lands.
On the other hand, if you pick the [Chaotic Neutral] responses:
“We were in the middle of battle and needed weapons! There was no time to run and ask permission!”
“So what if we did? The guards weren’t able to handle their responsibilities, so we decided we should teach them a lesson.”
Harrim will join you. You can’t have both, and regardless of what choices you make and of your successes or failures at diplomacy, you will not be allowed to keep the coin you stole. Drat.

Depending on your responses, some of your former companions will opt to join Tartuccio instead of remaining with you
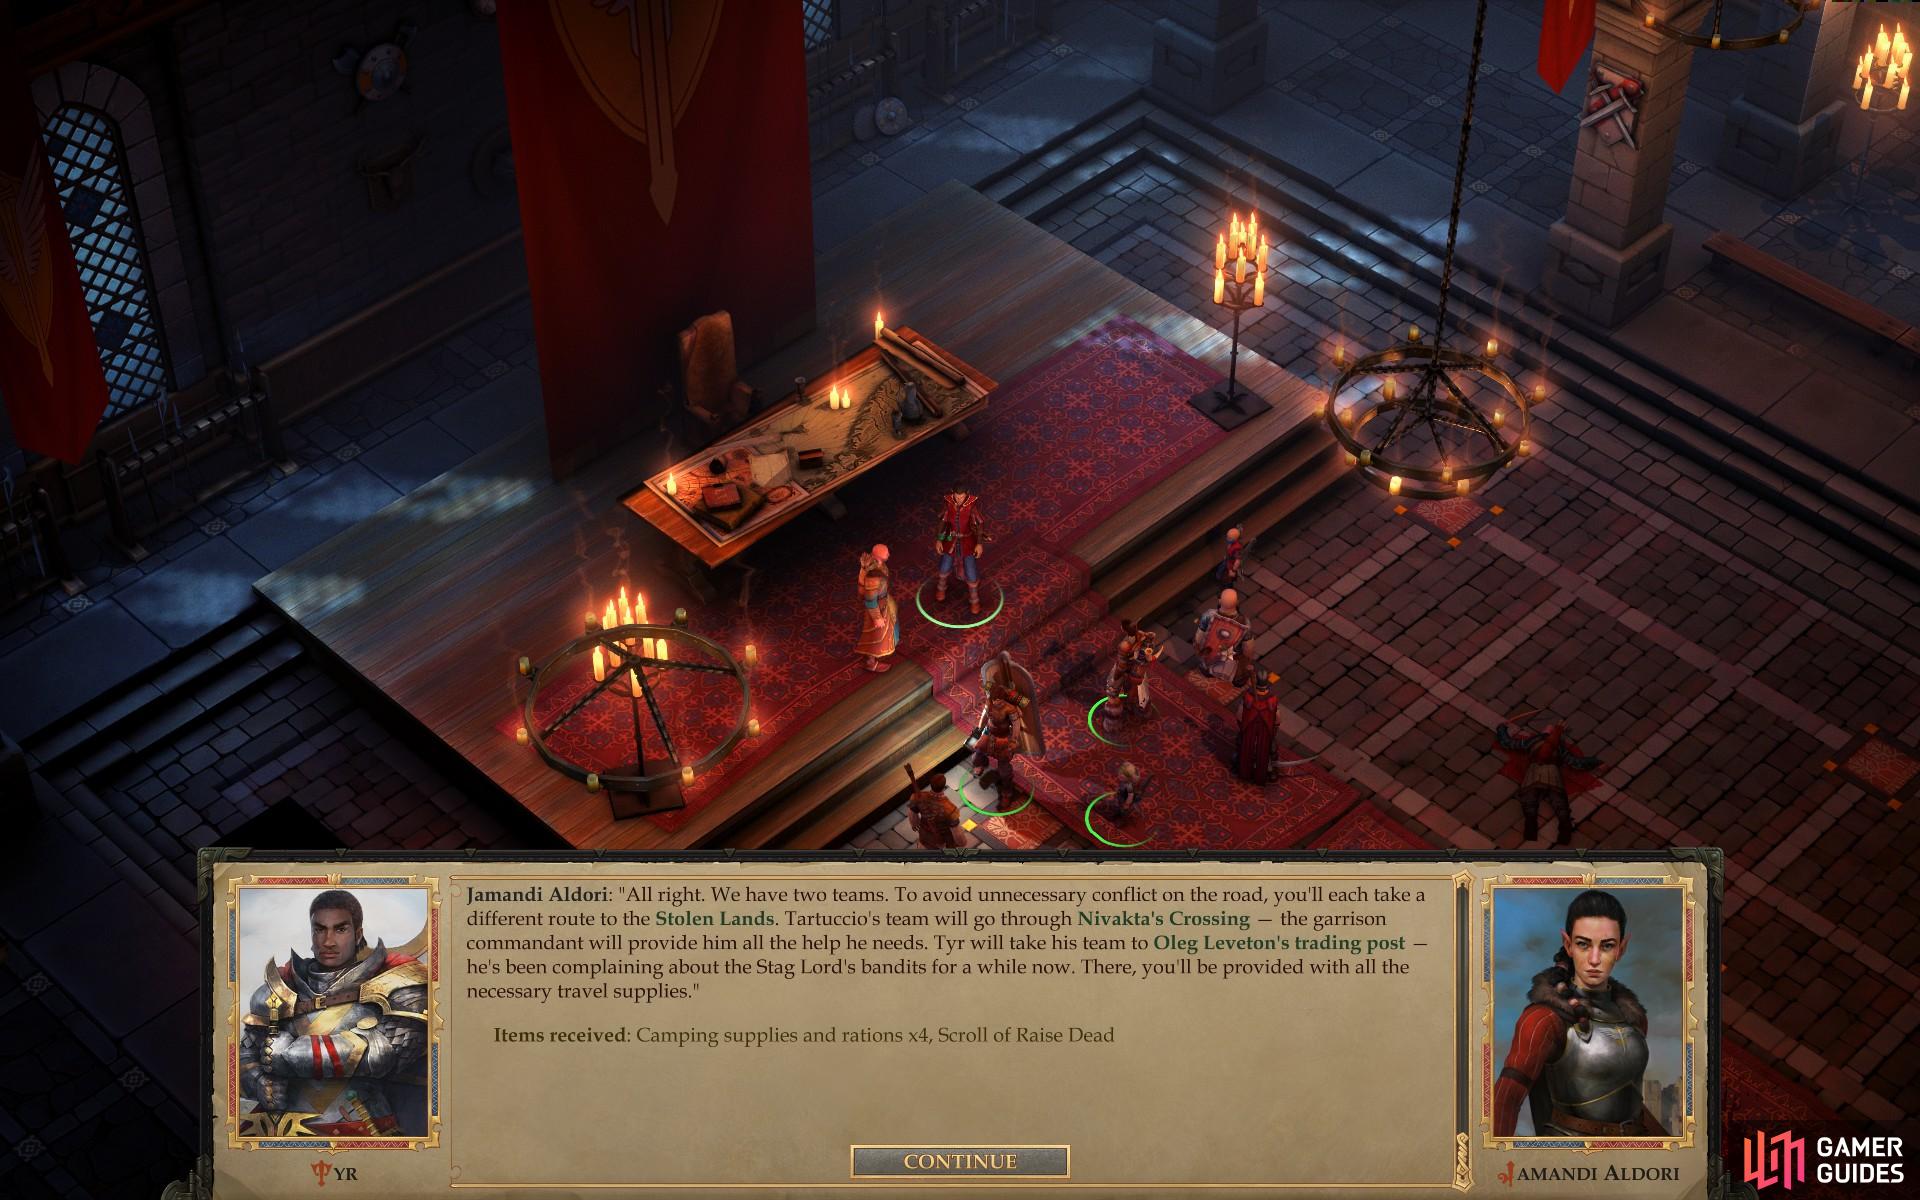
At the end, the two groups will set out and you’ll be given some provisions for the road
Jaethal or Linzi
Next Tartuccio has the audacity to accuse you based on your actions when you were navigating the burning section of the mansion, claiming you either purposefully wasted time instead of rushing to Jamandi’s aid, or that you mercilessly abandoned poor guards to their fiery fate. There’s really no winning with this guy, eh?
This, too, provides an opportunity to test your alignment, although this time on the Good/Evil axis rather than the Lawful/Chaotic axis. Like the last two, the two remaining party members - Jaethal and Linzi - will decide to stay with you, or join Tartuccio based on your responses here.
If you pick the [Neutral Good] responses:
“People were dying right in front of me. How could I just walk by?”
“I regret that I couldn’t save everyone - I would have if I could! I’m sad for the perished, but I had to decide between helping them and helping Lady Aldori. Forgive me if I chose wrongly.”
Linzi will join you, so as to continue to record your heroic deeds.
On the other hand, if Tartuccio’s accusations cause you to display your evil side by picking [Neutral Evil] responses:
“I wouldn’t have saved them without good reason. Dead soldiers are useless, but the wounded could still help Kesten defend the mansion.”
“Heartless? So what? I’m not going to worry about guards’ lives when their ruler’s life is at stake!”
Jaethal will join you, finding your distinct lack of morality an appealing trait for a potential leader. Again, you cannot have both.
The single, large, effective party will thus split into two, while Amiri - blissfully unconcerned by the moral arguments everybody else engaged in - joins you. “I don’t even need to think!”, indeed, but whatever her intellectual faults, her muscle will prove invaluable.
With that settled, Jamandi will give you Camping Supplies and Rations x4 and a Signed Scroll of Raise Dead after which she’ll set the groups on separate paths, with Tartuccio’s squad heading through Nivakta’s Crossing, and with you stopping by Oleg Leveton’s Trading Post. Finally, she’ll offer up a throwaway statement regarding who she currently finds more trustworthy (depending on whether you failed or succeeded at your Diplomacy checks) between you and Tartuccio before also mentioning that Pitax might not be the only one interfering in this expedition… Apparently the Royal House of Surtova may also be opposed to your goals. With such forces arrayed against you, you’ll need to overthrow the Stag Lord in a timely manner: You have three months to complete your task, by her estimation.
| Reward: For surviving the attack on the Aldori Mansion |
|---|
| 125 XP / Camping Supplies and Rations x4 / Signed Scroll of Raise Dead |
No Comments