

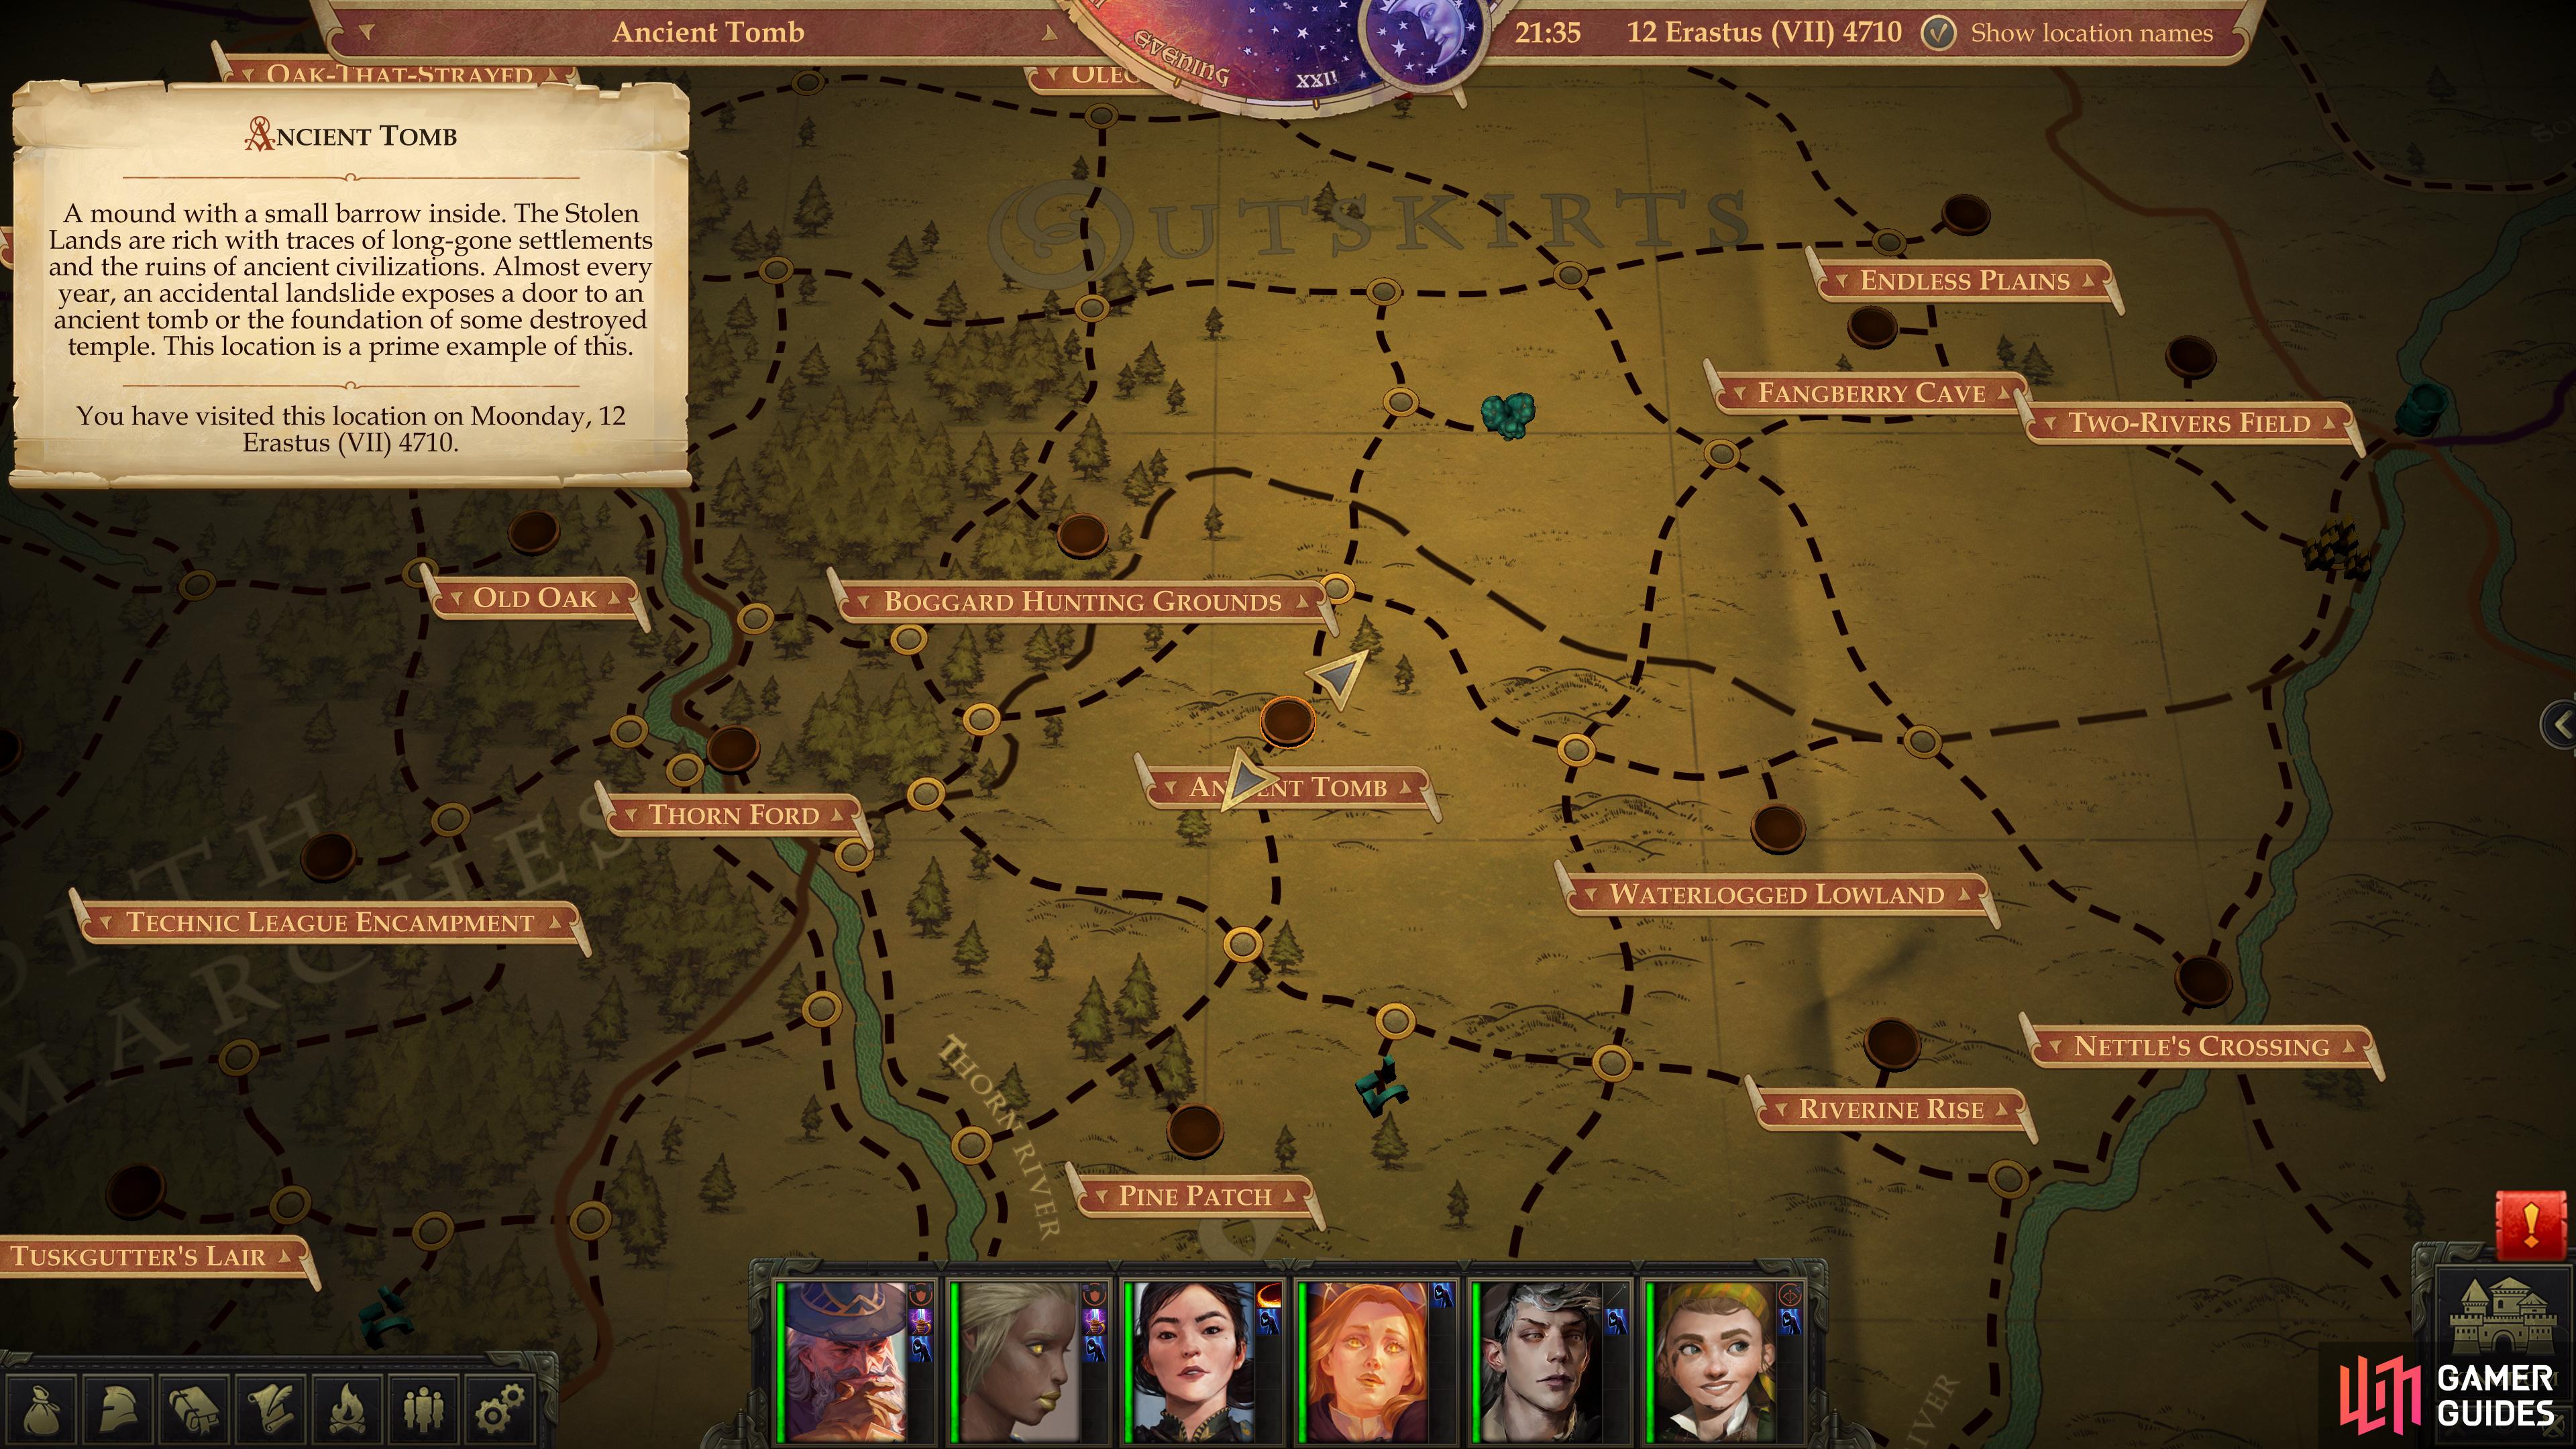
Travel: Ancient Tomb
To reach the Ancient Tomb (from Oleg’s Trading Post) follow these directions:
- South
- Southeast
- West
- South
- Southwest
- Southwest
- Southwest
Coercing Companions
Once inside the tomb, save your game, consider spell-buffing (Bless and/or Bardsong work well), then venture northwest - looting the crate along the way - to find Tartuccio berating his minions. It seems he’s added some mercenaries to his roster since you last saw him, although where he got the coin and clout is a question worth pondering.
You can vent your anger at your deceitful rival and leap to the attack, or you can waste time calling him out on his apparent lack of interest in completing Jamandi’s task. Your words are better off being used to lure one of your former companions back to your side. The [Persuasion 10] check required for this is surprisingly manageable - undoubtedly a sign of their frustration with the Gnome’s abusive personality and lack of progress - and having an extra character on board will make everything you do going forward that much easier.
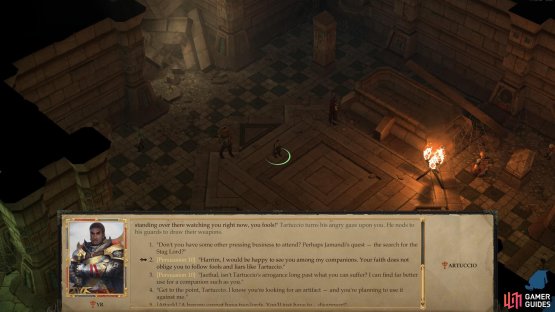

(1 of 2) If you went to the Ancient Tomb before Thorn Ford, you’ll get a chance to lure back one of your former companions

If you went to the Ancient Tomb before Thorn Ford, you’ll get a chance to lure back one of your former companions (left), Be sure to level up this new addition before starting the fight with Tartuccio’s mercenaries! (right)
Battle: Tartuccio’s Mercenaries
After luring one of your two former companions back to your side, Tartuccio decides to flee, taking the character you didn’t woo with him and siccing his mercenaries on you - potentially leaving the character you just recruited in a rather compromised situation. Consider having the character retreat towards you, as these mercenaries are rather strong.
The one to the north has a relatively high Armor Class that can keep him in a fight long enough to be bothersome, but the real threats are to the northwest. These two northwestern characters consist of a spellcaster (who will waste little time casting Enlarge Person on the allied warrior nearby) and a warrior armed with a Longsword +1 who can put up a fearsome fight. Send one character north to occupy the stranded, high Armor Class foe, while the rest of your characters focus on the other isolated mercenary to the west, hoping to remove him quickly.
Once those threats are removed, focus your archers on the caster, and have your warriors occupy the combatant who accompanied the spell-casting mercenary. Now is the time to make use of your spells, targeting the aforementioned warrior. Not only is he a troublesome foe on his own, but the longer he lives, the more likely his caster buddy is going to cause mischief. Hit him with any debilitating spells you may possess - Sleep, Color Spray and Hideous Laughter all work well - until he’s out of action, then quickly gank the caster to put her out of commission. After that, you should just need to clean up the rest of the mercenaries.

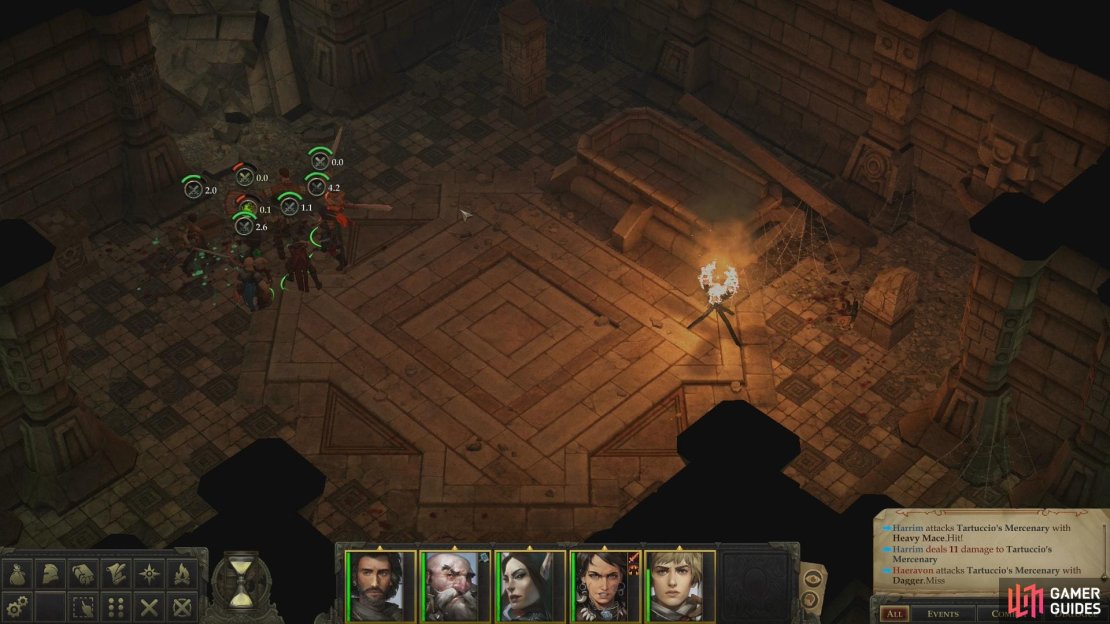
(1 of 3) Divide your party up to occupy the mercenary to the north, and kill the mercenary to the west
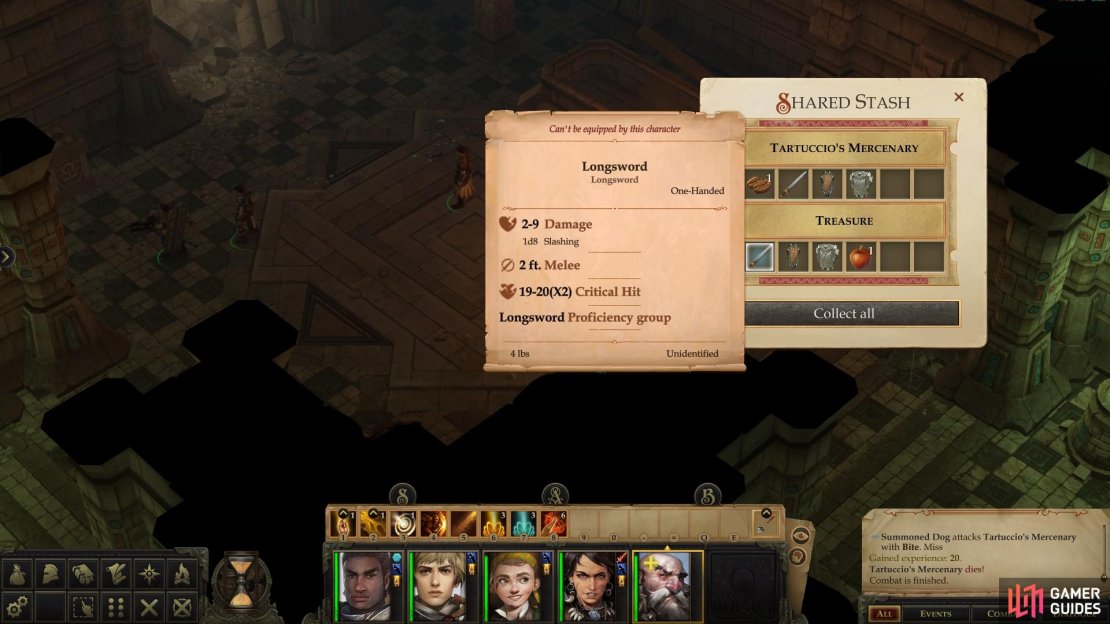
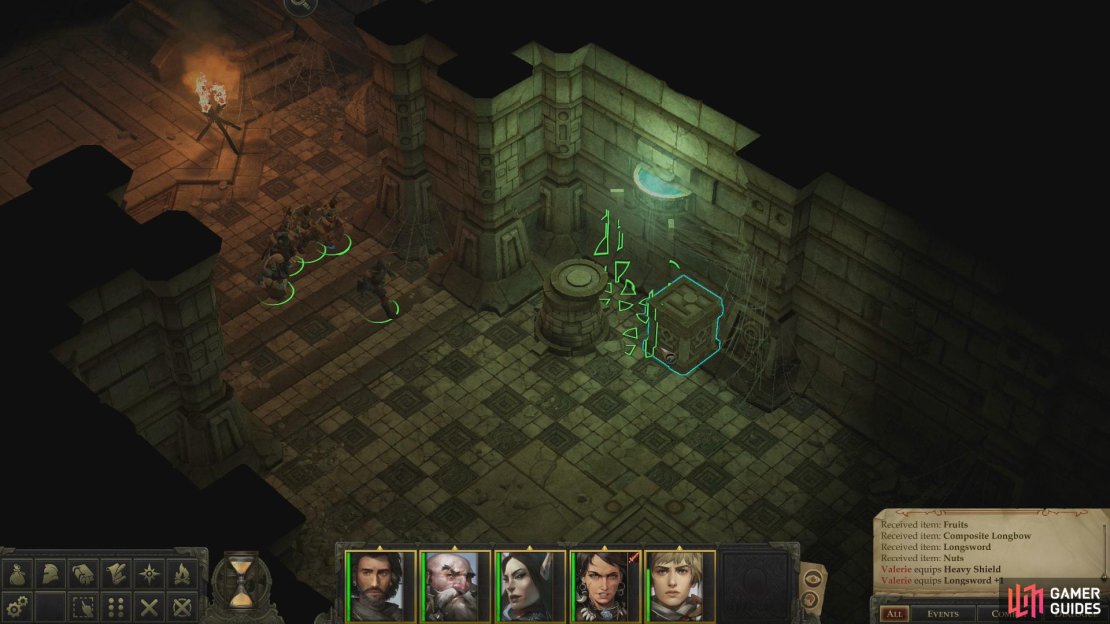
Emerge victorious, then loot your fallen foes to obtain a variety of arms, armor and some valuable treasure. The choicest bit of loot you’ll find here is the aforementioned Longsword +1, which is a fine replacement for Valerie’s Masterwork Bastard Sword. It might seem like more of a lateral change than anything else, but you’re going to want to be switching to enchanted weapons when the opportunity arises, as some creatures take significantly less damage from non-magical weapons. Other than that, be sure to pick up the Scorched Fragment of a Necklace which one of them drops.
Looting the Ancient Tomb
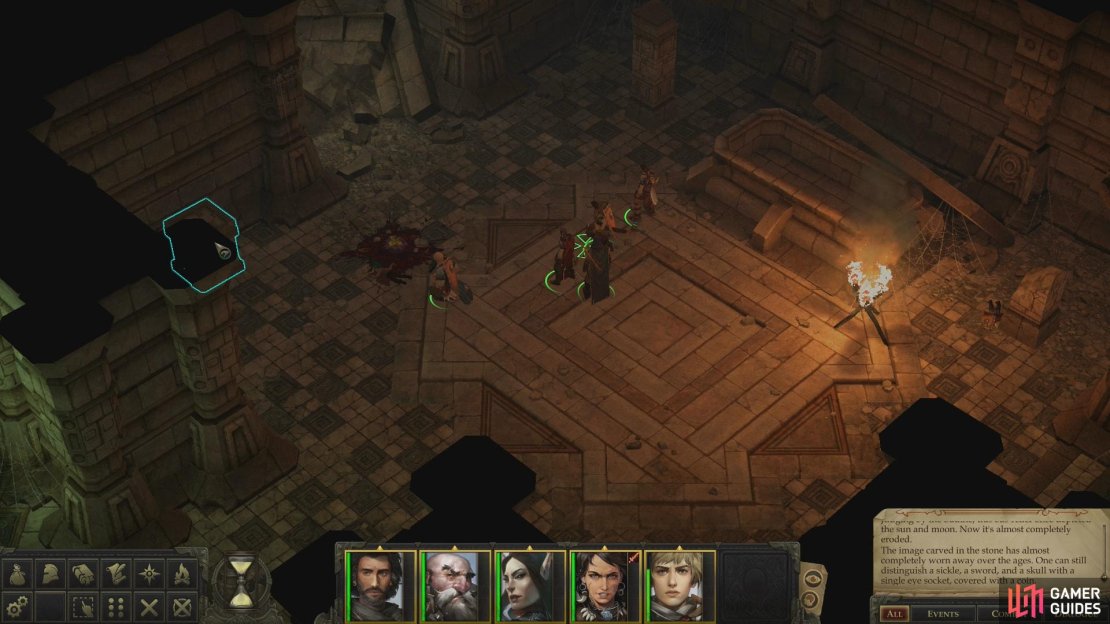
Now that the mercenaries are dead, it’s time to get to searching the tomb. If angry undead come after you for grave-robbing, you can always just blame Tartuccio! Start out by returning to the southeastern corner of the tomb and loot a container just before the entrance to the room wherein you smote Tartuccio’s mercenaries if you didn’t do so earlier. Here you’ll find a coffer containing various scrolls and trinkets.
In the room where you fought the mercenaries you’ll find numerous objects to examine, but for more practical objects to interact with, turn your attention to a container in the western corner of the room. Like the previous container this one will contain the odd scroll and assortment of sellable baubles.
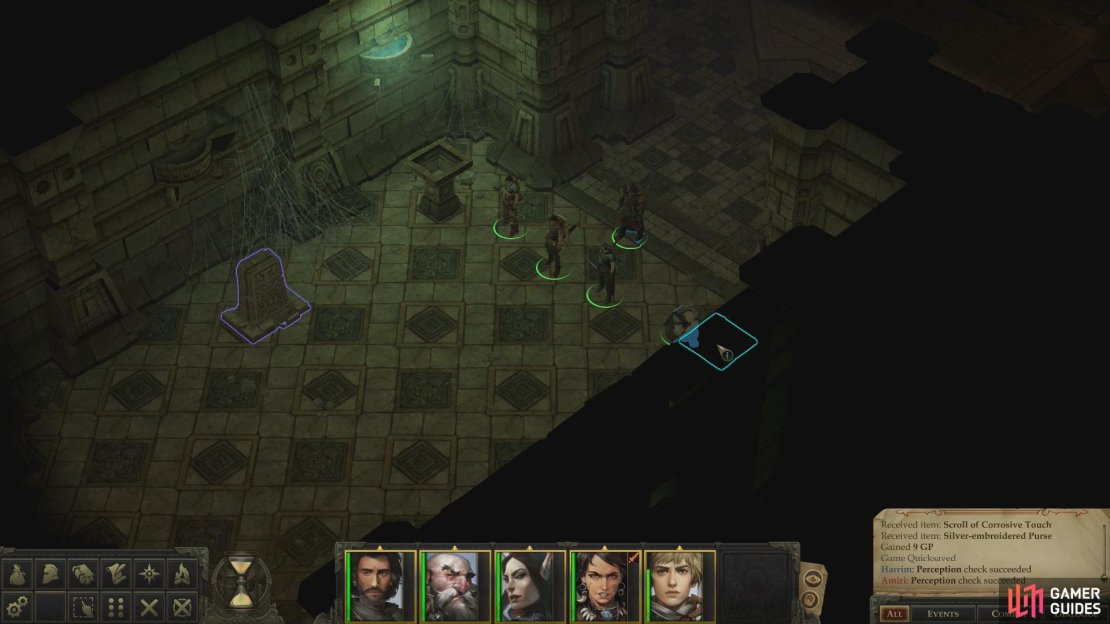
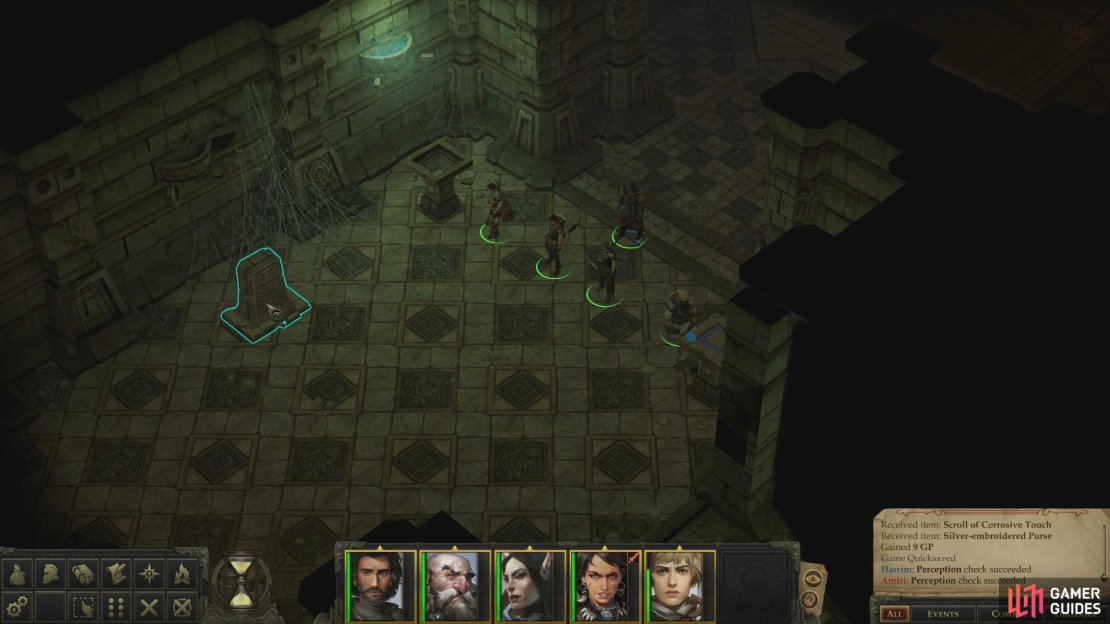

Next head down a hallway to the southwest and pass two Perception checks, ([Perception 12] and [Perception 17]) to spot a tile you can interact with to reveal a secret room and a stone you can loot for an Ancient Cyclopean Coin, respectively. Finally, enter the secret chamber to the southeast to find a container from which you can pilfer. Be wary of a trap [Perception 17] in the room, which will chastise you with Magic Missiles should you trigger it.
With that, you’re done in the Ancient Tomb. Take either of the area’s two area transitions to leave, after which you’ll immediately begin to pick up Tartuccio’s trail in another Illustrated Book episode.
Trailing Tartuccio
- “[Lore (Nature) 11] But we would not give up so easily. Whether the trail went cold or not, it was one we had to follow!“
The first option should be pretty self-explanatory, since picking “…we had more important things to do than to chase a flighty gnome“ abandons the pursuit - not that you lose out on too much by doing so, although it will necessitate a trip to Oleg’s Trading Post (which may not be a bad idea, anyway).
- “We stood a while in thought, then followed the single set of footprints, down into the gully.”
You’ve got a lot of options here, but most of them don’t matter much. Passing the [Lore (Nature 14)] check will just get you info on what beasts you’re tracking. Examining the trails will prove one set of tracks to be duplicitous (the ones leading down into the gully), while the tracks that lead along - but not down into - the gully show non-clawed tracks being escorted away - perhaps as captives? - by the clawed tracks. As alarming as the latter is, the former is more immediately interesting, and indeed, the latter will just lead you to a fruitless fight with some Kobolds. If you have casters in your party you’ll also get a [Detect Magic] option, which will allow you to sniff out illusion magic at play, hence point you in the right direction.
(1 of 2) If you take the path along the gully, you’ll encounter some Kobolds
If you take the path along the gully, you’ll encounter some Kobolds (left), Be wary of the area-of-effect attack the Kobold Alchemists will employ (right)
The fight includes two Kobold Alchemists, just to name the more interesting foes. The Kobold Alchemists will shamelessly pelt you with Breath Weapon Bombs after buffing up. They don’t do a great deal of damage at a time, but they can strike multiple characters, and if the two of them are allowed to harass you with these concoctions for a round or two, you’ll wish they hadn’t. It may be worth rushing one of them with your melee fighters (Mobility is a skill that will constantly come in handy for when charging vulnerable targets is necessary) while you try to debilitate the other with Sleep or Hideous Laughter, or perhaps disable the Kobold Sentinels with sleep so they can’t challenge you as you kill their alchemist friends.
However you go about it, if you end up fighting these Kobolds, you’ll effectively lose Tartuccio’s trail.
(1 of 3) Pass a [Lore (Nature)] check
- “[Mobility 11] There was one brave hero among us, who decided to try her luck and climb the root.“
Nothing too surprising about this one. Depending on your party composition and equipment loadouts, you may need to unequip the armor from one of your characters to have a decent shot at this skill check. Once you pass it, however, you’ll have successfully tracked Tartuccio to the Pine Patch area.
| Reward: For tracking Tartuccio down |
|---|
| 144 XP |
Should you fail any stage of the Illustrated Book Episode above, or simply abandon it, you’ll need to wait until later for another lead to show up, in which case skip ahead to the Thorn Ford section of the guide and follow linearly from there. You miss surprisingly little of any long-term significance if you don’t find the Pine Patch area. If you manage to track Tartuccio down, however, continue on with the Pine Patch area, below.
No Comments