
You can revisit old locations to restock on items.
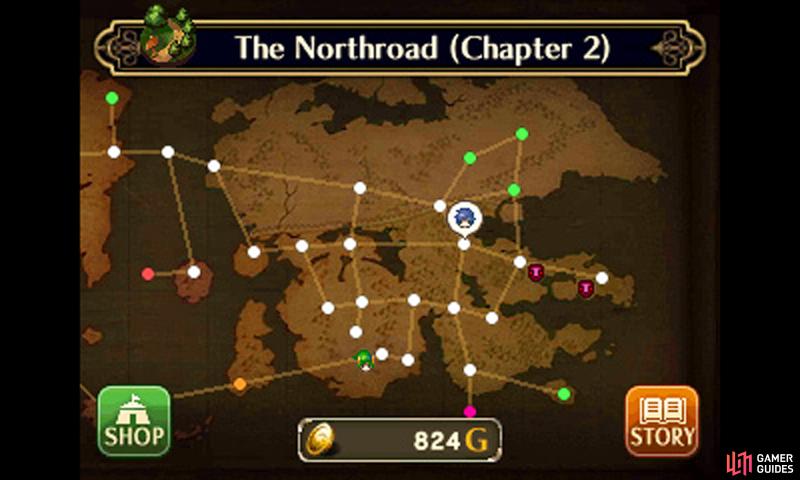
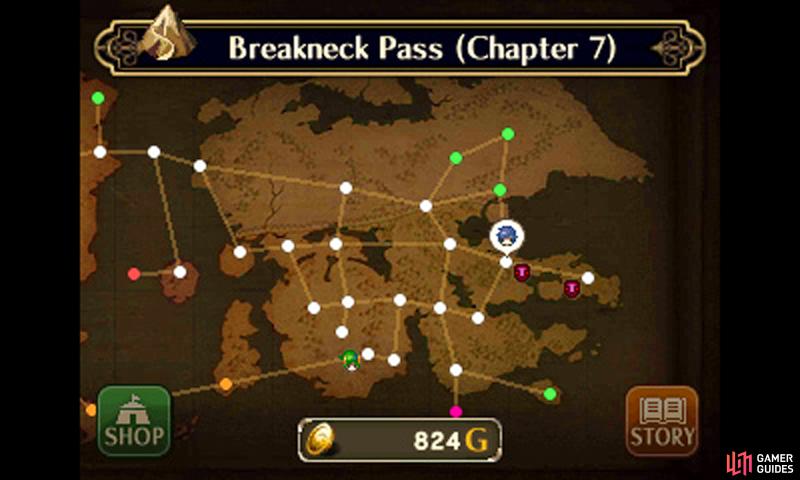
After completing the Prologue, you will be sent to the world map after completing each mission.
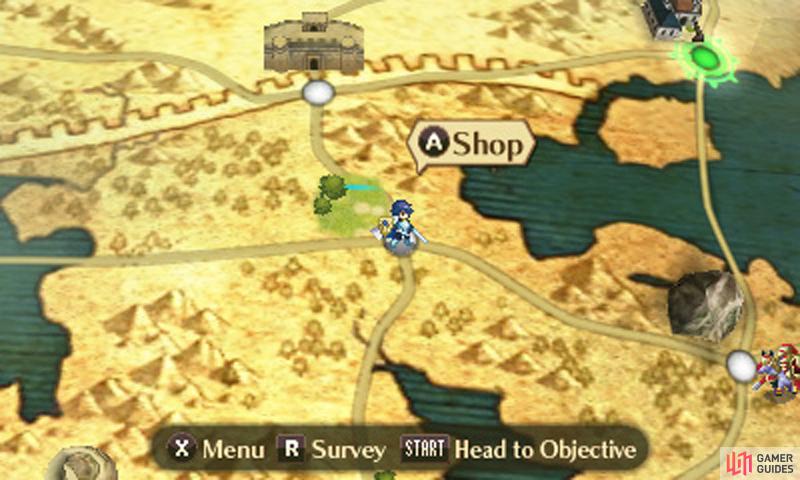
Here, you can move along the designated paths to go to various locations. The glowing red dot shows the location of the next story mission; when you’re ready, go here to advance the game.
As you progress through the game, more functions will be added to the world map.
Shops
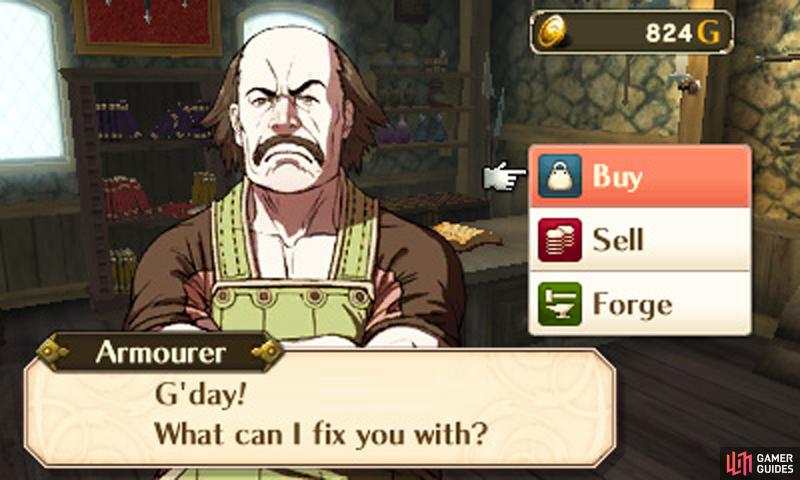
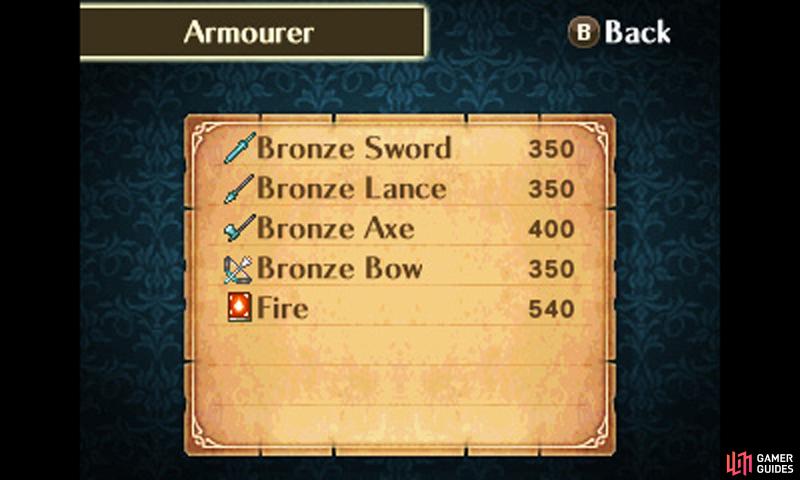
Each location on the map that’s been cleared will have its own shop, filled with weapons, consumable items and the like. Every shop has its own unique inventory, so don’t forget to shop around to get what you need.
Since, normally, weapons constantly degrade with battle, you will want to shop frequently to keep your character’s properly equipped for battle.
Also be on the lookout for stronger weapons (compare the “Might” stats), as they can often make or break a battle.
If you can’t find what you’re looking for, try another shop.
In addition to purchasing from the set stock, players can also forge existing weapons to make them stronger. This will require extra Gold though.
As a bonus, you can change the weapon’s name as you see fit.
Be aware that not all weapons can be forged, but most can be.
The best weapons to forge are the weapons that are super effective against certain enemies. For each point of Might increased, you will do three more points of damage against weak foes!
Skirmishes
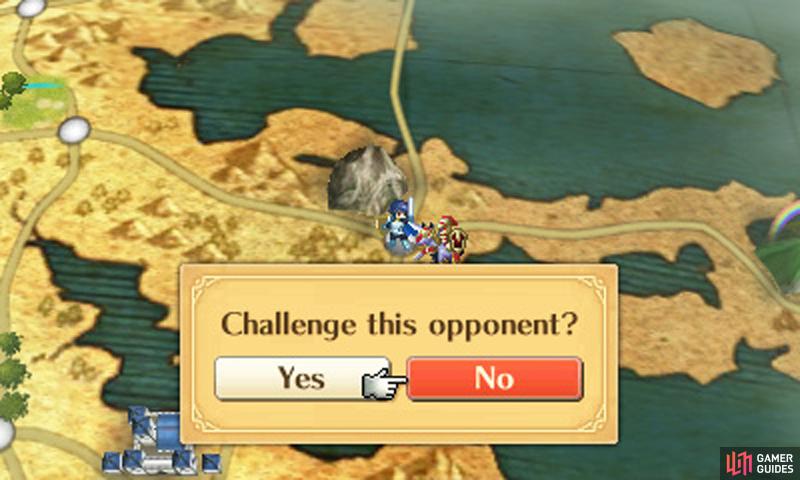
The strength of the enemies depends on the chapter the battle’s based in.
Occasionally, the Risen will spawn in areas you’ve cleared previously.
When this occurs, you can battle the Risen in an optional mission. You don’t get anything from doing these skirmishes, except for experience, which is very useful in itself.
If you feel like you’re struggling in the main story, try doing some skirmishes to get your army back up to speed.
You can also force a skirmish by using a Reeking Box item, which can be purchased from certain shops. Of course, be wary you don’t grind too many skirmishes or the game might become too easy…
Barracks

See what your characters get up to off the battlefield.
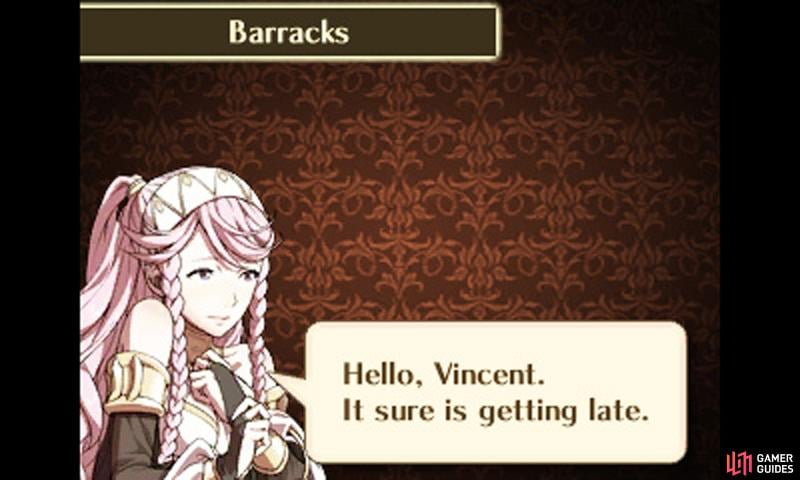
They may also remind you when it’s a good time to sleep…
This is a friendly, cozy room shared by the game characters.
Here, you can view minor events that appear as real time passes. Each event comes with its own little bonus, ranging from experience points, a new item, a temporary boost to stats or improved relationships between units.
When you have time, it couldn’t hurt to check out the Barracks.
There is also an option to view character profiles. Handy if you’re undecided as to who to use in battle.
Outrealm Gate
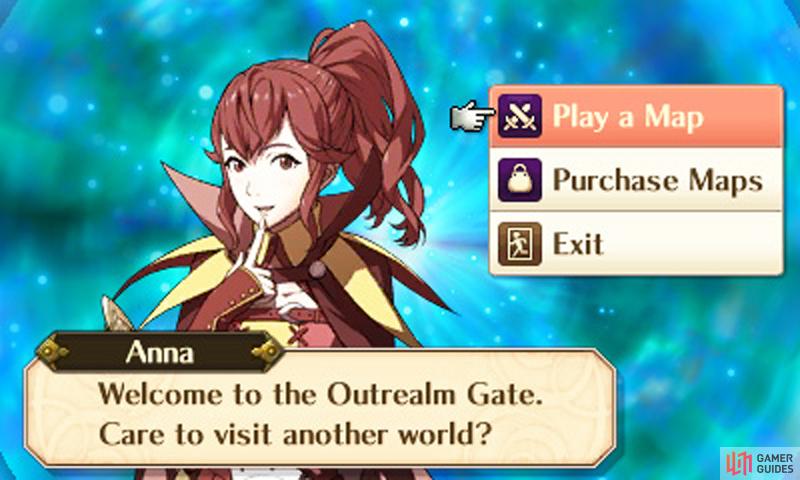
For the most part, traveling to other realms requires paying cold, hard cash.
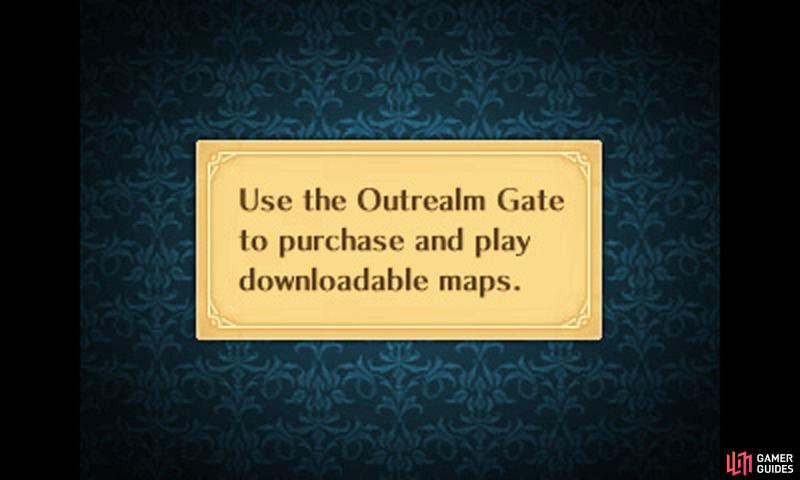
Towards the far south-east of the map, lies the ominous Outrealm Gate. It only appears after you’ve completed Chapter 4 in the main story.
At the gate, you can purchase and play any of the game’s DLC missions.
None of the DLC has any real connection to the main story, so you can consider the DLC an interesting distraction. Some of the DLC missions are quite fun and give you useful rewards, such as exclusive legacy characters, new classes and skills.
Once you’ve purchased a mission, you can also replay it as many times as you want, which is good if you need additional training.
No Comments