
The main bulk of the game takes place on overhead maps, divided into a grid. All characters – whether controlled by you or the enemy/computer – occupy a single space on the map.
The player and the enemy both take turns to move all of the characters (aka units) under their control. Each mission always begins with you taking the first turn.
You can move your units in whichever order you choose. To move an unit, simply move your cursor over the unit and then press A. Where the unit can move will be highlighted in blue and the furthest they can attack is highlighted in red.
Move the cursor to any of the blue-highlighted squares and then press A again to move.


(1 of 2) Inigo can move 6 spaces at most.
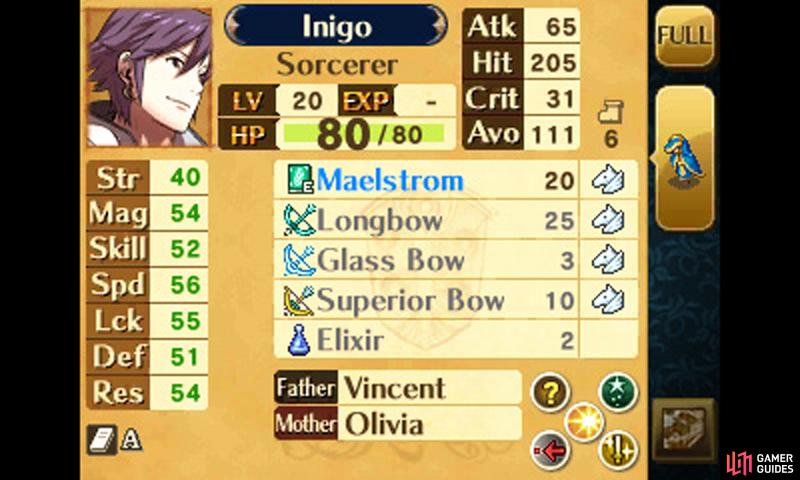
Inigo can move 6 spaces at most. (left), The movement stat is the number below the “boot” icon. (right)
A unit’s movement range is shown on their status screen, towards the top right of the screen (the number right below the “shoe” icon). Under normal circumstances, the number of squares a unit can move will be equal to this number.
However, if there is adverse terrain, such as woods, along the way, then the unit’s movement may be impeded. Certain terrain, such as walls, can prevent units from passing altogether.
After moving a unit, players can select one of various actions to perform before ending the unit’s turn. If an enemy is within attack range, you can choose to attack the enemy. If no enemies are within range, you choose to simply “wait”.
Normally, each unit can only move once per turn. However, Dancers can dance for units who have ended their turn and allow them to move again!
Additionally, if a unit has the Galeforce skill, they can move again after killing an enemy (but only once per turn).
The turn ends after the player has moved all their units or when they choose “End Turn” from the menu. After this, the enemy will have their turn to move their units and, after the enemy’s turn ends, the player will begin a new turn and the cycle continues.
Battles
Battles can be initiated by moving a unit close to an enemy and then choosing the “Fight” action. A unit must have a weapon equipped to battle.
Where to move depends on the weapon equipped. Most weapons have a range of 1, which means a unit must move adjacent to an enemy. Some weapons, such as bows, have a range of 2, which means a unit must stand a square away from the enemy (or diagonal from the enemy).
After choosing to fight, a combat forecast will appear, showing how much damage your unit will do to the enemy, how much damage the enemy will do to your character, as well as the corresponding hit rates (chance of the attack succeeding) and critical rate (chance of doing triple damage).


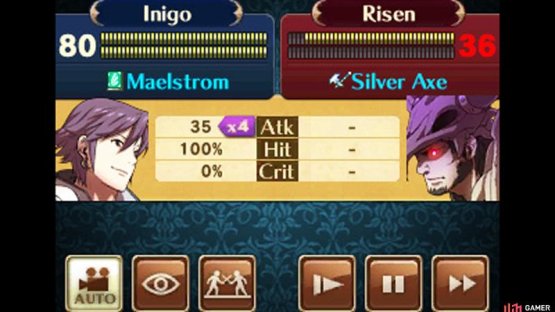
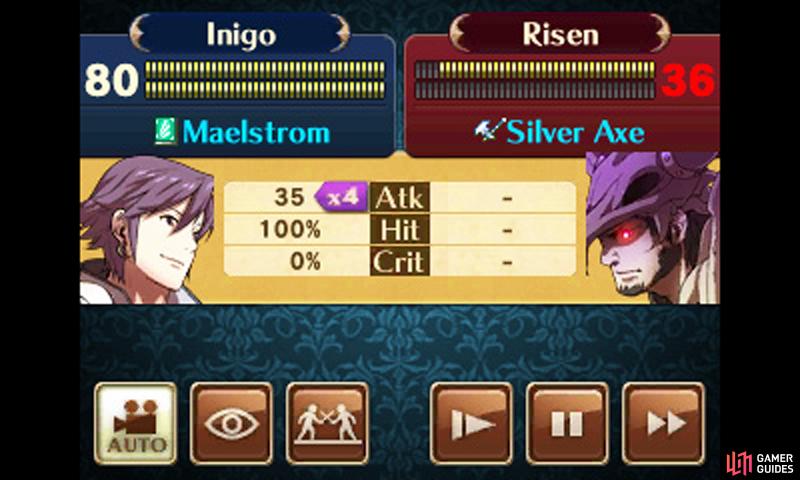
(1 of 2) Clearly, the enemy Berserker is easy prey.
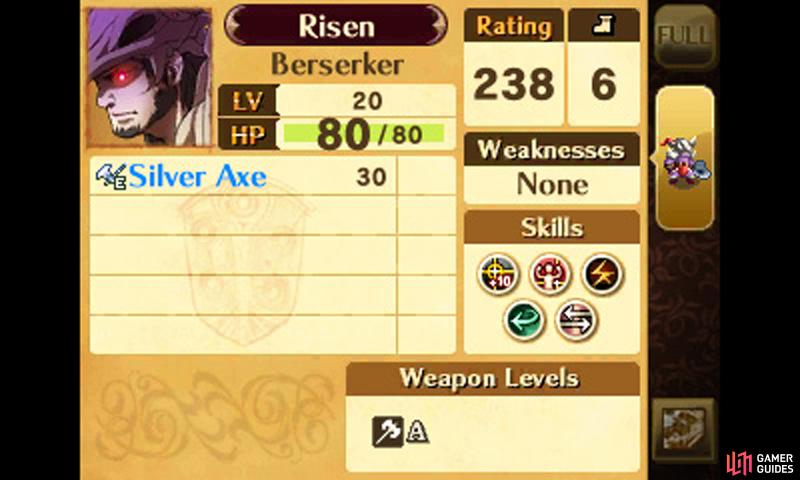
Clearly, the enemy Berserker is easy prey. (left), (right)
If the unit’s Speed stat is significantly higher than the enemy’s Speed stat, “2X” will appear in the forecast, which means the unit will perform two attacks instead of one.
As you can see, the Speed stat is very important, because if you can attack twice that means you’ll do twice the number of damage.
Later on in the game, you may gain access to weapons such as the Brave Sword, which allow units to attack two times in a row. This ability also stacks with the 2X ability, meaning you can potentially have four attacks.
If you’re happy with the forecast, press A to confirm the battle and the battle will play out automatically – once the battle begins, the units will fight by themselves and you will have no control over how the battle turns out. However, the battle will follow the forecast strictly, so if the forecast looks good for you, then it’s likely the battle will turn out well.
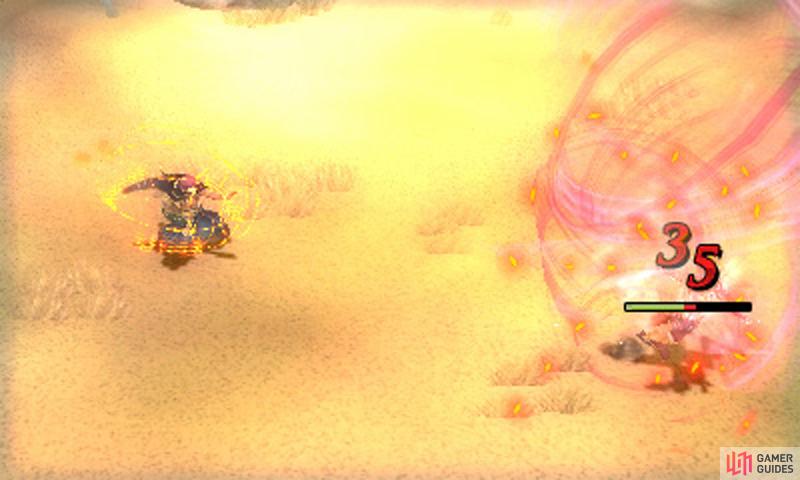
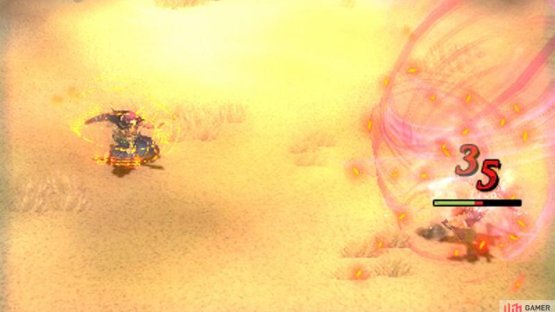
(1 of 2) Archers and mages can attack from range, avoiding most enemy counter attacks.
Archers and mages can attack from range, avoiding most enemy counter attacks. (left), (right)
Once the battle is over, one or both of the combatants will have a change in HP. If a unit’s HP falls to 0, they will disappear from the field. If one of your units reaches 0 HP, then that’s bad news; you should always aim to prevent this from happening, either by avoiding battles you’re unlikely to win or healing after a battle.
Assuming your unit survived the battle, they will gain experience points – more if they managed to fell the enemy unit.
No Comments