
Boss
| Name | Class | Level | Items |
|---|---|---|---|
| Eldigan | Paladin | 20 | Mystletainn |
New Units
| Name | Class | Level | Recruit |
|---|---|---|---|
| Ike | Hero | 20 | End of mission |
Strategies for all difficulties
In terms of the DLC continuity, this mission is the final battle against the Einherjar–phantoms of warriors from Fire Emblem lore–and, fittingly for a finale, it’s tough as nails.
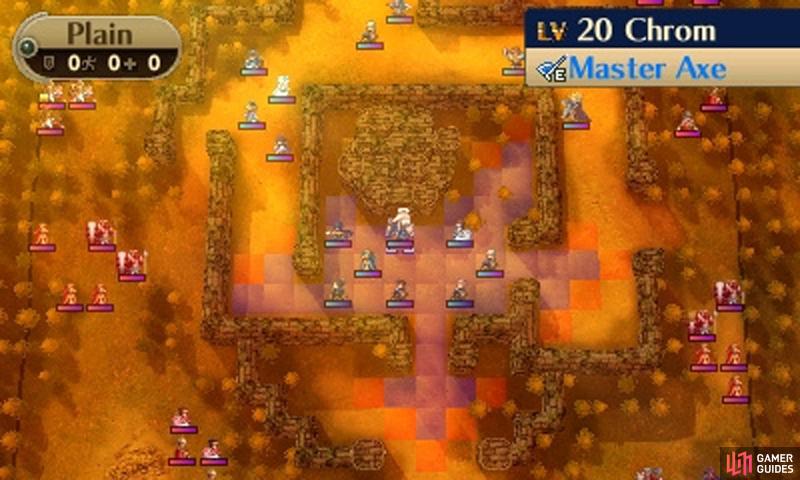
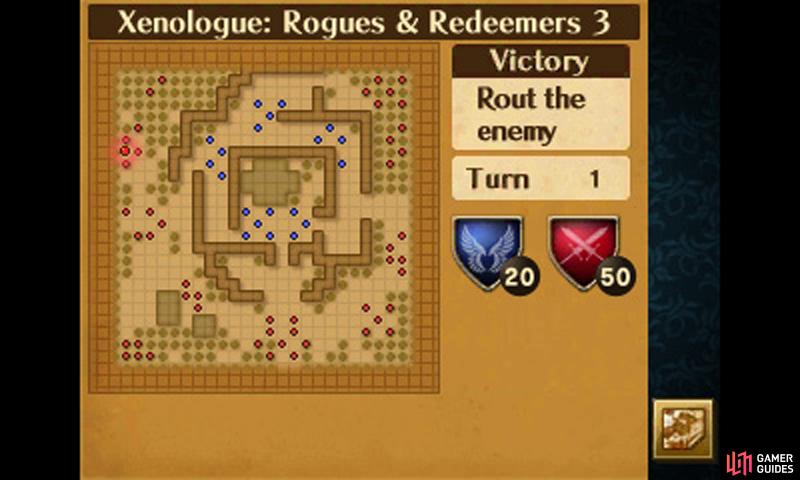
The layout of the mission is akin to Rogues and Redeemers 1, in that your units begin in the centre, while the enemy surrounds you from all sides.
On the bright side, you now get to deploy 20 units–10 more than before–and your units conveniently occupy the entire castle interior. Bad news is that, sitting outside the castle, are a whopping 50 near maxed-out enemies and there are no gullible green units to act as meat-shields.
Before you begin, know that you’ll be facing a horde of powerful enemies. So be sure to field as many units as possible and that they’re all strong units too, with mostly maxed stats, or otherwise those units’ support partners (A or S Rank). Since the game generously lets you field 20, you should aim to fill that many.
Prior to this mission, you could beat a lot of missions by simple grinding your units and overpowering the enemy; while you can still do that here, the enemies will be close in ability to yours and they have the advantage of sheer numbers. To combat this, you should keep up your army strength and numbers too.
Additionally, having the Galeforce skill (can be learned by anybody who can reclass to Dark Flier) on units would help immensely, as each unit with that skill can effectively act as two combat units during your turn.
Furthermore, load up everybody with Brave weapons, where applicable, for the extra firepower. Again, the enemies are strong and numerous and you’ll want to be taking out as many enemies as you can each turn and these things really help to achieve that.
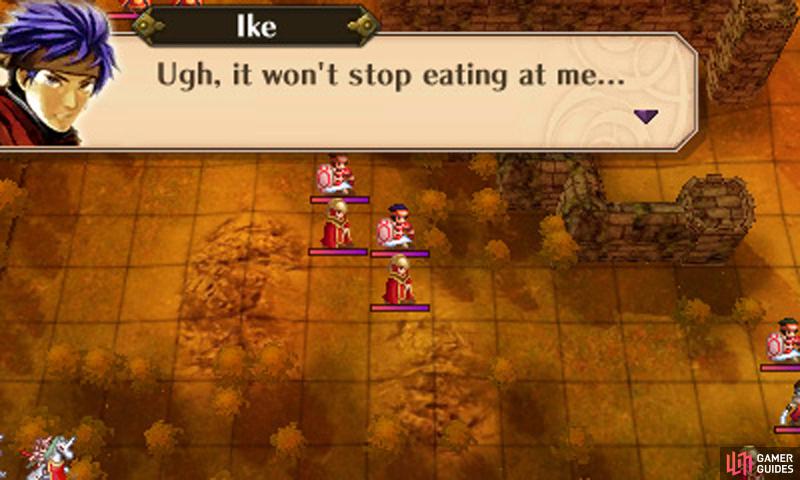
Ike may have doubts, but he’s still determined to cut your units down.
During the first turn of the mission, avoid the northern “entrance” and have your units carefully block the western, eastern and southern choke-points; place units in the furthest positions so they get attacked by fewer enemies.
Use your Rally skills, if available, to raise your defensive stats and thus lower the damage you take during the enemy’s turn.
All of the enemies are dangerous, but keep your wits against enemies with “Breaker” skills or Brave weapons. Fighting with a disadvantageous weapon will make your units miss and get hit, while enemies with Brave weapons get more chances to wreak havoc on your units.
The former can be resolved by carefully choosing your weapons; for the latter, blast enemies from range or with your own Brave weapons.
On the enemy’s turn, a whole load of enemies will begin swarming the castle; some will reach your units and stop in their tracks, but only after trying to kill you.
If you cleverly avoided the northern area, the north-eastern enemies should move directly south, through the woods, slowing down their movement and allowing you more time to deal with them.
Turn 2, carefully begin picking off the enemies trying to break into the castle; try not to leave the choke-points unless necessary. However, it’s fine to pull back and heal if required–it’s better to let the enemy advance through than lose units.
Units with Galeforce are extremely handy as they can pick off enemies further away and then safely return to their stations.
Turn 3, repeat the same strategy as before. If any of your groups have cleared out the enemies in their proximity, have them move out and assist any groups that may be having trouble.
Similarly, if any units are wounded and can’t handle the oncoming enemy, send some spare hands their way. This map is all about good teamwork!
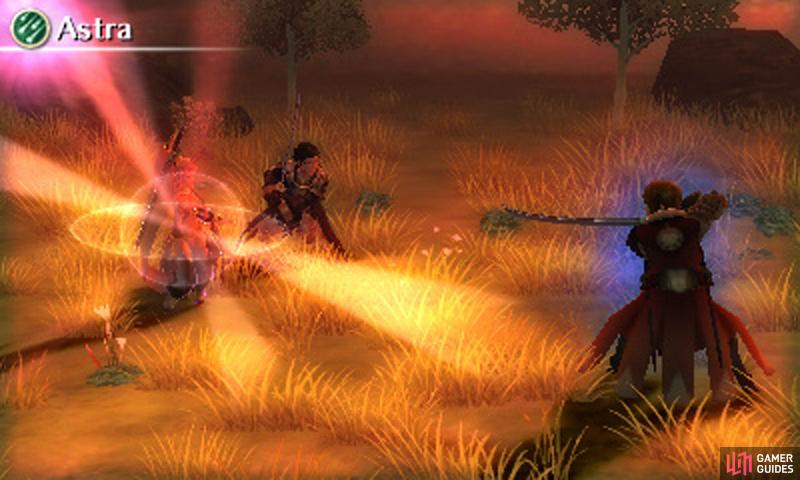
Bring out all your big guns! Skills like Astra and Luna will help lots against tough enemies.
By Turn 4, you should be able to clear out most the enemies within the castle. Return to the choke-point positions and prepare for the next wave of enemies. On the enemy’s next turn, the south-western flying units, north-western Tricksters and south-eastern cavalry will begin moving.
Turn 5, carefully engage the new enemies coming from the west and the south, while bracing for the flying advance from the south-western corner. Make sure the east is well-guarded too, as the group of four enemies north of the eastern entrance will begin moving on the enemy’s next turn (assuming you didn’t already kill them).
As always, exercise caution around Jaffar, as he can instantly kill an unit without warning with his Lethality skill–let him move to you and attack him from range or with Brave weapons where possible.
Turn 6, shoot down the remaining flying units and battle any enemies in range. If you haven’t already done so, begin marching to the western entrance.
On the enemy’s turn, the group of four enemies toward the south-west will begin moving (assuming you didn’t already kill them); they will either head for the western or southern entrance, depending on where your units are located.
Take care when fighting Linus, as his Counter skill reflects damage done at direct range–blast him from range.
When Turn 7 comes, mop up any nearby enemies and prepare to engage the final group of enemies in the south-western corner of the map. If you have a killer unit, place them in range. On the enemy’s next turn, the final group will leave their positions.
By Turn 8 you should be in a position to complete the mission.
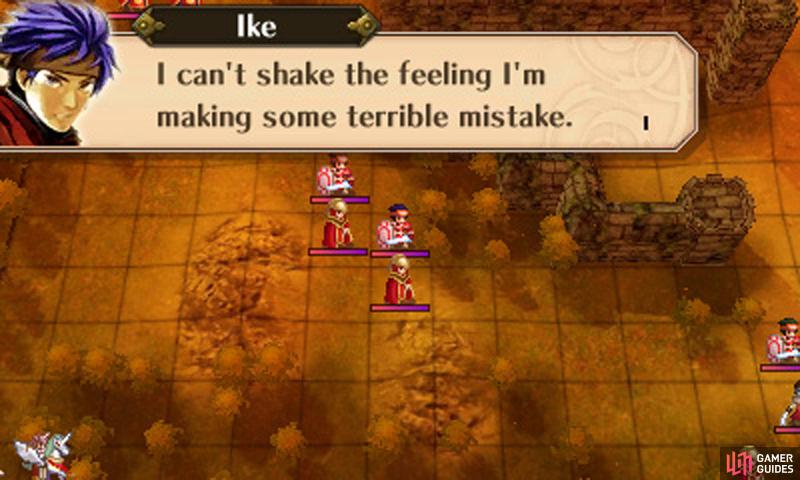
It’s okay to be scared; after all, this map can be fiendish.
If all that sounded like too much effort or you find yourself seriously struggling with the map, there’s a fairly straightforward, but slightly cheap alternative method to beating it.
What you’ll need to do is reclass your Avatar to Sorcerer, then equip him or her with a forged Nosferatu or Aversa’s Night tome.
Give him or her the Sol and Armsthrift skills (maybe add Swordbreaker, Lancebreaker and Tomebreaker too or Patience and Avoid +10). Buy a ton of Elixirs too and chuck them into the convoy, just in case.
When the mission begins, pair Chrom up with your Avatar and have your Avatar sit on the nearby woods. Then set the option to skip all actions and keep ending your turn, using Elixirs if necessary.
With a bit of luck and provided your Avatar has mostly maxed stats, your Avatar will demolish the enemy. However you may run into a snare when facing Jaffar (Lethality) or Linus (Counter), which is where you need to keep your fingers crossed.
Once you’ve beaten this mission once, this strategy becomes even easier thanks to the newly acquired Limit Breaker skill, which makes your Avatar even stronger.
No Comments