
Boss
(Does not move)
| Name | Class | Level | Items |
|---|---|---|---|
| Validar | Sorcerer | 5 | Grima’s Truth |
| Validar (Round 2) | Sorcerer | 18 | Grima’s Truth, Talisman |
New Units
| Name | Class | Level | Items |
|---|---|---|---|
| Flavia | Hero | 10 | After defeating Validar once |
| Basilio | Warrior | 10 | After defeating Validar once |
Strategies for all Difficulties
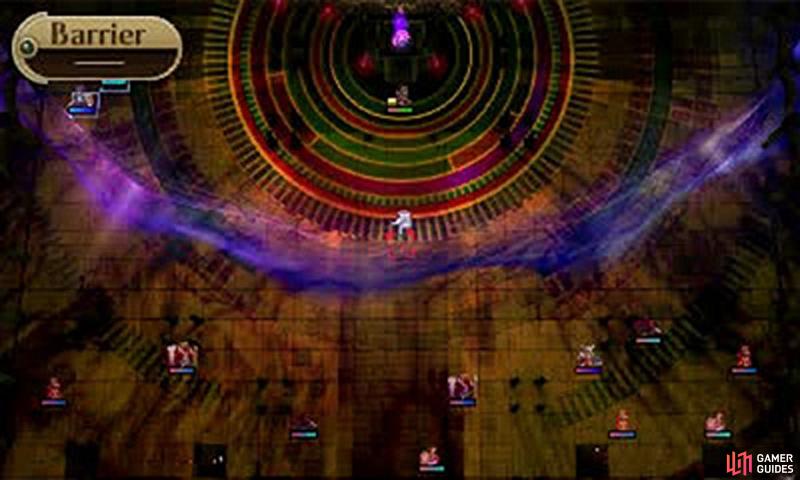
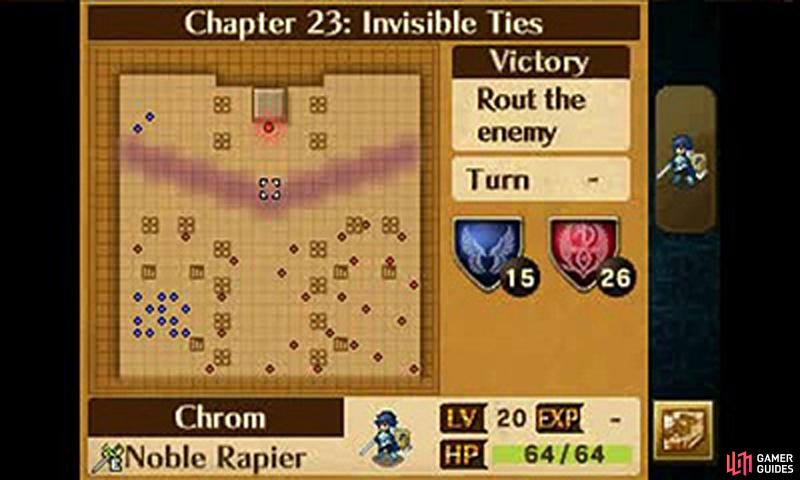
This is a familiar chapter, but now you have units in the bottom area as well. Assuming you’ve been training your Avatar and Chrom, Validar should not be too difficult to defeat. Pack some healing items, or use a healer with physic in the bottom area anyway just in case.
The bottom units will be fighting in the open with enemies, as well as dealing with reinforcements. After Validar is defeated, the barrier between the upper and lower area of the map will disappear, allowing you to unite your units again.
You will fight Validar twice – once in his weaker form and then in his stronger form. His stats will boost as listed above, but he still shouldn’t be too hard to overcome. He changes location towards the far eastern side of the map. Unite your forces, clear out the enemy, and then wipe out the boss.
Use pillars and stairways to your advantage. Sitting on Stairways will also block the reinforcements from spawning there as well. You want to avoid getting surrounded, so make sure to deal out kills per turn.
Galeforce is especially useful here, since it can make up for the loss of quantity of units in pairing up. Validar will announce the reinforcements before they come, as usual.
No Comments