

Storm Coast Fissure
This is the first main quest in the Deep Roads after the introduction to the area from Scout Harding. The first thing you need to do is reach The Broken Seal to the south east. As you run along the path you will be ambushed by an Ogre Alpha, initiating the small side quest A Warm Welcome. This is a powerful beast with an immense amount of health, which can also deal a significant amount of damage if you’re not properly equipped, so be sure to cast protection spells if necessary. If you’re a light armoured class or a mage, try to stay in a flanking position or place yourself at a reasonable distance to avoid area of effect damage. The Ogre is capable of grabbing party members and holding them in mid air. When this occurs, you can use any skill which induces stun, knockback, or knockdown to force the Ogre to release the companion.
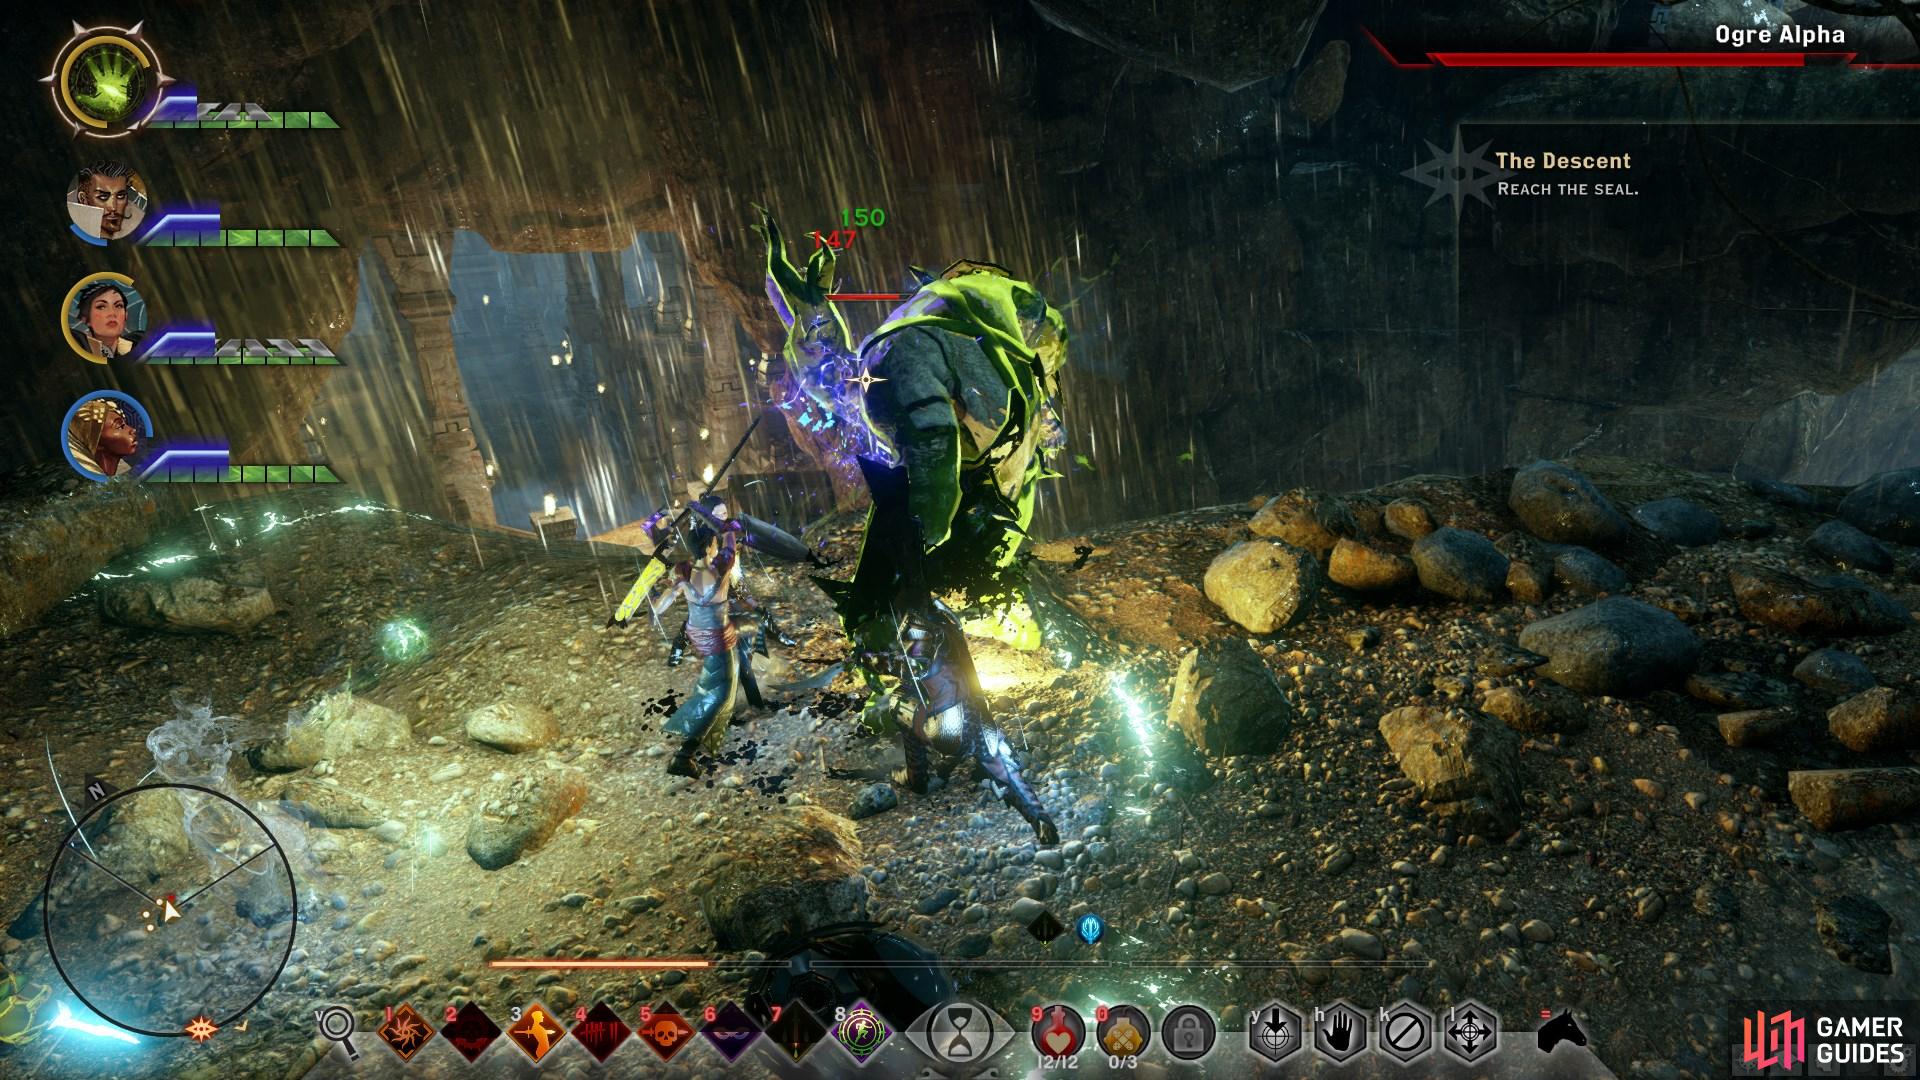
Try to remain in a flanking position when fighting the Ogre to avoid AoE attacks.
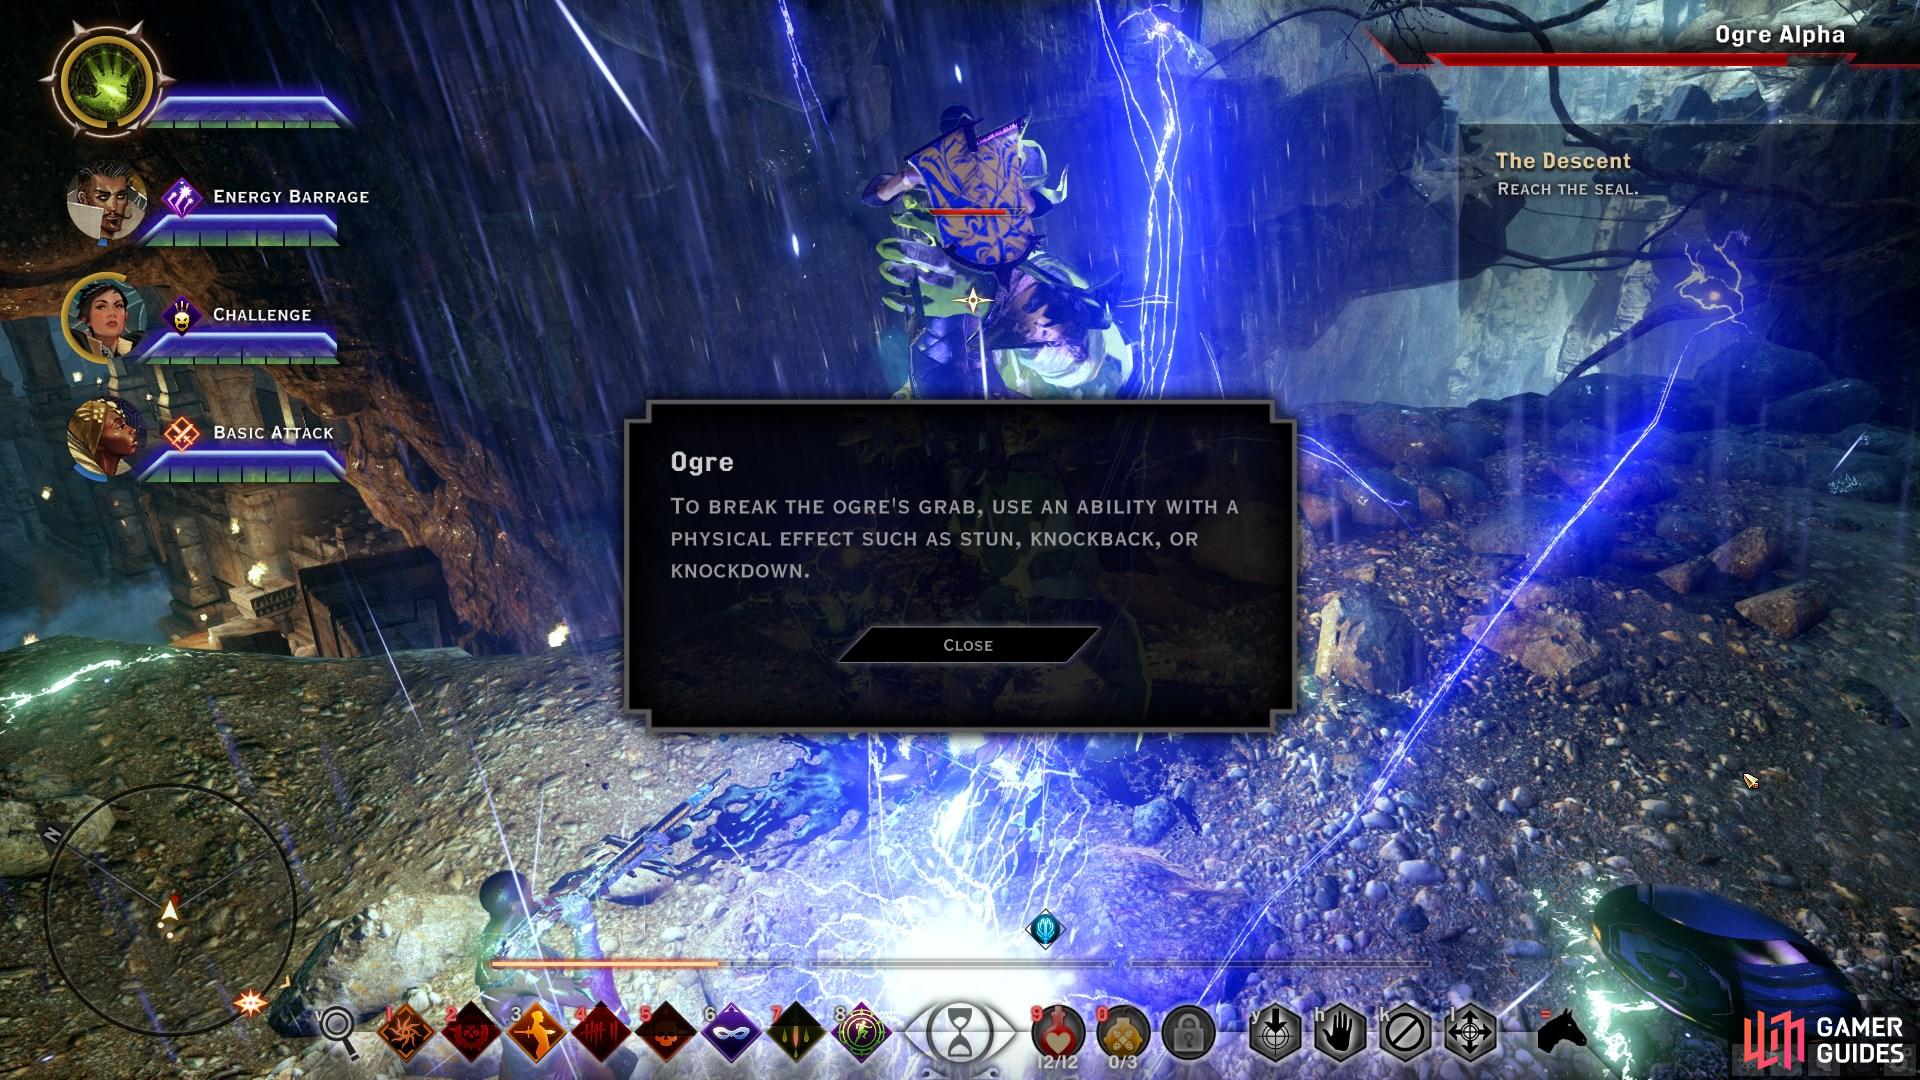
When you or a companion is grabbed for the first time, you will be notified.
After defeating the Ogre Alpha, continue down the stairs to the south. As you approach The Broken Seal, a cutscene will initiate. You will then be tasked with defending the Seal while defeating as many darkspawn as possible. This is a relatively easy fight, with the progress bar to the right indicating how many darkspawn remain. If at any point you are becoming overwhelmed, use Mark of the Rift or any other powerful area of effect attacks to quickly diminish darkspawn numbers. When all the darkspawn are dead, you will need to activate two blast charges and then run east to take cover behind some rocks to proceed to another cutscene.

(1 of 4) Most of the darkspawn come in large waves of weak enemies. Be sure to bundle them up to maximise AoE damage.
Darkspawn Warrens
When the cutscene ends, establish a camp immediately to your south, leading to another cutscene. After this you can head south and take the lift with Lieutenant Renn. You’ll encounter more darkspawn in the first room that you enter after the lift. Once they’re dead, head east through a narrow door into a small room. Here you’ll find a marker for an expedition entry, which you can now complete from the Expedition Table at any inquisition camp in the Deep Roads. On a table nearby you’ll find a note, which unlocks the side quest Killing Me Softly once read.
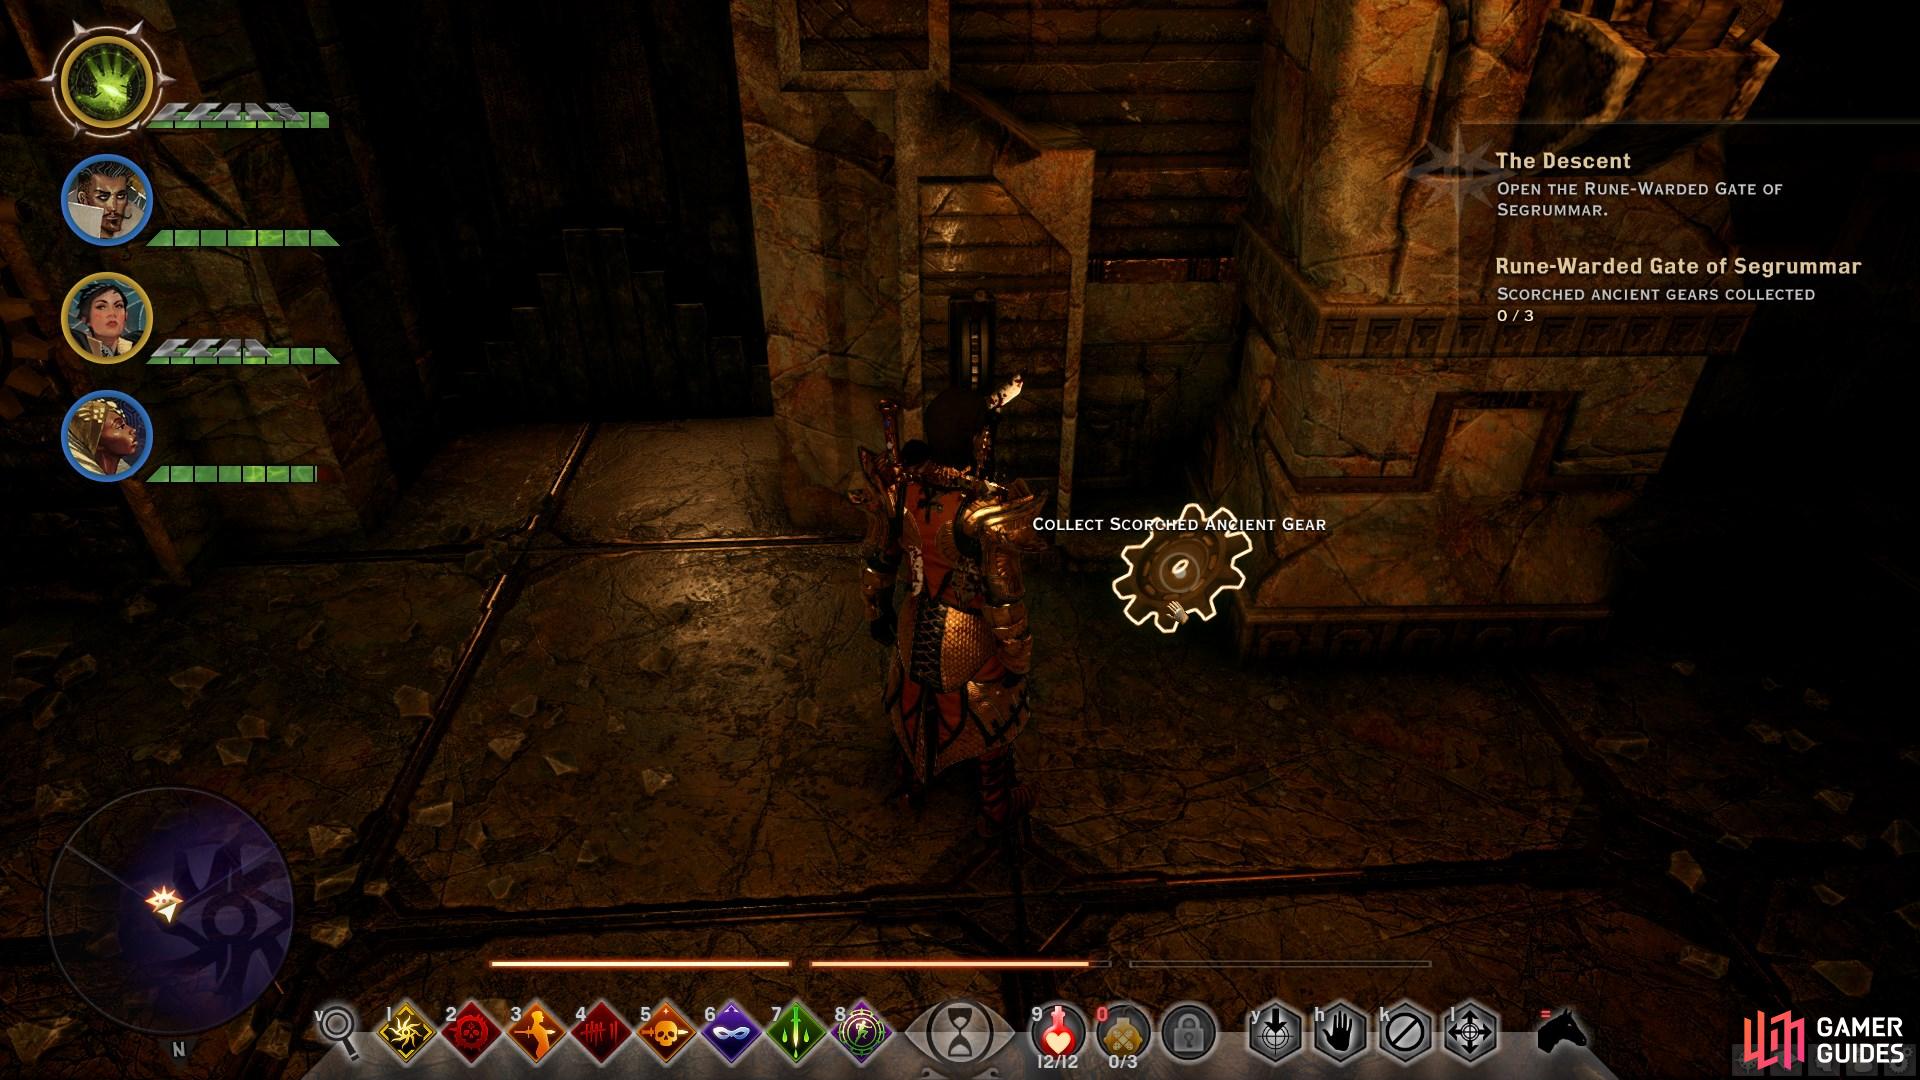
Once you’re done looting in the room, head back out and open the door to the south by pulling the lever. At the bottom of the stairs you’ll find a broken door. The door functions based on a gear system, but it is missing some gears. The first gear can be found to the right of the door. The second is in a room through a door to the north. From this room, head through the door to the south to enter the main hallway system, where you’ll find the third gear lying directly in front of you. You can now head back to the door, but be sure to explore the room further south to find a note for Killing Me Softly and to begin the side quest Builder’s Towers first.
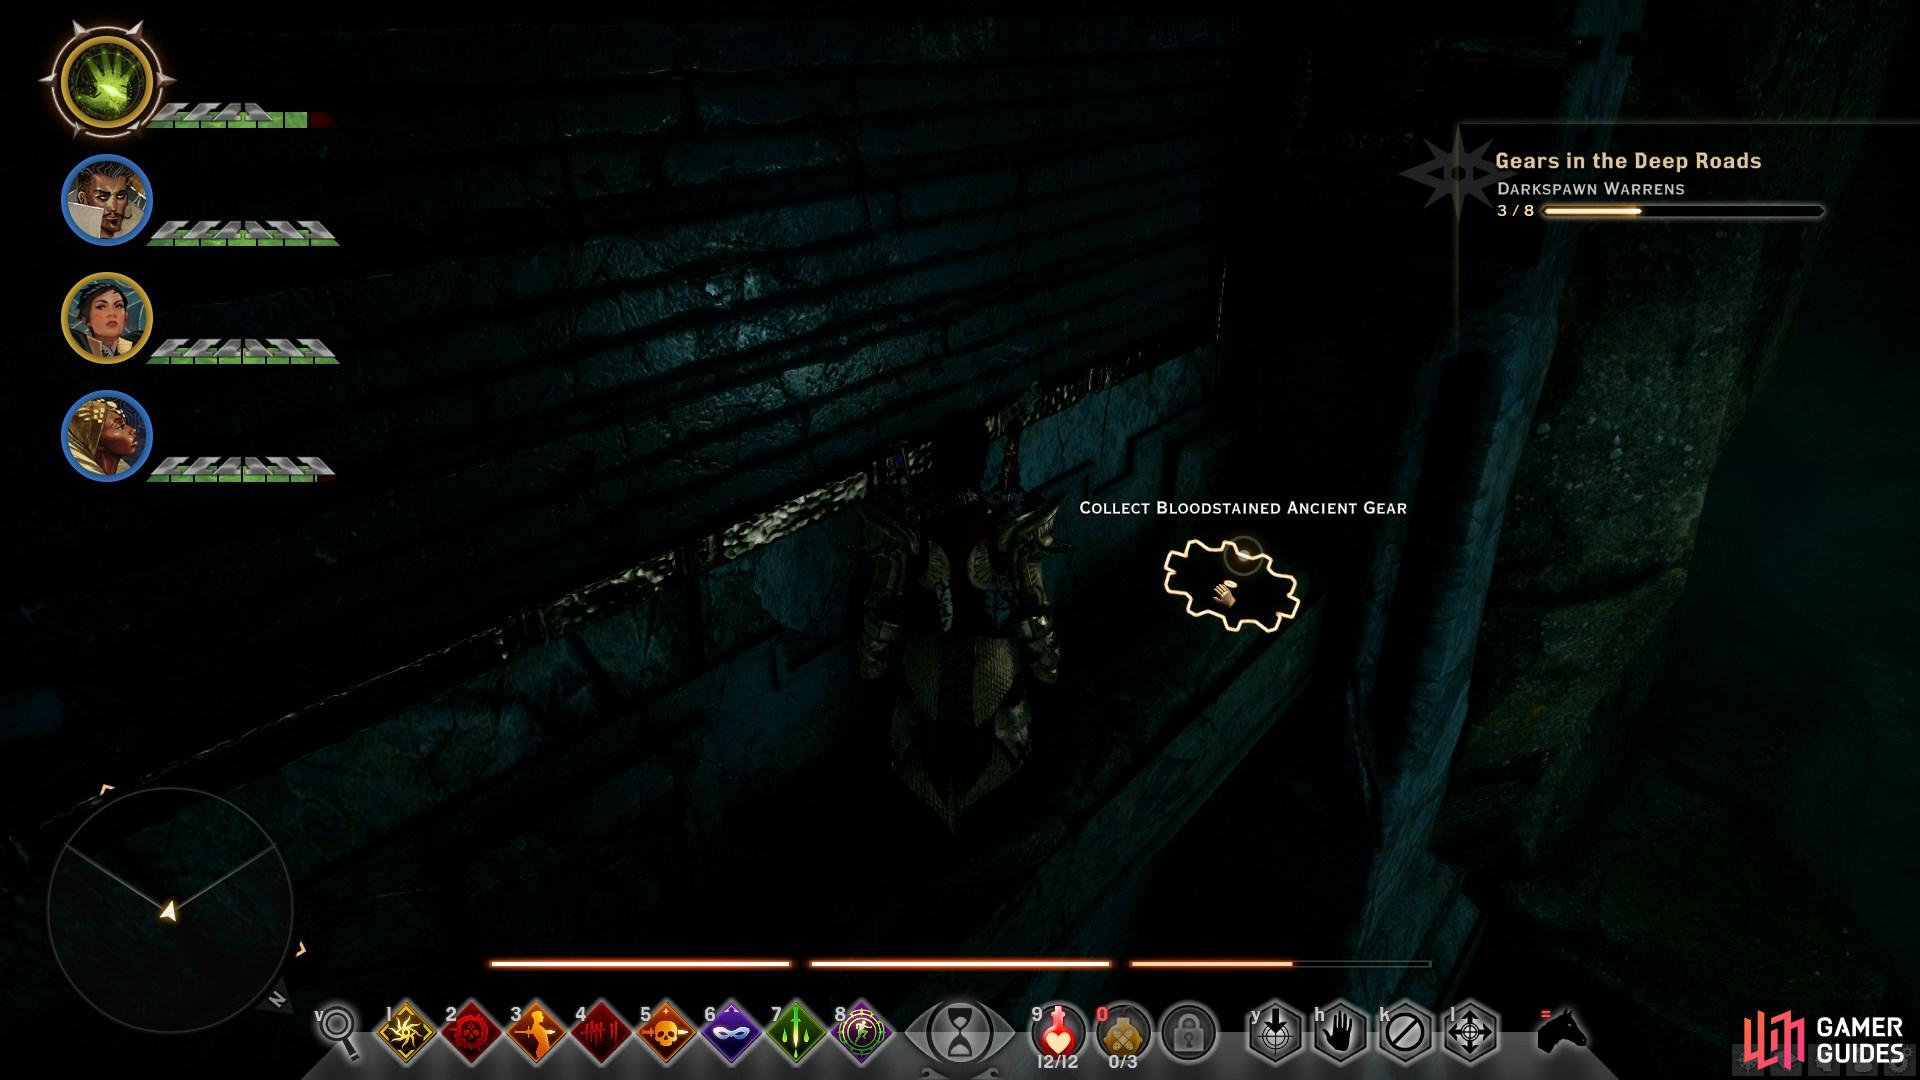
After you’ve found the second note for Killing Me Softly and completed Builder’s Towers, head back to the Rune-Warded Gate of Segrummar and open it with the gears. In the room beyond you’ll find more darkspawn, including two Hurlock Alpha’s. As you proceed from the room with the darkspawn, be sure to take the gear on the floor to the right of the entrance to the next room. You’ll find two more in some rubble to the east and west of the door, and one to the left of the next door to the west.
Before you try to enter through the door to the west, head down the stairs to the south. Here you’ll find some Genlock Alpha’s, which are heavily armoured but have no special attacks. When the Genlock’s are dead, you should look to the right of the door that they were guarding. You’ll find another gear on the ledge, which you’ll have to jump over the wall while sticking to it to reach. Opening the door will lead you to a group of darkspawn spiders, and after that an Ogre.
Don’t miss the gear on the ledge to the right of the door after defeating the Genlocks.
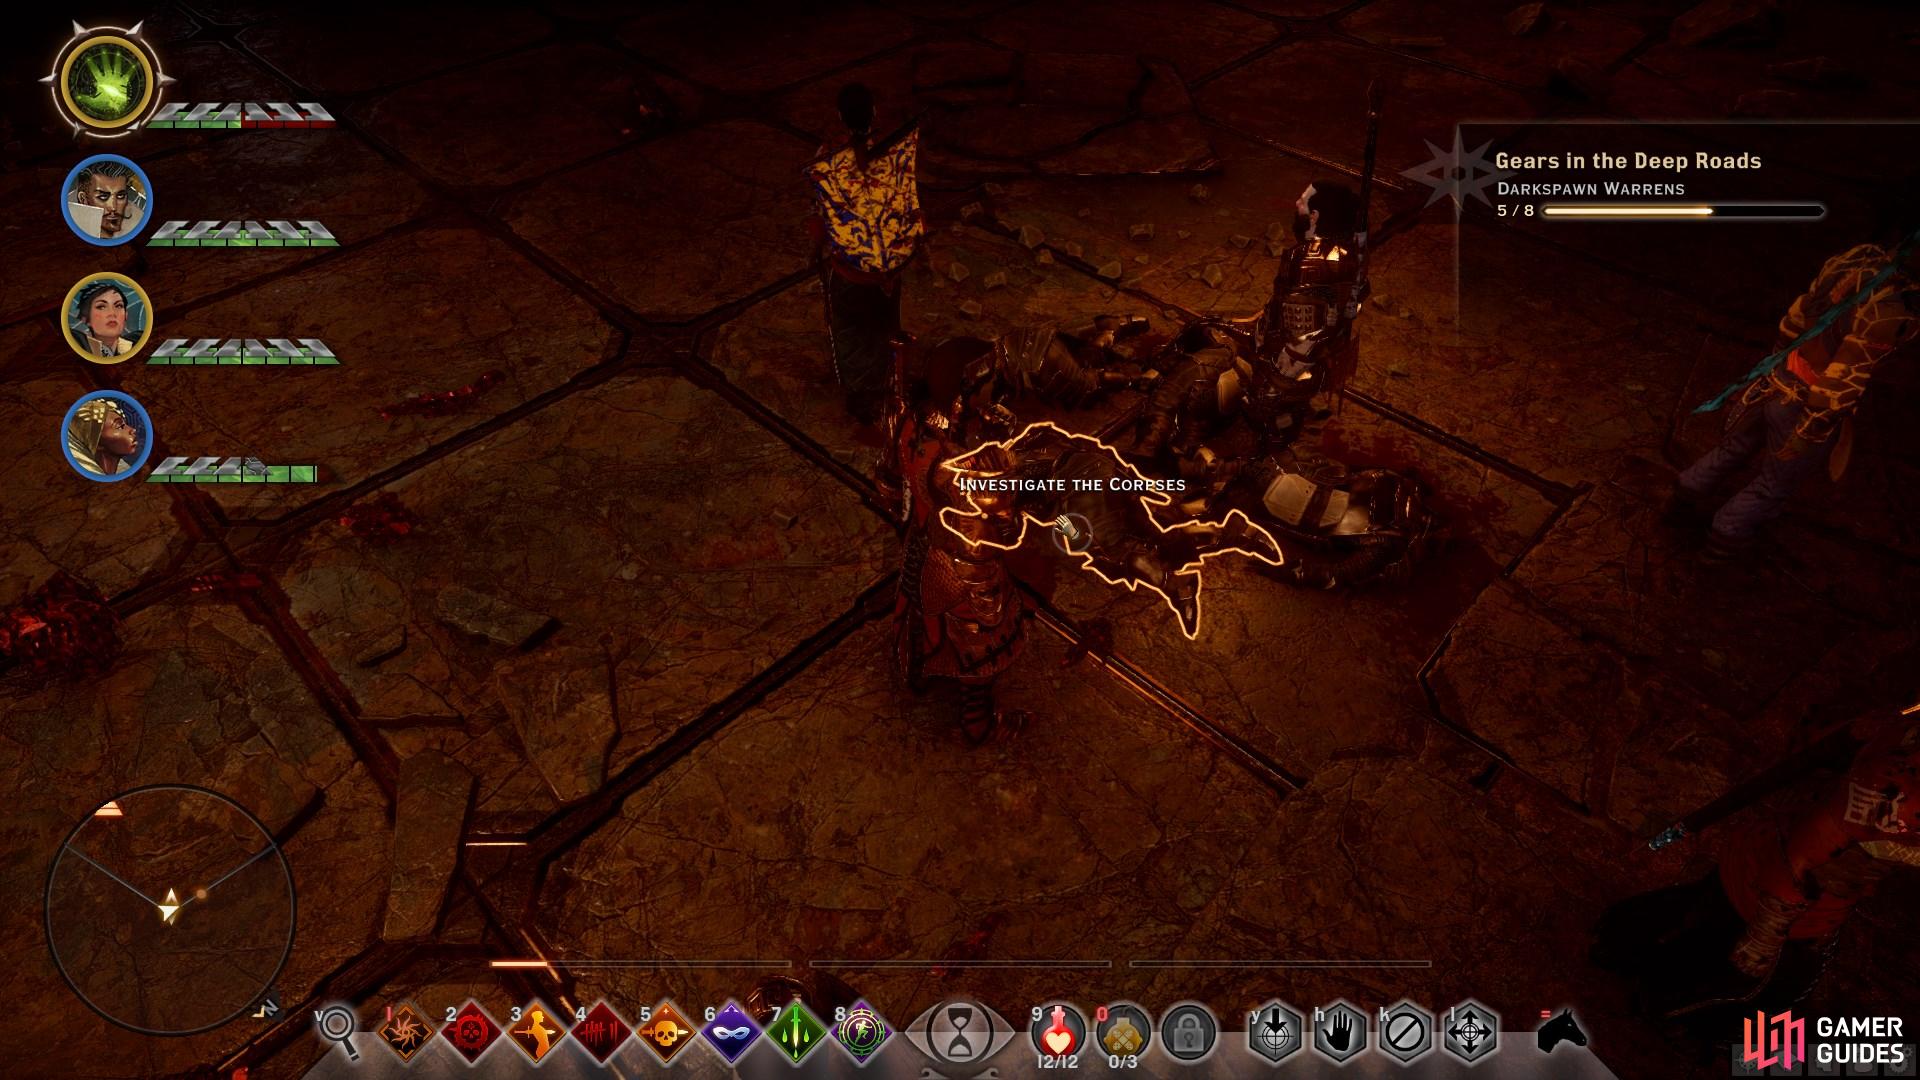
Be sure to investigate the corpses in the centre of the room after defeating the Ogre.
Once you instigate the fight with the Ogre, a number of Genlocks will spawn and join the fray. Be sure to use powerful area of effect attacks to deal with them quickly, or even Mark of the Rift if you need to. The Ogre has the same abilities as the first one that you encountered, but since it’s not an Alpha it is less powerful. When the fight is done you’ll be able to ivestigate a corpse in the centre of the room to begin a short cutscene. You’ll also find another gear within a fire pit on the stairs.
Ruins of Heidrun Thaig
Head west from where you found the corpses and take the lift to the Ruins of Heidrun Thaig. At the bottom of the lift you’ll find another ancient gear in some rubble to the north. From here, head south along the broken bridge, where you’ll find another gear. Be sure to use the supply cache at the end of the bridge if you need to replenish potions. In the room at the end of the bridge you’ll find some skeletal darkspawn and two Sacrificial Gates of Segrummar entrances. You can enter the northern one now if you wish, but to continue with The Descent you should take the southern gate first.
Follow the path south as it leads toward a darkspawn nest beyond another gate. Once inside you’ll encounter numerous Shrieks which you’ll have to fight through as you clear the nest. Once you’ve dealt with those in the south, head through the fire to the north where you’ll find some Hurlocks. Head north after this where you’ll find some Genlocks. Stay away from the edges to avoid falling down. Next head to the room to the east. Here you’ll find two Ogres, two Emissaries, and a number of Genlocks. Once both Ogres and Emissaries are defeated, you’ll have one Emissary Alpha to defeat before the Genlocks stop spawning.
When the Emissary Alpha is dead, continue through the door to the east and establish a camp at the Ancient Lift, triggering a cutscene. At the end of the scene you’ll be able to use the Ancient Lift to descend further.
Forgotten Caverns
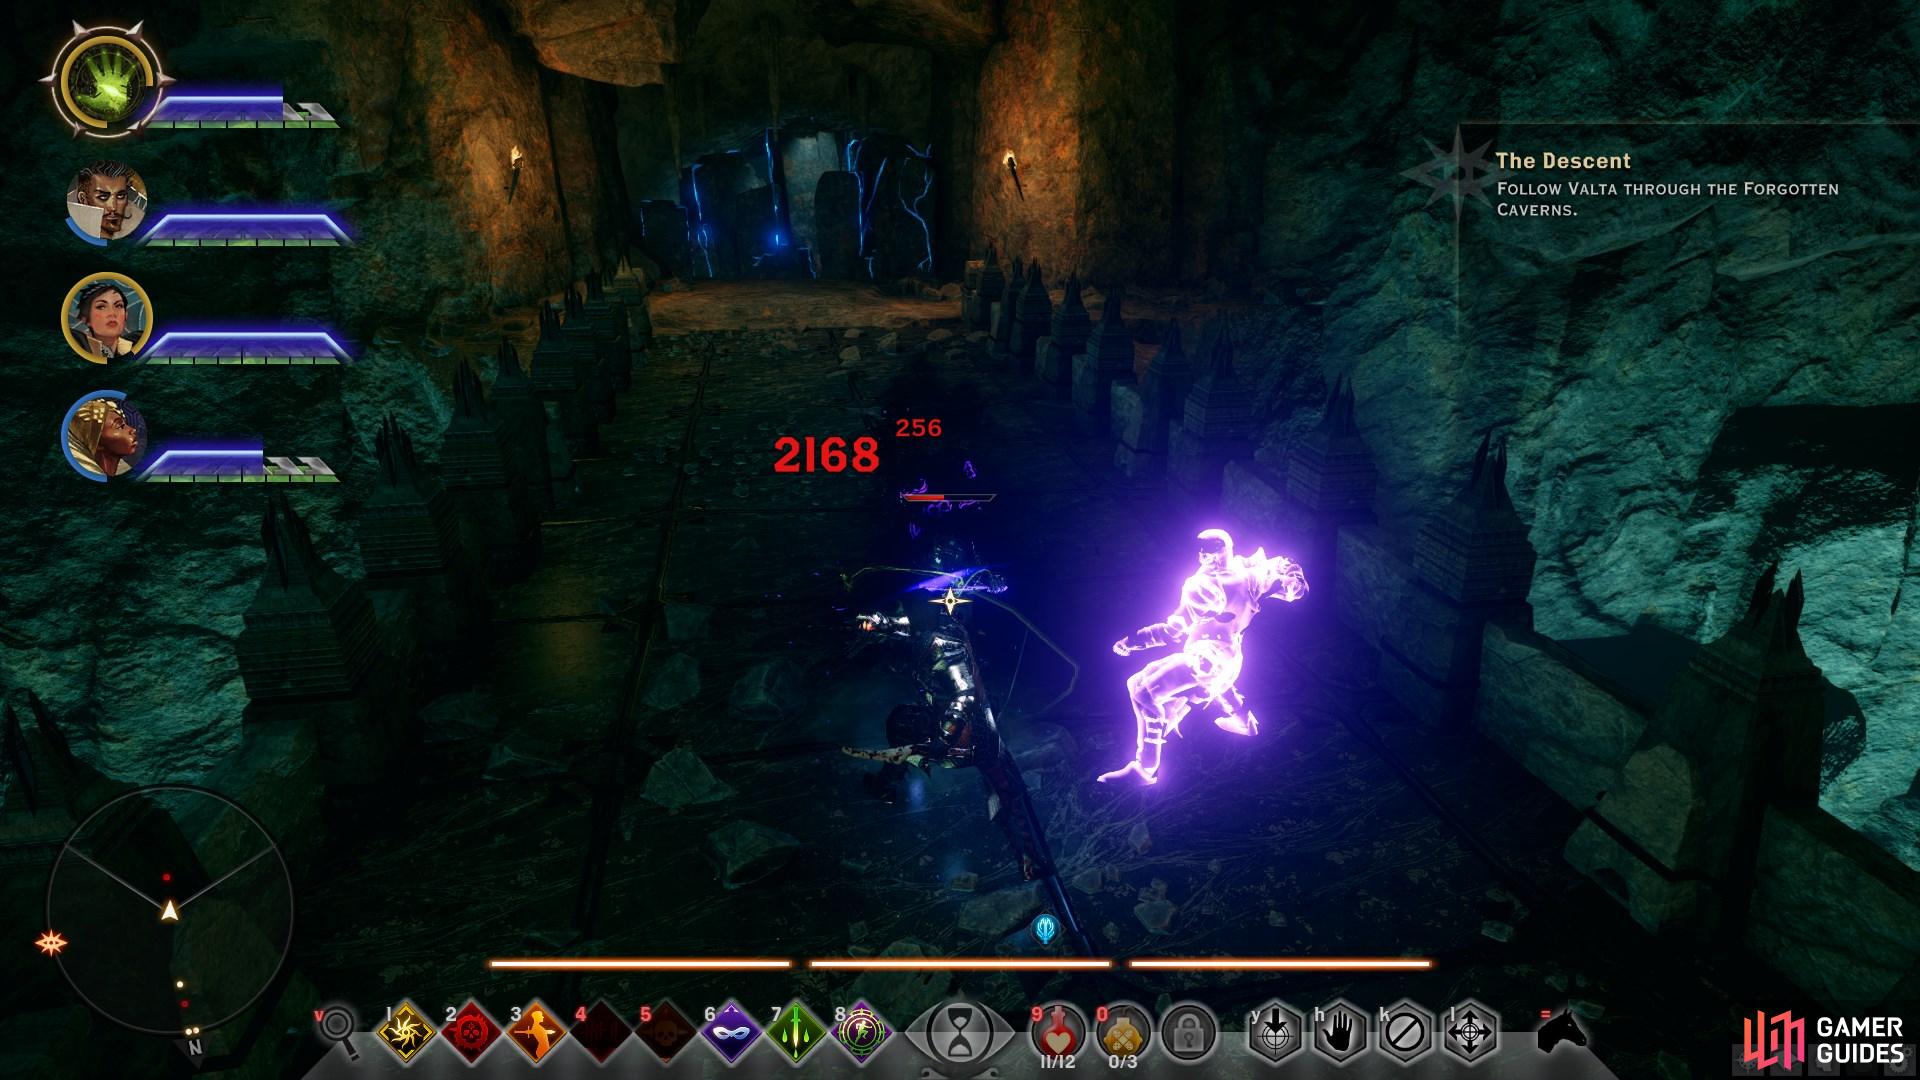
Head east from the newly established camp and take the Ancient Lift down to the Forgotten Caverns. Once there, head north through the darkness until a cutscene triggers. After the scene you’ll be faced with a new kind of enemy: Sha-Brytol dwarves. You’ll be facing two Revered Defenders and four Bolters. The latter are capable of inflicting a great deal of damage in a short amount of time, so you should take them out first. Be sure to loot all pouches after the fight, as these dwarves drop a lot of gold. As you move around the corner you’ll find another group of the same mobs. Take them out in the order described above and then proceed to the bridge.
(1 of 3) Always aim to take out the Bolters first, as they can inflict the most damage if you leave them to fire at range.
At the bridge you’ll encounter two Cretahl. These are powerful horned beasts which can inflict a lot of damage to light armoured companions and knockback with a charge. Grab their attention with a Warrior and then take out the Bolters at the back of the bridge first to avoid unnecessary damage. You’ll find an ancient gear at the south side of the bridge to the right, and a note which begins the side quest Chronicles of Forgotten Wars to the right on the north side of the bridge.
Proceed along the bridge to the south to trigger a cutscene. After this you’ll find a number of gears in the immediate vicinity. As you loot them you’ll be ambushed by some Sha-Brytol Earthshakers and Defenders. The Defenders are nothing new, but watch out for the knockdown caused by the Earthshakers when they smash the ground. Once you’ve looted all the gears (be sure to use the search function to identify them), continue east through the cavern. As you bend north you’ll approach another, larger bridge.
When you step on the bridge a brief cutscene will initiate, depicting its collapse. To reach the other side you’ll need to take an alternate route. Turn right, facing eastward, to find a ledge which leads to another entrance. Take care to follow the ledge without bumping into your companions. At the bottom of the ledge you’ll find another entry for Chronicles of the Forgotten Wars and another gear behind it. As you proceed another cutscene will begin.
Bastion of the Pure
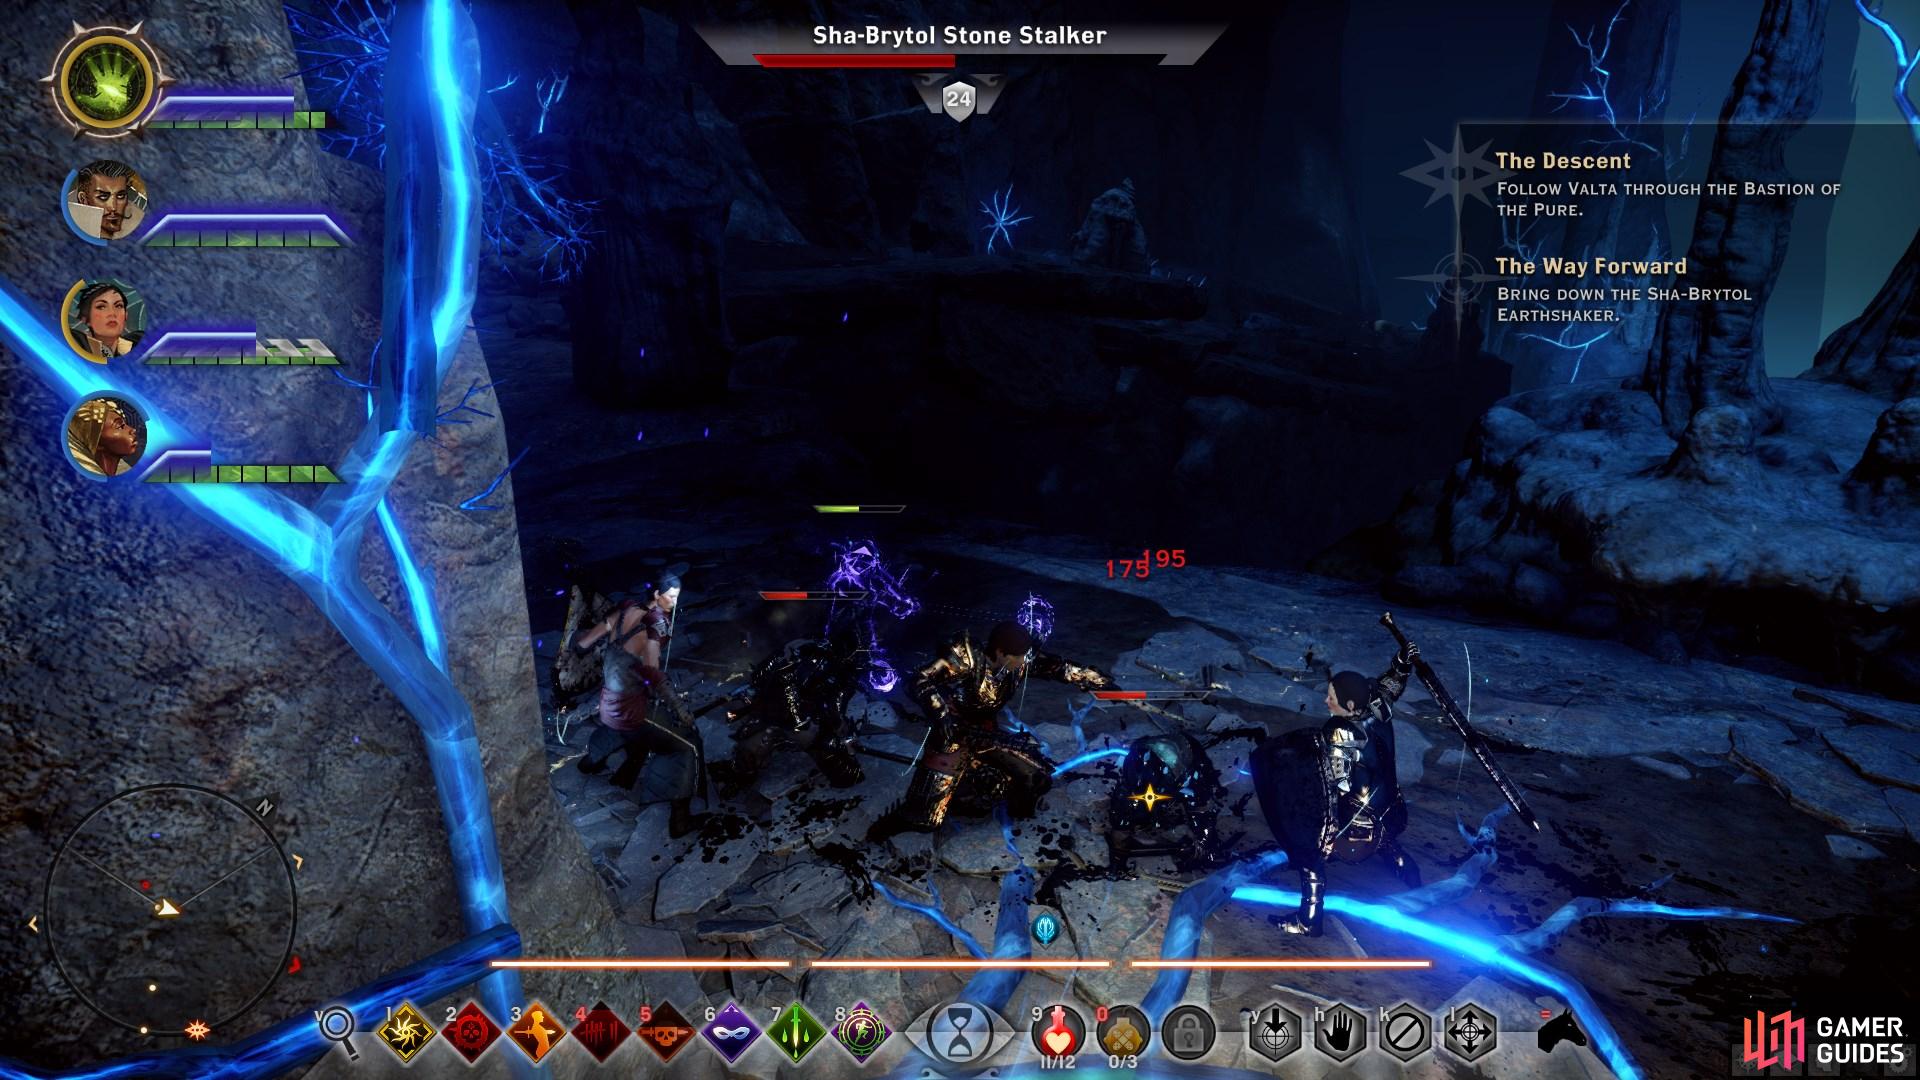
After the cutscene you can head north and enter the Bastion of the Pure. Here you can claim a landmark, and you’ll find a supply cache to the west if you need to replenish any potions. Head down the ramp to the east and follow the path toward a camp. Along the way you’ll encounter a number of Defenders, Earthshakers, and Stalkers. Kill the Stalkers first, as they can inflict significant damage if left unchecked. At the end of the battle, be sure to loot the Earthshakers for a weapon which unlocks the barrier leading to the camp. Once you have the weapon, interact with the barrier to break it.
As you progress along the path you’ll find another Earthshaker and some Cretahls. They shouldn’t cause much of a problem but remember to loot the Earthshaker weapon before you head on. You’ll find an Expedition to unlock at the end of this path, which can be pursued at the Expedition Table within a camp of the Deep Roads. Continue down the path to the south east. You’ll find more Earthshakers along the way. As you reach another barrier you’ll spot an ancient gear on the edge of the cliff.
Once you’ve broken through the barrier you’ll need to slide down a rock which you won’t be able to get back up from again. But don’t worry; there’s another route up to the east and the north. You’ll find another gear to the left at the bottom of the path. As you head south you’ll encounter another group of Sha-Brytol. Take out the Bolters on the ledge first. You’ll find an ancient gear just behind them, along with two Expedition landmarks. From here, continue south and destroy the final barrier.
To destroy the barrier you will need 5 Earthshaker weapons. As you enter the centre of the cavern a number of Sha-Brytol will attack. Fight as many as you need until you’ve looted 5 Earthshaker weapons, and then use the weapons to break the barriers to the south. Until all 5 barriers are broken, which won’t initiate until all 5 weapons are placed, the Sha-Brytol will continue to attack indefinitely.
When the barrier has been broken, defeat the remaining enemies and be sure to loot the gear behind a rock to the north. When ready, head south to the door which the barrier was protecting. Be sure to loot the barrel to the left of the door for some unique weapons and armour. As you enter through the door another cutscene will trigger. When you’re ready, head south through the opening in the cavern. You’ll find a landmark by the edge of the ledge to your right, and some dragonthorn seeds to your left.
As you continue south west, you’ll approach another bridge. After the cutscene you’ll be fighting more Sha-Brytol. Once they’re dead, head south west around the rock and take the ladders further down. After the second ladder and a set of stairs you’ll encounter more Sha-Brytol. Take out the Bolters first. After the next set of ladders continue east and then south until you reach a bridge. Take out the Bolters here swiftly before they overwhelm you with bolts.
The Wellspring
Continue over the bridge to more ladders and stairs. The next bridge is guarded by a lot more mobs, so you’ll need to be careful here. As ever, take out the ranged mobs first and then focus on melee. When all the mobs are dead continue over the bridge, and be sure to loot the supply cache to replenish potions. Beyond the supply cache a cutscene will trigger. After the cutscene, head down the stairs and then the ladder toward the shrine. Approaching it will trigger another cutscene, during which you’ll be introduced to The Guardian.
BOSS - The Guardian
Although The Guardian looks imposing, it doesn’t have many tricks up its sleeve. The fight is relatively simple, with only one potentially deadly mechanic worth noting. This comes in the form of stalagmite structures which the mob erects from the ground. Just before the structures are erected, a blue platform will be highlighted on the ground. If you don’t step away from this platform before the stalagmite is erected, it will inflict devastating damage. You will therefore need to continually pay attention to the surface around The Guardian, ready to react to any blue platforms.
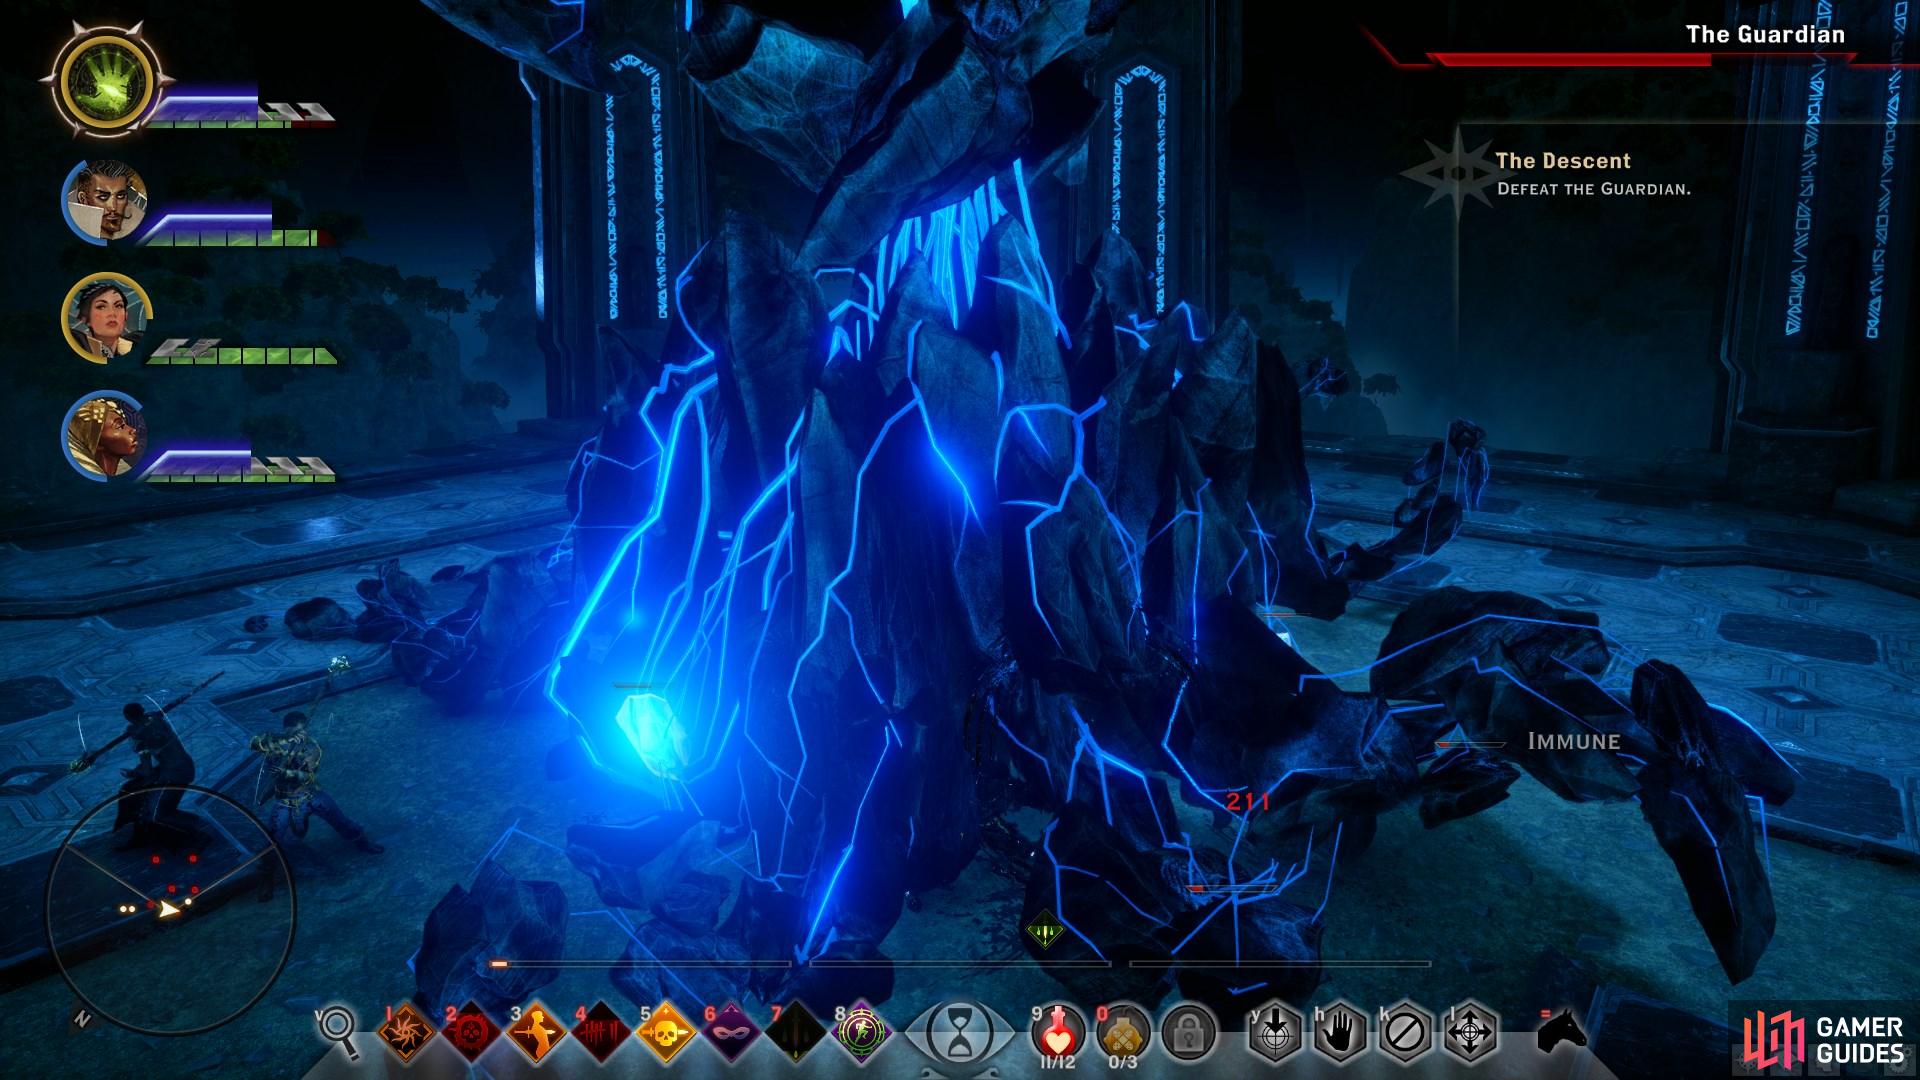
(1 of 3) Try to remain as close as possible to The Guardian, focusing attacks on exposed lyrium stumps.
In addition to the damaging stalagmite structures, The Guardian will also repeatedly lash out with its rock tendrils. Light armoured ranged classes are particularly vulnerable to these attacks, but there is a way to avoid them altogether; gather your party as close as possible to the base of The Guardian. So long as you remain close to it, the tendril strikes will cease and you will be able to inflict damage with essentially no interruption until the stalagmite structures are erected.
The Guardian is particularly vulnerable to lightning damage, so you should apply any skills which use it before the fight. The boss has a number of contact points, each of which can be damaged individually. However, wherever you attack you will be dealing damage to the boss overall. As you destroy individual tendrils, lyrium stumps will be revealed, which when attacked will deal increased damage to the boss as a whole.
No Comments