

A Few Things to Consider
Before you begin this quest at the War Table, be sure to complete any unfinished Inner Circle quests, and pursue any outstanding dialogue with your companions and advisors.
Important Notes on Companions:
With the exception of Solas, you will still be able to interact with your companions once the main story is finished, but some important quests and dialogue will no longer be available. It is recommended that you remove all equipped gear from Solas before the fight with Corypheus. This will be inaccessible if left with him after the battle.
BOSS - Corypheus - Phase 1
| Value | Stat |
|---|---|
| Health | 136512 |
| Defence | 88 |
| Immunity | All Disabling Effects |
| Ability | Perceptive |
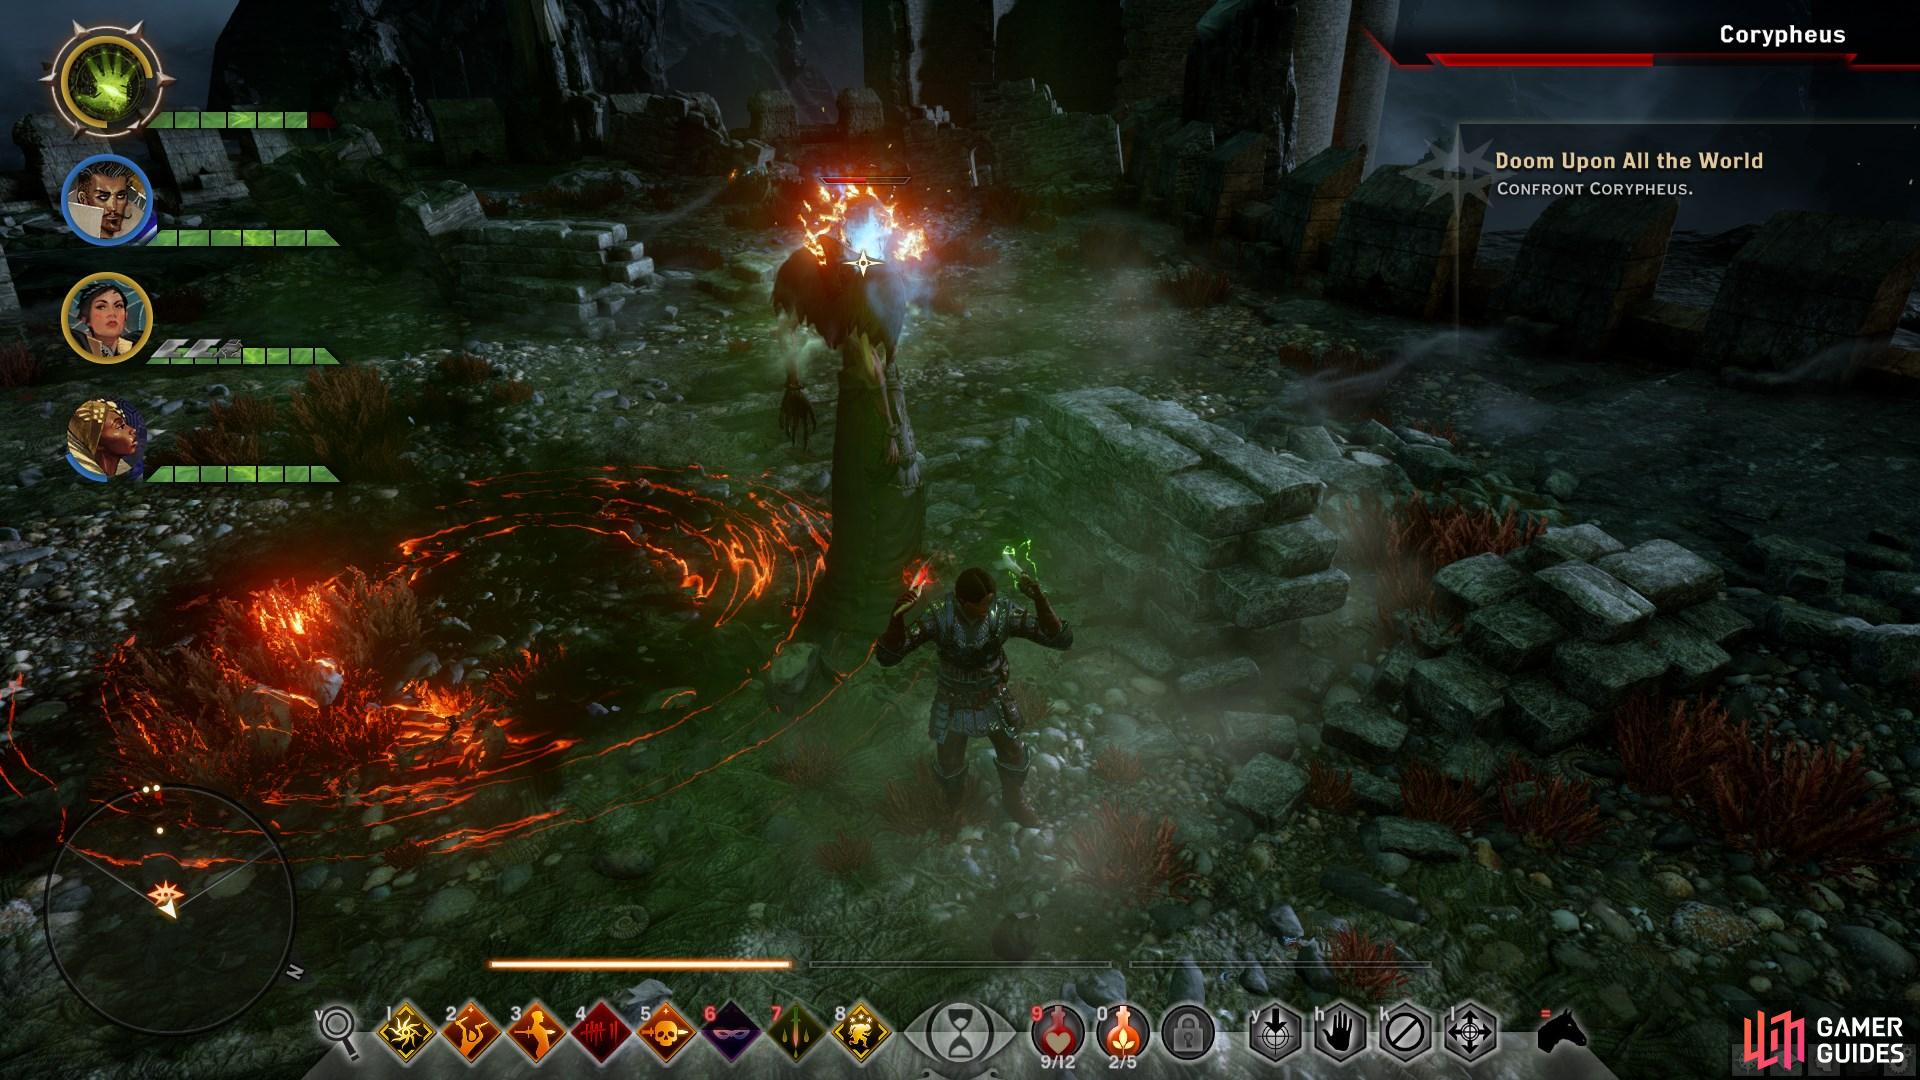
You’ll want to use Cold attacks against Corypheus to slow him down, allowing your melee attackers to get in range and taunt him. Keep your companions spread out to avoid group attacks from Corypheus, and hit him with everything you have. Watch out for the walls of red lyrium that Corypheus can summon to split the group up, while also blocking line of sight for ranged companions. Corypheus can also fire red lyrium and focus it on a particular companion. Break this by moving behind an object to obscure line of sight. You will also need to avoid explosive circles that he casts on the ground. After some damage Corypheus will retreat to the balcony and you will have to chase him up the steps. Maintain the same strategy and drop his health to 50% to trigger the second part of the battle.
BOSS - Red Lyrium Dragon
| Value | Stat |
|---|---|
| Health | 226288 (Starts at 113144) |
| Defence | 59 |
Your dragon is down but not without doing its part to help take out Corypheus’ pet.
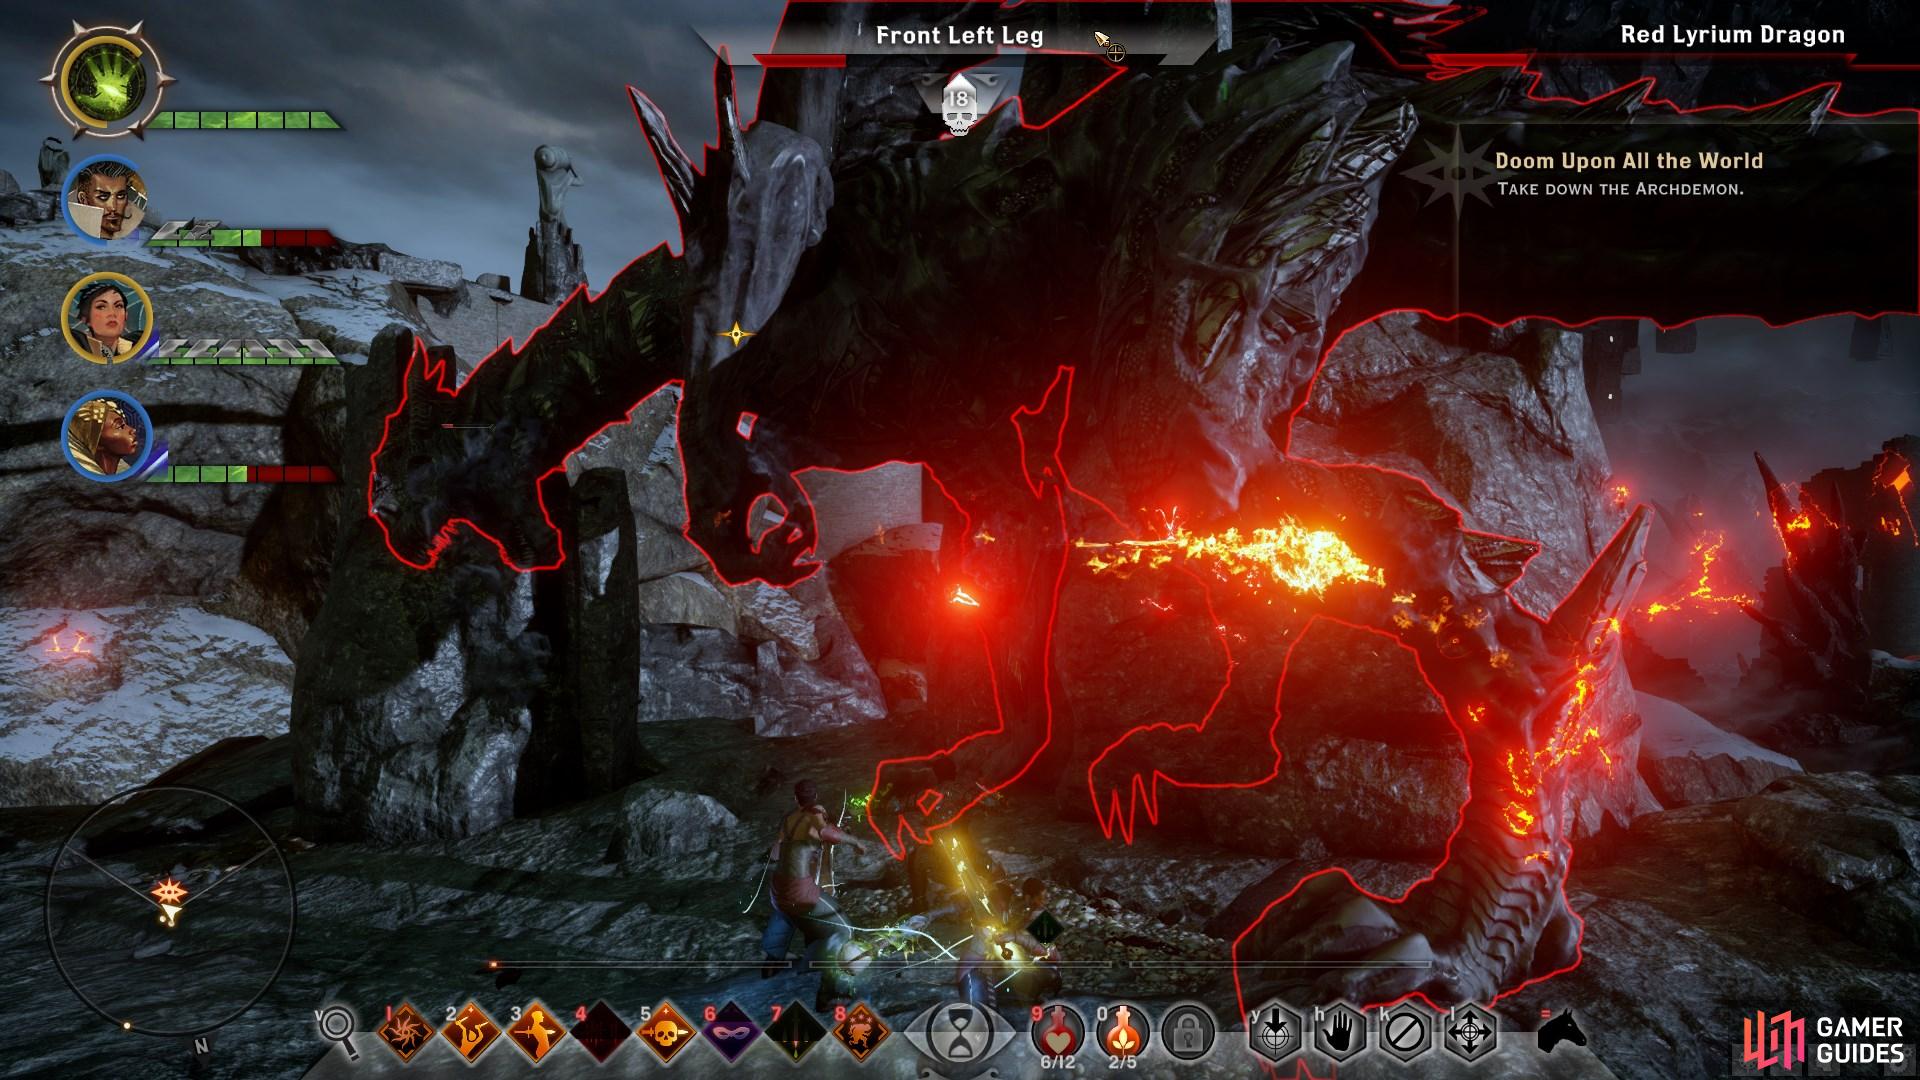
Focus on the front legs with area of effect attacks aimed just under the Red Lyrium Dragon’s head; this will get all three in the damage. Keep up Barrier and quickly drop the front two legs so you can flank the dragon much more easily. This dragon is like most, using shooting Lyrium balls and Lyrium breath to deal heavy damage, and has a nasty tail whip if you stand behind it. The Red Lyrium Dragon can use Guard so break through that with Shield Bash. It starts at half health and you must drain it completely in order to win this fight. When the dragon raises its claws, be sure to step away to avoid a devastating swipe that could kill you in one hit. The same goes for tail swipes.
When you see the dragon raise its claw, step away from it immediately to avoid a devastating hit.
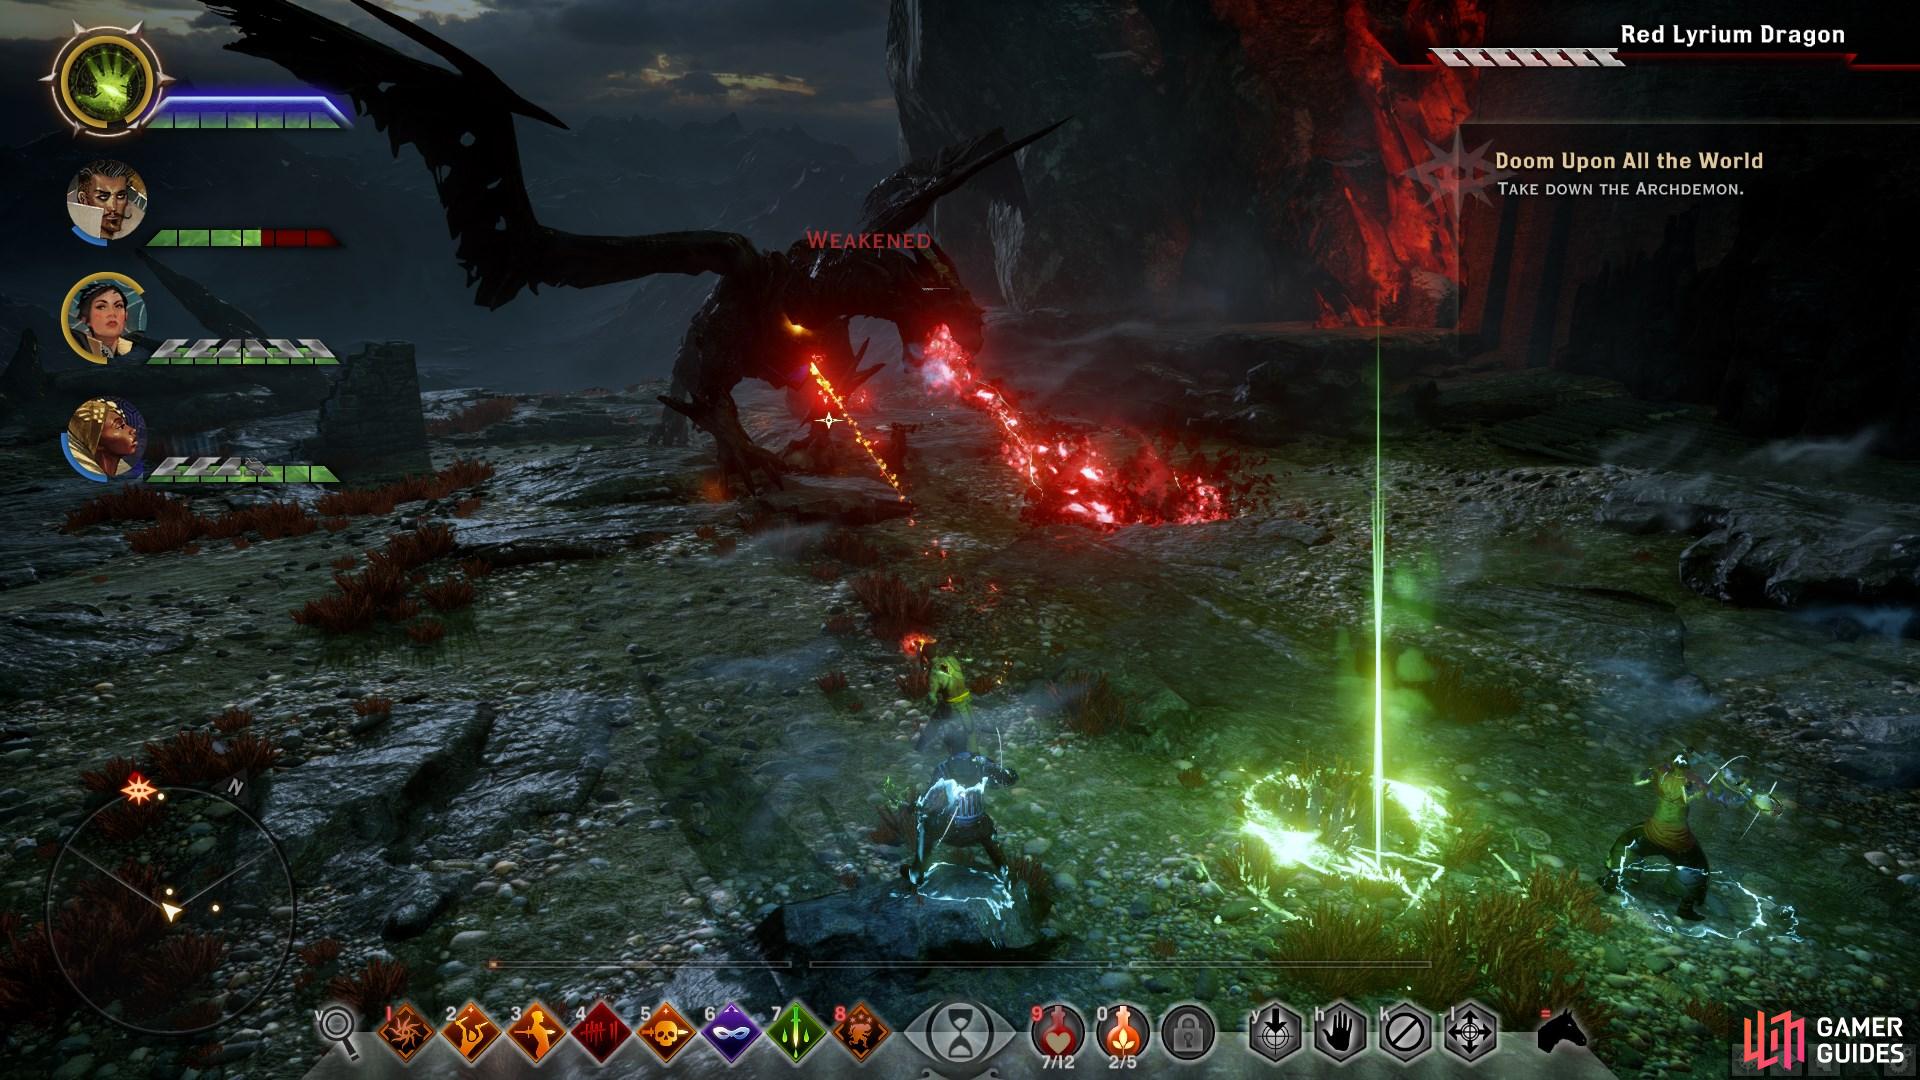
The dragon can breathe red lyrium which can inflict heavy damage, so be sure to step out of the way when you see the animation begin.
When the dragon is dead Corypheus will be vulnerable. Run up the stairs to enter the next phase of the battle, and be sure to loot the supply cache to replenish potions.
BOSS - Corypheus - Phase 2
| Value | Stat |
|---|---|
| Health | 136512 |
| Defence | 88 |
| Immunity | All Disabling Effects |
| Ability | Perceptive |
You get a chance to restock at the Supply Cache on your way up. As you approach, keep an eye out for the area of effect attacks Corypheus will unleash; taking cover is usually the best option. This is similar to the first phase except you’ll win when you drain him to 0 health so use everything you have to take him down.
The Aftermath
Corypheus is gone so what are you going to do now? Hold a banquet. At Skyhold you can speak with your many companions, they have some interesting things to say. Make your way to the door leading to your quarters to trigger the end. Be sure to watch the scene after the credits! You’ll be returned to Skyhold with a post-completion save.


No Comments