

Go to the War Table in Haven
Taking the path of reaching out to the Templars will bar you from working with the mages. But who better to fight against this magic than those trained to do so? To start down this path, go to the War Table in the Chantry at Haven and choose Champions of the Just for 15 Power. Once you confirm the acceptance of the mission, there is no going back from siding with the Templars.
Dialogue with Lord Esmeral Abernache
Once you’ve accepted the mission a brif cut scene will follow, after which you will have the opportunity to respond to Lord Esmeral Abernache. When he asks “Care to mark the moment? Ten Orlesian houses walk with you.”, the dialogue options have the following impact on approval:
“I celebrate this pairing.” (Requires Inquisition perk: Nobility Knowledge)
Cassandra - Slightly Approves
Sera - Slightly Disapproves
Vivienne - Slightly Approves
“Of course.”
Sera - Slightly Disapproves
“Perhaps an overblown speech?”
Cassandra - Slightly Disapproves![]() Iron Bull - Slightly Approves
Iron Bull - Slightly Approves
Sera - Slightly Approves
Varric - Slightly Approves
“Save it for the Lord Seeker.“
Sera - Slightly Approves
Iron Bull - Slightly Approves
Vivienne - Slightly Disapproves
After this initial dialogue, no further options in your conversation with Lord Esmeral Abernache will have impact on approval.
Speak with Knight-Templar Barris
Once you’ve spoken to Lord Esmeral Abernache, take some time to speak with the other nobles on the bridge and in the stable area. You’ll find some minor loot at the end of the bridge in the direction from which you arrived. When you’re ready, speak with Knight-Templar Barris to the west, in the courtyard where the stables are located. In this area you will also find the Folded Letter codex entry and some more minor loot.
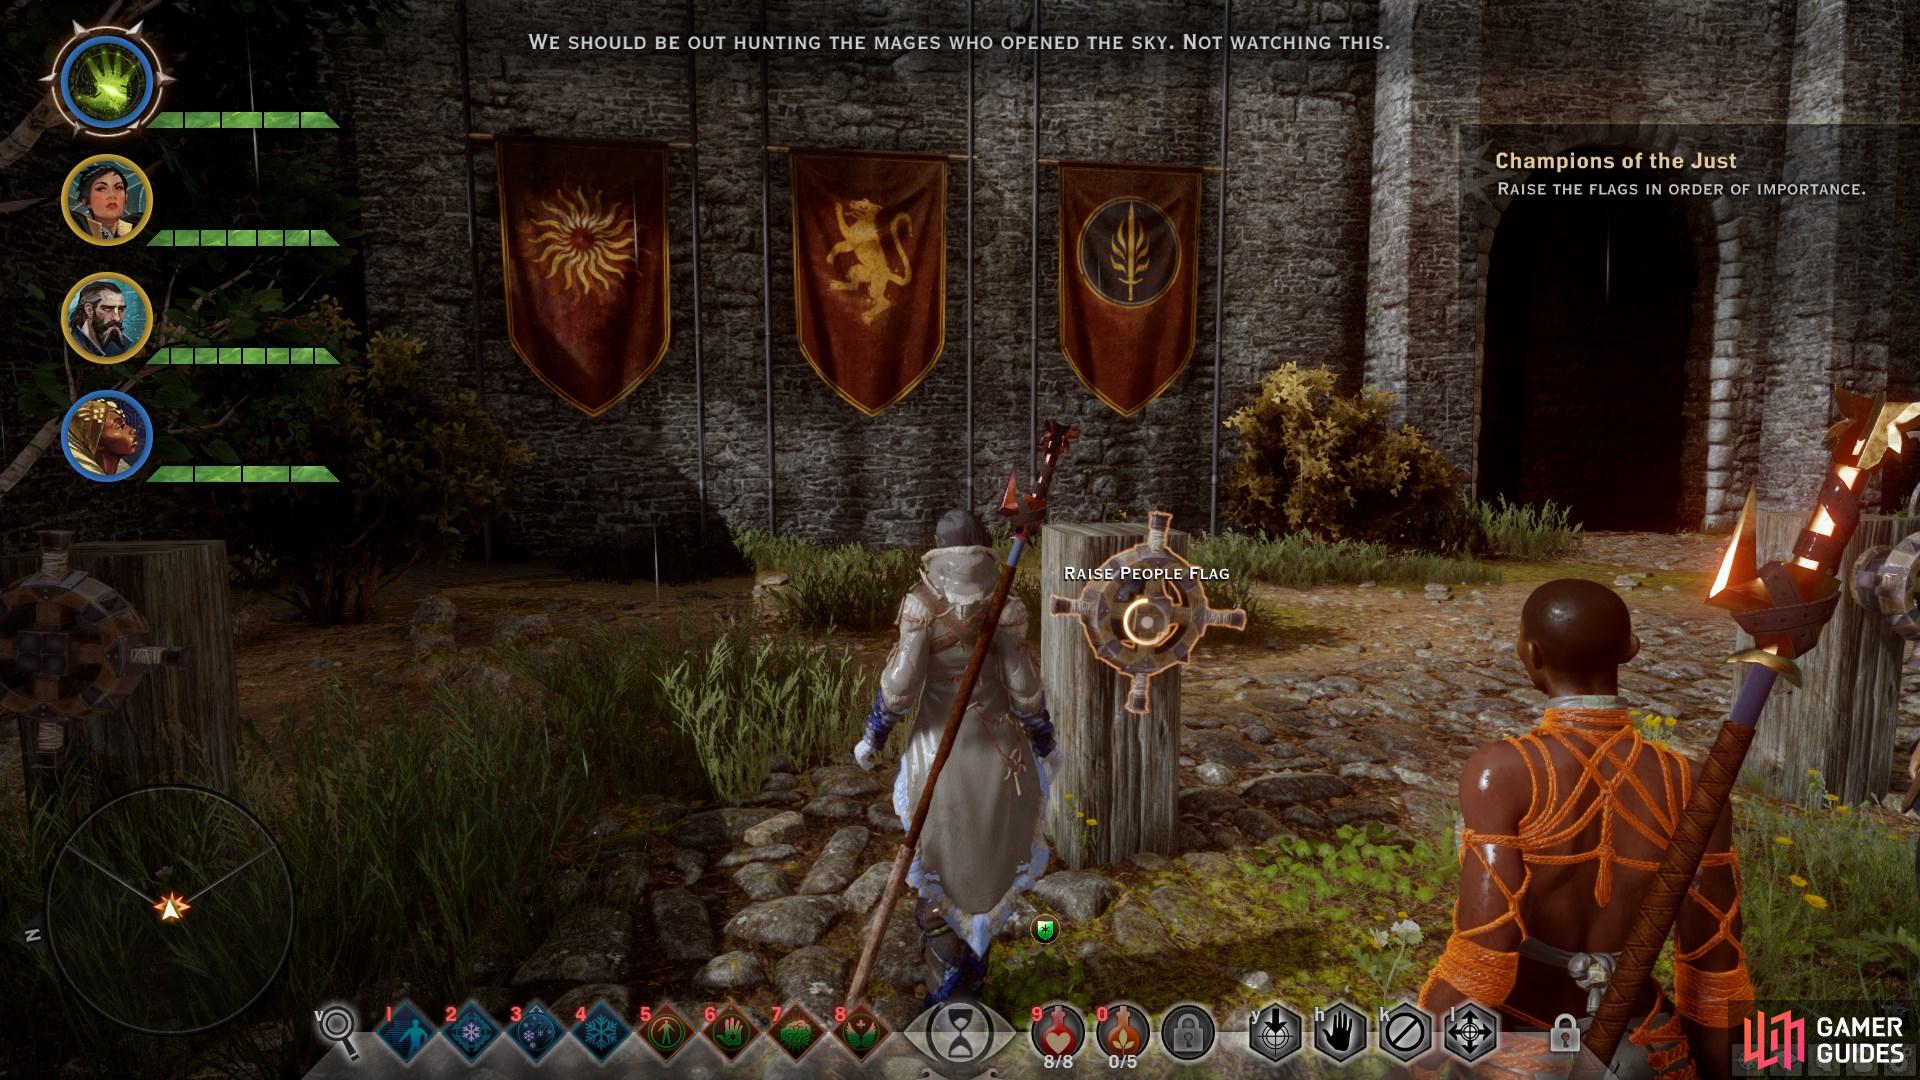
Raise the Flags in Order of Importance
After speaking with Knight-Templar Barris, you will be asked to complete a ritual by ordering flags that represent Andraste, People, and Templars respectively. You must raise the flags in an order determining how you value each one. This has no consequence other than impact of approval from the following companions:
If you choose Andraste first:
Cassandra - Slightly Approves
Solas - Slightly Disapproves
If you choose Templars first:
Blackwall - Slightly Approves
Sera - Slightly Disapproves
Vivienne - Slightly Approves
If you choose People first:
Varric - Slightly Approves
Sera - Slightly Approves
Vivienne - Slightly Disapproves
Performing the ritual will result in the death of Lord Esmeral Abernache, with no further consequence. If you choose to side with Abernache and refuse to perform the ritual, you will miss the opportunity to impact companion approval, but you will be able to judge Abernache’s killer later in the game at Skyhold.
When you’ve completed the ritual based on the order of your choosing, Knight-Templar Barris will ask you to explain your decision. Your response will have the following impact on companion approval:
“I decided based on politics.”
Blackwall - Slightly Disapproves
Iron Bull - Slightly Approves
Sera - Slightly Disapproves
Vivienne - Approves
“I picked at random.”
Blackwall - Slightly Appproves
Sera - Slightly Approves
Solas - Slightly Disapproves
“I let faith guide me.”
Sera - Slightly Disapproves
Solas - Slightly Disapproves
“My reasons are my own.”
Blackwall - Slightly Approves
Solas - Approveses
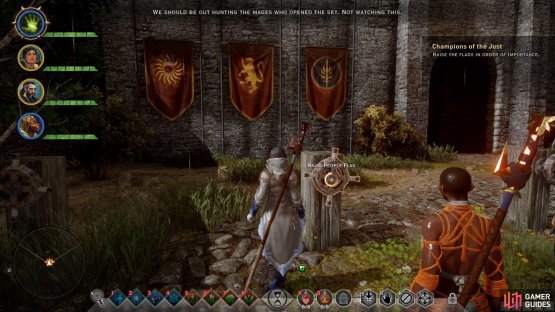
(1 of 2) Be sure to consider your decision of the flag order in the context of which companions you want to appease most.

Be sure to consider your decision of the flag order in the context of which companions you want to appease most. (left), When you’re done raising the flags, explore the courtyard for some loot and a Creased Note codex entry. (right)
Meet the Lord Seeker
Once you’ve explored the courtyard, speak with Knight-Templar Barris to begin another cutscene. The nature of the scene will depend on whether you completed the ritual with the flags. If you did perform the ritual, the following dialogue will be expressed:
“This is the grand alliance the Inquisition offers?”
Your responses provide another opportunity to influence companion approval:
“Abernache, step back.”
Varric - Slightly Approves
“Barris, what’s wrong with him?”
Sera - Slightly Approves
“Where is the Lord Seeker?”
Vivienne - Slightly Approves
If you chose not to complete the ritual, the dialogue will open with “So this is the herald of change. You are why everything must be moved ahead.”, and the following responses will be presented:
“I’m here to help.”
Blackwall - Slightly Approves
Cassandra - Slightly Approves
“Barris, what’s wrong with him?”
Varric - Slightly Approves
Sera - Slightly Approves
“Where is the Lord Seeker?”
Vivienne - Slightly Approves
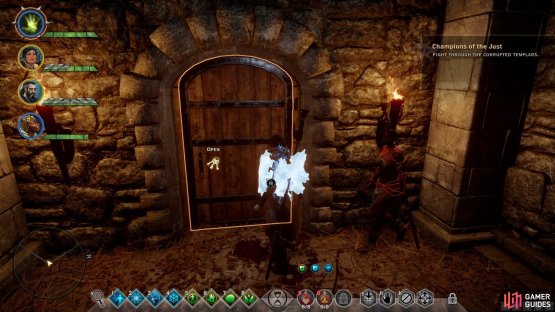
When you’re done talking, you will need to fight some corrupted templars. Have your tank taunt the front knights while you take out the archers, then clean up. Barris will help out here. Loot and go through the next door.
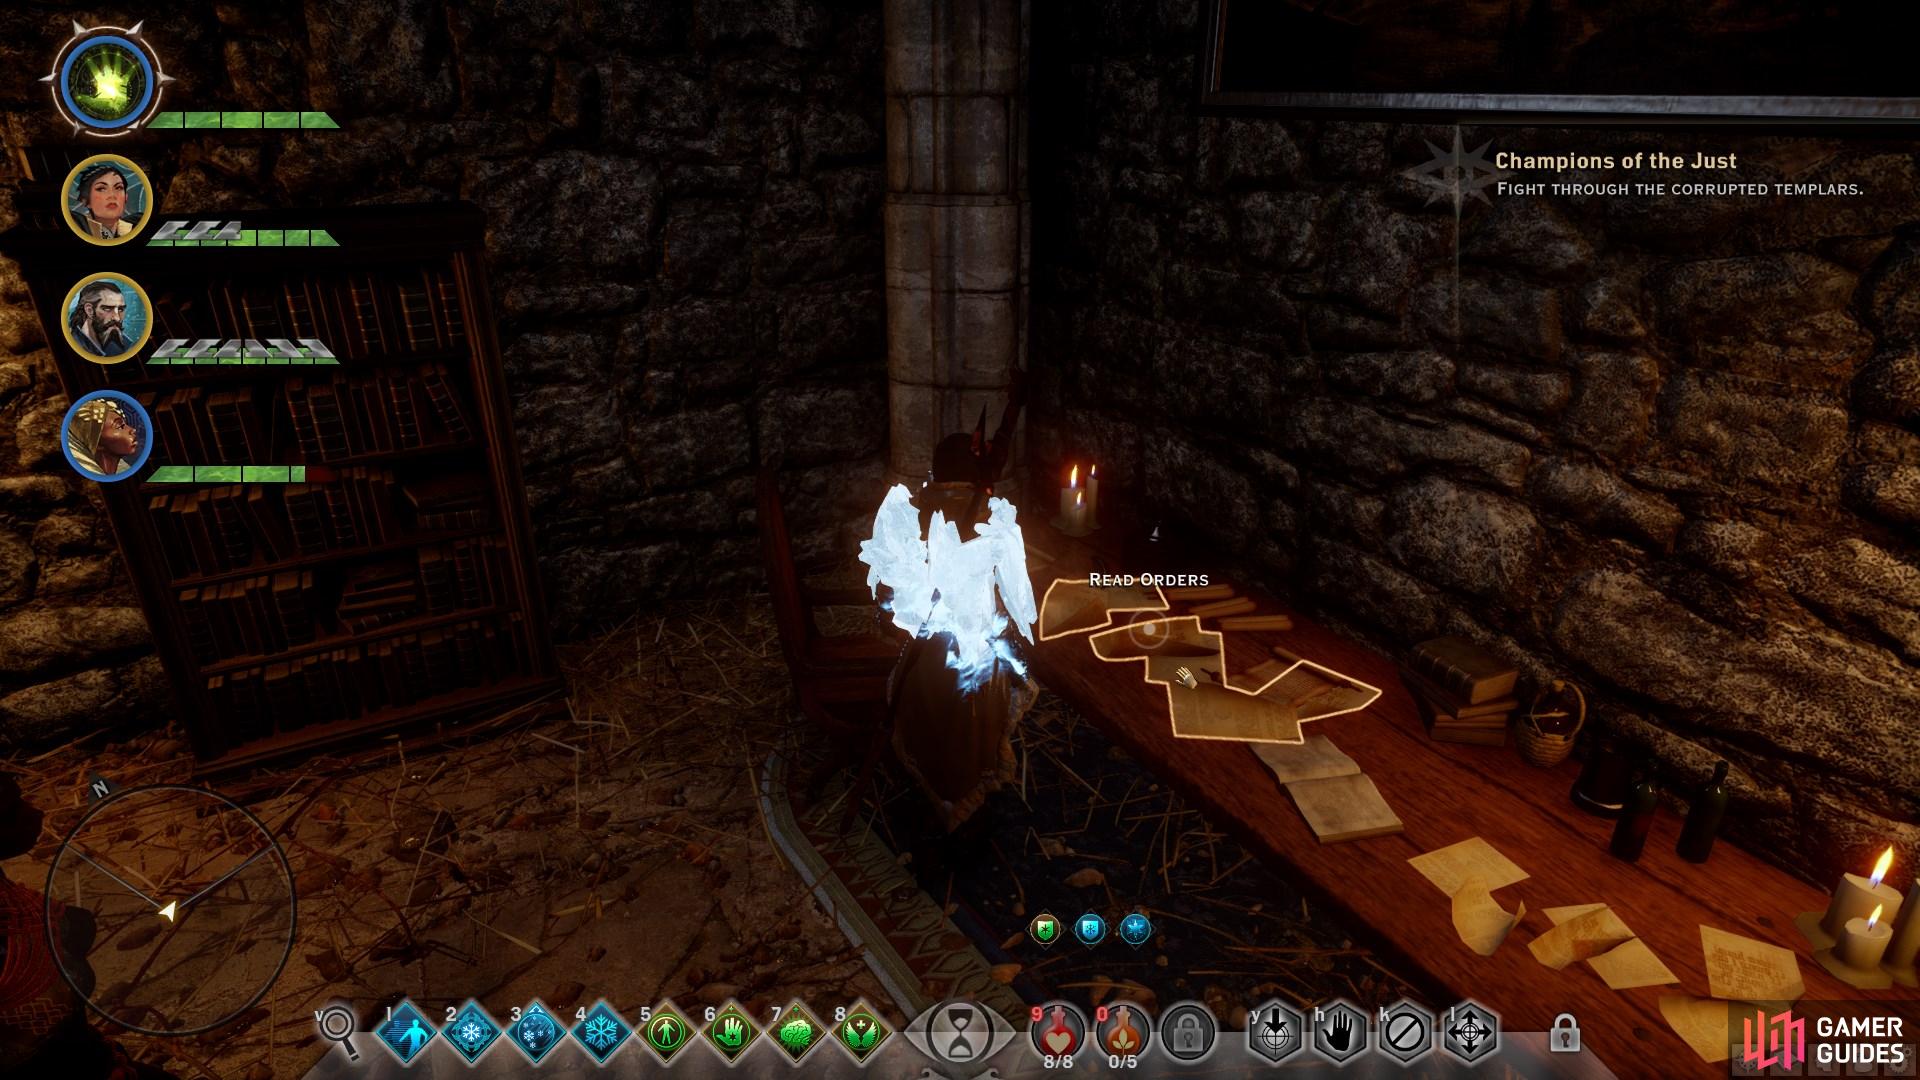

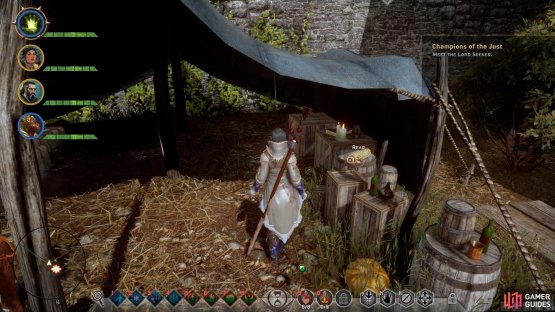
(1 of 2) Don’t miss the ‘Read Orders’ codex entry in the open room.

Don’t miss the ‘Read Orders’ codex entry in the open room. (left), Be sure to switch to a rogue in order to open the locked doors. (right)
Kill the soldiers in the hall and take the nearby loot, then head north. There is an open room here with a Chest and some loot. There is also a door nearby that a rogue can unlock to obtain more loot. Once you have them, head south to the other end of the hall and up the stairs. Here you will find another rogue door. Head outside when you’re done.
A fight is waiting for you. There are three templars facing you from the front while some archers are on a roof to your upper right. A ladder behind you offers a tactical view for ranged characters. After you deal with these first enemies, a door to the dining hall opens to the left with more enemies. Use the doorway as a chokepoint to lay down area of effect abilities to finish them quickly.
Head inside and search the tables to the far left for the To Be Corrupted codex, then head upstairs for a Chest. You can jump the barricade here for some loot, another Chest, and up on the third floor, a note that explains what is happening if you didn’t already guess. Head back and go through the second floor door. This leads to more fighting, only this time you’ll have more normal allies. The numbers rule applies here, so help them overwhelm the red templars.
Once they are dead, head to the top of the stairs you came from and open the door against the left wall. Yikes! Read the letter here for some context, then open the Chest. This chest in particular has an ![]() Amulet of Power; Cassandra, so be sure to get it.
Amulet of Power; Cassandra, so be sure to get it.
Continue ascending onward, looking for loot as you go. You will soon meet with the Lord Seeker, who turns into something… odd.
Escape the Prison
Well then… Head forward and enjoy the scenes. Answer as you will. Soon you will have free rein again. Run to the marker where you’ll find a room with pillars pouring out spirit magic. From here, head to the left and right lower rooms for dialogue and a way to go further forward. Time the pillars and run to the left and right rooms for more dialogue. Getting hit DOES hurt here. At the end, go through the unmoving pillars to continue (take the hit).
You’ll be in a room with a door or wall your class can counter, such a breakable magic wall for mages or lockpick door for rogues.
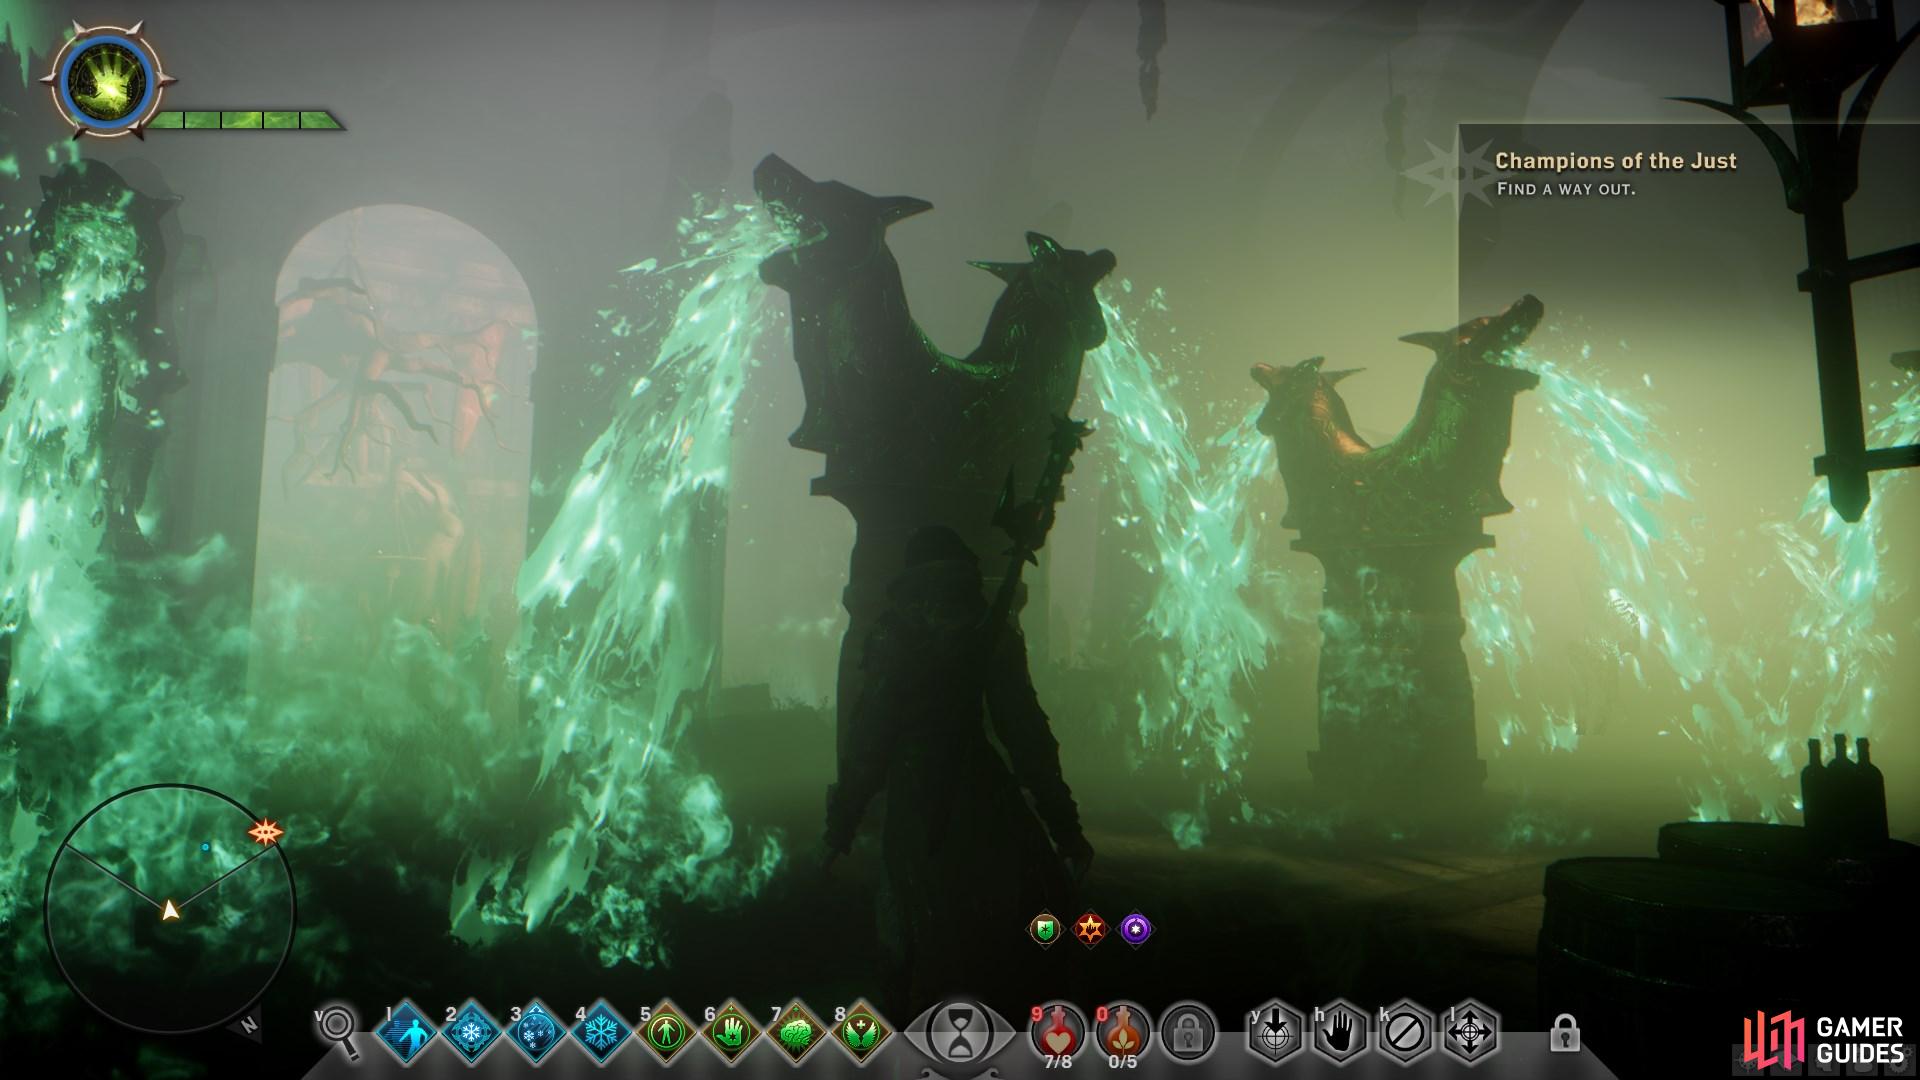


(1 of 2) Avoid the spirit substance as you make your way forward. If you remain under its flow you will quickly die.
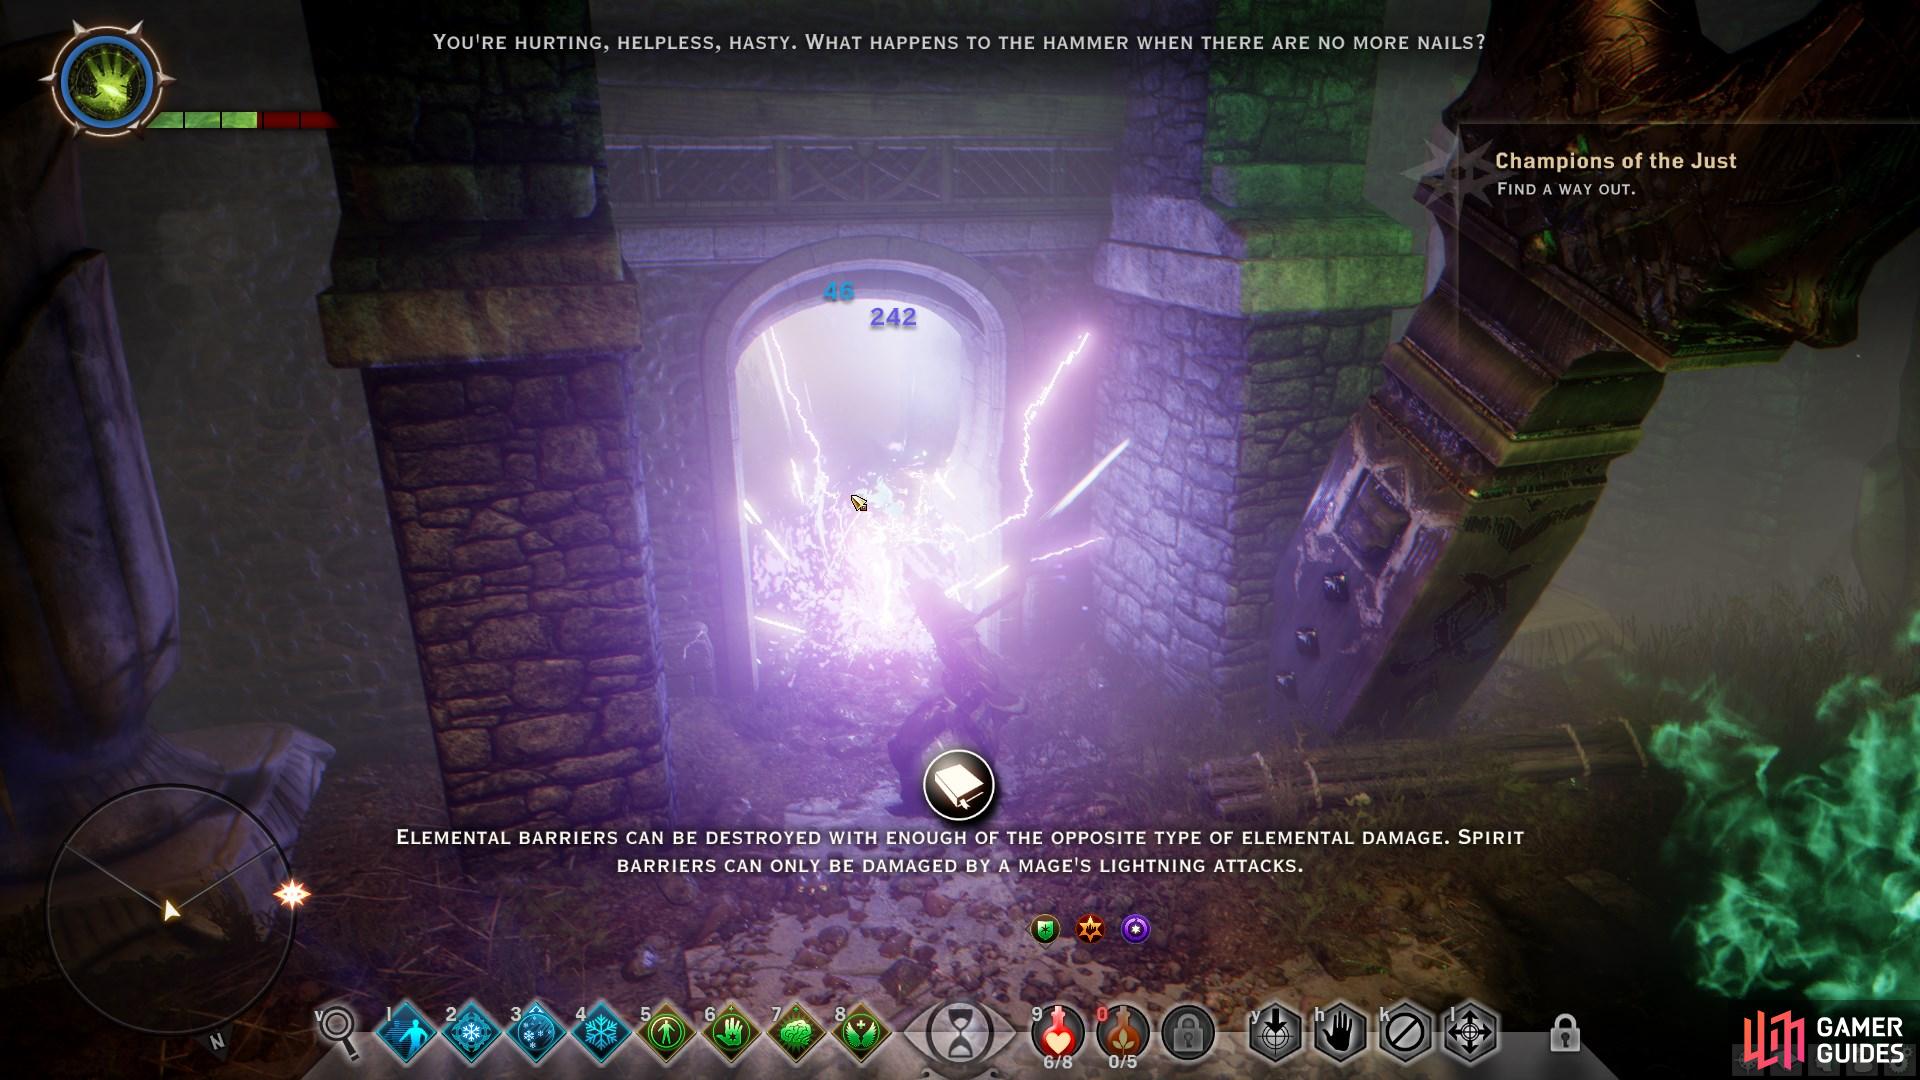
Avoid the spirit substance as you make your way forward. If you remain under its flow you will quickly die. (left), Use the skill of your class to break the barrier through the door. (right)
Inside you’ll find an object to examine for the Envy’s Dogma codex, as well as a boost of +1 to an attribute dependant on your class. This is part of a side quest for this area called “Demonic Dogma”. Head to the right and explore the room. When you try to leave, Cole will introduce himself. Ask for his help to get an idea of what to do. He will then open the way forward for you.
Continue on and watch the scenes. Once you’re near “Cassandra”, search the open right cell for a Prison Key. Now head forward and examine what is going on in the rooms to the left and right. Head forward and take a right, then talk to Cole.
He’ll gift you with another task and some Veilfire. You will have to light four Braziers. Head back to the rooms with the prisoners for Brazier #1 and Brazier #2. Half-way done already! This causes the demon to be quite angry…


(1 of 2) Be sure to read the inscription for Envy’s Dogma to receive attribute points.

Be sure to read the inscription for Envy’s Dogma to receive attribute points. (left), Light the braziers to proceed through the illusion. (right)
Head to the end of the hallway then left. Cullen is locked up here, but Brazier #3 is here as well. Light it and then out in the hallway Brazier #4 will appear. Lighting this pushes the hallway down. Follow it and head into the right room. Light the brazier and then go back to the hallway to light the next one you find. This opens the door and provides access to a secret room.
Read the inscription here for an updated Envy’s Dogma codex and a boost of +2 to an attribute dependant on your class. Continue on to the last door and you will be swept to a forest next…
Escape the Forest
Head through the forest, noting that staying still is dangerous; a spirit geyser will erupt at your feet and explode. Continue onward and upward when you can, ignoring the wraiths. Pull a lever near Cole when you can and then you’ll be in the main courtyard.

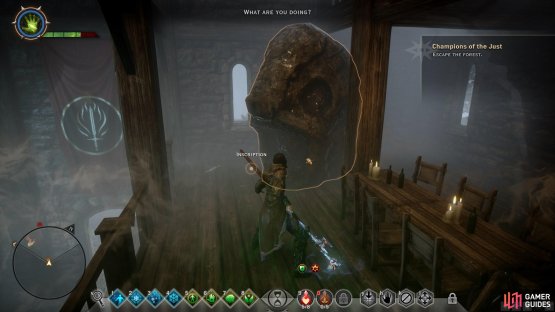

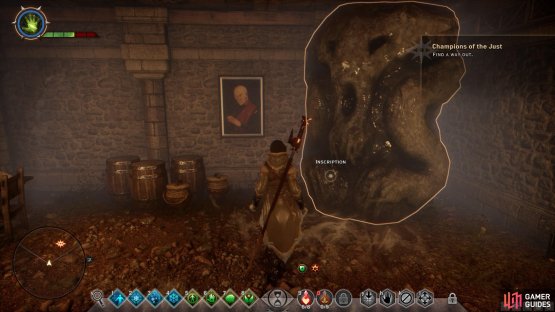
(1 of 2) Read the inscription in the dining hall before you continue through.
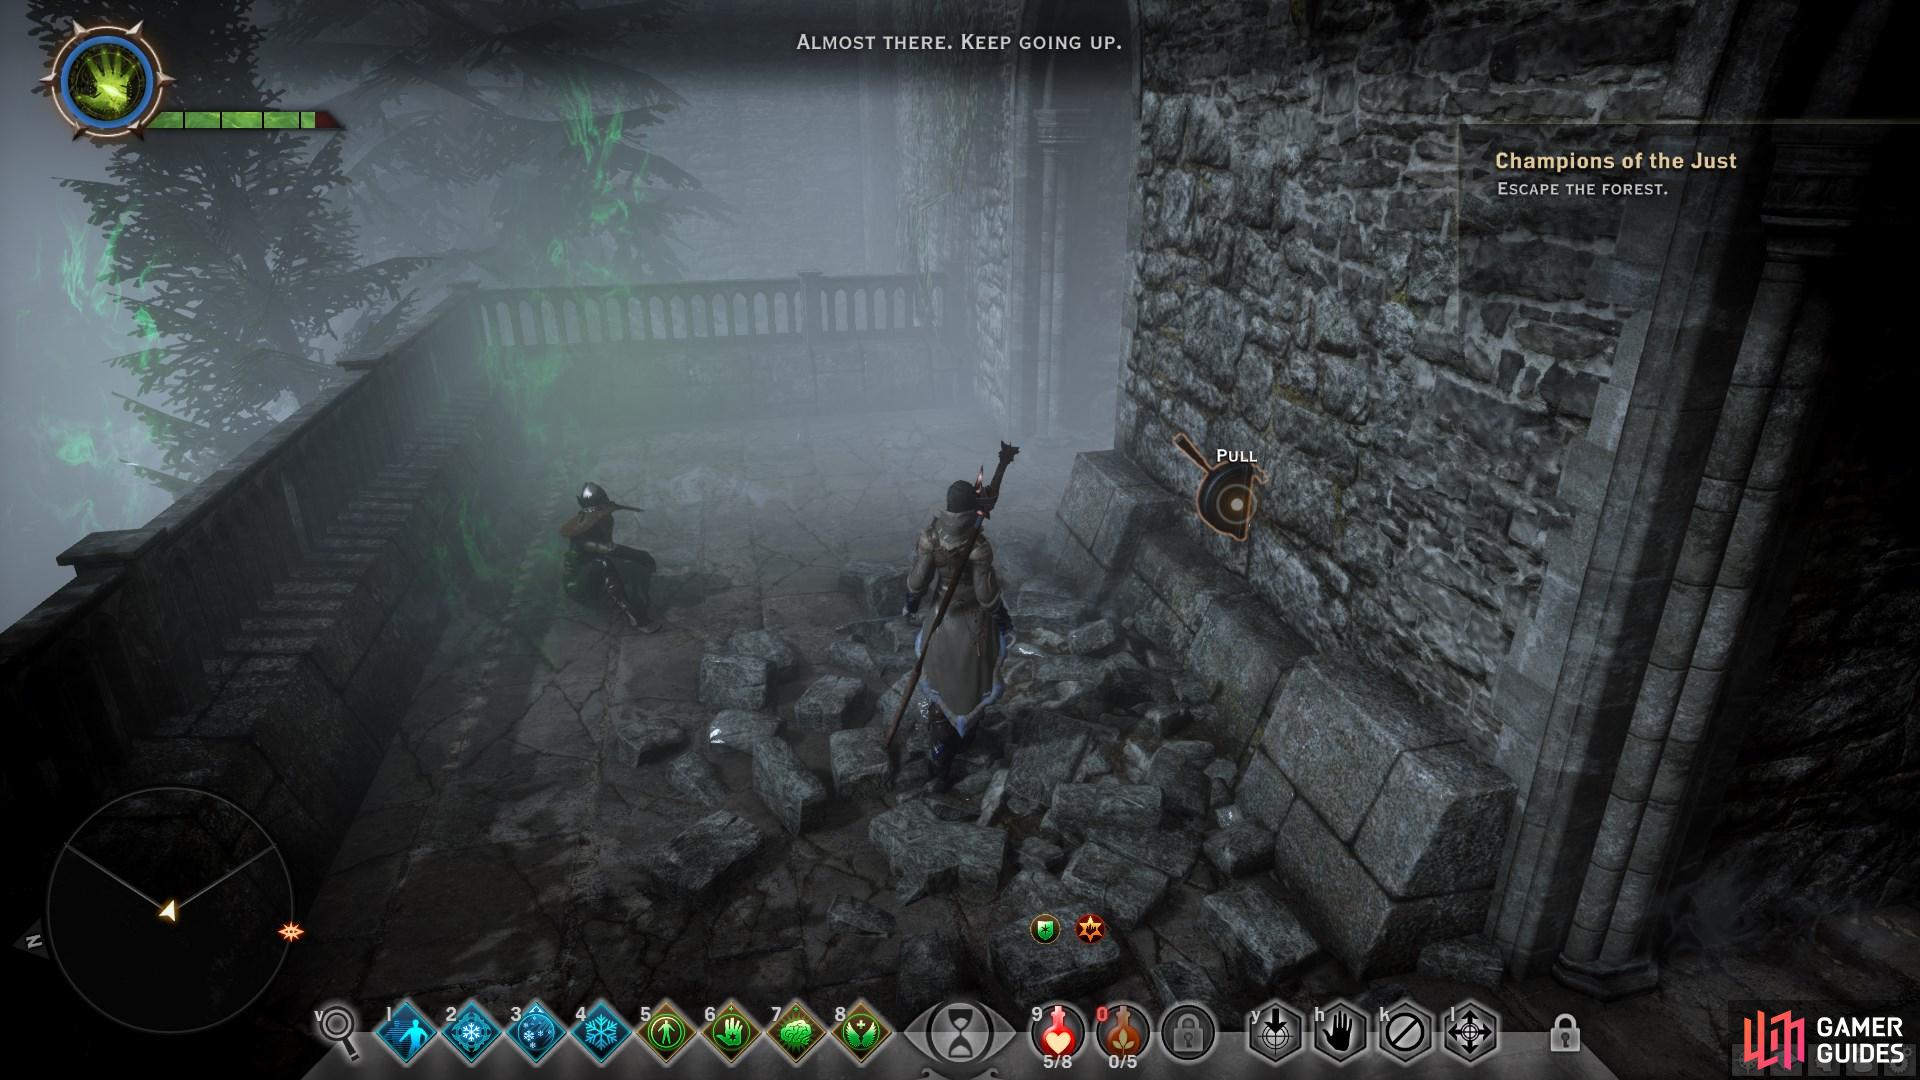
Read the inscription in the dining hall before you continue through. (left), When you reach Cole, pull the lever to proceed before the floor envelops you. (right)
From here, find your way to the dining hall area and head up the stairs. Head back to the second level (vice leaving) to find the third and final “Demonic Dogma” inscription. Read it for an updated Envy’s Dogma codex and a +3 boost to an attribute dependant on your class.
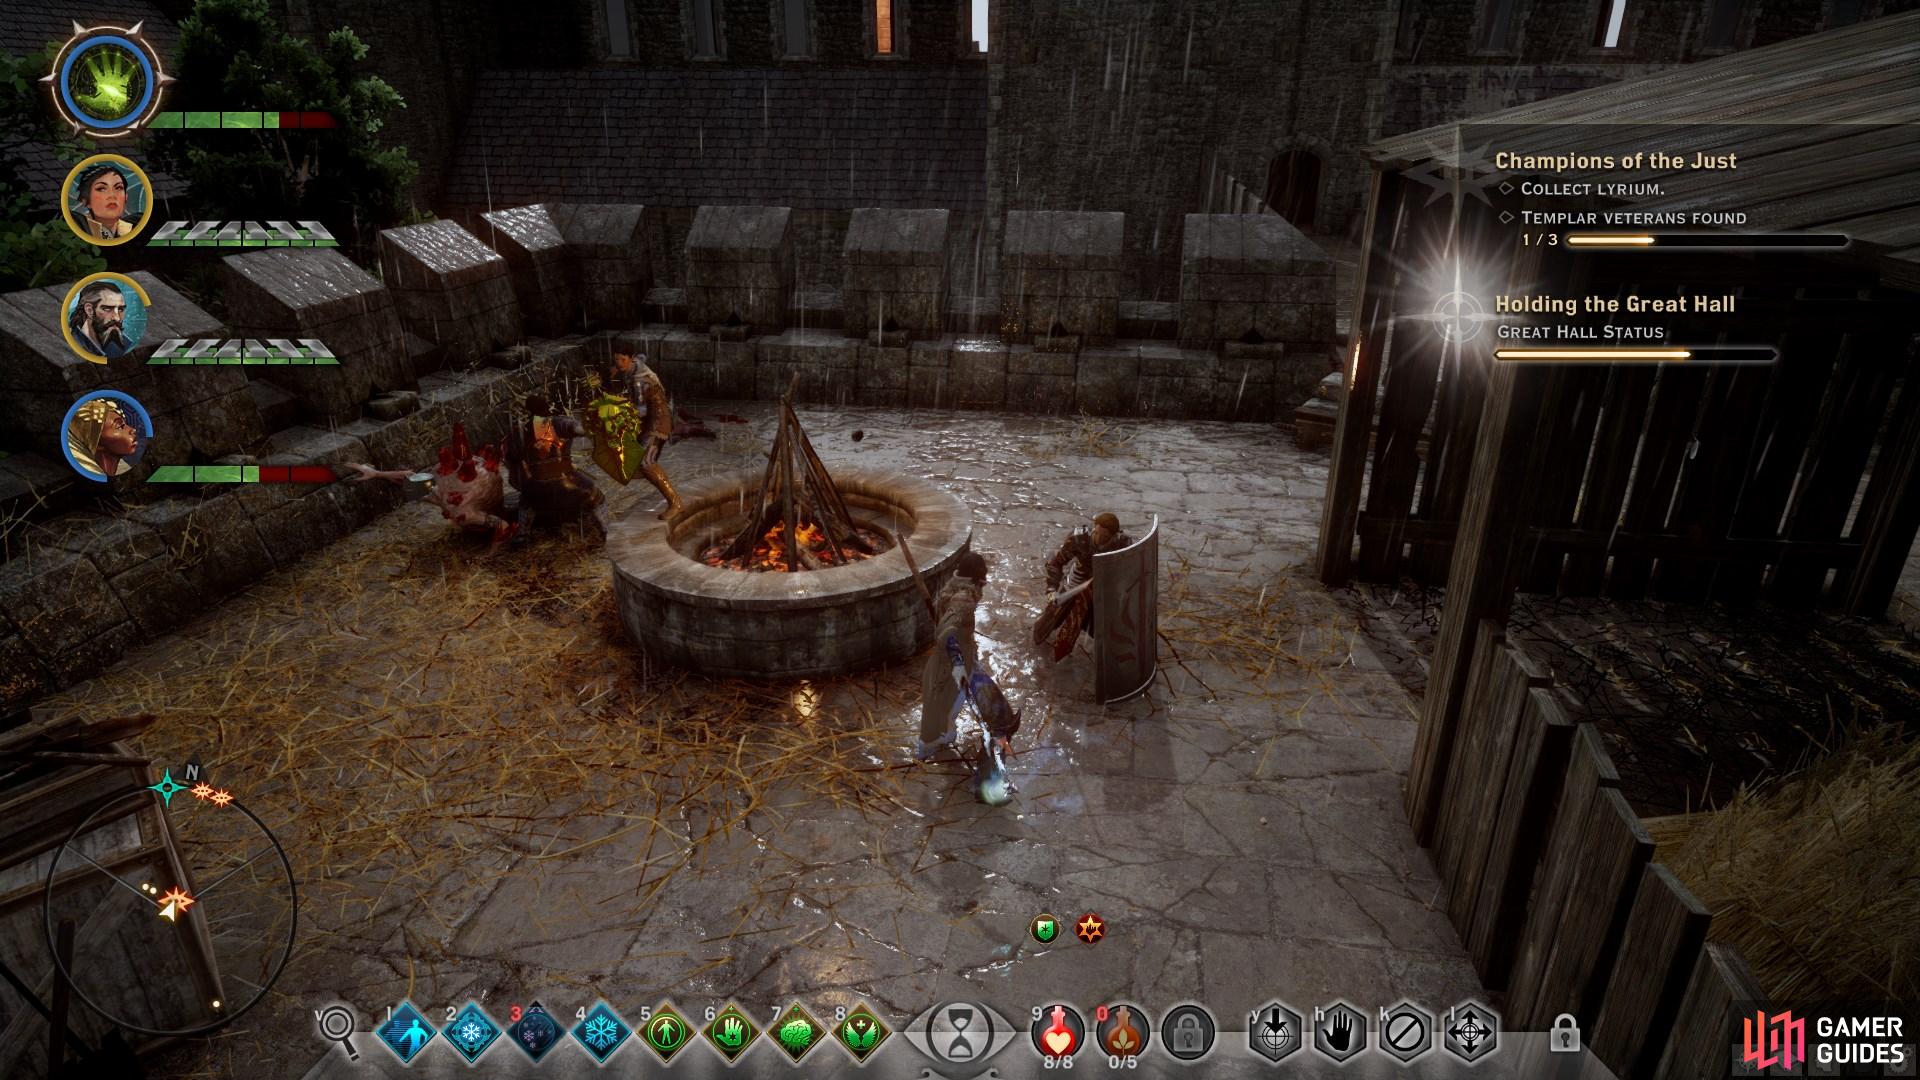
Continue on to where the Lord Seeker was for a scene. The next section consists of you finding Templar Veterans and lyrium. While you are out searching, the Great Hall will be held by the Templars, which means its strength will wane over time.
Maintain a Hold on the Great Hall
- The Templars will hold the Great Hall, but their strength will wane over time!
- Returning to help the Templars re-secure the Great Hall will restore their strength.
- If the Templars are overwhelmed, the battle will be lost.
You must be quick in your upcoming exploration. First, go outside where the Lord Seeker cutscene took place for a Chest. Up at the front of the hall you can also read an inscription to update the Therinfal Redoubt codex. After that, take note of the two doors in the Great Hall you can use. We’ll start with the door on the left to head to the Upper Barracks.
Upper Barracks
Rescue Two Templar Veterans
You’ll find the door to the Upper Barracks to the left when you’re facing the Great Hall. Gather the loot in the hallway and go out to the courtyard. There are new enemies here called Templar Horrors. There are two of them with two archers. Nothing more difficult than you’ve fought before. They are found shooting spikes out of their back at you, which will home in. Take them out and then be sure to search the shack they came out of for the Majestic Bastards codex.
From there head to the archway and have a warrior bust open the wall at the end for a room containing more loot, then go through the nearby door. Head to the left first and assist the Templar. He will go to the hall (1/3). Head back and up the steps and assist the Templar up here. She too will go to the hall (2/3). Now, there is a rogue-locked door here that leads down to the prison. You can find The Prisoners of Therinfall here.


(1 of 3) In the Upper Barracks you will find two Templars to rescue.
Head across the narrow walkway to a room leading back to the Great Hall. Drop the ladder to the left and then pick up the A Nutty Affair codex from a bench to the right. There are three other ladders to drop up here as well as two chests in the back and another mysterious note. Go and help the Templars kill off the threat and get ready for the second door.
Officers Quarters
The door to the Officers Quarters is to the right when facing the Great Hall. Head out to the courtyard and kill the horrors and archers that await you. After that, head to the door across from where you came from to find the Lord Seeker’s office. A scene with Cole occurs here. Afterward, loot the Chest (which likely has a rare item) and read the notes. Pick up the Lord Seeker’s Key. Head outside and turn right, opening the door to the lyrium cache room. You can get some commentary on the red lyrium here. Loot the chests in the room and pick up the Lyrium Cache from up above.
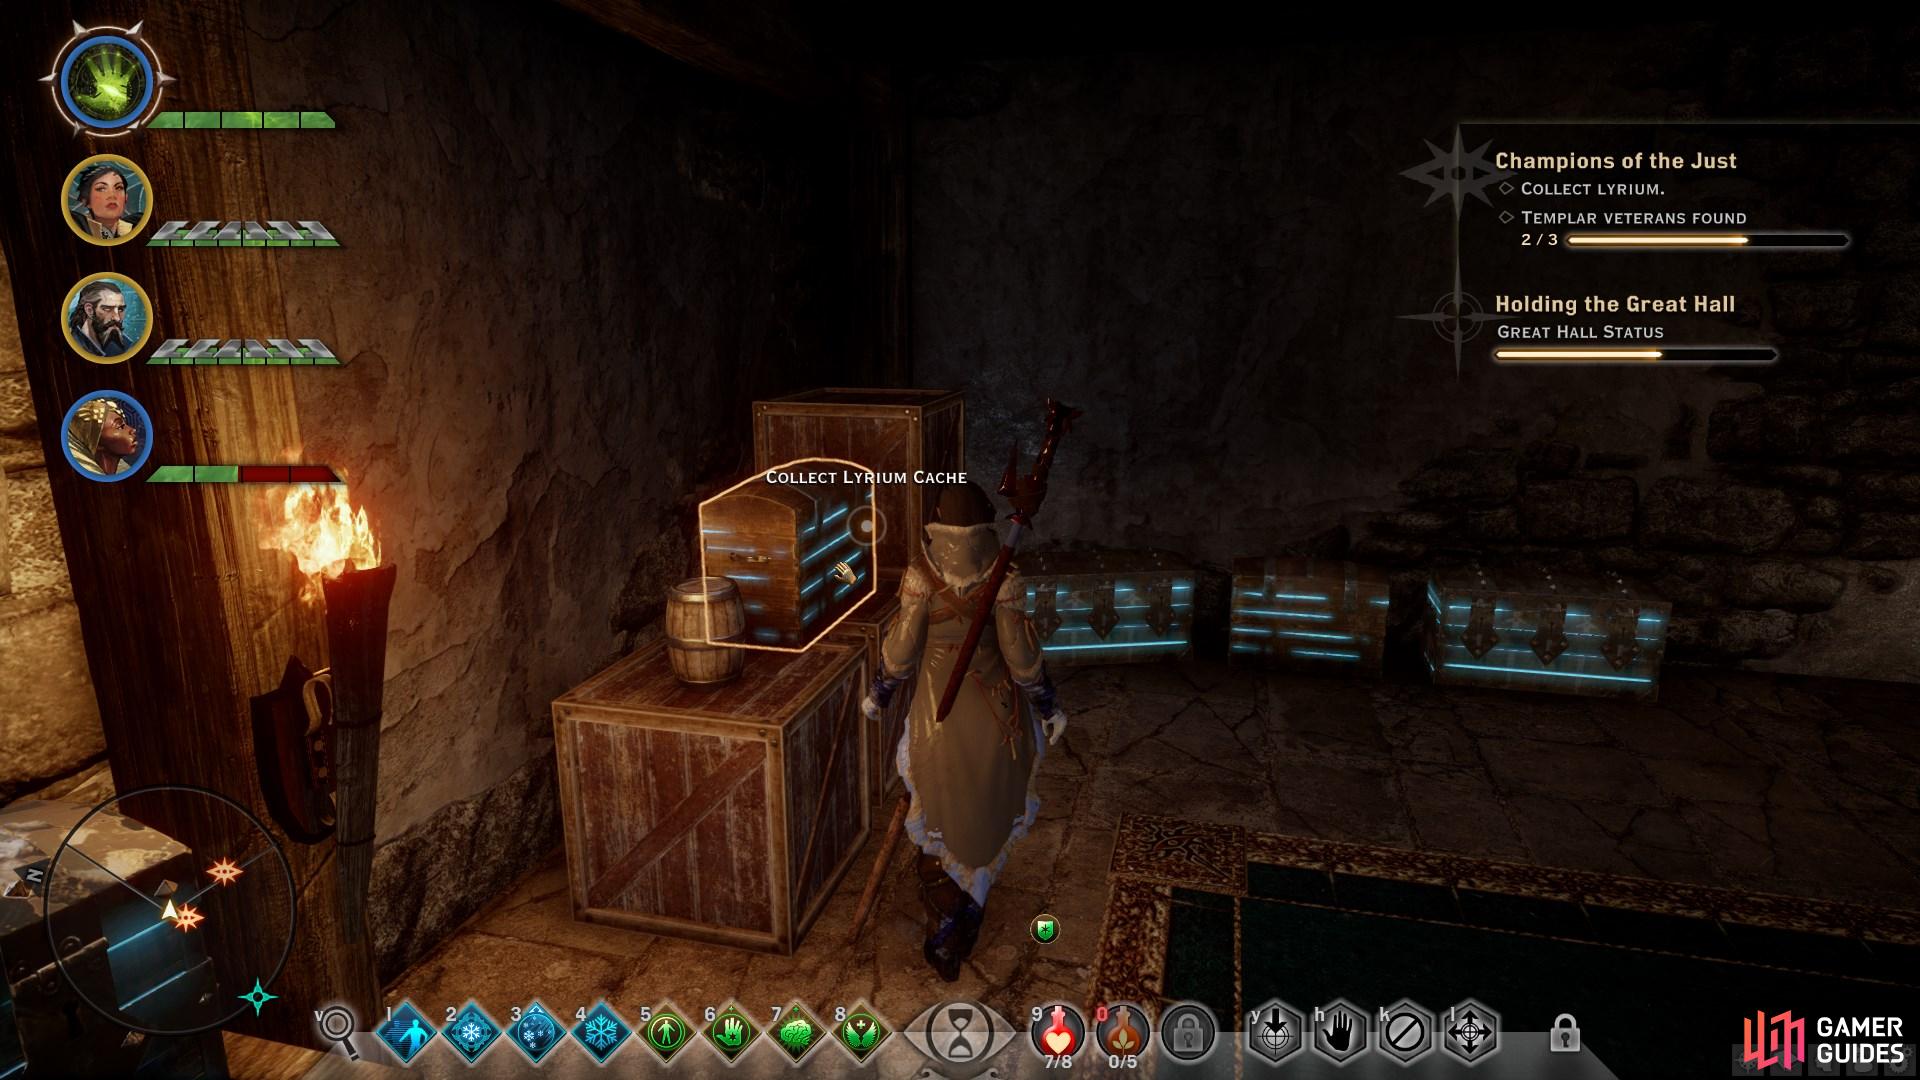


(1 of 3) Collect the Lyrium Cache before you return to the Great Hall.
At this point, go and help out the Great Hall, just to be safe.
Find the Final Templar Veteran
Next, from the Lord Seeker’s office, head right (facing his office, head right) to find a door in the corner. Head up the stairs in here and assist the Templar you find fighting on the roof. He’ll head off to assist Barris. Take all the loot up here and in the room beyond. Head back to where the Templar was. See the rampart near the entrance to the stairwell? Head over there and have one of your warriors bust down the far wall. This leads to a drop and a sealed room with a Chest. Unbar the door and make your way back to the Great Hall.
Great Hall
Talk to Barris to perform the ritual. You will fend off Red Templars and Horrors as the Templars bring down the barrier. They will come from the sides, so use the chokepoints on either side to hold them off and watch your back. Have your teammates strangle-hold one side while you watch their back for them.
Once the barrier has fallen, head up the steps. You can refill potions up here with the cache near the railing (heal first!) and loot a Chest off to the left. There is also the Her Perfumed Sanctuary codex on a bench to the right. Continue on to face the Envy Demon.
BOSS - Envy Demon Level 8
| Value | Stats |
|---|---|
| Health | 31115 |
| Defence | 14 |
| Immunity | All Disabling Effects |
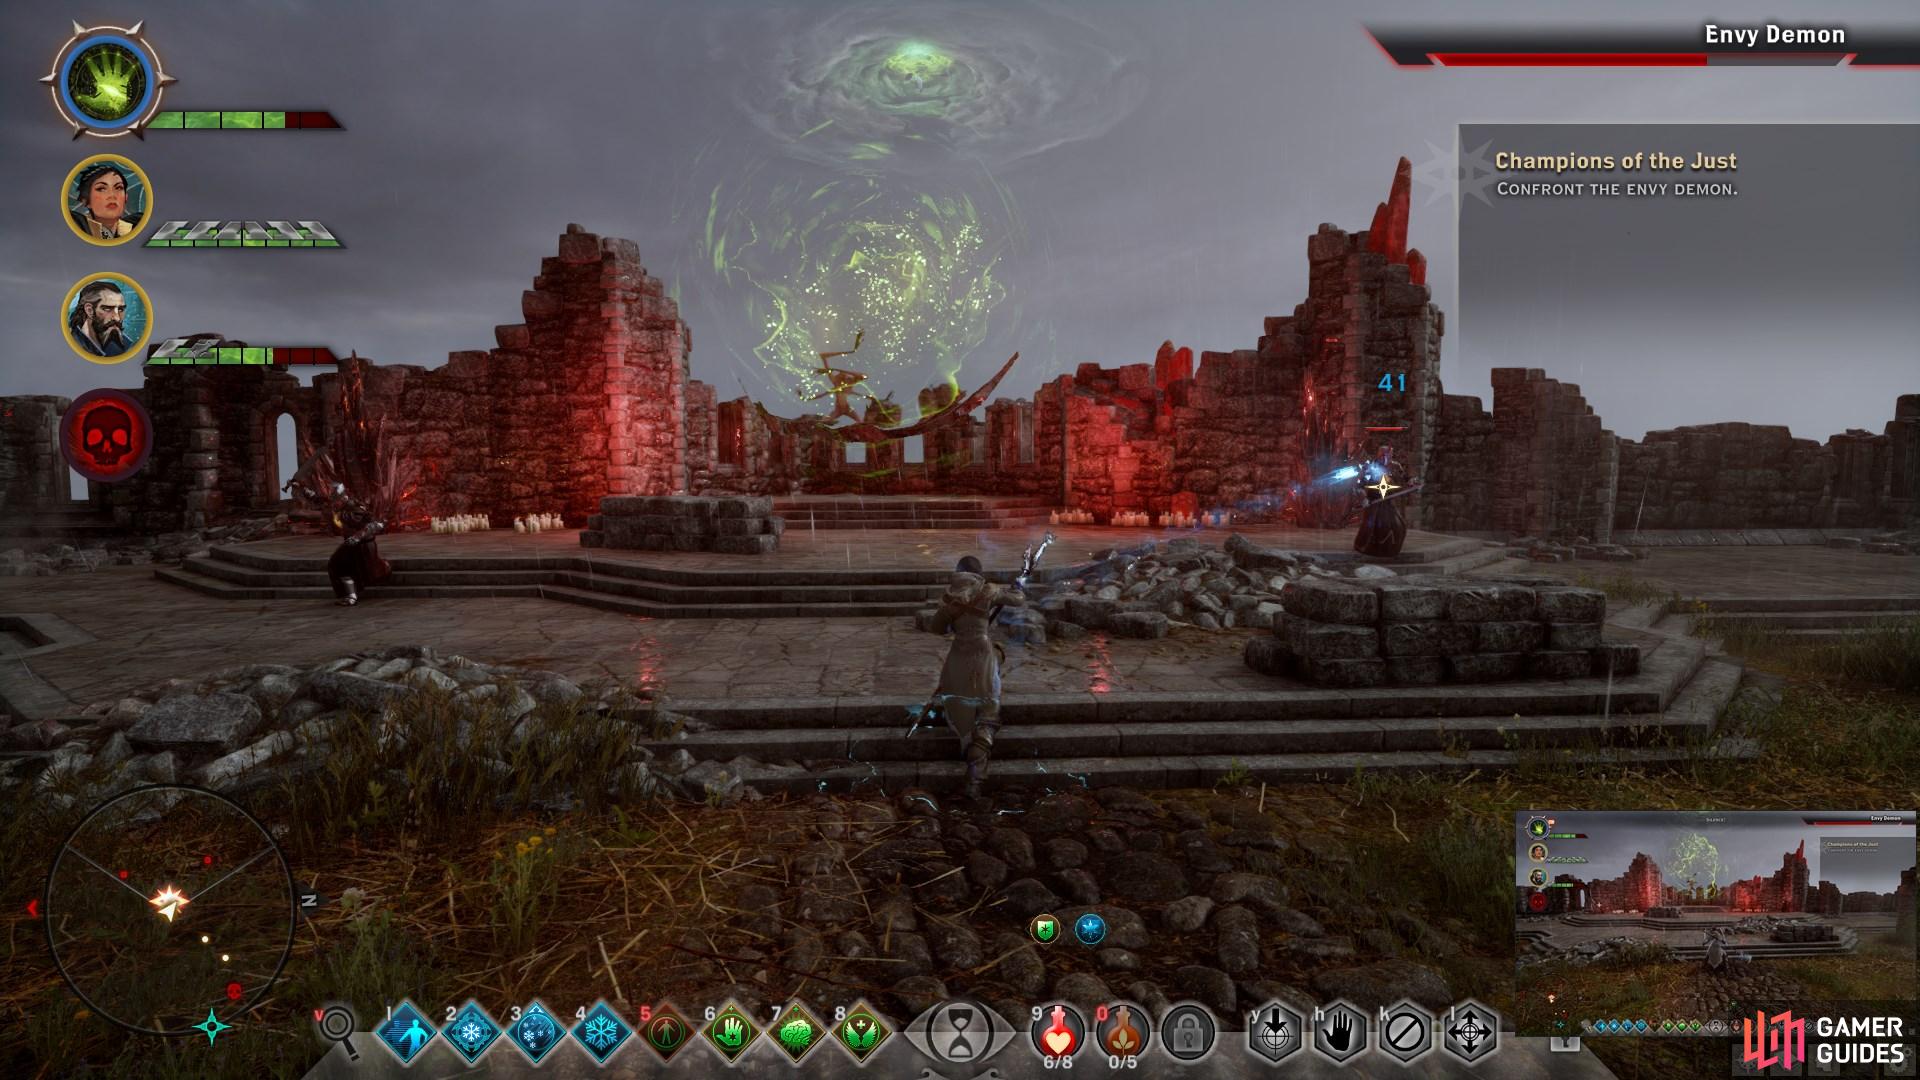
If you have been exploring side areas and buffing up, this will be a pretty easy fight. The Envy Demon has a TON of hit points, but very little defense and poor evasion.
When it comes to attack, the Envy Demon can dive into the fade and appear underneath you, much like the Lesser Terror enemies. It can also let out a scream in an area around itself that causes anyone caught up in the screech to have FEAR, which stuns you in place. This gives ranged attackers the biggest advantage, as they’ll never have to worry about getting stunned. Beware of standing too still during this fight as spirit geysers will erupt beneath you, as in the memories you had earlier in this chapter.
Once you take off about a third of its health, it will go into “hiding”, as Cole points out. Several Red Templars and Archers will appear during this phase and need to be put down. Cole has had enough of watching though, and will join in the battle.
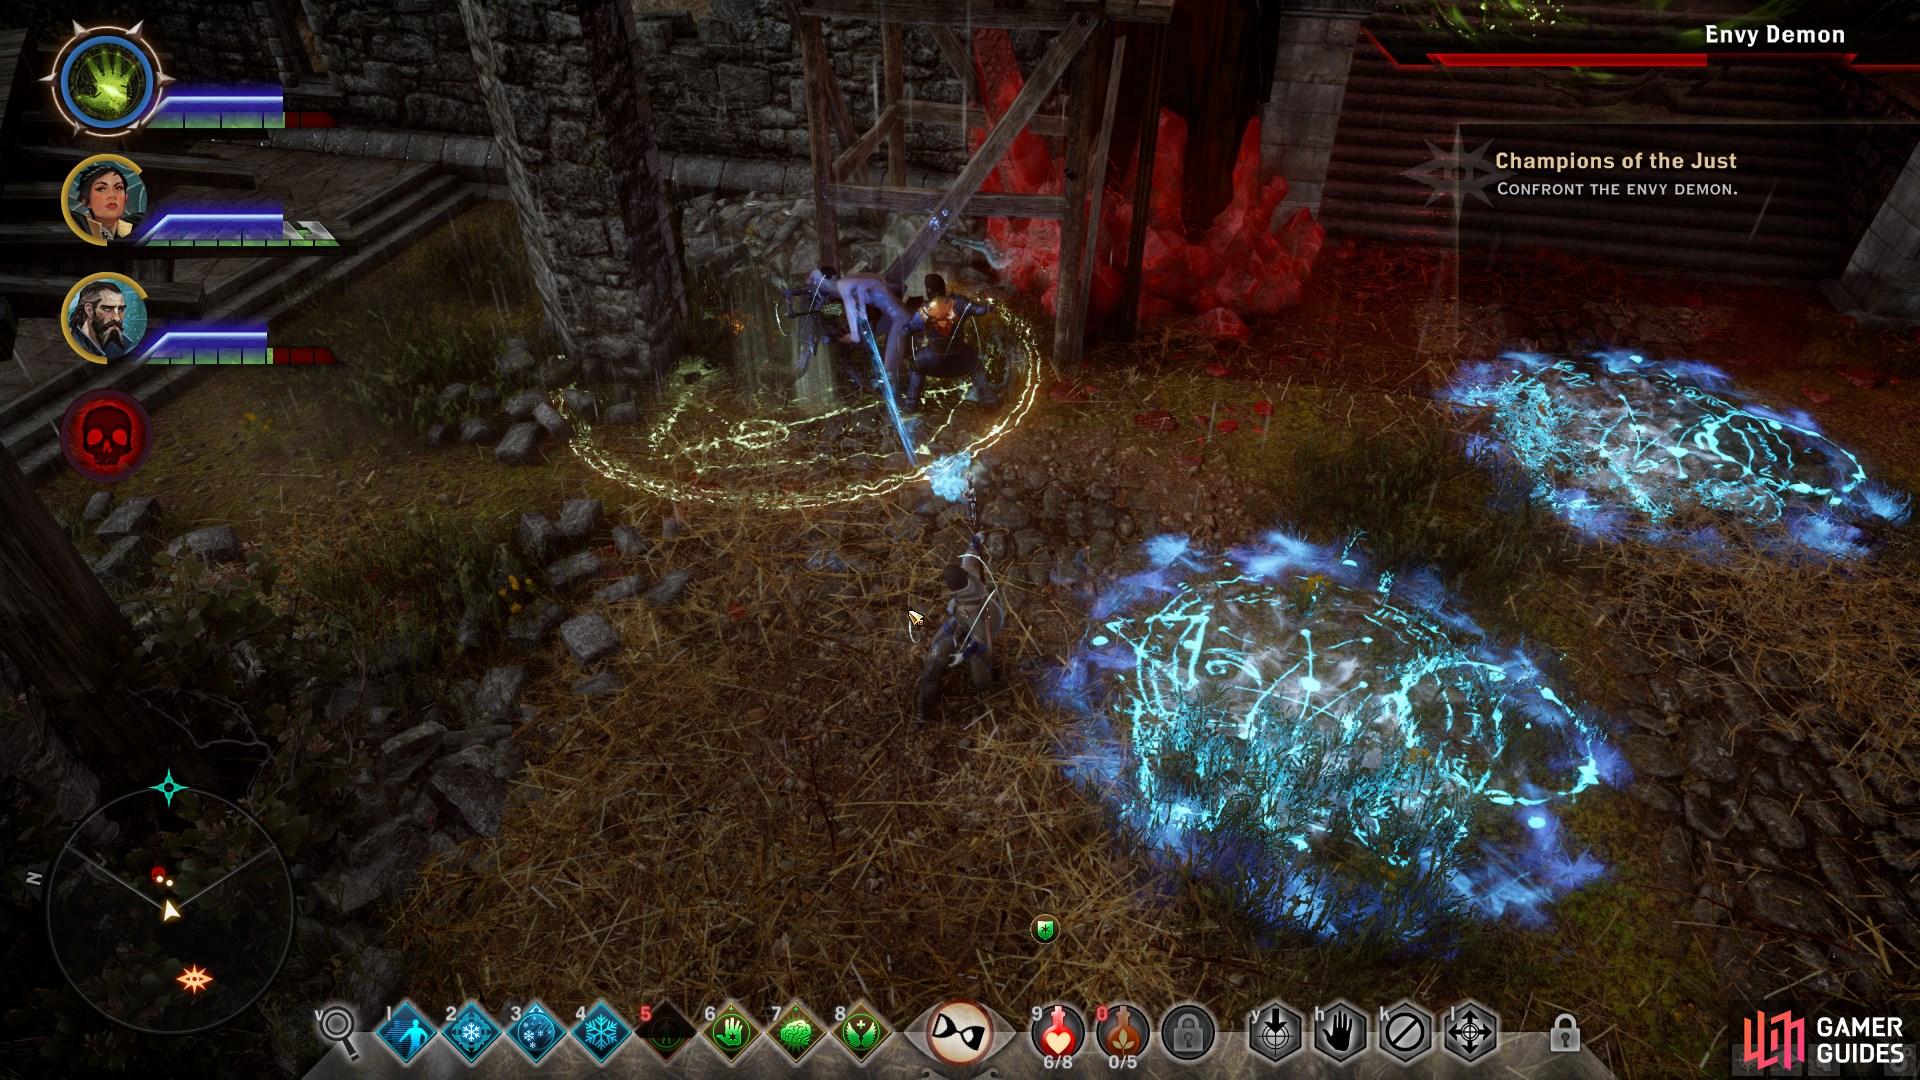
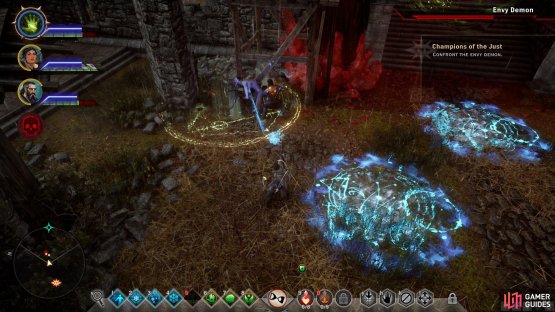

(1 of 2) Look out for the markings on the floor which indicate when and where the demon will teleport.
Look out for the markings on the floor which indicate when and where the demon will teleport. (left), When the Envy Demon goes into hiding, kill the mobs it summons as soon as possible before you refocus on the demon. (right)
After clearing the riff-raff out, the Demon will appear to mimic you. In one of our games, the demon came out as a human warrior, using two-handed skills and a weapon. For another the demon was an Archer. It is also 10 times the size of your characters. Keep laying into him and watch out for his attacks. For the last third of the fight, the demon will revert back to its normal self. Keep killing reinforcements as they show up and slay the demon for good. After the fight you will be able to loot the demon and the surrounding area. The demon will likely drop a rare item for you here.
Return to the Great Hall
Head back toward the Great Hall to meet up with what is left of the Templar Order. Here you will have a few dialogue options which will determine approval from companions.
If Lord Abernache survived:
Lord Abernache: “I do hope it won’t effect our concord.”
“You’re still a needed ally.”
Varric - Slightly Approves
Vivienne - Slightly Approves
“Just get out of my way.”
Varric - Slightly Approves
Knight-Templar Barris: “The templars are ready to hear what the Inquisition needs of us.”
“Andraste sent me to you.” (Available if you’ve demonstrated faith in Andraste)
Solas - Disapproves
Varric - Slightly Approves
“We need true templars.”
Vivienne - Approves
“Help against the Breach. Fast.”
Iron Bull - Slightly Approves
Sera - Slightly Approves
Varric - Approves
“You know what you need to do.”
Iron Bull - Slightly Approves
Templars: Alliance or Disband
Knight-Templar Barris: “But the Order is leaderless, gutted by betrayal. We must rebuild it.”
“Rebuild as our partners.” (Templars ally with the Inquisition)
Blackwall - Approves
Cassandra - Greatly Approves
Iron Bull - Greatly Approves
Sera - Greatly Disapproves
Solas - Greatly Disapproves
Varric - Slightly Approves
Vivienne - Approves
Cole - Greatly Disapproves
Dorian - Greatly Disapproves
“Then yield and serve us.” (Templars disband and become part of the Inquisition)
Blackwall - Disapproves
Cassandra - Disapproves
Iron Bull - Disapproves
Sera - Greatly Approves
Solas - Greatly Approves
Vivienne - Slightly Disapproves
Cole - Greatly Approves
Afterward, in the War Room, you will be able to recruit Cole, although Cassandra slightly disapproves of this. He can permanently join the party though, so we suggest you take him.
| Codex Entries | Enemies |
|---|---|
| Therinfal Redoubt | Red Templar |
| Red Templar Archers | Red Templar Marksman |
| Red Templar Foot Soldier | Red Templar Horror |
| To Be Corrupted | Envy Demon |
| Envy | |
| Horror | |
| Majestic Bastards | |
| A Nutty Affair | |
| Her Perfumed Sanctuary | |
| Red Templars | |
| Champions of the Just | |
| Cole | |
| Notes and Letters from Therinfal | |
| Lyrium Manifest |
No Comments