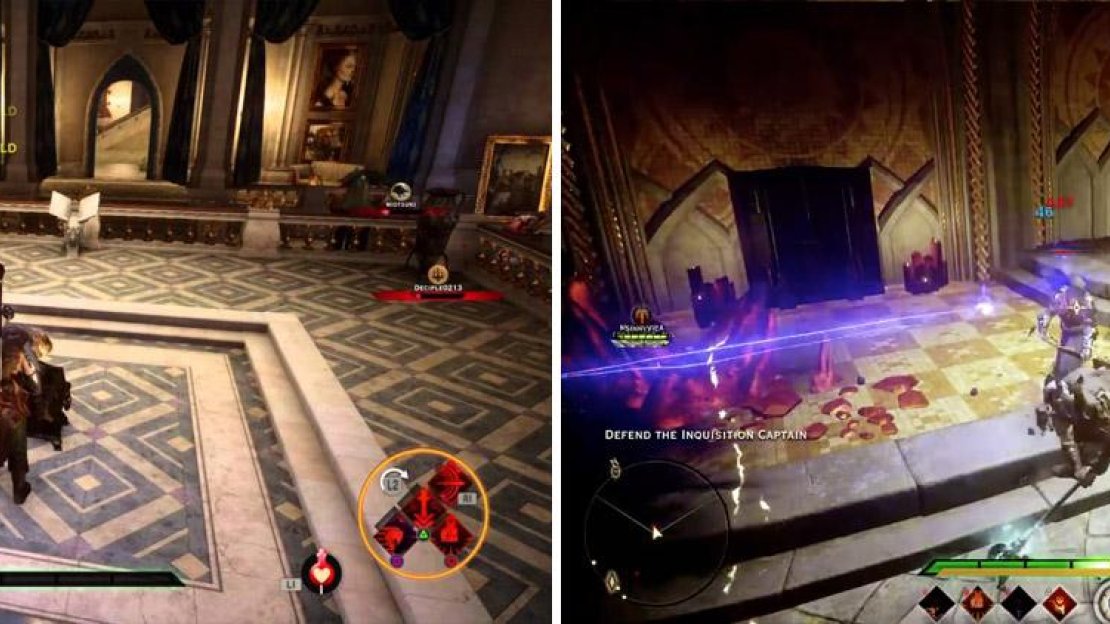
The Katari is comparable to a bruiser or off-tank in other games, excels in both dps and durability, one of our mains.
“Katari” means “one who brings death” in Qunlat. The Katari is a Tal-Vashoth mercenary who left the Qun to forge his own path. However, choosing one’s own way after being raised to follow orders is difficult. For the moment, the Katari makes his living as a sellsword, paid to fight for the Inquisition. His name is a description of what he does—though he has left the Qun, certain habits are hard to break.
| Attribute | Our Rating |
|---|---|
| Damage (AoE) | 4/5 |
| Damage (Single Target) | 3/5 |
| Durability | 3.5/5 |
| Buffs & Debuffs | 2/5 |
| Taunts / Aggro | 2.5/5 |
| Fun Factor | 4/5 |
| Crafting Requirements | Rq Total | Rq #1 | Rq #2 | Rq #3 | Rq #4 |
|---|---|---|---|---|---|
| Katari’s Hide | 24 | 9 Metal | 5 Leather | 5 Cloth | 5 Metal |
Unlock Order
Unlock upgraded Mighty Blow and upgrade Charging Bull (level 5). Get Bear Mauls the Wolves then go for Upgraded ‘To the Death’ (level 11). Get War Horn and then Grisly Mutilation (level 14). Finally, get Scenting Blood (level 18). Drop the last two points in whatever you choose. I recommend Blood Frenzy and Coup de Grace.
Strategy
The Katari is and slow is way too glassy and feels like its not the tank it looks like it should be. It really needs babysitting in the form of a barrier to be optimal. This barrier enables you to actually start smashing things in the face with no care for the one archer behind you, or the rogue thats just sneaked up behind you.
One strategy is to charge in and knock over as many enemies as possible. Immediately use Mighty Blow to instantly kill a knocked down target and roll the chance to cast war horn for free (Grisly mutilation). Then review the situation. If you are surrounded by Archers, cast War Horn to panic them. By this time, Charging Bull will be off cooldown and you can knock them down. If you see Full Draw being used on you, try and break Line of Sight or use Mighty Blow or Charging Bull to make the Full Draw archer a priority target.
If you have an enemy that can take a fair number of hits before dying (Templar Horror/Knight/Behemoth, Venatori Brute/Stalker/Mage, Fear/Despair/Pride demons) then cast To The Death on them. Hitting them generates 25% guard per hit, meaning you can tank single enemies a bit better. You still won’t be as tanky as a Legionaire or Templar, but you can hold your own pretty well. To The Death is great for bosses. Just make sure you have the aggro, or your team will hate you and they will go down pretty fast.
Lastly, we’d like to just state that this class really doesn’t fill any niche well at all. Its easily tied at the bottom with the Alchemist for the weakest class in the game. The Reaver puts out tons more DPS and the other two warriors are significantly better tanks. If you choose this class, do it to have fun, not to be effective. And try and make sure there is someone who can Barrier you, because that helps a lot.
| Recommended Abilities | Description |
|---|---|
| Charging Bull | Charge into enemies, 10% guard per enemy hit, 150% weapon damage, 8s cooldown, 5 stamina cost per second. Upgrade enables next ability to cost no stamina up to 6s after charge |
| Mighty Blow | 200% weapon damage. 200% extra damage to knocked down enemies. 16s cooldown, 50 stamina cost. Upgrade costs 15 less stamina and deals 300% more damage to knocked down targets |
| War Horn | 8m AoE, 6s Fear duration, 24s cooldown, 35 stamina cost. Upgrade deals 1200% to guard and reduces armor by 20% |
| To The Death | Taunt a single enemy. 15m range. Target deals and receives 5% more damage per second this is active. Cooldown is activated when target goes out of your range. 32s cooldown. 35 stamina cost. Upgrade generates 25% guard per hit on enemy |
| Mandatory Passives | Description |
|---|---|
| Bear Mauls the Wolves | Cannot be flanked by enemies and less likely to be staggered from the front |
| Fervor | 30% damage increase for 5s when an enemy dies 10m from you |
| Grisly Mutilation | Killing an enemy has a 20% chance to panic enemies in a 10m radius. Basically a free war horn. |
| Scenting Blood | Move 50% faster and have a 10% chance to crit enemies with 35% or less health in a 10m range of you. |
| # | Best Weapons | Type | Rarity | Item Level | DPS | Damage |
|---|---|---|---|---|---|---|
| 1 | Big Bone | Greatsword | Unique | 23 | 373 | 305 |
| 2 | Sulevin Blade | Greatsword | Unique | 23 | 307 | 272 AoE |
| 3 | Siege’s End | Greataxe | Unique | 21 | 288 | 255 AoE |
| 4 | Call of the Dark | Maul | Unique | 20 | 273 | 270 |
| 5 | Starfang | Greatsword | Unique | 20 | 272 | 241 AoE |


No Comments