

The Trespasser DLC begins once you complete the war table mission ‘Attend the Exalted Council’. This can be found on the Orlais side of the war table map.
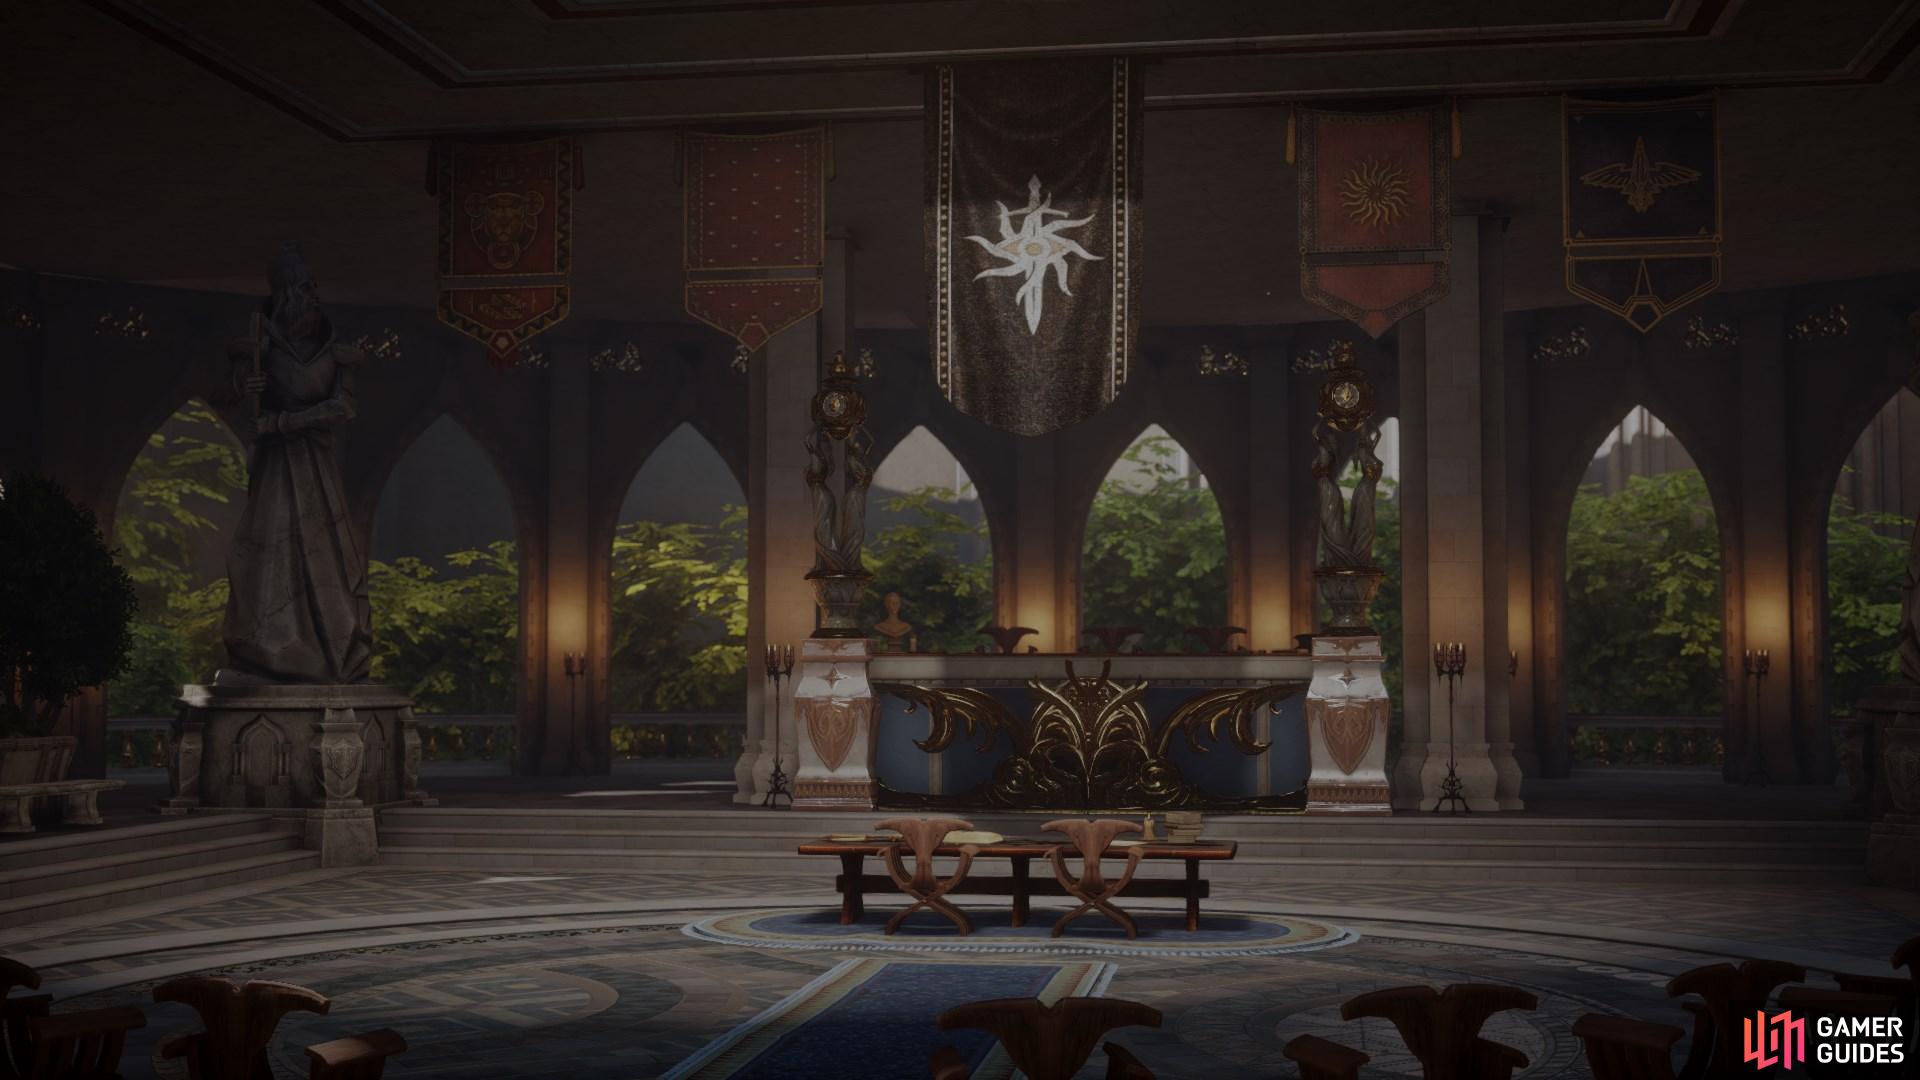
The Winter Palace
After the introductory cutscene, you will be greeted by Mother Giselle. She will inform you about the purpose of the council, including the intentions of both Orlais and Ferelden. Your responses to her dialogue have no influence other than personal preference at this point.
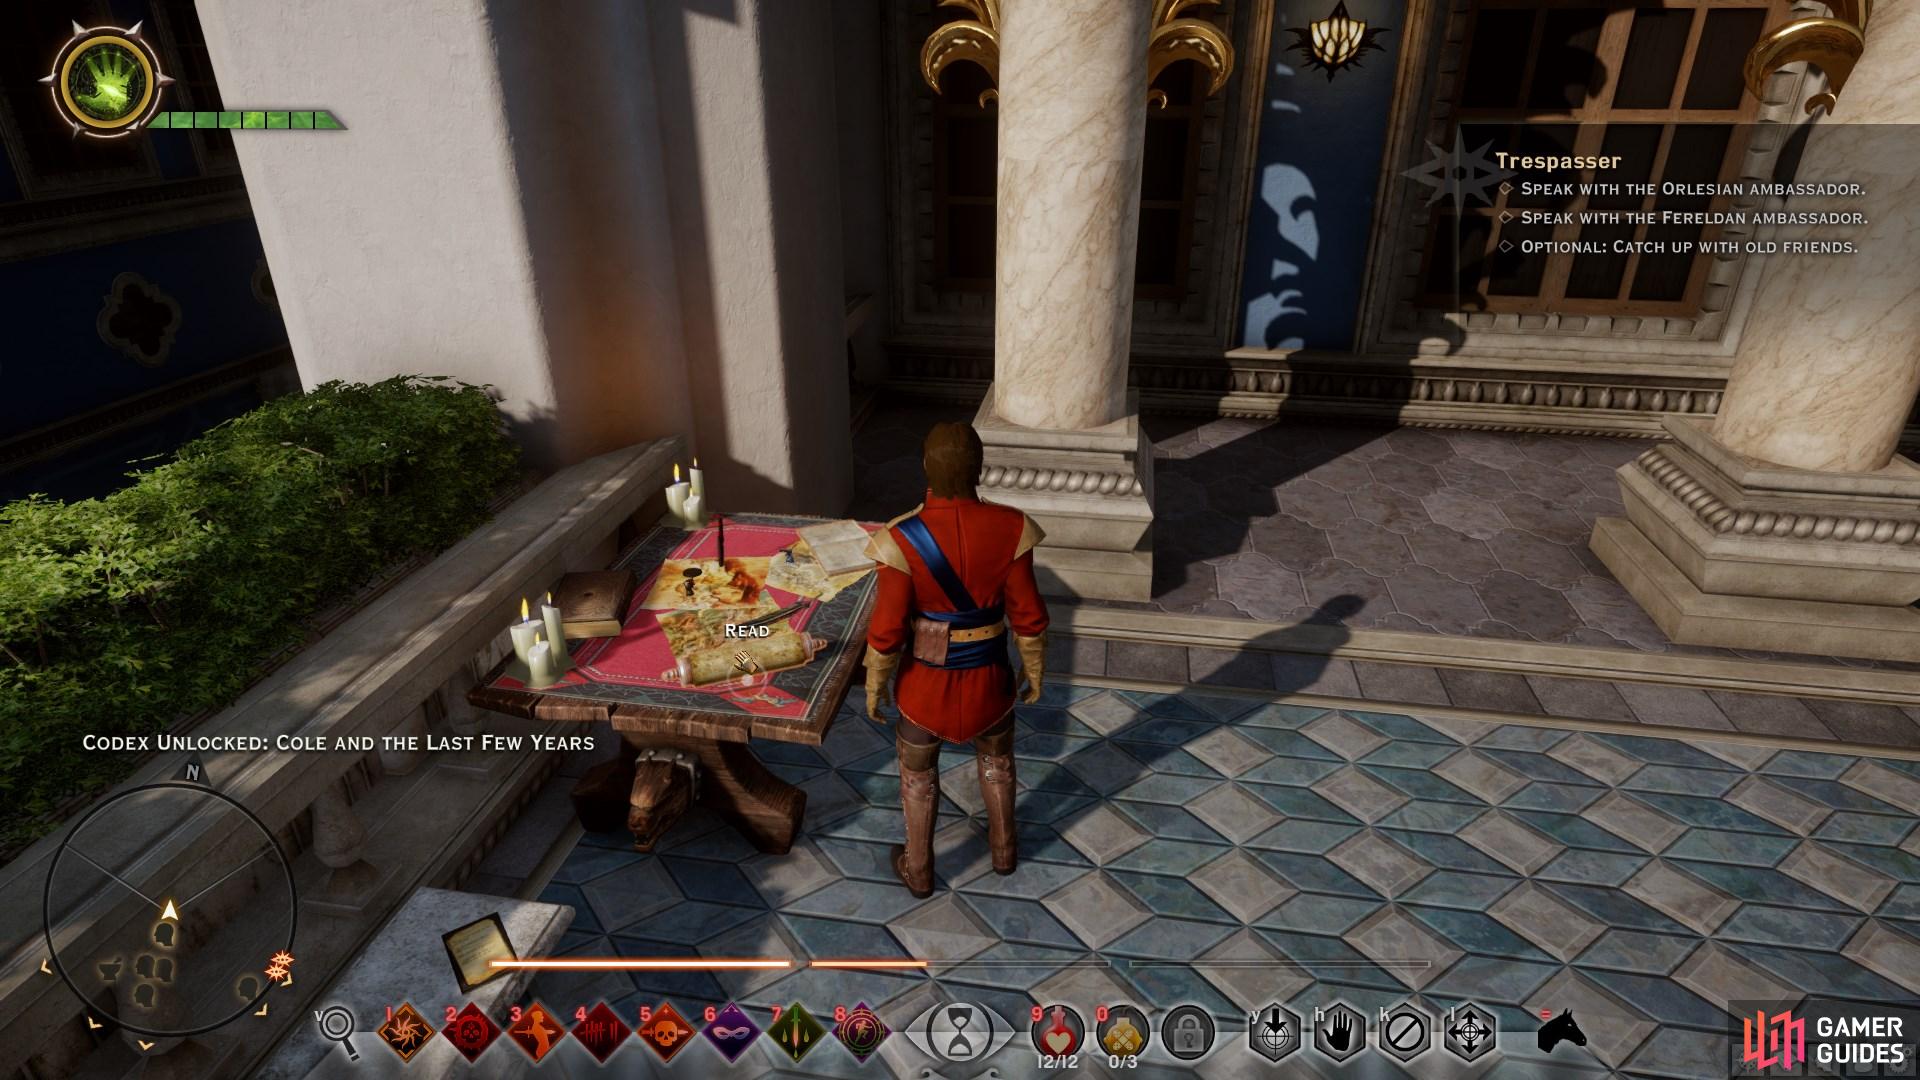
You’ll find yourself in the courtyard of the Winter Palace after the conversation with mother Giselle. Here you will find a number of companions who you can speak with to catch up on the events of the last two years, each one triggering a cutscene. Once you’ve caught up with them, you will find both ambassadors of Orlais and Ferelden on the eastern side of the courtyard.
When you’re ready, speak with both ambassadors from Orlais and Ferelden. You will then be able to begin the Exalted Council from the main gates to the palace. However, you should finish any conversations with your companions before entering, as this will be your last chance.
Upon entering The Winter Palace the Exalted Council begins. After a few exchanges between Orlais and Ferelden, the council is cut short due to an unexpected incident. After a brief cutscene, you’ll find yourself back in the courtyard. From here you will need to follow the blood trail from the Qunari warrior. Using the search function, follow the blood trail eastward to the nearby trellis. Climb these until you gain access to the building through an open window.
(1 of 3) Be sure to thoroughly search the courtyard of The Winter Palace for any notes on companions.
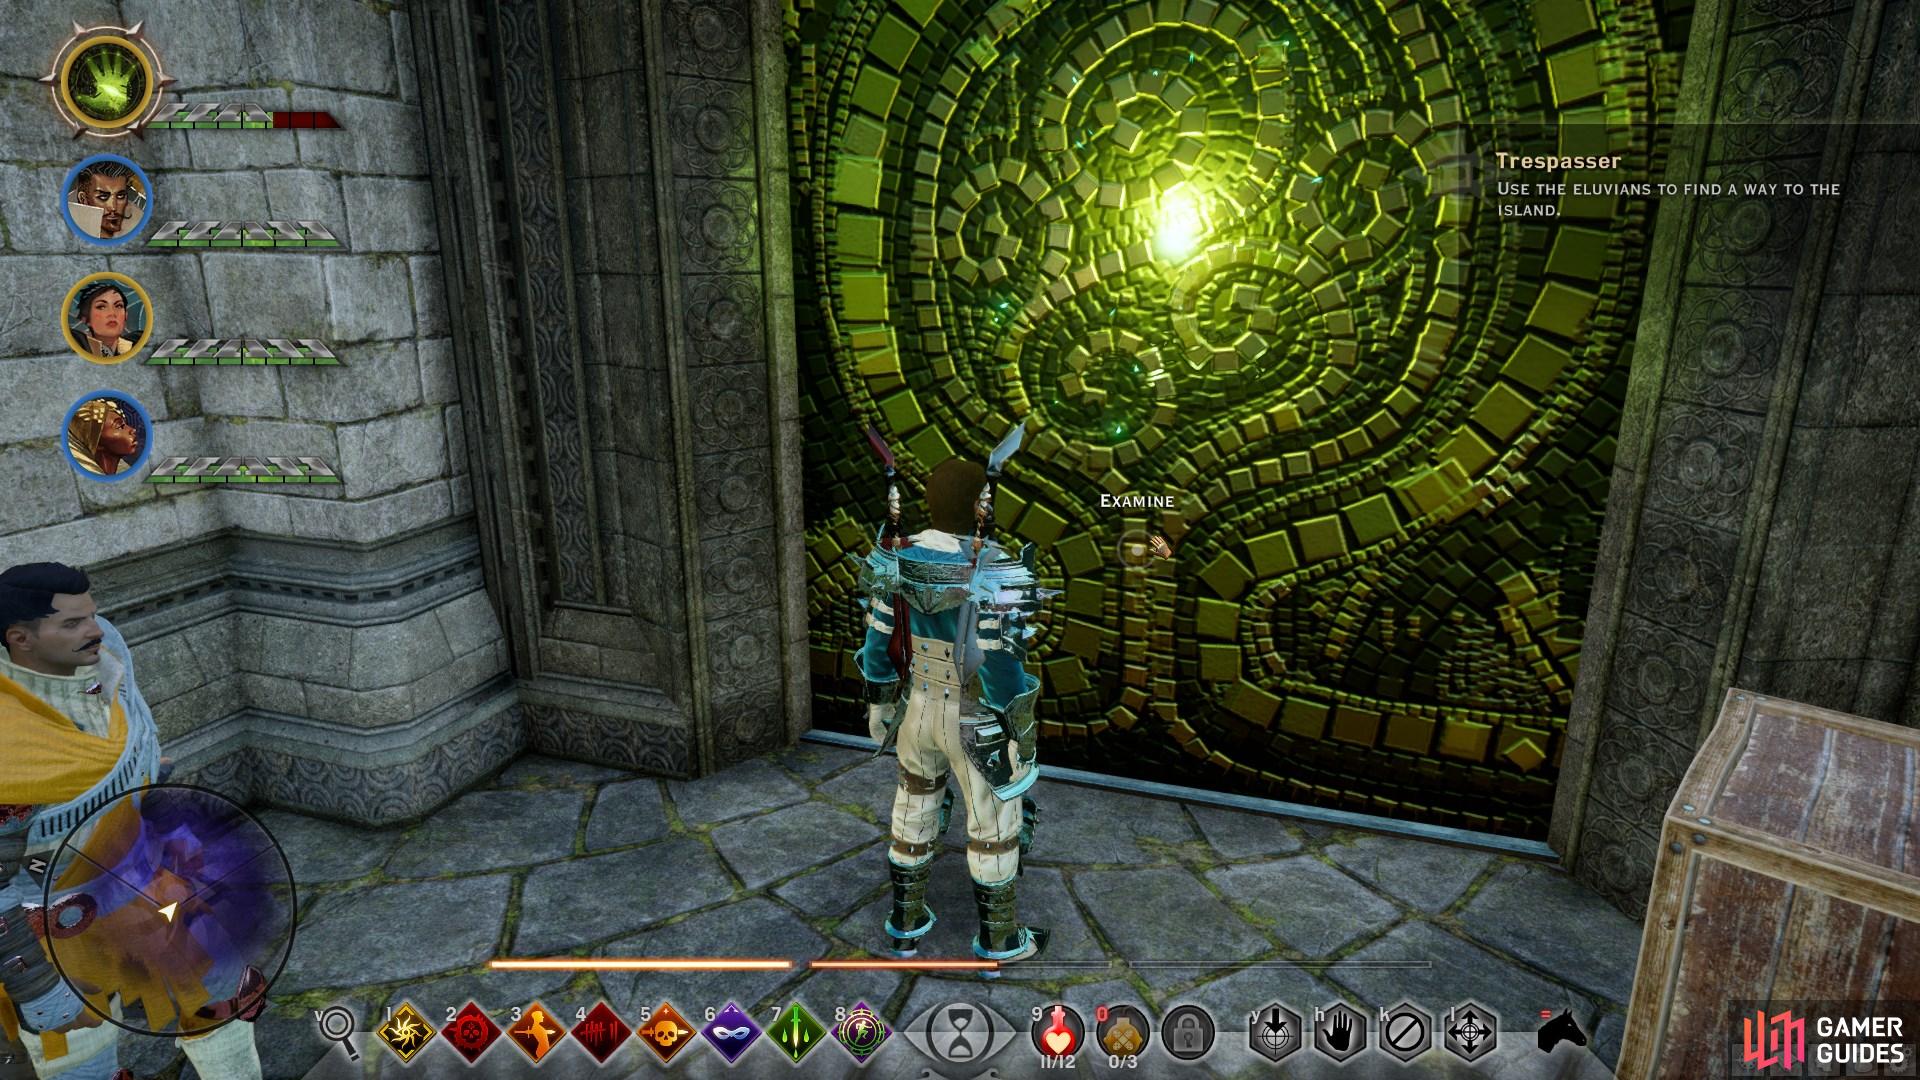
Once inside, head through the door to the east into a room with an active Eluvian. At this point you’ll be able to select some companions to join you. The Eluvian takes you and your party to The Crossroads, where you can follow the blood trail south east. Before you proceed, turn left from your starting point and take the loot from the skeleton in the corner, beginning the side quest Halla Treasure Hunt.

(1 of 3) Be sure to interact with the skeleton to trigger the side quest Halla Treasure Hunt.
After interacting with the blood-stained mirror to the south east, head back up the steps and use the active mirror up the next set of steps to the south, leading to the Elven Mountain Ruins.
Elven Mountain Ruins
Immediately upon entering the elven ruins, you’ll find yourself in a hallway. Head through it to the south until you encounter a dead Qunari. After inspecting the corpse, head up the stairs. You’ll find a chest to the north which is protected by mage fire. Leave this for now as it will kill you instantly if you try to run through or jump over it. Instead, head south, where you’ll find some Qunari turned to stone. Use the mirror behind them to proceed.
Using the mirror transports you to a broken bridge which is currently impassable. Use the mirror to the south to be transported to the Smoking Tower. Here you’ll encounter some spirit elves, who can be placated only if the Inquisitor drank from the Well of Sorrows instead of Morrigan. Otherwise, you’ll need to fight a Spirit Champion, two Spirit Archers and two Spirit Shadows. Take out the Archers and Shadows first while you tank the Champion away from any light armoured companions.
Once the spirit elves are defeated, approach the tower from the west and interact with the mosaic to learn some valuable information. Once the note is acknowledged, the barrier will disappear, leading to another active Eluvian. This Eluvian transports you to the Silent Tower. Once there, head south and ascend the stairs where you’ll find more Qunari corpses. Inspect one of them and then walk around the tower to instigate some comments from your companions.
When ready, interact with the mosaic on the tower to reveal more information about Fen’Harel. Descend the stairs until you reach another mosaic at the bottom. When this barrier is broken, you will be granted a new skill on the other side: Anchor Discharge. This allows you to make your party invulnerable for a short period of time, and can also be used as a light source in dark places. Use it in this room to reveal a wolf statue which can be used to repair the broken bridge.
(1 of 3) Interact with the mosaic to learn more of Fen’Harel and open the way forward.
After interacting with the wolf statue, you’ll be ambushed by a number of Spirit Shadows. Their combined attacks can be devastating if they focus on one companion, so be sure to apply any available barrier skills as soon as the fight begins, and try to take them out with powerful area of effect attacks. When all the Spirit Shadows are defeated you can head back outside and use the Eluvian to return to the bridge via the Smoking Tower.
Back at the bridge you can place the wolf statue on the pedestal to extend the bridge. Continue westward over the bridge to make contact with the Qunari. Unfortunately they aren’t willing to speak and will attack as you approach. They shouldn’t pose much of a threat, with the charge from the Defenders being the only thing you should look out for. Once they’re defeated, head west into the Forgotten Sanctuary.
Inside the sanctuary you can wait at the top of the stairs to observe a fight between some Qunari and spirit elves. Alternatively you can join the fight to see it end more quickly. All the mobs will be hostile regardless of your decision. Move further west through the sanctuary and take out any remaining mobs. At the westernmost point of the sanctuary you’ll find a puzzle, with a clue inscribed on a tablet opposite the wolf statue. Follow the below steps to complete the puzzle.
-
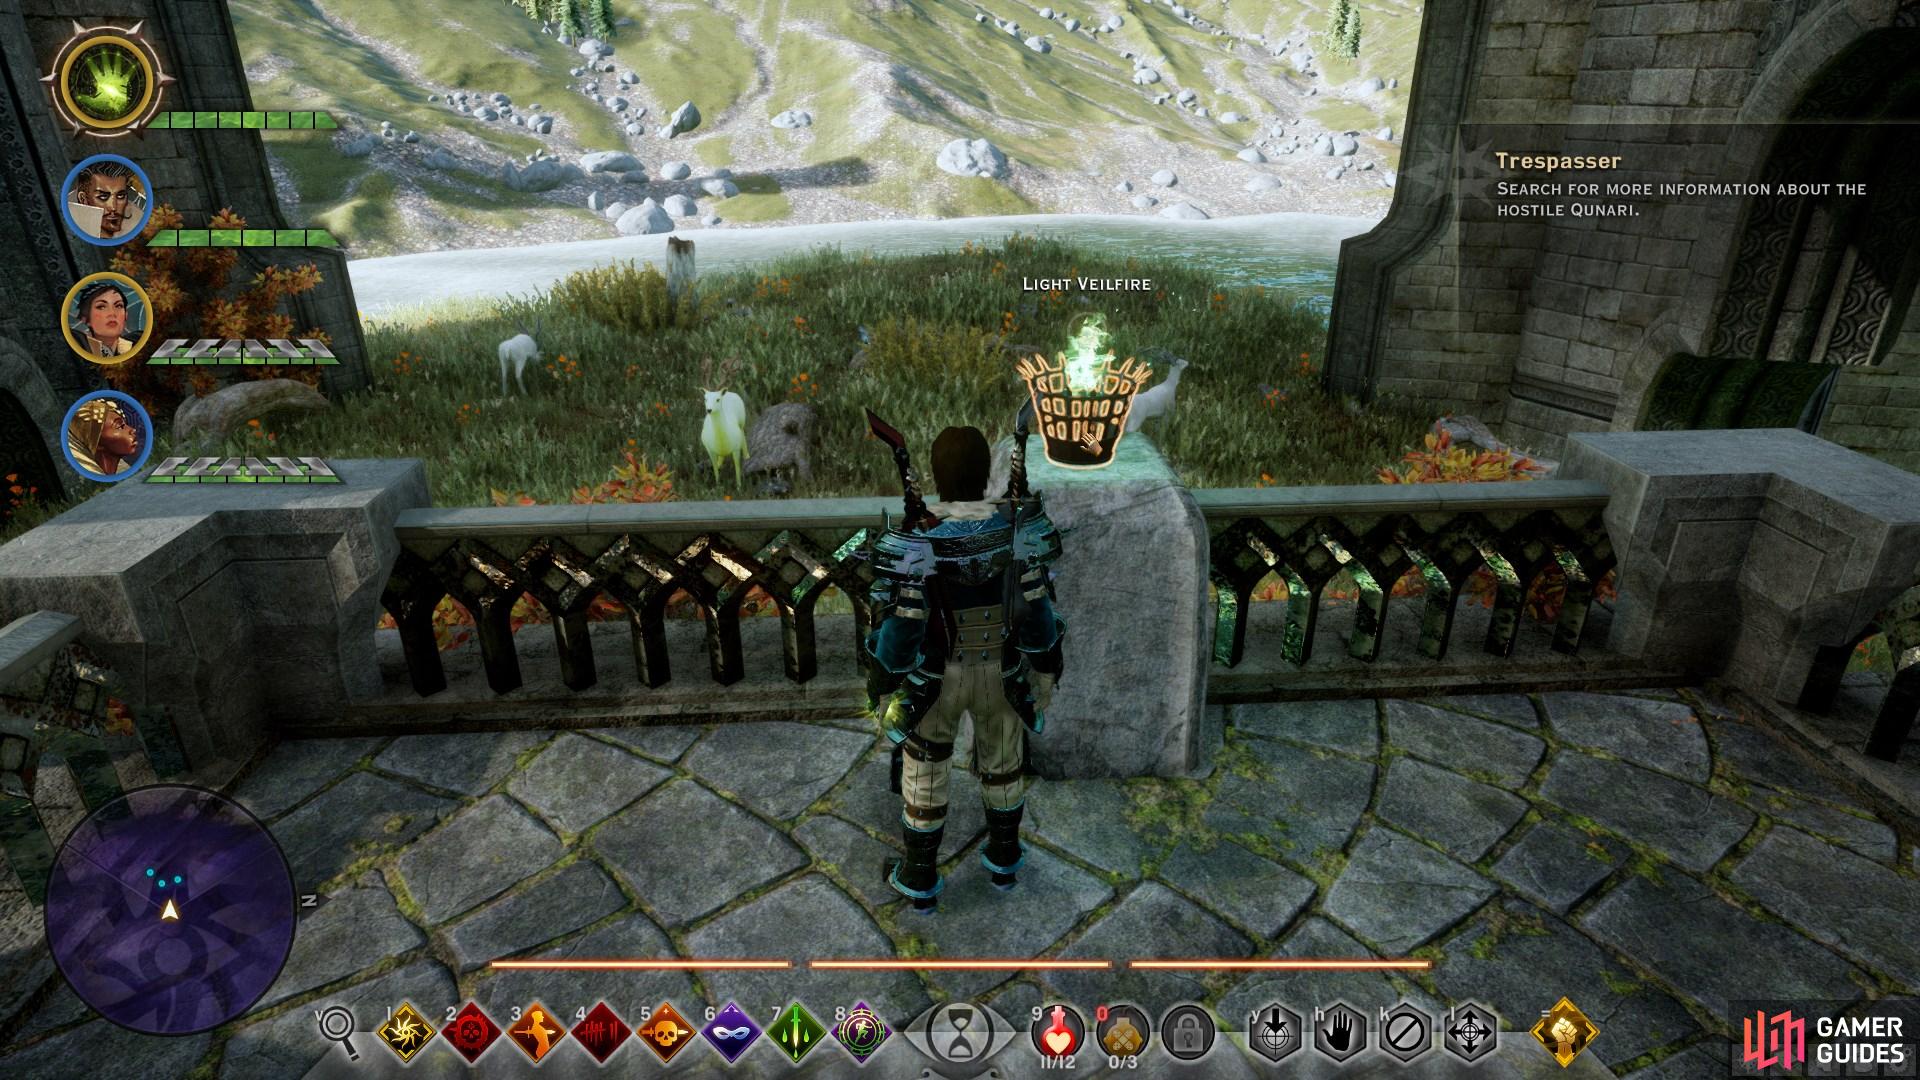
Light a veilfire torch from the balcony to the west
-
Light the brazier that the wolf statue is looking at, second on the left from the stairs
-
Press the button on the wolf statue to reveal a hidden chamber
Once the puzzle is complete and the chamber is revealed, loot the box on the wolf statue for a unique bow. You can then proceed down the stairs, at the bottom of which you’ll find another mosaic. Use the supply cache behind the mosaic and continue down. You’ll find a chest of loot in the room to the north and some hostile Qunari to the east. Most of these are easily dealt with, but do be cautious of the Shock Trooper’s sweeping and knockdown attacks.
You’ll need to loot the Shock Trooper at the end of the battle to find some orders and advance the quest. Once you’ve looted everything in the hall and the small rooms attached to it, use the mirror to return to The Winter Palace where a cutscene will initiate.
The Deep Roads
After the cutscene with your advisors, you’ll find yourself in the courtyard again. Use the door to the right of the entrance to The Winter Palace to proceed to another Eluvian. Upon using it you’ll be transported back to The Crossroads, where a new path has opened to the east with some Qunari running along it. Pursue the Qunari and follow them through the Eluvian, leading to The Deep Roads.
When you reach the Deep Roads you’ll face some Qunari around the corner. Take them out and then inspect the corpse behind them, along with the note on the table. Now head down the stairs until you reach a doorway facing north. Head through and use your anchor to light the room. Down the stairs you’ll encounter some Deepstalker lizards. Be sure to loot the note in the centre of the room by the statue once they’re dead. Continue through the cavern and be sure to use your anchor to light any dark areas.
The stairs revealed lead to a man named Jerran, who explains what the Qunari are doing in the Deep Roads. He suggests a plan of attack and informs the inquisitor that Viddasala must be stopped. Once you’ve learnt everything from Jerran, you must decide whether to execute him as a traitor or spare him.
Execute Jerran:
Cole - Disapproves
Dorian - Disapproves
Varric - Disapproves
Spare Jerran:
Iron Bull - Slightly Disapproves
Whether or not you decide to execute Jerran here, he will die later in the story. You will then have an opportunity to loot his body for a Superb Amulet of Second Wind.
When you’ve dealt with Jerran, be sure to loot the supply cache in the room if necessary. You can then continue through the door to the south east, behind which you’ll find more Deepstalkers. After the second group of Deepstalkers you’ll find an explosive beside some rubble. Interact with the explosive to activate it and run away before it explodes. Follow the path eastward and be sure to read the note to your right by the mage fire.
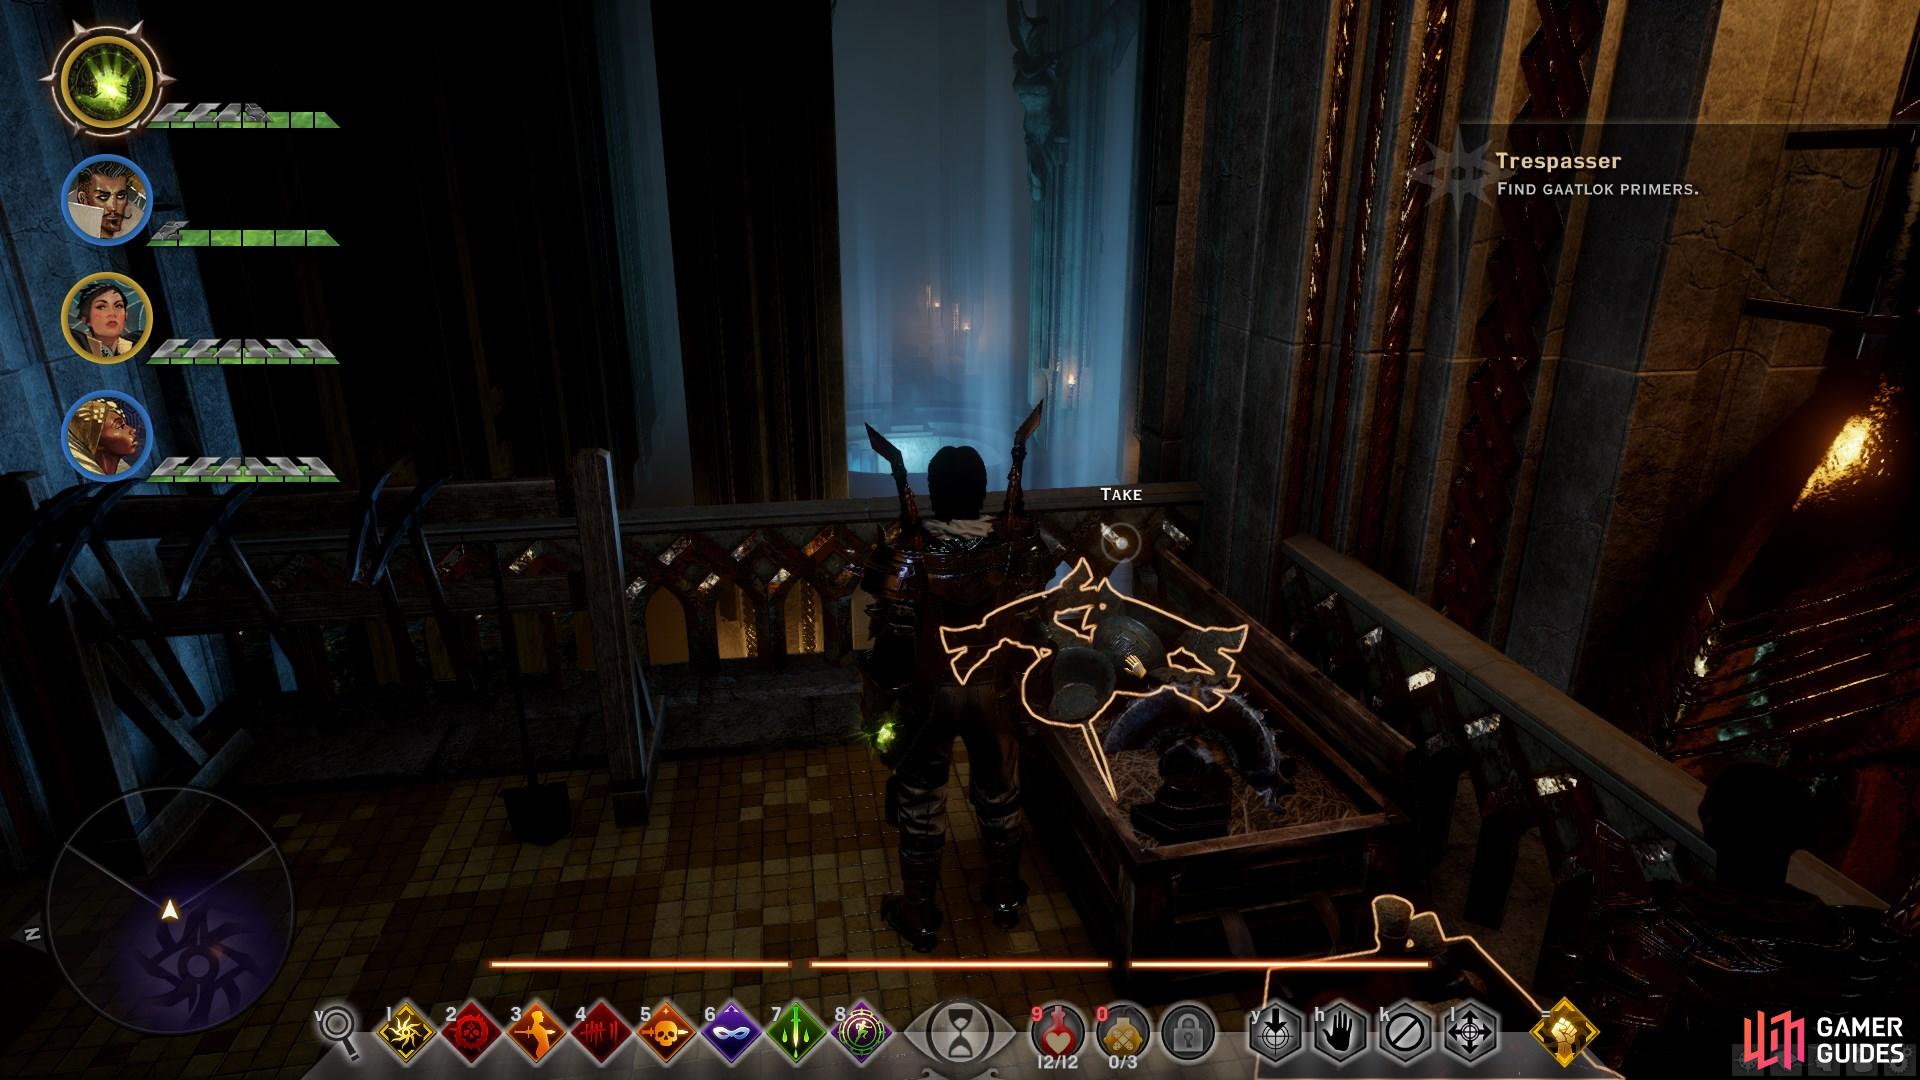
Further along the path you’ll encounter some Qunari at the end of a bridge. Use electric or fire skills to detonate the nearby explosives, saving you a fight. If you have neither you should get to the mages on the stairs as soon as possible to avoid being blown up. Follow the ledge around the cavern and make your way to the Gaatlok Primers to the east. As you reach the Central Supply you’ll encounter more Qunari. Take out the ranged mobs first and then focus on the Shock Trooper.
When all the Qunari are dead you’ll find the primers beside a supply cache to the east. As you head back along the bridge to the west you’ll be attacked by more Qunari. Once they’re dead, use the primers to detonate the Gaatloks and destroy the structures. After the second structure is destroyed you’ll be attacked by increasingly more Qunari. You can fight them as you go or run by them and destroy all four structures.
When all four structures are destroyed, you’ll need to run back the way you came to the north and escape the Deep Roads before they flood completely. Be sure to detonate any Gaatloks which are placed beside blocked paths to open a way forward.
Once you’ve informed your advisors back at The Winter Palace, a few cutscenes will follow. None of the dialogue options have any influence over future events.
The Shattered Library
When you’re done with the cutscenes, go back to the Eluvian in The Winter Palace. At The Crossroads, you’ll find another path to the south with some Qunari running up it. Follow them through the Eluvian to The Shattered Library. Be sure to read the notes outside the Eluvian before you enter. Once inside, you’ll find a spirit archivist at the bottom of the stairs. You don’t need to speak with it other than to learn some context of the current situation. To the left of the spirit you’ll find a path, leading to a skeleton which sells a rare shield.
When ready, head up the stairs from the spirit and interact with the egg to raise some stone steps. Cross the steps and then head north down to an Eluvian. In this room you’ll find a number of codex entries on the floor, along with two Eluvian to the left and right. Take the left Eluvian first and examine the Qunari before ascending the stairs north west. You’ll find another spirit here and an Eluvian behind it, leading to Scholar’s Retreat. Head down the steps and use the egg to raise more stone steps.
Be sure to loot the skeleton to the left of the first stone walkway when you enter the Shattered Library.
Interact with the red egg-like device to raise the stone walkways.
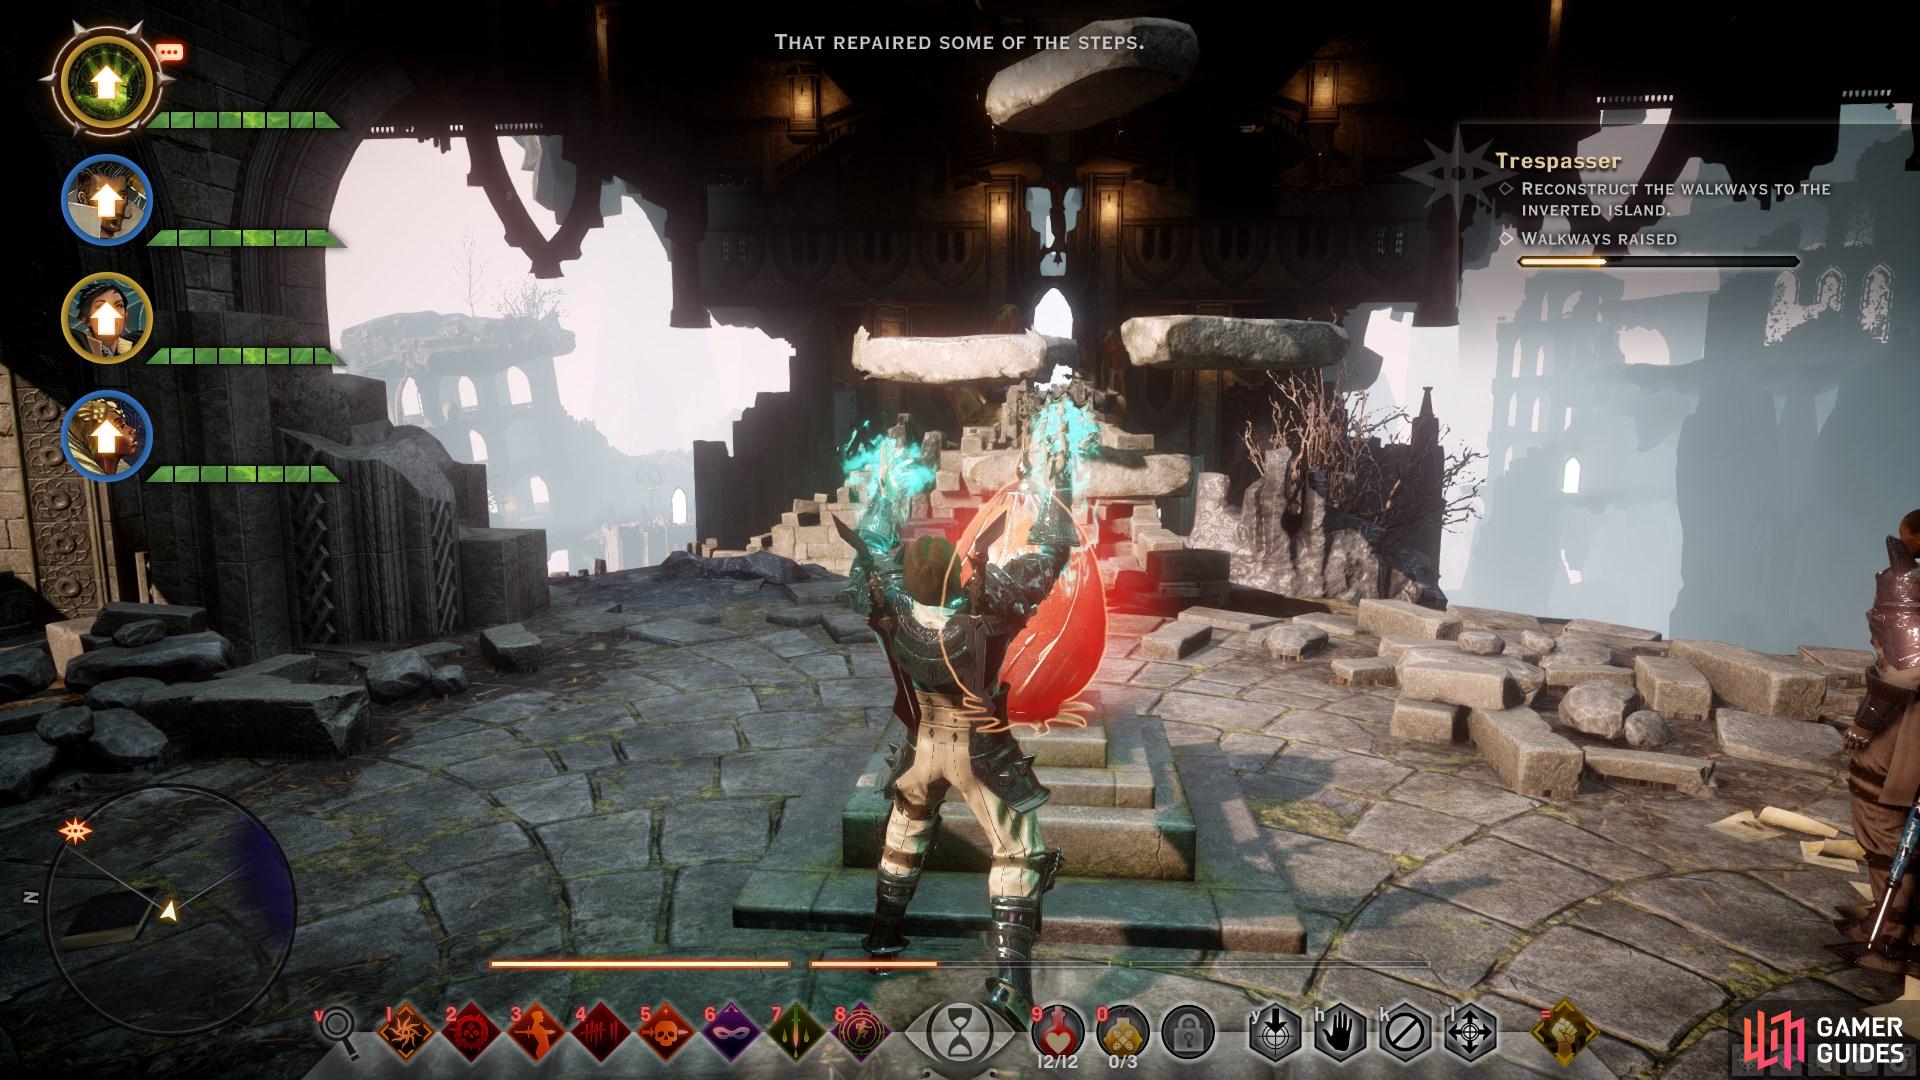
Once the stone steps are raised, head back the way you came through two Eluvians. At the second, a number of Qunari will ambush you. Once you’re back in the courtyard you’ll acquire the Anchor Blast skill. This is more of an upgrade to Anchor Discharge, which now damages enemies around you when used. You can now take the Eluvian up the stairs to the right from the courtyard, leading to the Sundered Hall.
Once in the Sundered Hall, turn left and loot the skeleton swarmed by insects. Now go up the ruined stairs to find another Qunari corpse and a spirit archivist. Once you’ve listened to the spirit go through the Eluvian behind it to reach the Lower Archives. Head west and then take the steps down into a preserved section of the archives. Loot the codex entries here and then turn north to find the last egg. Activate it and then retrace your steps back to the courtyard.
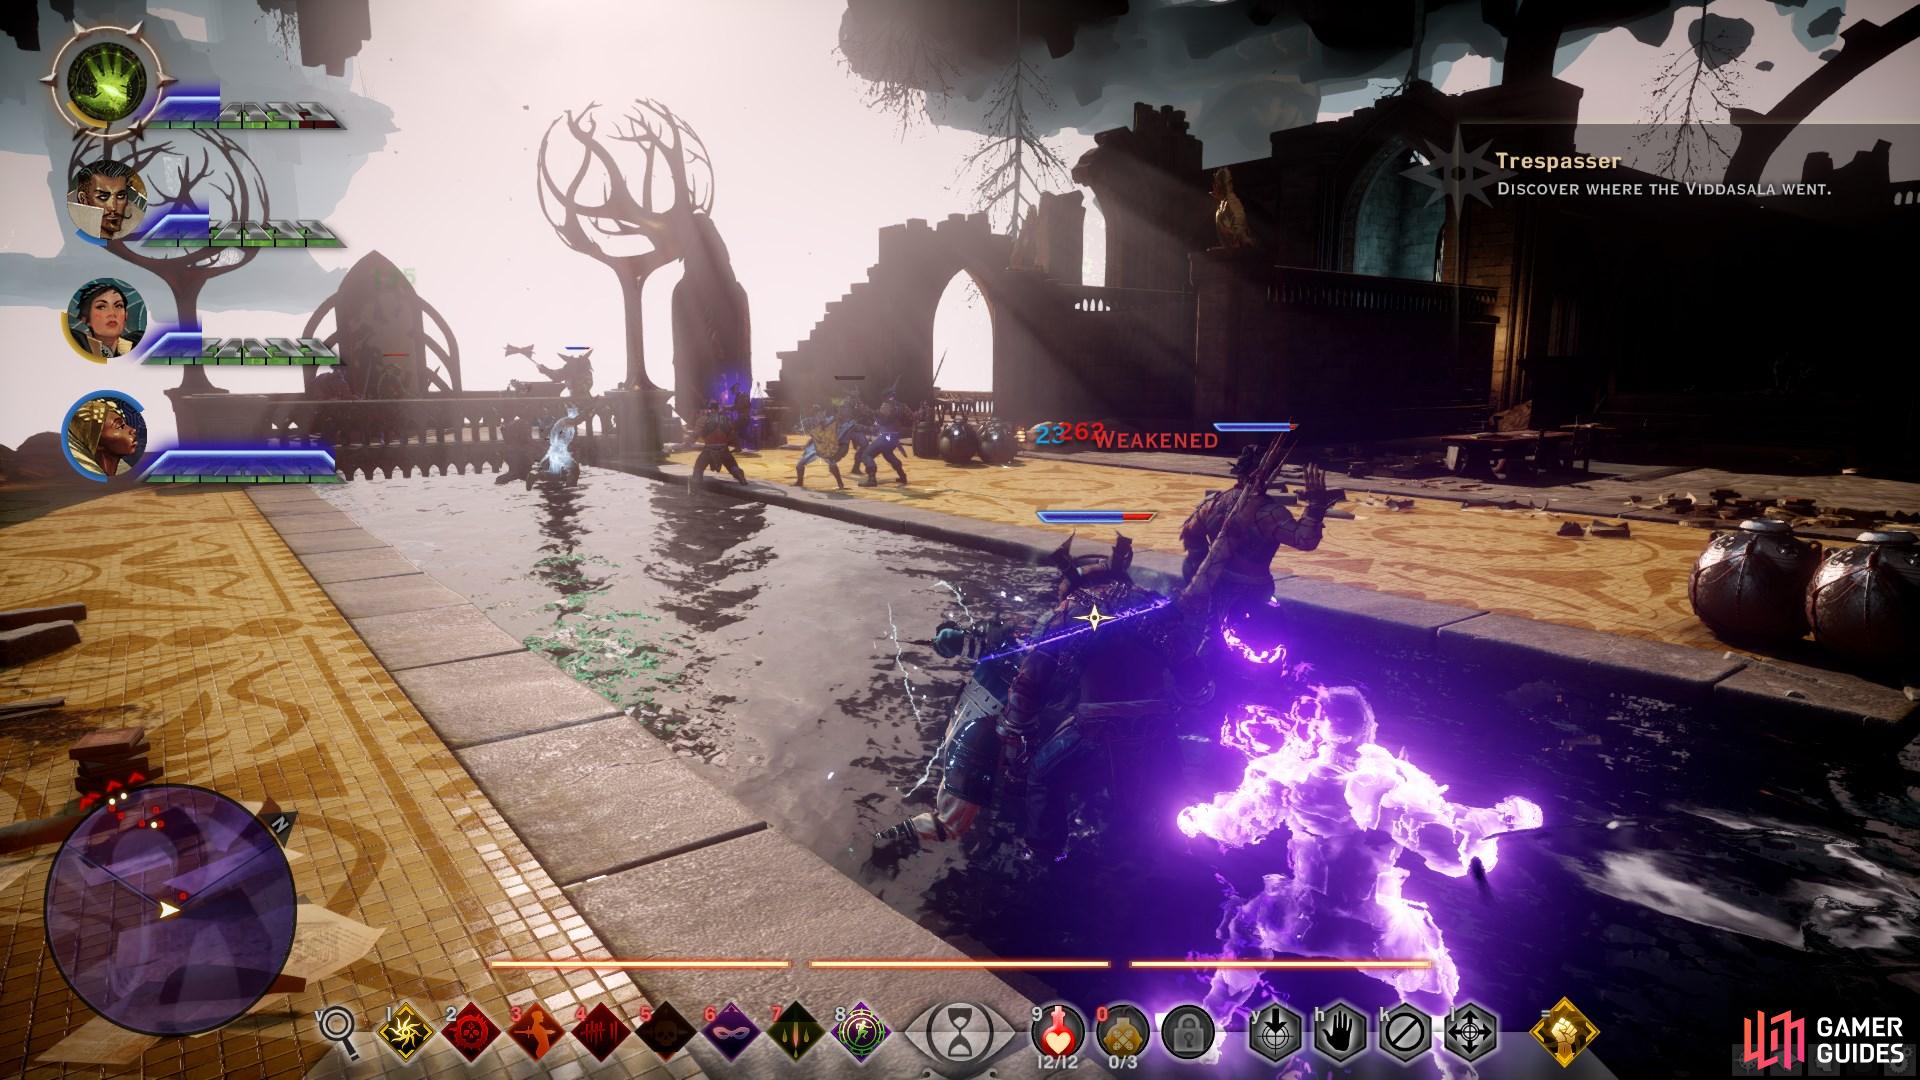
Back in the courtyard, you’ll be attacked by four spirit Librarians and a number of poisonous spiders. Take out the spiders first as they can inflict a lot of damage with their ranged attacks. The spirits are relatively easily defeated with no special attacks. When everything is dead use the supply cache and cross the bridge to Viddasala. After a cutscene you will be faced with a fight with some Qunari. Take out the mages first and then focus area of effect attacks on the melee mobs. Use Mark of the Rift if necessary.
When the fight is done, loot the area and then speak with the spirit up the stairs to the east. They will reveal all you need to know and provide a way out of the Shattered Library.
The Darvaarad
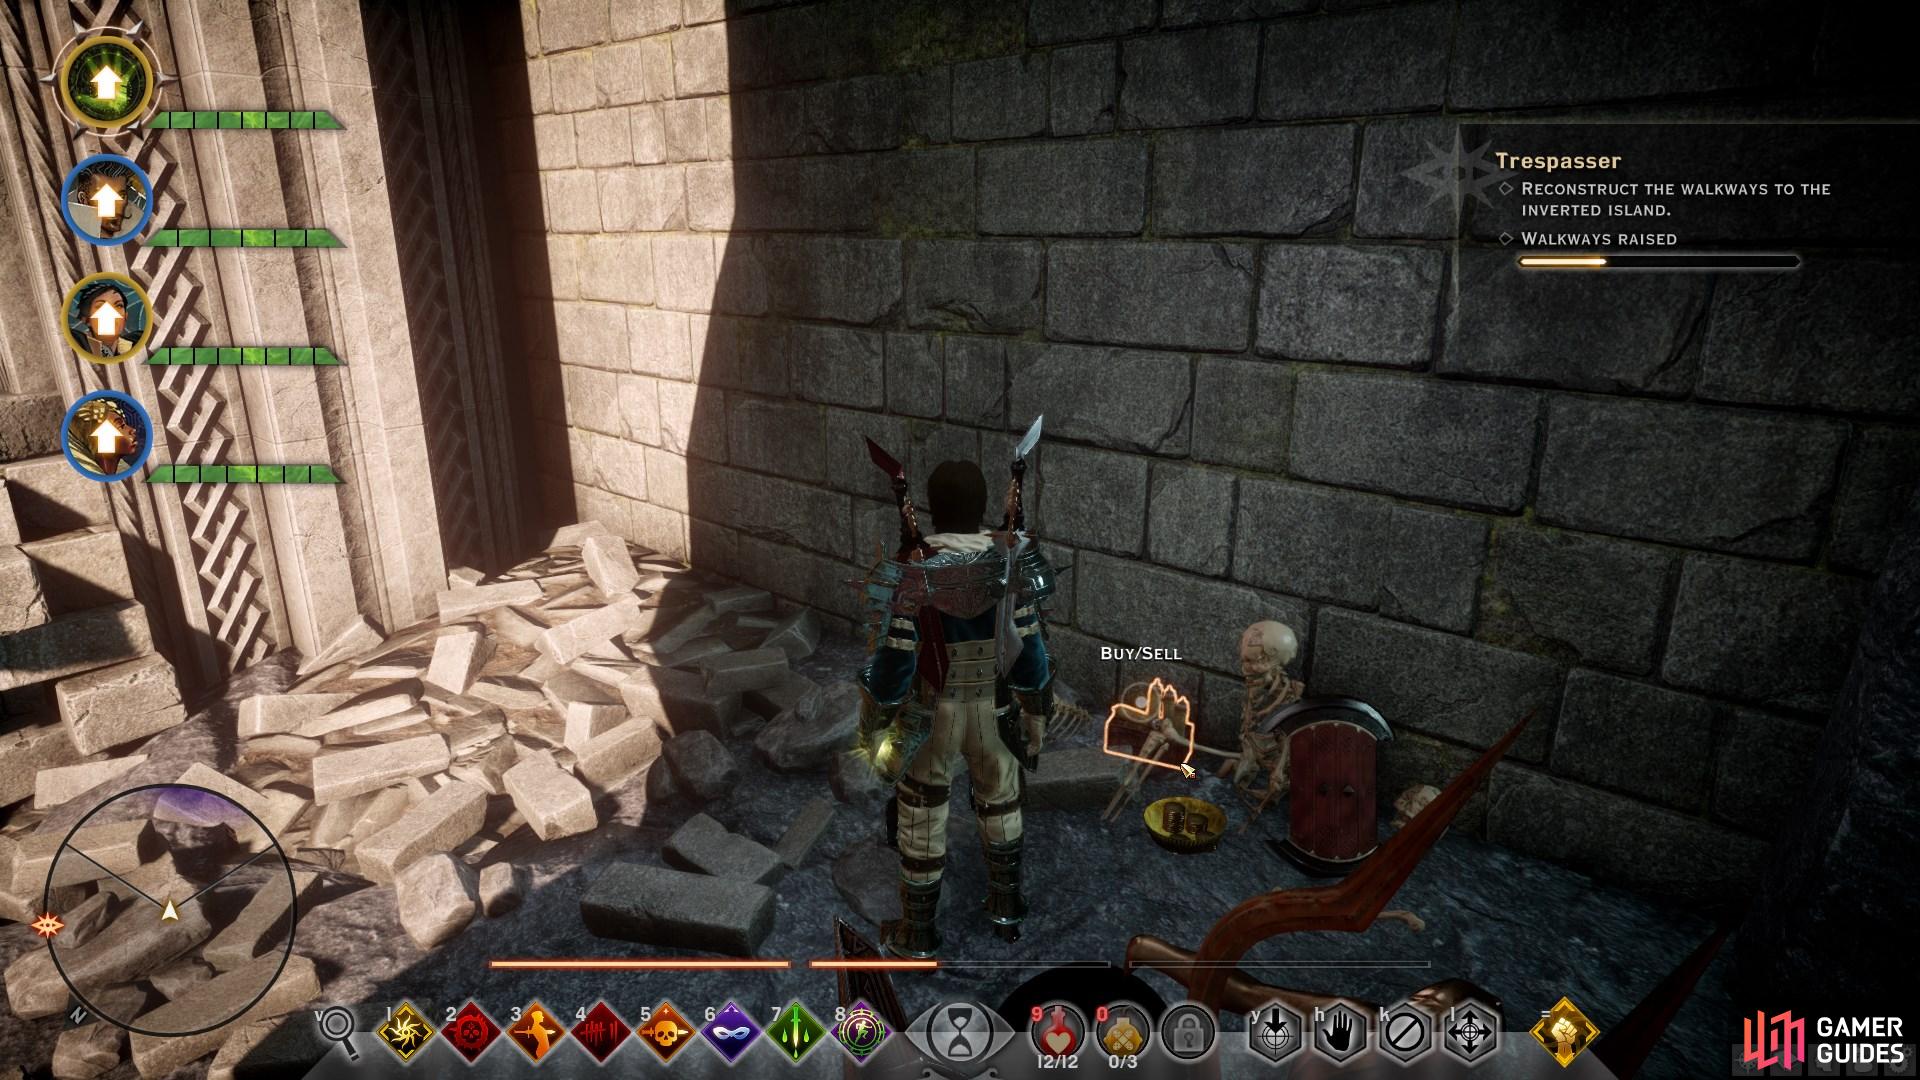
After the cutscenes following on from the Shattered Library, you’ll find yourself back in the courtyard of The Winter Palace. Use the Eluvian here and then enter through the central one in The Crossroads. Once you’re in The Darvaarad you’ll have to fight your way over the bridge. The bridge leads to a large door which can only be opened by using the key found from one of those guarding it.
Once you have the key, open the gate opposite the door and use the mechanism within. You will need to turn the right wheel until the right spike is fully retracted, then do the same with the left. Finally use the centre wheel to fully retract the centre spike. Once inside, loot the box in the storage room for the storage room key. As you continue through to the objective you’ll need to kill a few more Qunari.
As you enter the next room you’ll find a nasty surprise. Kill it along with other Qunari and then take the door to the north. Follow the route up the stairs to the dragon and be sure to use the supply cache. When you reach the dragon, you will have two options: kill it or free it. If you choose to kill it, the fight is similar to any other dragon fight, although this one is unable to fly in the chamber. Watch out for the tail and claw swipes, and avoid being pulled close with wing flap if you’re a light armoured mage.
If you choose to free the dragon, use Anchor Blast near one of the wagons keeping the dragon chained, and then use the wheels up the stairs surrounding it by turning the left wheel 10 times, the centre wheel 5 times, and the right wheel 9 times. Whatever you do, once the dragon is dealt with a cutscene will follow and this part of the quest will end.
Elven Ruins
After entering through the Eluvian from The Darvaarad you’ll find yourself in some Elven ruins. Make your way south up the stairs and follow the Qunari. At the top of the stairs your anchor will explode uncontrollably, damaging you and your allies. From this point on you must ensure that your anchor is never fully charged, lest it do the same again with even more devastating effects. You can continue to use any anchor skills to deplete it when necessary.
Continue through the first Eluvian to the Gully. Defeat the Qunari here and then use the Eluvian to the north. Beyond this you’ll encounter more Qunari on a bridge. The Eluvian at the end of this bridge leads to the Shrine to the Dread Wolf, where you’ll have to defeat a particularly powerful Qunari named Saarath. This beast has a great deal of health and is capable of casting magic. However, it isn’t much of a challenge so long as you remember to use your anchor abilities appropriately.
(1 of 3) Always take out the ranged Qunari first, as these can inflict significant damage if left alone.
When Saarath flees, you’ll be left to defeat a few more regular Qunari. These will soon be reinforced from the bridge to the north, so be sure to meet them there first and use your anchor to inflict massive area of effect damage. Once all are dead continue north over the bridge and do the same with the remaining mobs. Going through the next Eluvian will lead you to an opening in the ruins, where you’ll encounter Saarath once more. The fight is the same as last time except now he summons demons. Continue to use Anchor Blast to keep them at bay.
When you enter the Eluvian beyond this point you will encounter Solas. Here you will have an opportunity to ask numerous questions regarding the events that have transpired. Once your conversation with Solas is over, you will find yourself back in the Exalted Council. Now you must decide whether the Inquisition will serve the Divine, or disband entirely. Your decision has no currently known consequences, but this will mark the end of the DLC.
No Comments