

Find Cassandra in the Chantry
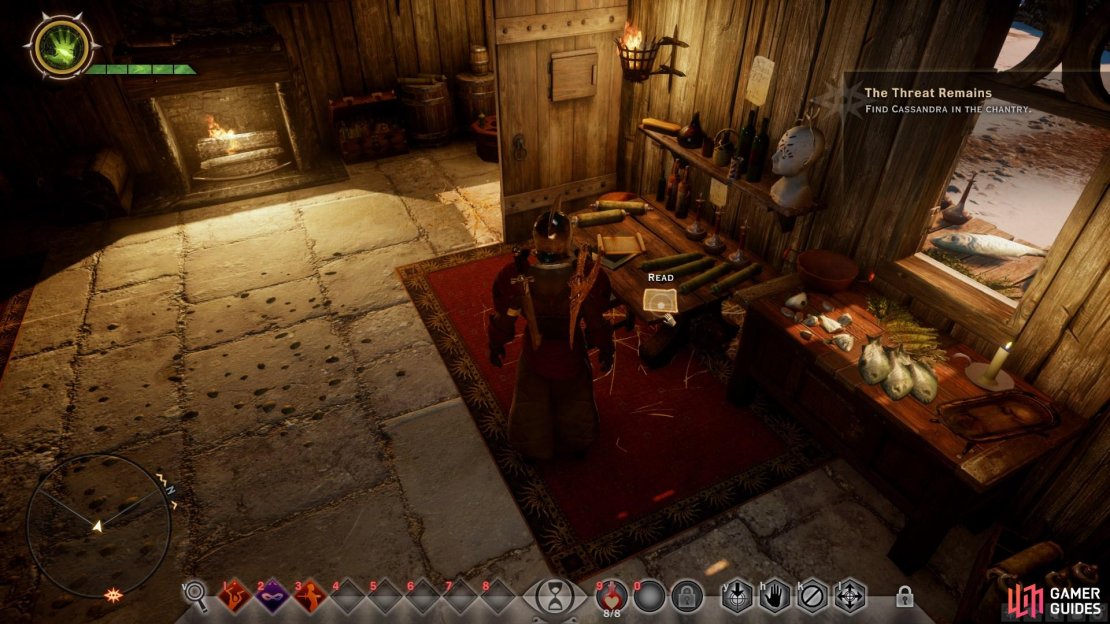
After the short cut scene you can explore the room that you now find yourself in. Loot the box in the middle of the floor for some randomly generated loot, inspect the paper on the desk for Patient Observations, and open the Special Shipments container to your left to acquire some upgraded armour and weapons. When you’re ready, use the door and head outside.
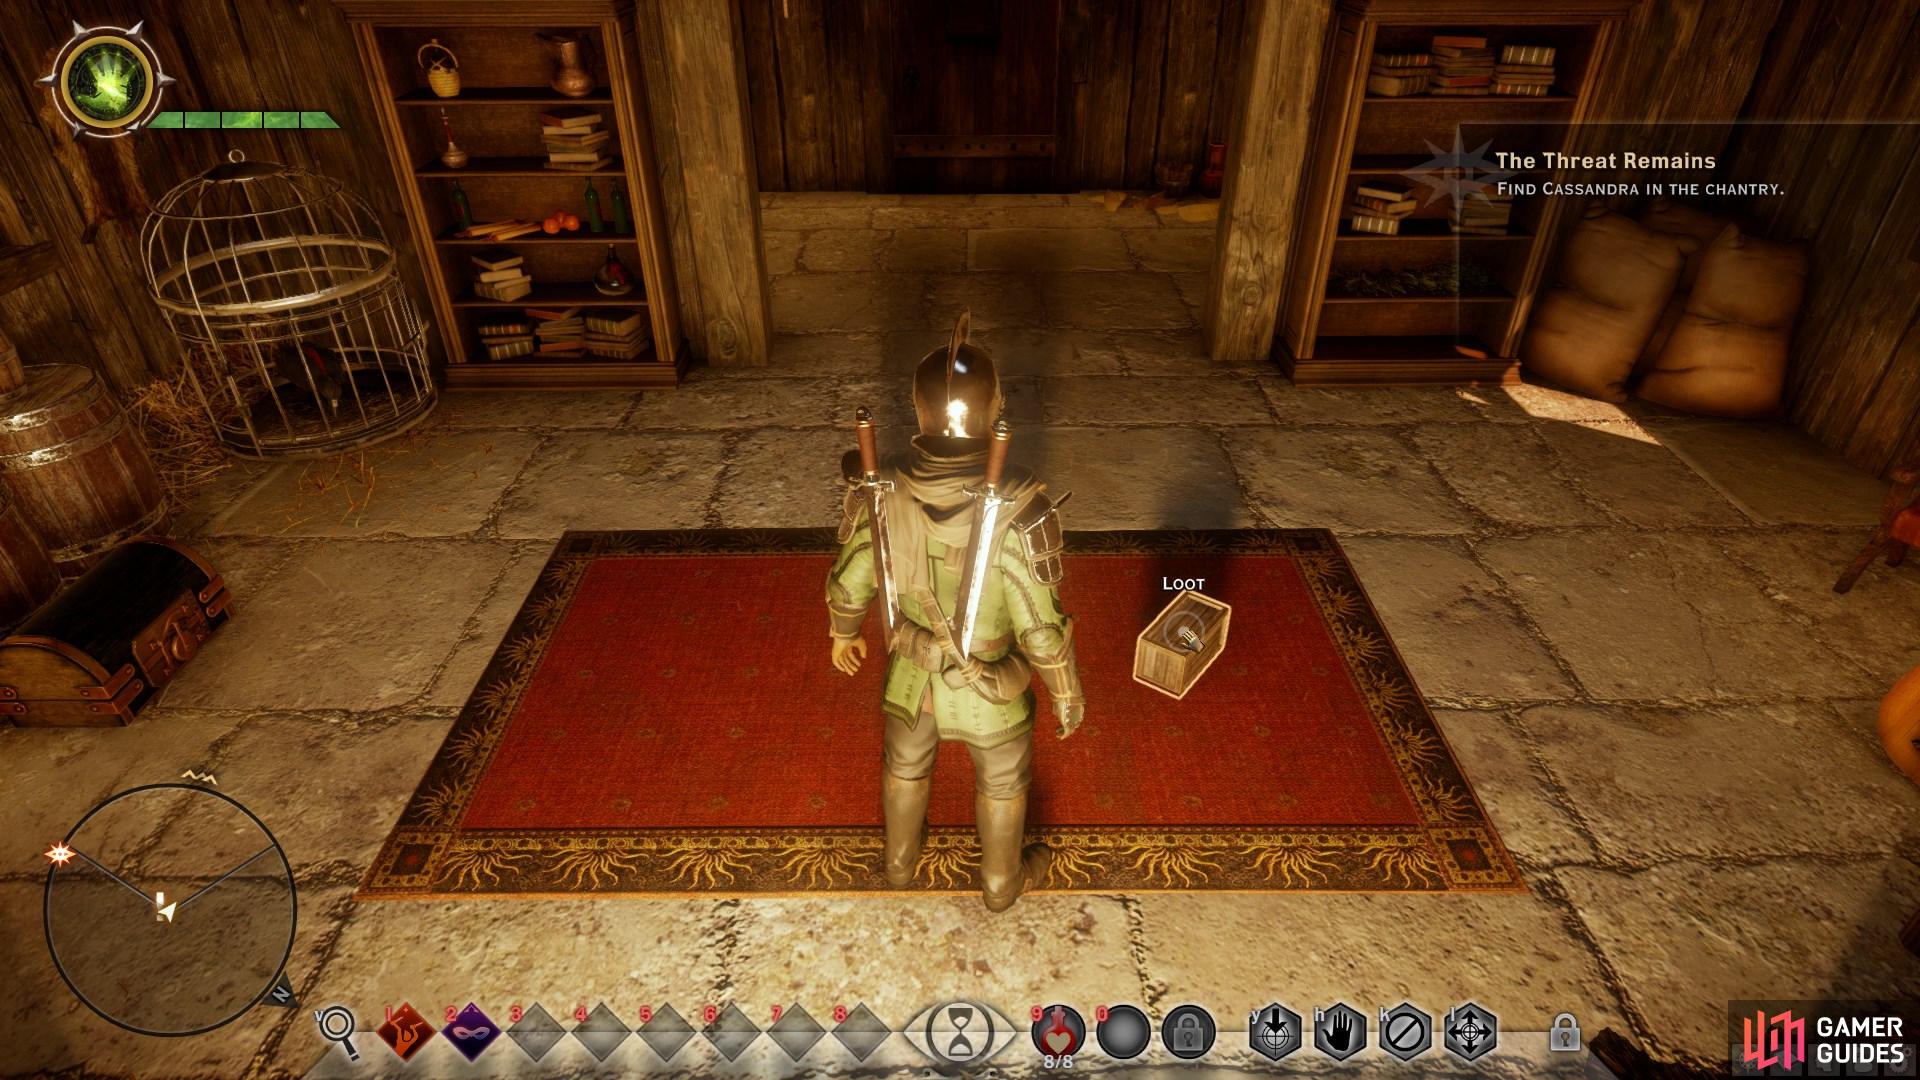
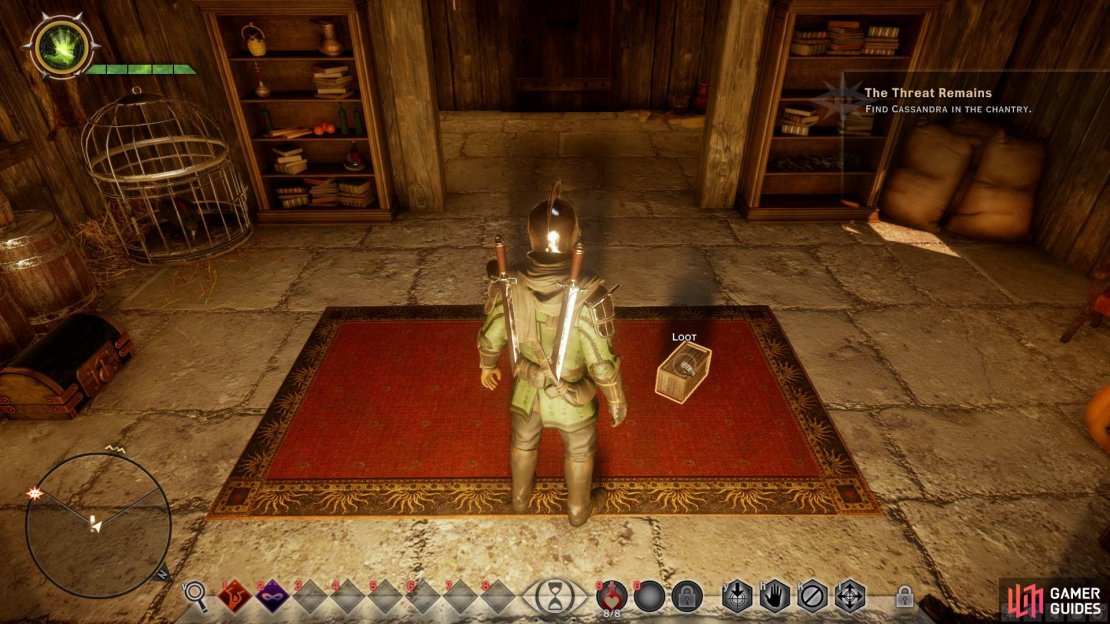
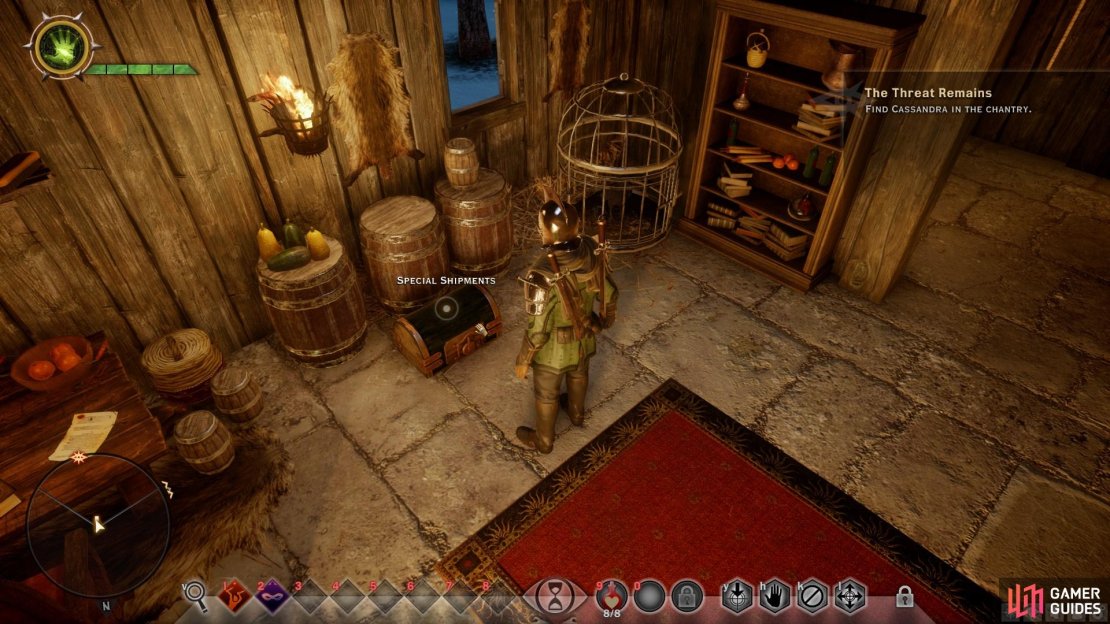
(1 of 3) Don’t miss the box in the centre of the room, which provides some randomly generated loot.
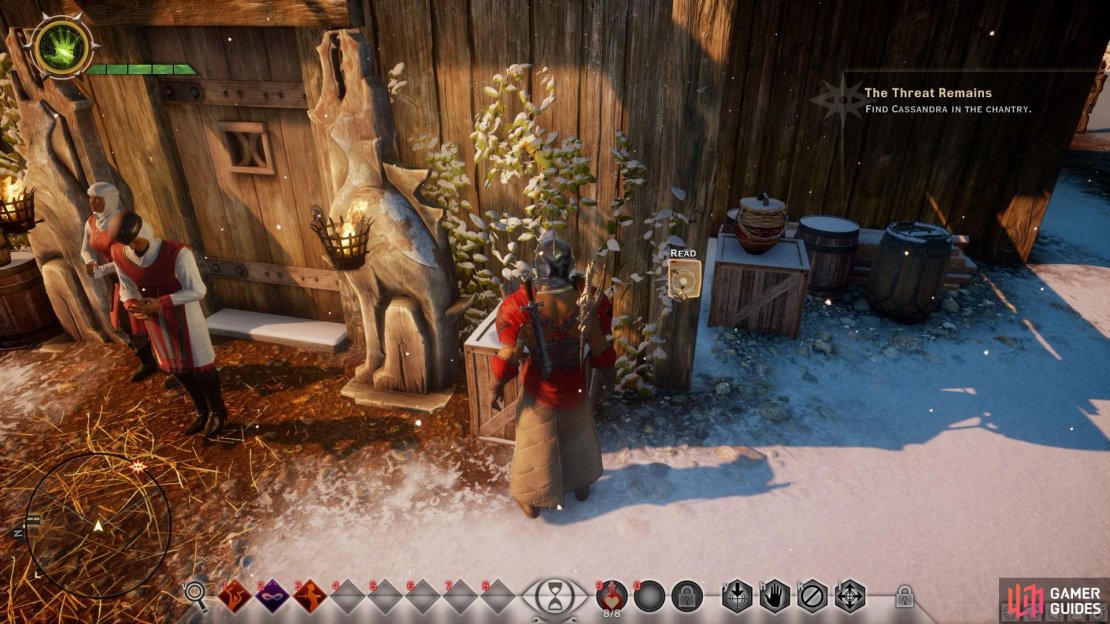
Once outside, turn right and head behind the building to the north west. Here you’ll find two ![]() Elfroot and a Chest. Now go behind the house you woke up in to find another Elfroot. Continue around the building to the south west, where you’ll find another Elfroot and a pot containing some randomly generated loot. Now head through the crowd of people and turn south up the stairs, at the top of which you will find a note on the pillar to your left, unlocking the codex Andraste’s Mabari. Loot the sack beside the house to the north east and then go behind the house to find more Elfroot. Inside the house you’ll find a note that updates the Patient Observations codex.
Elfroot and a Chest. Now go behind the house you woke up in to find another Elfroot. Continue around the building to the south west, where you’ll find another Elfroot and a pot containing some randomly generated loot. Now head through the crowd of people and turn south up the stairs, at the top of which you will find a note on the pillar to your left, unlocking the codex Andraste’s Mabari. Loot the sack beside the house to the north east and then go behind the house to find more Elfroot. Inside the house you’ll find a note that updates the Patient Observations codex.
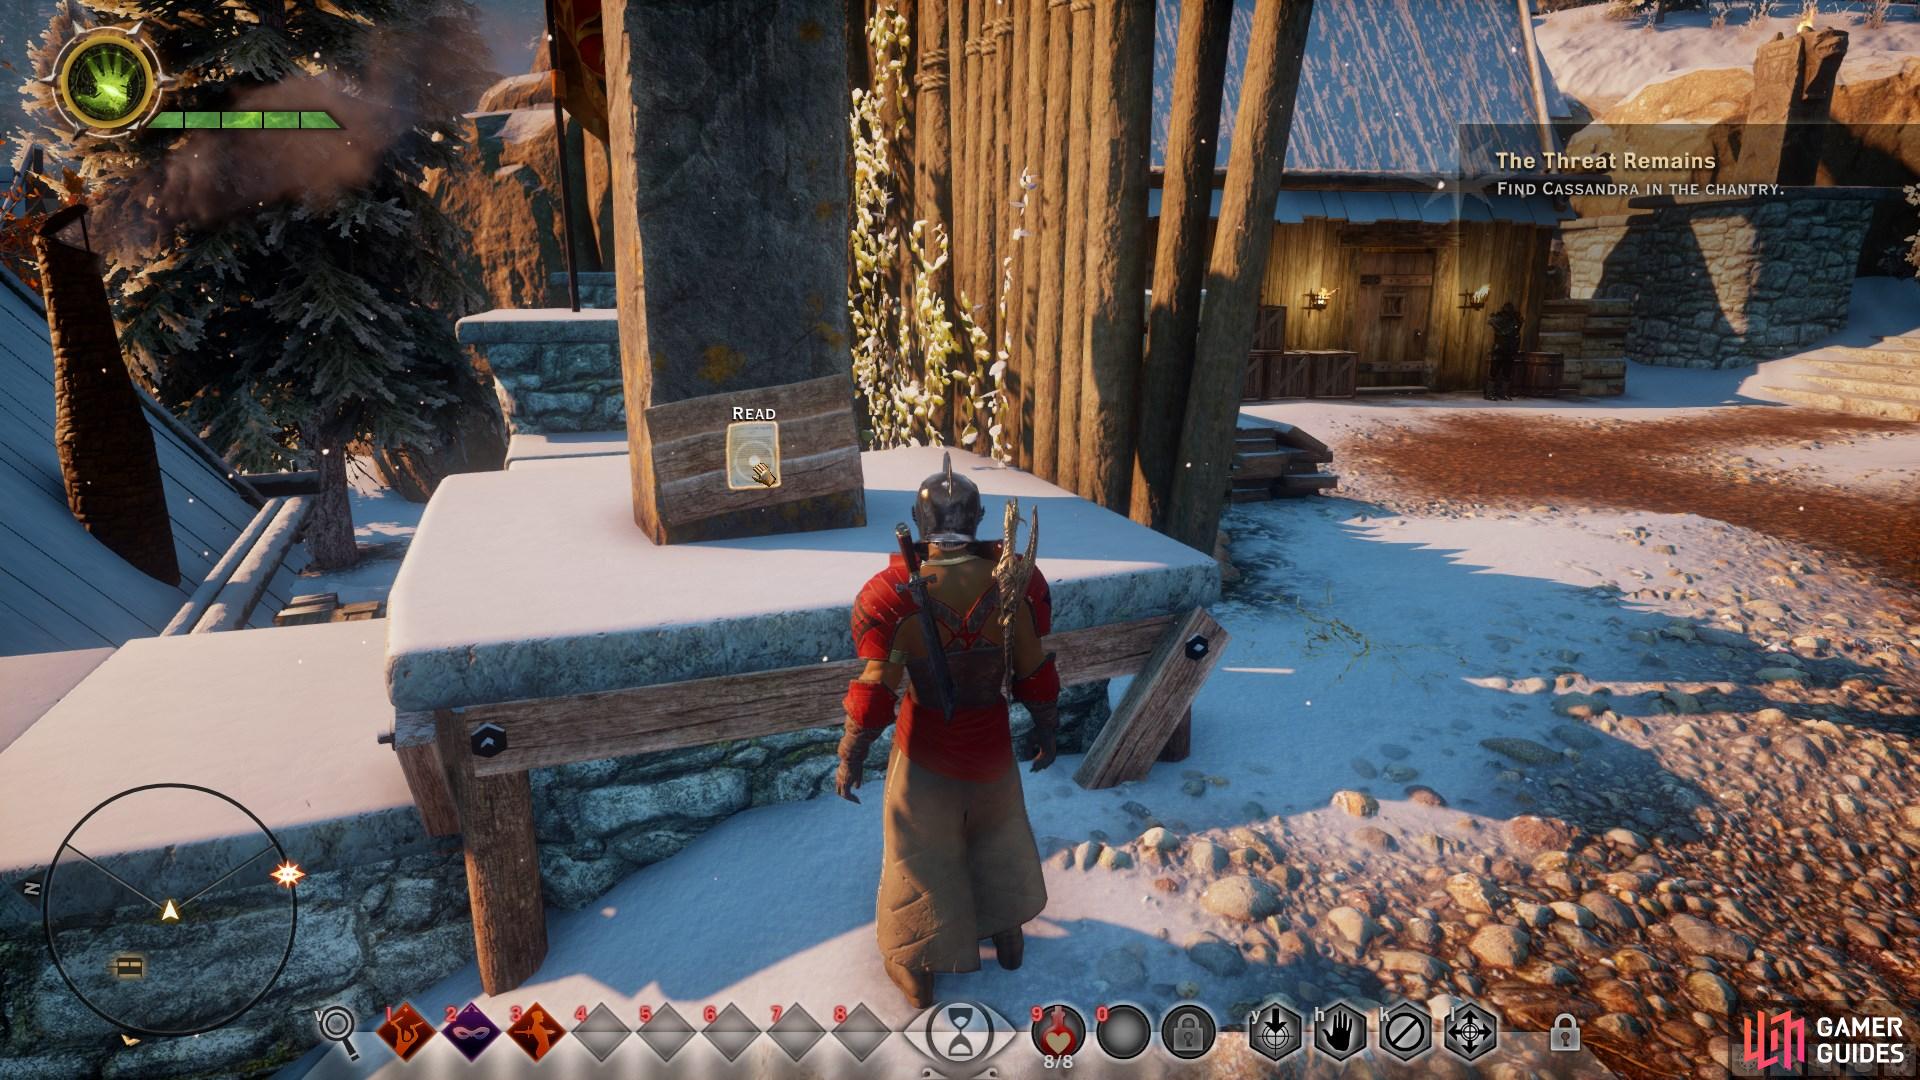
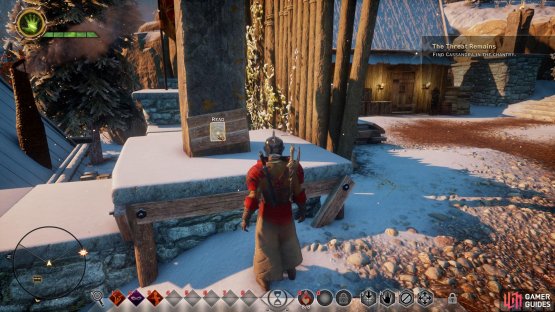
(1 of 2) Don’t miss the note on the pillar at the top of the stairs, unlocking the Andraste’s Mabari codex.

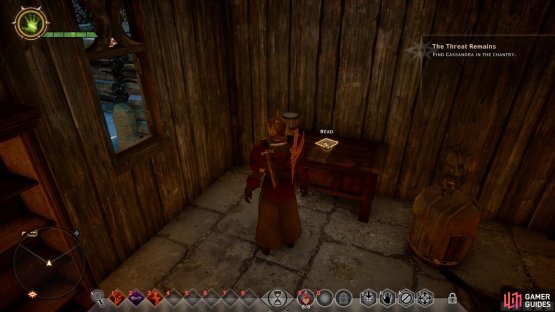
Don’t miss the note on the pillar at the top of the stairs, unlocking the Andraste’s Mabari codex. (left), Be sure to read the note in the house to the left of the pillar to update the Patient Observations codex. (right)
Behind the house you’ll find another Elfroot. From the house turn north west and loot the sack beside the next house beyond the tents. To the right of the entrance to this house you’ll find another note which unlocks The Singing Maiden codex. You’ll find a number of loot sacks and a chest in the main tent area in front of the Chantry, and to the right and left of it you’ll find more loot sacks, a pot, and some Elfroot.
There are a number of houses to the right of the Chantry, the first of which contains The Randy Dowager Quarterly codex. The second contains a chest of loot and another update for the Patient Observations codex. You will find more Elfroot surrounding the houses. Once you’ve thoroughly explored the area, head to the Chantry.

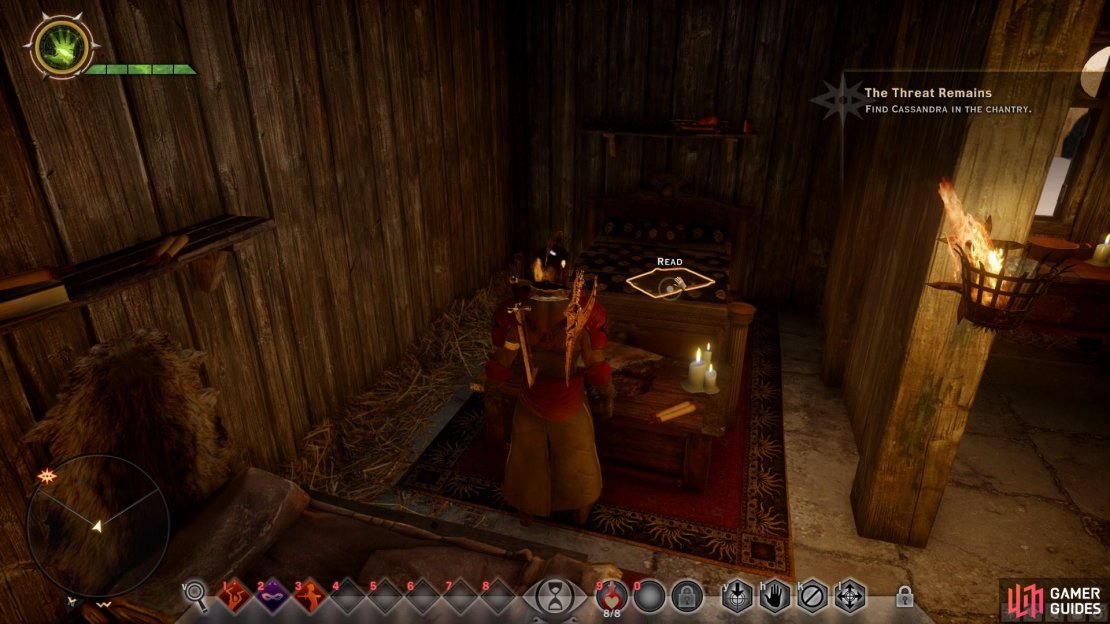
(1 of 3) Don’t miss the third note in the house to the north which updates the Patient Observations codex.
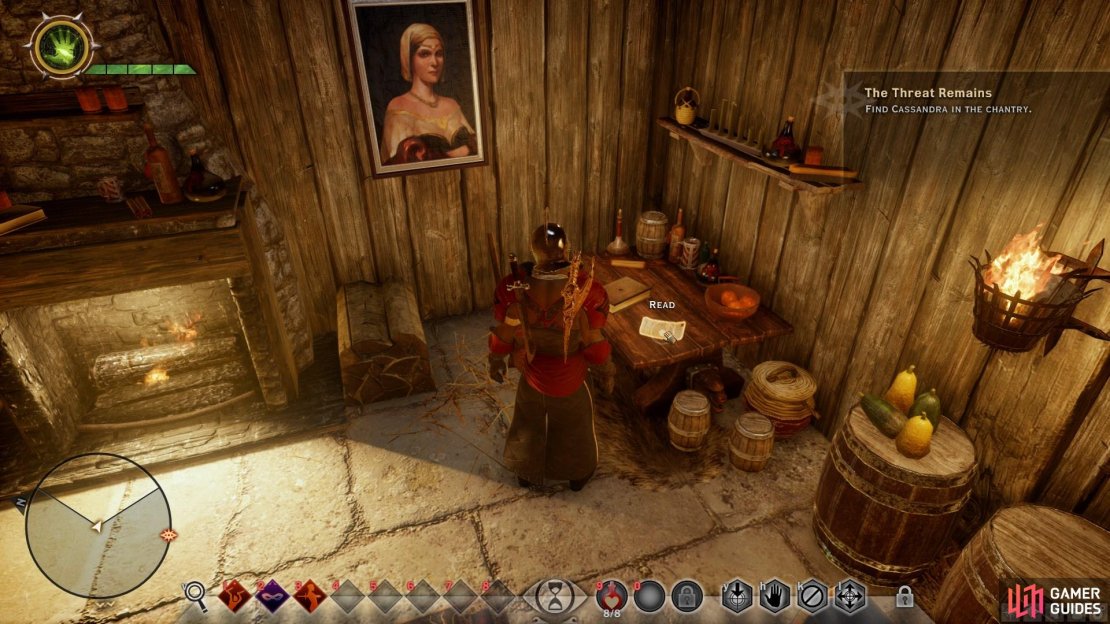
Once inside the Chantry, turn left to loot a sack and then read the book on the table to the south east to unlock The Fade codex. You’ll find a scroll on a barrel nearby which unlocks the A Chant for the Departed codex. To the south west you’ll find a pot containing some random loot. You can then go through the door to the north east. Down the steps you’ll find two books. The one on the left unlocks the Founding of the Chantry codex, and the one on the right the Chantry Hierarchy codex. At the end of the hall you’ll find a chest of loot.
Head back up the stairs to the main room of the Chantry and into the next room on the left. Here you’ll find a note which unlocks The Children of Andraste codex. You will also find a research station in this room, which you can interact with to turn in research, granting you XP and enhancing your effectiveness against specific enemies that you have encountered. Once you’ve interacted with everything in this room, enter the room on the other side of the hall and read the book on the bed to unlock The Maker codex. You can now enter the room at the end of the Chantry to begin a cut scene.
Dialogue Options:
After the cut scene, choose “I did what I could.” to gain slight approval from Cassandra. Next, choose “Blessed be the Maker” and then “I want to help.” for further approval. “I am not a ‘chosen one’.” or “Are you serious?” will result in slight disapproval. All other options are neutral.
Report to Havens Chantry
Before you enter the Chantry, be sure to spend some time exploring Haven. You will find plenty of loot within the settlement and resources in the surrounding wilderness including ![]() Iron and Elfroot. You will also find a
Iron and Elfroot. You will also find a ![]() Logging Stand required for Requisition for Weapons. You will find more details on what can be found throughout Haven from the Exploration - Haven section.
Logging Stand required for Requisition for Weapons. You will find more details on what can be found throughout Haven from the Exploration - Haven section.
When ready, visit the Chantry to trigger a cutscene.
Dialogue Options:
During the cut scene, when asked how you feel about your new title, the only reply which provokes a positive response from Cassandra is “I like it.”, and only then as a Human. “They’re wrong.” will prompt disapproval from Cassandra, and all other options are neutral.
War Table
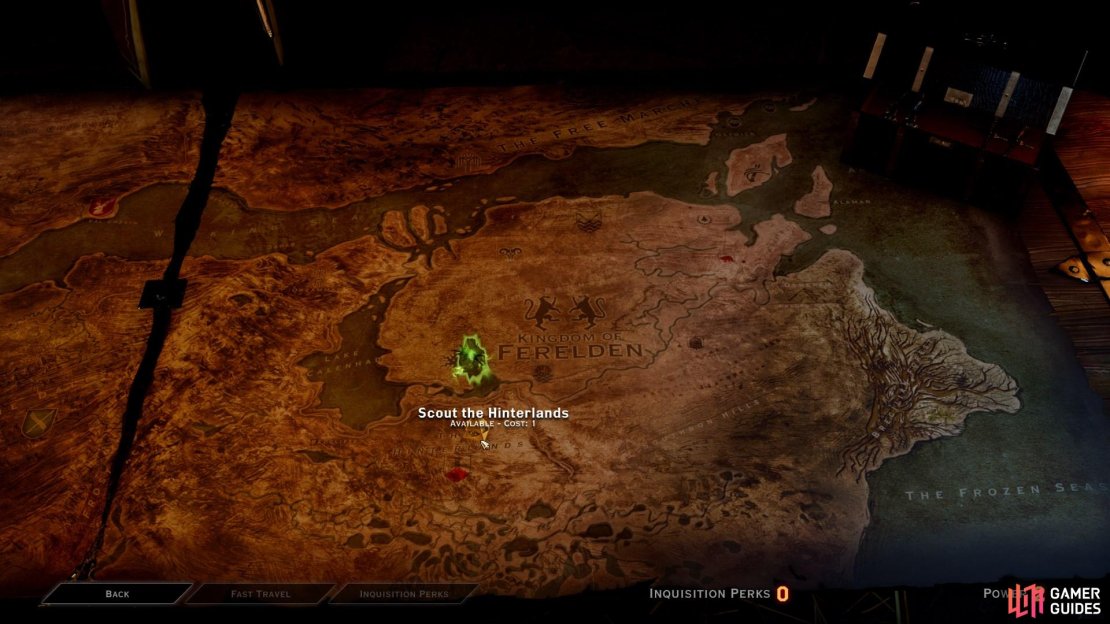
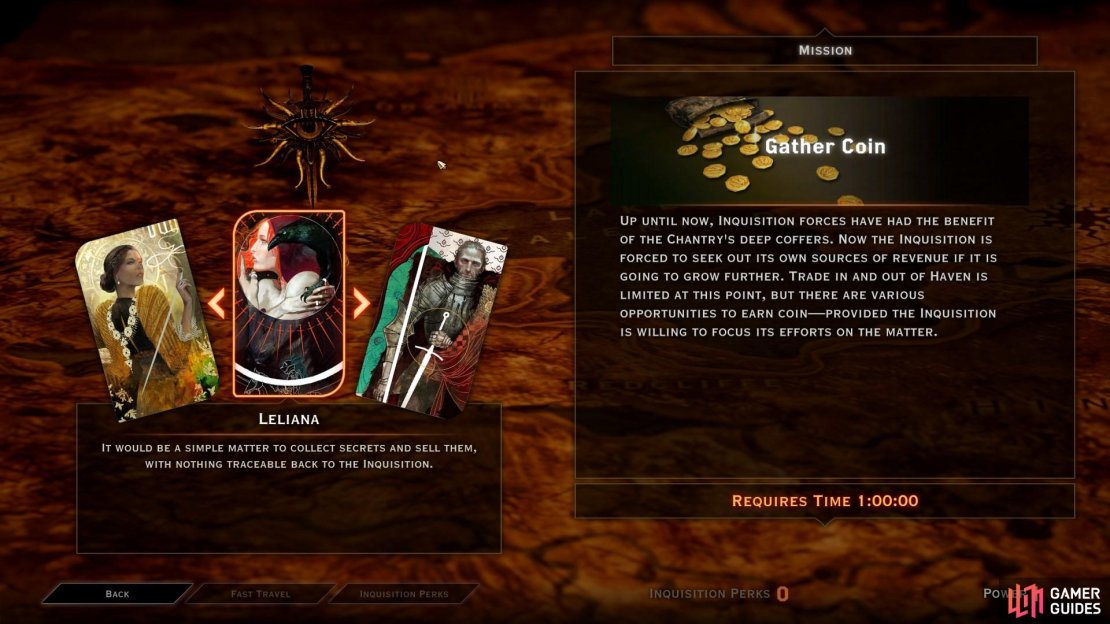
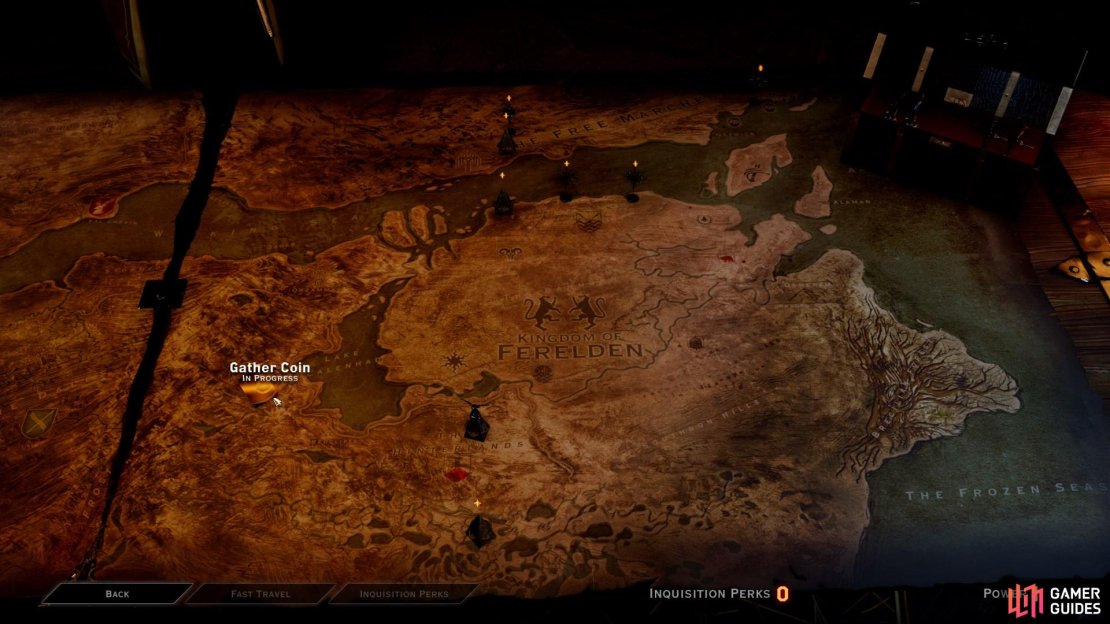
After the cut scene you’ll enter the War Table, where you can usually choose between the realms of Orlais and Ferelden to complete missions for the inquisition. In this case, you need to start by choosing Ferelden and then Scout the Hinterlands. To do this you must spend 1 Power by using Secrets. Before you head to the Hinterlands, send other agents on missions within your power range, you can view in the bottom right of the map when using the war table interface. Some missions require no Power to initiate, so you should be able to start at least two. When you’re ready, click on Scout the Hinterlands to fast travel there. You will need to select which companions you want to bring with you, or choose to go alone.
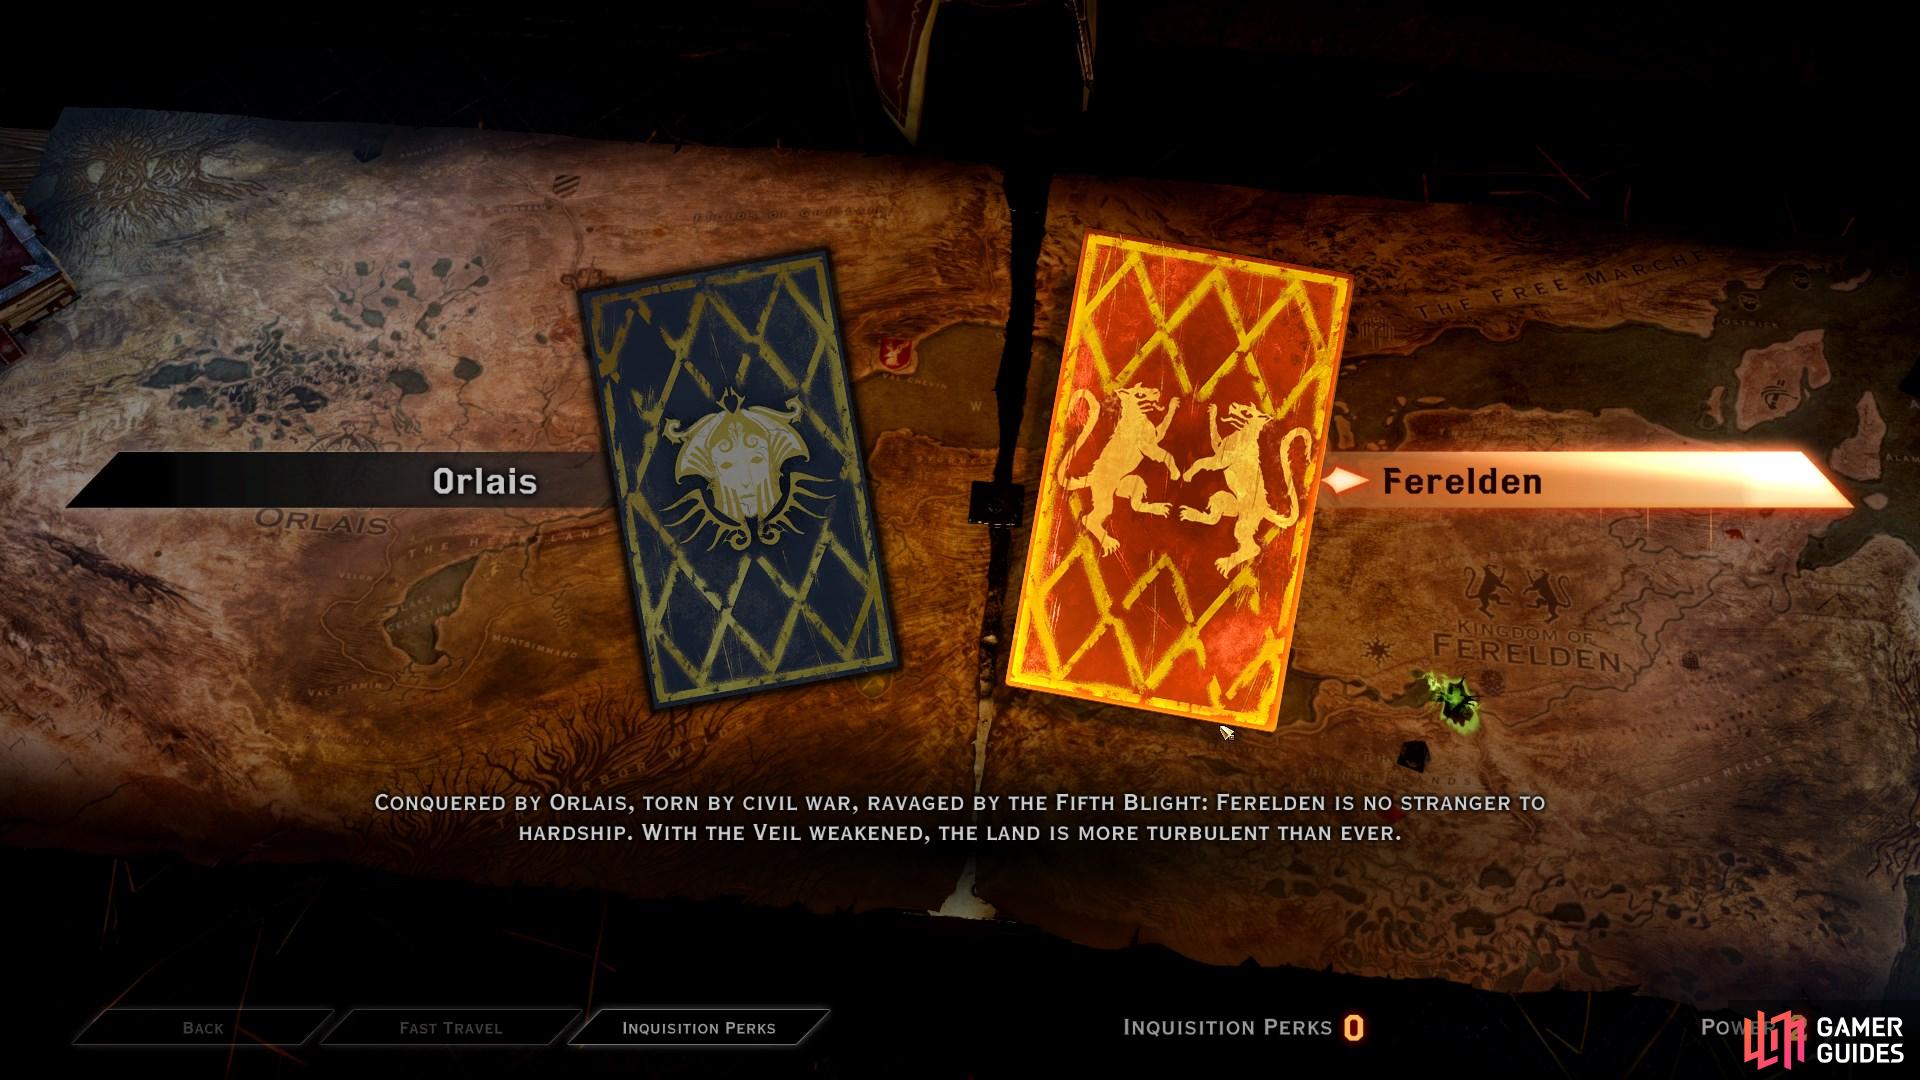
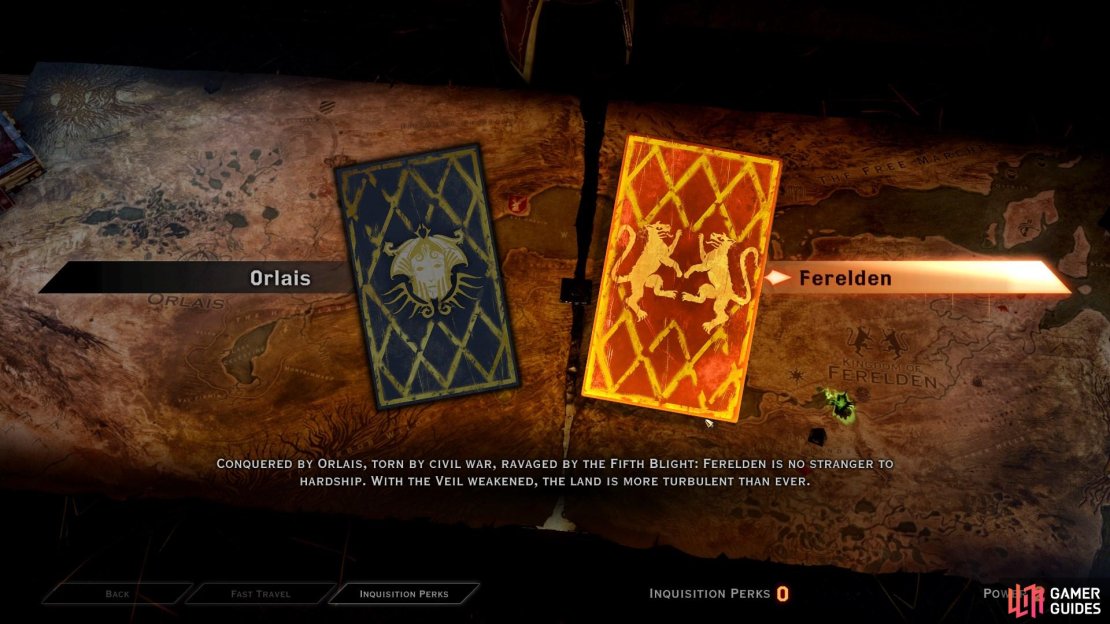

(1 of 5) When you visit the War Table, you can choose between two realms - Orlais and Ferelden - to complete missions within.
Travel to the Hinterlands to Speak with Mother Giselle
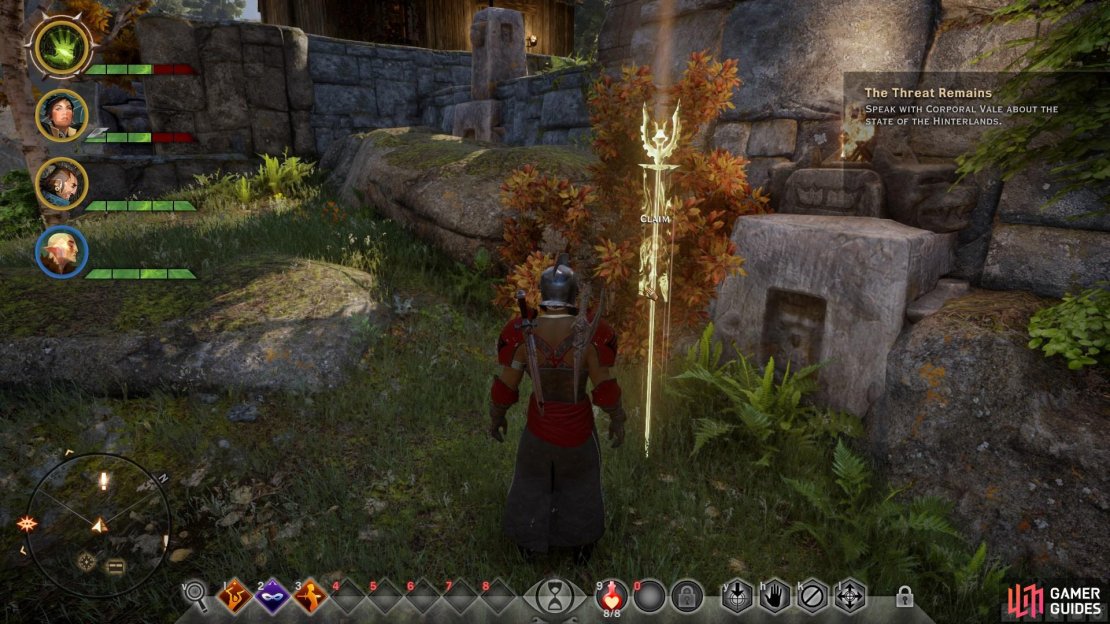
Head to the Crossroads at the Hinterlands when you are ready to proceed. Here you’ll need to defeat a few apostates. Take the time to claim the landmark here, Saga of Tyrddar Bright-Axe, Avvar-Mother, then focus on taking out the mages. Once you do this you will have a wave of four Templars come in from the west so take some cover. The Defender and Knight can be brutal. Try to keep one of them Feared or Frozen so you can take out the Templar Archers quickly. Once you defeat them you’ll gain control of the Crossroads.
To gain sufficient Power to proceed with the quest, explore the region of the Hinterlands and help anyone that you can. There are numerous Fade Rifts in the area that you can seal, each one providing 1 Power when sealed. In addition, you can complete various quests for refugees and other random NPCs. Claiming landmarks and camps, of which there are 6 in the Hinterlands, will also gain you power, and provide you with a place to rest your party to recover health and potions. Once you have at least 4 Power, you can speak with Corporal Vale near the Crossroads, and then use the war table to travel to Val Royeaux.
For more information on what you can do in the Hinterlands, see Exploration - The Hinterlands.

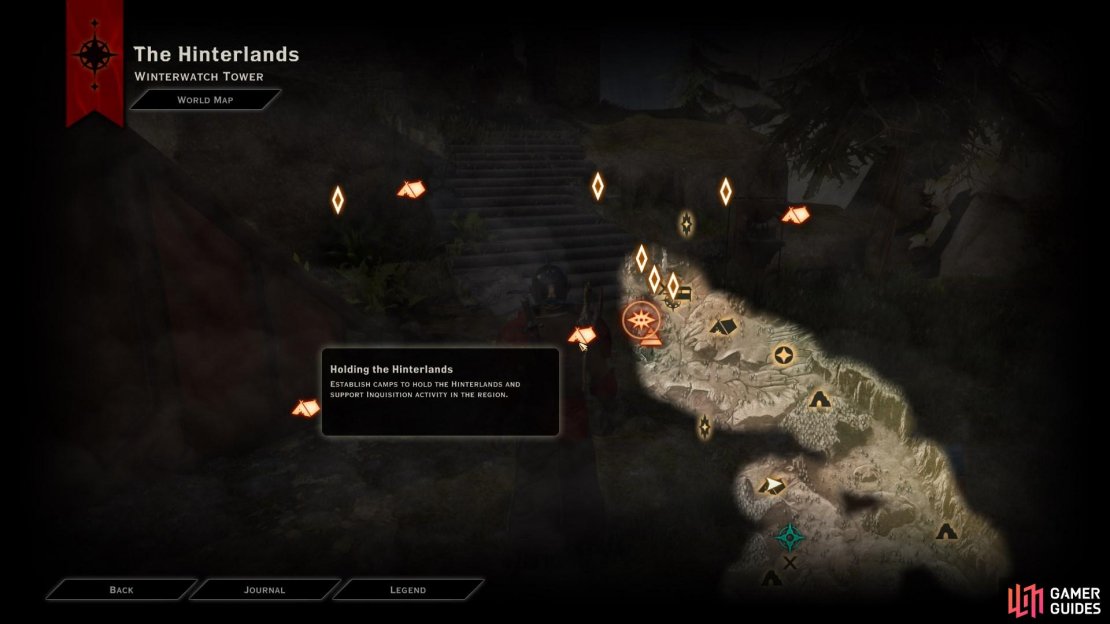

(1 of 3) Claim all camps within the Hinterlands to increase your Power.
Travel to Val Royeaux
In order to travel to Val Royeaux, you will need to return to the war table within the Chantry in Haven first. Use the Fast Travel stone at the Crossroads in the Hinterland and travel to Haven. You can always return to the Hinterlands later to complete any unfinished exploration.
Once in Val Royeaux, be sure to interact with all the plaques along the way to the centre. Turn left to find another plaque then check the bulletin board. You’ll want to inspect the numerous plaques around the central pillar as these provide a lot of experience. Address the Templars in the central area to advance the plot.
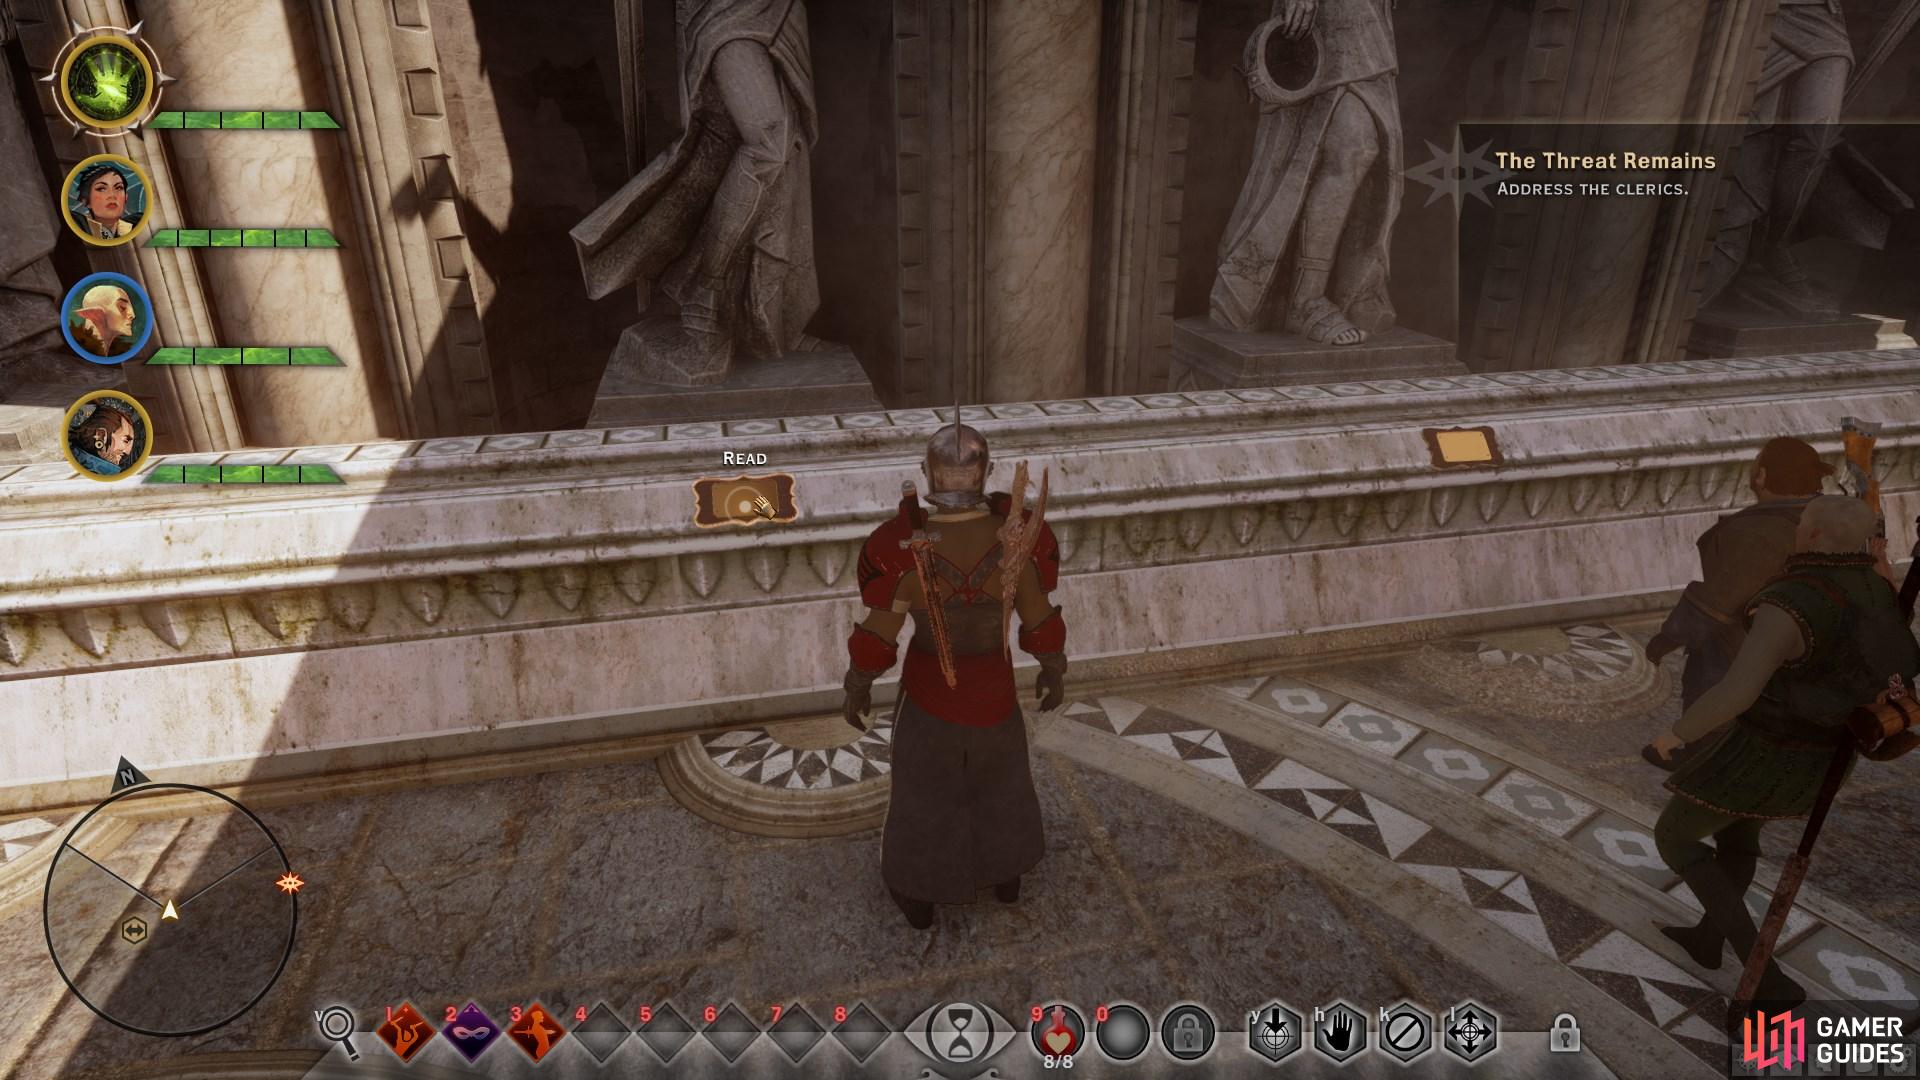

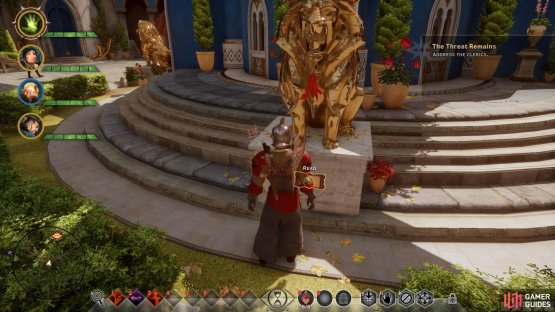
(1 of 2) Read the plaques on the bridge to unlock codex information and earn XP.

Read the plaques on the bridge to unlock codex information and earn XP. (left), Read the plaques in the centre of the circle unlock codex information and earn XP. (right)
Before you return to the Haven, take some time to explore Val Royeaux. There are new companions to be found and a decent amount of XP and loot. When ready, cross the bridge to return to the world map and fast travel to Haven. Enter the war table room for another cut scene and to complete the quest.
You now have two paths to choose from: Champions of the Just (Templars) or In Hushed Whispers (Mages).
| Codex Entries | Rogue Codex Entries |
|---|---|
| The Singing Maiden | The Disciples of Andraste |
| Chantry Hierarchy | Andraste: Bride of the Maker |
| Founding of the Chantry | The Black City |
| The Children of Andraste | Misplaced Notes |
| The Maker | |
| History #1 - A Chant for the Departed | |
| Places #30 - The Fade | |
| Tales #5 - “Nightingale’s Eyes” | |
| Tales #19 - Andraste’s Mabari | |
| Letters & Notes #57 - Patient Observations |
No Comments