

The Warden Contact
You need to spend 8 Power to begin Find the Warden on the Ferelden side of the war table, unlocking Crestwood. It’s pretty bleak right now, but it needs to be scouted. Make your way east, fighting off some Corpse Archers. As you near Crestwood you’ll have to fight through some more undead. You can stop here and explore if you want as there’s plenty to do in Crestwood. To continue, press forward due east sticking to the road. You’ll pass a lot of ![]() Red Lyrium Veins leading to Glenmorgan Mine but just follow the road going south of them once you’ve explored and looted the mine.
Red Lyrium Veins leading to Glenmorgan Mine but just follow the road going south of them once you’ve explored and looted the mine.
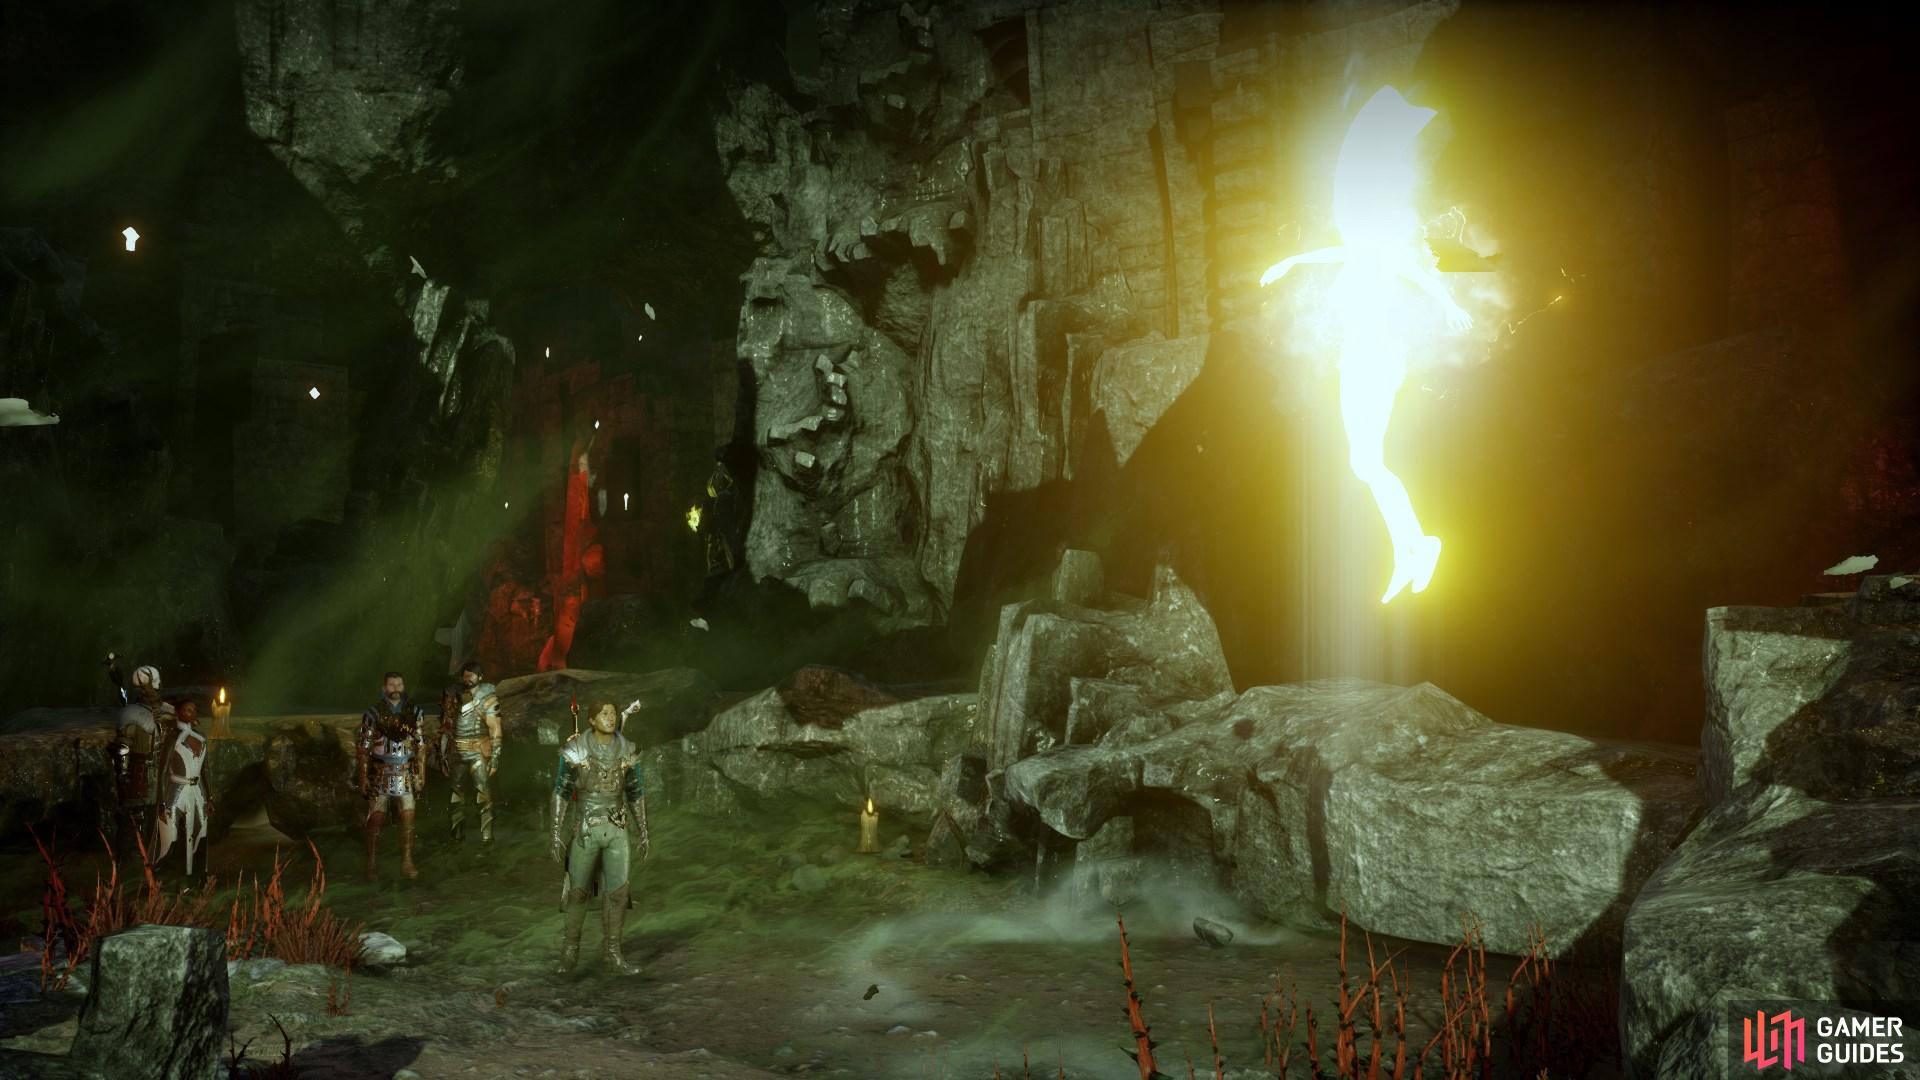
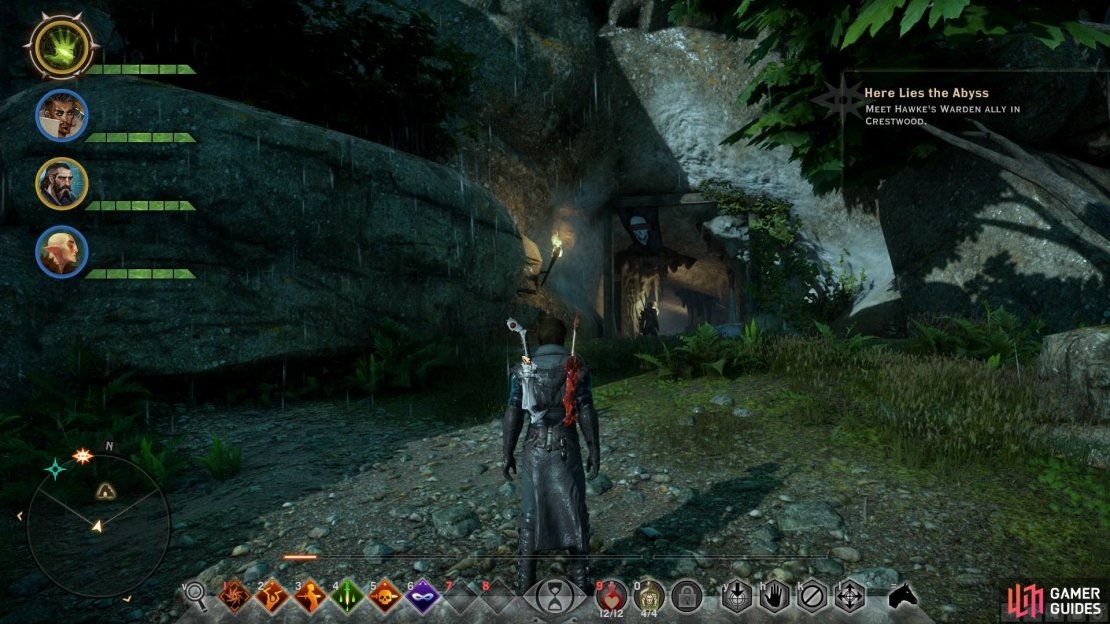
Continue south east from Crestwood toward the Three Trout Farm Camp. Establish camp here and then follow the road south east as it loops north east toward a cave entrance, where you’ll find Hawke waiting outside. Speak with Hawke and continue through the cave. A cutscene will begin in which you meet a warden. Once done, interact with the codex Regarding the Calling before leaving the cave, and be sure to loot it for ![]() Deep Mushrooms.
Deep Mushrooms.


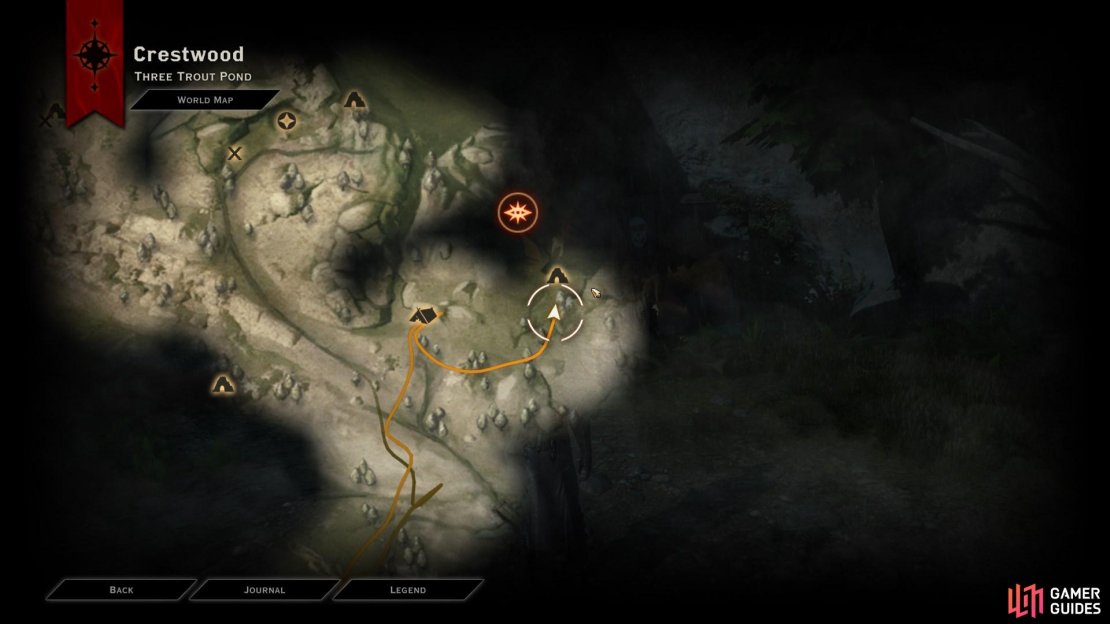
(1 of 4) From the North Gate Camp, head east and then north east from the crossroads to find Crestwood.
When you’re ready, return to the war table in Skyhold and use 8 Power to begin the mission Investigate the Western Approach. Once you’re in the Western Approach, head south west from the Lost Spring Canyon Camp and meet Hawke and the warden to confront Erimond. It’s a nice little trek out to where Hawke and the Warden are located; once you get there a cutscene begins. Ask Erimond all the questions you want but in the end you’ll have to fight. Use the Mark of the Rift to end the battle instantly then another scene takes over.
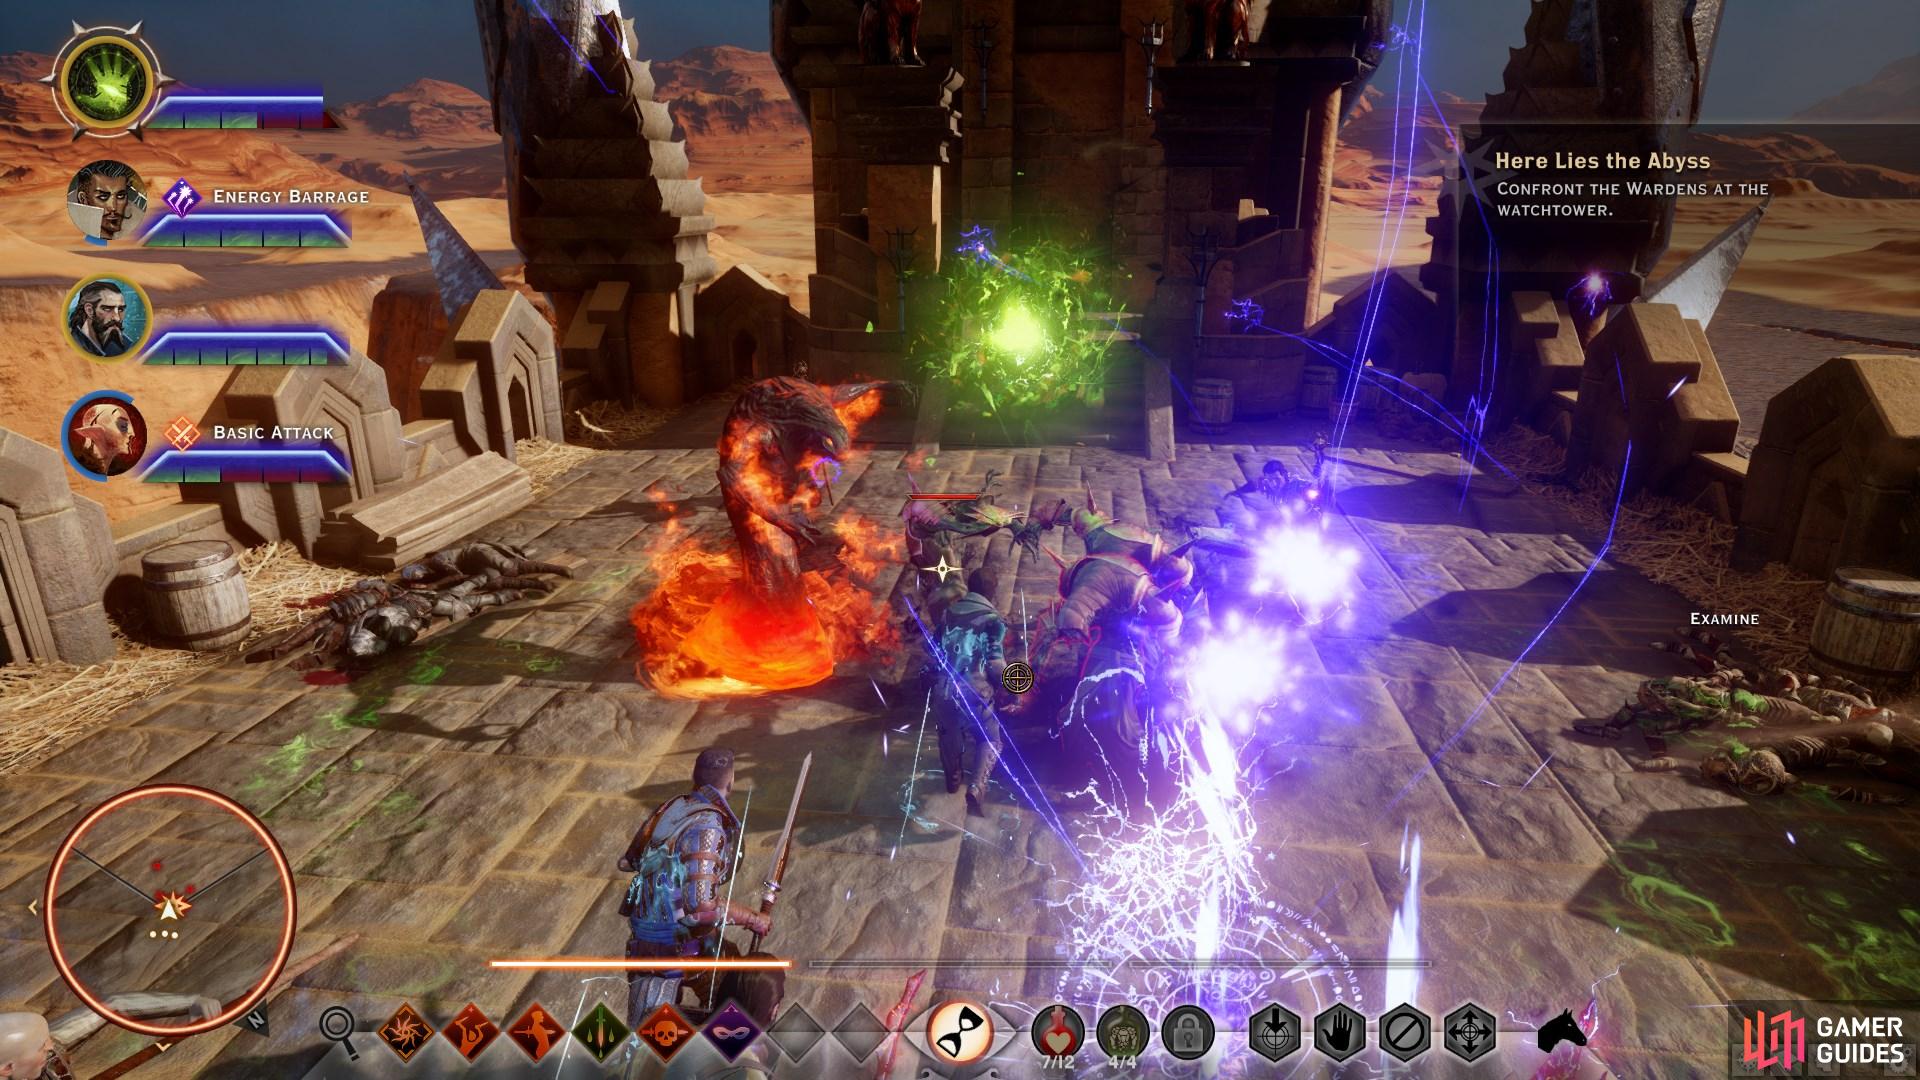


(1 of 2) Use Mark of the Rift to defeat the wardens and their thralls swiftly.
Use Mark of the Rift to defeat the wardens and their thralls swiftly. (left), Loot the Bottle of Thedas before you leave the ritual area. (right)
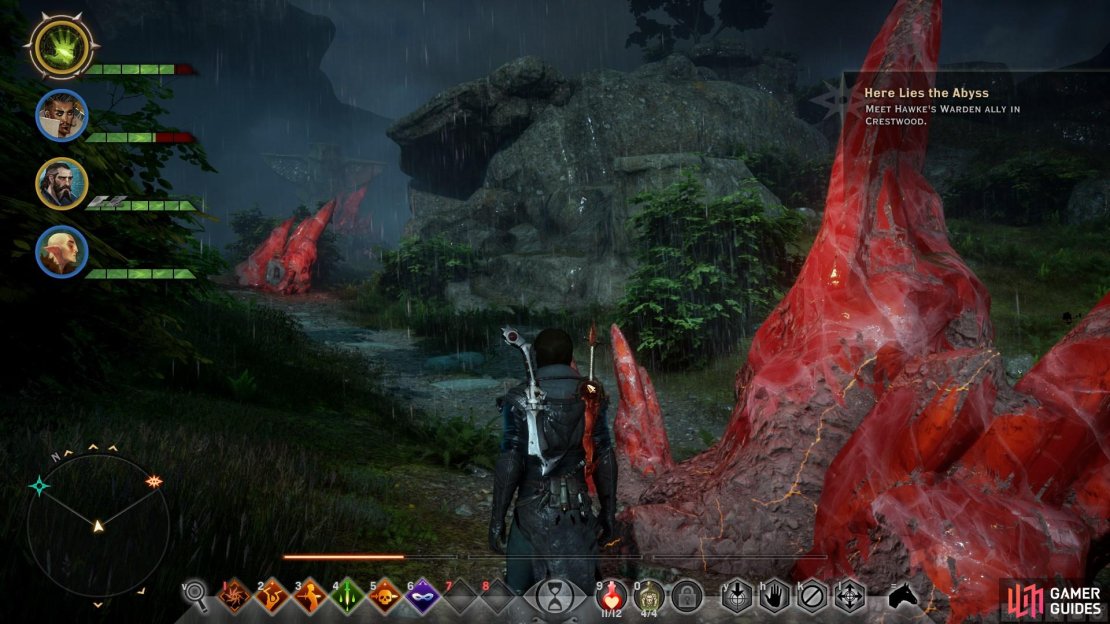
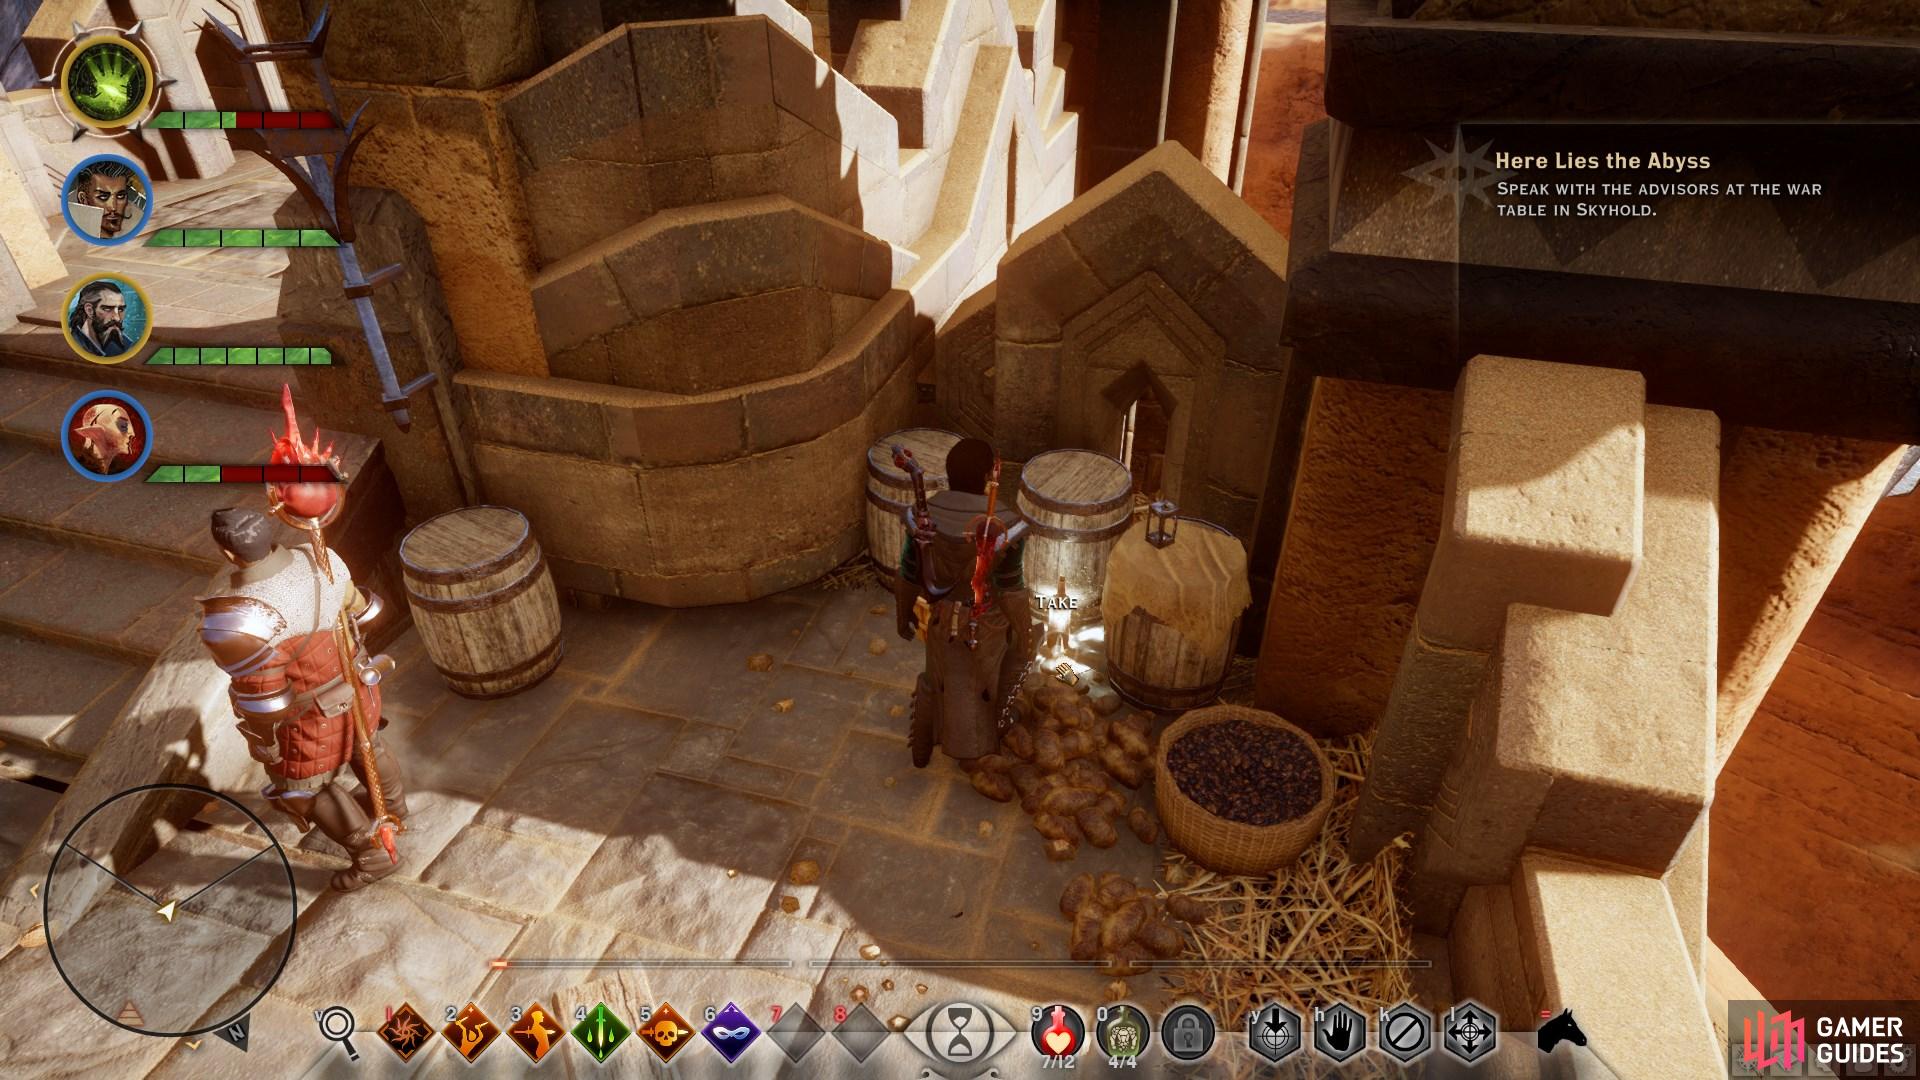
Before you head back, seek out the Bottle of Thedas in the corner and head down the steps to claim the landmark. You can now go to the war table in Skyhold and choose Here Lies the Abyss for 20 Power to begin the assault on Adamant. You’ll want to bring Blackwall as he has some unique dialogue for this mission in particular.
Assault on Adamant
After the scene you’ll gain control at the Lower Bailey. The first wave of enemies is Shades and a Warden Spellbinder. They group up so hit them with area attacks. Head up the steps to find a group of Wardens and the Senior should be your initial focus; he should drop a Rare Accessory. Check the northeast corner for a Chest then cross the bridge. Two Shades try to stop you but that’s not nearly enough. Quickly head down the steps to help the Wardens fight the Spellbinder and Shades. You can ask them to “Surrender” or “Fall Back”; the former initiates a fight while the latter sends them away.
Battlements
Loot the Chest here and continue onward to another one. Open the door and climb the staircase to find a Chest in the corner. Turn around from here to see the right way to go. Clear out the Warden Archer and two Shades then step outside the wall to spot a Chest. Climb up to the Battlements now and defeat the Wardens preventing the Inquisition soldiers from climbing up. More Wardens come from down the way and one can drop a Rare Armor. Inside you’ll find another Supply Cache so be sure to use it after you’ve healed yourself.
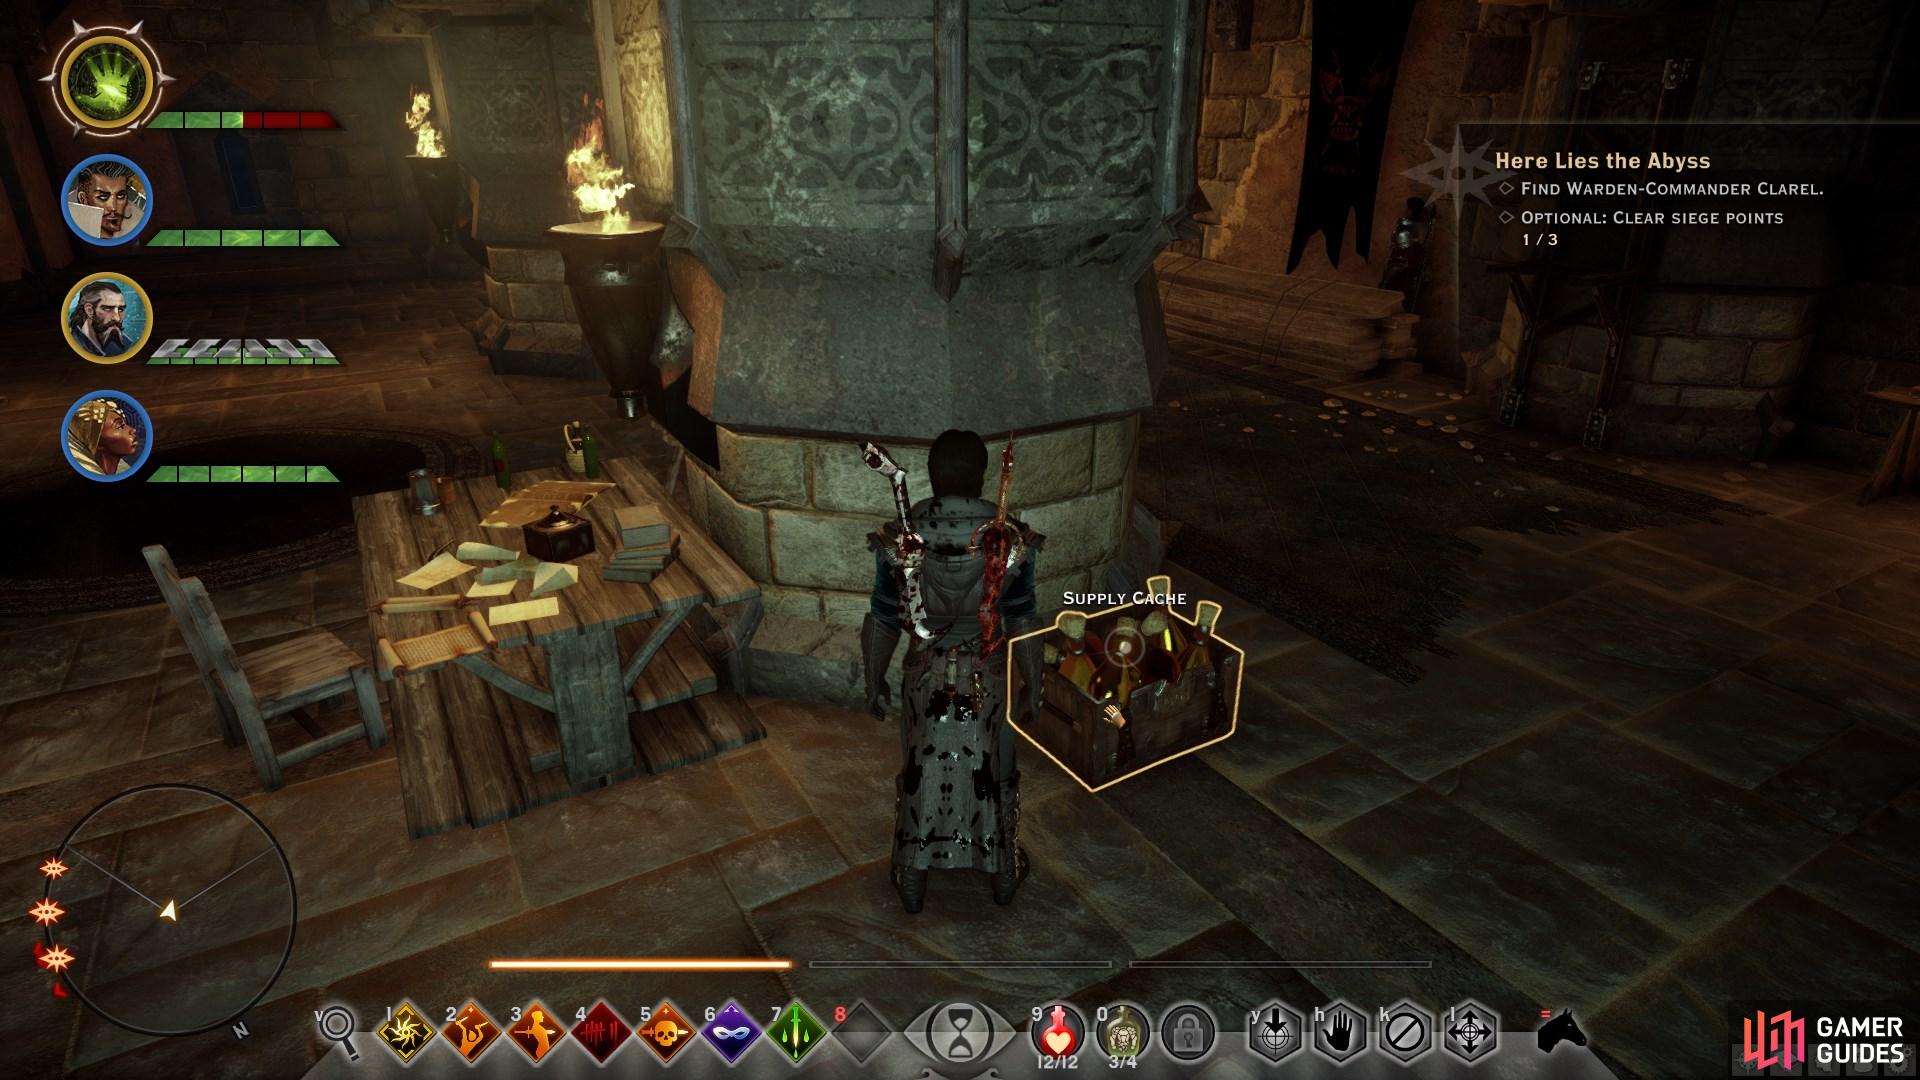


(1 of 2) Be sure to replenish your potions from the supply cache before moving along the battlements.
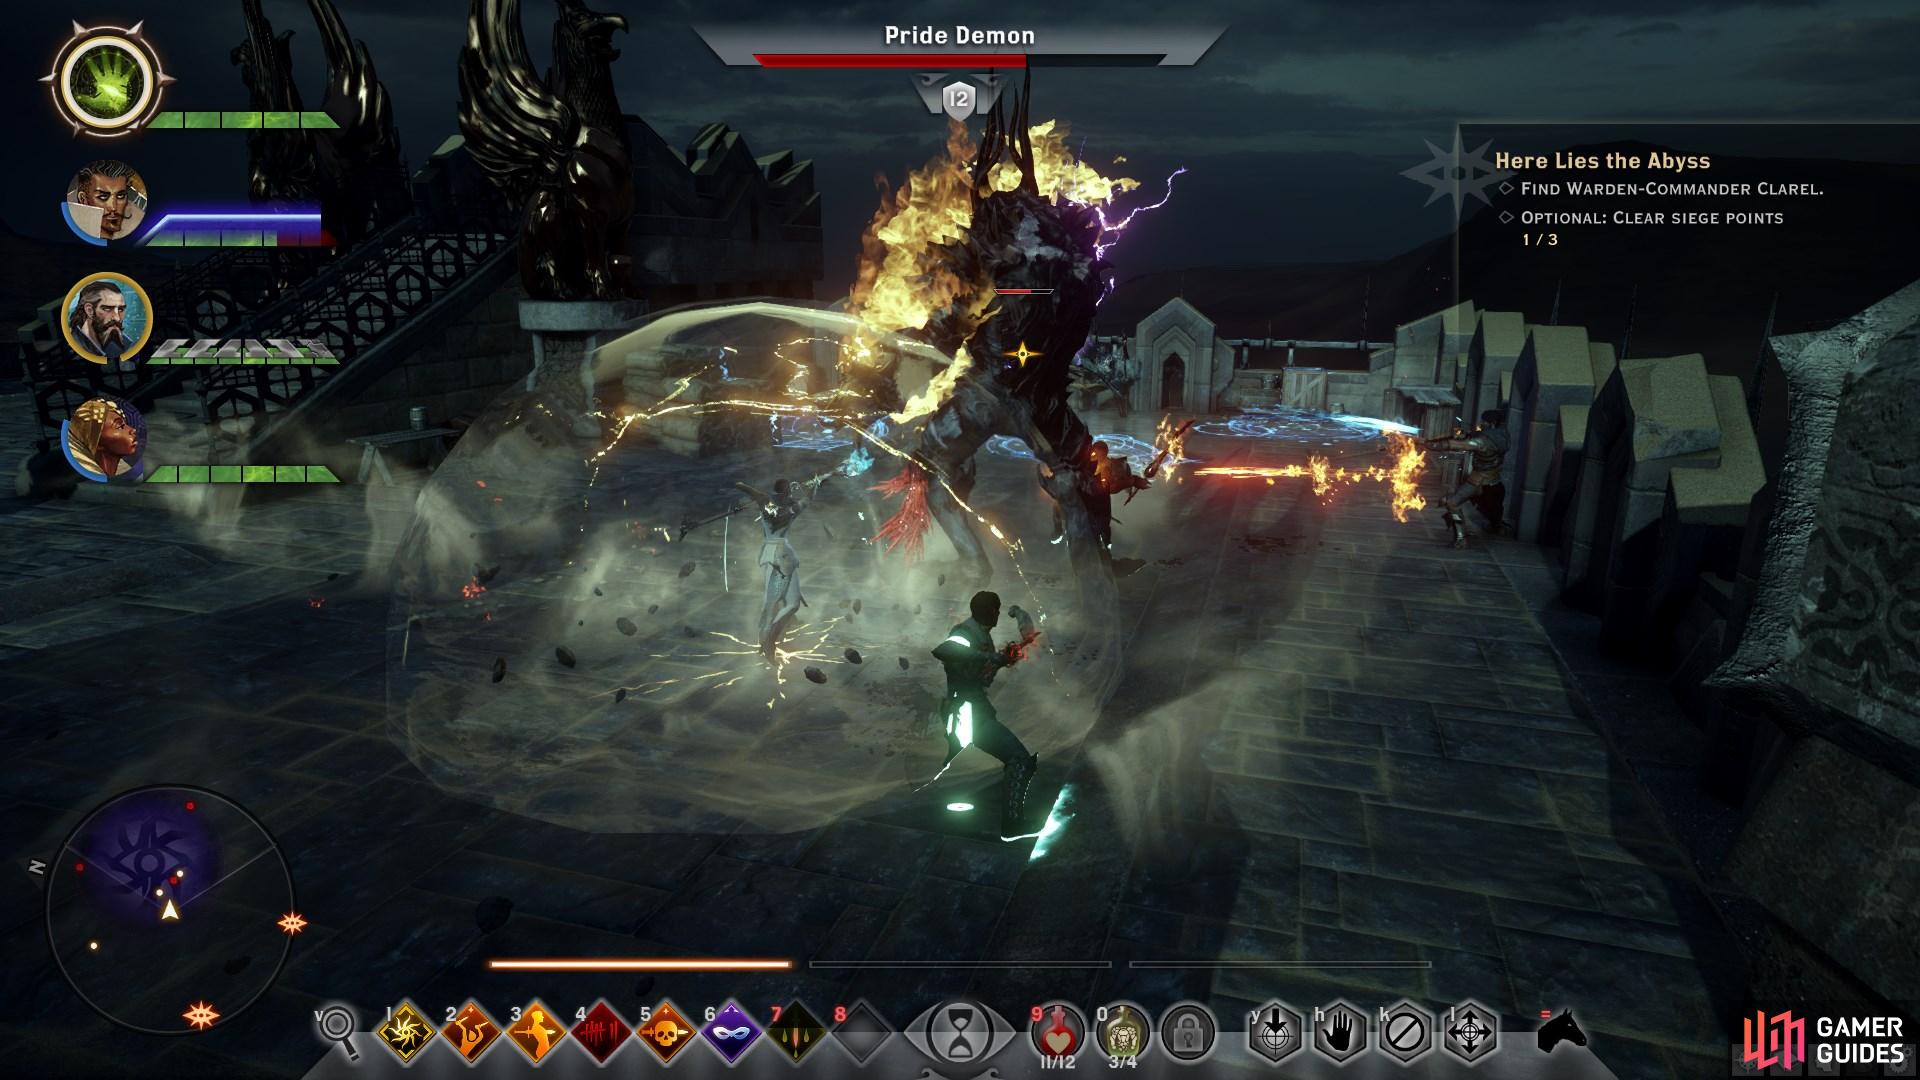
Be sure to replenish your potions from the supply cache before moving along the battlements. (left), Stay behind the Pride Demon as you fight to avoid its area of effect attacks. (right)
Open the Chest in the next room then head back out to the battlefield. There are two Despair Demons, a Pride Demon, and some Warden Spellbinders. Try to hit the demons with an incapacitating attack then defeat the Spellbinders. Loot the Chest for the Grey Warden Banner and grab the codex for An Unsigned Letter before pressing on. A Chest on the north side can hold a Rare Accessory. Cross over the bridge to engage in a similar fight as the previous one. You have the option to clear the three siege points before moving on to find the Warden-Commander, but this isn’t required.
Finding Warden-Commander Clarel
Loot the Pride Demon for a Rare Rune then the nearby chest for a Rare Helm. Restock at the Supple Cache and grab the codex A Letter from Warden-Commander Clarel as you return to center. Some Shades try to ambush you so defeat them and go down the steps to find some Loot with ![]() Shield of the Anointed inside. Go through the doors until you reach the far side of the walls where a Shade and Rage Demon are attacking. There is another Supply Cache at this point; use it then head through the doorway. Loot the Chest here for a Rare Armor then press on to trigger a scene.
Shield of the Anointed inside. Go through the doors until you reach the far side of the walls where a Shade and Rage Demon are attacking. There is another Supply Cache at this point; use it then head through the doorway. Loot the Chest here for a Rare Armor then press on to trigger a scene.
If you brought Blackwall along you get a special dialogue. Another scene takes place and if you turned the Wardens you’ll only have a few demons and the Spellbinders to fight. Clear them out and head up the stairs to find a bunch of Shades. Continue to follow Clarel past the Greater Shade and up more stairs for another scene.
The Fade
If you played Dragon Age: Origins you might be cringing to find yourself in the Fade. Don’t worry, it’s not the same arduous back and forth journey. Plus you have the added bonus of having Hawke and his Warden friend as company.
Use the Supply Cache then head to the right to find Fears of the Dreamers on the table. Search around to find a Candle through the water and loot the crystal on the way for a Rare Accessory. Place the candle on the table then collect the Magic +1. Examine the statue for A Plea From the Warrior to the Spirits then check another crystal for a Rare Accessory. Back to your left is A Letter by a Burning Candle.
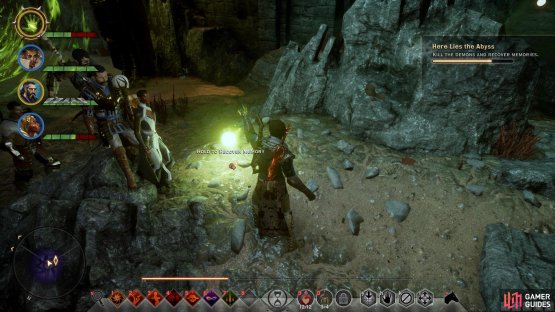
Go up the central stairs now to find Divine Justinia. This creature, whether it really is Justinia or not, is here to help and wants to show you your memories. Defeat the Wraiths then collect your memories to trigger a scene. Go back down the steps and turn right. Loot the crystal for a Rare Accessory then defeat three Wraiths down the way. Turn left to find a book, Walking the Fade: Frozen Moments, then loot a crystal on your way to an Eluvian that grants Magic +1.
Go back up the stairs where you met the creature acting as Justinia. Loot the crystal ahead for a Rare Accessory and turn right to find a Greater Shade. Examine the structure for A Letter Written in a Shaking Hand and loot the crystal here. Ahead is another crystal; loot it and descend the stairs. Deal with the Shades and start searching to find some Flowers.
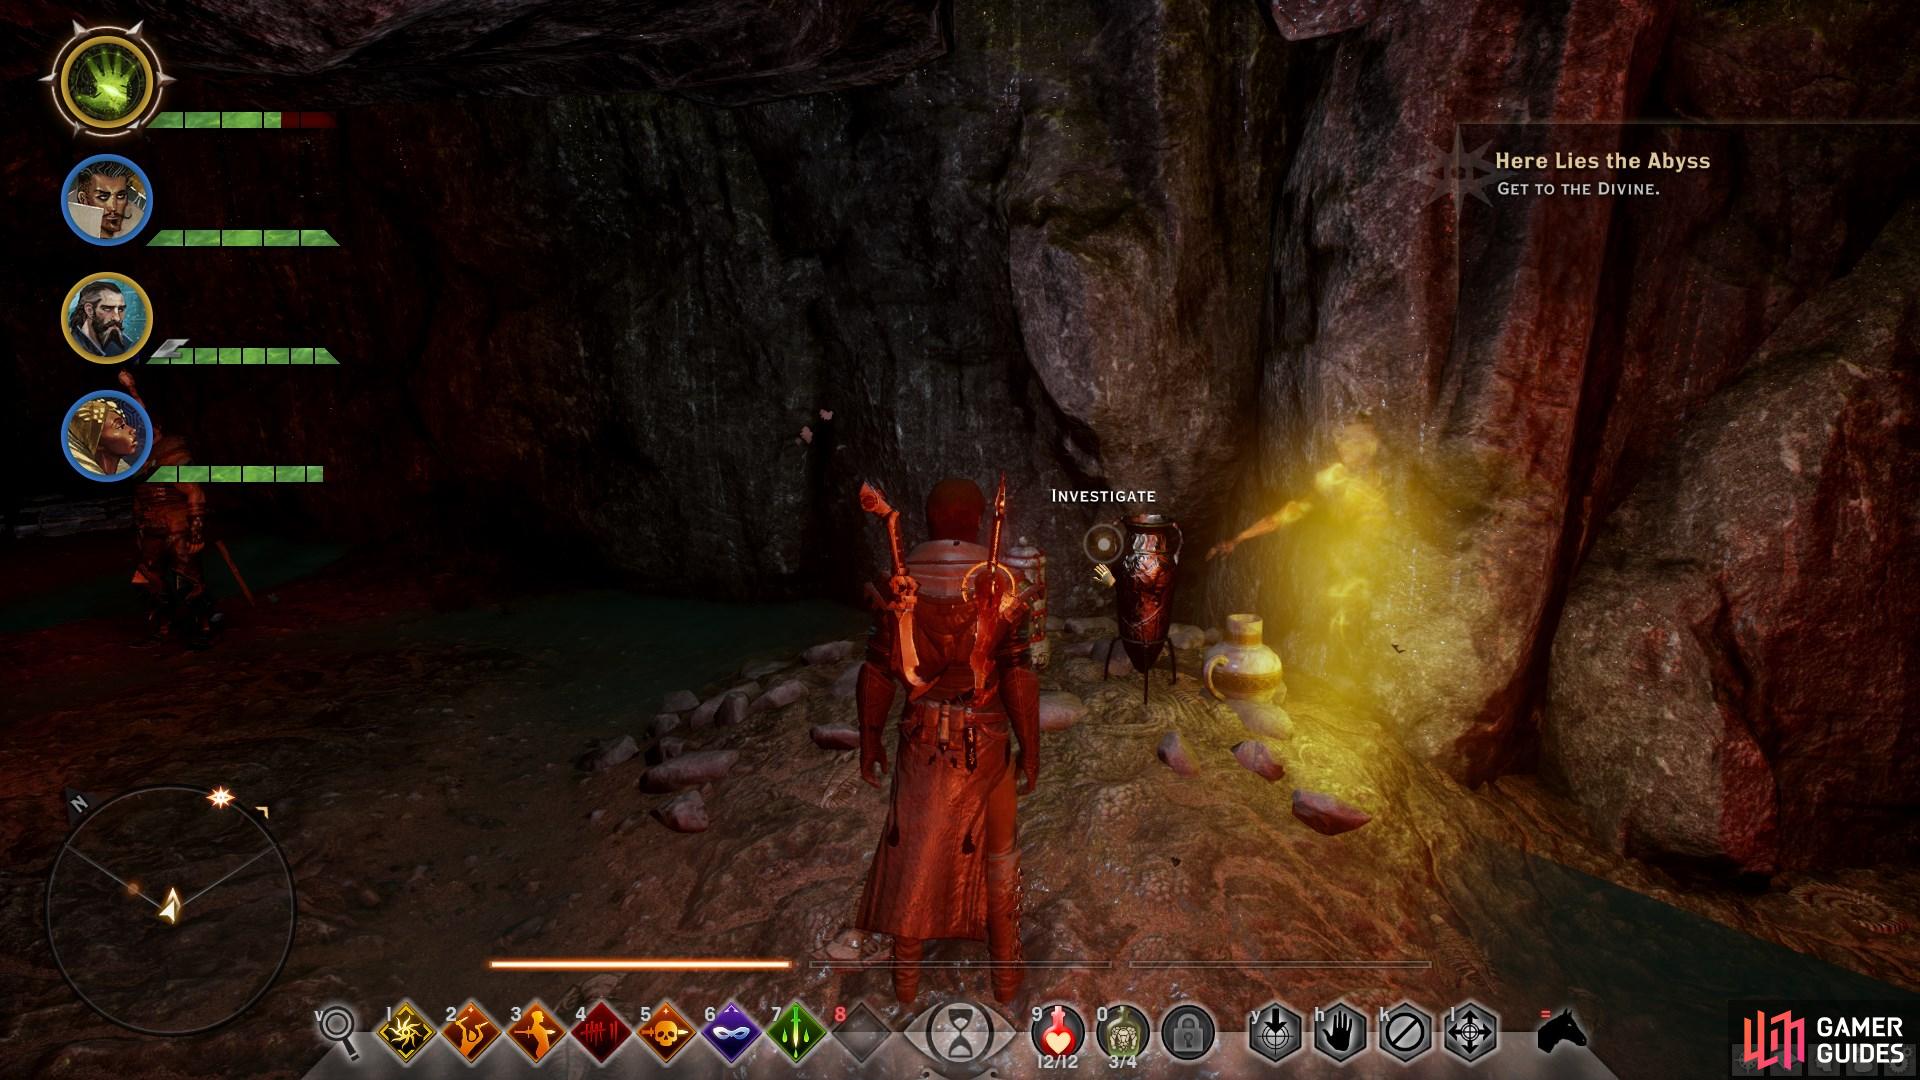


(1 of 2) Be sure to investigate all items as you move through the Fade.
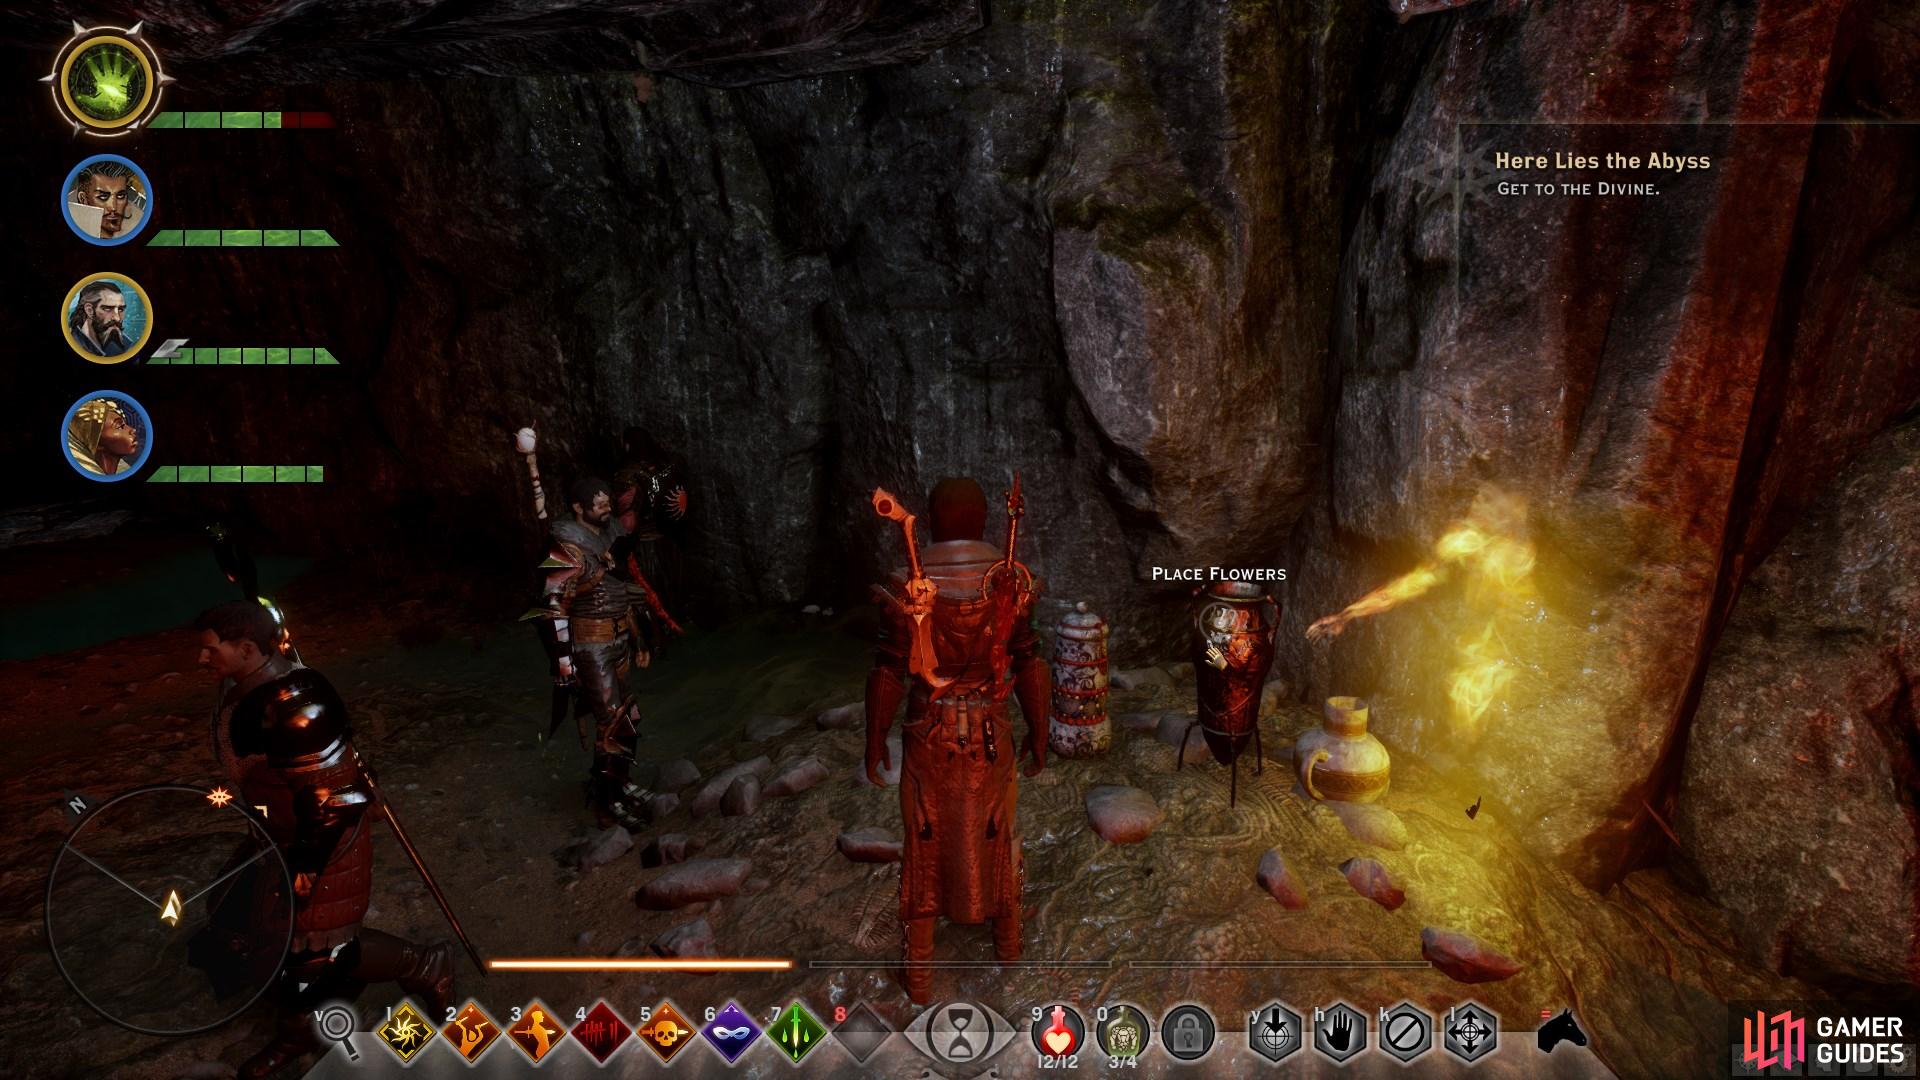
Be sure to investigate all items as you move through the Fade. (left), You will sometimes need to place items in specific places once you have investigated them, as marked on the mini map. (right)
Overcoming Fears
The south end has a crystal and the middle can be inspected for The Claws of Dumat codex. Examine the pots on the east side, place the flowers, then claim the Constitution +1 . Loot another crystal for a Rare Accessory then climb the steps to another with a Rare Accessory . Down the steps is another Eluvian, this one grants Dexterity +1. The path splits ahead; stay left to find a crystal and an Excerpt From A Journal that spawns a Rage Demon. Head up the steps to find a crystal with a Rare Accessory. If you inspect the corpse you will spawn two Rage Demons and three Wraiths but you can check the Eluvian after you kill them for Cunning +1 .
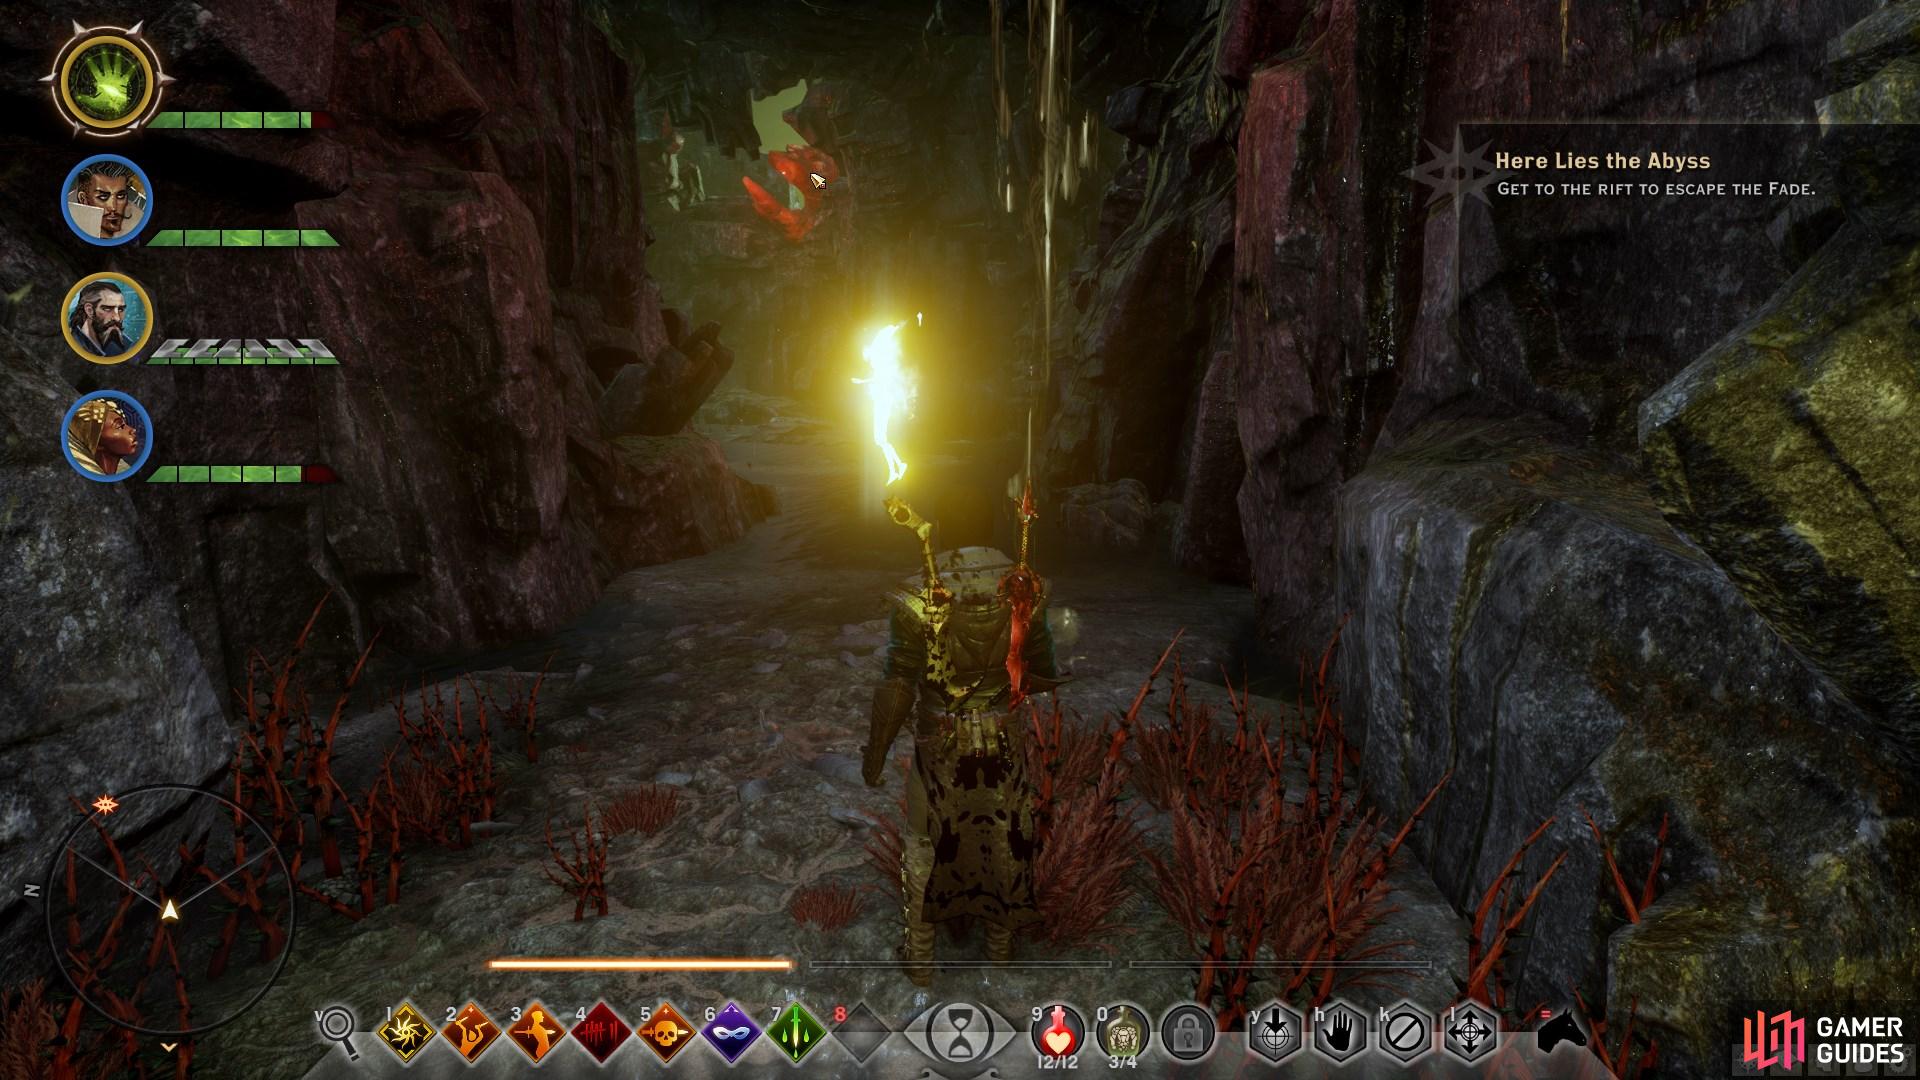

(1 of 2) Follow the Divine through the Fade once you have investigated all items.

Follow the Divine through the Fade once you have investigated all items. (left), Be sure to recover your memories from wraiths once you have defeated them. (right)
Head back to the split and go down the steps now. Read the Excerpt From A Journal then continue facing off against Spiders that are aptly named fears. March on to find “Justinia” and more Wraiths; defeat them to gain some more memories. Your memories spark a bit of an argument and you can pick sides if you want or tell them this is not the place. Pick up the Letter In A Child’s Simple Writing , A Note Left By Burning Candle , and the crystal here. Turn the corner and search the skeleton for the Tarot Card. Put it in the pot to get Strength +1 . The Eluvian ahead gives Willpower +1; grab it then continue towards the “Divine” ahead.
Escape the Fade
At this split go left up the stairs. You’ll encounter two Pride Demons as you reach the top. Begin searching up here to find a Stuffed Animal. Hold onto the bear for a moment. Close by near the ledge is a strange looking apparatus. Investigating it will give you the “Broken Window” side quest. All you need to do is light the five flames in the right order to retrieve the loot. Light one out of order and you need to restart. The correct order starting from the left is: 4, 1, 3, 5, 2. You’ll be rewarded with ![]() Jagged Battleaxe Schematic,
Jagged Battleaxe Schematic, ![]() Amulet of Power (Inquisitor), and
Amulet of Power (Inquisitor), and ![]() Superb Ring of Bleeding.
Superb Ring of Bleeding.
Now take the bear, place it on the nearby bed and grab the Willpower +1 . You will come back to where the fork reconnects, so button hook back around at the bottom of the steps. Use the Eluvian for Strength +1 and go back to the original split point to find The Laws of Nature In The Fade . Go back and towards the right to a graveyard. Search for the Vial of Darkspawn Blood then take it to the vial where you can claim Cunning +1 .
Continue to the Divine to be faced with “The Maker” and a slew of demons. Fight them until the barrier goes down then march on, completing the sidequest by looting the pile on the left. Use the Supply Cache then head forward for a cool scene that results in a boss battle.
BOSS - Aspect of the Nightmare
| Value | Stats |
|---|---|
| Health | 70267 |
| Defence | 46 |
| Resistance | Spirit |
| Vulnerable | Electricity |
| Immunity | All Physical Effects, Fear, Asleep, Froze |
| Ability | Perceptive |
This boss isn’t as difficult as it may seem. The thing you need to focus on the most is positioning because you’ll have to face Fearlings and Wraiths from time to time and being able to quickly kill them without taking damage is the biggest trick. It functions like a Terror, able to warp around the battlefield and spring up on your ranged characters so be sure to keep them spread out. An archer with Evade can easily avoid being knocked off their feet. Start the battle with Mark of the Rift to quickly get in a large amount of damage and remove the additional demons then focus on high damage single attacks.
The Barrier can be removed with Dispel and the Aspect will replenish it often, so take it down before wasting attacks into the Barrier. It’s a hard boss to effectively control but the attacks it deals won’t do too much damage, just keep pummeling it.
It’s time to leave. Once out of the Fade you have to decide what to do with the Grey Wardens. You can choose to exile them, or allow them to remain and fight for the Inquisition. If Blackwall is in your party and you choose to exile the Wardens, you can also exile him.


| Codex Entries | Other Texts | Enemies |
|---|---|---|
| Fears of the Dreamers | A Letter Found on a Grey Warden Mage | Corpse Archer |
| The Keepers of Fear | The Birth of Fear | Lesser Shade |
| The Laws of Nature in the Fade | The Claws of Dumat | Shade |
| A Letter by a Burning Candle | Excerpt from a Journal | Red Templar Knight |
| Nightmare (Inquisition) | A Letter Written in A Shaking Hand | Red Templar Guard |
| A Plea from the Warrior to the Spirits | Memories Etched in Stone and Blood | Highwayman Guardsman |
| Walking the Fade: Frozen Moments | A Note Left by a Burning Candle | Highwayman Archer |
| Walking the Fade: A Harrowing | The Temple of Dumat | Highwayman Foot Soldier |
| Whispers Written in |
Rage Demon | |
| Warden Spellbinder | ||
| Warden | ||
| Warden Archer | ||
| Senior Warden | ||
| Despair Demon | ||
| Pride Demon | ||
| Greater Terror | ||
| Greater Shade | ||
| Gibbering Horror |
No Comments