

Sealing the Breach
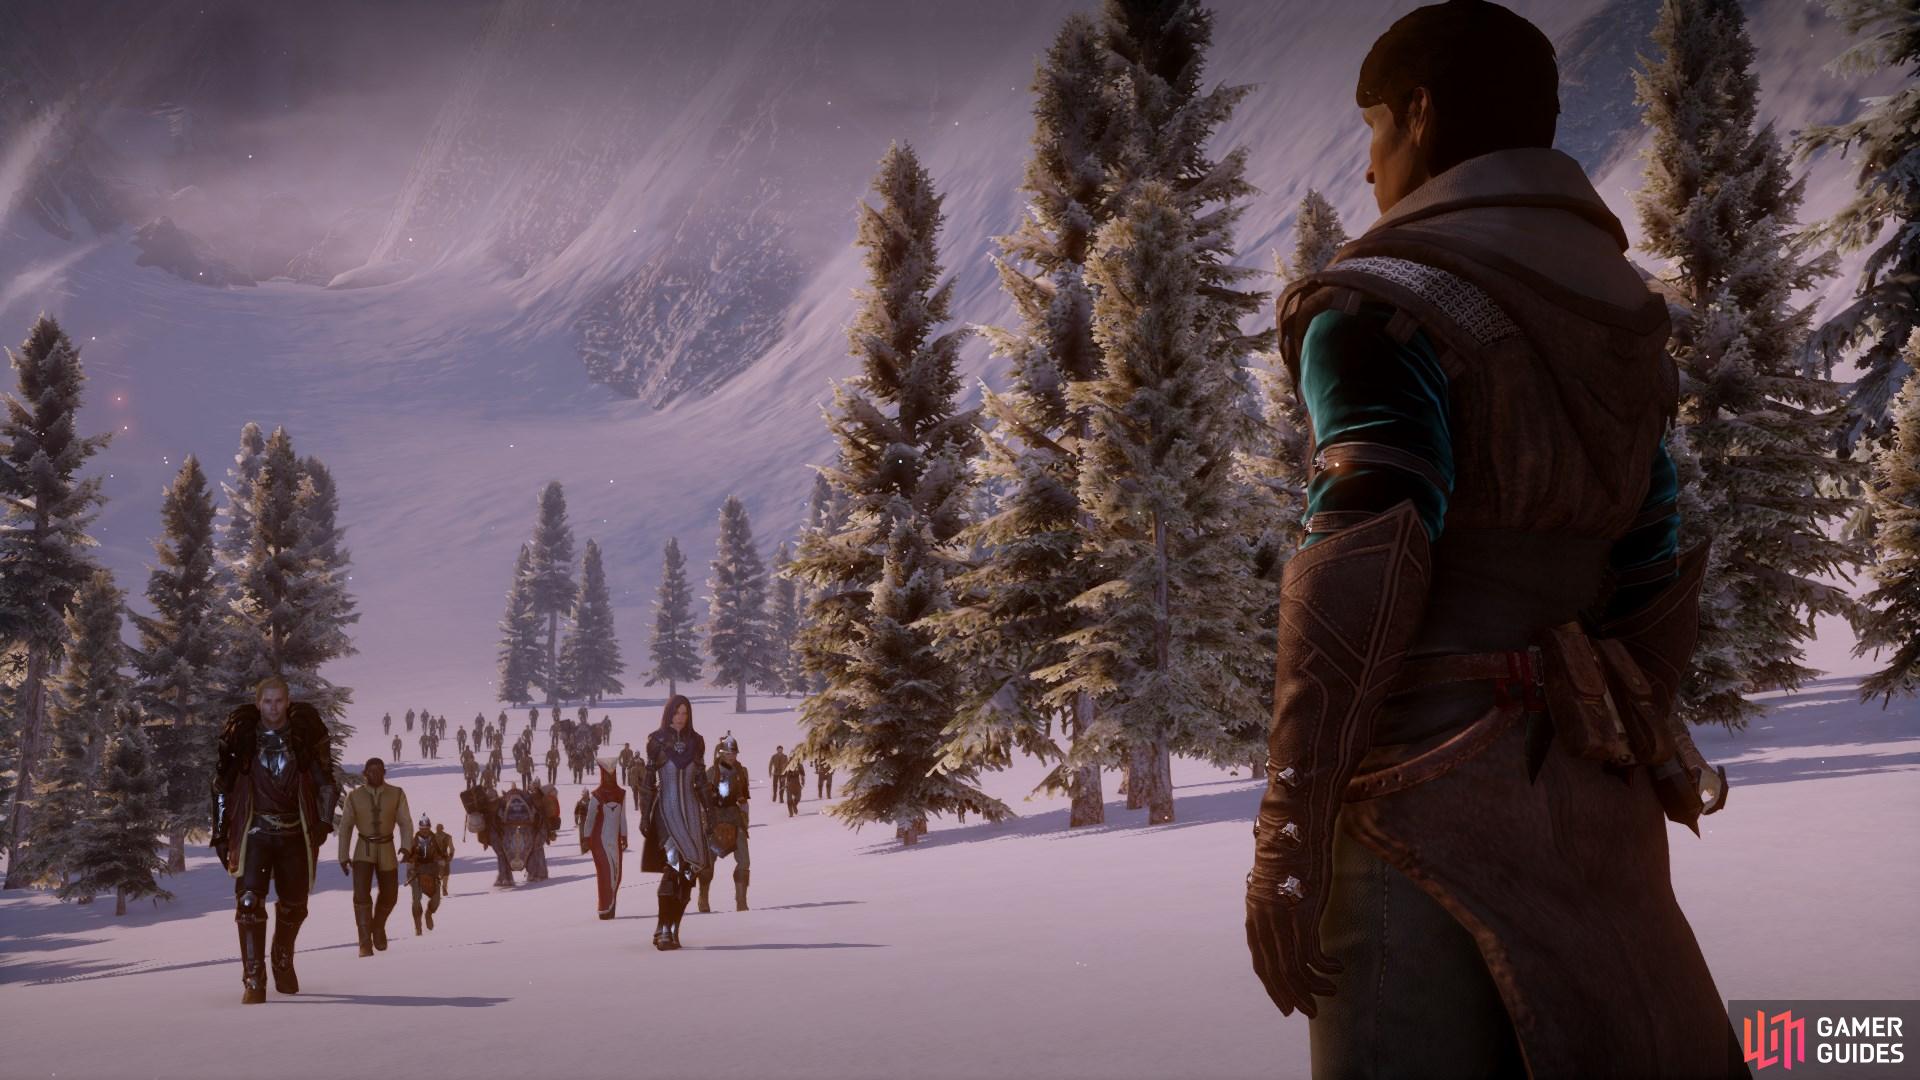
At the War Table choose this mission, it costs 1 Power. Set up your party and you’ll trigger a cutscene, ending in a battle at Haven. Make your way to the gates where you’ll meet either Dorian or Cole, whichever you haven’t met yet.
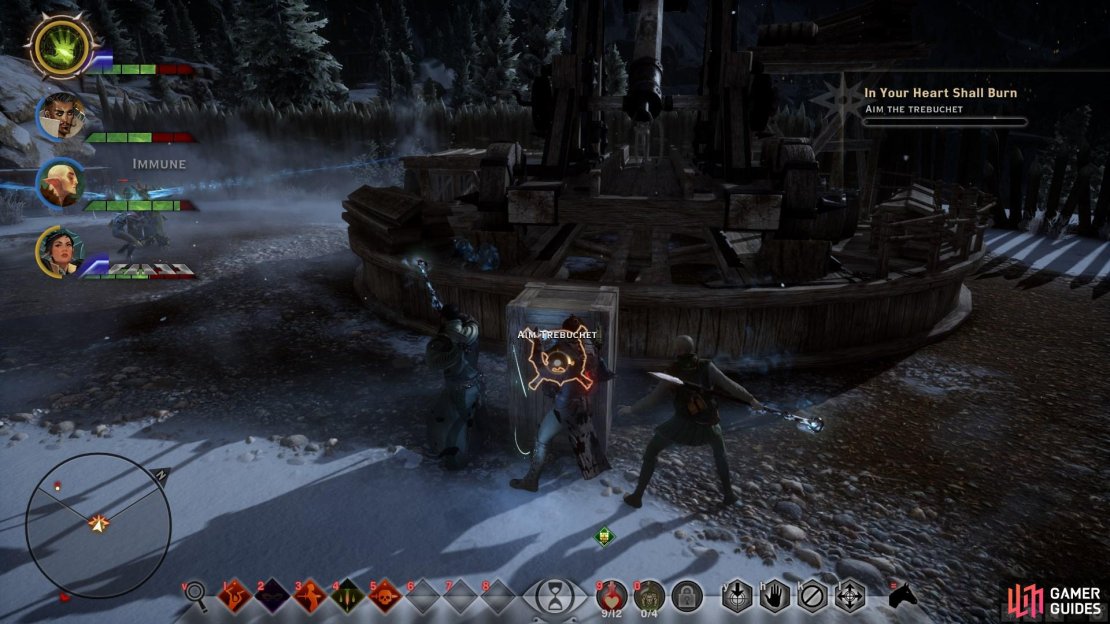
Defending the North Trebuchet
Fighting Templars:
Waves of Red Templars attack from both sides of the trebuchet. Focus on the Templar Horrors and then the foot soldiers. The second wave comes from the right and has Marksman and Guards. You’ll want to defeat the ranged enemies first but if you can get them grouped up then some area of effects attacks can be devastating. From these first two waves you should find a Rare Weapon and Rare Ring from the dead. The final wave is small and comes from the left; just defeat the horrors.
Fighting Mages:
You’ll have to contend with Spellbinders, Marksman, and Zealots. Focus on the Spellbinders, they will cast Barrier on the Zealots and that creates problems for quickly defeating them. Take out the Marksman last; it’s not a common strategy but the Zealots can overwhelm. Reinforcements will bring a Gladiator. In this wave focus on the Marksman first then the Zealots. The Gladiator is a hassle and its shield requires the entire party to focus on his weak spot. Next, from the left are more Spellbinders and Zealots – defeat them.
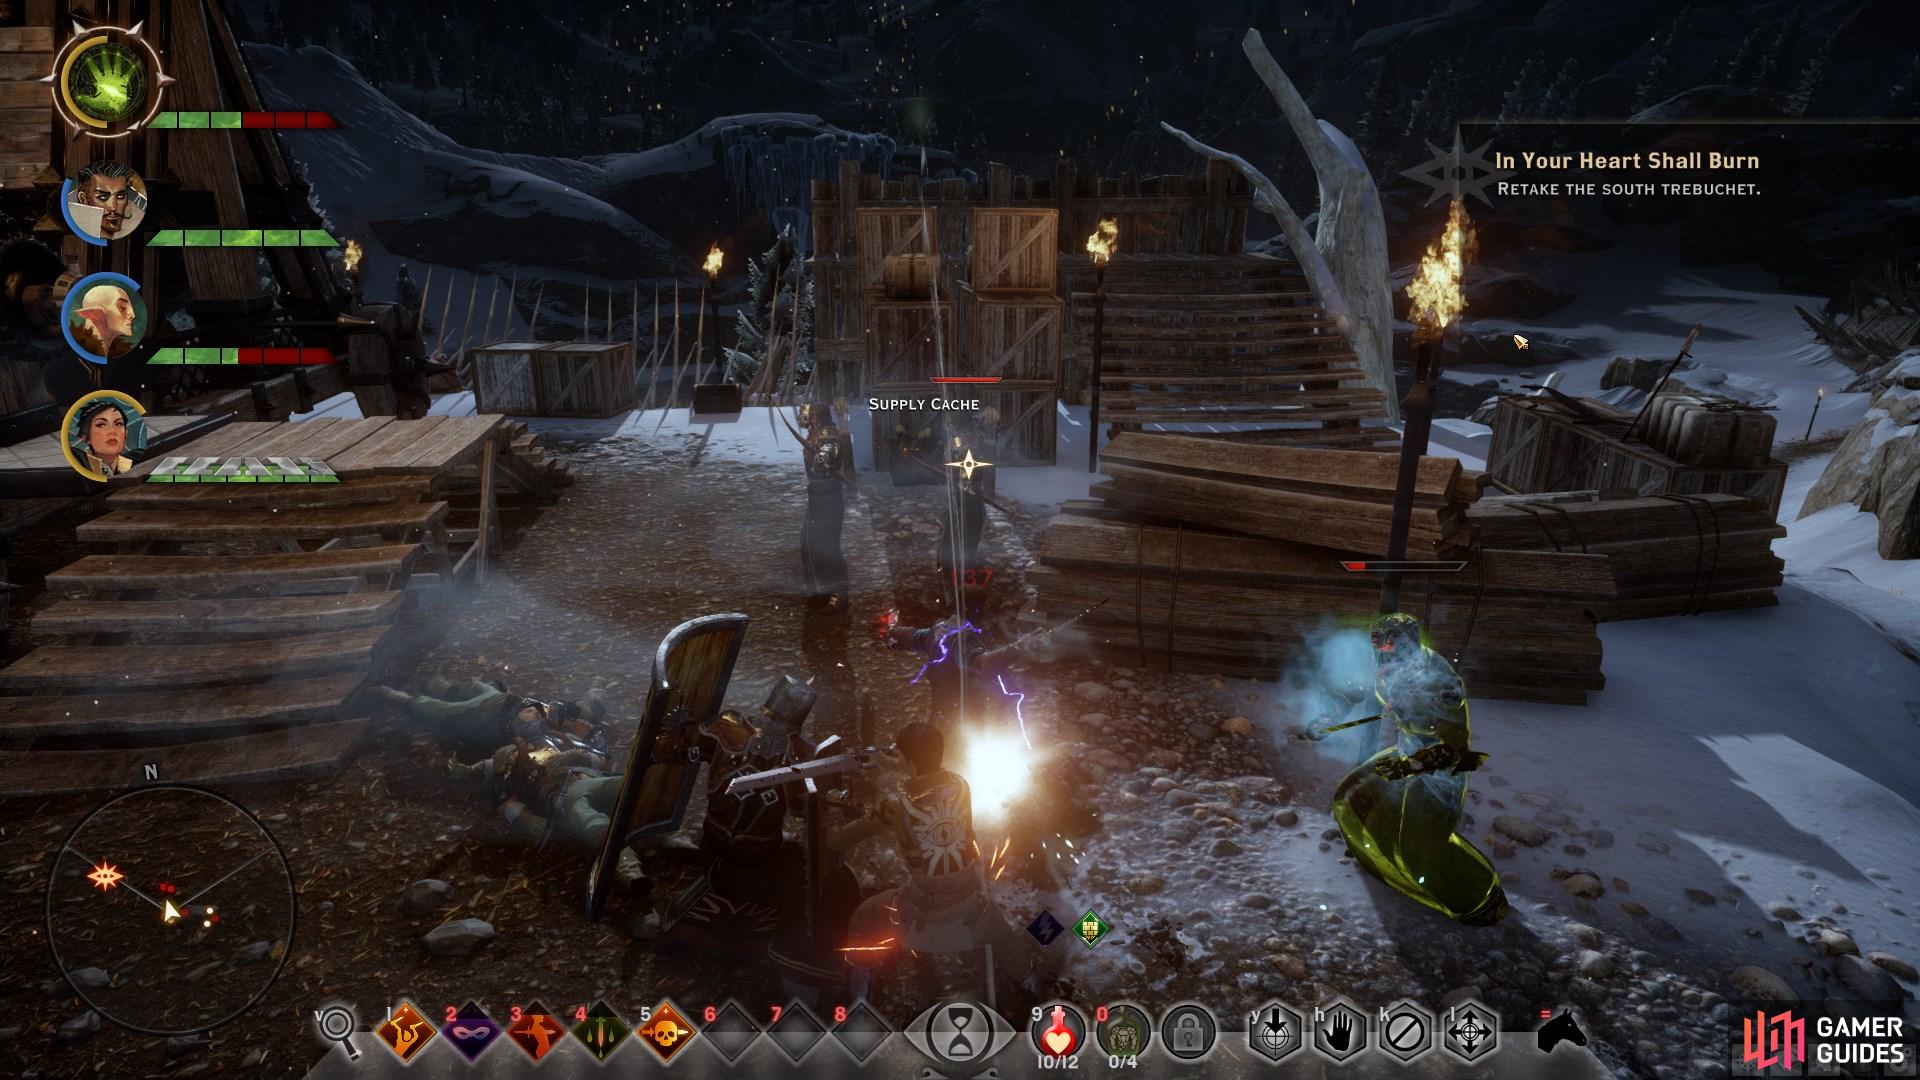
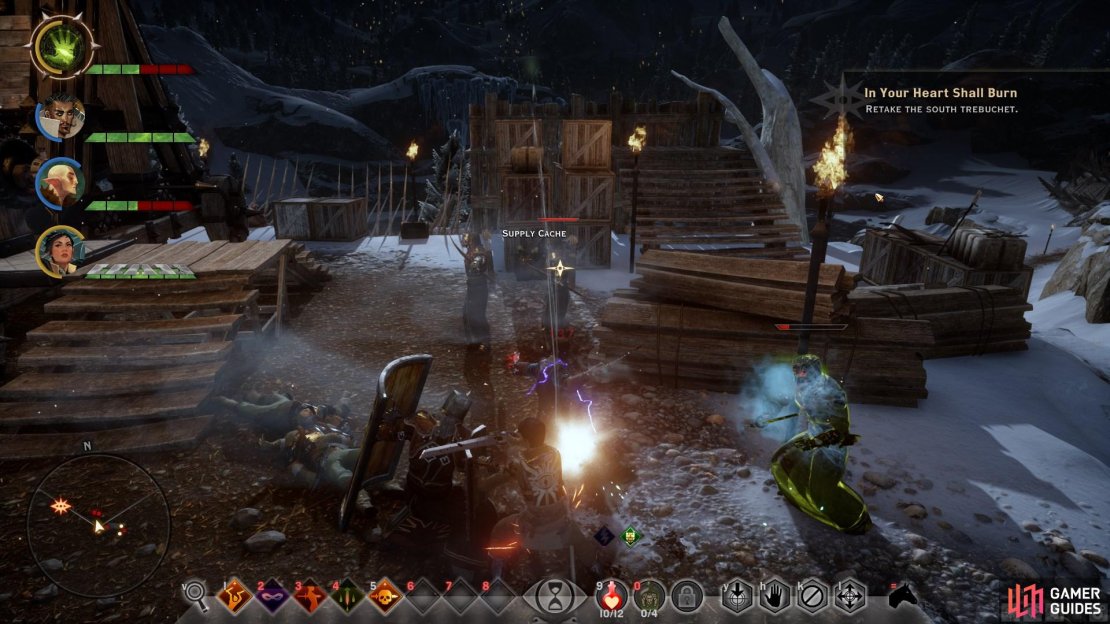
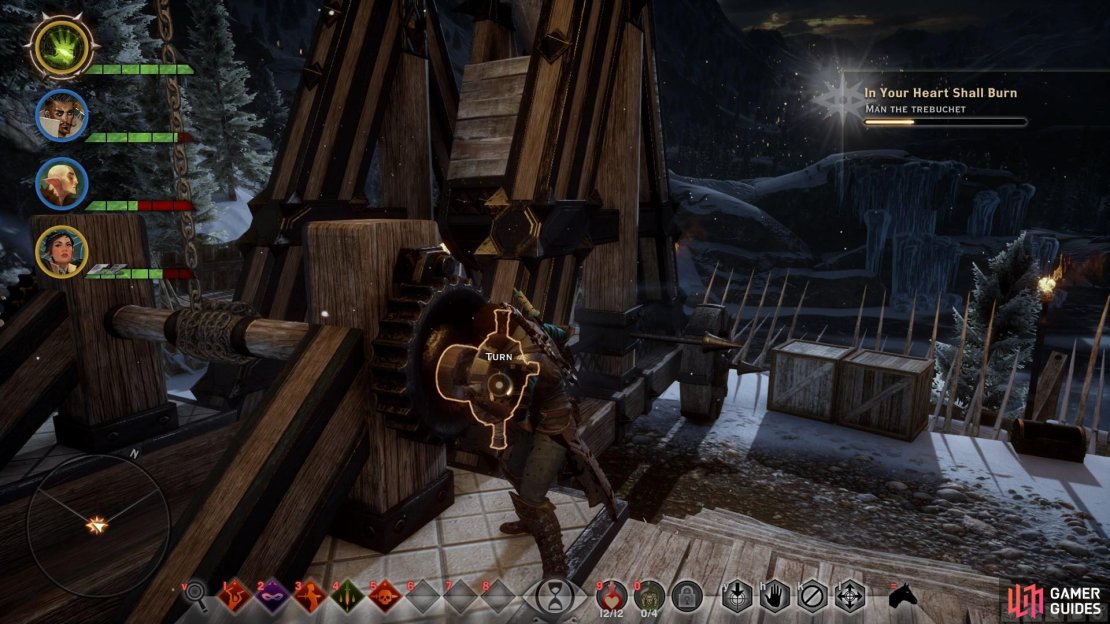
(1 of 3) Take out the ranged units first to avoid heavy incoming damage. Use your companions to focus fire and kill them quickly.
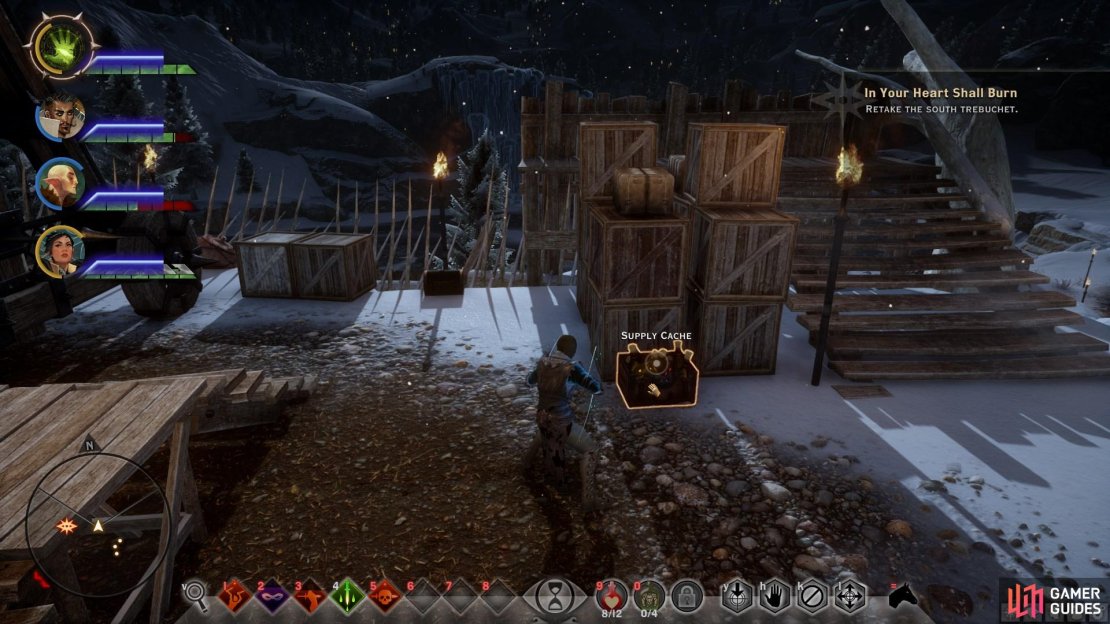
Retake the South Trebuchet
Fighting Templars:
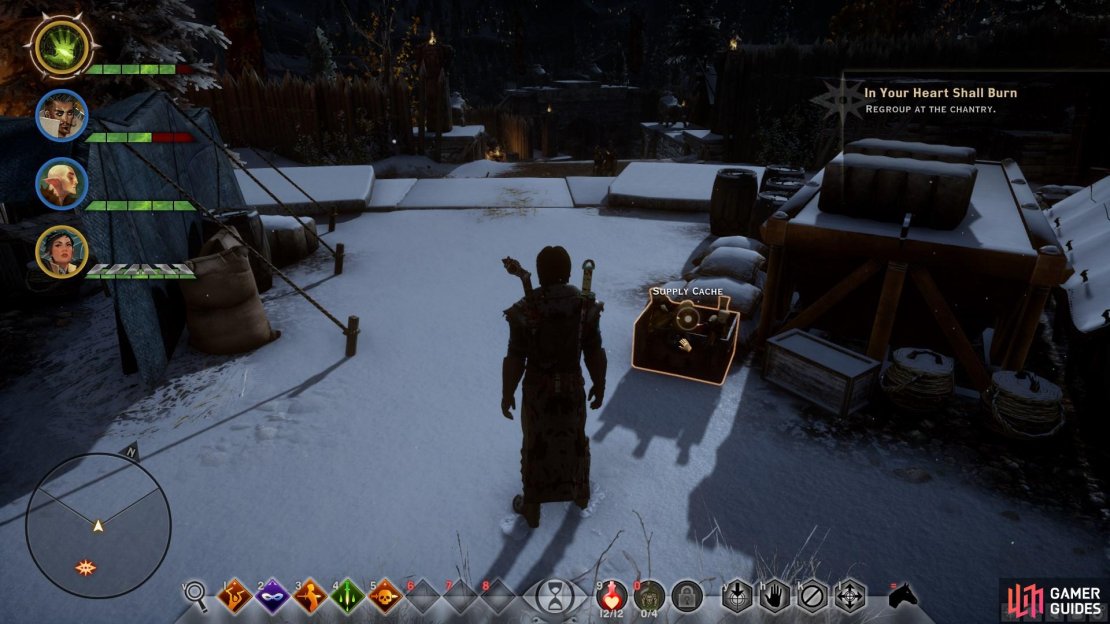
There are several Red Templar, two Marksman, and a Guard defending this trebuchet. Focus on the Marksman to quickly take them out and move the Guard away. More enemies come from behind trying to retake the weapon and you’ll need to fend them off like the first go around. There are two Horrors, two Red Templars and one Marksman in this wave. Defeat them and crank the trebuchet to fire, causing an avalanche to wipe out most of the forces. Don’t start the celebration as a dragon emerges to destroy the trebuchet. Use the Supply Cache to replenish potions then head back to Haven.
Fighting Mages:
Head up to the southern trebuchet to find two Marksman, several Zealots, and a Gladiator. Like usual, focus on the ranged attackers to quickly take them out then begin to whittle down the Zealots. Reinforcements include two Spellbinders for you to deal with and they come from the hill behind the trebuchet like an ambush. Once you take them out crank the trebuchet to trigger an avalanche.
Evacuate Haven
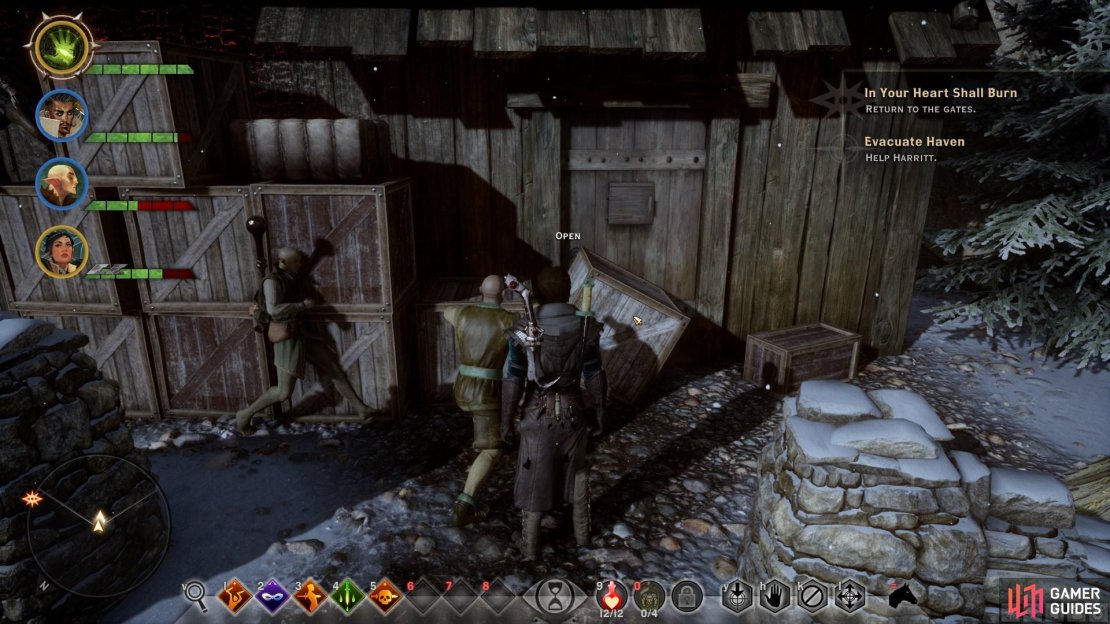
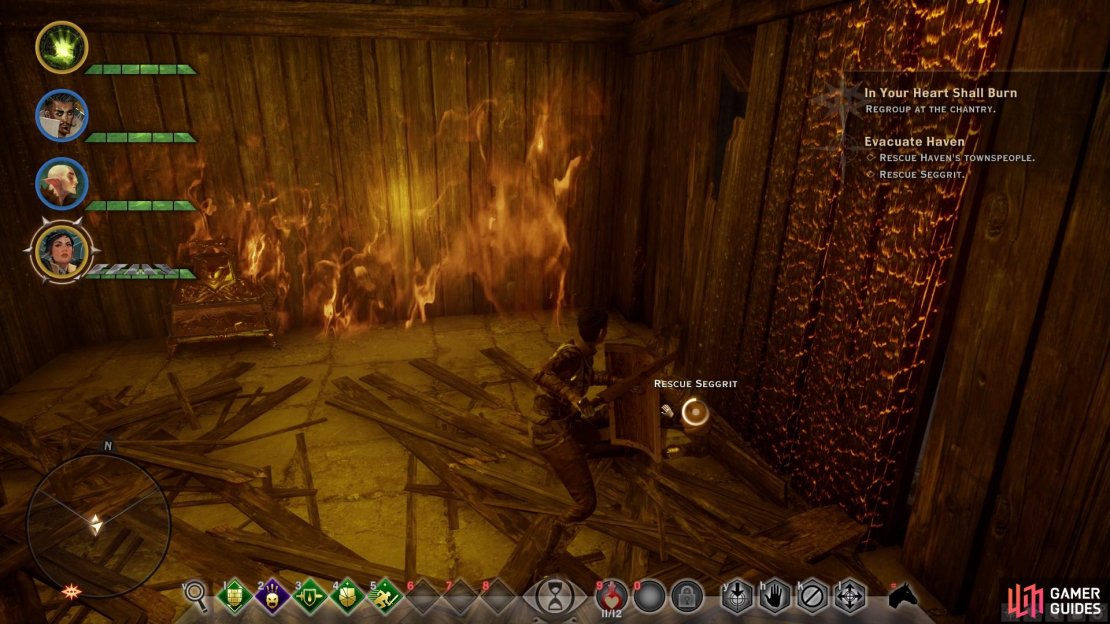
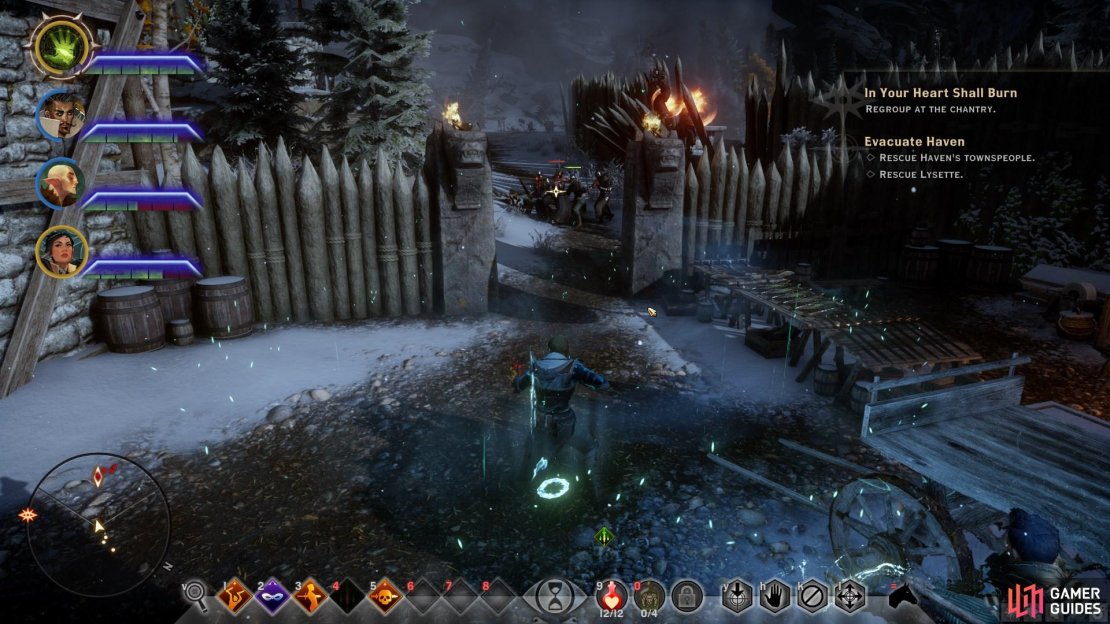
Make your way back towards Haven. On your way you’ll find Harritt; help him out with a Warrior by slashing at the door and then loot the blacksmith area before going inside the gates. Turn right as you enter to find Lysette being attacked; defeat the Red Templars here to save her. Go up the staircase now to find more Red Templars accompanied by a Horror. Break the door to your left to save Seggrit then loot the chest. Now head to the tavern where you’ll find three Red Templars and a Horror. Defeat them then enter and rescue Flissa.
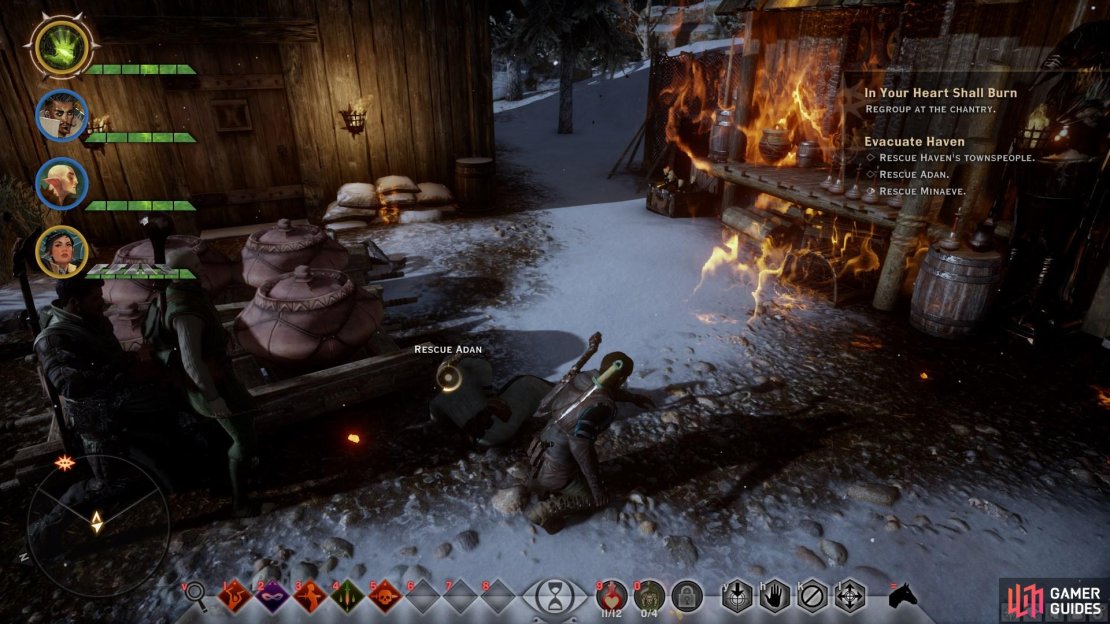
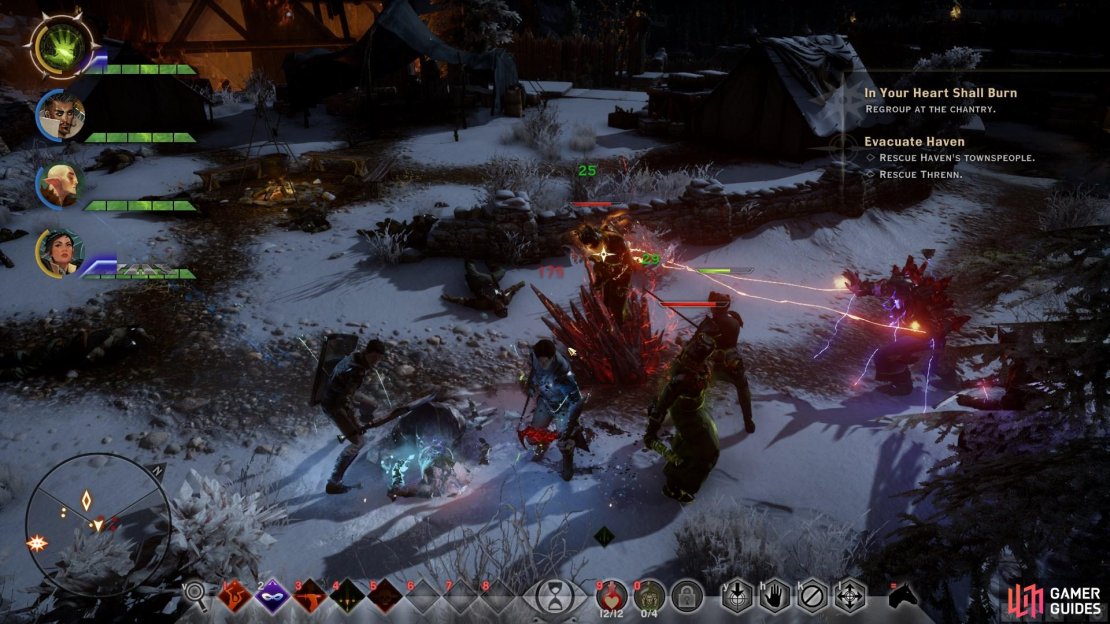
Quickly run up to the apothecary area to save Adan and Minaeve. You really need to be quick because the nearby flames will trigger an explosion shortly. Approach the Chantry entrance to find Threnn battling more enemies - four Red Templars. Help her out then enter the Chantry now to trigger a cutscene.

Once you’re inside the Chantry you’ll need to go through some dialogue after a brief cutscene.
Dialogue Options:
At the first dialogue in the Chantry, select “I’d give myself to save Haven.” for approval from Varric, slight approval from Blackwall, and slight disapproval from Sera and Solas. “Why? Why does he want me?” will cause slight approval from Solas, and “How do I stop him?” slight approval from ![]() Iron Bull and Vivienne. After Roderick speaks, “Rocks won’t stop a dragon.” will earn slight approval from Varric and Sera.
Iron Bull and Vivienne. After Roderick speaks, “Rocks won’t stop a dragon.” will earn slight approval from Varric and Sera.
Retake the Trebuchet
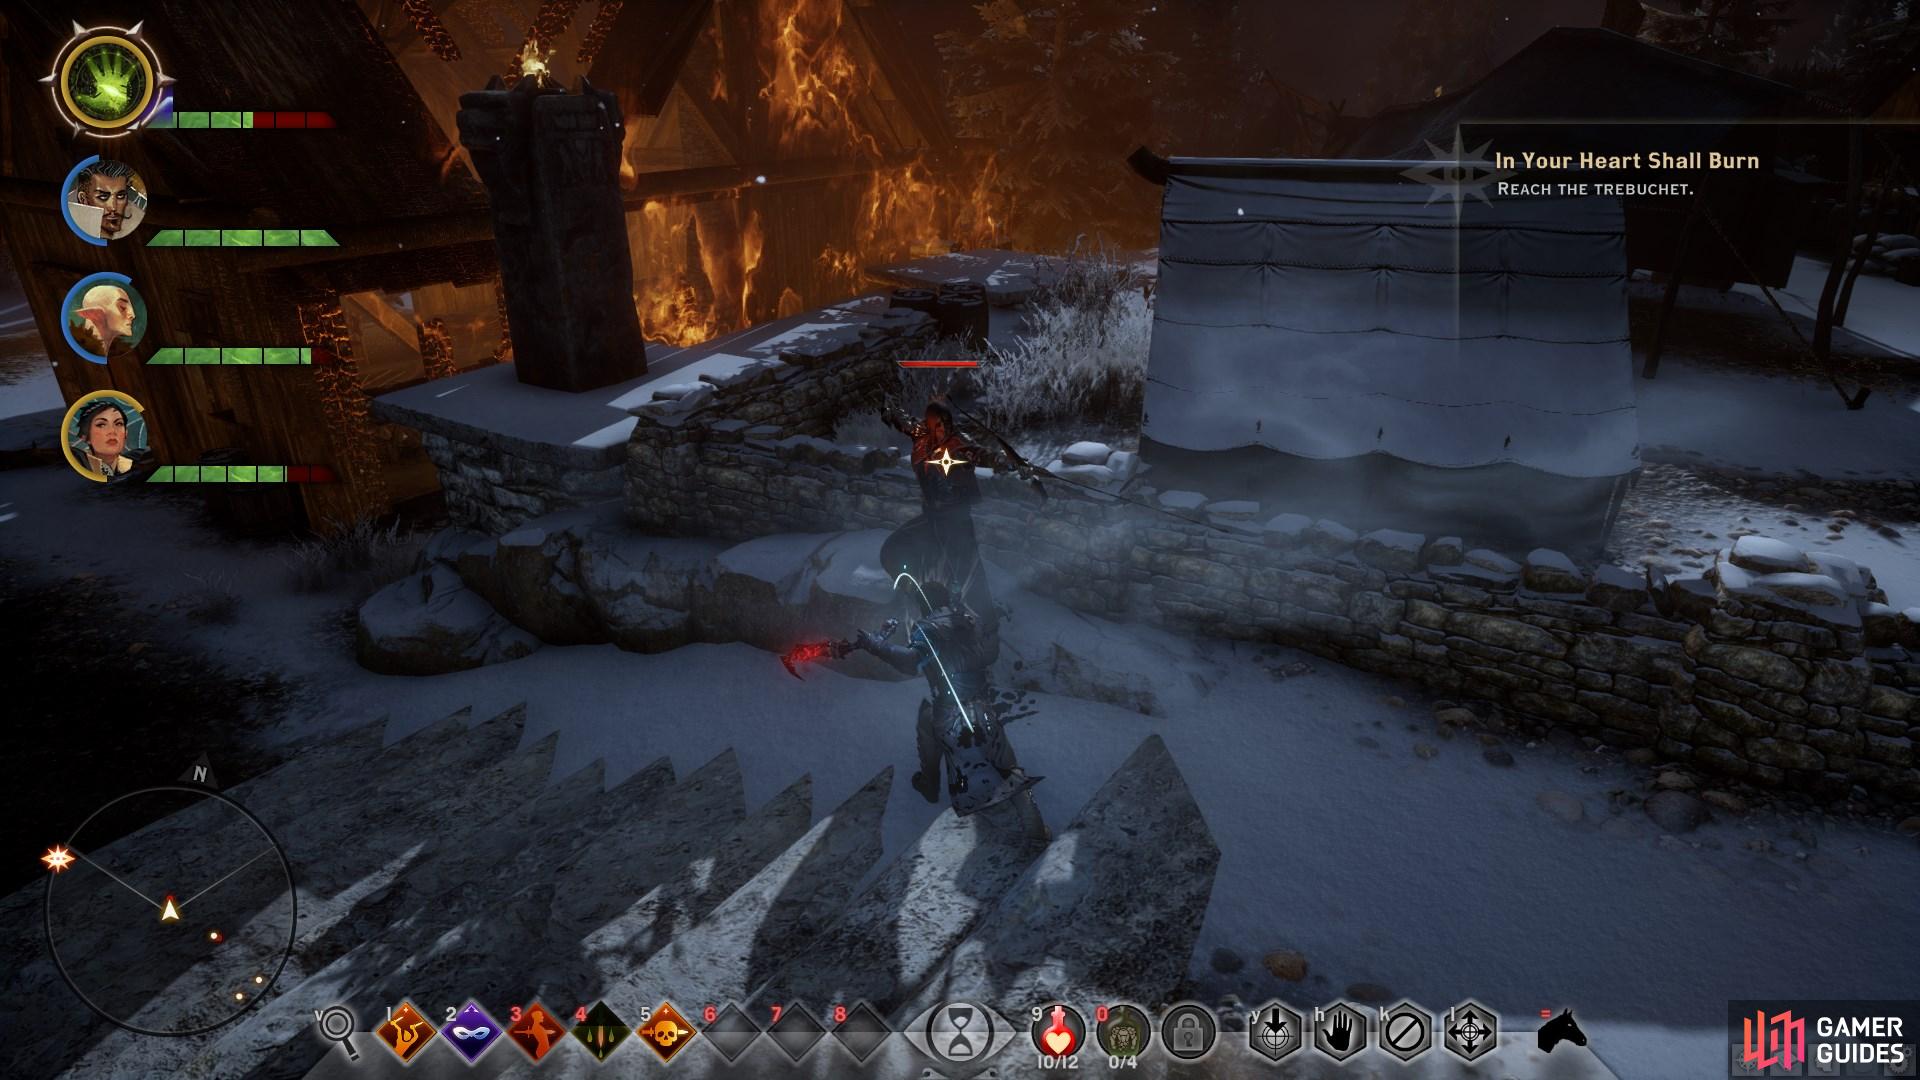
There is a certain sense of urgency at this point but you can slowly progress down the path to the final trebuchet, looting along the way. The packs of enemies are small until the final one at the trebuchet. As you turn the crank, Red Templars or Venatori will appear to impede your progress. Aim it little by little, stopping to take out enemies as needed, until it reaches about 50% where you’ll be forced to battle a boss depending on who you sided with. If you sided with the Mages you’ll fight Knight-Templar Denam, if you sided with the Templars you’ll fight Grand Enchanter Fiona.

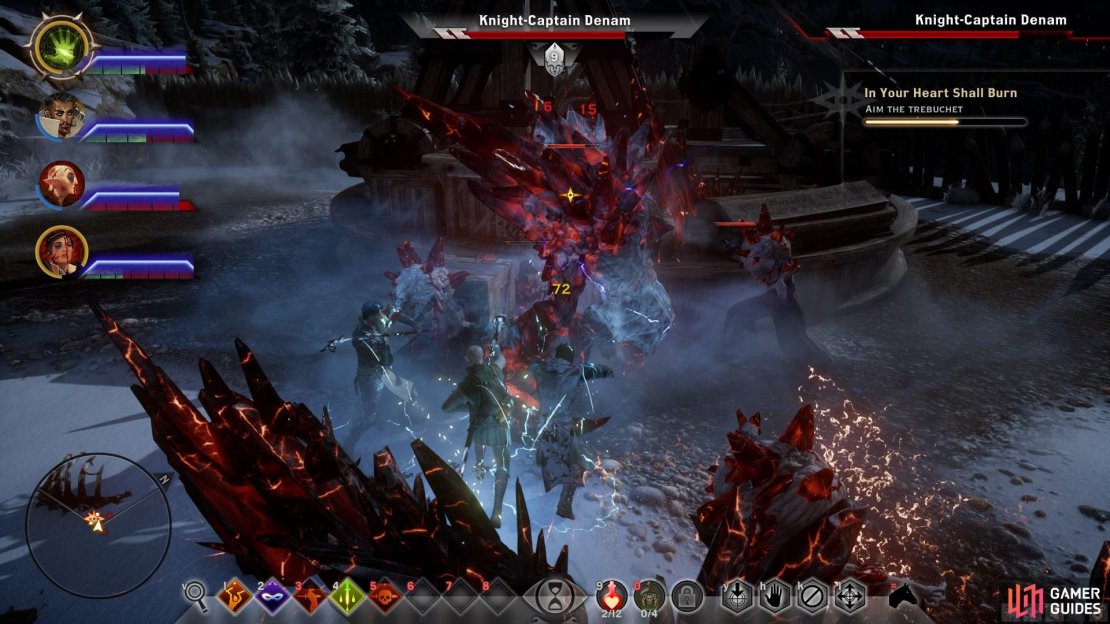
(1 of 3) Attack any ranged units first between waves to minimise received damage.
BOSS - Knight-Templar Denam
| Value | Stats |
|---|---|
| Health | 11840 |
| Defence | 46 |
| Resistance | Fire |
| Vulnerable | Cold |
| Immunity | All Physical Effects, Fear, Asleep, Paralyzed |
The Knight-Templar is weak to Cold so a Mage with an Ice staff is useful, especially with Energy Barrage. You want to move this monster away from your ranged companions and take down the weaker Templars first. Watch out for the walls of red lyrium that Denam can create as it could separate the group or box you in. The wall can be destroyed, but it’s simpler to avoid being caught in it. Defeating the Behemoth will destroy the rest of the attacking Templars. You can also win this fight by cranking the trebuchet fully. It may be easier to lead them all on a wild goose chase around Haven instead of staying in the area where the Trebuchet is. That will give you a chance to use choke points to funnel enemies and focus attacks, and the chance to run away if things get too heated.
BOSS - Fiona
| Value | Stats |
|---|---|
| Health | 13406 |
| Defence | 18 |
| Resistance | Electricity |
| Vulnerable | Non |
| Immunity | Asleep, Paralyzed |
Fiona has been completely brainwashed and leads the Venatori against the Inquisition. She can dish out some heavy damage but she takes a lot in the form of physical attacks. Stay away from Electric attacks and instead use Fire and Ice to freeze her (Winter’s Grasp works very well). Freeze her then combo with Shatter to deal massive damage and take her out. You can always just turn the trebuchet completely but this will leave you vulnerable to being overwhelmed.
The Dawn Will Come
When you wake up after the cutscene from the trebuchet, you are alone, but not dead. Move forward to obtain Mark of the Rift ability then use it to defeat the Wraiths. Head outside and continue the trek through the blizzard until you are found by Cullen and Cassandra. The story opens up at this point and you understand much more after a few scenes. The Inquisition marches to Skyhold and you are no longer the Herald of Andraste, but the Inquisitor.
Conversation with Mother Giselle
When you wake up in the camp after being found by Cassandra and Cullen, you are greeted by Mother Giselle. The dialogue choices that you make here will impact your dialogue options during the ceremony below. When Mother Giselle asks “That is hard to accept, no? What “we” have been called to endure? What “we”, perhaps, must come to believe?”, you will have the following investigate options if you told Cassandra that you believe in the Maker, each one confirming belief:
“We need more than faith.”
“I believe, but it didn’t help.”
“Fanatical belief is to blame.”
“This is a waste of time.”
“I’ve lost faith.”
If you have previously told Cassandra that you don’t believe in the Maker, or that you don’t know, you will have the following investigate options during your conversation with Mother Giselle, each one confirming non-belief, unless otherwise stated:
“We need more than faith.”
“Fanatical belief is to blame.”
“This is a waste of time.”
“I still don’t believe.”
“I believe, but is that enough?”, or “I want to believe.” (This option is your last chance to establish a path of belief in the Maker for the purposes of the ceremony.)
Conversation with Solas
After your conversation with Mother Giselle, you will have a chance to speak with Solas about the path forward. If the player is Dalish the following applies:
When Solas states “We must find out how he survived… and we must prepare for their reaction, when they learn that the orb is of our people.”, the following dialogue options will earn his approval, with all other options resulting in neutrality:
“How do you know this?”
“They’ll blame us eventually.”
If the player is not Dalish, the following applies:
When Solas states “I do not yet know how Corypheus survived… Nor am I certain how people will react when they learn of the orb’s origin.”, the following dialogue options will earn his approval, with all other options resulting in neutrality:
“How do you know this?”
“You’re right to be worried.”
Dialogue Options During the Ceremony
At Skyhold you will be declared the Inquisitor. You must now decide what kind of Inquisitor you will be. When Cassandra informs you of her decision for you to be the leader of the Inquisition, your choices will have the following impact:
“But I’m not your chosen one!”
Vivienne - Slightly Disapproves
“I’m honored.” or “My faith is rewarded.”
Cassandra - Slightly Approves
“Everyone agreed to this?” or “But I’m not even human.” - Neutral
“I don’t want this!”
Blackwall - Disapproves
When Cassandra states “There would be no Inquisition without you. How it will serve, how you lead: that must be yours to decide.”, your choices will have the following impact:
As a Dwarf:
“A dwarf will stand for us all.”
Sera - Approves
As an Elf:
“An elf will stand for us all.”
Dorian - Slightly Approves
Solas - Slightly Approves
Sera - Disapproves
As a Qunari:
“A qunari will stand for us all.”
Dorian - Approves
Sera - Approves
Iron Bull - Slightly Approves
As a Mage:
“I’ll set an example as a mage.”
Vivienne - Greatly Approves
Dorian - Approves
Solas - Slightly Approves
Sera - Slightly Approves
Belief in the Maker:
“I’ll be a servant of faith.”
Cassandra - Greatly Approves
Vivienne - Approval
Dorian - Slightly Disapproves
Solas - Disapproves
Sera - Disapproves
Non-Belief:
“I fight for order, not faith.”
Cassandra - Approves
Sera - Slightly Approves
Varric - Slightly Approves
“I’ll do it because it’s right.”
Sera - Greatly Approves
Blackwall - Approves
Varric - Slightly Approves
Solas - Slightly Approves
Iron Bull - Slightly Approves
Options available to all players, regardless of race or class:
“Corypheus must be stopped.”
Dorian - Greatly Approves
Sera - Approves
Blackwall - Slightly Approves
Iron Bull - Slightly Approves
“I will lead them to vengeance.”
Sera - Approves
Cassandra - Slightly Disapproves
Solas - Slightly Disapproves
Iron Bull - Slightly Disapproves
Varric - Disapproves
“I’ll do it for my own power.”
Dorian - Disapproves
Cassandra - Greatly Disapproves
Solas - Greatly Disapproves
Varric - Greatly Disapproves
Sera - Greatly Disapproves
Blackwall - Greatly Disapproves


| Templar Enemies | Venatori Enemies | Codex Entries |
|---|---|---|
| Red Templar | Venatori Gladiator | Corypheus |
| Red Templar Guard | Venatori Marksman | On Skyhold |
| Red Templar Horror | Venatori Zealot | |
| Red Templar Marksman | Spellbinder | |
| Knight-Templar Denam (Boss) | Grand Enchanter Fiona (Boss) |
No Comments