

Travel to Redcliffe and Make Contact with the Mages
Head to the Chantry at Haven; you don’t have to make a decision right now so you can say whatever you want during the scene. From here you’ll want to go to the Crossroads in the Hinterlands. From the Crossroads, head north east, and then north, toward the settlement of Redcliffe. It should be a pretty quiet run until you approach the gates. The objective will change and a Fade Rift can be seen in the distance. Defeat the few Lesser Terrors that attack then close the Fade Rift and go through the gate to trigger a cut scene.
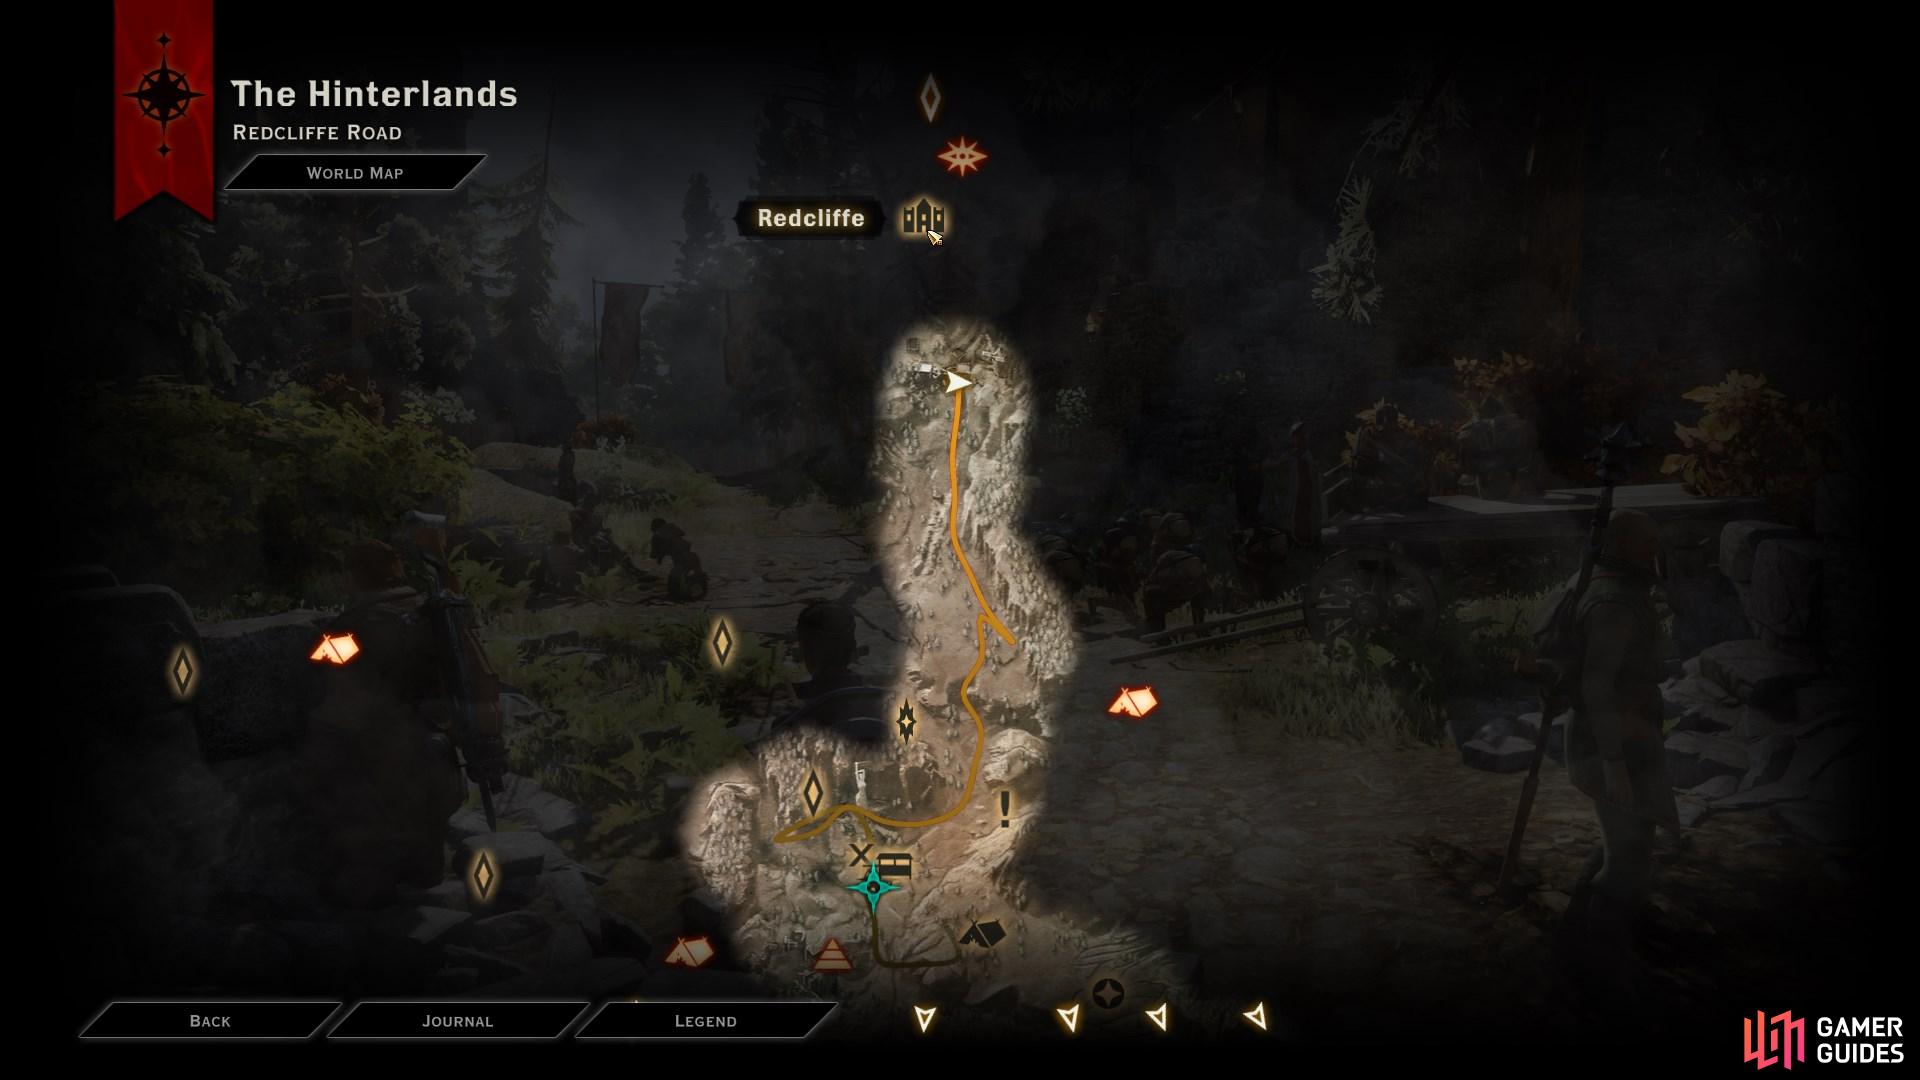
Turn north east from the Crossroads, and then directly north, to reach Redcliffe by the quickest route.
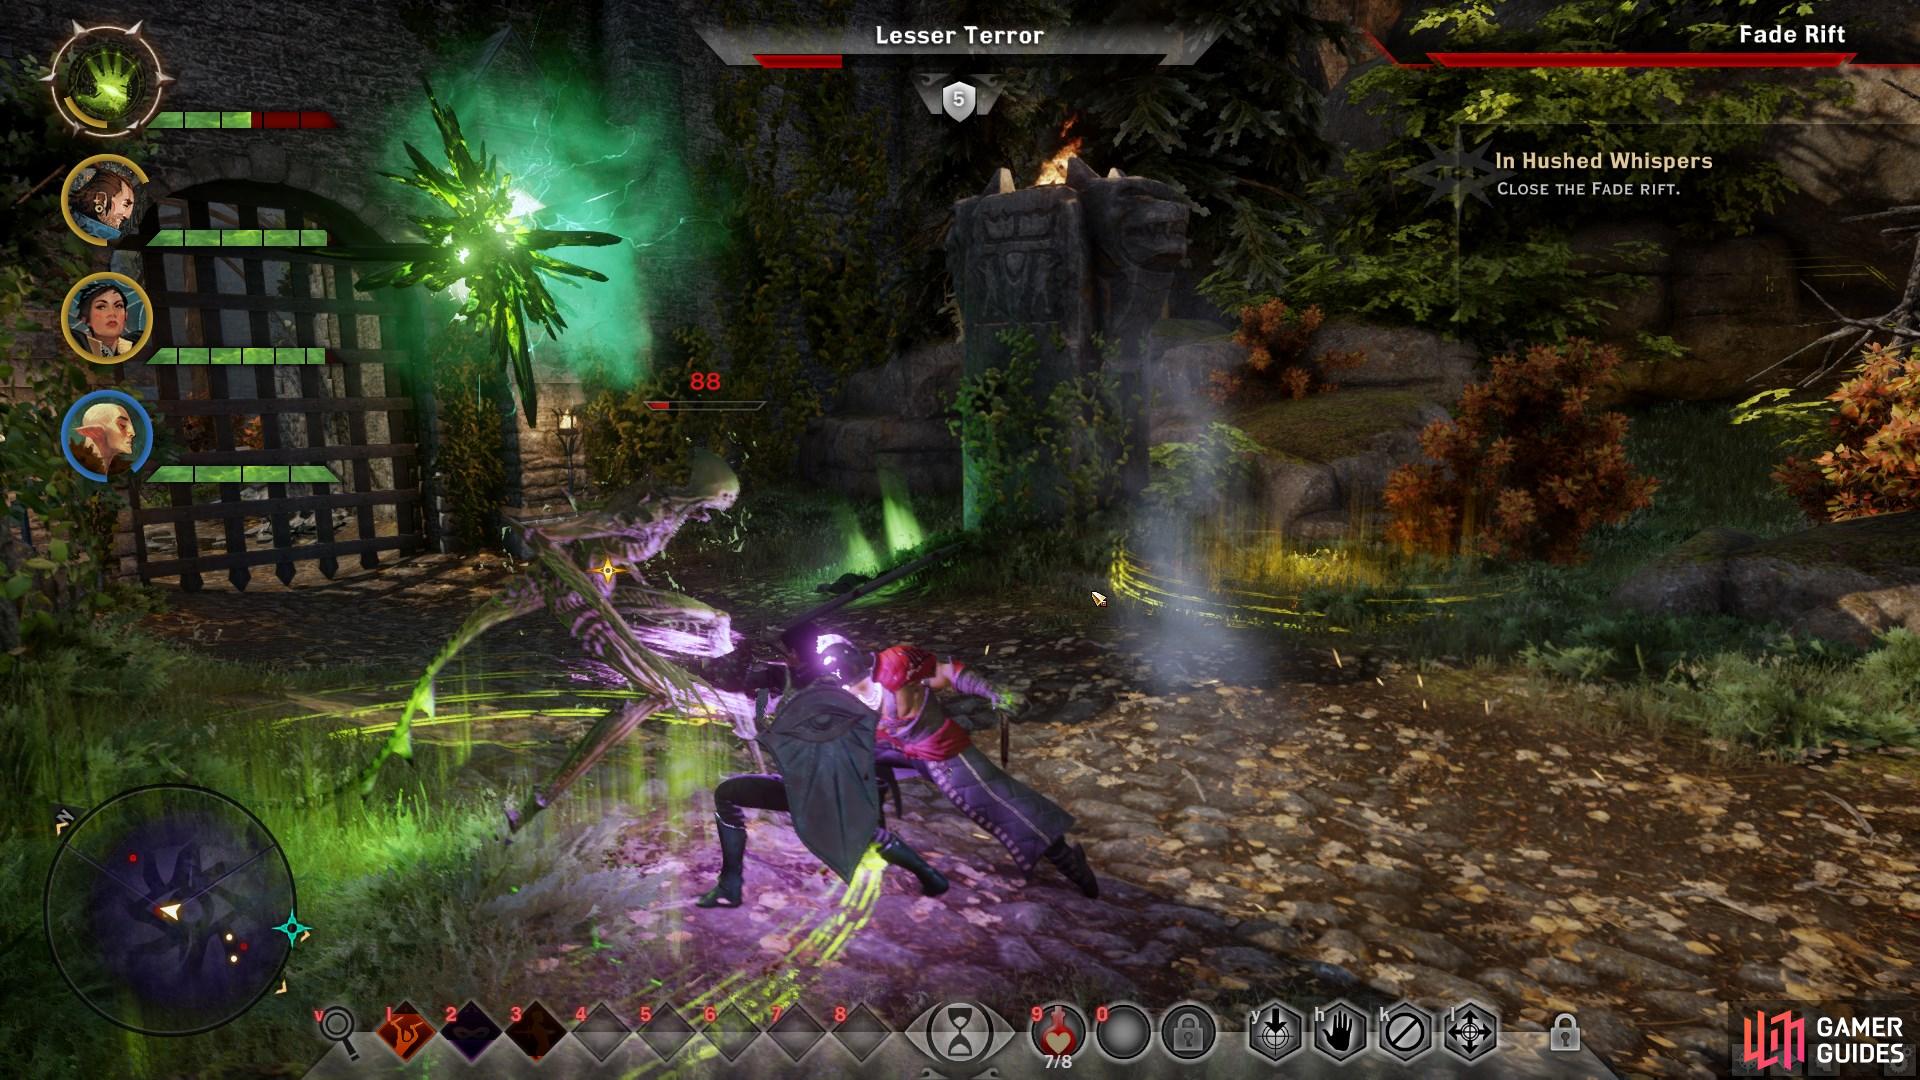
Once you reach the gates of Redcliffe, you will need to close a Fade Rift.
Go to the Gull & Lantern to Meet Fiona
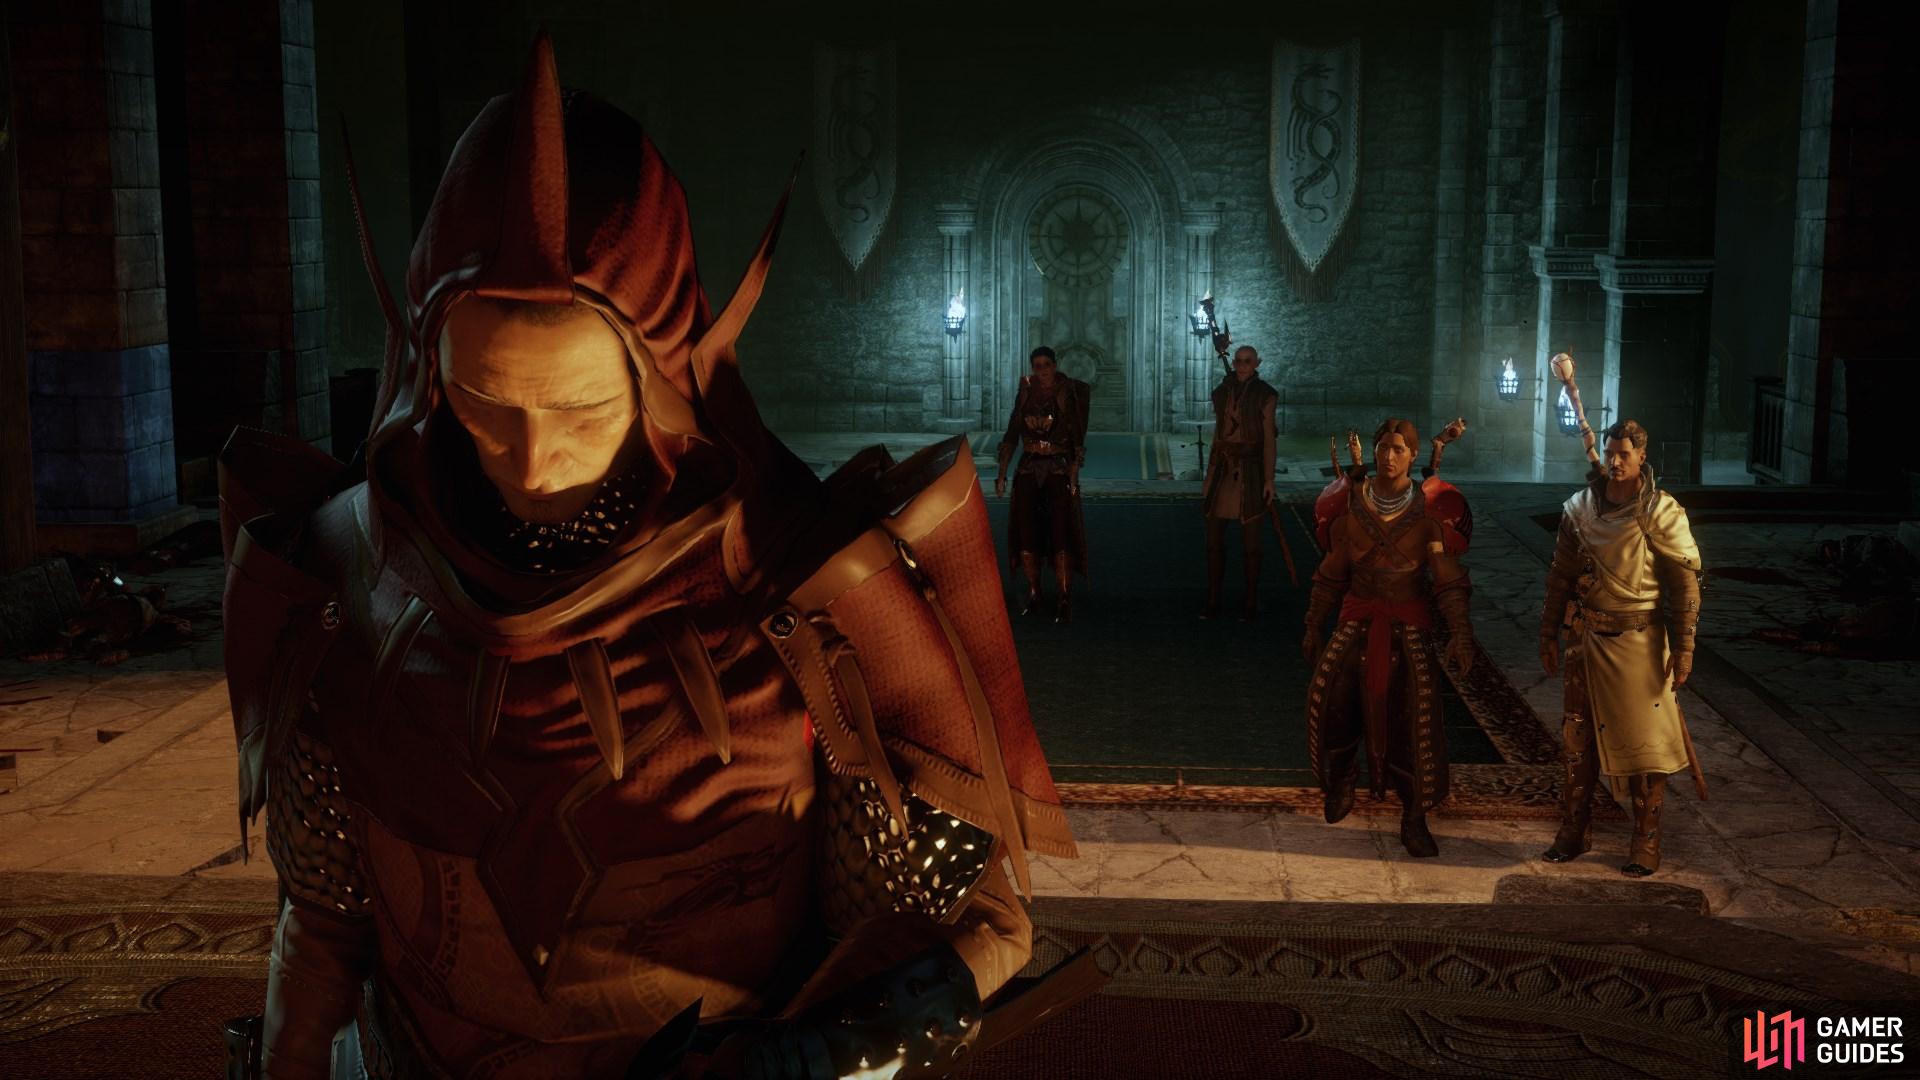
Head to the Gull & Lantern tavern when you’re done exploring the settlement. You’ll meet Grand Enchanter Fiona, but oddly enough she thinks this is the first time you’ve met. Something is definitely going on and just when you thought you’d never get an answer, it comes barging through the door. Magister Alexius of the Tevinter Imperium walks in with his son Felix.
You need to deal with Alexius because Fiona has no negotiation powers anymore. You can respond to him in whatever way you want, the outcome of the conversation will be the same. Felix eventually feigns illness and casually drops a note for you. The note warns about Alexius and asks you to meet Felix in the Chantry at Redcliffe.
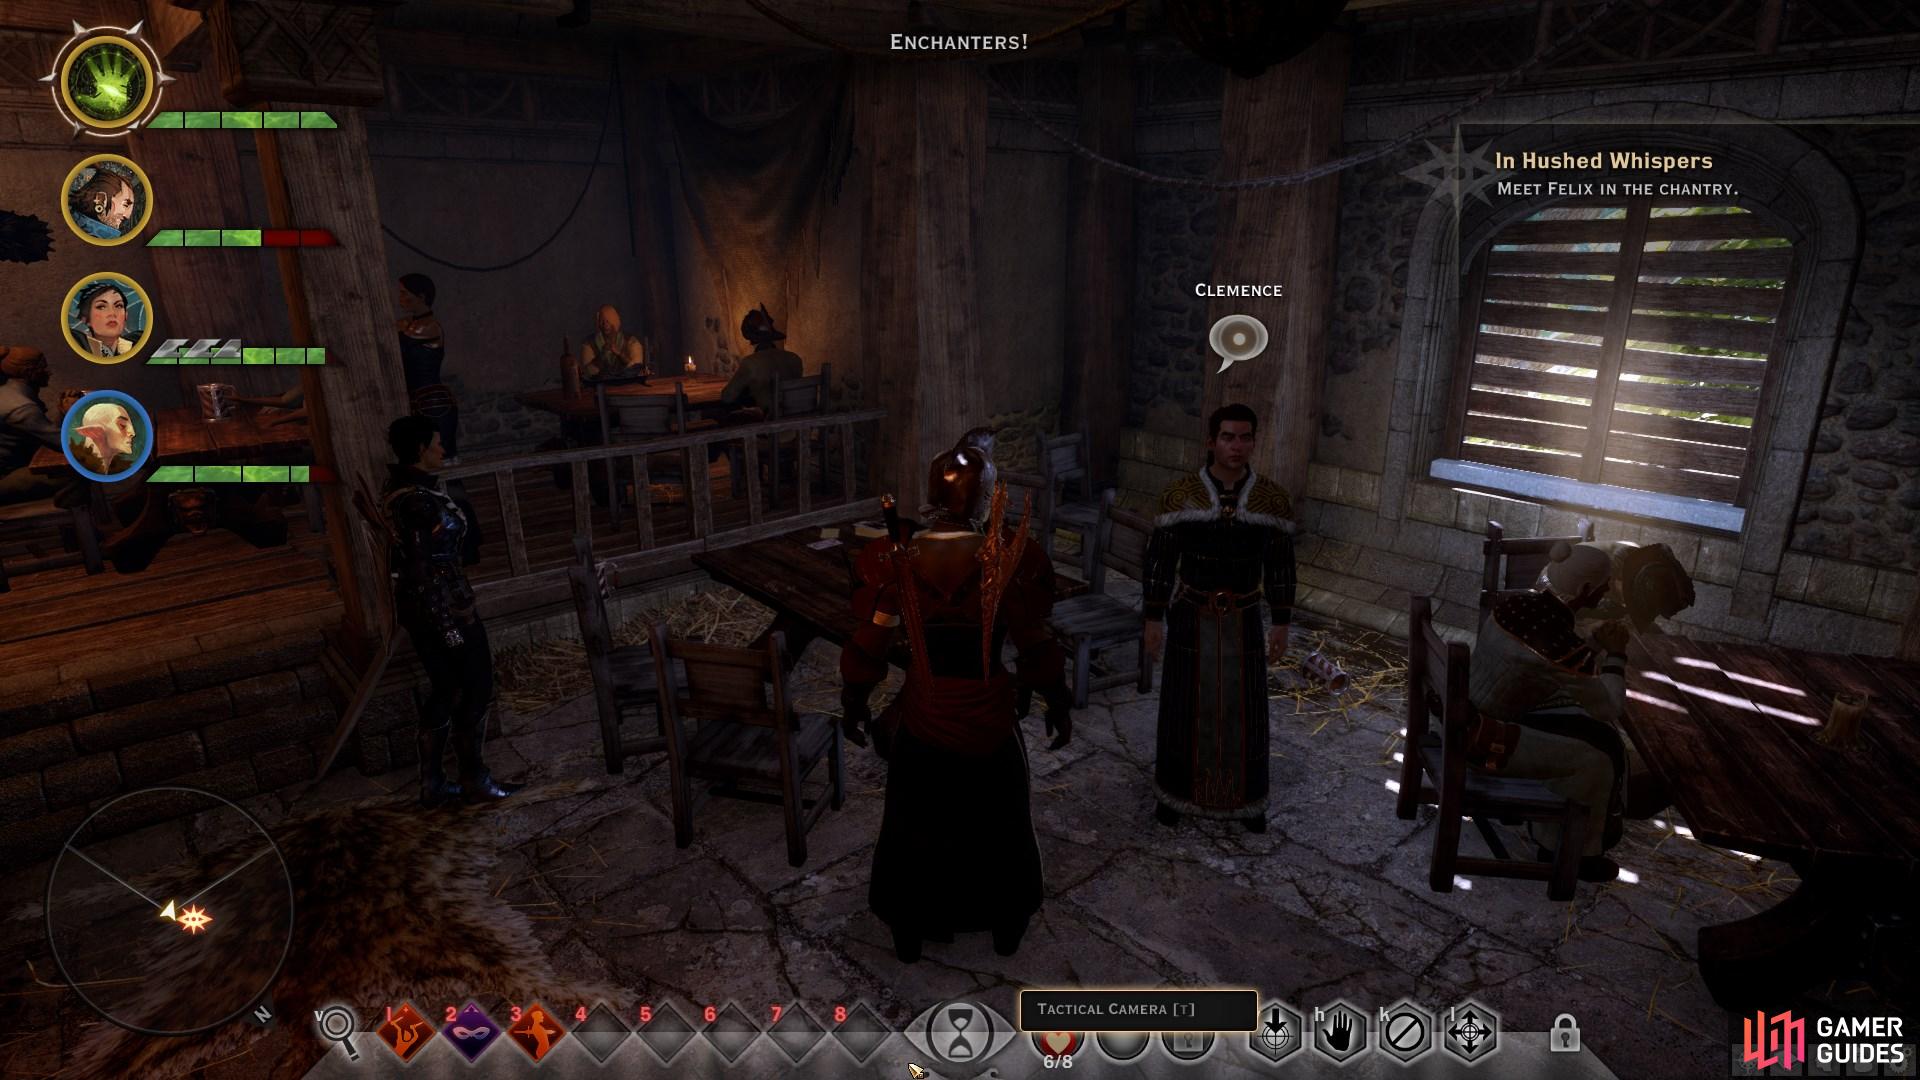
Speak with Clemence in the main room of the tavern before you leave.
Explore all of the tavern rooms to acquire codex entries.
Before doing so, speak with people in the tavern. When you bid farewell to Clemence after your conversation with him, he will ask to join the Inquisition. As someone who aids Cullen in completing quests 5% faster, he is a useful addition to the order.
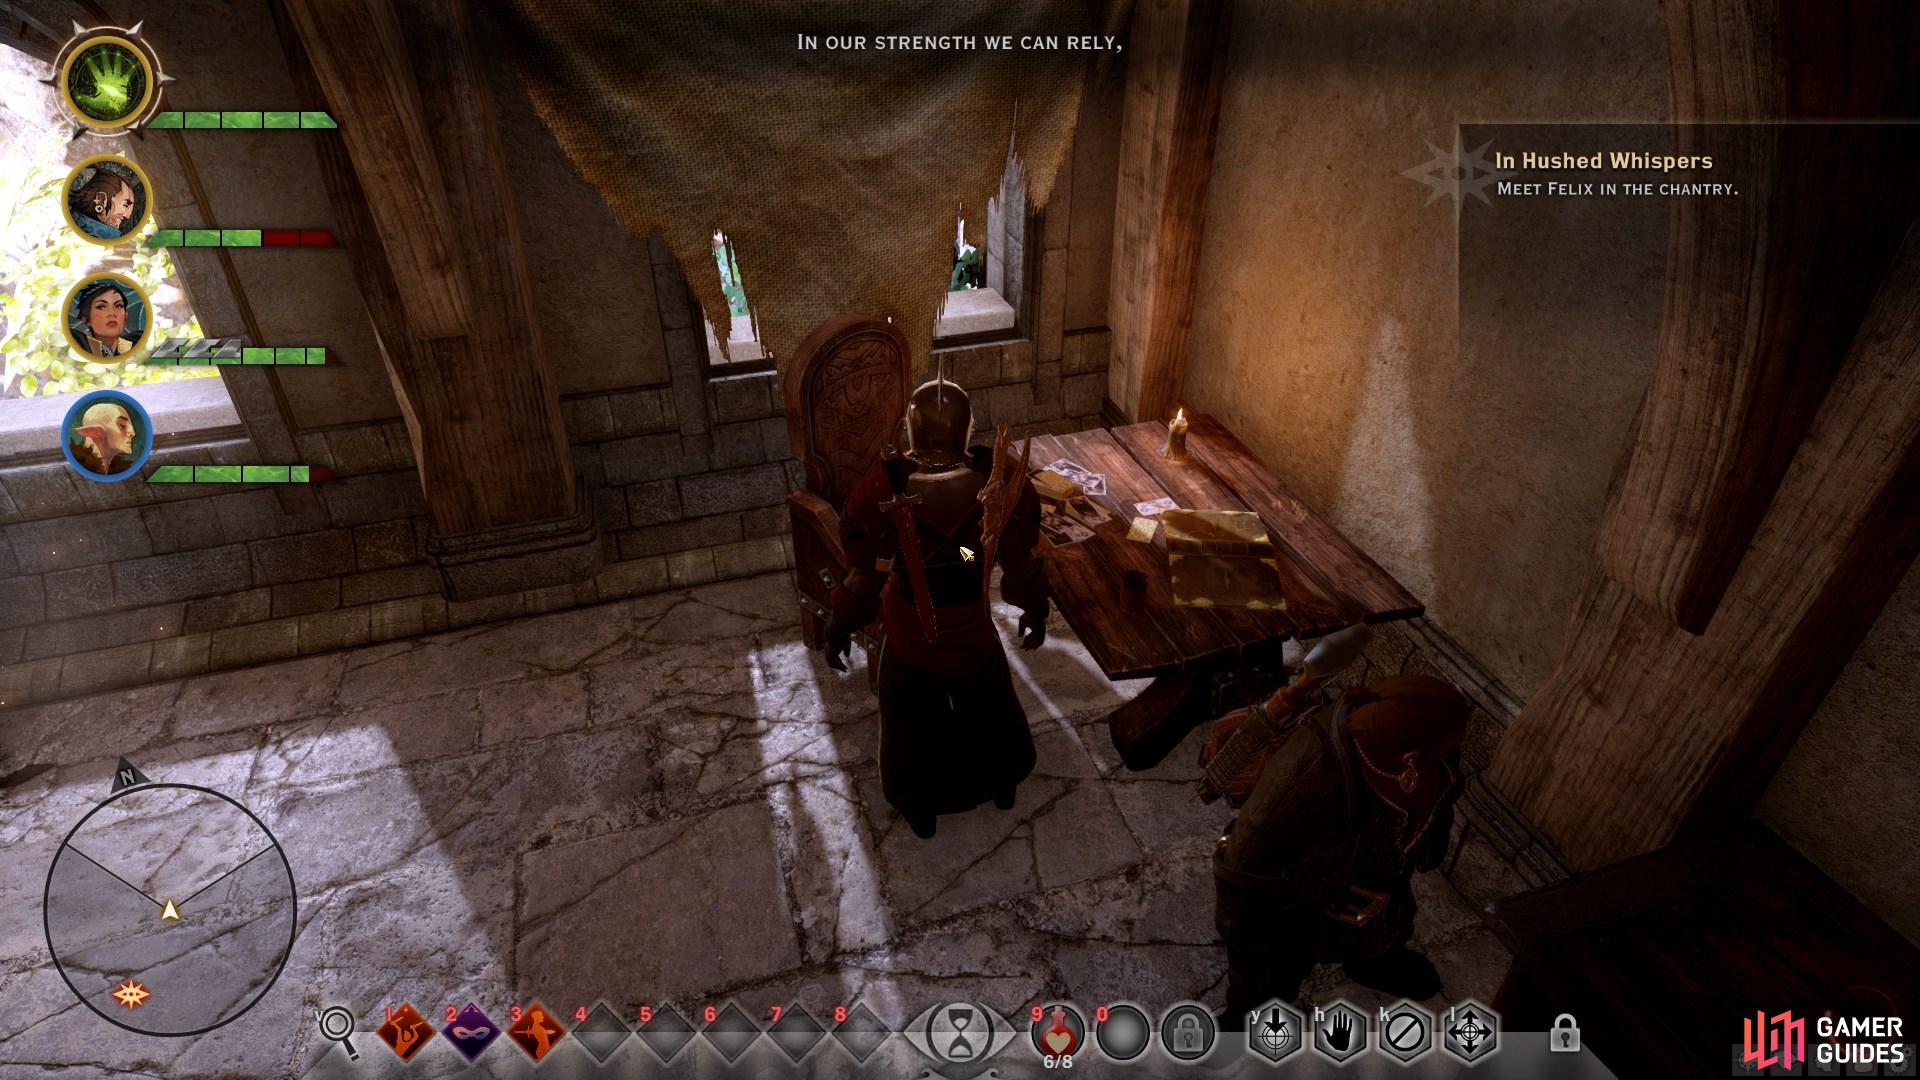
You’ll find the Chantry to the north when you exit the tavern. There you’ll meet Dorian, who needs your assistance closing a Fade Rift. The enemies include Wraiths and Terrors; be sure to freeze them in place so you can defeat the Wraiths more easily. Close the Fade Rift and talk to Dorian. He breaks the news on what Alexius is trying to do and asks to be there if you are going after him.
Once you’ve explored the Chantry for loot and codex entries, head back to Haven where you’ll need to make a decision. To stay on this path choose “In Hushed Whispers”. You will need at least 15 Power before you can proceed, and Dorian is a required party member for this task. There are some objects that require a Warrior to bash, and a Rogue to lockpick so bring at least one of each class. Starting the mission triggers a long cutscene at Redcliffe Castle.
Redcliffe Castle

Select ‘In Hushed Whispers’ on the map to begin the quest with the mages.
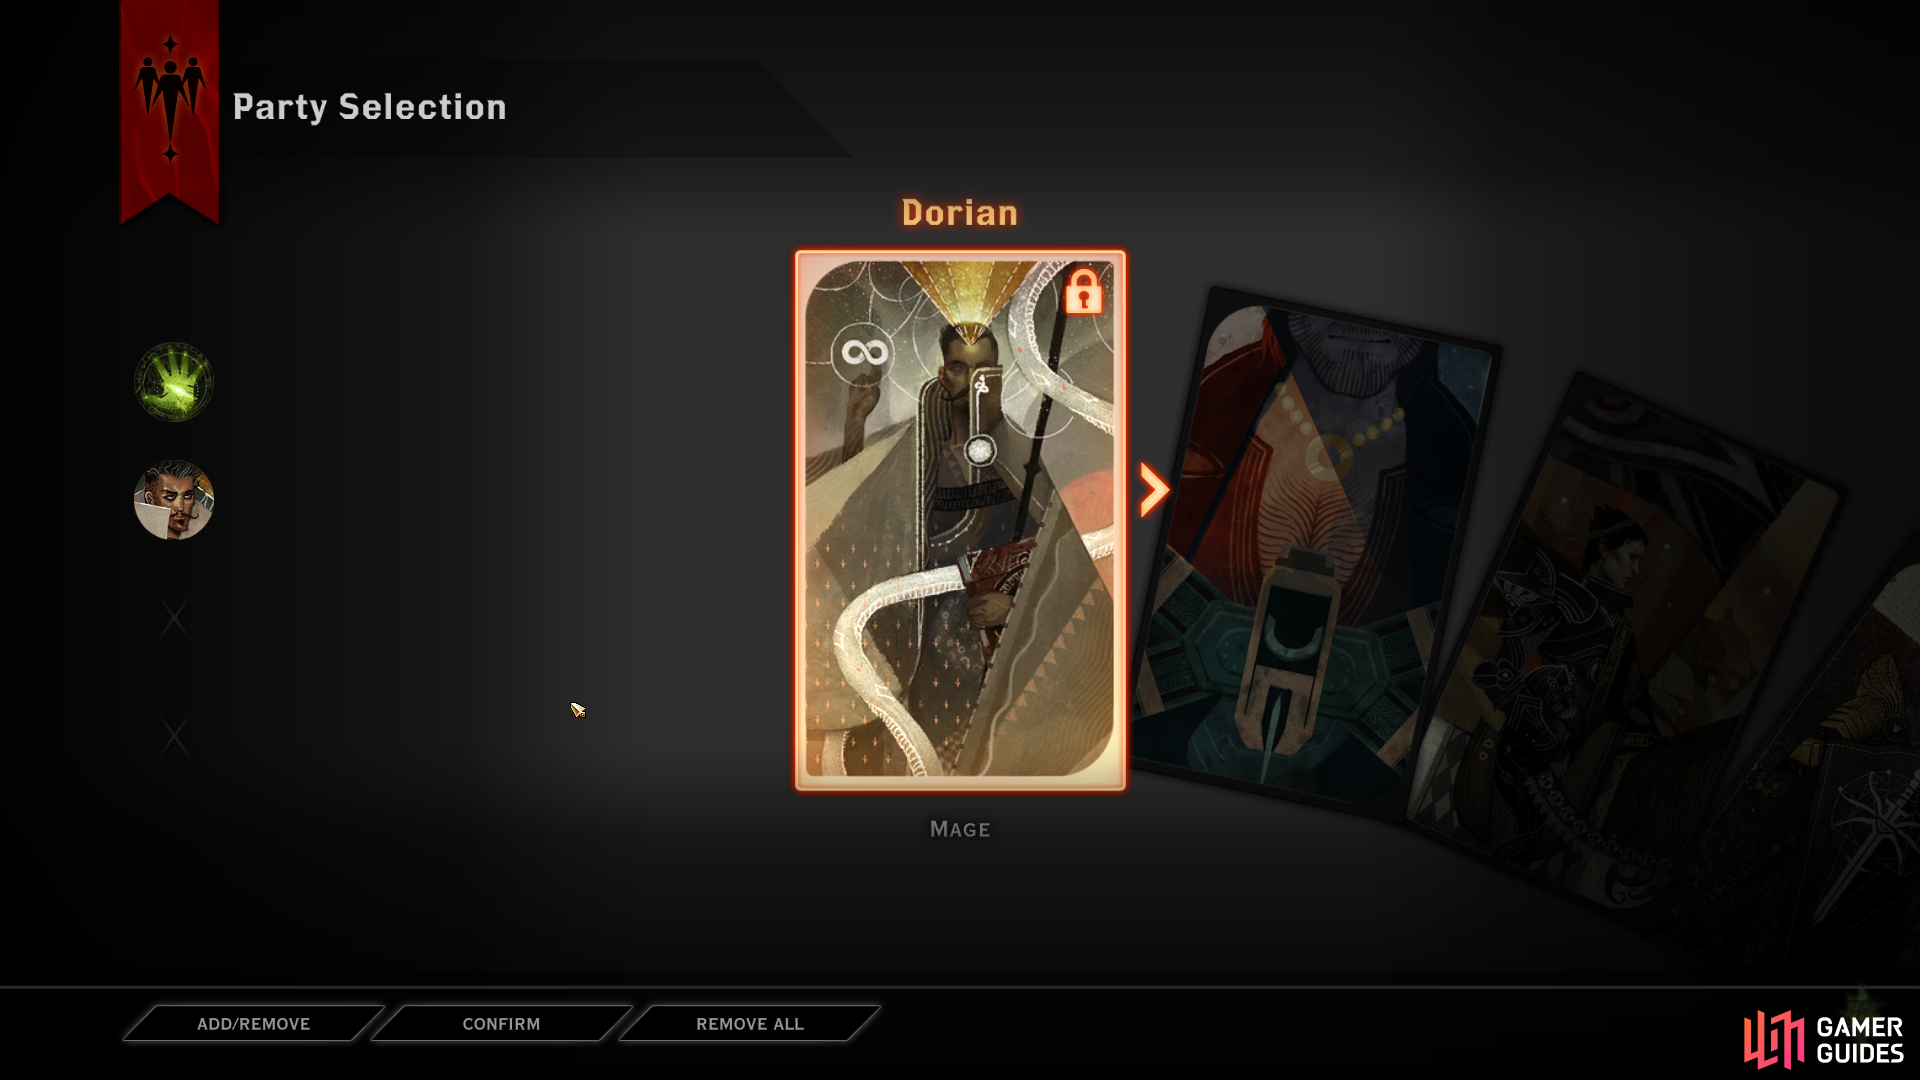
You will need to take Dorian with you on this quest to succeed, along with a Rogue and Warrior preferably.
Dialogue Options:
During the cutscene with Alexius, select “Perhaps we should include her.”, “He’s concerned about you.”, “What was supposed to happen?”, “What is the mark?”, and “Who is the Elder One?” for approval from Solas. “Nothing.” and “I know you want me dead.” are approved by Sera, and “Your trap has already failed.”, “You’re a fanatic.” are approved by Iron Bull.
You are teleported after the cutscene and two Venatori Zealots will attack. Loot the Prison Key and head up the left stairs to find a pot with the Scout Mail Arms schematic. On the other side is a snake box with the Notched Staff Grip schematic. Go up the other set of stairs and loot the objects in the cell before advancing to the door. There are more objects to loot along the way, but in the end you need to climb the staircase.
Here you’ll find more Venatori Zealots. Defeat them and descend the left path. At the bottom of the stairs, take the door on the left to a chest. The central door leads to Fiona, who provides more information about what happened. When you’re done speaking, go back up to the central room then down to the right side. Here you’ll find your two companions that were with you; you’ll need to convince them you aren’t dead.
Return to the upper cells and you will be met by four Venatori Zealots and a Venatori Spellbinder. Take out the spellbinder first to reduce incoming damage. Up the steps to the Guard Barracks, there’s plenty to loot. Read the notes on the table, A Prayer to the New God, the Reinforced Defender Armor, and Mindleech Staff from the pot in the corner. Open the locked door with a Rogue and the one opposite it to find A Guard’s Journal and the Kirkwall Mace schematic.
(1 of 3) Once you’ve found you companions in the prison cells, the bridge to the guard room will be accessible.
Find a Way Back to Alexius Throne Room
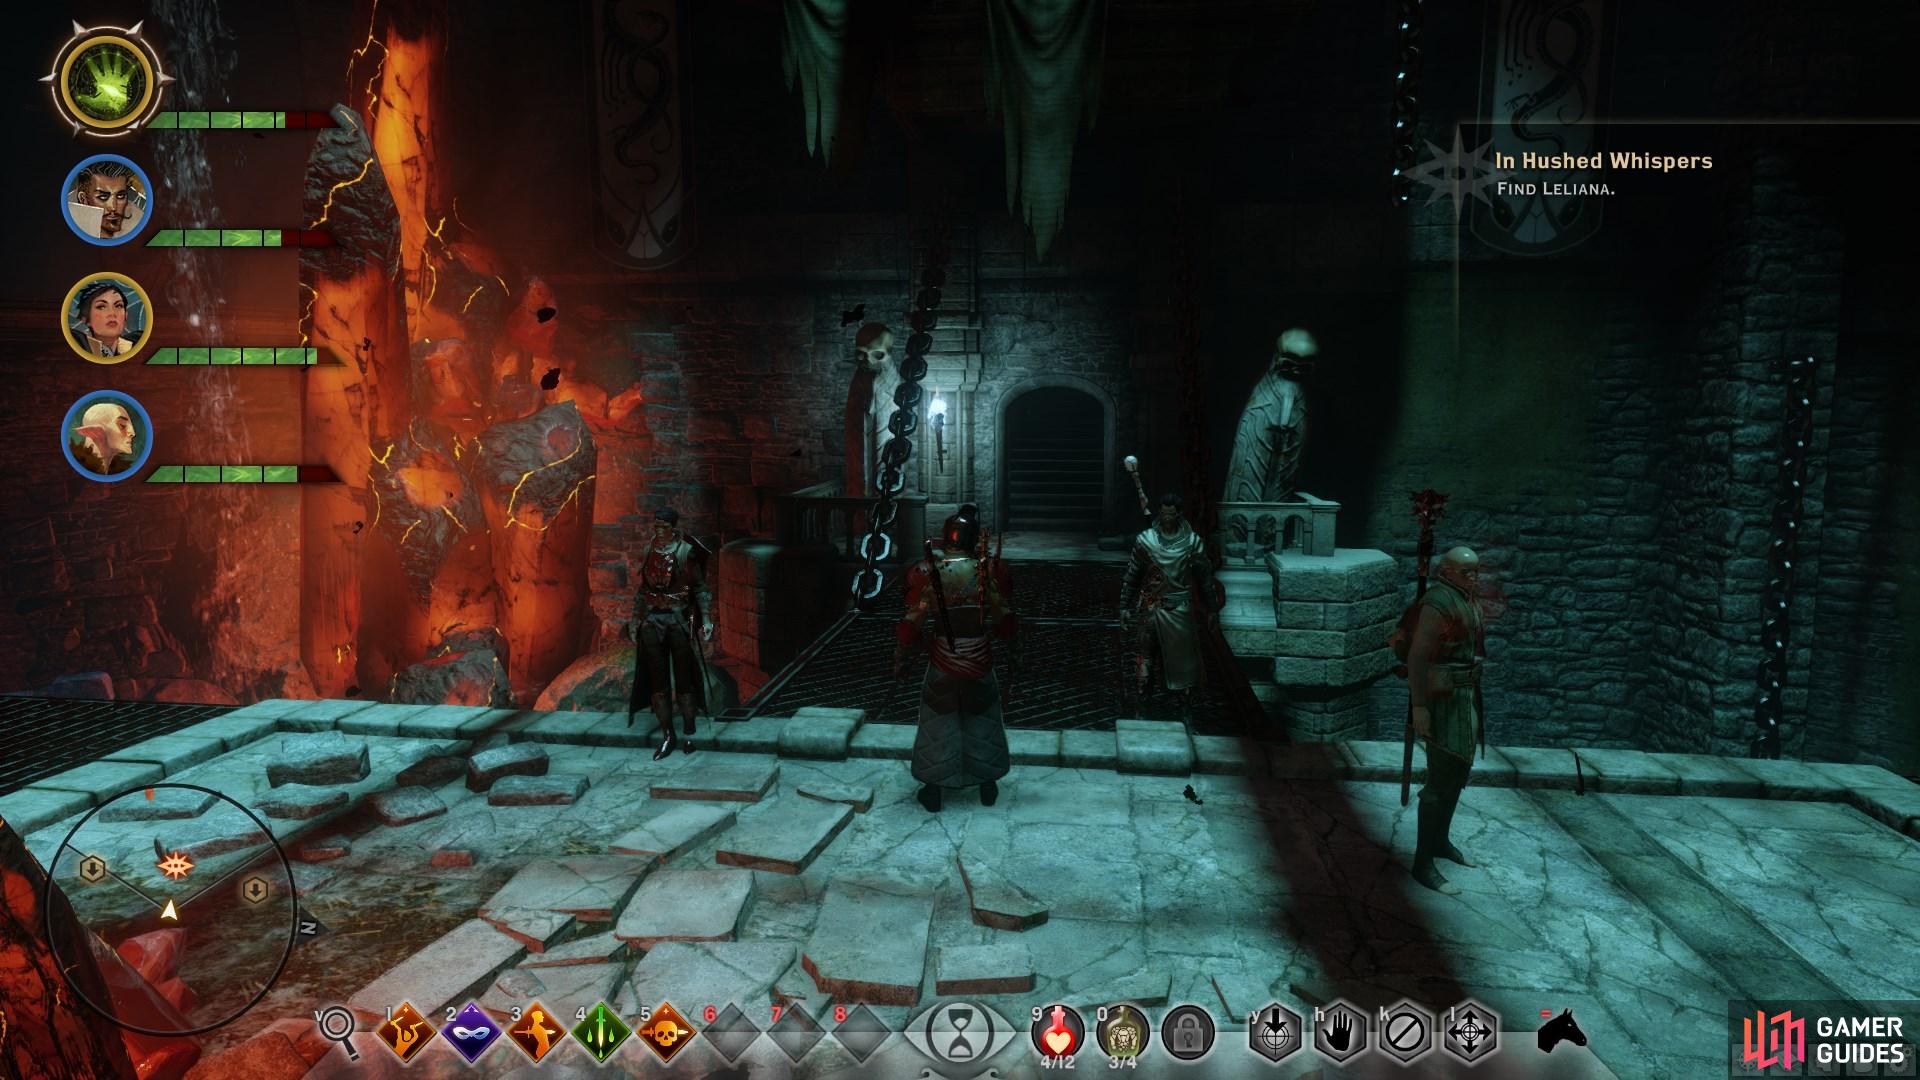
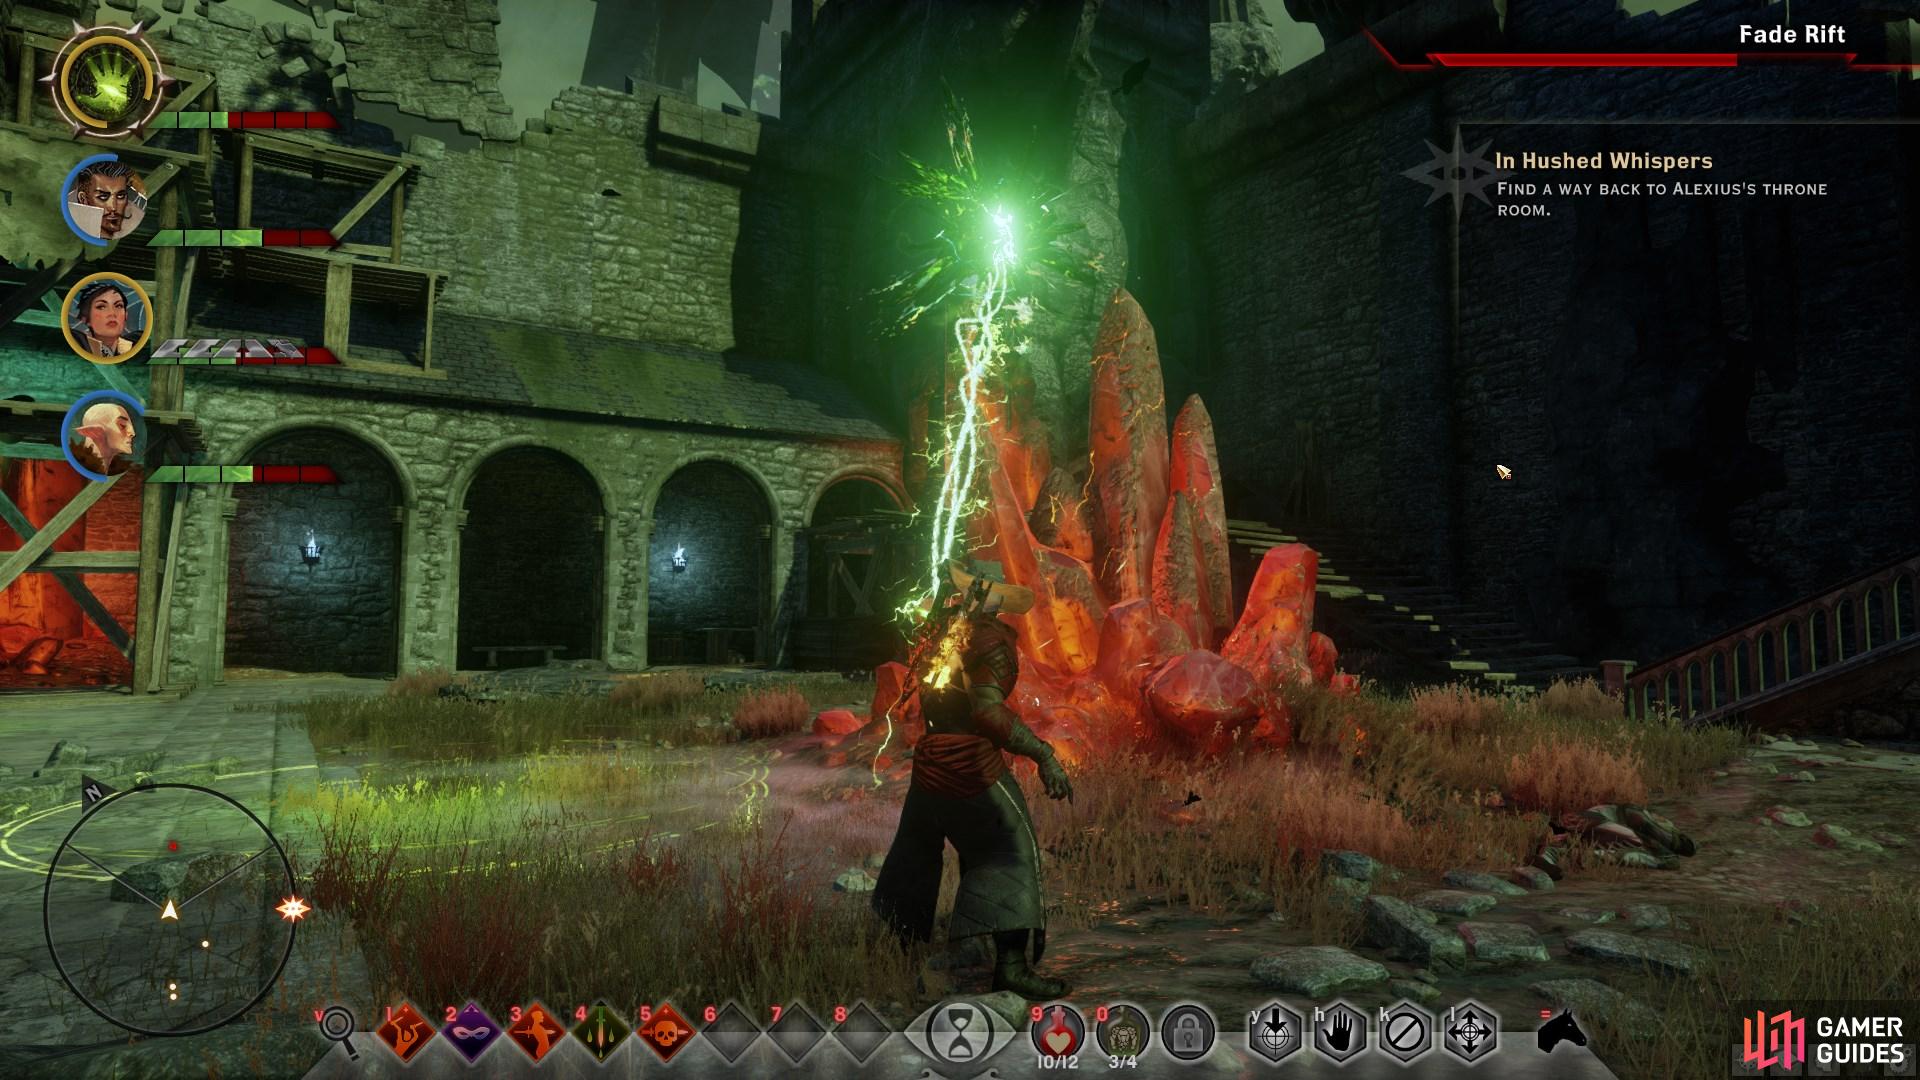
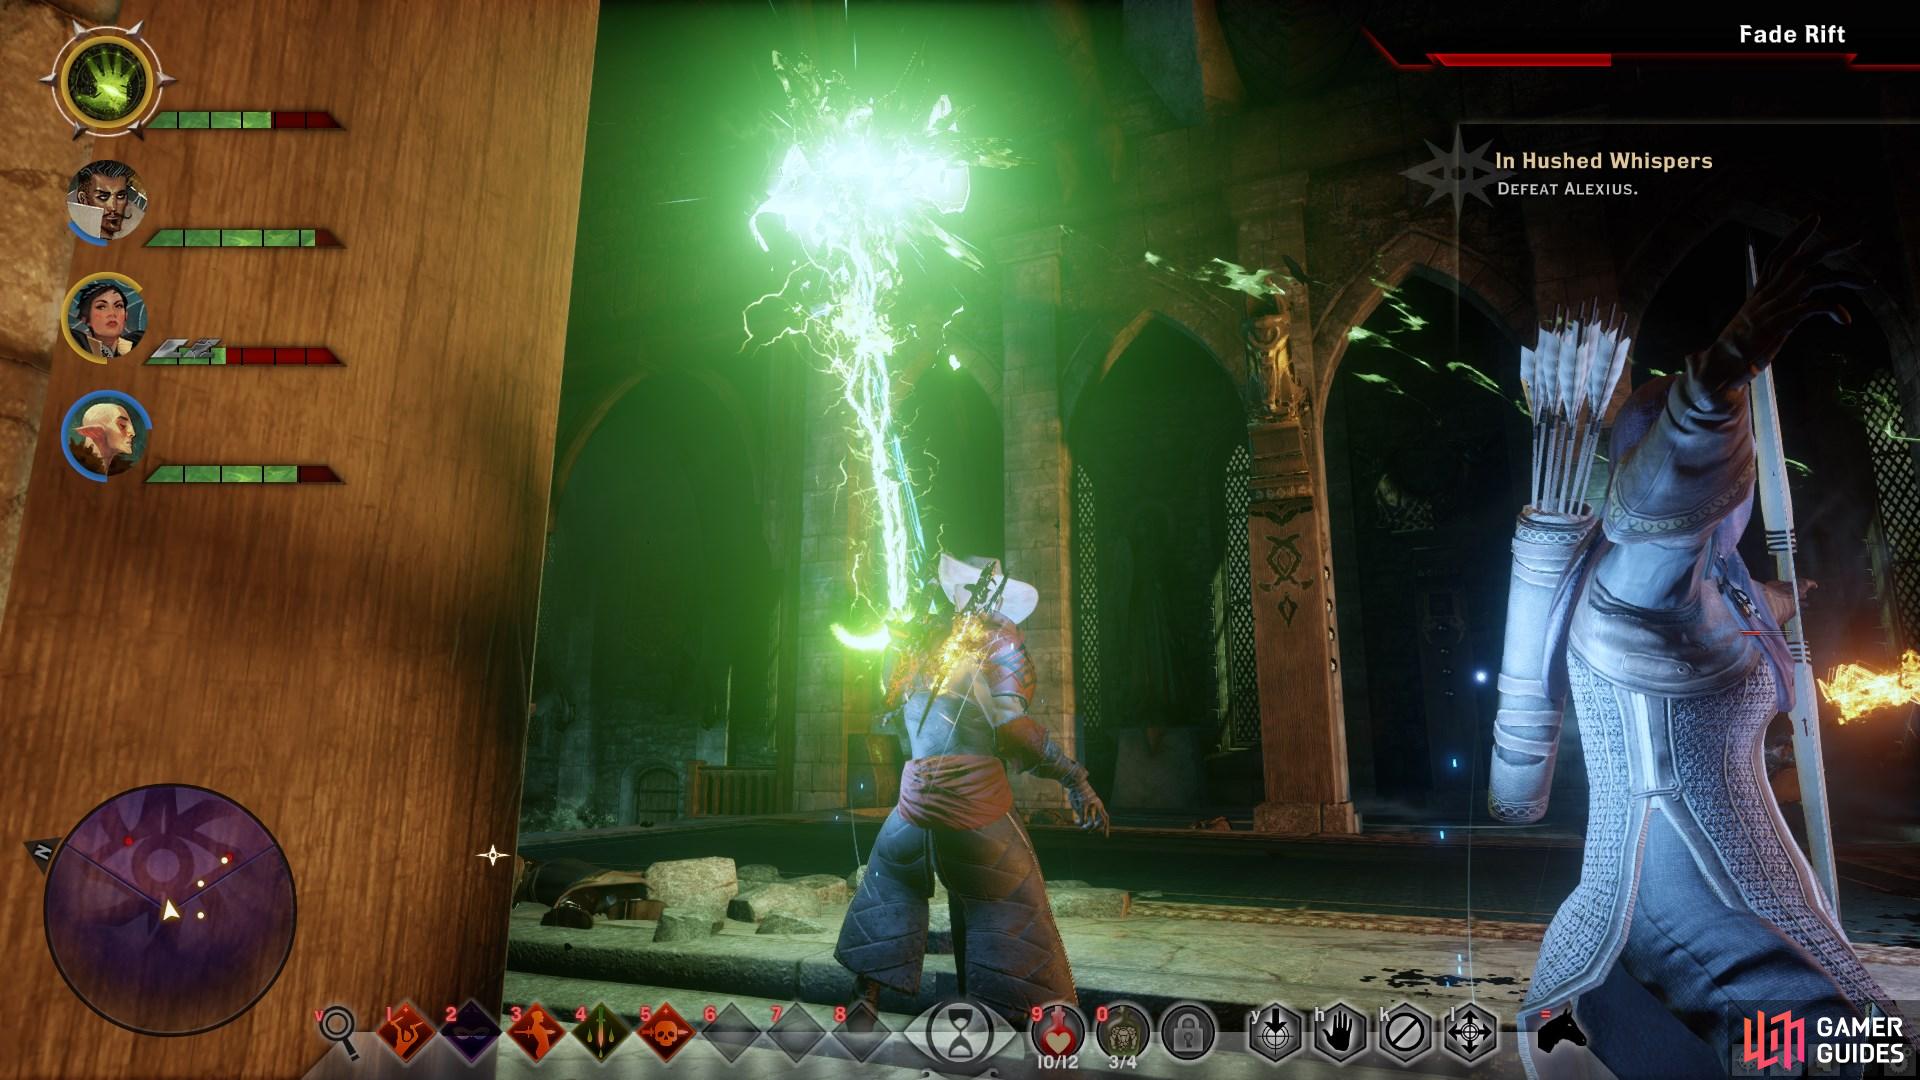
Continue up to the torture room through the door to the south. Up the stairs you can open the door to find Hanley and two Venatori Zealots. Loot the bodies for the Bleeder of Souls and Bianca Arms II . Continue up to the next room and through the door on the left to find Leliana. Pay attention to the dialogue as it’s rather unique and interesting. Proceed down the hall and across the bridge into the Torture Chambers. Time to seal a Fade Rift but be sure to deal with the Wraiths first.
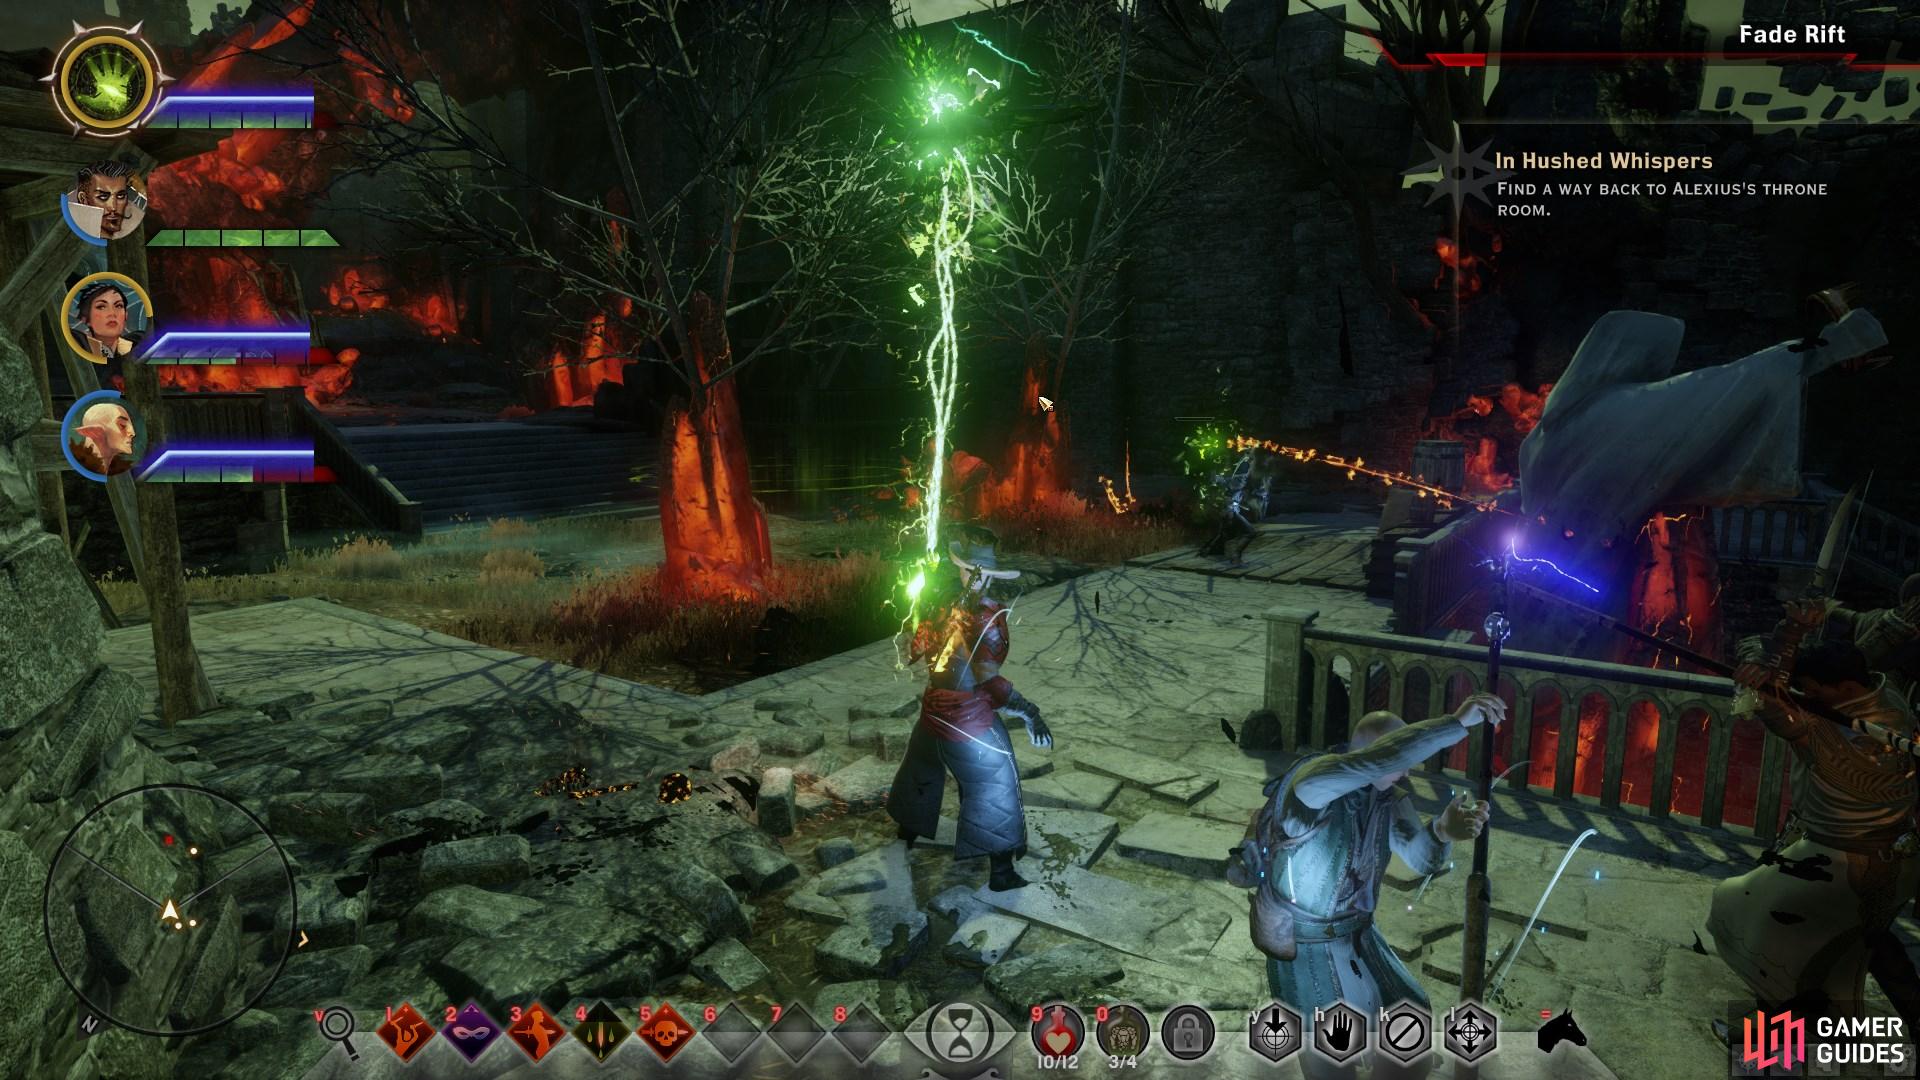
Use the wheel to raise the portcullis and enter the docks. Clear out the two Lesser Shades then loot the area, including the Supplies Cache to refill your Potions. Climb up to the Courtyard where you will find another Fade Rift with plenty of Lesser Shades to deal with. Shortly ahead is another, so deal with the demons and get to closing it. Head to the Upper Royal Wing, searching the left room for Alexious’s Journal and the right room for the Spellbinder’s Journal .
Seal the Fade Rift immediately up the stairs from the docks.
Further beyond the docks you will find a second Fade Rift that needs sealing.
Ahead you’ll find some loot: a Circle of Magi Banner , and another Supplies Cache . In the open room you’ll need to fight off Spellbinders and Shades while you close the Fade Rift; stick to cover if you need it. Loot the corpses for a Red Lyrium Shard of which you’ll need five of these. Go through the southeast door and up the steps. In the room here you’ll find another Spellbinder and Venatori Zealots. Kill the Spellbinder and drop some heavy Area of Effect damage near the steps for a quick win. Loot the second Red Lyrium Shard and the Punisher from the chest in the back.
Loop around the hallway to a large room that contains another Spellbinder. Grab the third Red Lyrium Shard from their bodies then head into the next room. Check the Supplies Cache and lockbox for the Wide-Blade Sword schematic. Have a Rogue open the door here then open the door across to find a Spellbinder who has the fourth Red Lyrium Shard on him. Read up on the Studies on the Blight then bash the northern wall down with a Warrior. Loot the pot for the Apostate Staff schematic. Break the other wall down to surprise two Zealots; kill them and head out.
Check both doors on the way out. It’s critical to get the Masterwork Wave Blade schematic. At the bottom of the staircase is another Supplies Cache ; use it then go across from here through the door. Defeat the Spellbinder and the Gladiators to obtain the last Red Lyrium Shard . Take them back to the main hall and place them in the door.
BOSS - Alexius Level 7
| Value | Stats |
|---|---|
| Health | 25134 |
| Defence | 13 |
| Resistance | N/A |
| Immunity | All Disabling Effects |
| Ability | Perceptive |

As a melee class, be sure to maintain a flank on Alexius to maximise damage and avoid his frontal AoE.
You will need to close Fade Rifts when Alexius reaches 50% health and 25% health before you can damage him again.
The first thing you should notice is that Alexius has no resistances or vulnerabilities. This means all your physical and magical attacks will do full damage but you lack the ability to combo since you cannot incapacitate him. He has the ability to teleport far away so you’ll want to focus on ranged attacks. His arsenal of spells is fairly limited, but they can be devastating.
The battle gets rough when Alexius loses 50% health. He summons a Fade Rift and you’ll need to contend with demons during this phase. Alexius isn’t targetable here so Disrupt the Rift and take out the small fry, closing the Fade Rift afterward. Focus on building Guard and placing Barrier on your Warrior as you’ll be able to mitigate nearly all of the damage this way.
At 25% health Alexius will summon a second Fade Rift with even more demons. Like last time, focus on the demons. You can cast Dispel on the location they are going to spawn to stop them from spawning completely and placing runes or traps on the spawn location is fairly useful for a lot of quick damage. When the second rift is sealed you can attack Alexius for his remaining health.
Negotiation with Fiona
Once Alexius is defeated, you will need to negotiate with Fiona to determine what will become of the mages. Essentially, you will have two options; form an alliance with the mages, or conscript them as prisoners to the inquisition.
Form an alliance between Mages and the Inquisition
Approval Consequences:
Solas - Greatly Approves
Blackwall - Approves
Cole - Greatly Approves
Dorian - Greatly Approves
Varric - Approves if Hawke sided with Mages
Cassandra - Greatly Disapproves
Sera - Greatly Disapproves
Iron Bull - Disapproves
Varric - Disapproves if Hawke sided with Templars
Conscript the Mages as prisoners to the Inquisition
Approval Consequences:
Cassandra - Approves
Sera - Greatly Approves
Iron Bull - Greatly Approves
Varric - Approves if Hawke sided with Templars
Solas - Greatly Disapproves
Blackwall - Disapproves
Cole - Greatly Disapproves
Dorian - Greatly Disapproves
Varric - Disapproves if Hawke sided with Mages
Recruiting Dorian
Once you’re back in Haven, you will have an opportunity to recruit Dorian permanently. To do so, you will need to have invested in the Underworld Knowledge perk from the war table. You can then select the dialogue option “We’ll need Lyrium. I can help.”, leading to Dorian suggesting that he would like to join the inquisition. You will then need to formally invite him via the dialogue options. Be sure to hover over each to preview their impact.
| Codex Entries | Enemies |
|---|---|
| Studies on the Blight | Lesser Terror |
| Alexius’ Journal | Venatori Zealot |
| A Guard’s Journal | Venatori Spellbinder |
| Spellbinder’s Journal | Wraith |
| The Venatori | Alexius (Boss) |
| Dorian Pavus | |
| Magister Gereon Alexius |
No Comments