
This is everything you need to know about how to find and complete Cauldron KAPPA in Horizon Forbidden West.
How to Find and Infiltrate Cauldron KAPPA
Cauldron KAPPA is only accessible later in the game because it’s on the western side of the map. You can find it in the northwest corner, and you’ll have to complete The Sea of the Sands to get the equipment needed to access it.
The overrides you get from Kappa are as follows:
- Dreadwing
- Rockbreaker
- Thunderjaw
- Tideripper
- Tremortusk
- Slaughterspine
- Slitherfang
- Stormbird
| Prerequisite | Level | Rewards |
|---|---|---|
| Complete The Sea of the Sands | 40 |
How to Find Cauldron KAPPA’s Core
Dive into the water to access the Cauldron. There’s a Shellsnapper, but you can avoid it by diving further down.
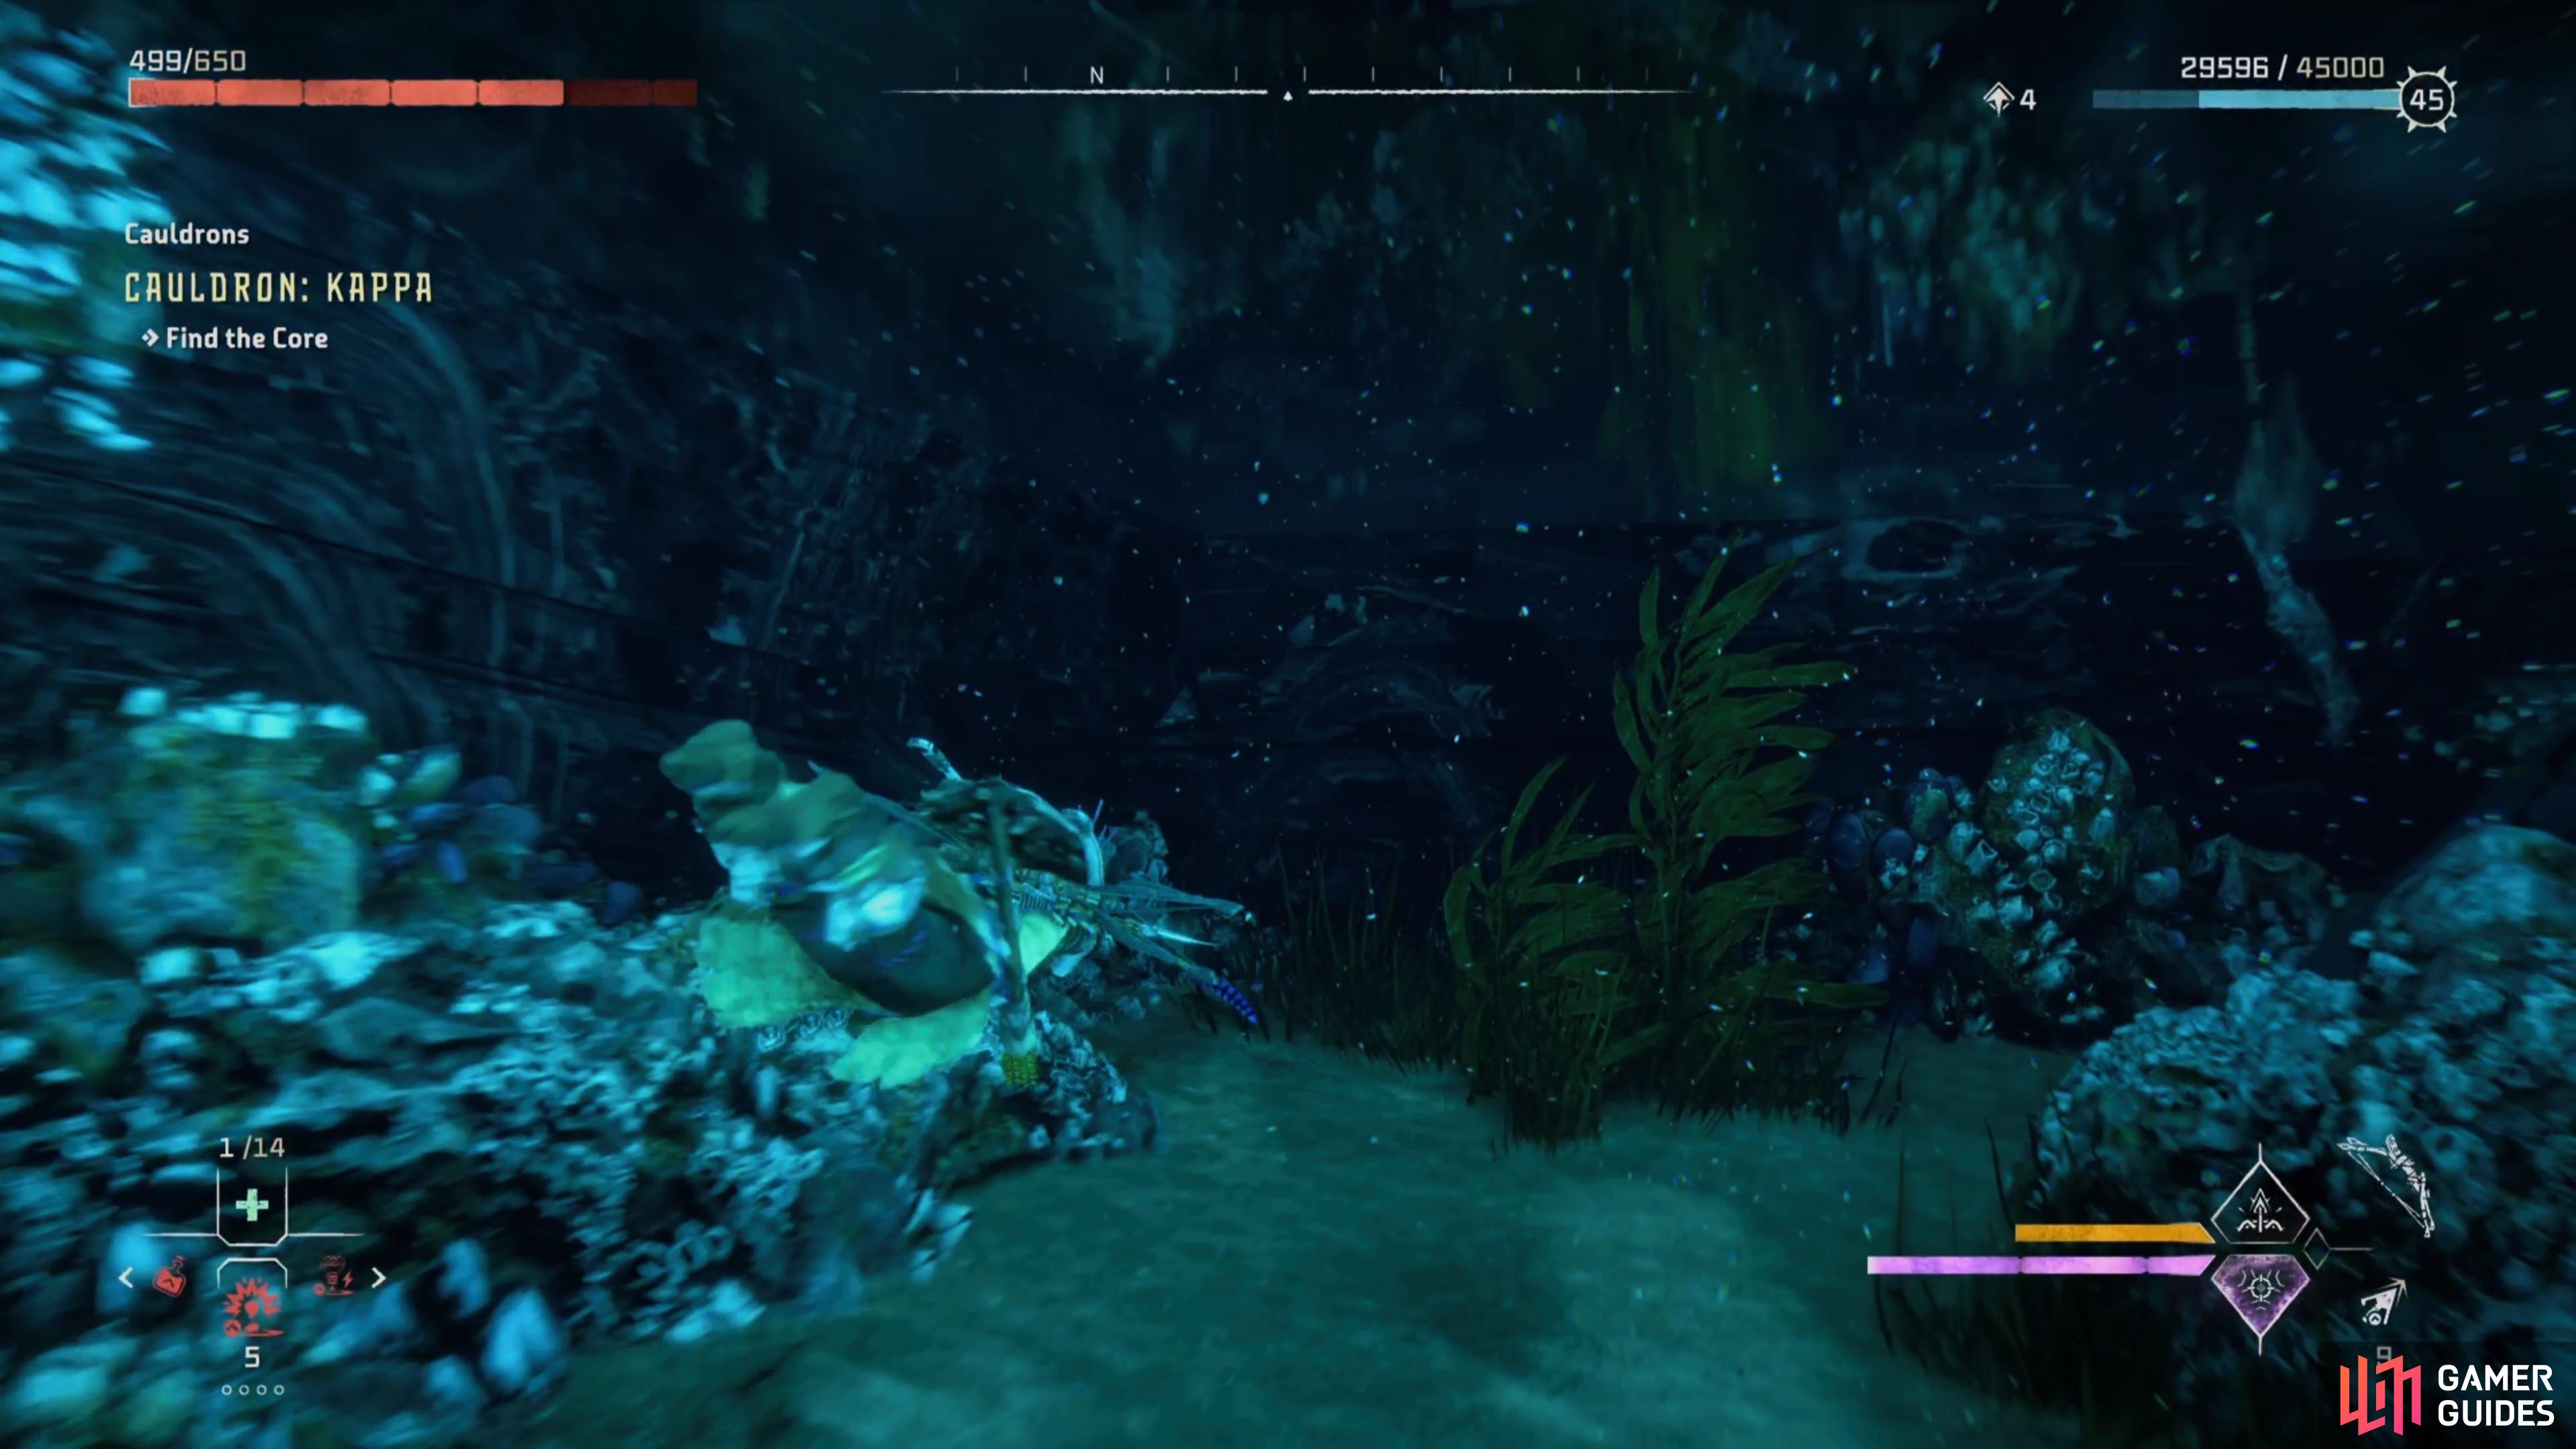
The first part is underwater, so you’ll need the Diving Mask before you can do it successfully.
In the first room, there’s a Snapmaw you should try to avoid too. You’ll find an opening in the center of the room and through it, a door. Override the door to continue on.
When you get to the next room, you’ll have to use your Pullcaster to pull the crate into the water. When you do this, two Spikesnouts will jump out and attack you, and you’ll have to defeat them before you can continue on.
The crate is now underneath the pole so you can use it to climb up. Use the Shieldwing to glide across and opening and continue to the next room of the Cauldron.
When the moving pillar in this room drops to its lowest point, climb onto it and wait for it to rise. When you reach the platform, you can then try to jump onto the ledges to reach the core. That, of course, would make this Cauldron too easy and instead, Aloy will fall into the water.
Use the water to avoid swarming machines. In the back left of the room, you’ll find some moving pillars you can jump across to reach the wall and climb up.
Once you’ve continued through the opening, you’ll find two Apex Burrowers that you’ll have to defeat, as there’s no stealthing past them. Take care, as their Apex status makes them more powerful than the other machines you’ve come across inside of the Cauldron so far. At Level 40, however, they shouldn’t pose too much of a challenge.
Activate the node and head up where more machines are waiting for you as well as a Network Uplink. Activate it to raise the water level.
Drop into the water and swim forward. Climb the pillars available to reach the crate. You’ll have to move that crate to access a vent, and then climb up and access another node to raise the water level even further.

When you get stuck, look around to see if there’s a crate you can move or use your Pullcaster on.
Now you can use the Pullcaster to shift the crate you just climbed up on to fit with the divot nearby.
Swim down to the node that’s below the one you just used. It will lower the water level, and you should then swim back to the nearby pillars. Use the Pullcaster to bring the crate with you once you reach them. Pull it all the way back and into another divot it fits in.
Go across the pillars and climb back up to the highest note. The handholds that broke earlier are now accessible from here. Raise the water level again using the node and swim over to the crate. From there, you can jump onto a rail.

These special nodes change the water level.
Next, you’ll enter a room full of enemies. These include Shellwalkers, Spikesnouts, Borrowers, and Scroungers, and there are six Machines in total. Defeat them to continue. Make sure to make use of dodging and check out each Machine’s specific weakness using your Focus. That’ll make the fight go much faster.
Use the Pullcaster on the crate. Move it close to the wall so you can jump up and grab the flying machine.
Override the door and fall into the water where you’ll see a Tideripper. The quest objective will now guide you to another node that you can override before swimming through the opening.

Lower the water level using the node then return to fight the Apex Tideripper. After you’ve done that, you can override the Cauldron and exit.
How to Beat the Tideripper
To truly access the Cauldron’s core, you have an Apex Tideripper to beat. Even at Level 40, it’s tough.

Spike Throwers do a ton of damage if you can get a hit in. Remember though, the Tideripper is faster than its size suggests.
Make sure to try and shoot off the components such as:
- Purgewater Cannon
- Purgewater Pouch
- Purgewater Sac
- Processing Capsule
- Tail Cannister
- Chillwater Cannister
- Glowblast Cannister
- Sparker
The Tideripper is weak against Frost and Shock damage and strong against Fire and Purgewater damage, so make sure to use the former attacks and avoid the latter.
No Comments