
Throughout your journey in Forbidden West, you will come across a variety of Machines, most of which will be out to attack you. This page will concentrate on the Transport Machine, the Leaplasher.
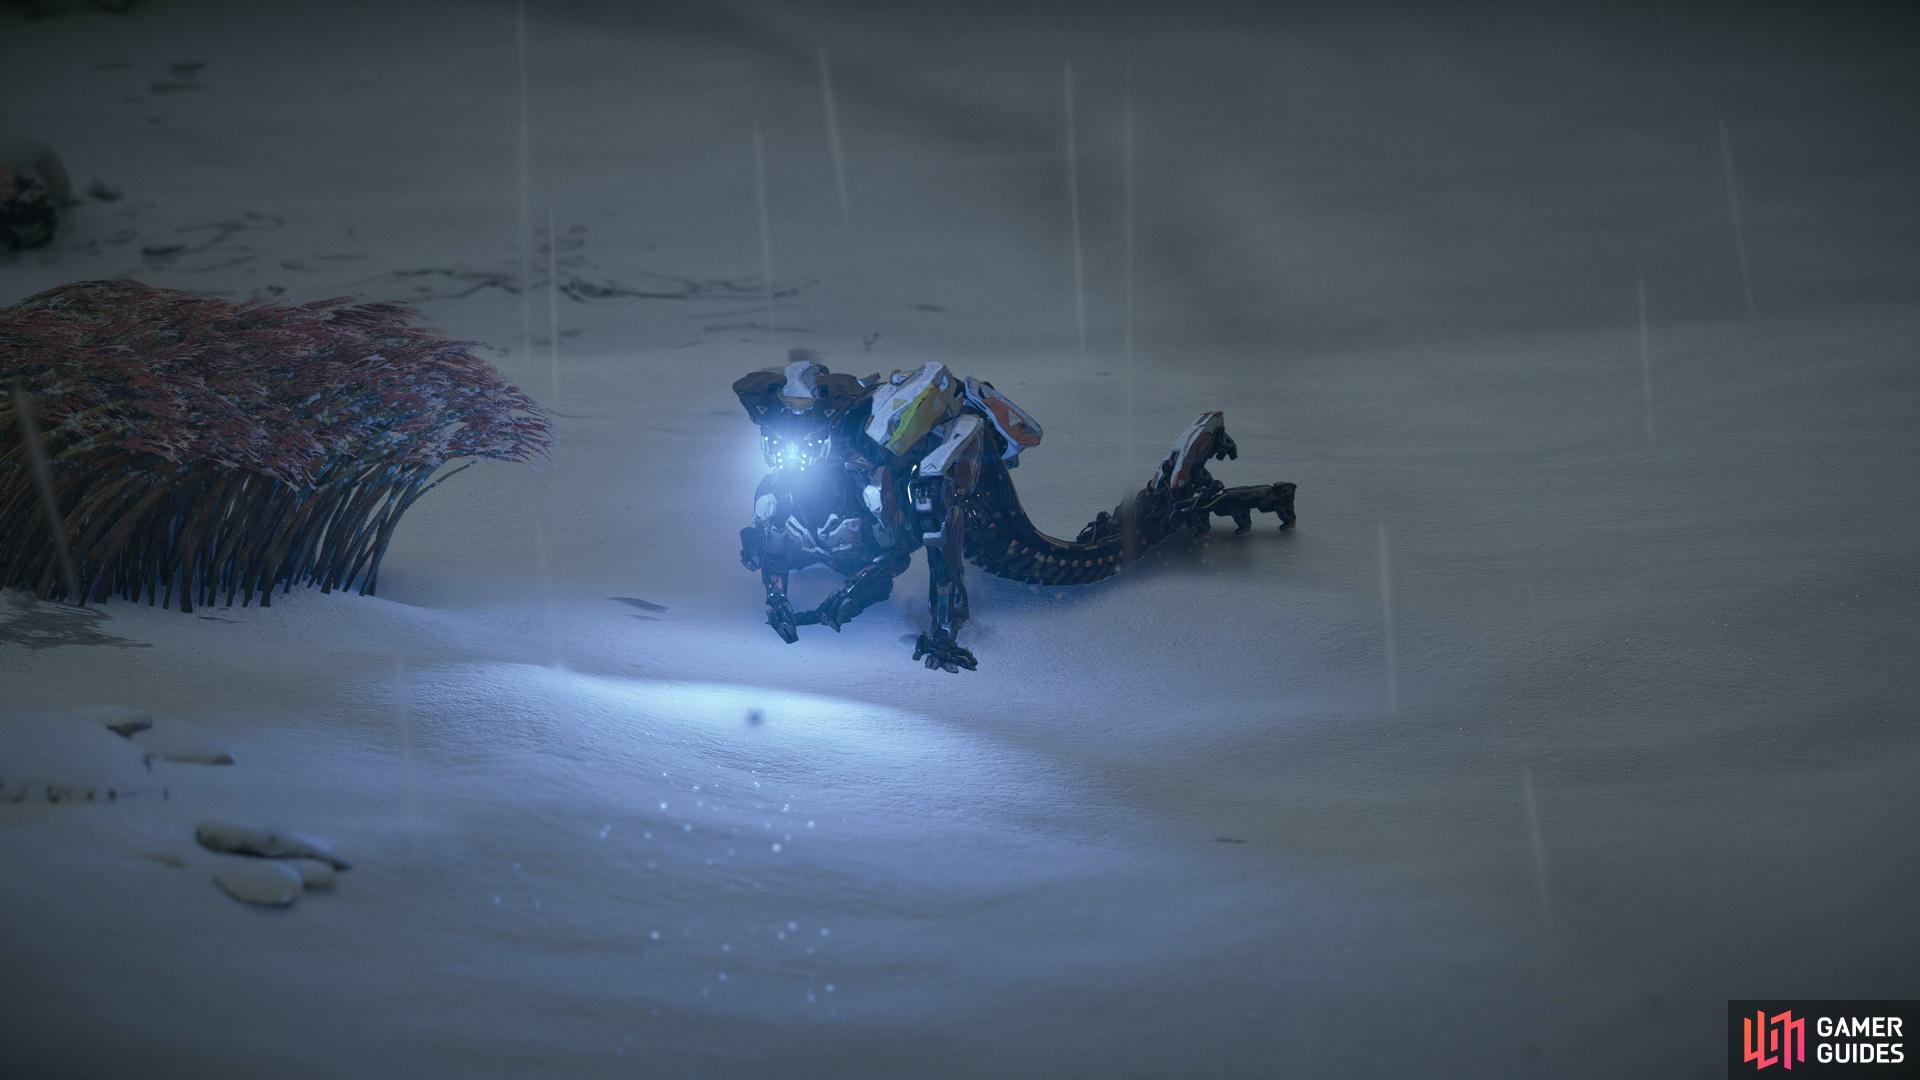
Leaplasher in the game

Leaplasher in the notebook
General Information
An acrobatic transport machine equipped an elemental Canister. Its cargo can be deployed to aid allies or weaponized for its attacks.
| Level | Type | Cauldron | Weak | Strong |
|---|---|---|---|---|
| 13 | Transport | IOTA Cauldron | Purgewater | Shock |
Tips for Defeating the Leaplasher
The Leaplasher can be somewhat of an annoying Machine to face, as it will be moving around a lot by hopping and jumping (it kind of resembles a kangaroo). The Leaplasher will have access to a bunch of electrical attacks, despite none of the variants include a Shock version. However, if you destroy the Power Cell by the tail of the Leaplasher, you will disable the electric portion of those attacks. One of the easiest ways to target the Power Cell is to wait until the machine slams its tail, then use Concentration to slow the game down to target the part. Likewise, if you can manage to destroy the Cargo Claw, which is on its stomach area, then you will stop a few of its attacks.
As already mentioned, the Leaplasher will be hopping and jumping around a lot, so getting a bead on the weak points can be difficult at times. There is a lunging attack it can do, where it tries to kick you, but that’s easily avoidable by rolling to either side. There is also a jumping attack, with the Leaplasher slamming its feet on the ground. If the feet are electricized, then there will be a small shockwave upon it slamming the ground, plus it can do this multiple times in a row. Sometimes, after doing the feet slam attack, with its back turned, it will follow it up by leaping at you and slamming its tail on the ground.
If you happen to be too far from the Leaplasher, it will prep up three projectiles and launch them at the same time with its tail. With the Power Cell, these are electrified, but they will become rocks without the Power Cell. The Leaplasher can also use its Cargo Claw part to initiate a few attacks, provided you didn’t destroy it. One attack it can do is spin it around while it spin its own body towards you, basically using it like a flail. The Leaplasher will also fling the Cargo Claw in your direction, slamming it to the ground.
Some of the attacks from the Leaplasher can be tricky to dodge, especially the spinning one with the Cargo Claw, since it covers a wider range. You should try to aim in destroying the Cargo Claw, which is on its belly, since that gets rid of the two above attacks, as well as the Power Cell, allowing you to avoid being Shocked. Depending on the variant fought, with not many differences, you can also shoot the Canisters on its back with the respective elemental arrows to make an explosion related to that element. The angel provided sometimes, though, will require you to destroy the armor protecting the canisters first.
Loot (Body)
All of the loot in the table below can drop upon killing the Machine and looting its body.
| Loot | Chance to Drop |
|---|---|
| Sparker | 100% |
| Metal Shards | 100% |
| Apex Leaplasher Heart | 60% (Apex only) |
| Volatile Sludge | 50% (Apex only) |
| Machine Muscle | 31% |
| Leaplasher Circulator | 30-31% |
| Leaplasher Primary Nerve | 20% |
| Small Machine Core | 16-17% |
| Metal Bone | 10-11% |
| Braided Wire | 11% |
| Sturdy Hardplate | 5-6% |
Loot (Cargo Claw)
The Cargo Claw itself doesn’t have any loot itself, but it can leave behind some pods that have loot inside them. It is located on the belly of the machine and can be difficult to hit sometimes, due to all of the movement. However, the loot in these pods are random, so you will never know what you’ll get. It’s best to remove/destroy this part to limit the number of attacks in the machine’s arsenal. This part is destroyed upon killing the machine.
Loot (Canister)
The Canister, of which there will be two, is located on the back of the Leaplasher, and is protected by some armor, depending on the angle you have. It’s not fully protected, though, so you can get good shots when you have a good angle. Depending on the variant being fought, you can use the same elemental Arrow to trigger an explosion if hitting the canister. Not only does this damage the machine heavily, but it can also damage/inflict the status on nearby machines. This part is destroyed upon killing the machine.
| Loot | Chance to Drop |
|---|---|
| Metalbite | 100% (Acid variant) |
| Blaze | 100% (Fire variant) |
| Chillwater | 100% (Frost variant) |
| Glowblast | 100% (Apex variant) |
Loot (Power Cell)
The Power Cell is located on the back of the Leaplasher, below the Canisters, and is the part that powers up the electrified attacks of the machine. If you can manage to detach/destroy it, then none of the attacks will be electrified, although it doesn’t actually disable any attacks. Note that detaching it is the only way to get the Spark Coil resource, as it doesn’t drop from any other source. This part is destroyed upon killing the machine.
| Loot | Chance to Drop |
|---|---|
| Sparker | 100% |
| Leaplasher Spark Coil | 20-21% |
No Comments