
Walkthrough for the Main Quest The Embassy in Horizon Forbidden West, including information about how to obtain Fashav’s Token, the Shieldwing and how to defeat Grudda.
This quest will begin immediately after completing [To the Brink]. Note that after completing the aforementioned Main Quest, Chainscrape will be back to business as usual, which means you can finally buy new arms and armor from merchants. Consider shopping for upgrades and/or more diverse weaponry before you continue the main story.
| Starting Location | Prerequisite | Level | Rewards |
|---|---|---|---|
| No Man’s Land | Complete [To the Brink] | 7 |
Override a Charger,
and ride it to Barren Light.
How to Reach Barren Light
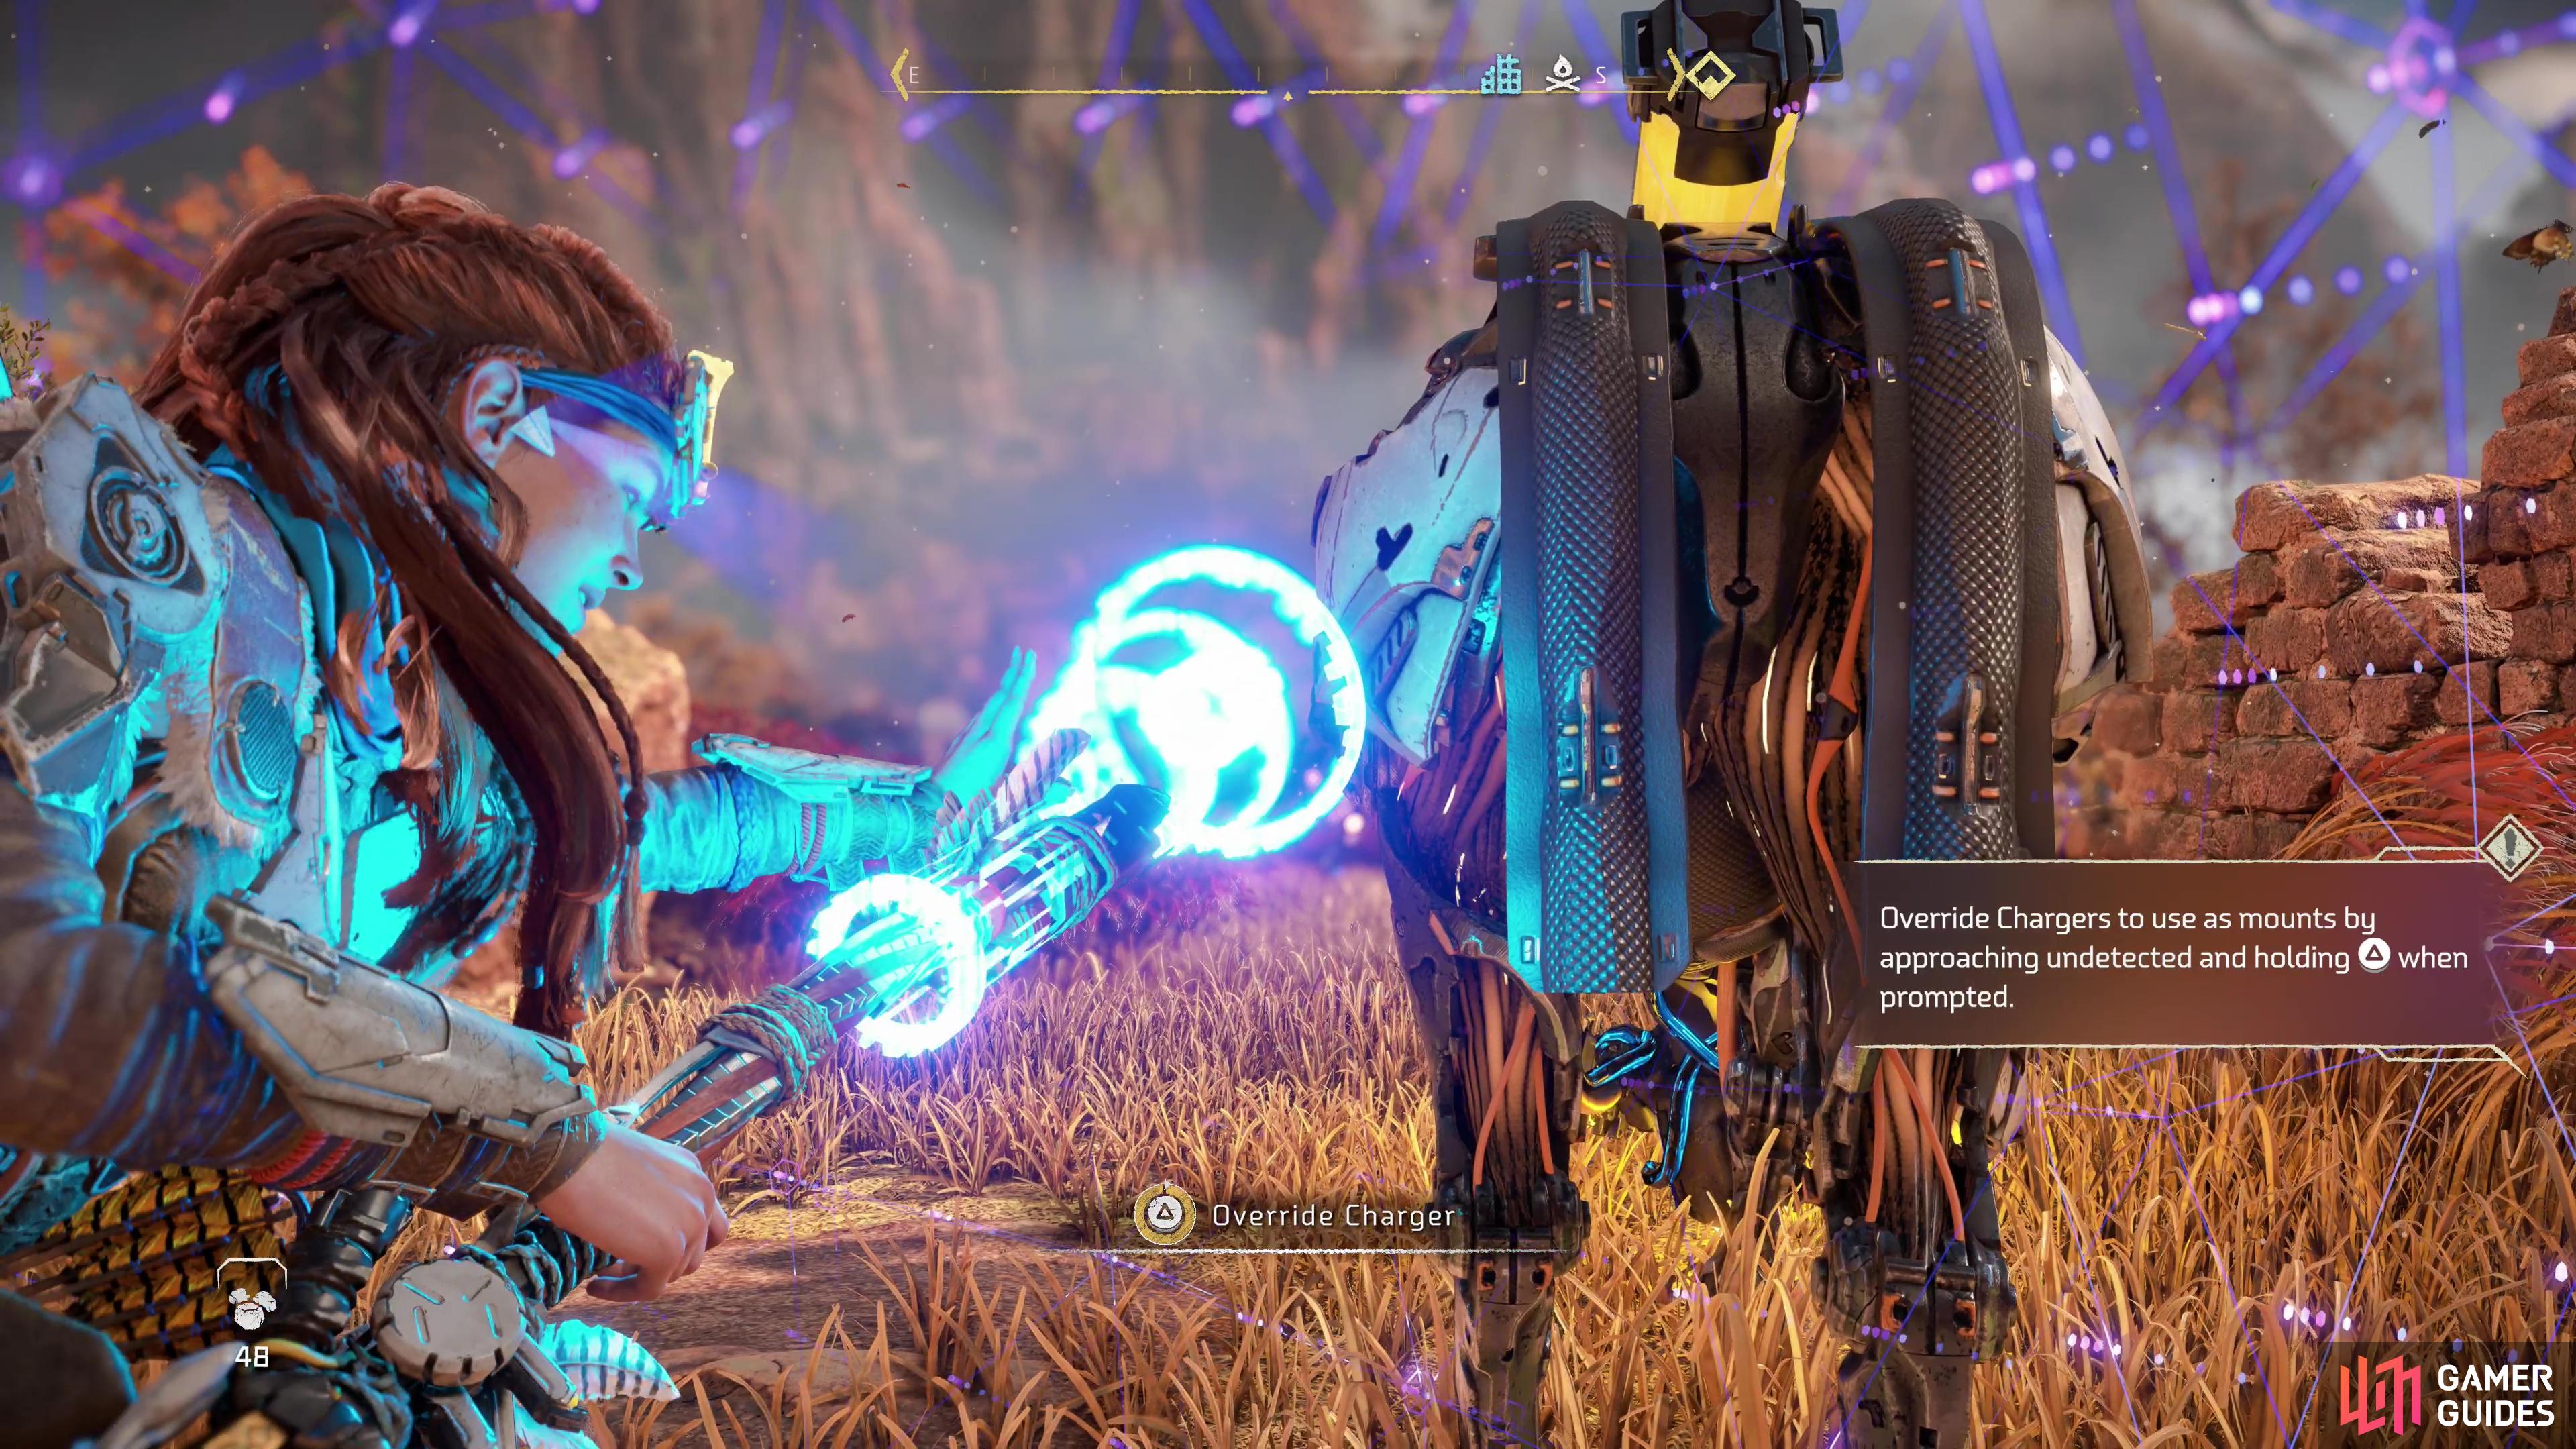
Barren’s Light is a fair trek to the southwest, and while it can be reached easily enough on foot (there are a few Campfires along the way, as well), you can alternatively override a Charger and ride it to Barren’s Light. This is completely optional, but good practice for the future, when the map opens up more.
A Charger Site can conveniently be found just southwest of Chainscrape - in fact, there are two of them en route to Barren’s Light. Locate the target machines, hide, sneak up to one, then hold down Triangle to override it, after which it’ll serve as your loyal steed. Press Square to mount and dismount, and mash X to prompt the machine to run.
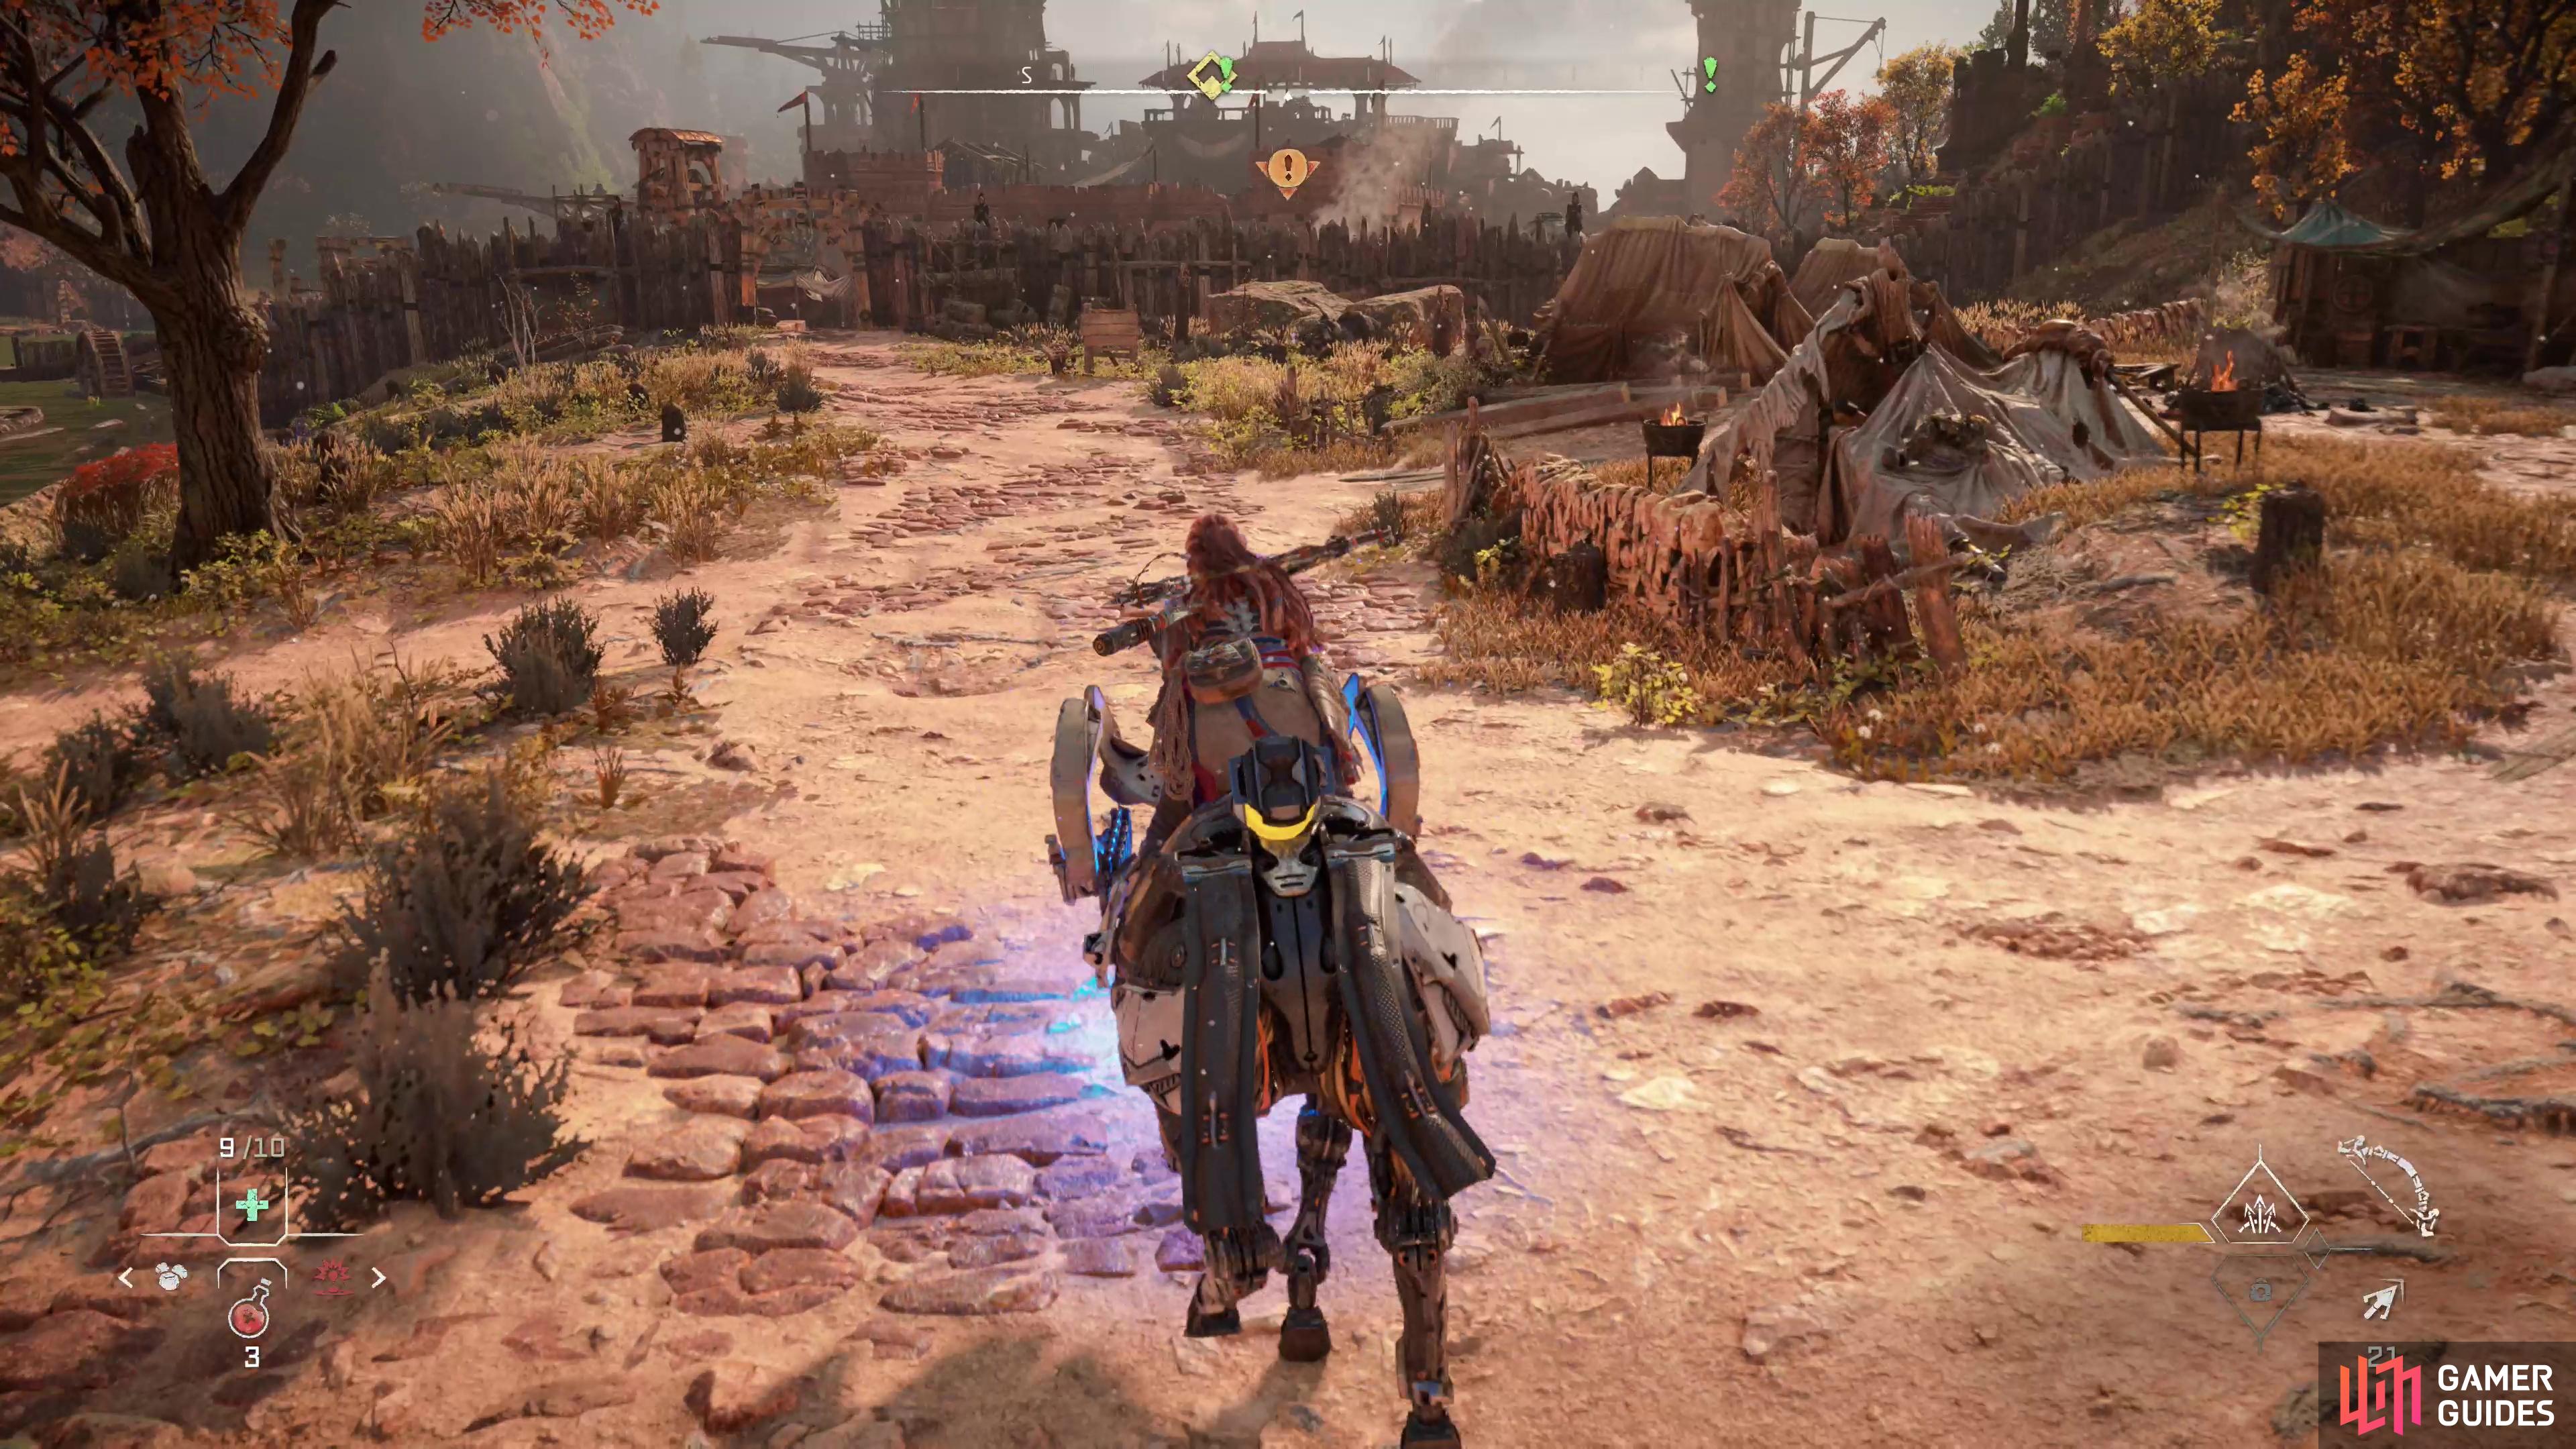
Hijack and Charger and ride it southwest to Barren’s Light or make the journey on foot. Either way, when you arrive, check out the wares of the merchants here; the Hunter will sell new weapons:
- [Ropecaster]
- [Explosive Tripcaster]
- [Explosive Blastsling]
- [Swift Warrior Bow]
- [Knockdown Sharpshot Bow]
- [Slicing Shredder Gauntlet]
While the Stitcher will sell new armor:
- [Nora Sentinel]
Both the Slicing Shredder Gauntlet and the Nora Sentinel armor are rare, and require machine components you can’t acquire yet.
You can also start the Side Quest Shadow From the Past, the Errand Signals of the Sun and the Salvage Contract [Keruf’s Salvage Unlimited], although you can’t progress the last one much at this time.
Talk to Lawan, then Nozar in Barren Light to get beyond the gate.
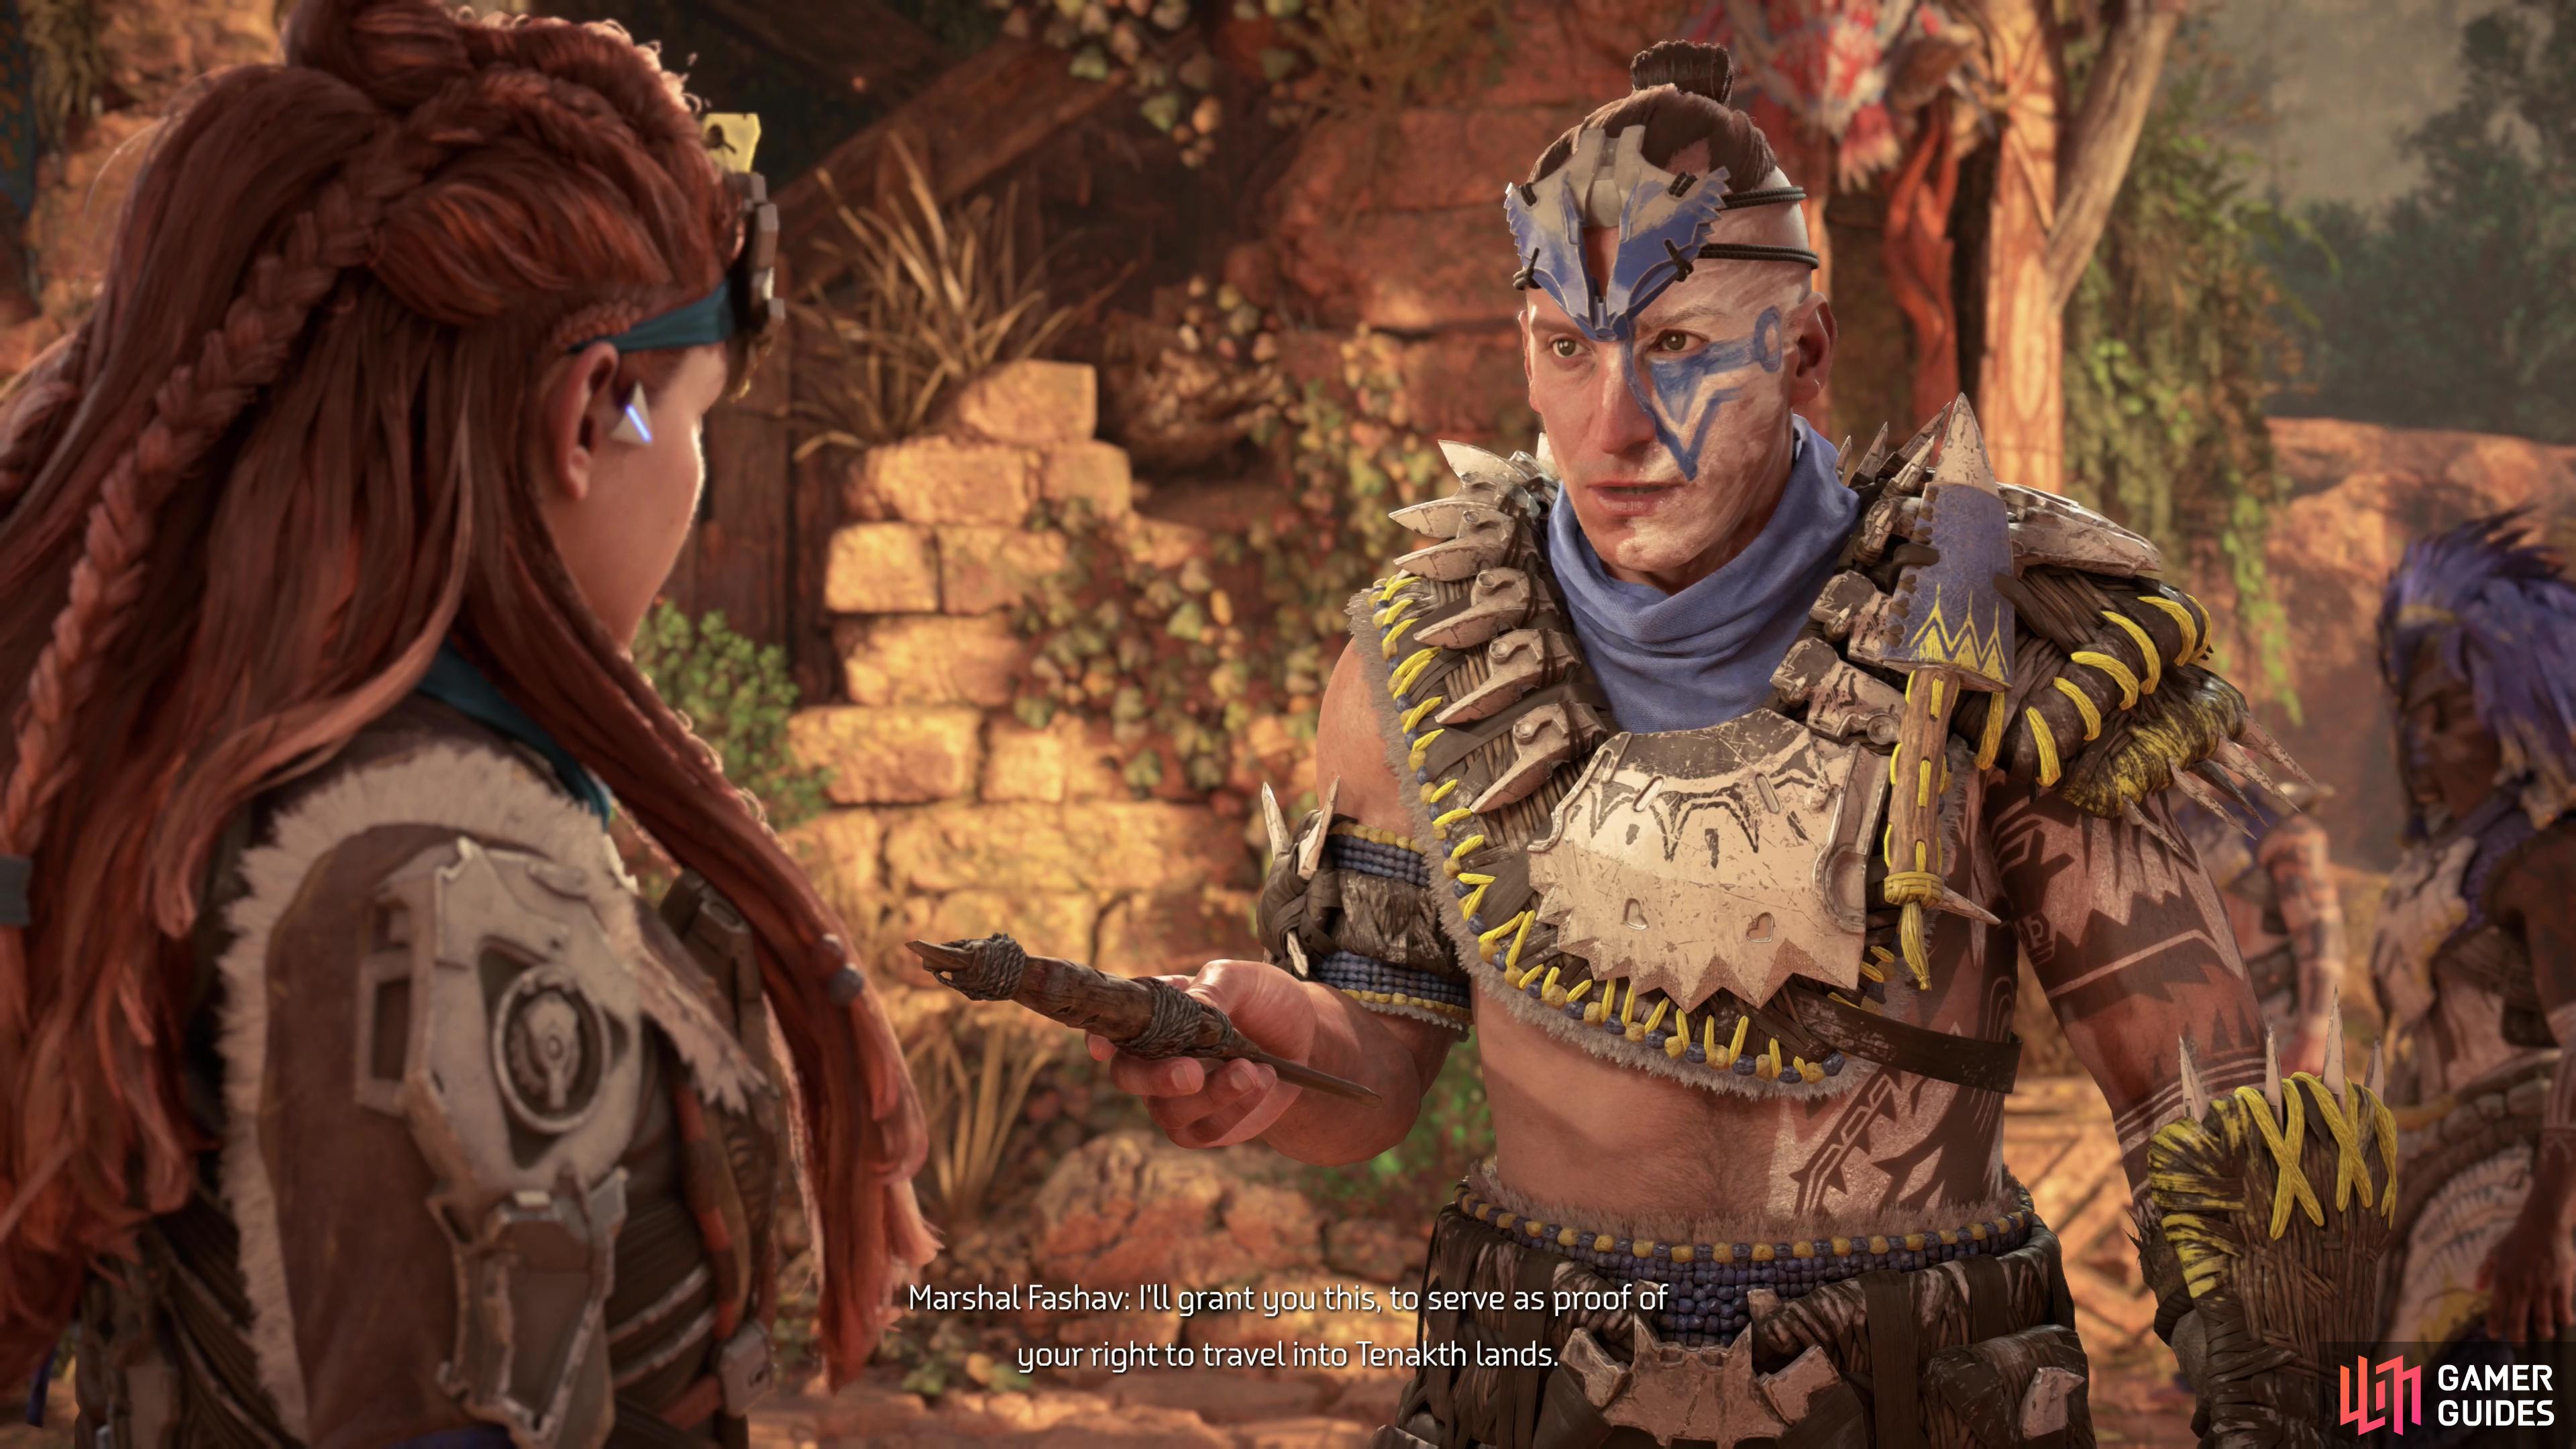
Fashav will give you a token that serves as proof of rite of passage.
How to Start the Embassy
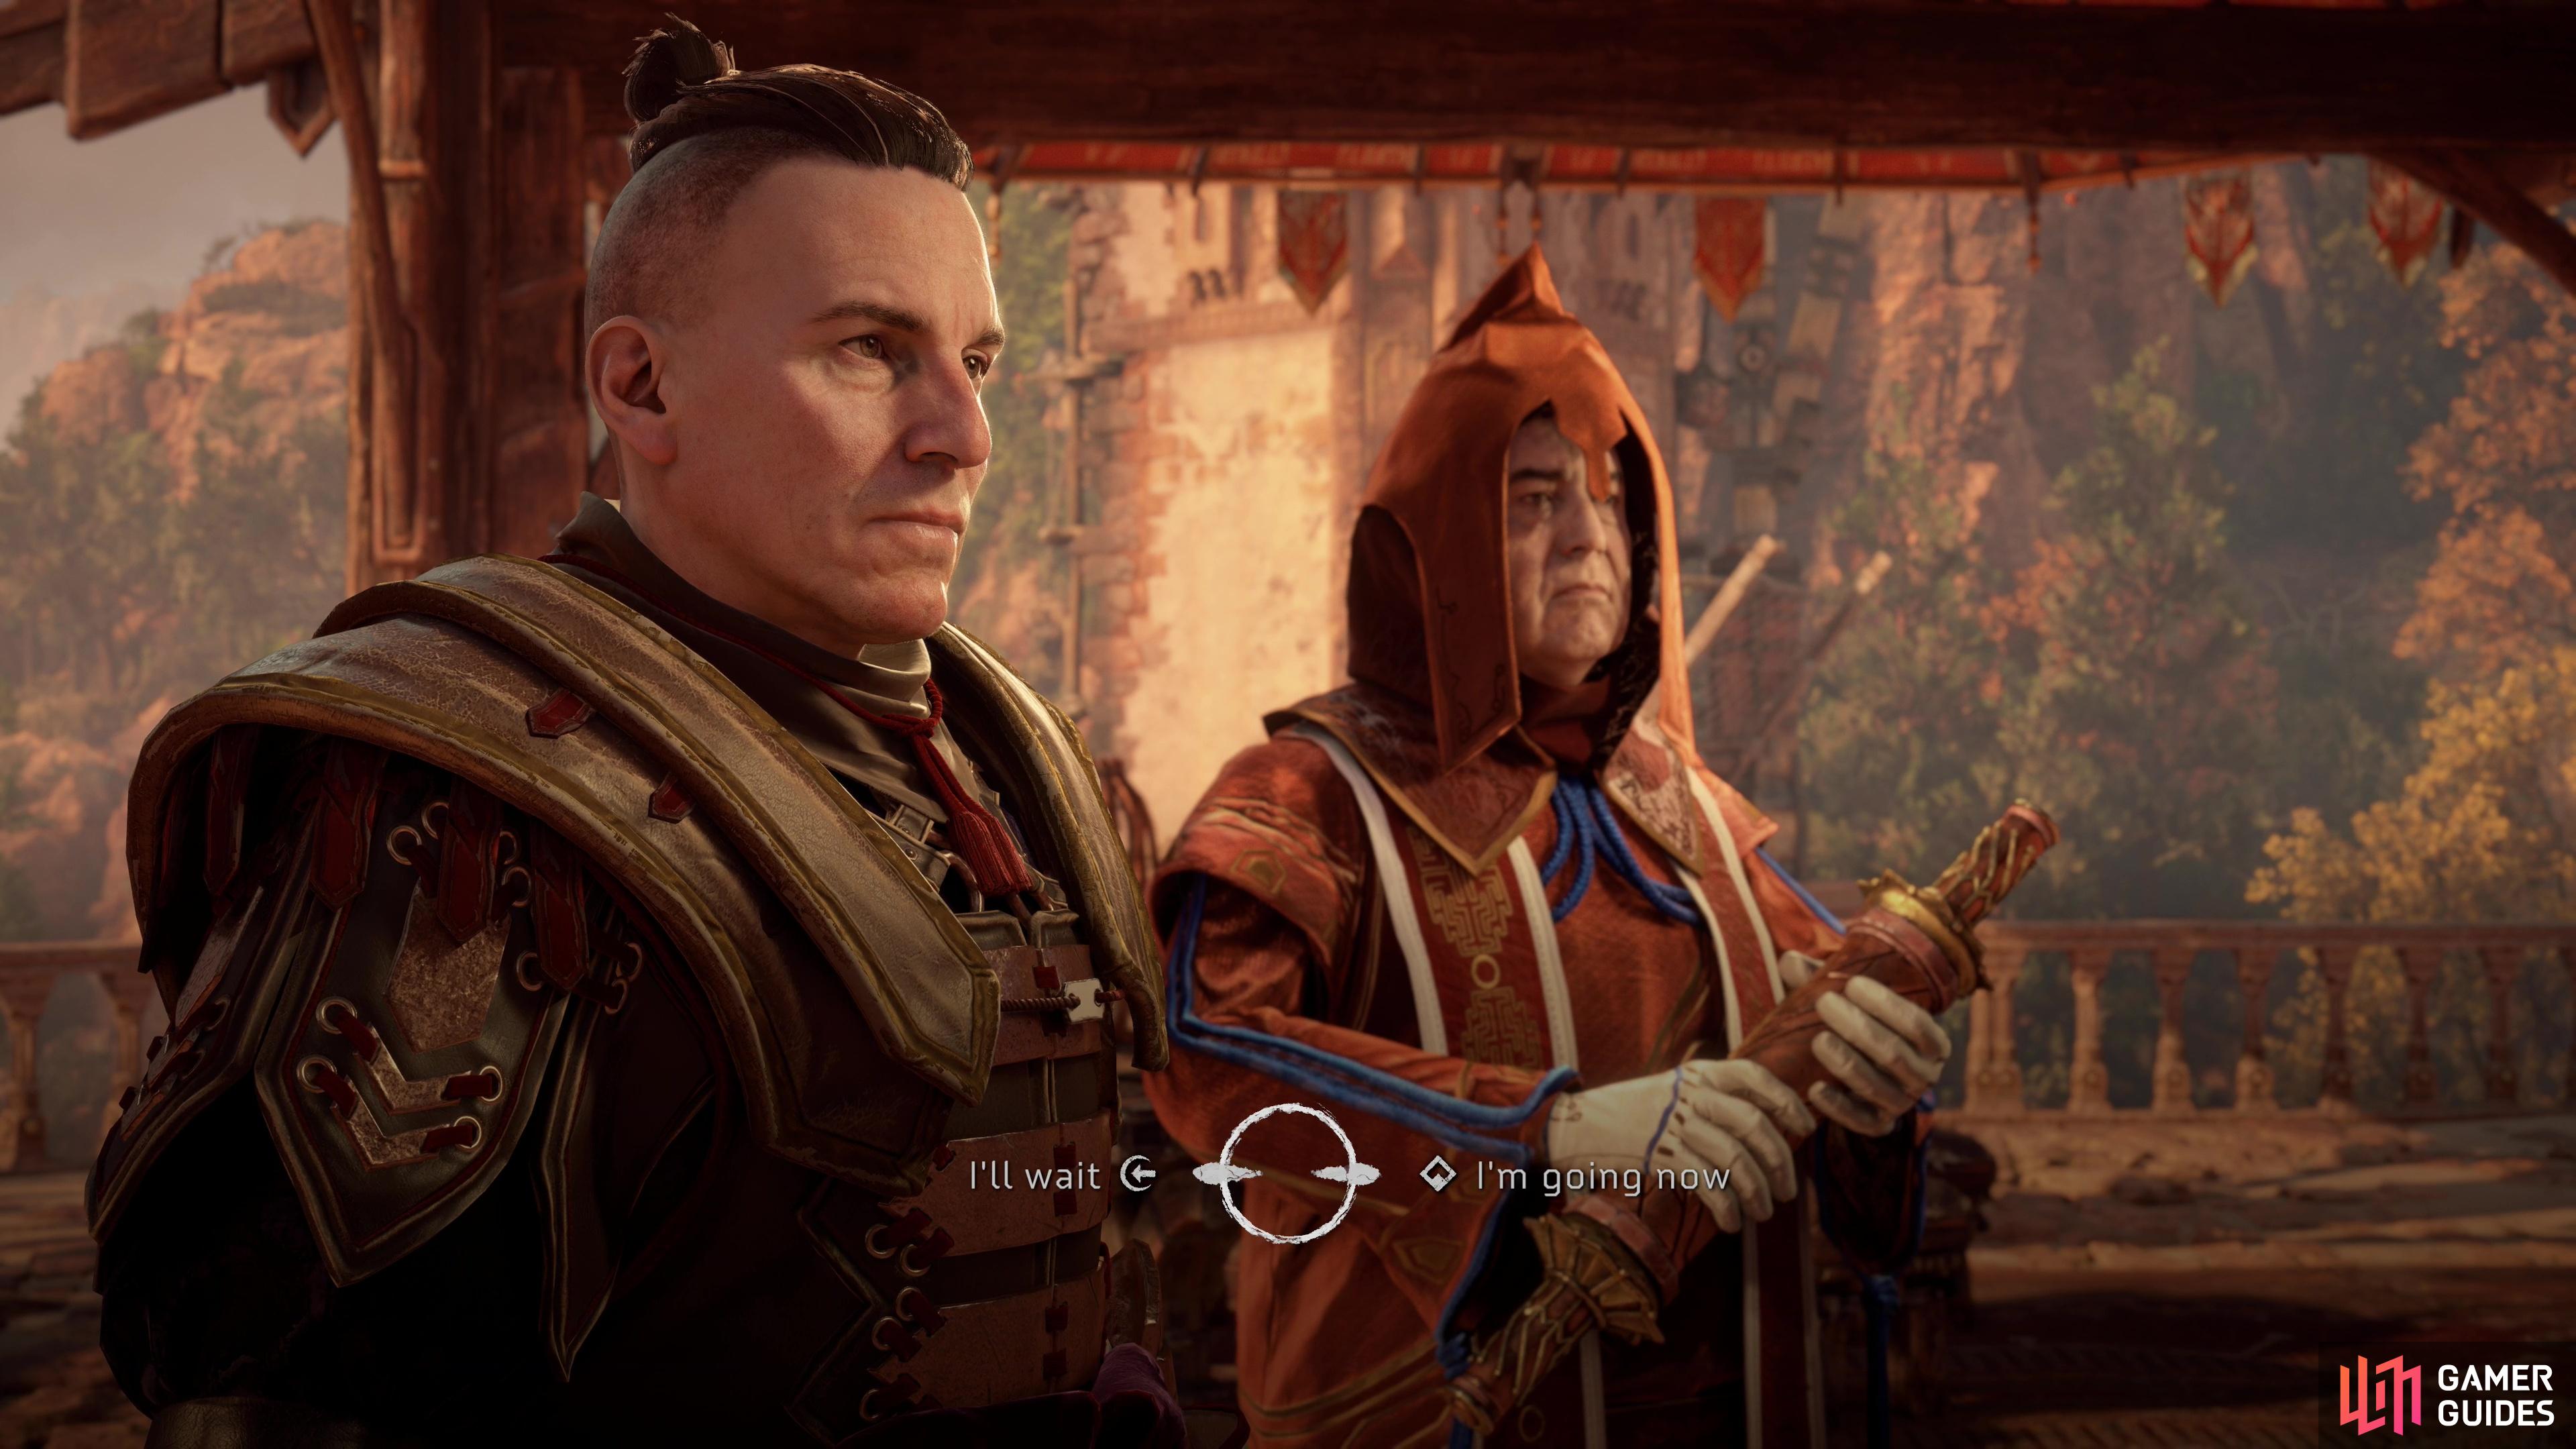
When you’re done exploring Barren Light, head southwest into the keep, where you’ll find Erend, whom you can talk to, although it’s optional. Continue to the gate and talk to Lawan, and afterwards he’ll lead you up some ramps where you’ll find Nozar and Studious Vuadis. Talk to Nozar to hear more excuses, then choose the option ”I’m going now.” to continue the quest or ”I’ll wait.” if you have any unfinished business.
Assuming the former you’ll eventually find yourself beyond the gate. Make your way west across a bridge to confront the Tenakth and you’ll end up chatting with Marshal Fashav. Exhaust his dialog options and Fashav will furnish you with Fashav’s Token, after which the embassy will begin… only to be interrupted shortly after beginning.
How to Defeat the Tenekth Rebels
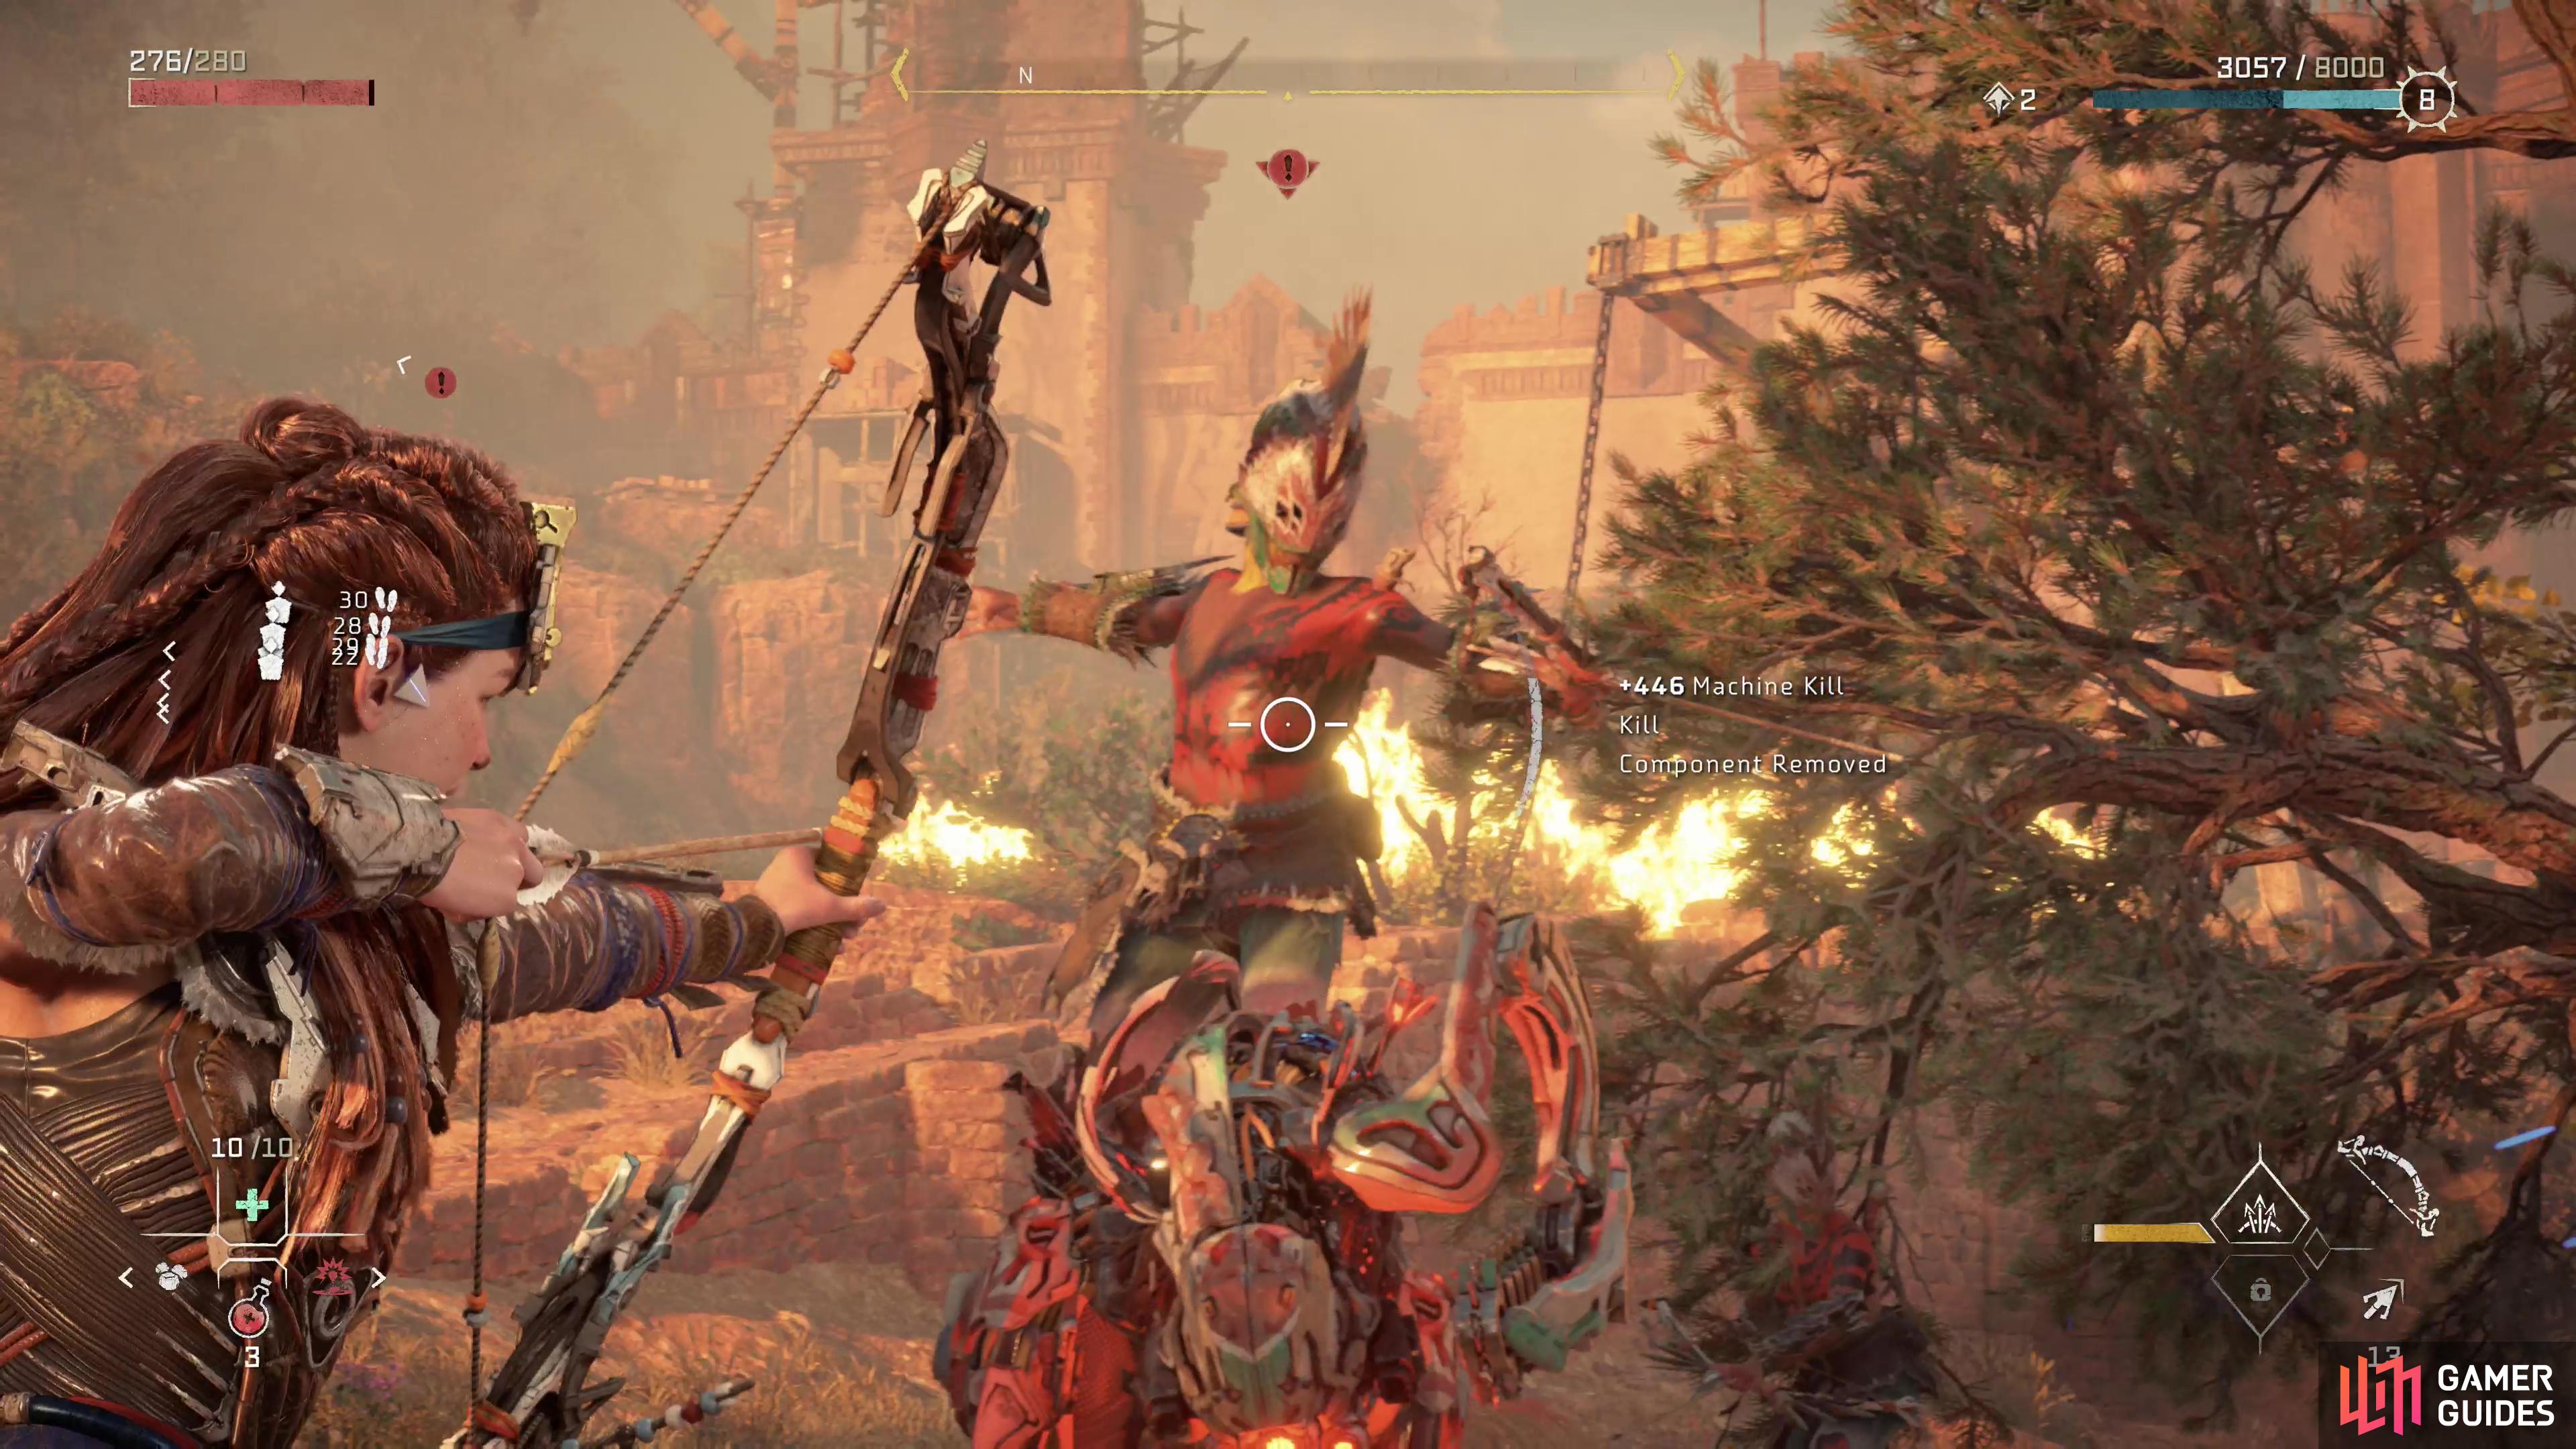
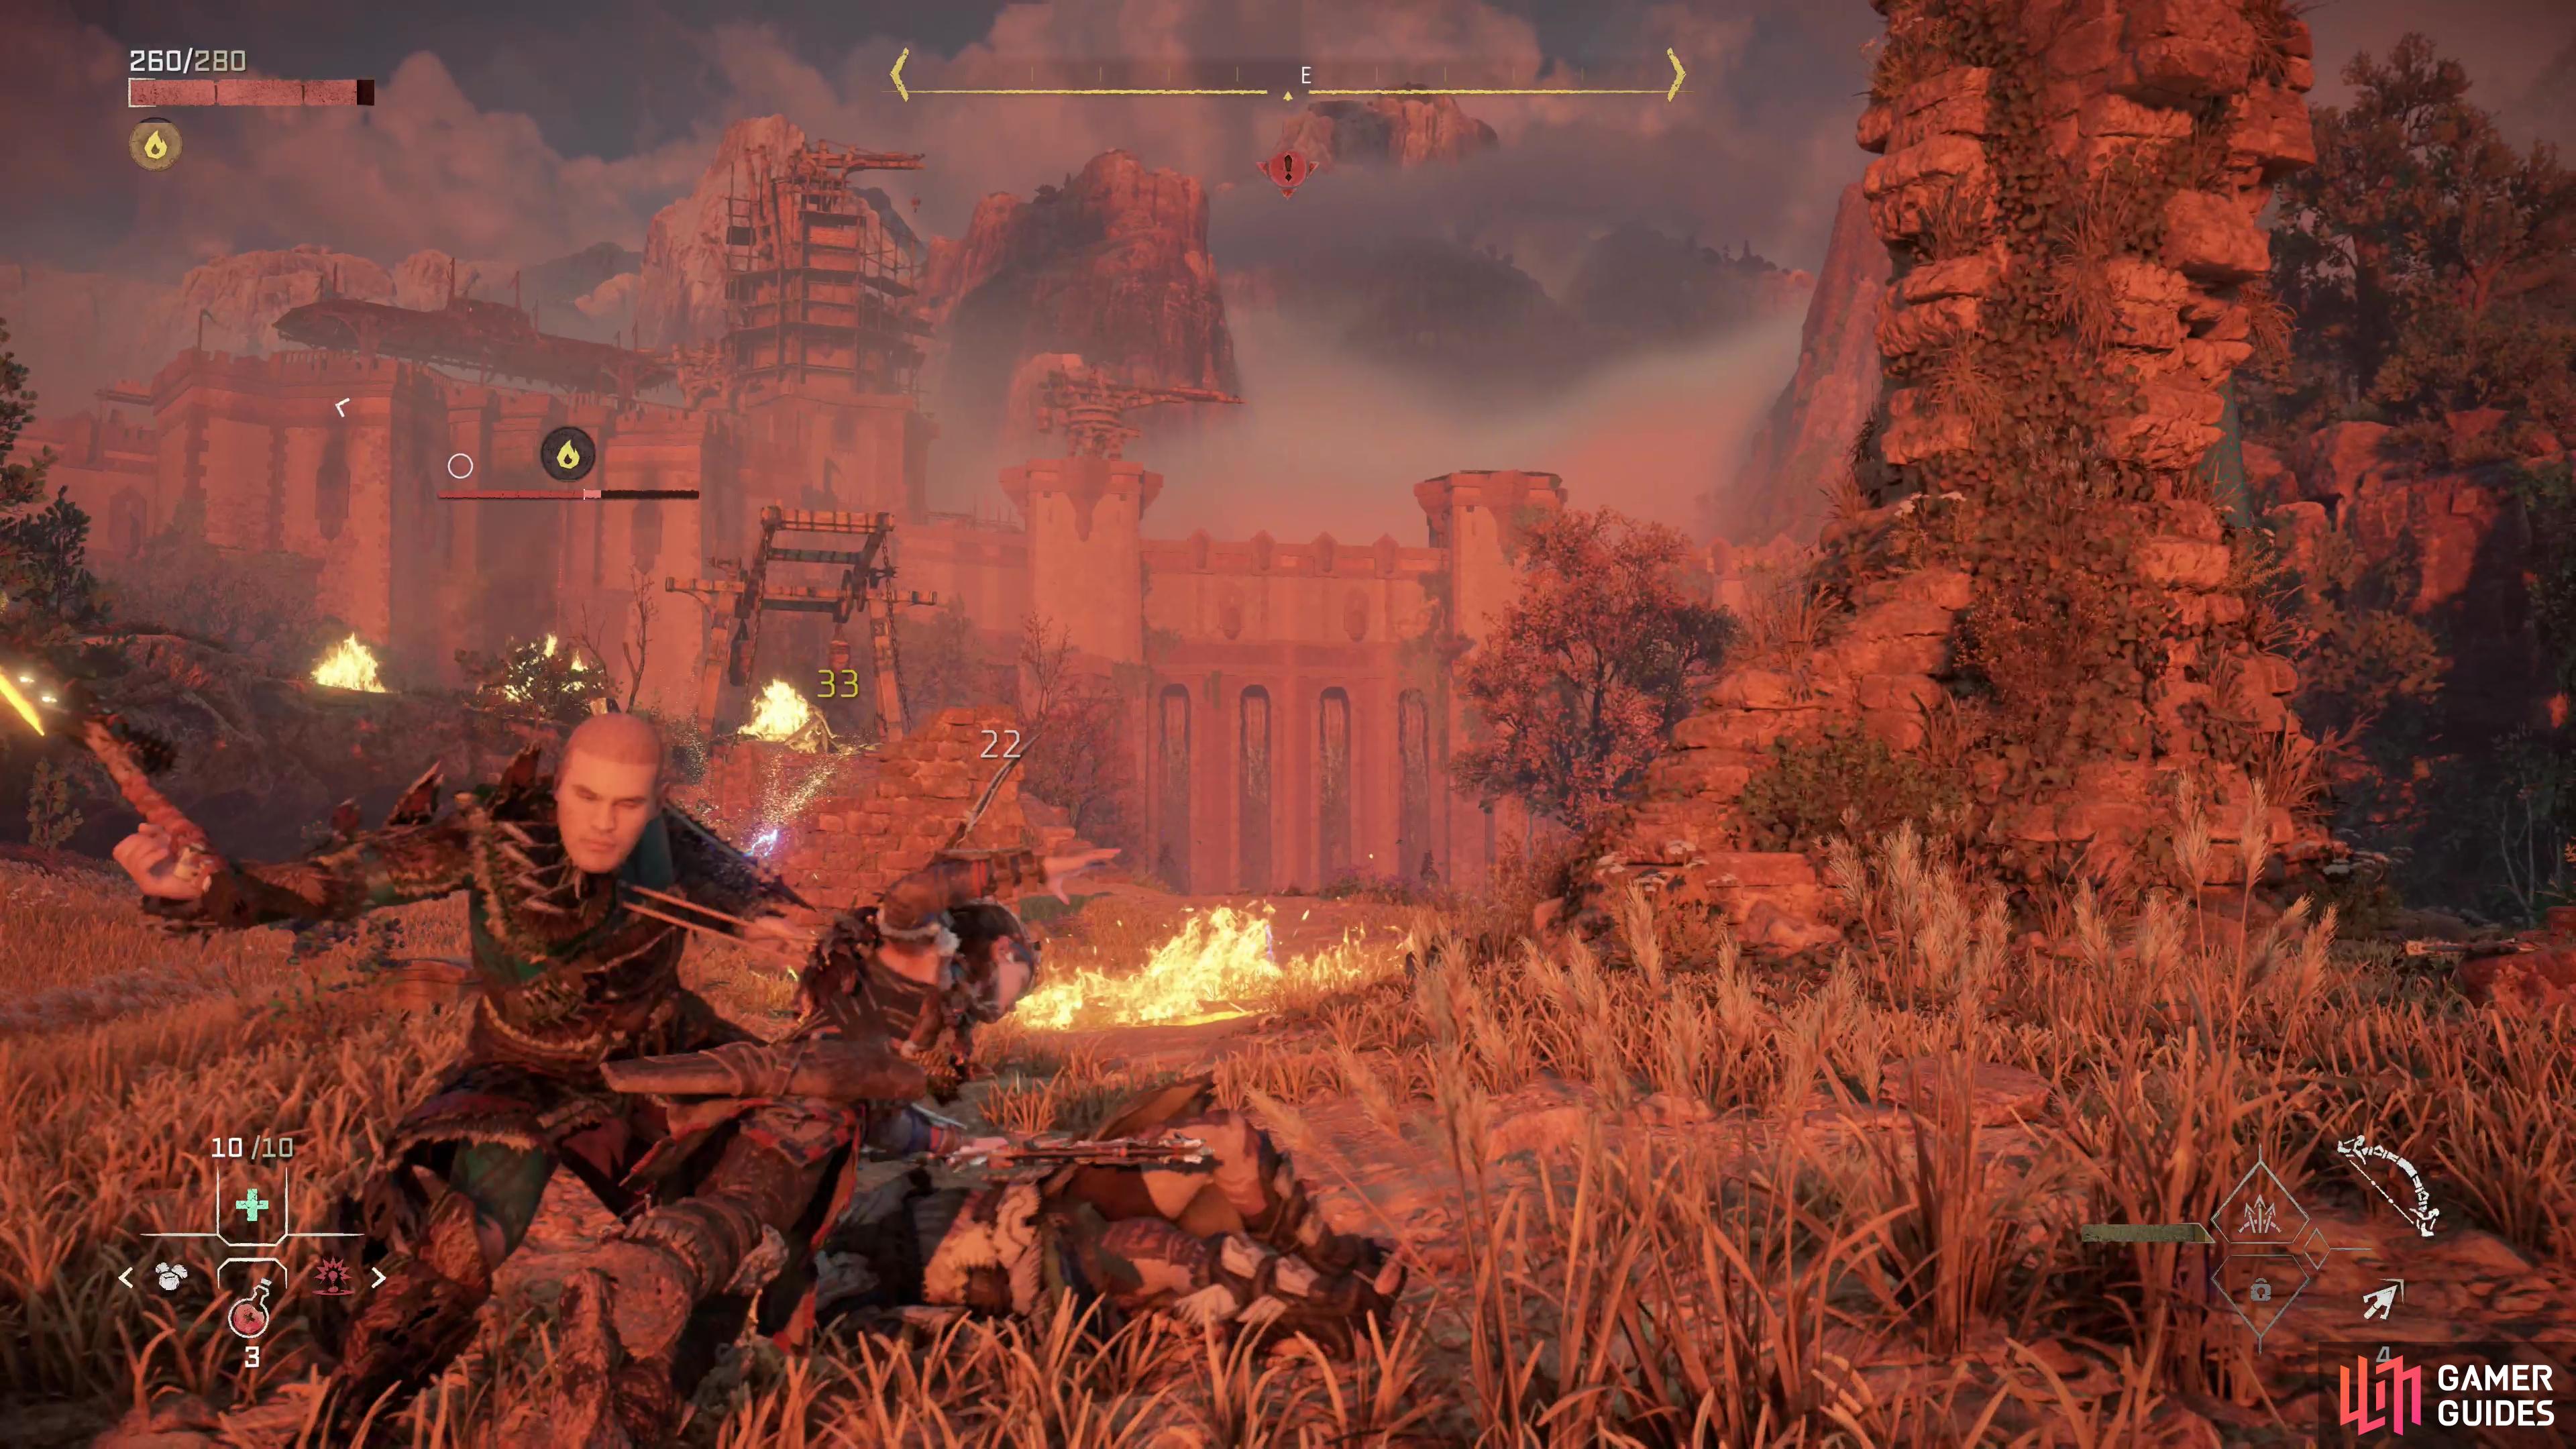
Survival is the name of the game, you need to fend off a wave of Tenakth Rebels mounted on Chargers. Body shots on a rider will be sufficient to dismount them, after which you can try to finish them off with your spear. The Chargers themselves are fairly weak - shoot off the Horns to dish out extra damage, and if they expose their Blaze Canisters, target them. If you can hit the Blaze Canisters with a source of fire damage, the resulting explosion will harm both mount and rider alike. While you fight, be wary of the archers on the ridge - they probably won’t target Aloy at this phase, especially if you don’t go north towards the ridge. If you want to mitigate their influence further, hide behind the ruins to the south.
Endure and defeat enough foes and you’ll get some more scenes, after which the second wave of enemies will arrive, including any survivors from the previous wave. These are more dangerous solely due to the fact that they’re mounted on Bristlebacks, but the strategy is largely the same: shoot the riders to dismount them, target the Bristleback’s Tusks and Acid Canisters to take them down more quickly.
Defeat your foes and another challenger will emerge.
How to Defeat Grudda
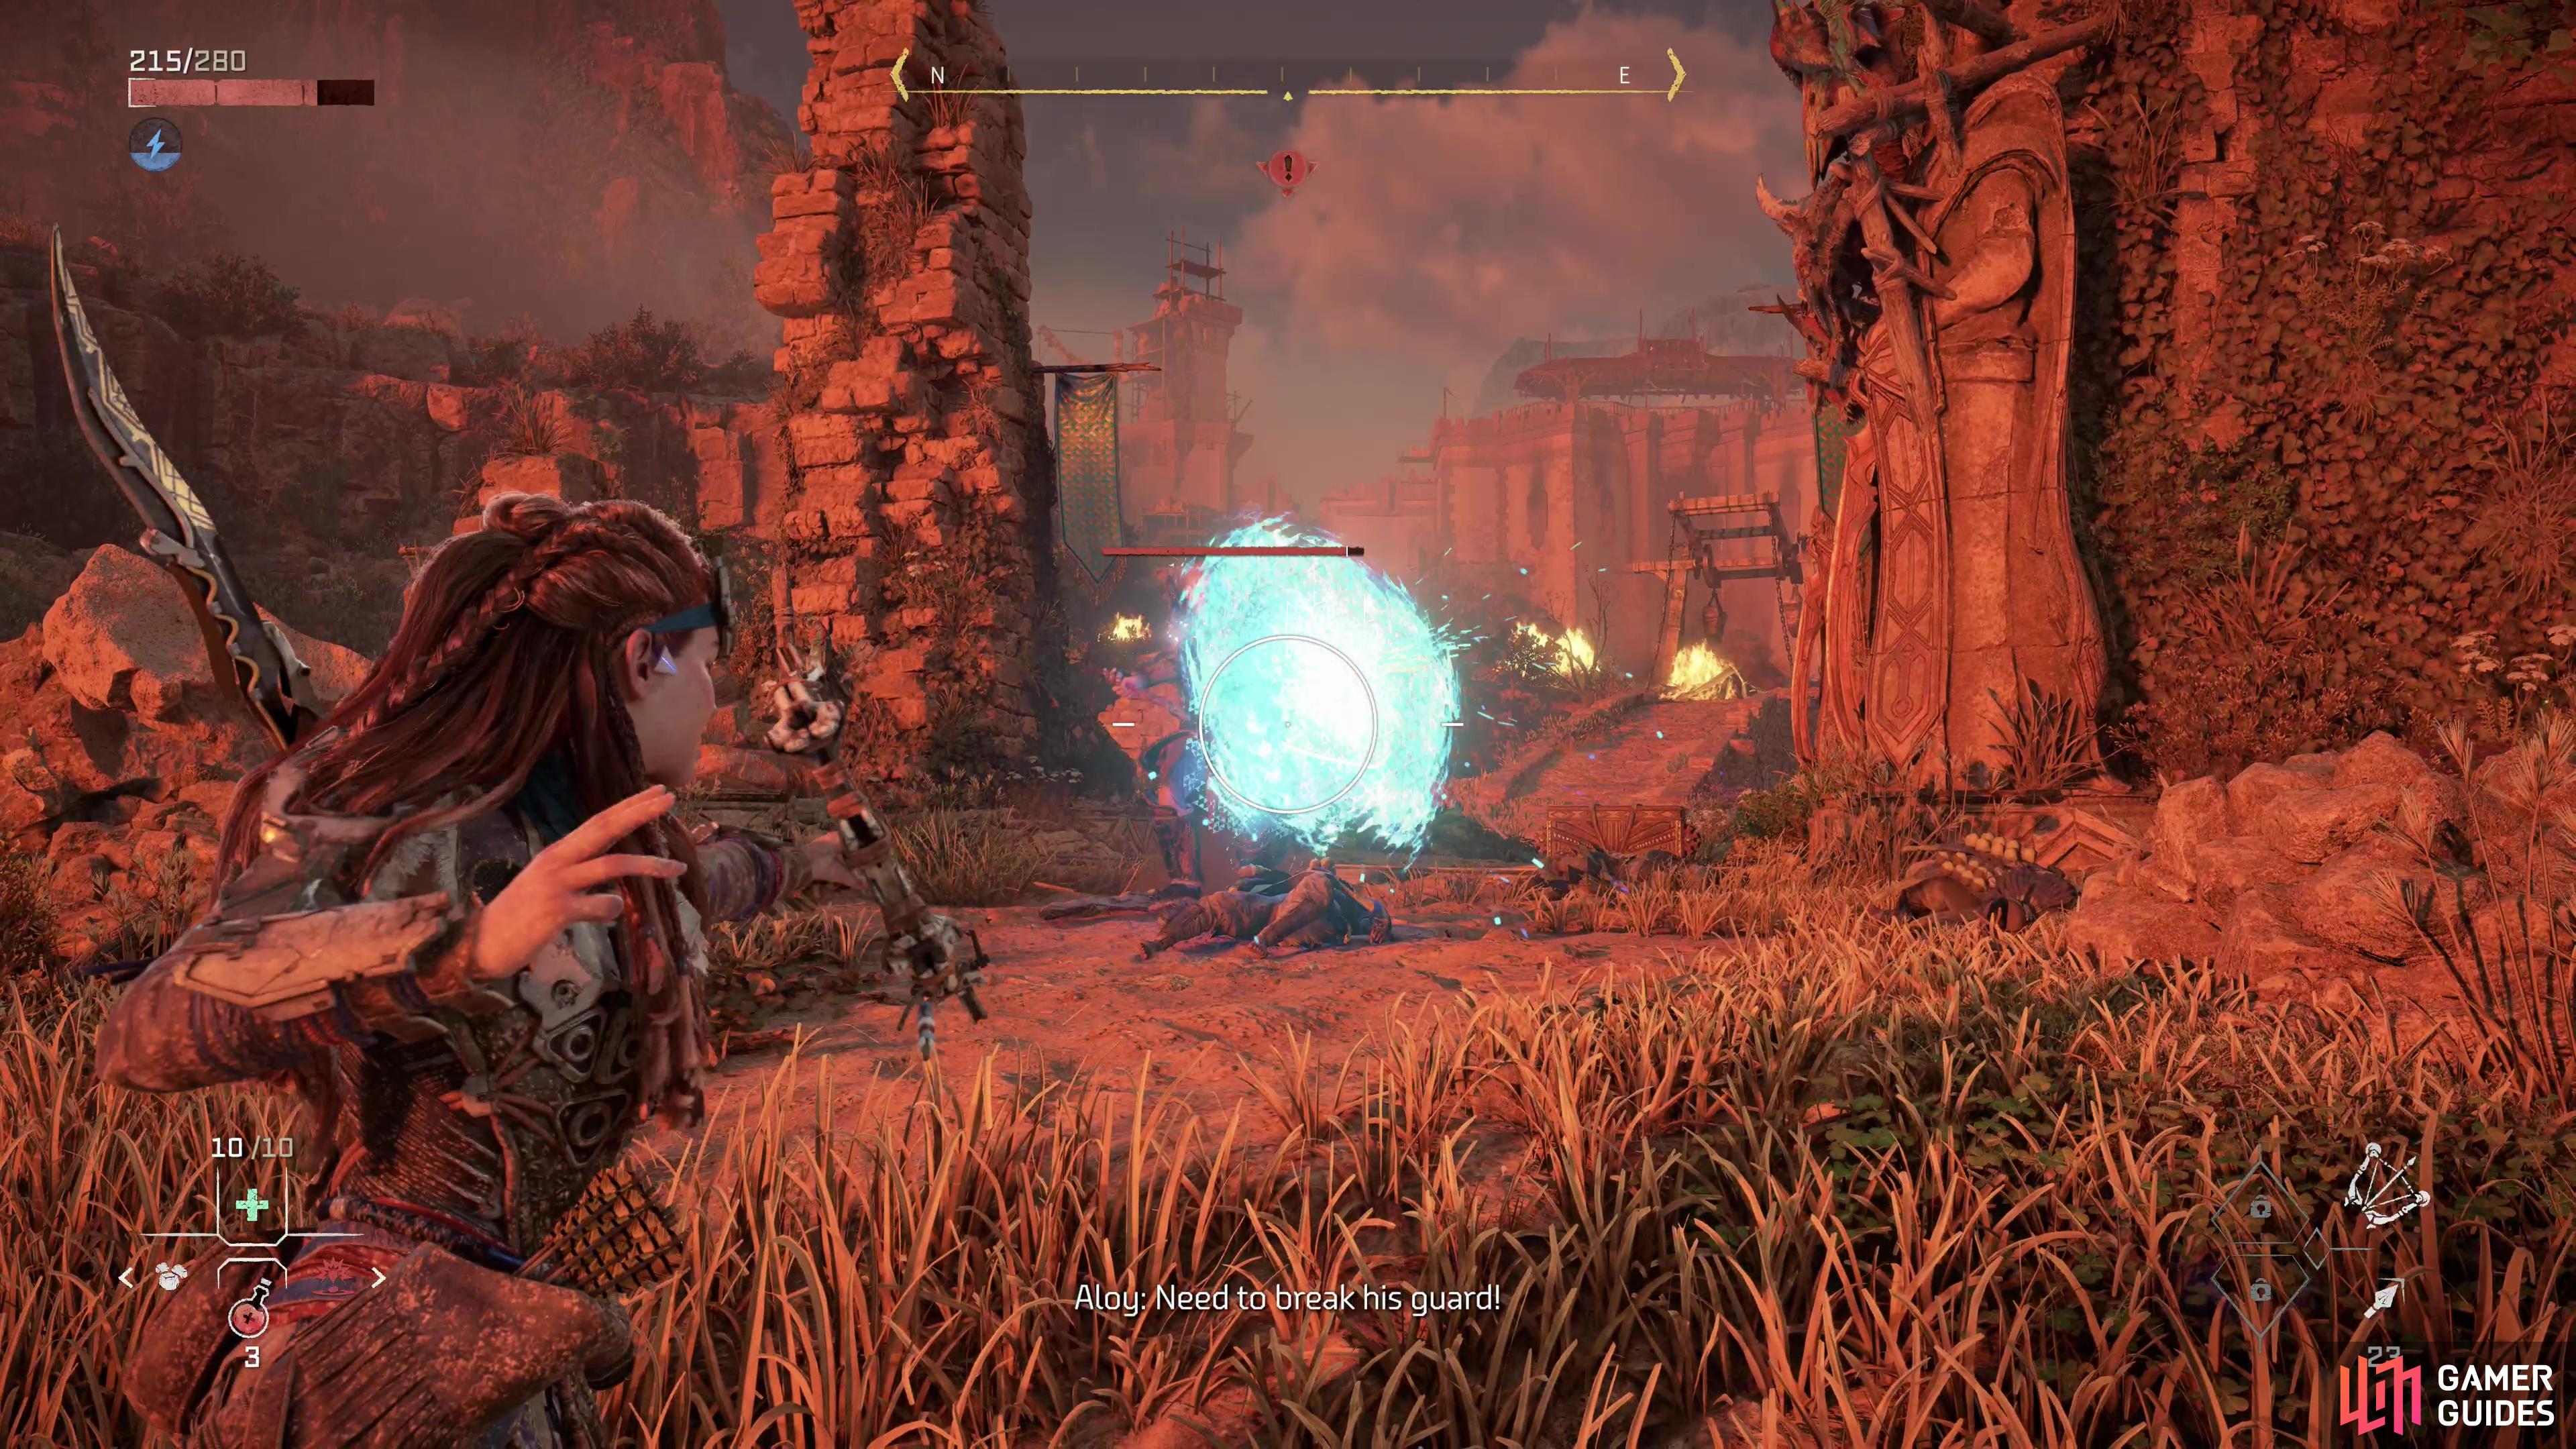
After some scenes you’ll find yourself facing off against Regalla’s champion, Grudda, who is armed with an energy shield. Start out the fight by scanning it so you know what you’re dealing with.
Grudda’s got a variety of attacks, as follows:
-
Melee Combo: The most common attack Grudda will attempt, sometimes after charging to close ground. Grudda will perform a series of wide sweeps with his sword. As he approaches, try to dodge towards and to the side of Grudda - if you get behind him this way while he swings, it’ll inhibit his ability to follow up. If you dodge away from Grudda, he’ll likely just keep swinging, forcing you to keep dodging.
-
Shield Bash: In addition to defense, Grudda can use his shield offensively, trying to bash Aloy with it (sometimes after charging).
-
Shockwave: Grudda will slam his shield into the ground, shooting a wave of electrical energy forward. With good timing you can dodge over this attack. If you get hit, it’ll inflict Shock damage.
-
Fire Bomb: Grudda will toss an incendiary grenade at you, inflicting Fire damage.
-
Explosive Bombs: Grudda will throw a cluster of explosives at Aloy, which will detonate momentarily after impact.
Most of Grudda’s attacks are easy enough to dodge, especially if you can tame the instinct to dodge away from Grudda and dodge towards him, instead.
(1 of 3) Fast, indiscriminate shots from a Warrior Bow can quickly whittle down Grudda’s shield.
As for your own offense, Grudda’s shield must be overloaded before you’ve got a good chance to actually damage him, and at this the Warrior Bow excels. Use it to quickly fill his shield with projectiles and it’ll blink off momentarily, after which target his head. You’ll need to break the mask off (the hit area for the mask is much smaller than it appears), then aim for headshots. It’ll probably take quite a few headshots to bring him down, and you’ll likely have to overload his shield a few times during this process.
Keep at it and once Grudda falls this quest will be over. You’ll claim Grudda’s damaged shield, the Shieldwing, which is still sturdy enough for you to use as a glider, and after you’re done chatting with Lawan you’ll be free to explore the Forbidden West!… the eastern end of it, anyways.


No Comments