
Walkthrough for the Side Quest, What Was Lost, in Horizon: Forbidden West.
At one point during the main story, you will have three main quests from which to choose. Upon completing all three of them, as well as any quests that follow, you will see that Kotallo will have a new side quest available for you at The Base. It’s a good idea to also complete Faro’s Tomb (the one immediately following the three), as you will be required to complete that story quest before being able to finish the last part of this side quest.

Kotallo wants you to help out with his new arm
| Quest Giver | Starting Location | Prerequisite | Level | Rewards |
|---|---|---|---|---|
| Kotallo | The Base (see note below) | Complete Faro’s Tomb | 30 |
Entering the Zenith Lab
Kotallo wants to build a new arm using ancient Zenith technology, but needs Aloy’s help in order to do so. After accepting the quest from him, you will need to meet up with him at a specific Campfire, right outside of the Ninmah Research Lab that you visited during Cradle of Echoes. Once you arrive at the Campfire, hit the button shown to call Kotallo, which will truly begin the side quest. Upon arriving at the entrance to the lab, you will find some machines there. You will find an Apex Scrapper, an Apex Redeye Watcher, and an Apex Shell-Walker. None of them should be a problem for you at this point, especially since you will have Kotallo with you to help distract at least one machine.

(1 of 2) The Stalker’s Dart Gun on the ground can be a big help in dealing big damage


The Stalker’s Dart Gun on the ground can be a big help in dealing big damage (left), Kotallo distracting the machines can also be a huge help (right)
If you need any help, there is a heavy weapon or two on the ground (a Stalker’s Dart Gun), which can make short work of one of the two lesser machines if you’re hitting weak spots. You do not have to fight these, though, as you can sneak by them all and enter the Zenith Lab to save some time. Whatever you do, head inside the Zenith Lab and go straight to the Storage Room, which is where you found Beta earlier in the game. Note that there will be two more Apex Scrappers in the one room, so be wary of them as you continue down to the Storage Room. There also seems to be another Apex Burrower that might get stuck in a side room, in case you see the alert circle appear on your screen.
Search the Storage Room
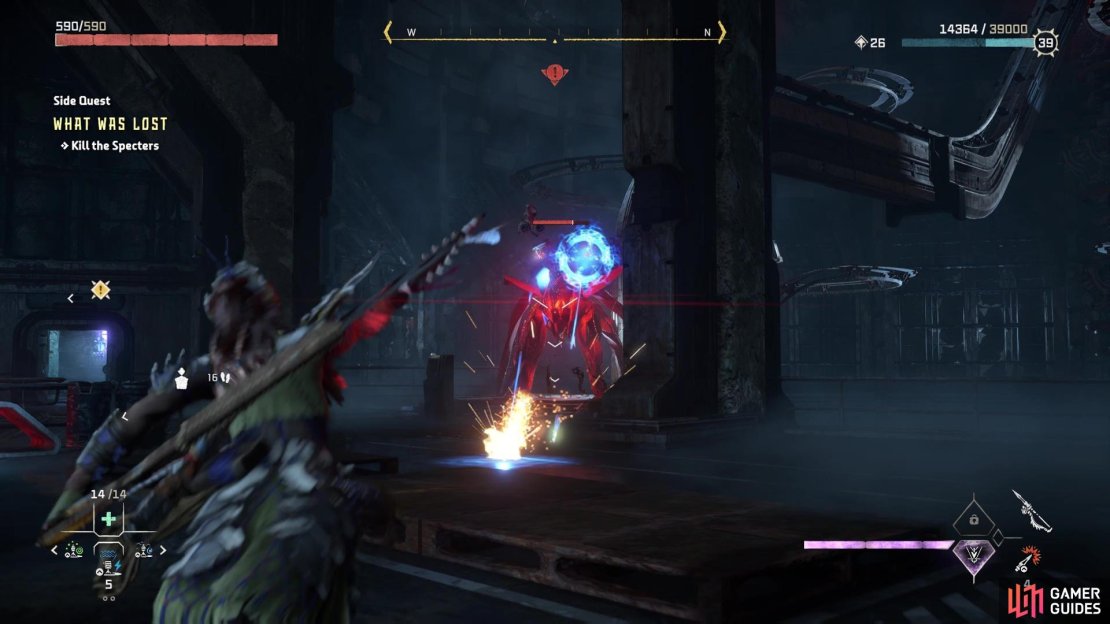
Upon reaching the Storage Room, you will have to find some way to access the database that GAIA mentioned to Kotallo. It is not the control panel that has you inputting a code, like last time, but rather a console off to the side opposite the entrance. While speaking with Kotallo here, two Specters will appear, so you will need to actually fight them. These things, if you don’t remember, are quite agile and don’t have a lot of exposed components to destroy. They have two machine guns that only appear when they’re using them, as well as a variety of melee attacks.
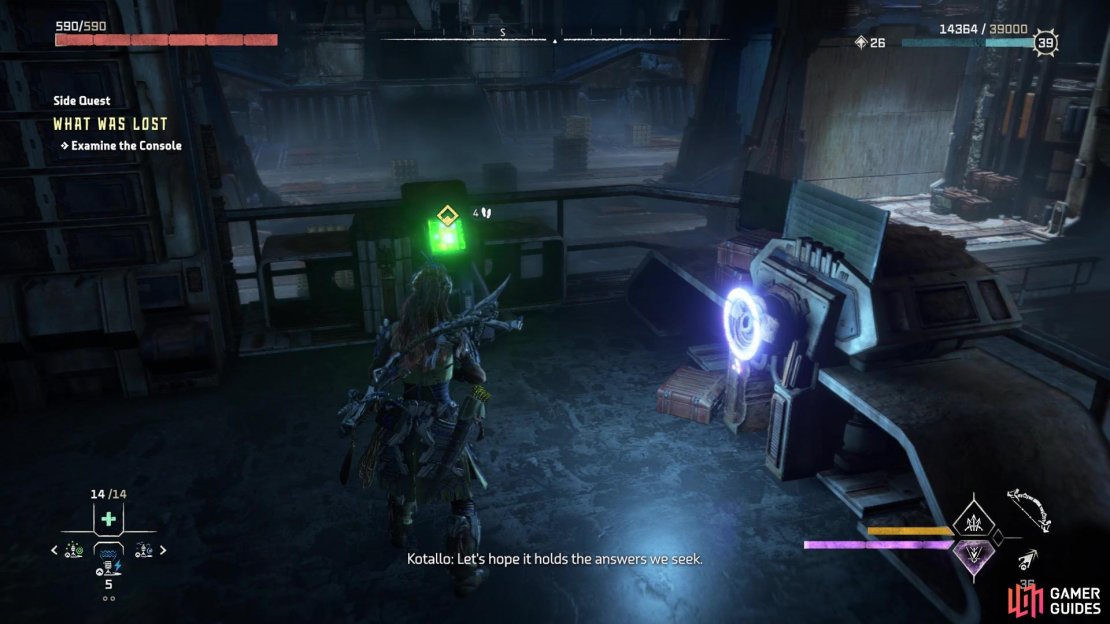
(1 of 3) The panel you need to hit for the info is off to the side
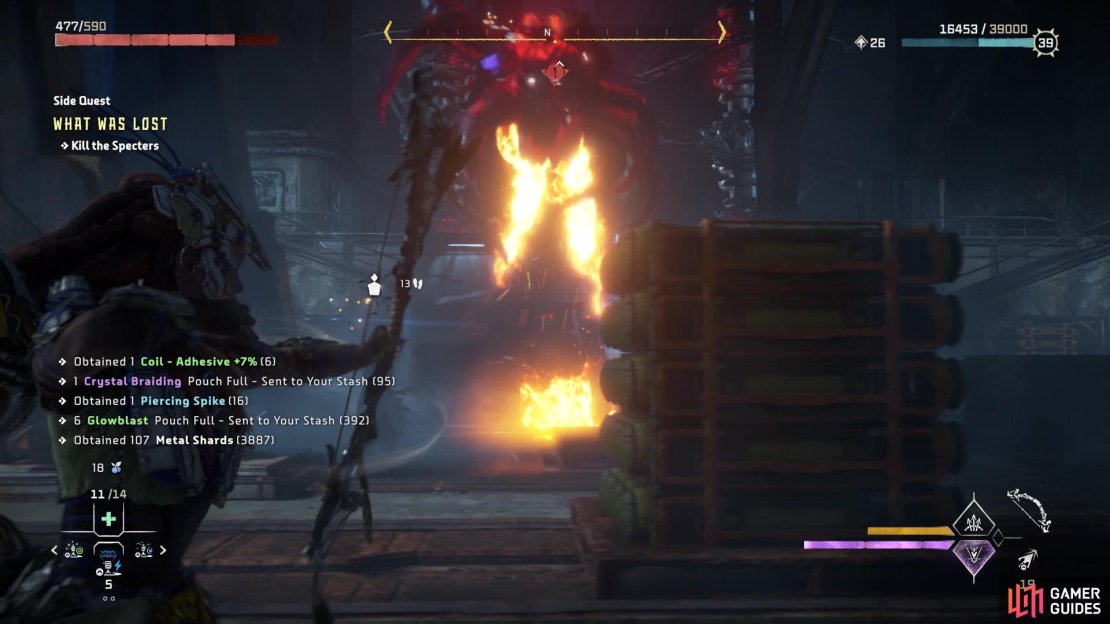
Your best bet is to use explosive ammo here, since they don’t have anything you can detach to loot that’s worthwhile. If you haven’t scanned them yet, do so now, as they are not fought outside of quests, making them missable for the All Machine Types Scanned trophy.
Find the Components
Once you’ve cleaned up the Specters, you will be on the hunt for the components for Kotallo’s new arm. They will be located on the second floor, so just follow the markers until you reach the room overlooking the Storage Room. Kotallo will stay put here, so you will be on your own searching for the components. Thankfully, there are no more machine fights for the rest of this section. Go through the marked door near Kotallo, then into the large room with the vent panel. Remove it with your Pullcaster, then follow the hallway to another room. It might look like nothing’s here, but if you look at the ceiling, you will see another vent panel.
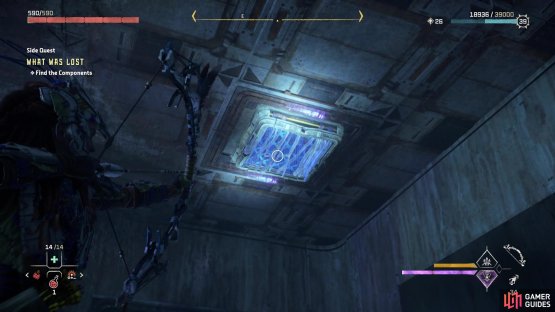
(1 of 2) Look for the vent on the ceiling in the one room
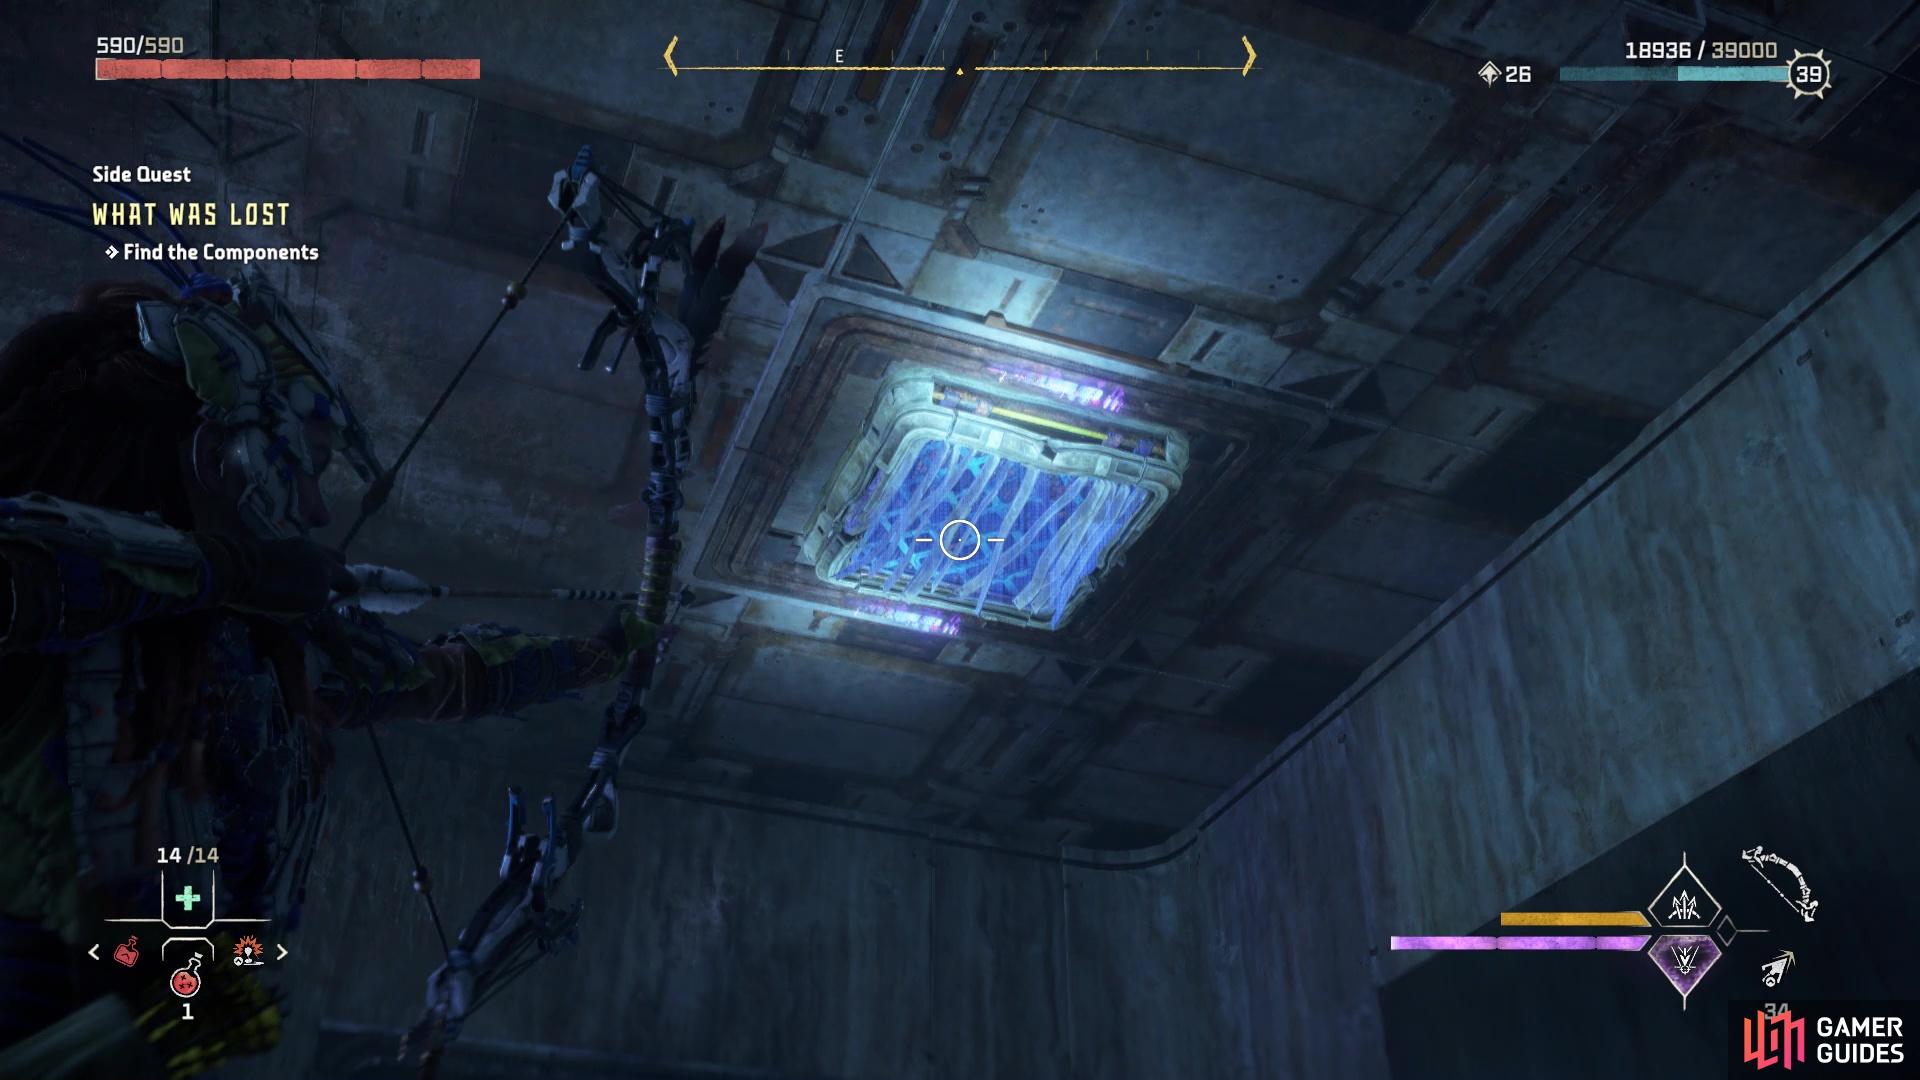
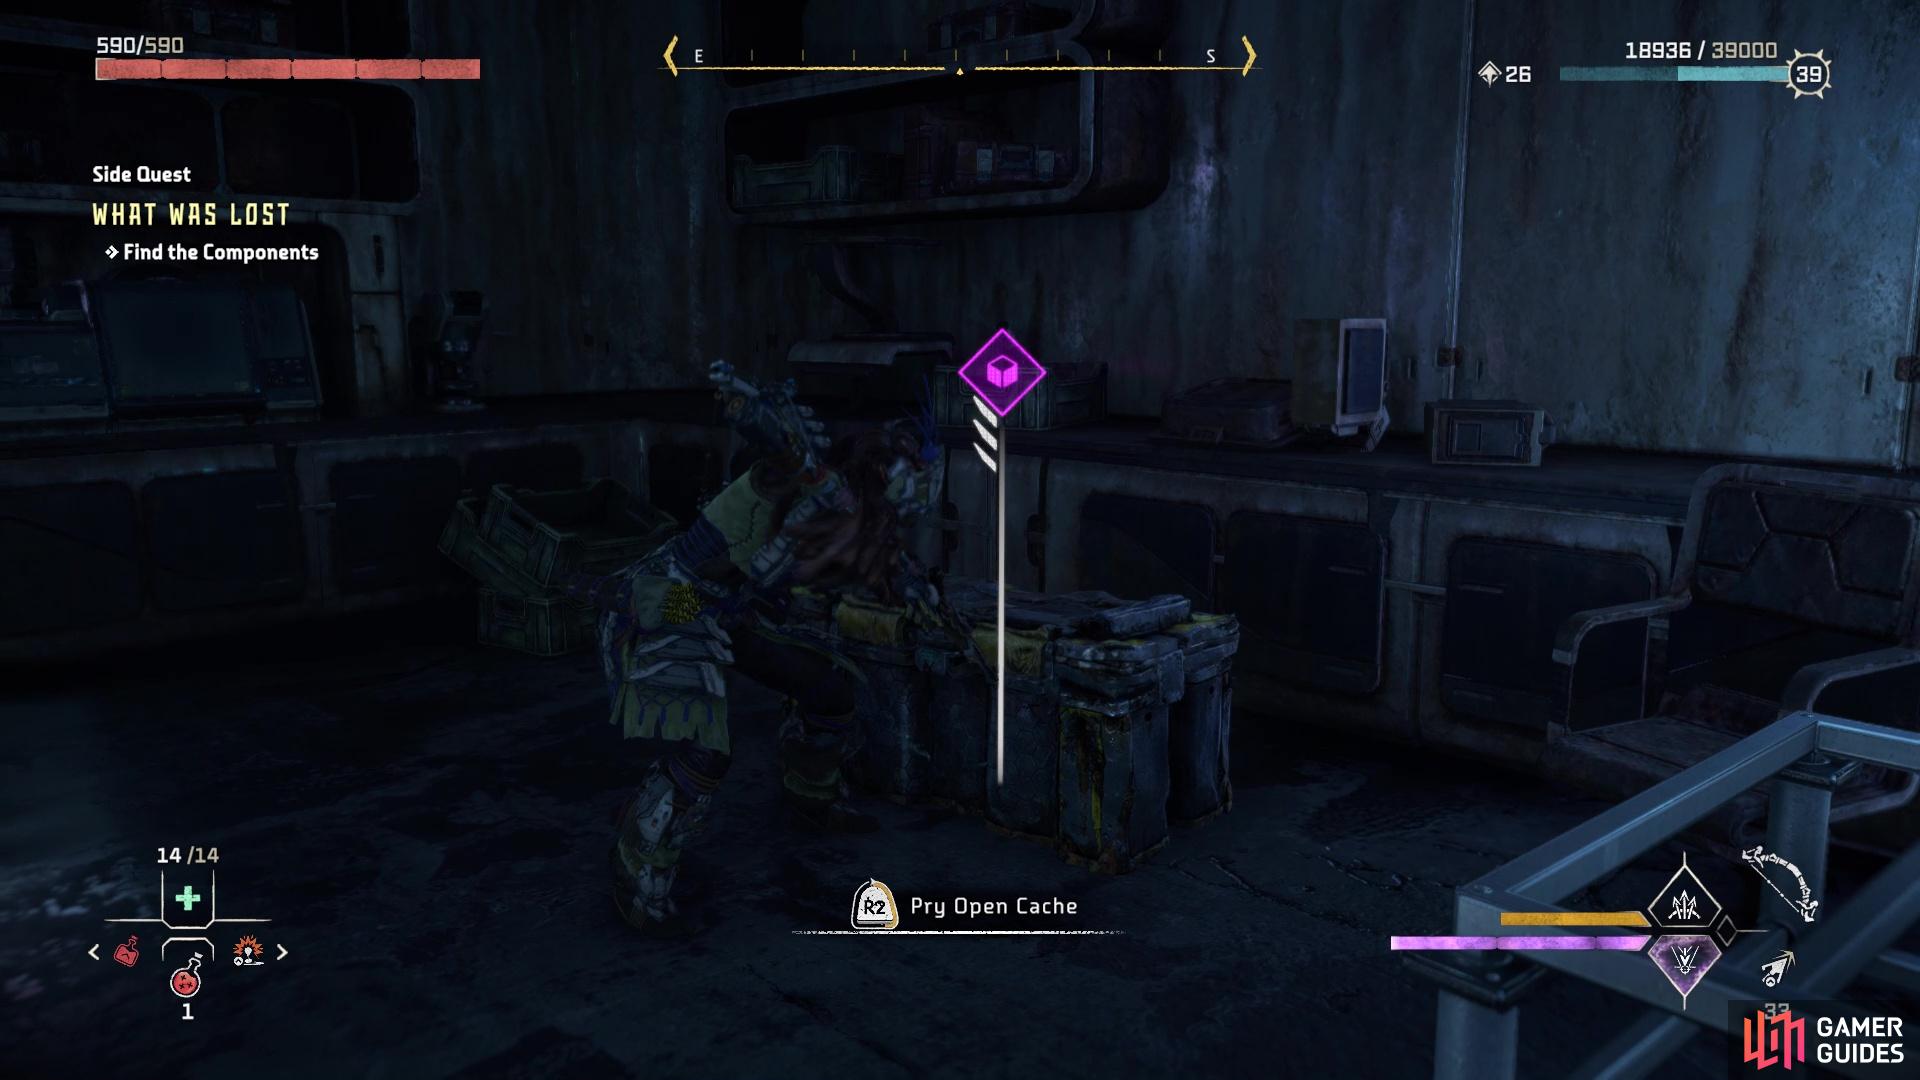
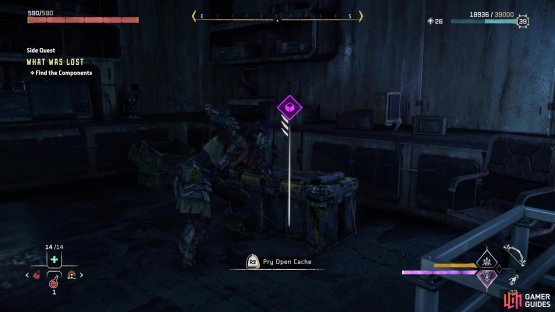
Look for the vent on the ceiling in the one room (left), The chest you have to pry open is the one holding the Zenith Components (right)
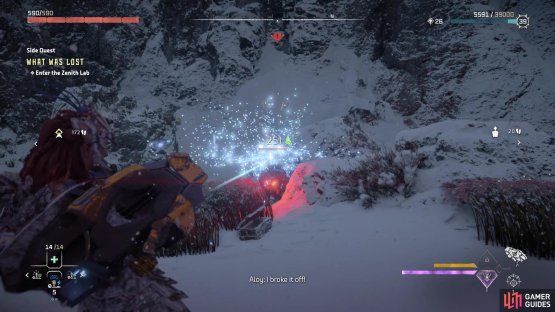
Stand on the desk after pulling it open, then crawl through this vent and down into another room. Pass through the nearby door and you should see a chest in this room, requiring you to pry it open with your spear. Inside will be the Zenith Components needed for Kotallo’s arm. Loot them, then go over to the opposite side of the room to ignite the Firegleam there, giving you a shortcut back to where Kotallo was located. You’re done here, so you can leave. Head back to The Base and speak to Kotallo, who says he is still adjusting the arm and needs a little more time.
Testing Kotallo’s New Arm
Whenever you have finished Faro’s Tomb, head back to The Base and speak to Kotallo to find out he wants to test his new arm, although he is a bit secretive about what he plans to do. He’ll want you to meet him not far from where you encountered Regalla’s Tremorturk during The Broken Sky. Specifically, he wants you to meet him at a Campfire northeast of The Bulwark. Fast travel there and call Kotallo, then make preparations to get started. Follow Kotallo and he will bring you to the site of a Scorcher, the machine that he wants to test out his new arm on.
If you haven’t fought a Scorcher yet, then they can be quite a challenge, especially if you’re not prepared for what they can do. By far, their worst move is when they charge up a little bit, then perform a very quick dash across the battlefield. This move is executed very quickly, so you don’t have a lot of room for dodging. That means when you’re facing a Scorcher, you should always be on the move, so you have some momentum to get a dodge in there. Besides that attack, the Scorcher will do some melee attacks that have fire attached to them, as well as launch a fire shockwave in your direction.
The component on its back can be used to launch a bunch of bombs, so you probably want to detach that before anything else. Its ears are an exclusive piece of loot, so you will definitely want to try and shoot them off, although that can be difficult with how quickly it moves. Overall, it’s not too tough of a fight, especially considering you have Kotallo helping you. As mentioned, keeping on the move is a good idea with the Scorcher. If you can hit the component right above its hind legs, it can explode and deal some great damage to the machine, as well as put it in the Shocked state.
Once you’ve brought down the Scorcher, Kotallo will thank you for helping him out with the arm, finishing the side quest. He will also give you a few pieces of loot, namely a Shellsnapper Circulator, 2 Behemoth Force Loaders, and 2 Ancient Sculptures.
No Comments