
Salvage Contractors are a type of merchant that sell valuable resources, and will also have some short little quests to give to the player. This page will detail all of the contracts given by Larend.

Larend will be the first set of Salvage Contracts you come across in the game
You can first access Larend once you leave Barren Light, which means you will have to complete the main story quest, The Embassy. If you travel a little southwest from Barren Light, you will find Larend at a small camp, along with another NPC named Keruf. He will introduce you to the Salvage Contractors, who are in a competition with one another to try and make the best armor possible. While doing this competition, the Contractors will have some small errands for you to do, which usually involve getting specific machine parts. Larend will have four contracts for you, in total.
Convoy Ambush
| Prerequisite | Level | Rewards |
|---|---|---|
| Complete The Embassy | 8 |
The first contract has you hunting down a Shell-Walker, specifically a convoy that will be going by a passage not too far from your current location. The spot you will be going to is a Campfire just northeast of the No Man’s Land Black Box. Upon arriving, the game will mention laying some traps on the road right next to the Campfire, which can be a good idea, especially if you’re doing this as soon as you have access to it. It doesn’t really matter what kinds of traps you use, as long as you put some down, as you don’t need a specific component off of the Shell-Walker, meaning you can use explosive traps.
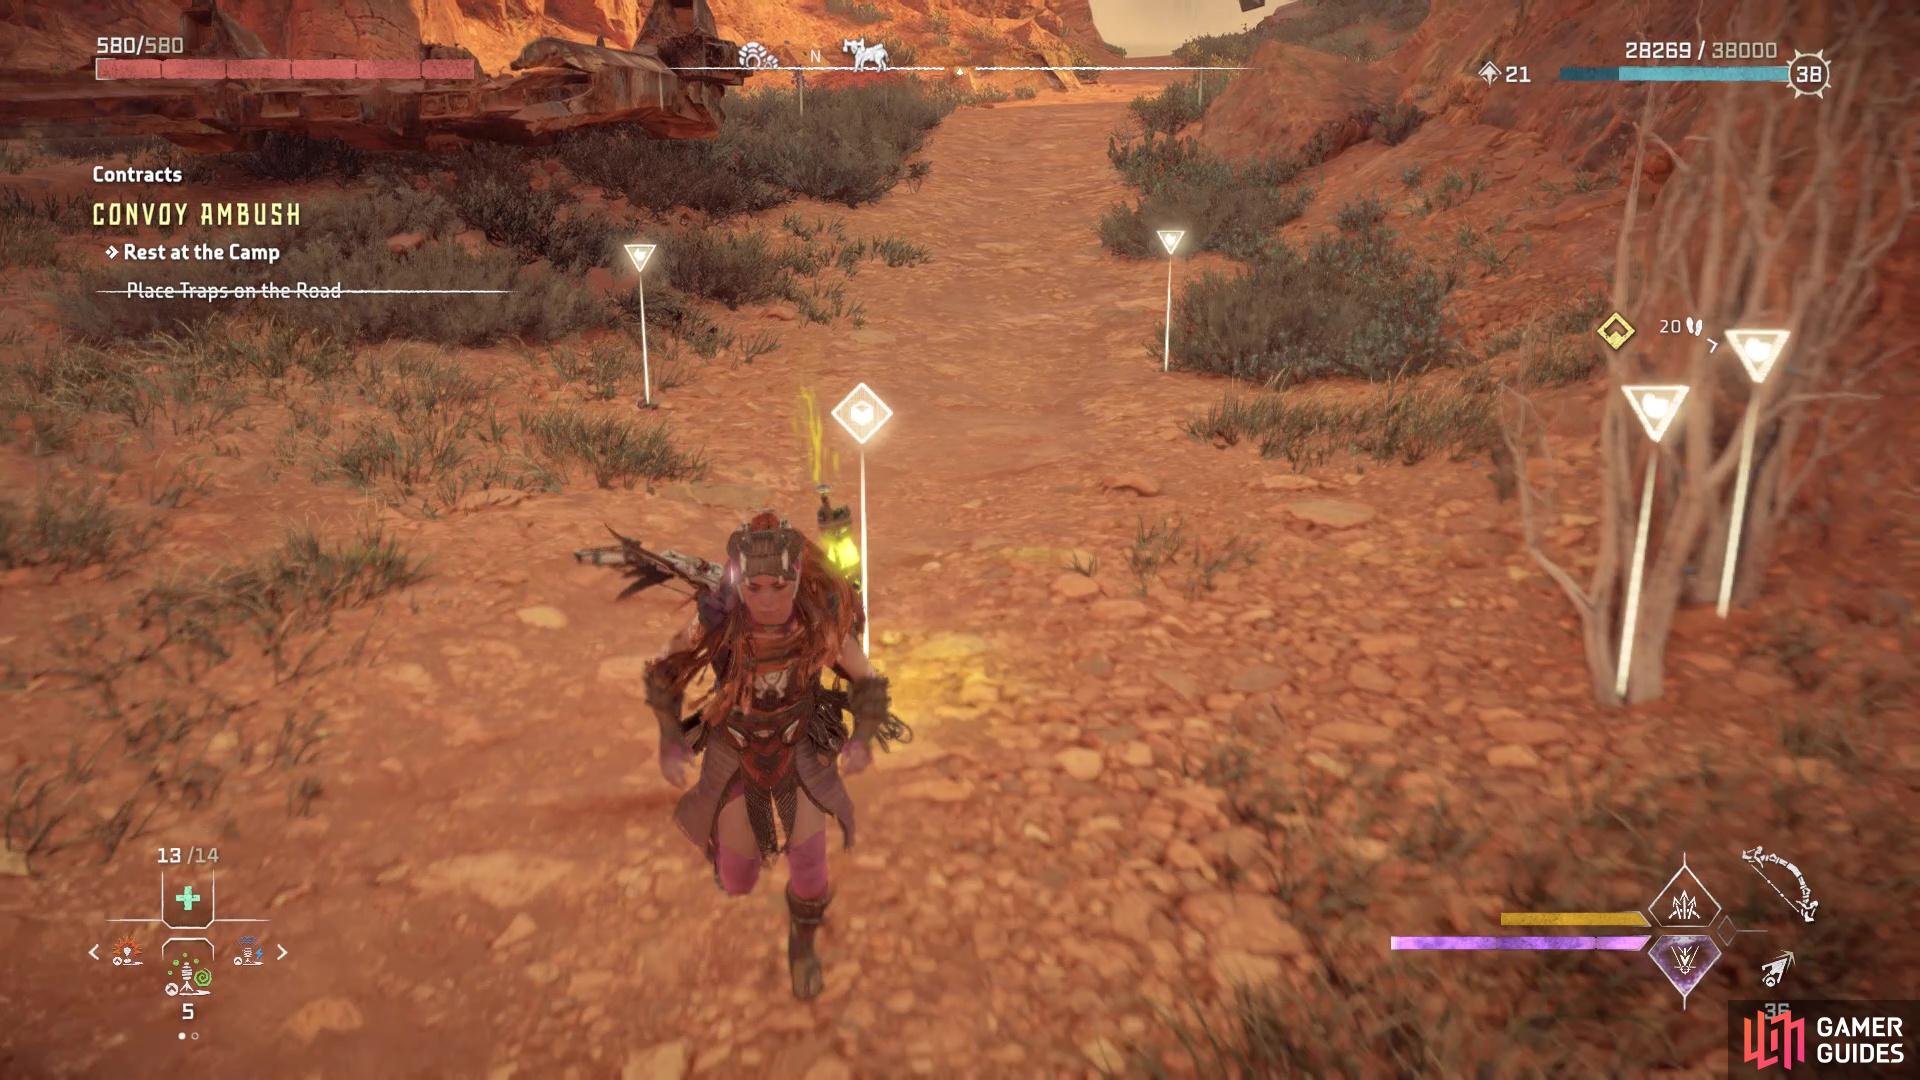
Placing traps on the road is a good idea

There’s also environmental traps, such as this boulder stockpile
Of course, you don’t need to actually place the traps, if you don’t want. When you’re ready, head back up to the Campfire and rest at the little cot there to pass the time until the convoy arrives. As is expected, the convoy will have some other machines with it, namely two Burrowers. There is also an environmental trap set up, if you wish to shoot the one piece of wood holding up a bunch of boulders. This should make short work of the Shell-Walker, but you will need to kill all three machines in order to be done here. Loot the Shell-Walker, then return to Larend to tell him you’re finished.
Alarm Antennas
| Prerequisite | Level | Rewards |
|---|---|---|
| Complete Convoy Ambush | 8 |
You will have to complete the Convoy Ambush contract before this one becomes available. To continue working on his armor, Larend will want some antennas, namely those from Sentry Scroungers. These machines can call in reinforcements if you happen to be caught by them, so it’s a good idea to shoot them off before that happens. The pack of Scroungers you need are in the dead-end valley to the southeast of Barren Light. You will want a weapon with some good Tearing damage on it for this, as the ideal plan is to shoot off the antennas without making the Scroungers come after you.
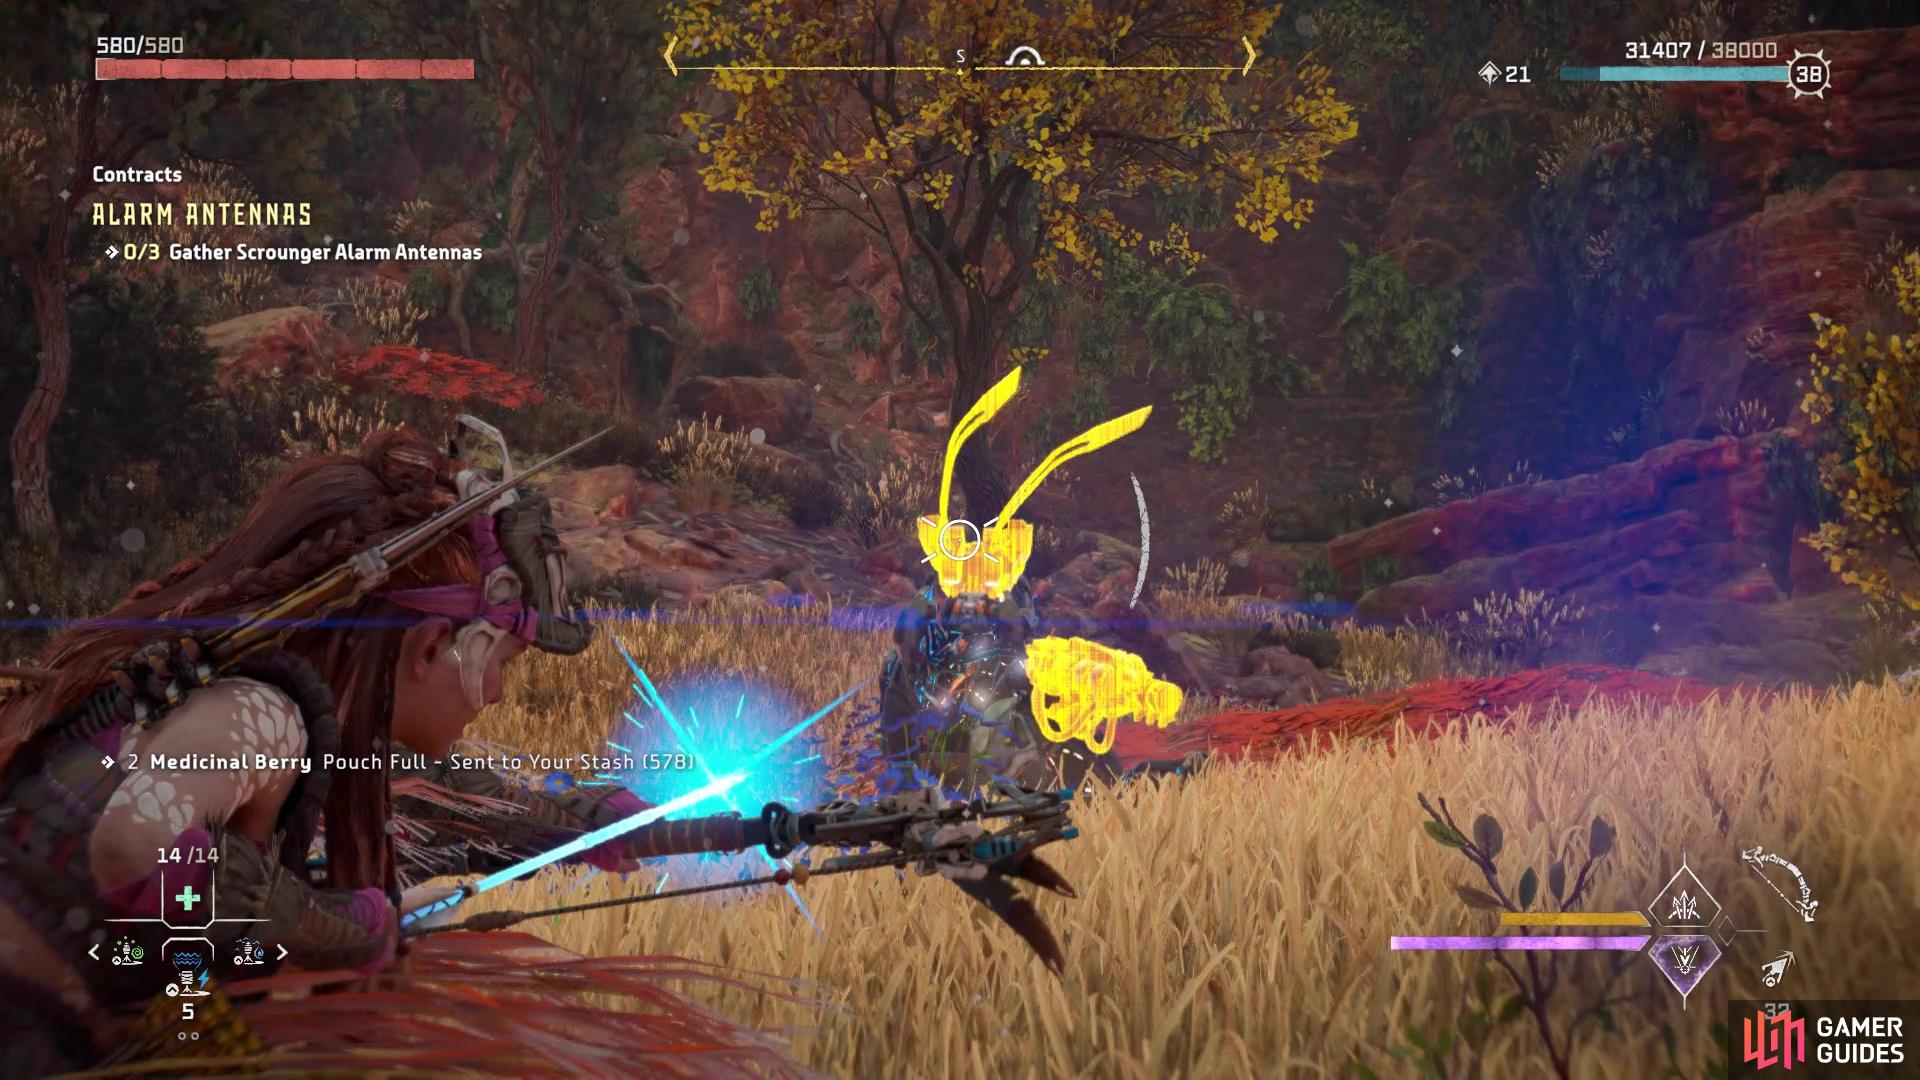
The antennas are on the Scroungers’ backs
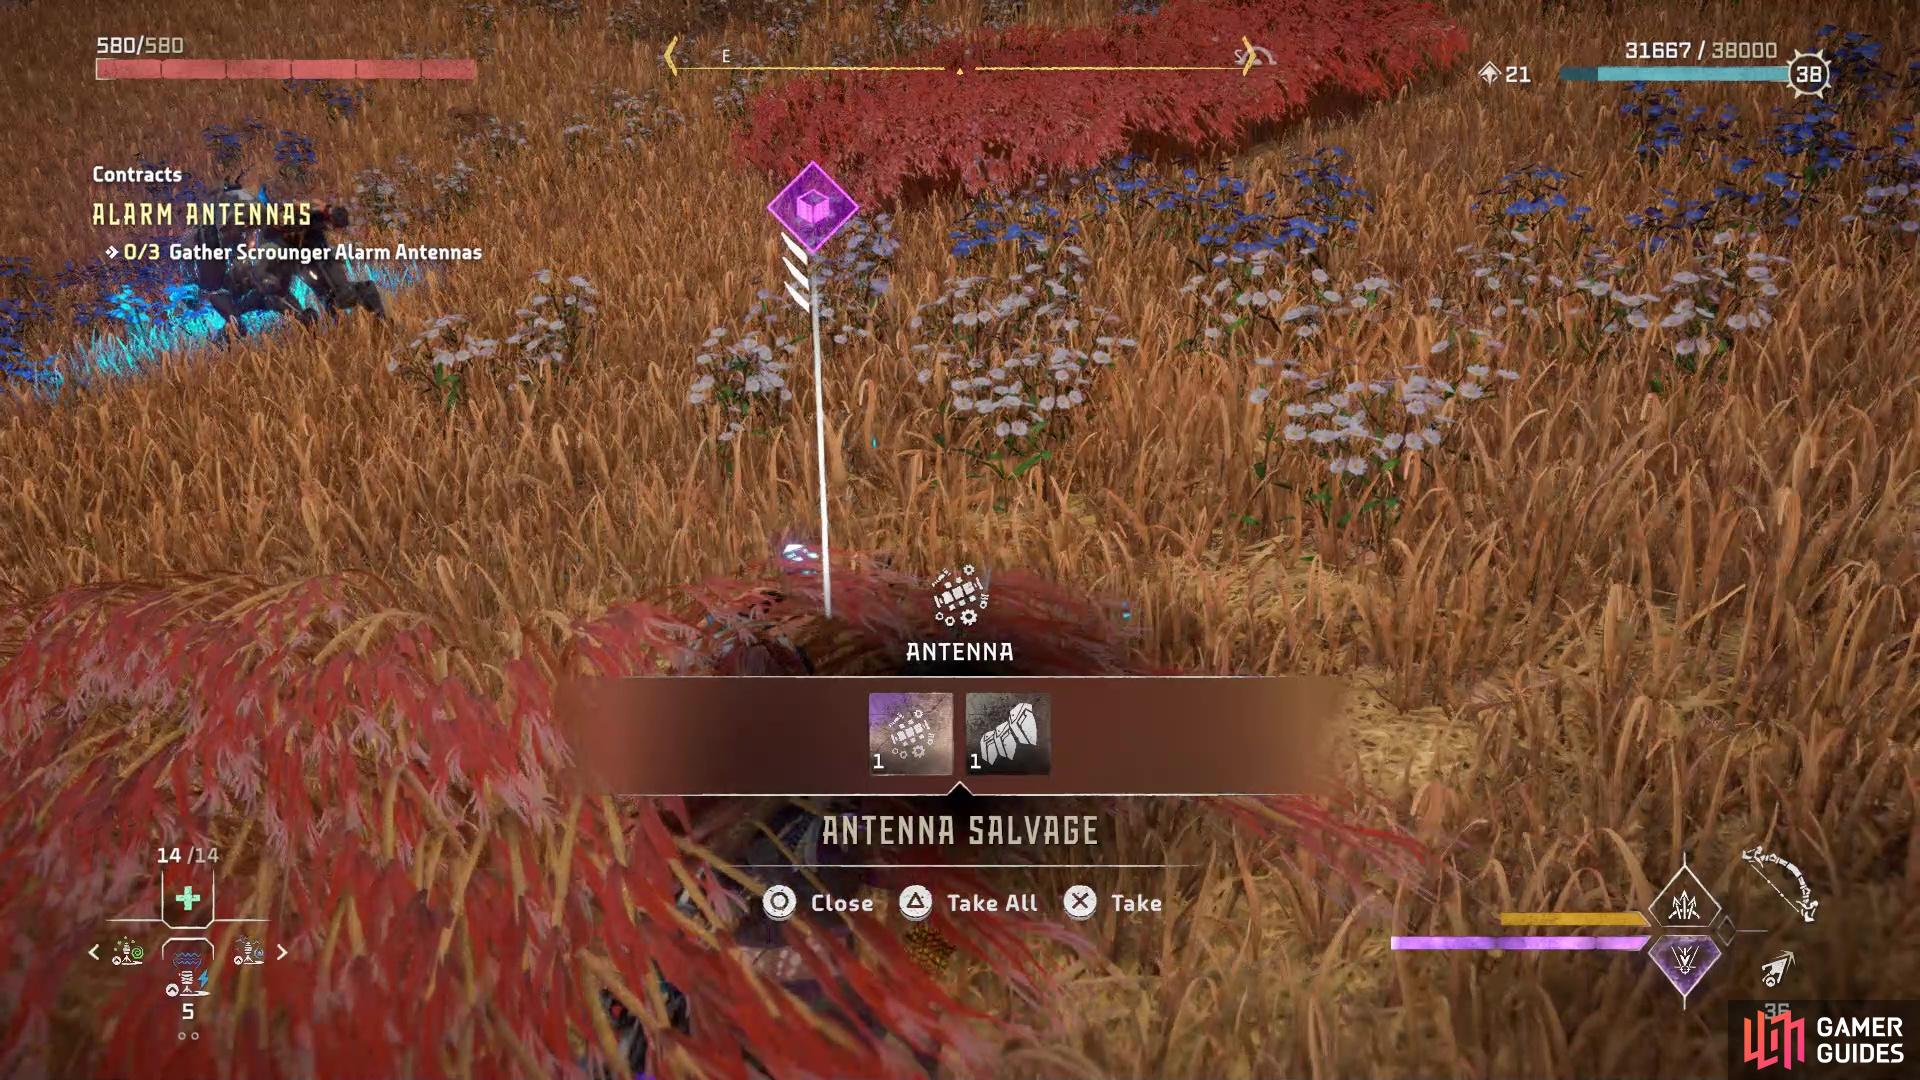
Make sure you loot them after knocking them off
There is plenty of tall grass in the area, and the Scroungers don’t appear to come after you if you shoot off the antenna in a single shot. If they are alerted (yellow), then don’t attack them and leave them be until they go back to normal. Of course, you don’t have to do this, but the antenna is normally destroyed if you kill the machine, so make sure you shoot it off as a precaution. After doing that, you can kill the machine, but you will need to loot the antennas in order to obtain the items you need. You require three Antenna Salvage items, so once you have them, bring them back to Larend to finish the contract.
Scavengers
| Prerequisite | Level | Rewards |
|---|---|---|
| Complete Convoy Ambush | 8 |
Larend thinks Scrapper Jaws might be a worthy addition to the armor, so he sends you after a pack his team found, which will be located just south the western exit of Barren Light. Unfortunately, it seems that the Scrappers are in hiding, but there seems to be a pack of Chargers in the area. Kill all of the Chargers here, making sure to keep an eye out for the ones that run away, and the Scrappers will appear to scavenge their carcasses. There’s nothing special you have to do with the Scrappers here, as you can simply kill them normally and then loot their bodies to obtain the Scrapper Jaw Salvage. Bring the three you need back to Larend to finish the contract.
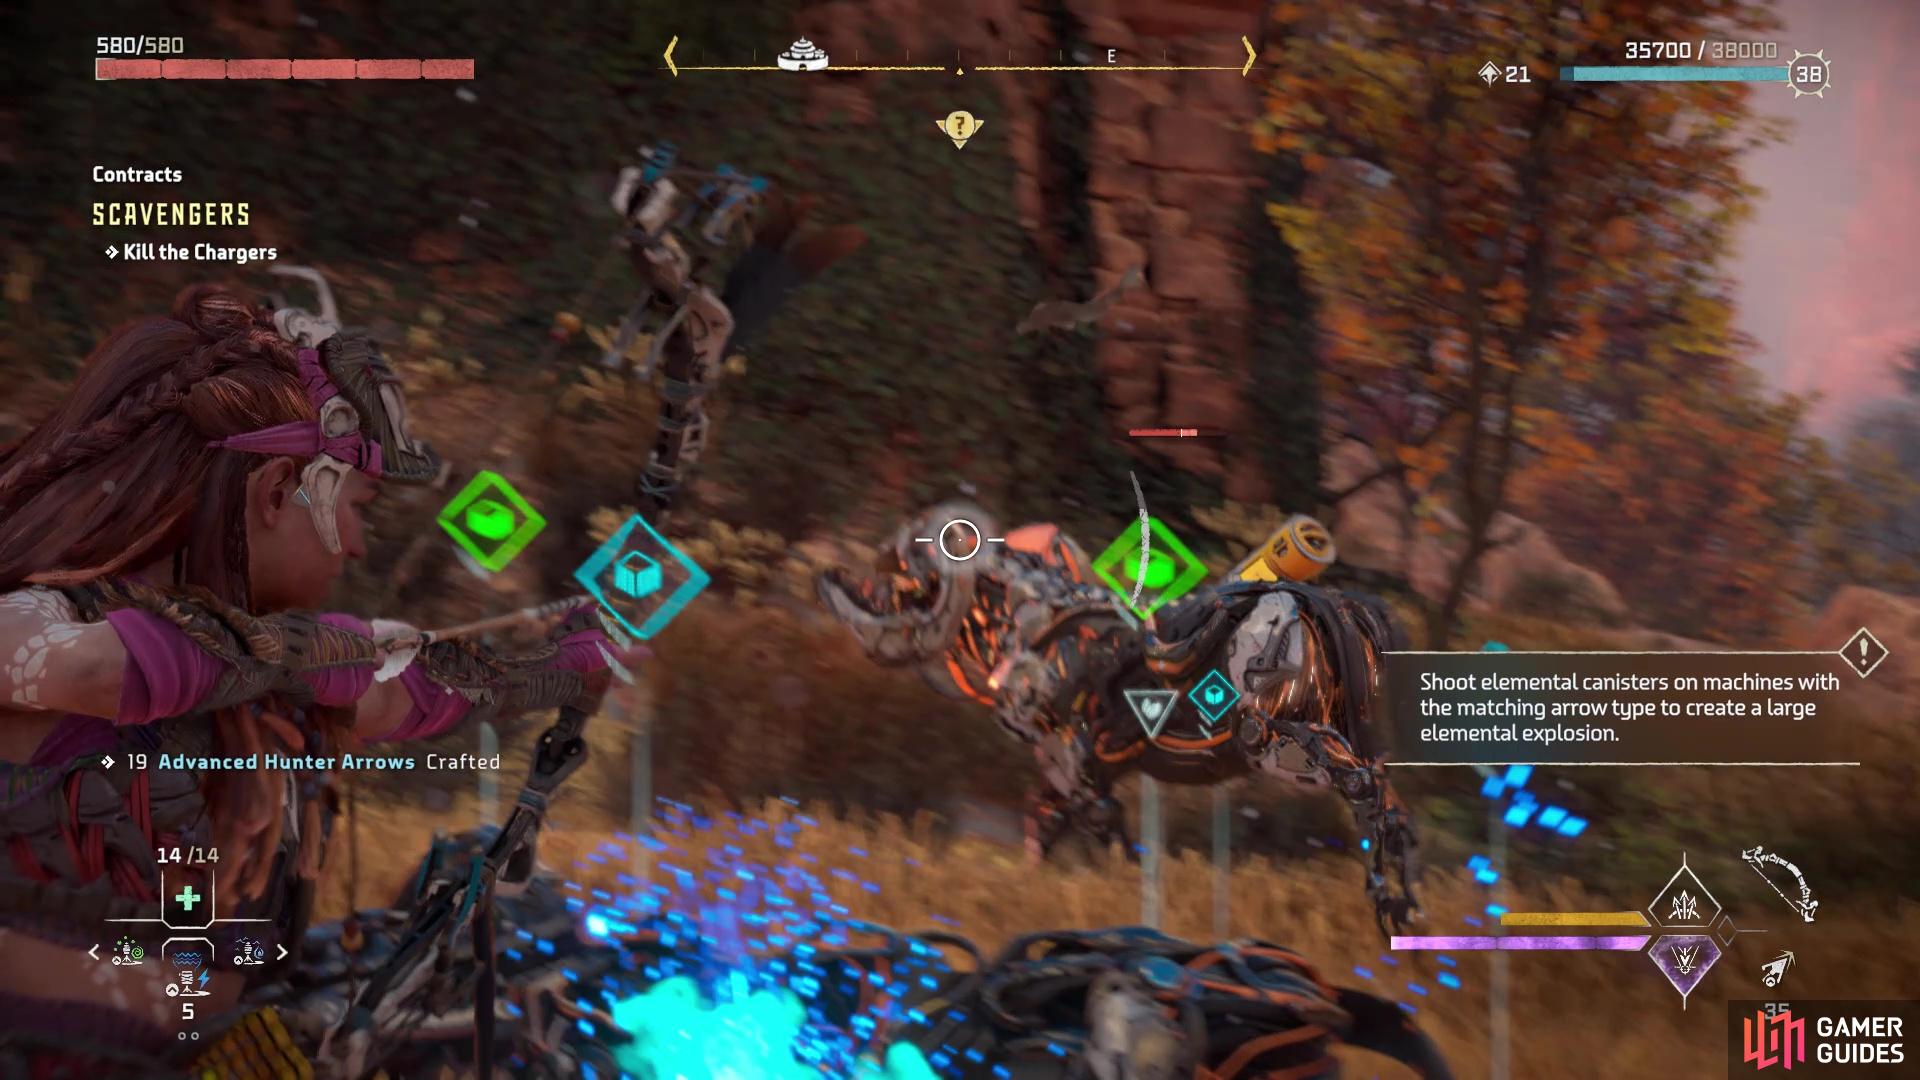
Just kill all of the Chargers in the area
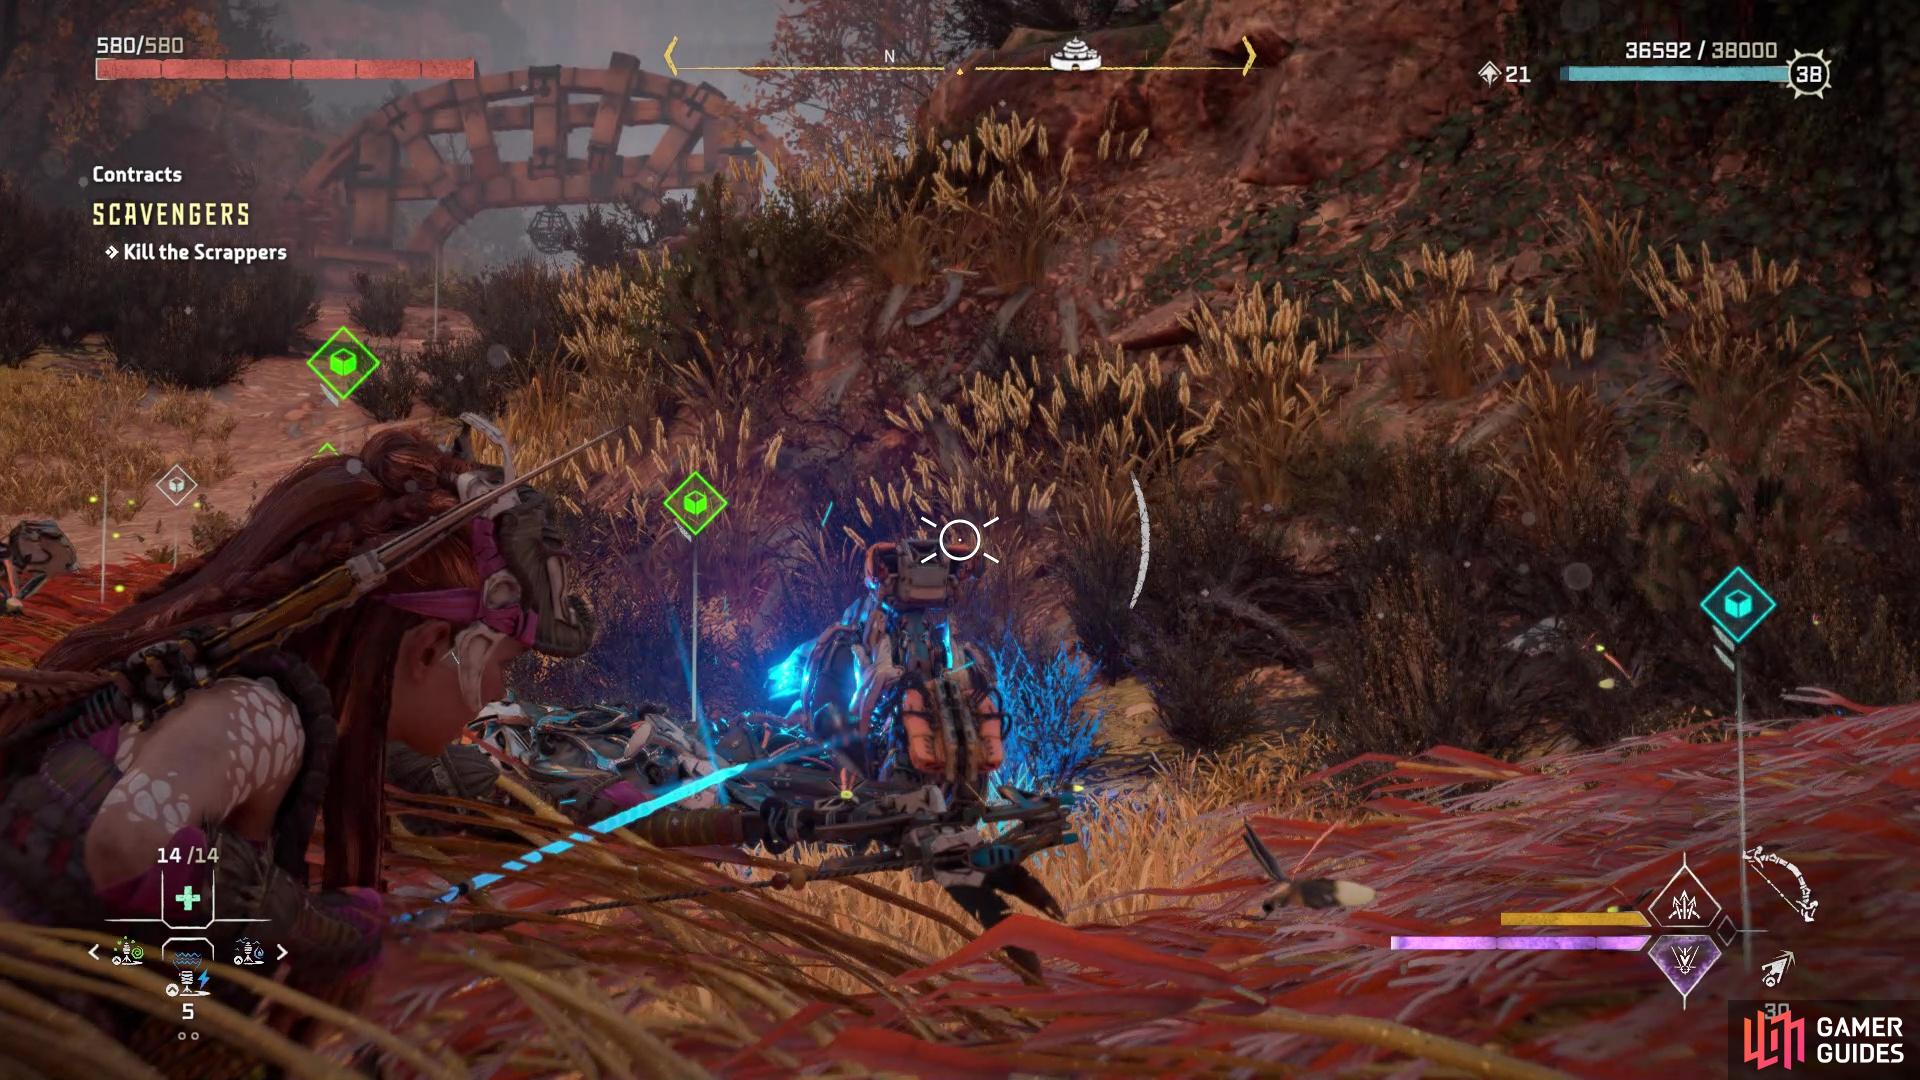
and the Scrappers will come out to do their job
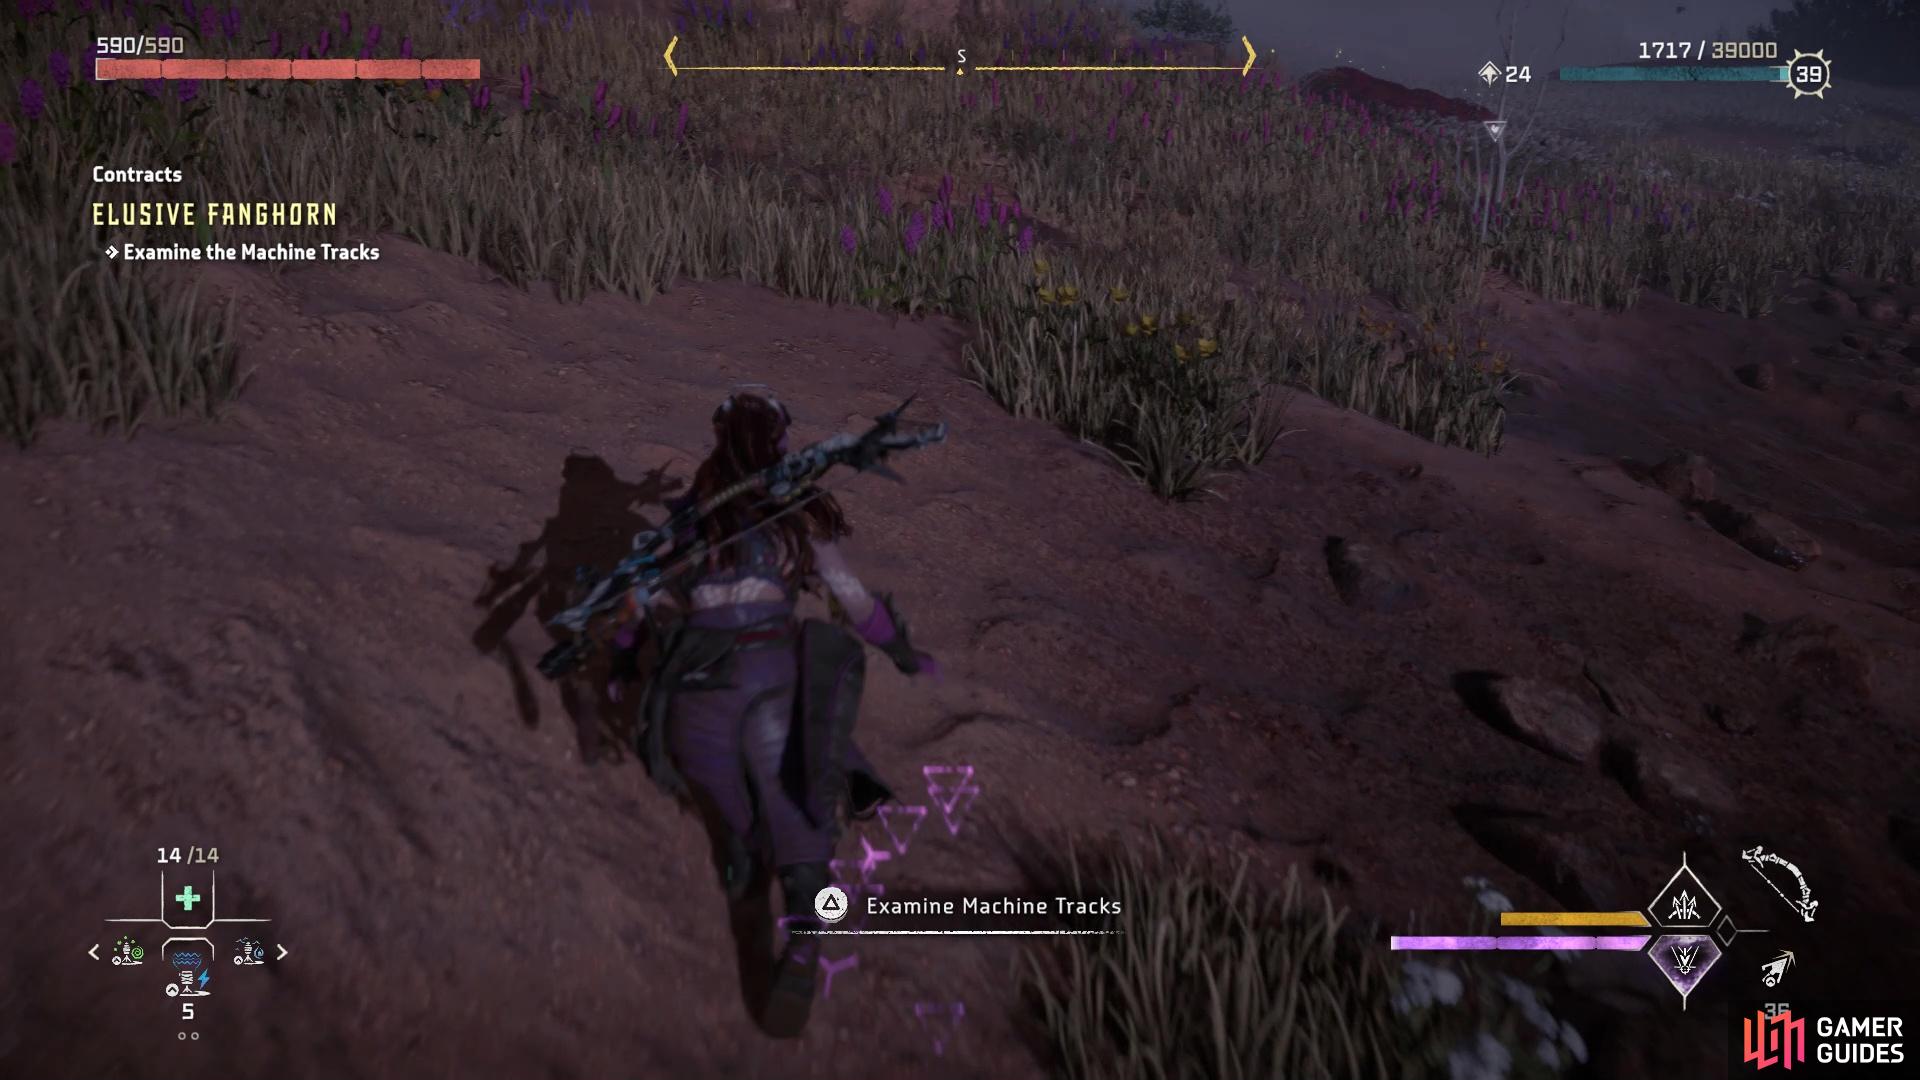
Elusive Fanghorn
| Prerequisite | Level | Rewards |
|---|---|---|
| Complete all previous contracts | 10 |
As the final contract for Larend, it sounds simple, but can be one of the more annoying little things you will have to do in the game. You see, Larend wants you to hunt down an elusive Fanghorn that has managed to escape capture thus far. It’s found pretty close to the salvage camp, so head southwest to the general area and you will find some machine tracks. Examine them by going up to them and pressing the Triangle button, then there will be three more sets of tracks you have to examine in the same manner. Upon inspecting them, you can find the trail with the Fanghorn tracks, so use your Focus to highlight them and begin following the tracks.
This is where the contract takes a bit of an annoying spin, as when you get close enough to the Fanghorn, it will run off, even if you try to sneak up on it. As soon as you see it take off, immediately run after it and try not to lose its location, since it can be quite slippery. At this point, you might see an optional objective pop up on your screen, which is to mount an overridden machine. So, find a nearby Charger and do just that, as it will keep up with the Fanghorn tremendously as it runs. Also, you will probably run into a pack of Lancehorns here, with the Fanghorn trying to blend in with them.
Fortunately, it is easy to pick out the Fanghorn among the Lancehorns, as the latter have straight, pointy horns, while the Fanghorn’s antlers are wider. As you ride your Charger, you can take pot shots with arrows until you eventually bring down the Fanghorn. Loot the Fire Fanghorn Salvage from the machine’s body, then report back to Larend to finish his set of Salvage Contracts.
No Comments