Information about the Barrage Blastsling in Horizon Forbidden West, including how to obtain it, how to upgrade it, and what the strengths and weaknesses of the Barrage Blastsling are.
Overview of the Barrage Blastsling.
Barrage Blastsling Description
This well-crafted Tenakth weapon can launch different types of exploding Bombs, as well as Fire Bombs. It can be upgraded to improve its rate of fire.
How to Get the Barrage Blastsling
| Location |
Cost |
| Lowland’s Path Hunter |
Metal Shards x1249, Sunwing Circulator x1, Large Machine Core x1 |
You can purchase Barrage Blastsling from the Hunter who has set up camp at Lowland Path. You’ll need to acquire a Sunwing Circulator which is an uncommon drop from Sunwings and a Large Machine Core which drops from large machines, such as a Tremortusk.
How to Use The Barrage Blastsling
The Barrage Blastsling is best used when fighting larger machines that are susceptible to Fire Damage. A great way to use this weapon is to start with the Fire Bombs to deal damage over time on the machine, then switch over to the Explosive Bombs to finish it off.
How to Upgrade Barrage Blastsling
| Rank |
Effect |
Cost |
| I |
Increased Weapon Stats, 1x Perk Improvement |
Metal Shards x127, Braided Wire x4, Small Machine Core x4, Medium Machine Core x1 |
| II |
Increased Weapon Stats, 1x Perk Improvement, Unlocks Coil Slot |
Metal Shards x212, Braided Wire x6, Sunwing Shield Caster x3, Elemental Clawstrider Sac Webbing x2 |
| III |
Increased Weapon Stats, 1x Perk Improvement |
Metal Shards x300, Braided Wire x10, Large Machine Core x1, Elemental Clawstrider Circulator x1, Tideripper Tail Fin x1 |
| IV |
Increased Weapon Stats, 1x Perk Improvement |
Metal Shards x450, Large Machine Core x2, Tideripper Circulator x1, Dreadwing Metal Fang x3, Sunwing Primary Nerve x1 |
| V |
Increased Weapon Stats, 1x Perk Improvement, Unlocks Coil Slot |
Metal Shards x600, Luminous Brainstem x1, Dreadwing Primary Nerve x1, Apex Snapmaw Heart x2, Apex Frostclaw Heart x1 |
Barrage Blastsling I Upgrades
- Metal Shards - Common Drop from all Machines.
- Braided Wire - Common Drop from all Machines.
- Small Machine Core - Uncommon Drop from small Machines such as the Grazer.
- Medium Machine Core - Rare Drop from medium sized Machines, such as the Scorcher.
Barrage Blastsling II Upgrades
- Metal Shards - Common Drop from all Machines.
- Braided Wire - Common Drop from all Machines.
- Sunwing Shield Caster - Rare Drop from Sunwing.
- Elemental Clawstrider Sac Webbing - Rare Drop from Elemental Clawstriders.
Barrage Blastsling III Upgrades
- Metal Shards - Common Drop from all Machines.
- Braided Wire - Common Drop from all Machines.
- Large Machine Core - Rare Drop from large Machines, such as the Fireclaw.
- Elemental Clawstrider Circulator - Uncommon Drop from Elemental Clawstrider.
- Tideripper Tail Fin - Very Rare Drop from Tiderippers.
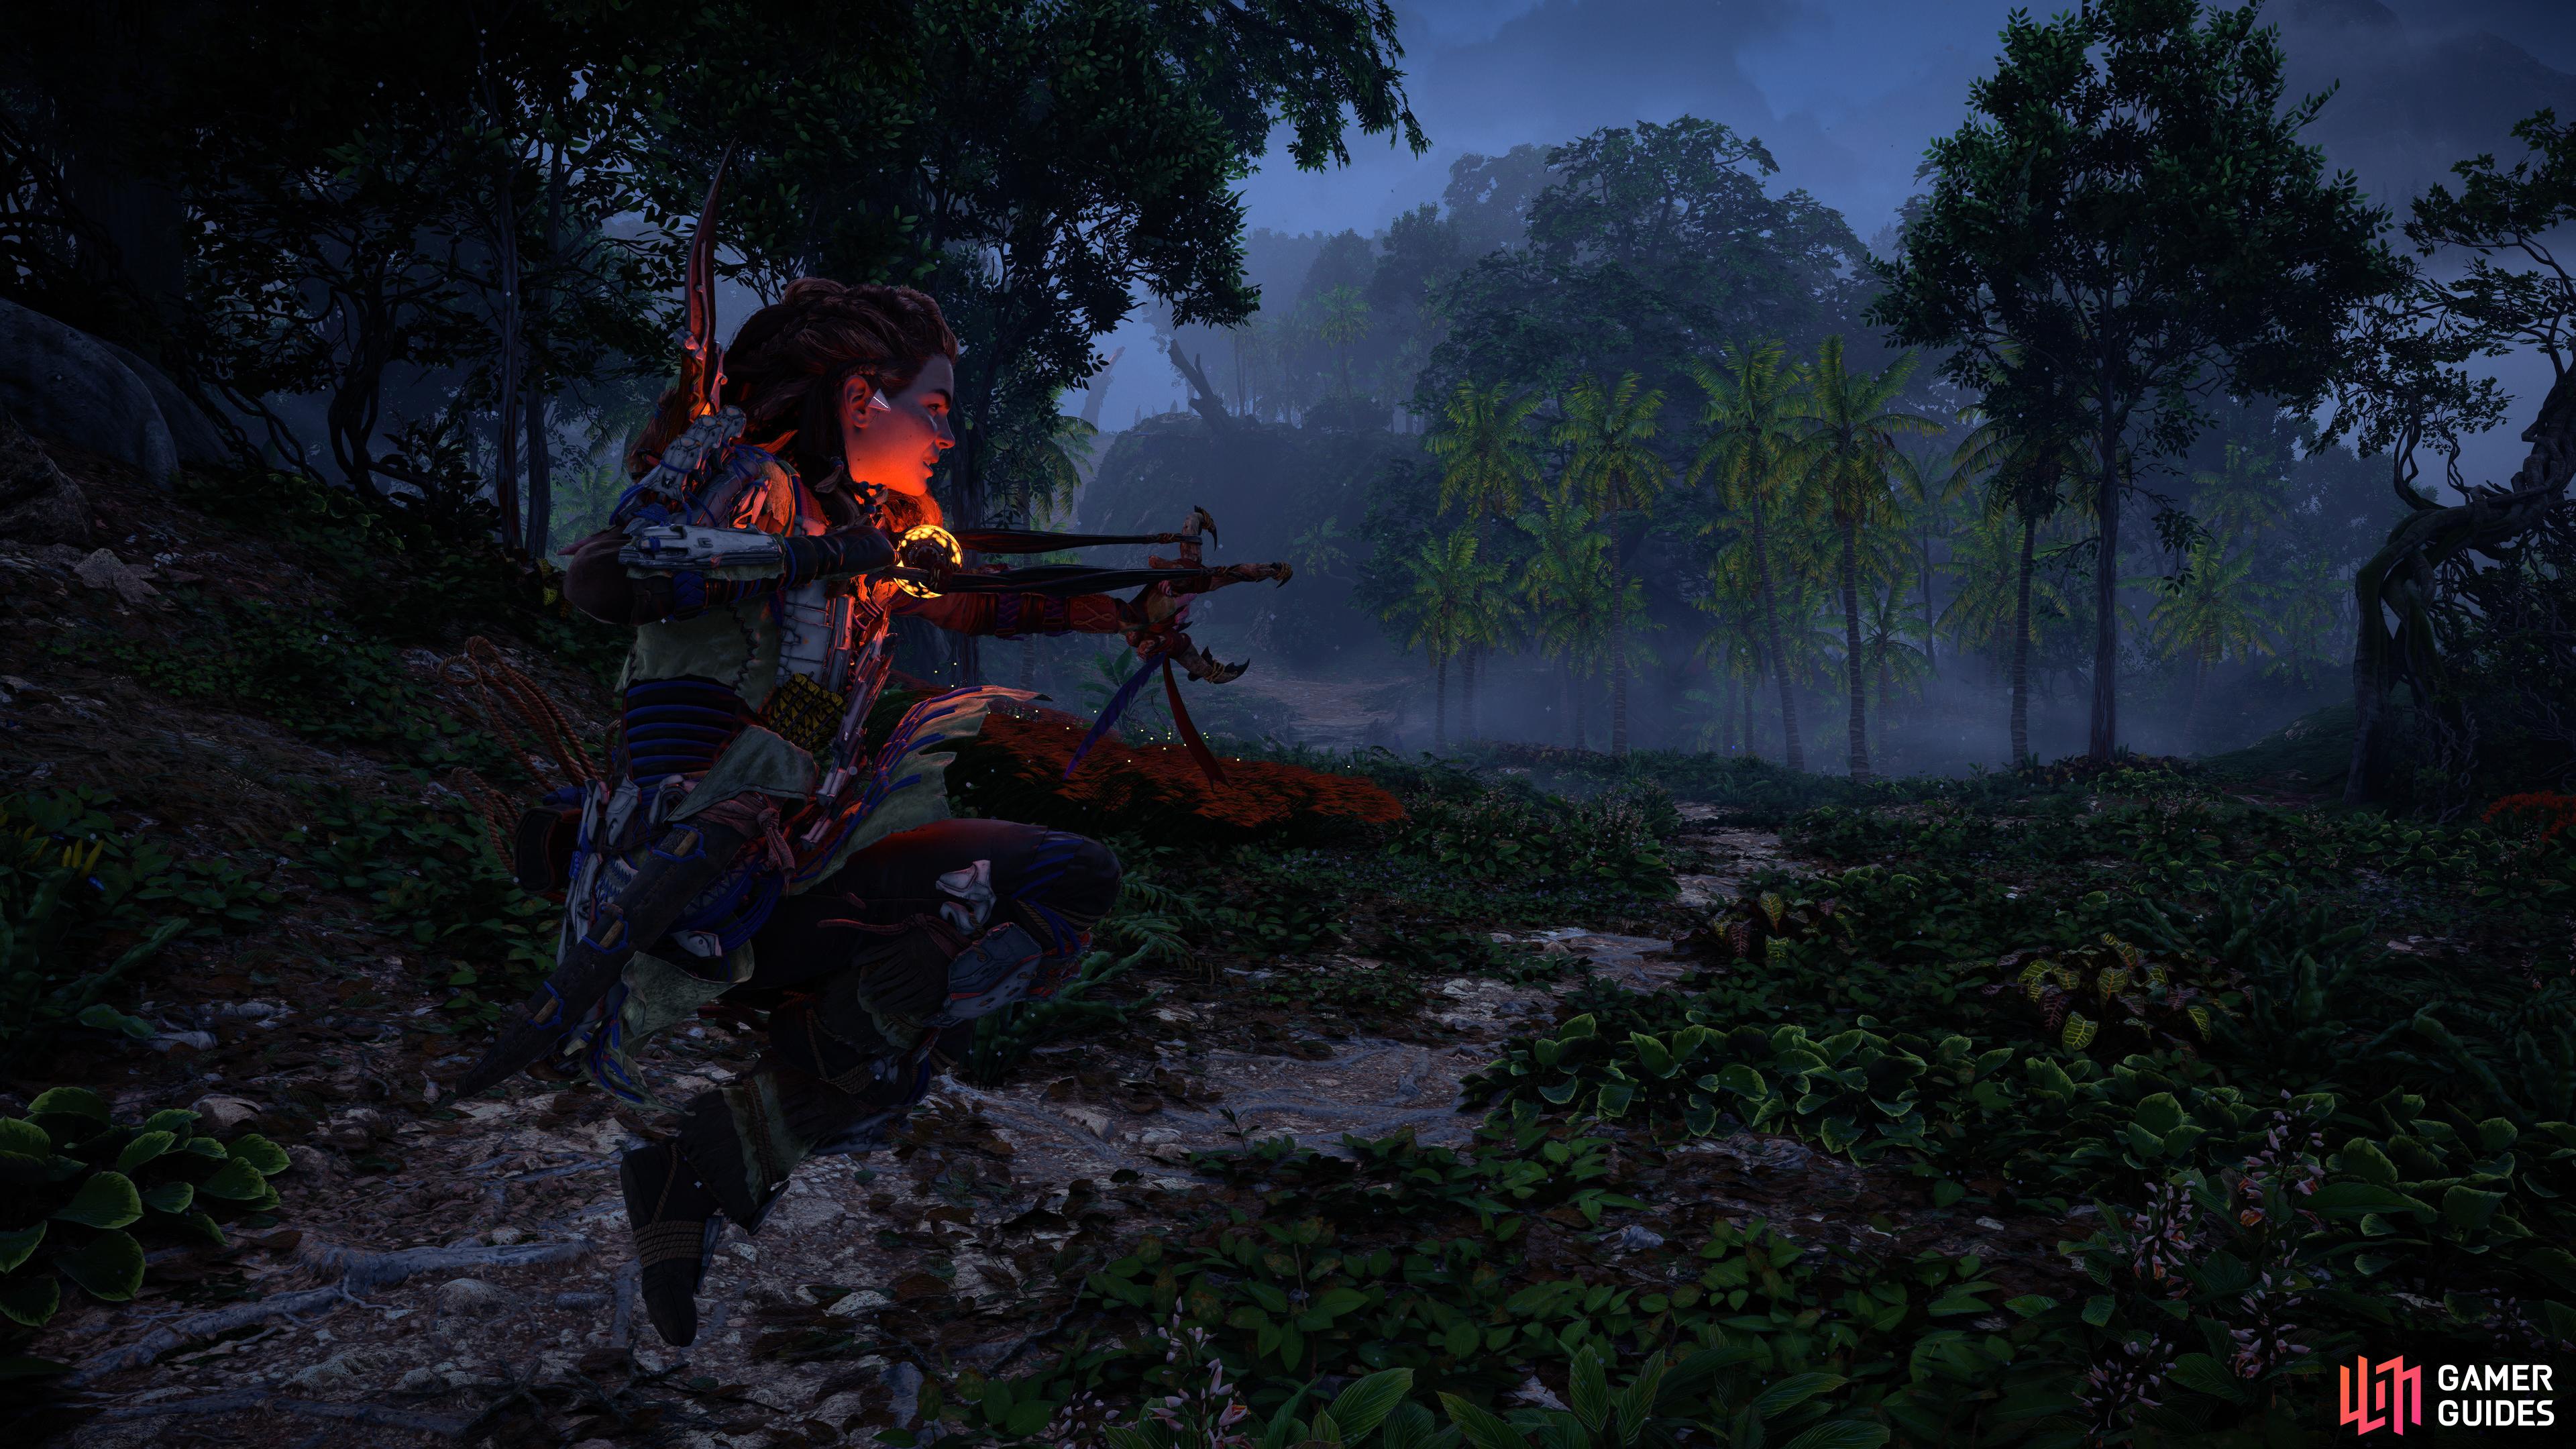
Aloy tests out her new Barrage Blastsling .
Barrage Blastsling IV Upgrades
- Metal Shards - Common Drop from all Machines.
- Large Machine Core - Rare Drop from large Machines, such as the Fireclaw.
- Tideripper Circulator - Uncommon Drop from Tideripperss
- Dreadwing Metal Fang - Very Rare Drop from Dreadwings.
- Sunwing Primary Nerve - Rare Drop from Sunwings.
Barrage Blastsling V Upgrades
- Metal Shards - Common Drop from all Machines.
- Luminous Brainstem - Very Rare Drop from the toughest Machines the Forbidden West has to offer, such as the Behemoths and Tideripper.
- Dreadwing Primary Nerve - Rare Drop from Dreadwings.
- Apex Snapmaw Heart - Very Rare Drop from Apex Snapmaws.
- Apex Frostclaw Heart - Very Rare Drop from Apex Frostclaws.
Barrage Blastsling Stats
| Advanced Explosive Bombs |
Base |
Rank I |
Rank II |
Rank III |
Rank IV |
Rank V |
 Explosive Damage Explosive Damage |
163 |
175 |
192 |
211 |
235 |
269 |
| Cluster Bombs |
Base |
Rank I |
Rank II |
Rank III |
Rank IV |
Rank V |
| Explosive Damage |
68 |
73 |
80 |
88 |
98 |
112 |
| Fire Bombs |
Base |
Rank I |
Rank II |
Rank III |
Rank IV |
Rank V |
 Fire Damage Fire Damage |
41 |
44 |
48 |
53 |
59 |
67 |
 Fire Buildup Fire Buildup |
140 |
145 |
153 |
165 |
177 |
190 |
Barrage Blastsling Perks
| Perks |
Base |
Rank I |
Rank II |
Rank III |
Rank IV |
Rank V |
 Draw Speed Draw Speed |
+25% |
+25% |
+25% |
+25% |
+65% |
+65% |
 Overdraw Damage Overdraw Damage |
– |
+15% |
+15% |
+30% |
+30% |
+55% |
Barrage Blastsling Ammo Types
| Icon |
Name |
Effect |
 |
Advanced Explosive Bombs |
Deals Explosive Damage |
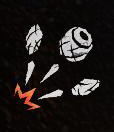 |
Cluster Bombs |
Deals Explosive Damage |
 |
Fire Bombs |
Deals Fire Damage and Fire Buildup |


No Comments