
Throughout your journey in Forbidden West, you will come across a variety of Machines, most of which will be out to attack you. This page will concentrate on the Acquisition Machine, the Fanghorn.

Fanghorn in the game
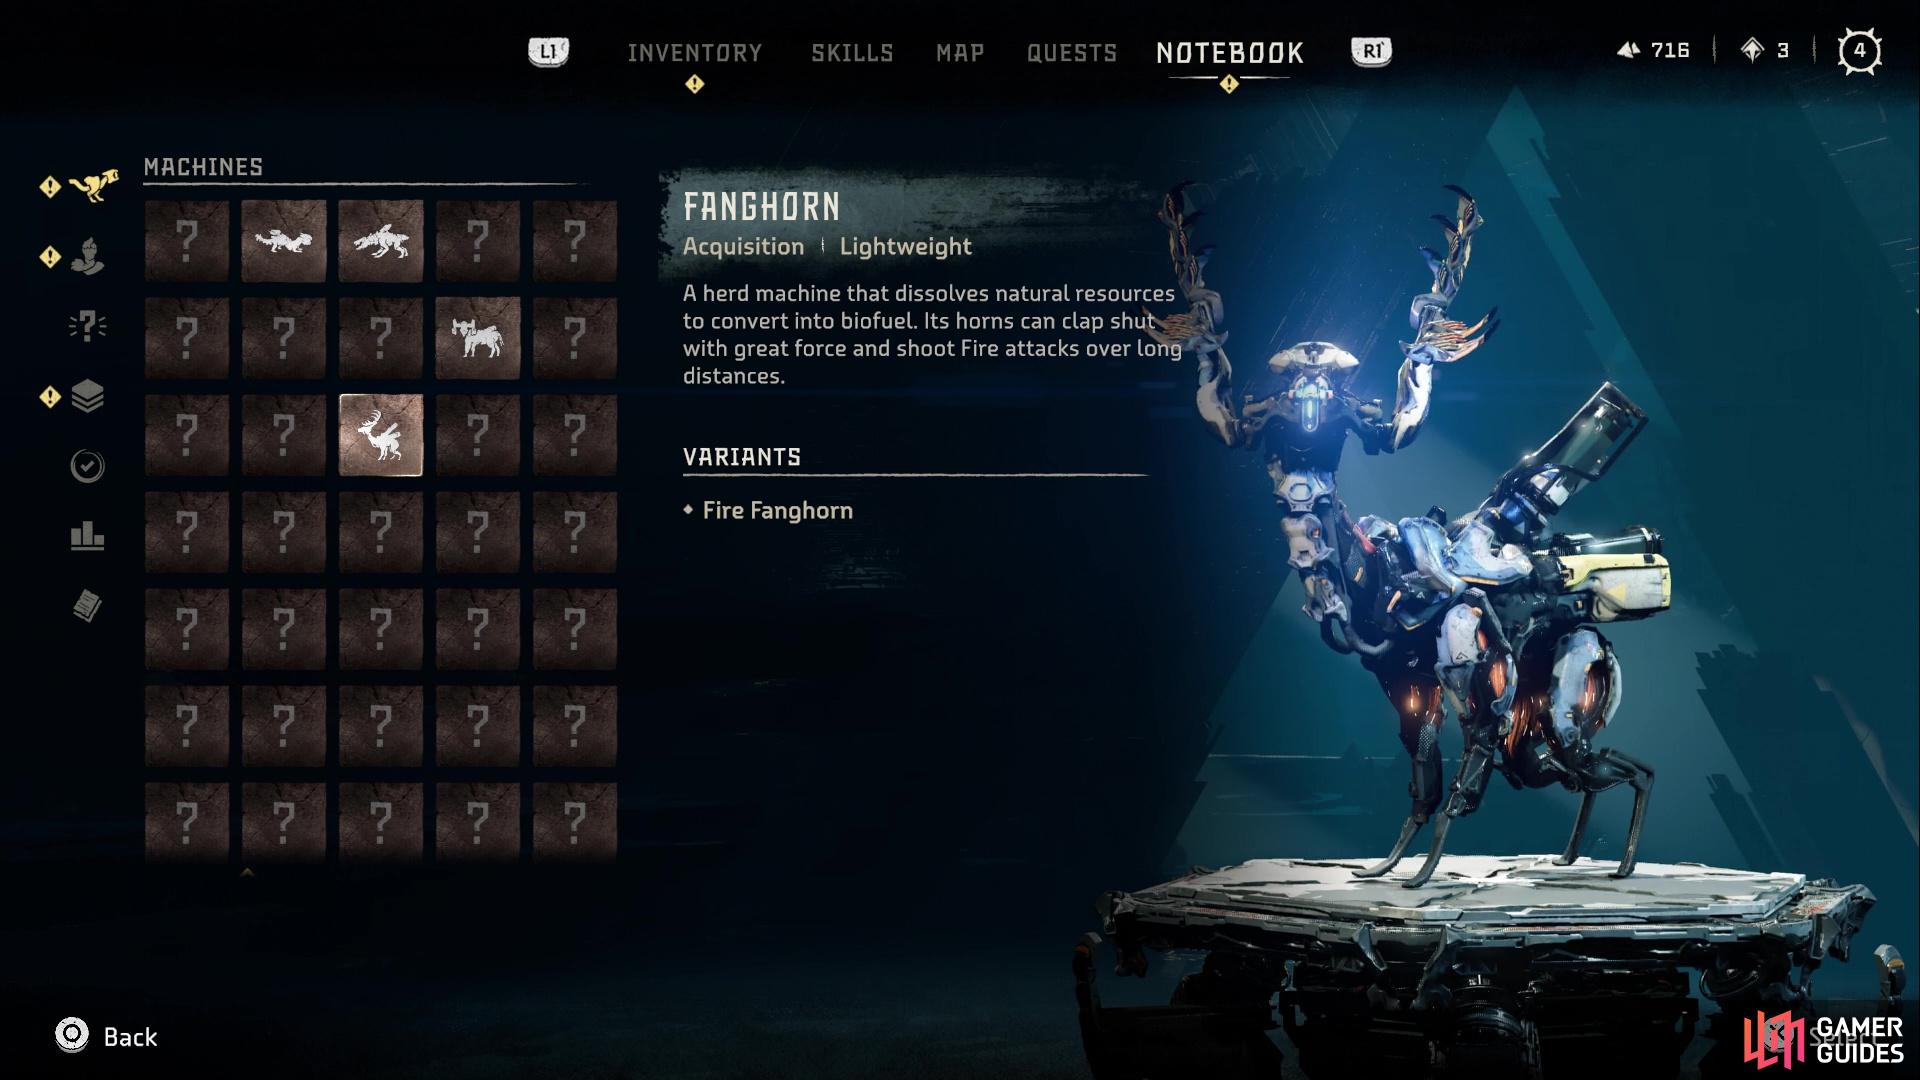
Fanghorn in the notebook
General Information
A herd machine that dissolves natural resources to convert into biofuel. Its horns can clap shut with great force and shoot Fire attacks over long distances.
| Level | Type | Cauldron | Weak | Strong |
|---|---|---|---|---|
| 14 | Acquisition | MU Cauldron | Frost  |
Fire  |
Tips for Defeating the Fanghorn
Before saying anything else, there is only one variant of the Fanghorn, the Fire Fanghorn. They are kind of similar to Chargers in a way, as they will not always stick around to fight once you start attacking them. Should they stick around, though, they do have a few more attacking options compared to something like the Charger. They have a similar charging attack, but if you shoot off both antlers, then you will disable it (and get some nice loot in the process). The Fanghorn can also get right up in your face and try to kick you with its front legs, so be wary if you’re using melee.
Living up to its name, the Fanghorn does have two Fire attacks in its arsenal. The first involves it lighting up its horns, then performing a lunge at you, which is easily avoidable. The other will have it shooting fireballs at you, which is a little more dangerous, as they are a little quick and seem to have a slight splash to them. Thus, it’s easy to get a little overwhelmed with the fireballs and you might see your health go from full to empty in a matter of seconds, if you’re not careful. Since they come in packs, you are advised to only try and fight one at a time, which is easier to do if you leave the ones that run away alone.
Loot (Body)
All of the loot in the table below can drop upon killing the Machine and looting its body.
| Loot | Chance to Drop |
|---|---|
| Metal Shards | 100% |
| Blaze | 100% |
| Fanghorn Circulator | 41% |
| Machine Muscle | 30% |
| Fanghorn Primary Nerve | 27% |
| Small Machine Core | 16% |
| Braided Wire | 11% |
| Metal Bone | 10% |
| Sturdy Hardplate | 6% |
Loot (Antlers)
The Antlers are on the head of the Fanghorn, with there being two of them. If you can manage to destroy/detach both of them, then you will get rid of the Fanghorn’s charging attack. It is a good idea to detach them, as you will receive an exclusive material from them (this will always drop, too). This part is destroyed upon killing the Machine.
| Loot | Chance to Drop |
|---|---|
| Fanghorn Antler | 100% |
Loot (Blaze Canister)
The Fanghorn have two types of canisters on their backs, Blaze Canisters and Purgewater Canisters. There are two Blaze Canisters, while only a single Purgewater one. As with any elemental canister, if you shoot them with Fire Arrows, it will cause an explosion and cause a good amount of damage to the Fanghorn, as well as some damage to any nearby Machines. This part is destroyed upon killing the Machine.
| Loot | Chance to Drop |
|---|---|
| Blaze | 100% |
Loot (Purgewater Canister)
The Fanghorn have two types of canisters on their backs, Blaze Canisters and Purgewater Canisters. There are two Blaze Canisters, while only a single Purgewater one. As with any elemental canister, if you shoot them with Purgewater Arrows, it will cause an explosion and cause a good amount of damage to the Fanghorn, as well as some damage to any nearby Machines. This part is destroyed upon killing the Machine.
| Loot | Chance to Drop |
|---|---|
| Purgewater | 100% |
Loot (Resource Container)
The Resource Container is located right above the hind legs of the Fanghorn, and right below the canisters. It is a wise idea to always shoot this off, since some of the materials you can get have a higher chance of appearing over the main body. As seems to be the case with most parts, this will be destroyed upon killing the Machine.
| Loot | Chance to Drop |
|---|---|
| Braided Wire | 90% |
| Sturdy Hardplate | 55% |
| Blastpaste | 26% |
| Small Machine Core | 15% |
| Fanghorn Primary Nerve | 15% |
No Comments