
Walkthrough for the Side Quest, Need to Know, in Horizon: Forbidden West.
Need to Know is the follow-up quest that immediately unlocks upon completing The Burning Blooms. After finishing that side quest, Talanah will continue her search for Amadis, with knowledge that he ventured further to the west, searching for an old Tenakth prison called The Rot. Note that you will need to have progressed the story enough to be able to explore the Forbidden West, which occurs when you complete The Eye of the Earth main quest. You are to meet Talanah at an Oseram Camp on the other side of The Base.

You’ll learn about The Rot from a scout named Ragurt
| Quest Giver | Starting Location | Prerequisite | Level | Rewards |
|---|---|---|---|---|
| Talanah | Upon completing The Burning Blooms | The Burning Blooms; The Eye of the Earth | 25 |
Meet with Talanah
Your meeting place with Talanah is a camp called Camp Nowhere. Depending on when you do this quest, you might not have found this camp yet. After coming out of The Base on the western side, follow the trail south and you will eventually run into the settlement. If you see the Tallneck at the Stillsands, then you’ve gone too far south, as it is a little north of that. Upon arriving, you will find Talanah speaking with someone named Ragurt, who is the scout for the camp. He talks about The Rot and says it’s further to the west. There are some dialog choices here to exhaust, then you can be on your merry way to continue the hunt for Amadis.
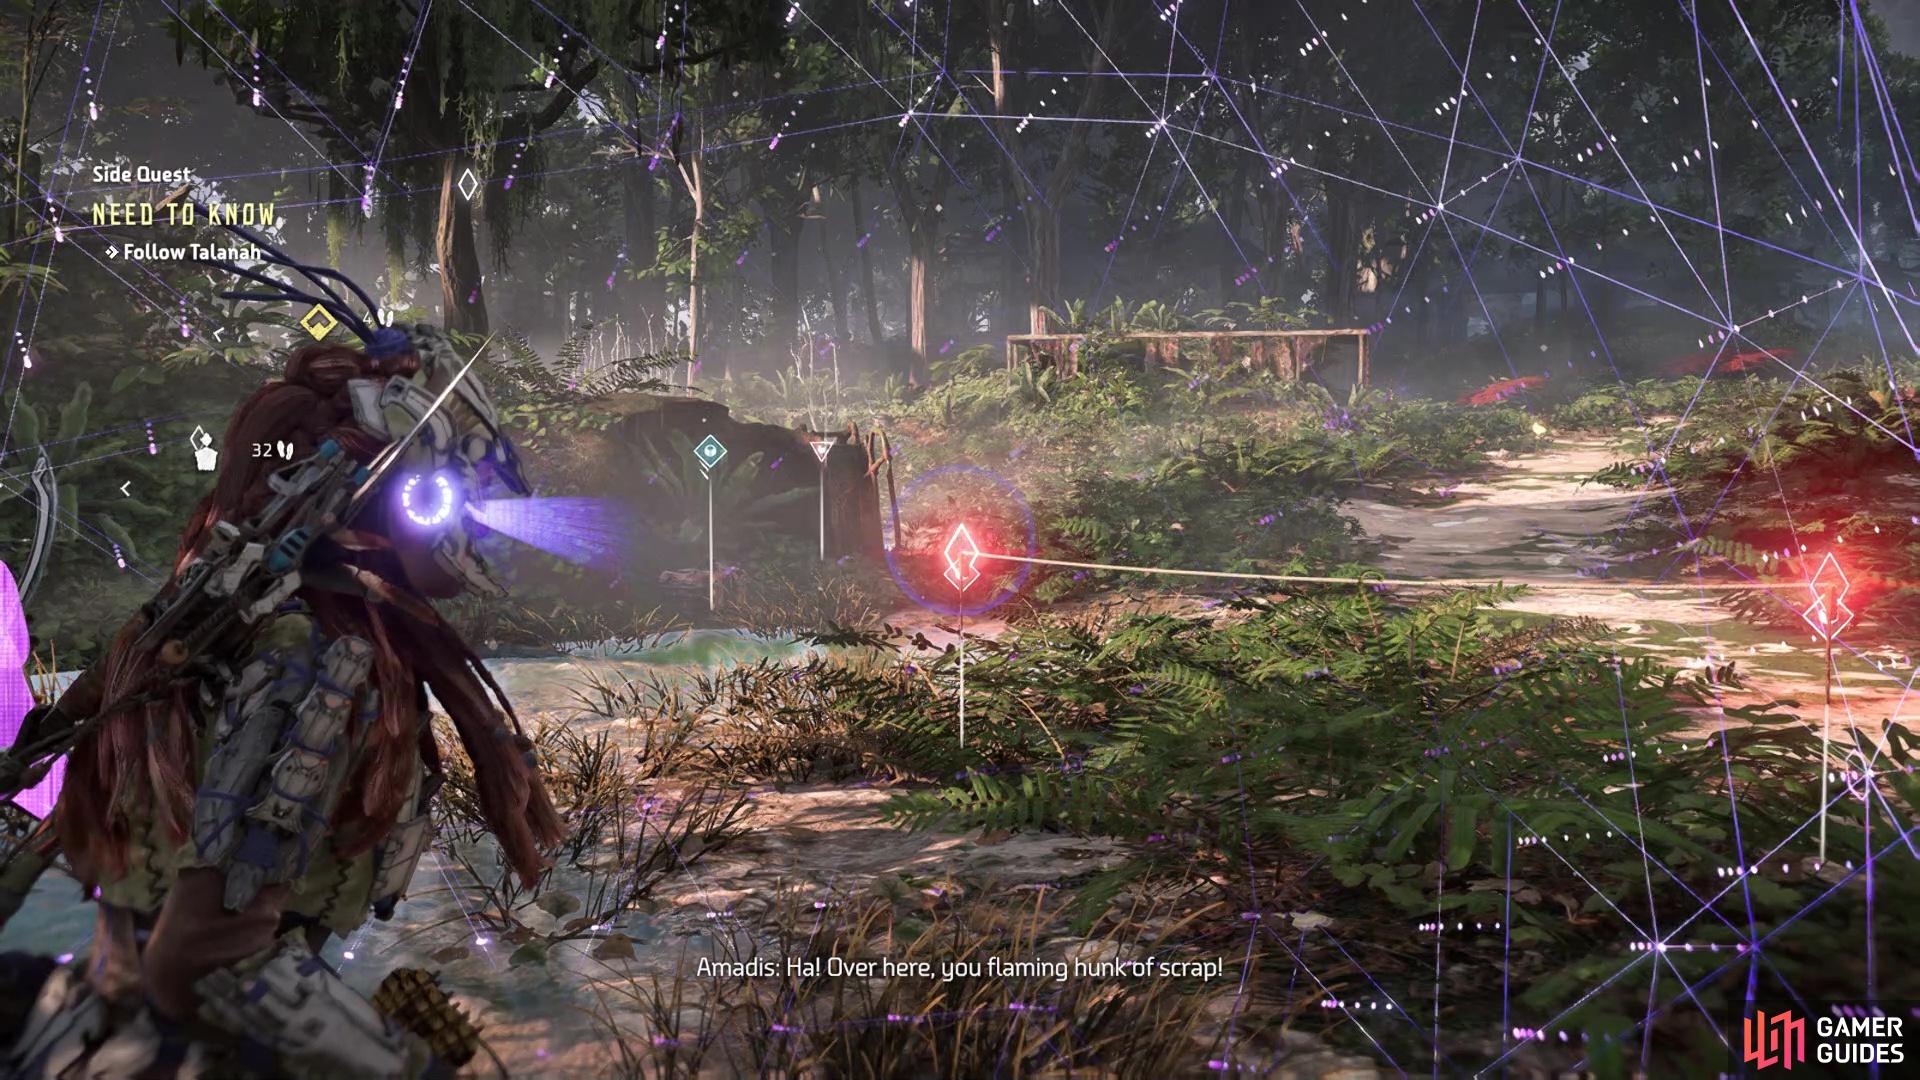
The next destination will be Thornmarsh, a settlement even further west. It is quite the adventure, too, as it is quite a ways away from Camp Nowhere. You will need to go through the desert region, and into the jungle area. Should you follow the path on the map, then you will pass by, or close to, some settlements and even the Hunting Grounds in The Raintrace. A little west-southwest from the Hunting Grounds will be the settlement of Thornmarsh, but Talanah will not be inside the place. Instead, she will be hiding behind a tree just outside of the settlement. Speak with to learn about her relationship with Amadis, then follow her, with you eventually catching up to Amadis, who will be fighting with a Fireclaw.
Kill the Fireclaw
The Fireclaw is quite a strong machine, resembling a bear, and as its name suggests, you will be facing a lot of attacks with fire in them. If you’re far away from the machine, it can make the ground erupt some lava underneath you, so be wary of moving if you appear to be taking damage out of nowhere. It can also toss flaming rocks at you, both of which are powered by the sacs on the Fireclaw’s front shoulders. Take those out and those rocks will be ordinary ones. There’s also the usual lunging attack, as well as a large splash attack. If you see the Fireclaw standing up, it will be able to shoot a flamethrower from its stomach area.
You will have two helpers here in the battle against this Fireclaw, so you’re not going to have the sole attention of it, thankfully. Also, the battle seems to start with the Fireclaw at half health, which helps a lot, too. There’s also a bunch of Tripwires around the area, so you can lure the machine towards those to try and make it fall into the traps. It shouldn’t take too long to kill the Fireclaw, especially if you have good weapons to use. With that machine out of the way, find Amadis and Talanah, then speak to them to continue the quest. Go through the dialog options with Amadis, then it’ll be time to move onto The Rot, as Amadis knows its location.
Infiltrate The Rot and Kill the Rebels
Follow Amadis and you will shortly find yourself in front of The Rot, although it seems like some new tenants have moved into the place. The front gate is locked, so you will need to find another way inside the place. Since the prison is on the water’s edge, you can head around to the back of the compound to find it wide open. Once you’re inside, you will have the option to either kill the Rebels yourself or open the gate to allow both Amadis and Talanah inside, allowing them to help you kill the Rebels. Most of the Rebels are just soldiers that aren’t really going to do much, but you also have two Champions (with the shields) and a Heavy Gunner.
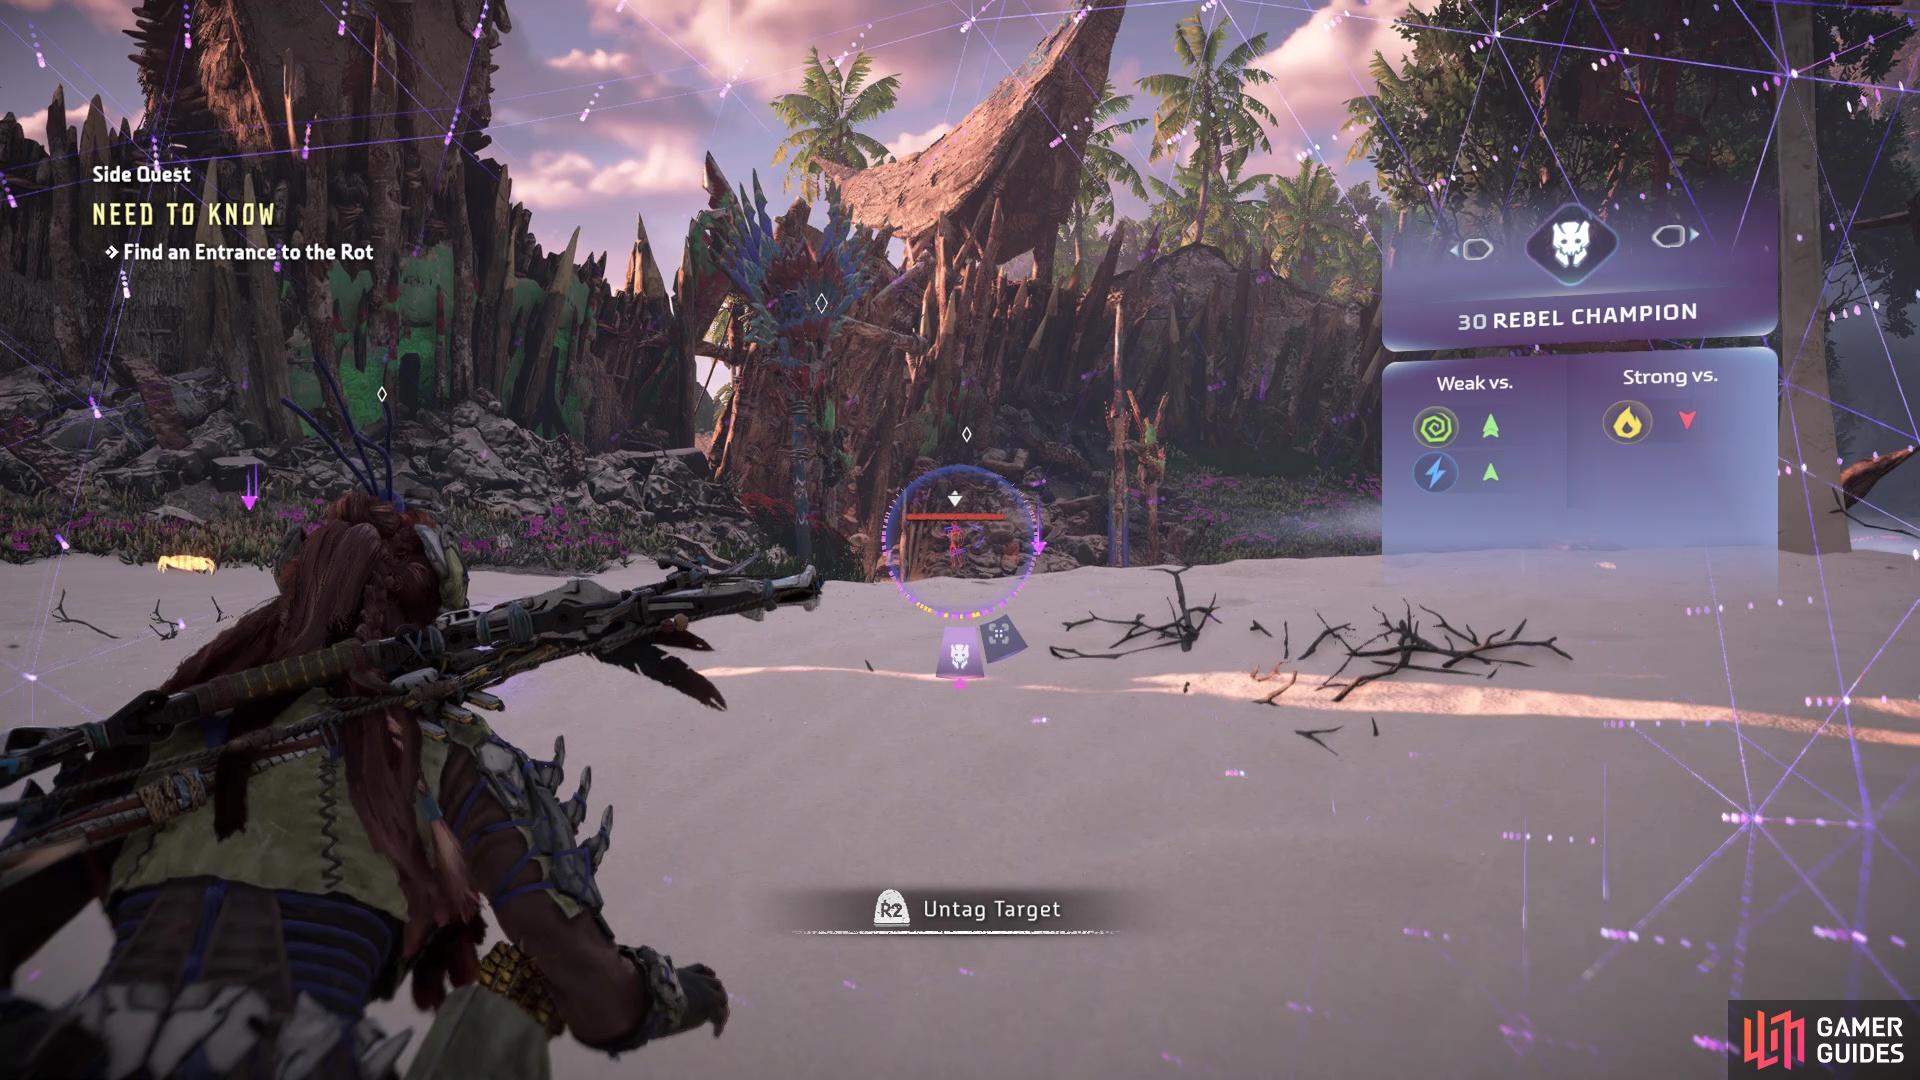
If you decide to take things on your own, then you might want to try and handle the enemies a bit more quietly. Stick to the tall grass and keep an eye on their movements with your Focus. Perform Silent Strikes when applicable, then keep hidden until things quiet down and the enemies go back to their posts. Note that if there are still Rebels left and you open the gate for Talanah and Amadis, then the remaining ones will immediately be alerted to your presence. However you do things, kill all of the Rebels and if you haven’t allowed your allies inside, do that to trigger a scene, causing a Tideripper to appear.
Kill the Tideripper
The Tideripper is another large machine that can be a little annoying to fight, especially when you have a smaller area like The Rot. Thankfully, you will have both Talanah and Amadis here to help, so they will sometimes take the attention off of you. A lot of attacks from the Tideripper will cause Purgewater Buildup, which removes the elemental damage from your attacks. By far, the worst move in the Tideripper’s skillset is a body slam attack, which hits pretty wide due to its size and thus, can be quite difficult to dodge. If you wish get some exclusive loot, break off the tail, as it is used often enough in upgrading higher tiered weapons/armor.

As usual, look for the weak spots on the Tideripper and exploit those to quickly take it down. There is also a Deathbringer Gun hanging up on the one side of the compound, but it’s not all too close and it’s not going to do a significant amount of damage to offset carrying around a heavy weapon. Likewise, you have the one weapon the Heavy Gunner was using, which launches a series of exploding mines, but you’re better off sticking to your usual repertoire. Once the Tideripper has been defeated, join back up with Talanah and Amadis to open the door with the prisoners. There will be a few more dialog choices to check here, but that will be the end of the quest.
No Comments