
Hunting Grounds are challenges that will test your mettle with various weapons in the game. This page will detail the Shock and Trap Trial at the Hunting Ground in The Daunt.
The Shock and Trap Trial at the Hunting Grounds in The Daunt
Where To Find The Hunting Ground In The Daunt
As you progress through the main story and rescue the Oseram Trapper during the main mission, To the Brink, you will be told about this Hunting Grounds and the location will be pinpointed on your map. If you leave Barren Light via the northern exit, you will come to a bridge on your eastern side. Directly east of the bridge will be the location of the Hunting Ground.
Stripes
| Stripes | Time Needed | Rewards |
|---|---|---|
| Quarter Stripes | 10:00 | 4 Hunting Medals, 20 Metal Shards, Small Machine Core |
| Half Stripes | 05:00 | 5 Hunting Medals, 45 Metal Shards, Small Machine Core |
| Full Stripes | 03:00 | 6 Hunting Medals, 65 Metal Shards, 15 Charger Circulators, Medium Machine Core |
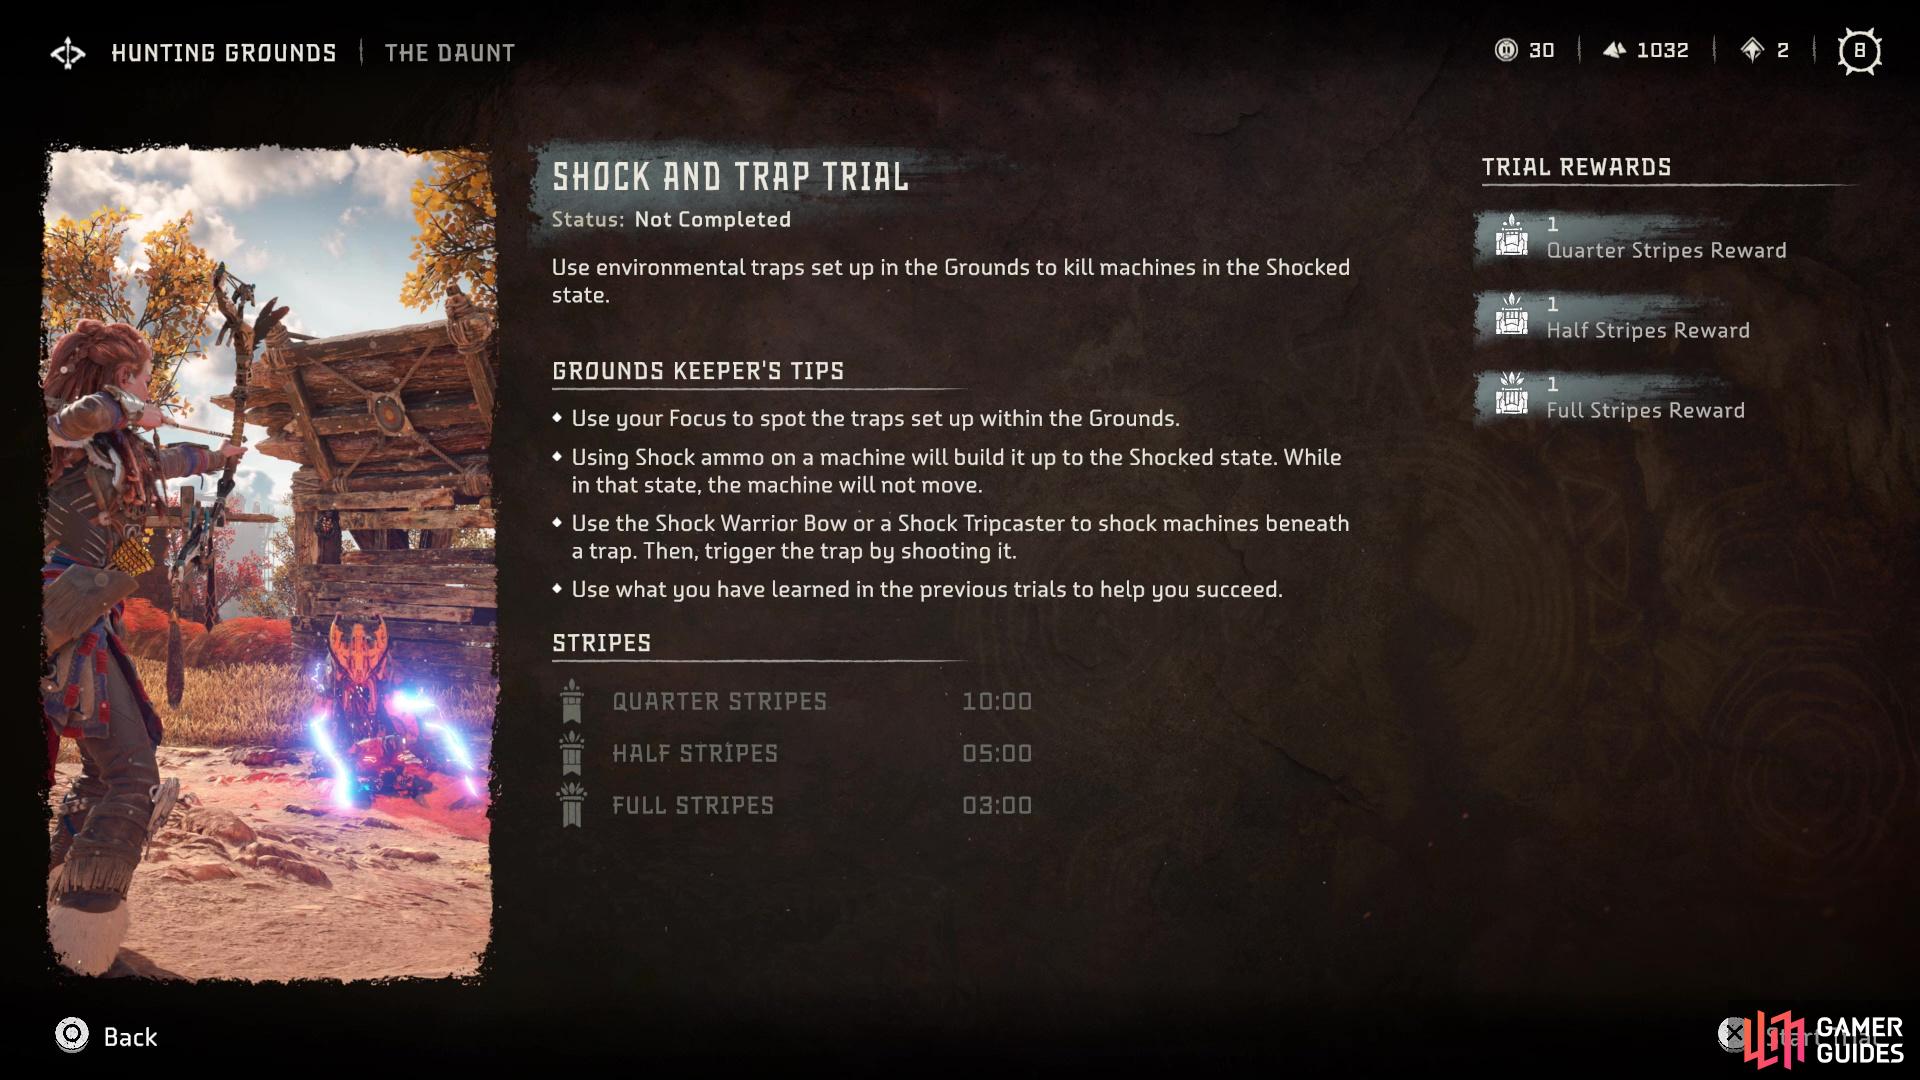
Grounds Keeper’s Tips
- Use your Focus to spot the traps set up within the Grounds.
- Using Shock ammo on a machine will build it up to the Shocked state. While in that state, the machine will not move.
- Use the Shock Warrior Bow or a Shock Tripcaster to shock machines beneath a trap. Then, trigger the trap by shooting it.
- Use what you have learned in the previous trials to help you succeed.
How to Complete the Shock and Trap Trial
The third Trial at The Daunt’s Hunting Grounds can be a little confusing at first, but you need to Shock the machines, then trigger an environmental trap to kill them while in that state. Before jumping down to start the timer, use your Focus to look around the grounds and identify the environmental traps laid throughout it. There seem to be two versions of environmental traps on the grounds, a log trap that is marked with a paper bullseye mark, and a boulder trap that is marked with two logs holding it in place. Shooting the bullseye mark with the former trap will set it free, while shooting either of the supports for the boulder trap will unleash them on the area below.
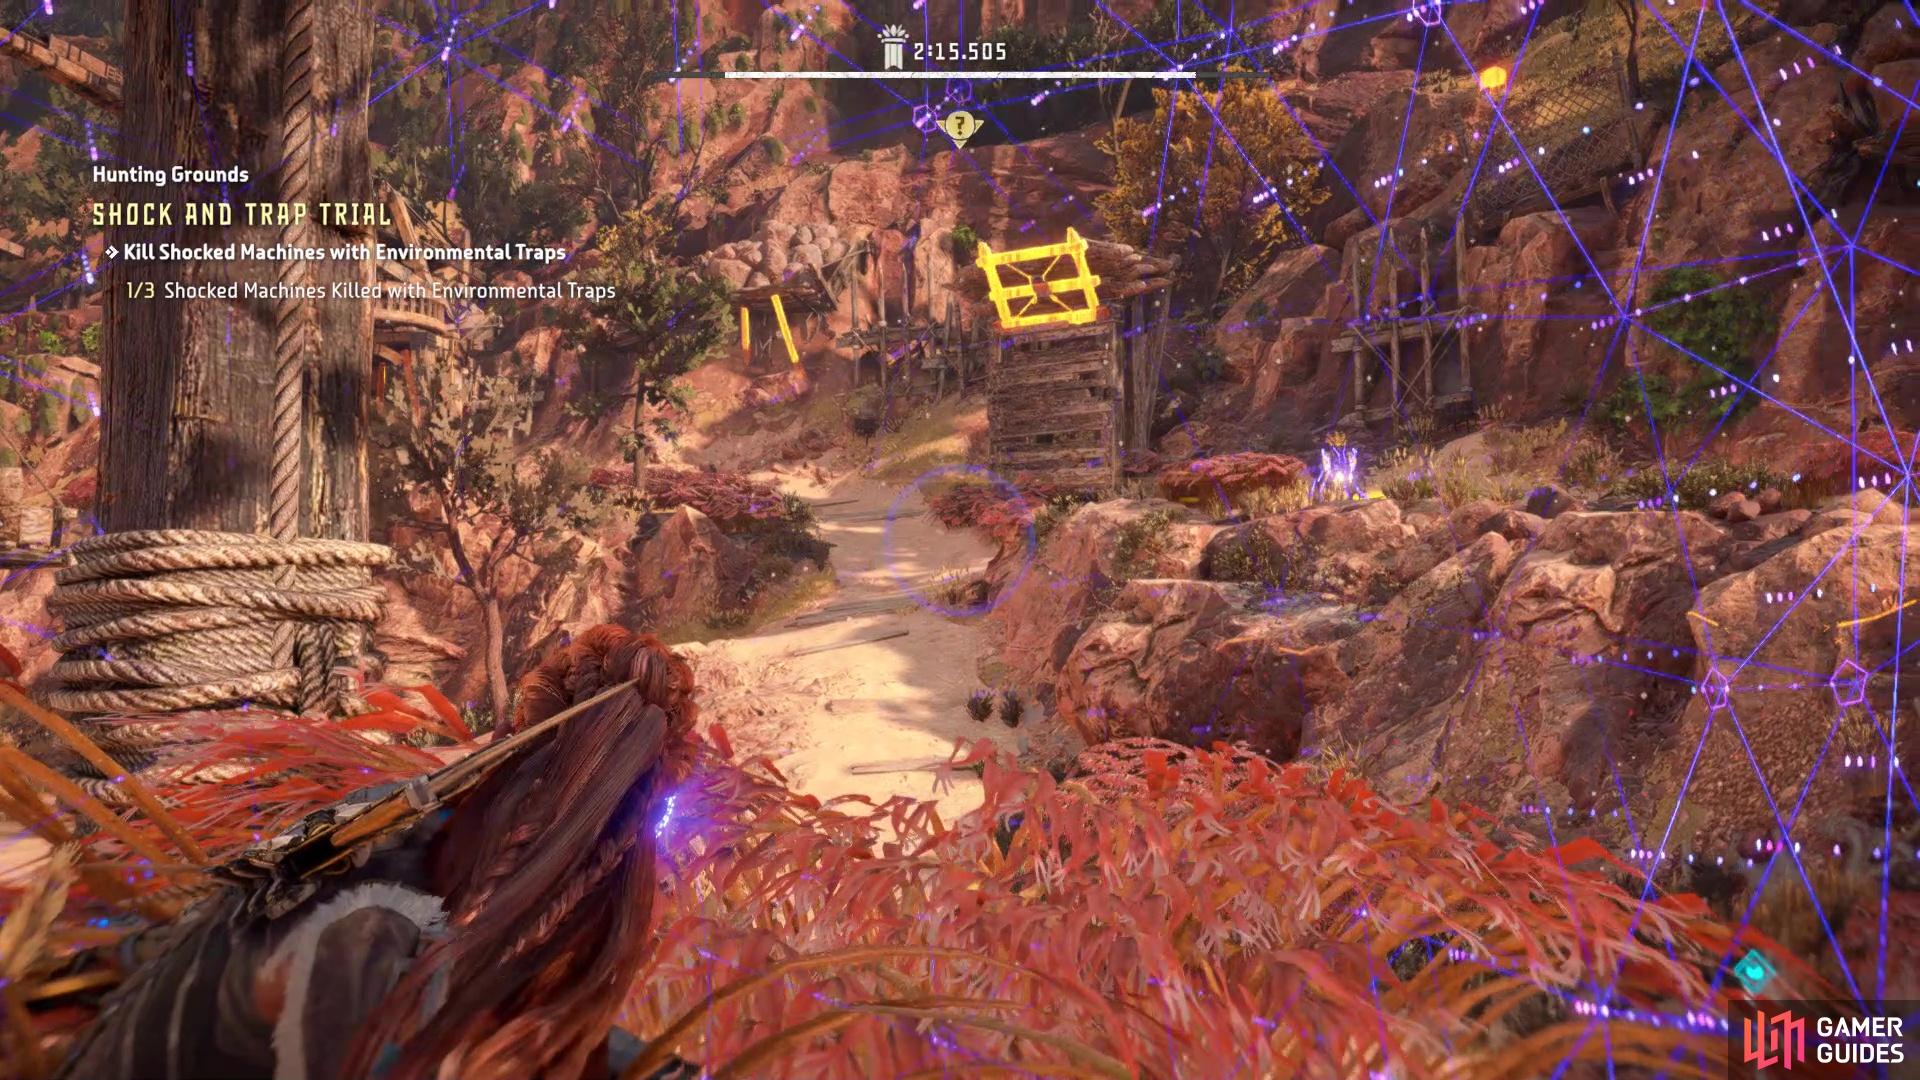
Use your Focus to identify the locations of the environmental traps
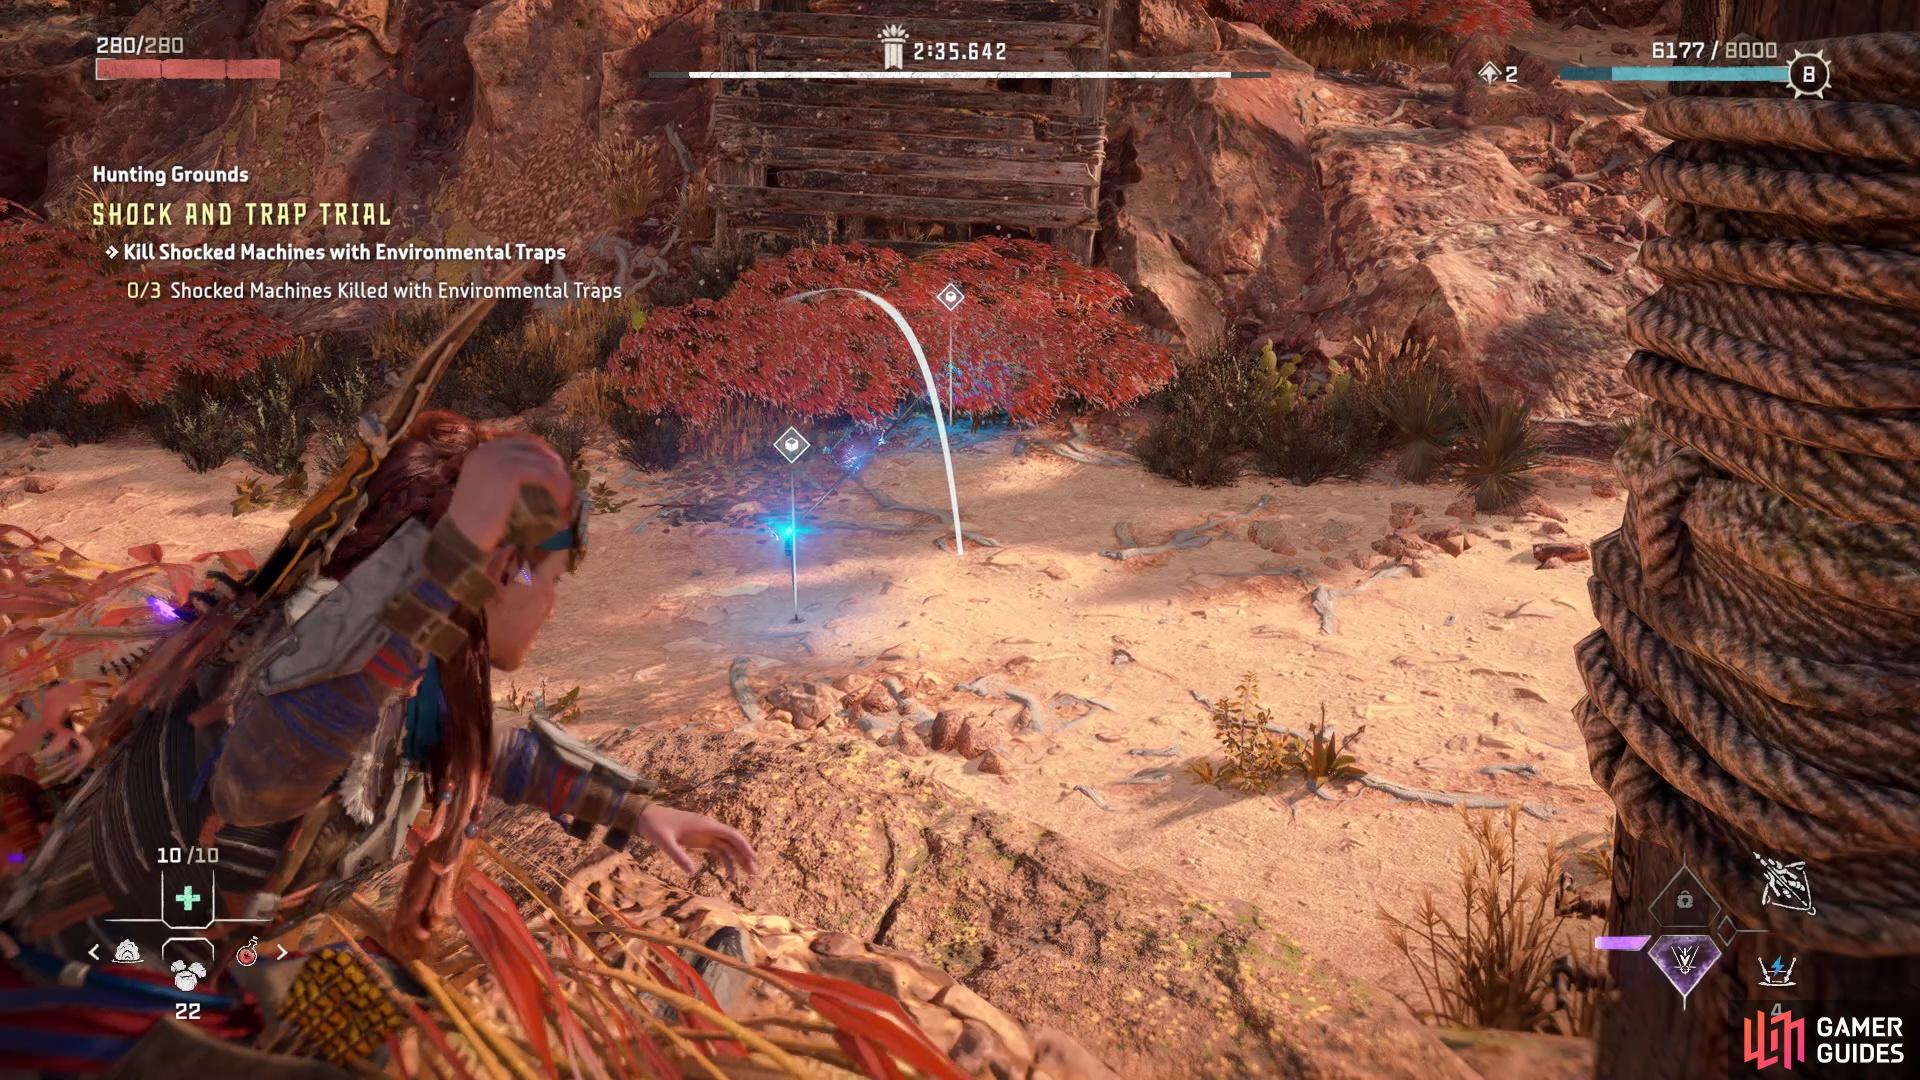
Use Rocks to lure the machines to the traps and tripwires
Now that you know what to do, your goal is to kill three machines using the environmental traps, while they are in the Shocked state. As soon as you begin, rush to slide down the rope at the beginning and set up a trap with the Shock Tripcaster straight ahead, in front of the log trap. If you’re quick enough, you should have the one Scrounger trip the trap, putting it into the Shocked state and be able to trigger the environmental trap to kill it. That’s the easy kill here, with the other two requiring some finesse. Since you need to do this in under three minutes to get the Full Stripes rank, then you will have to move fast. On the hill right behind the first kill, there is a boulder trap, as well as another log trap near that one, so that will be the goals.
If you have a good supply of Rocks, you can use those to lure the machines over to the traps, where you should have already put down the tripwires with the Tripcaster. Make sure you don’t accidentally set off the tripwires, as you can do that and waste your time. While being stealthy is the preferred way, since you don’t want to obviously die, it might be the easier option after the first kill to make your presence known. This allows you to have the Scroungers chase after you, making it so you can simply lure them into the tripwires you’ve set up beforehand. One reason for this is that using Rocks to lure them can take some time and that is not something you can waste here. A little tip to help things out is to not lay the tripwires directly underneath the environmental traps, but a little bit away to make sure the traps hit the machines.
No Comments