
Walkthrough for the Side Quest The Roots that Bind in Horizon Forbidden West.
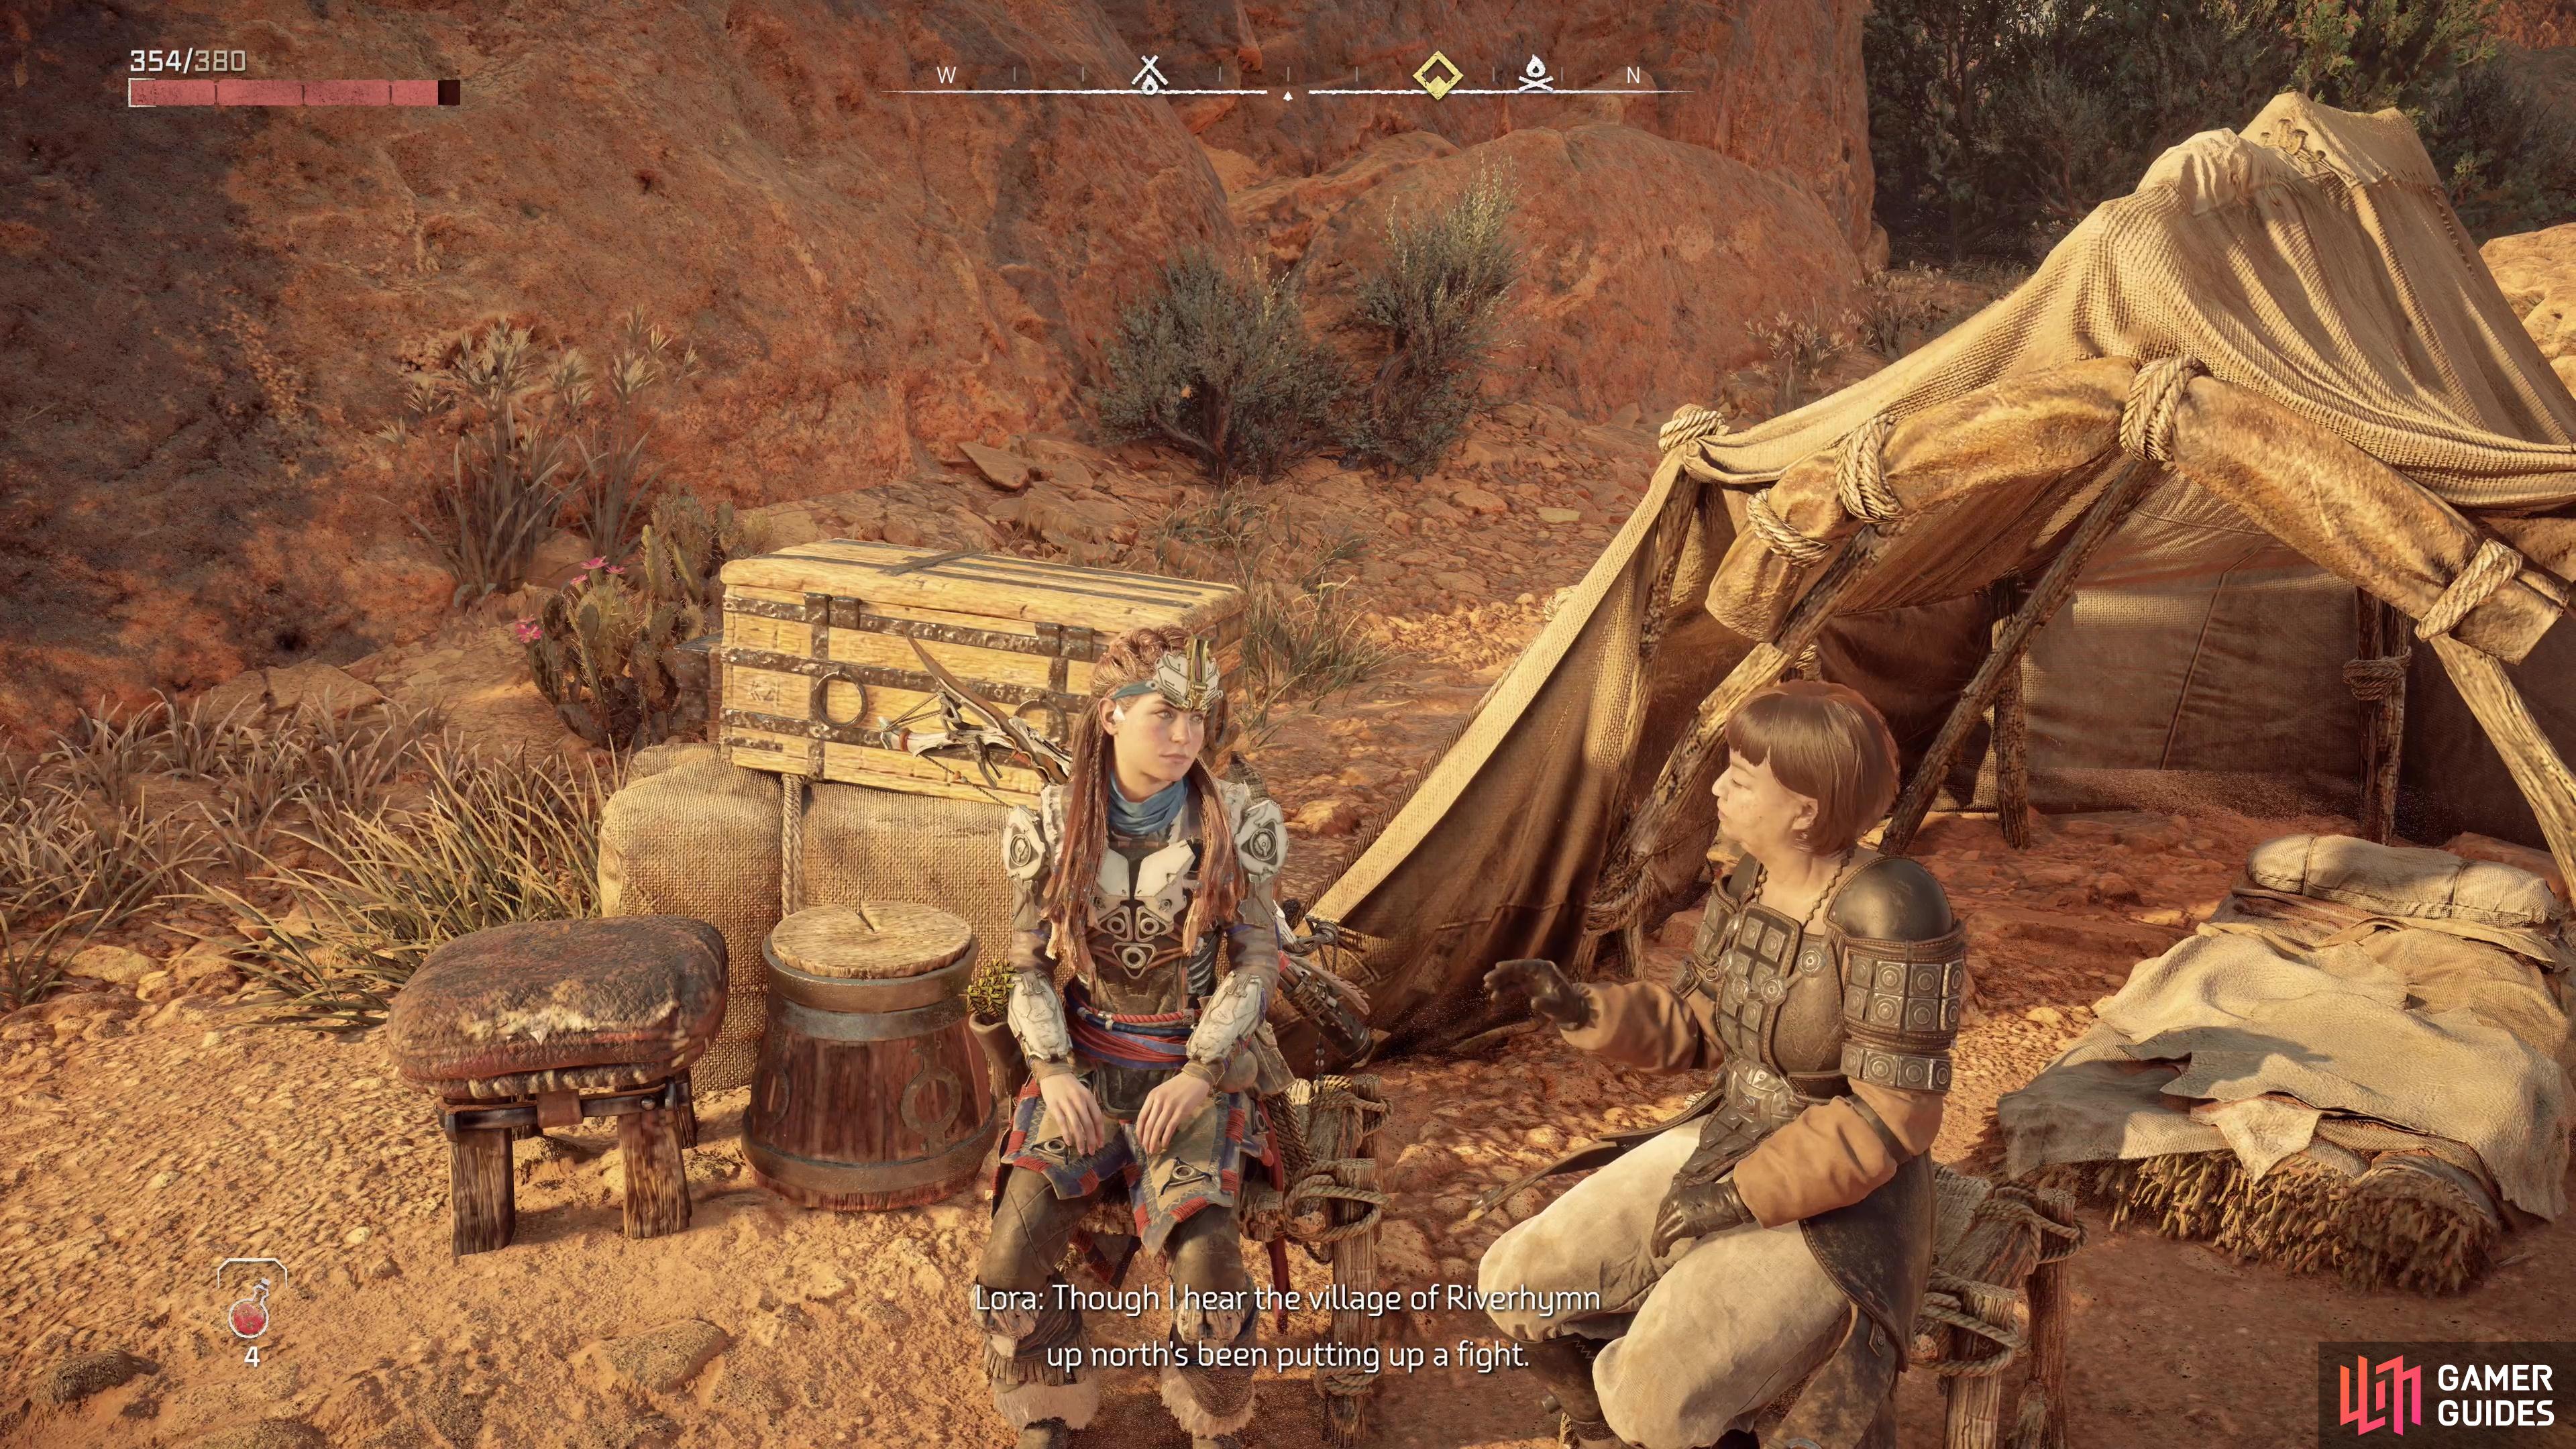
You can start “The Roots that Bind” by overhearing a rumor from Lora.
How to Start The Roots That Bind
To access this quest you’ll need to complete the main quest [The Embassy] to gain access to the Forbidden West beyond The Daunt, where this quest’s objective is located.
You can start this quest in two ways. First and perhaps most obvious, you can head to the northern end of Plainsong (due north of the actual city of Plainsong, in fact) to find the village of Riverhymn. The quest will start as you approach. Failing that, you can head to a Campfire northwest of Stone’s Echo and find a gossip named Lora sitting there. Talk to her and she should tell you a rumor which starts this side quest.
| Quest Giver | Starting Location | Prerequisite | Level | Rewards |
|---|---|---|---|---|
| None/Lora | Riverhymn | Complete [The Embassy] | 15 |
Travel to Riverhymn and you’ll find the village under attack by some rebels.
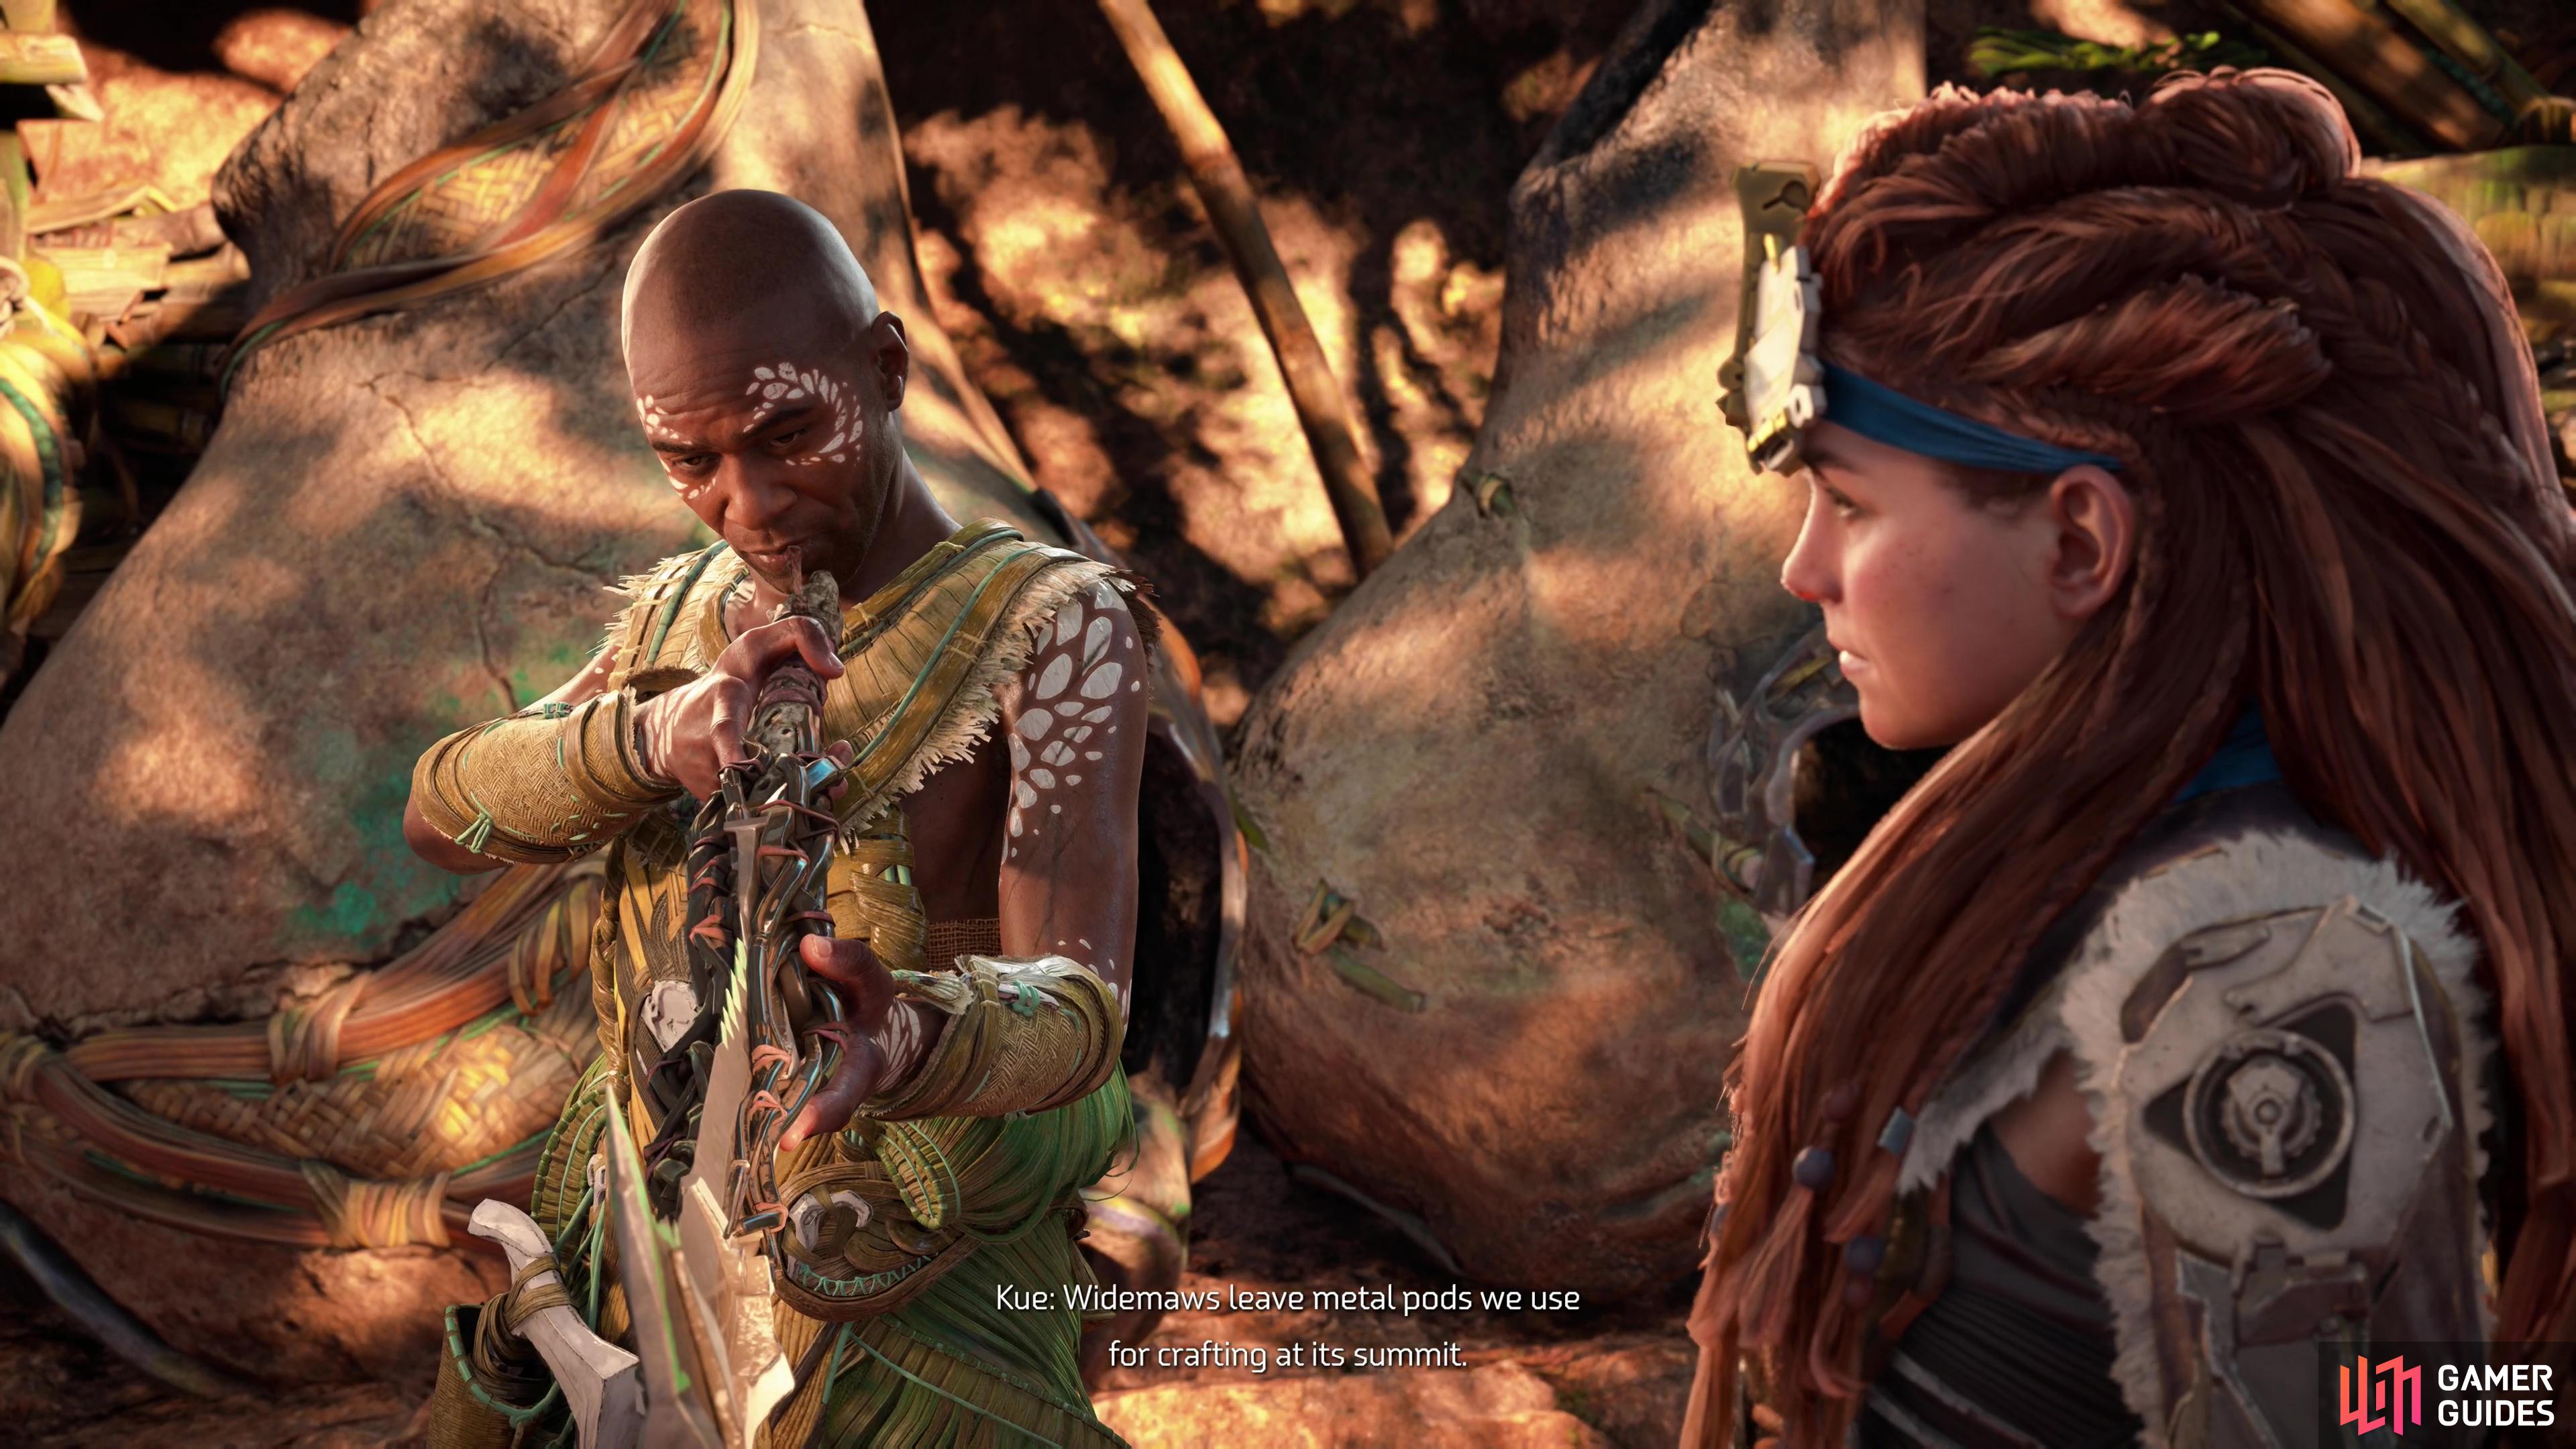
Assist the villagers and talk to Kue, one of the few villagers with any serious combat training.
Defeat the Rebels and Talk to Kue
Either way, you’ll have to make your way up to Riverhymn to progress the quest. When you arrive you’ll find the place under attack by some rebels. Help the villagers defeat the rebels, after which a based man named Kue will request a word with you. Follow him into and through Riverhymn and when he’s done walking, start talking. Exhaust Kue’s dialog options, follow him east, talk to him again, then you’ll finally be ready to continue on.
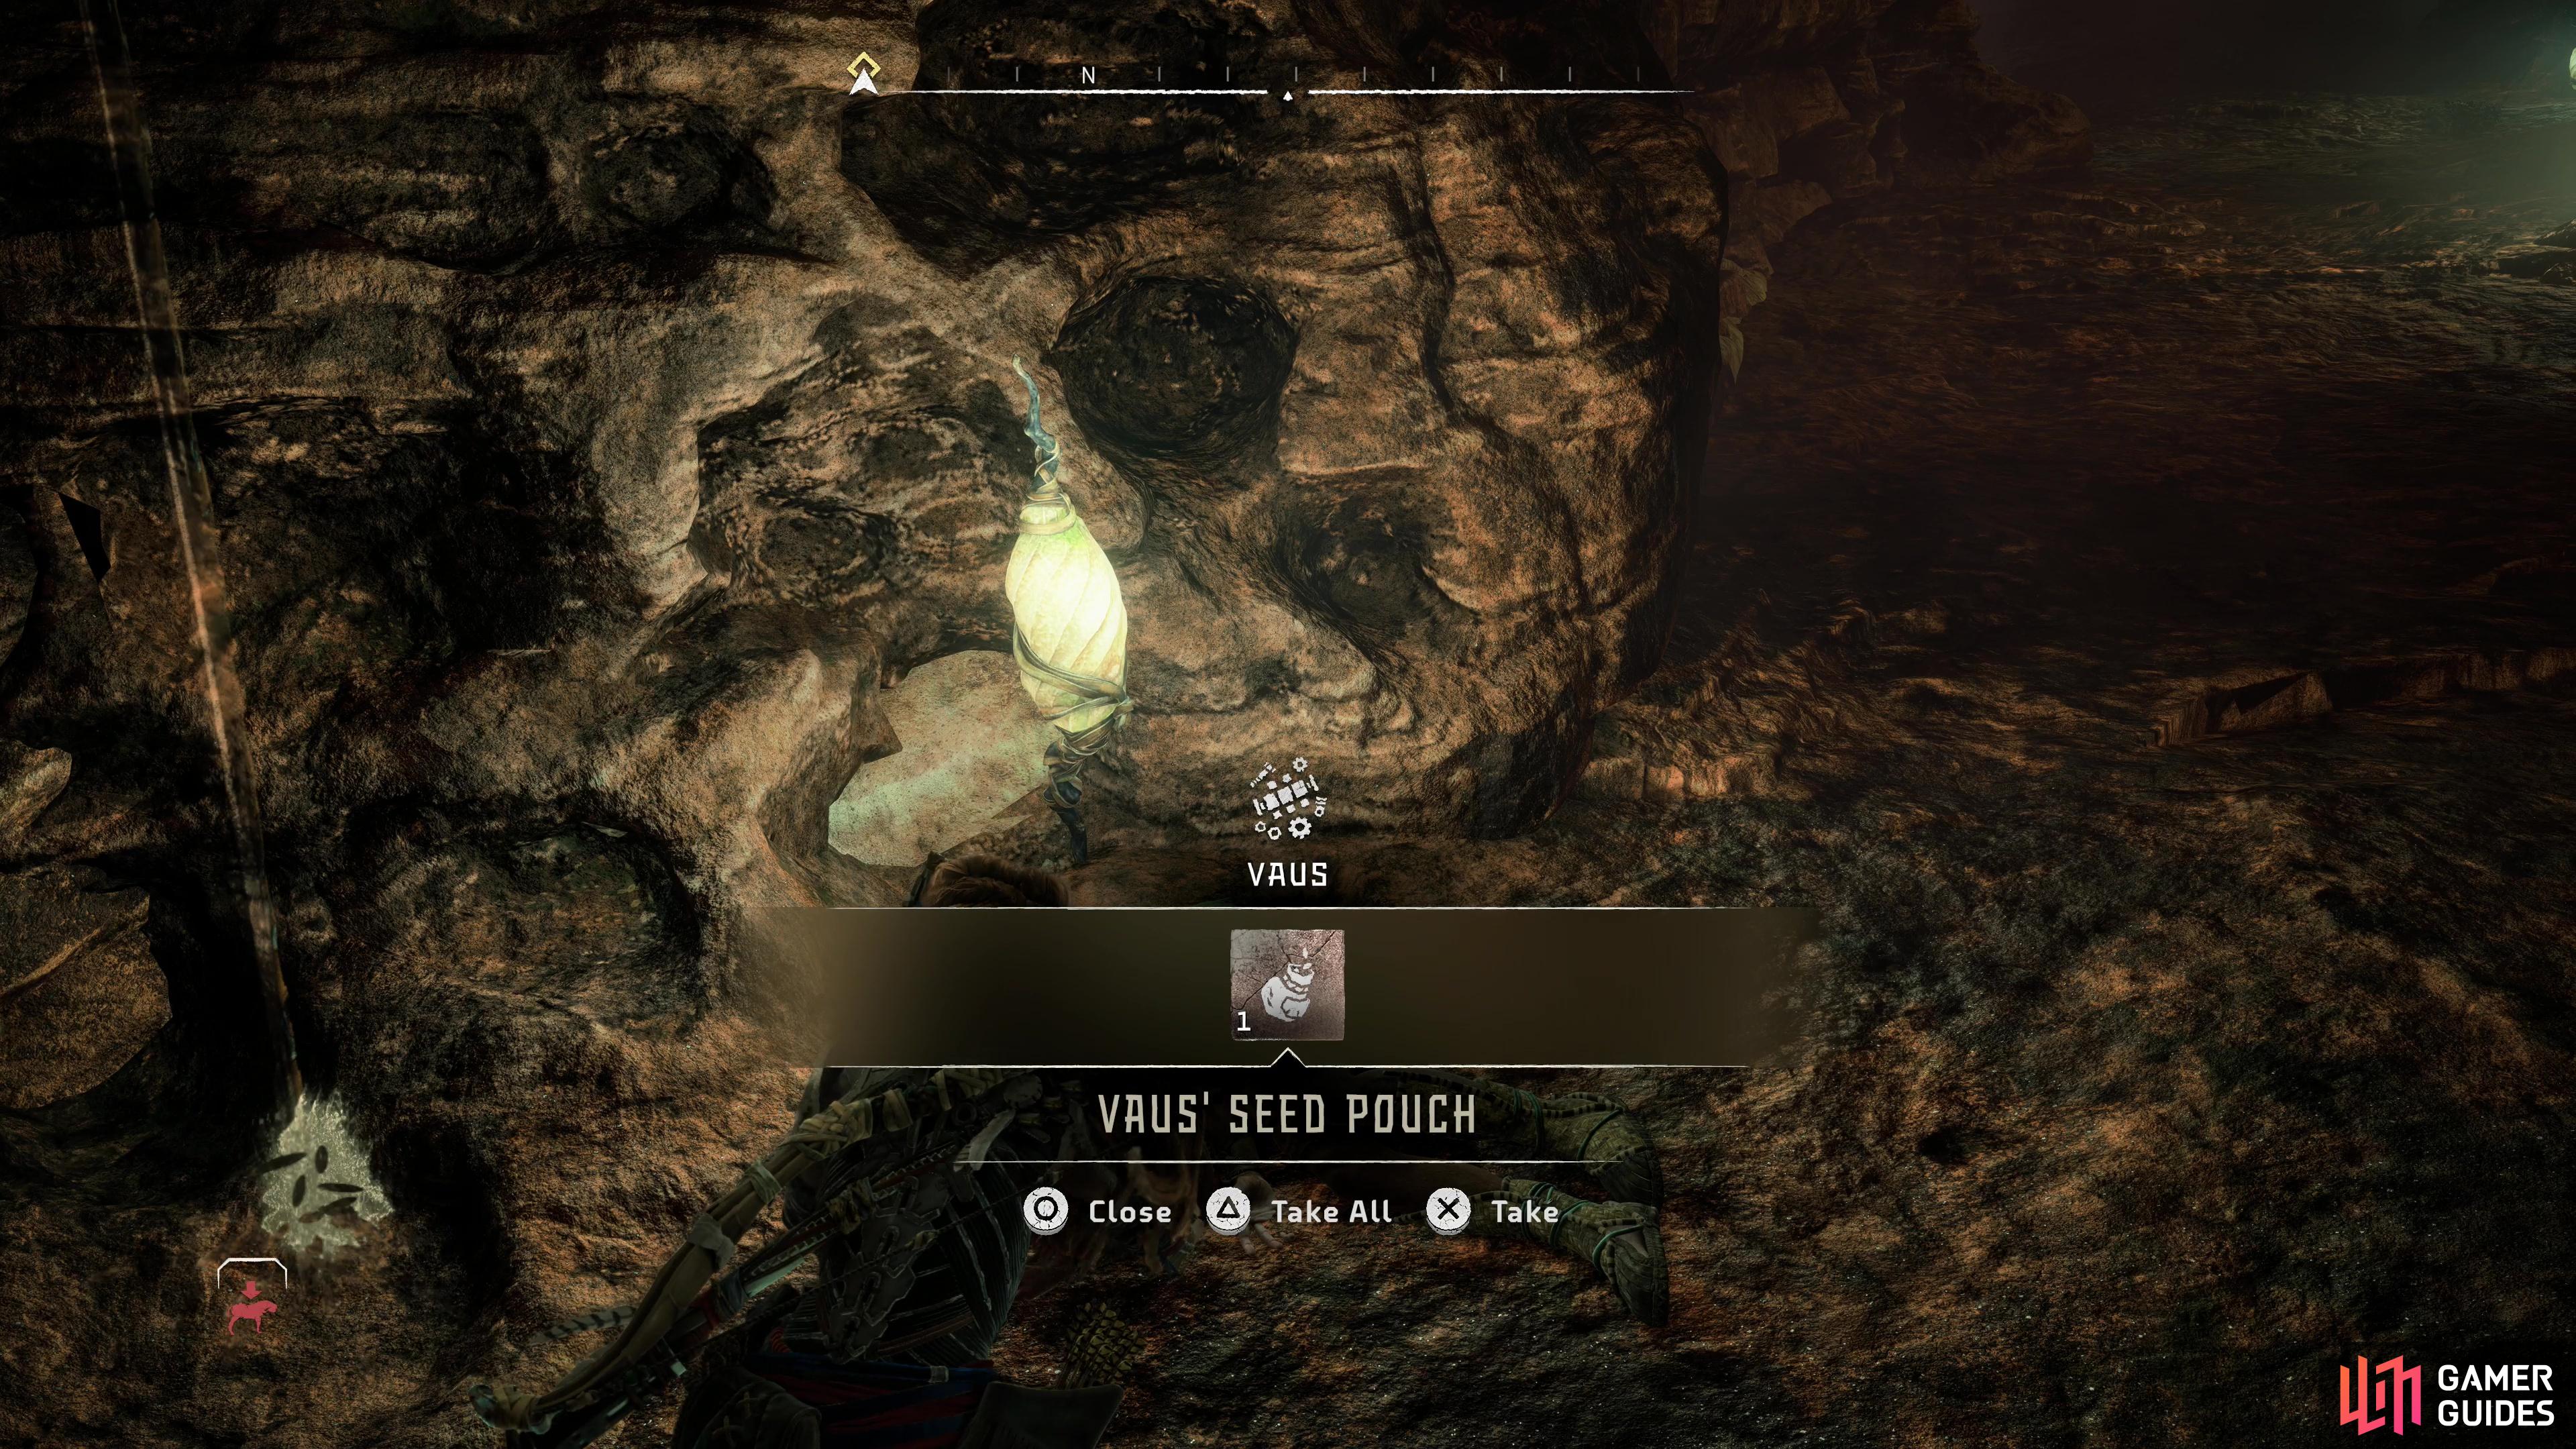
When you find Vaus’ corpse, pick up his Seed Pouch,
then defeat two Tracker Burrowers ahead.
How to Reach the Top of the Drumroot
Walk and climb your way up the linear path until you enter a large cavern with a pool of water in it. Jump into the surprisingly deep water and swim east, then turn south and dive, swimming through an underground passage. When you surface, search Vaus body and take Vaus’ Seed Pouch, then press forward to the northeast.
In the chamber ahead you’ll find a pair of Tracker Burrowers, which, of course, are more powerful Burrower variants. Destroy them, climb a rock in the chamber they guarded, and use it to reach a ledge to the east. Follow the circular ledge and when you reach a gap, jump and glide across it to reach another ledge, then continue uphill to the north and drop down a hole.
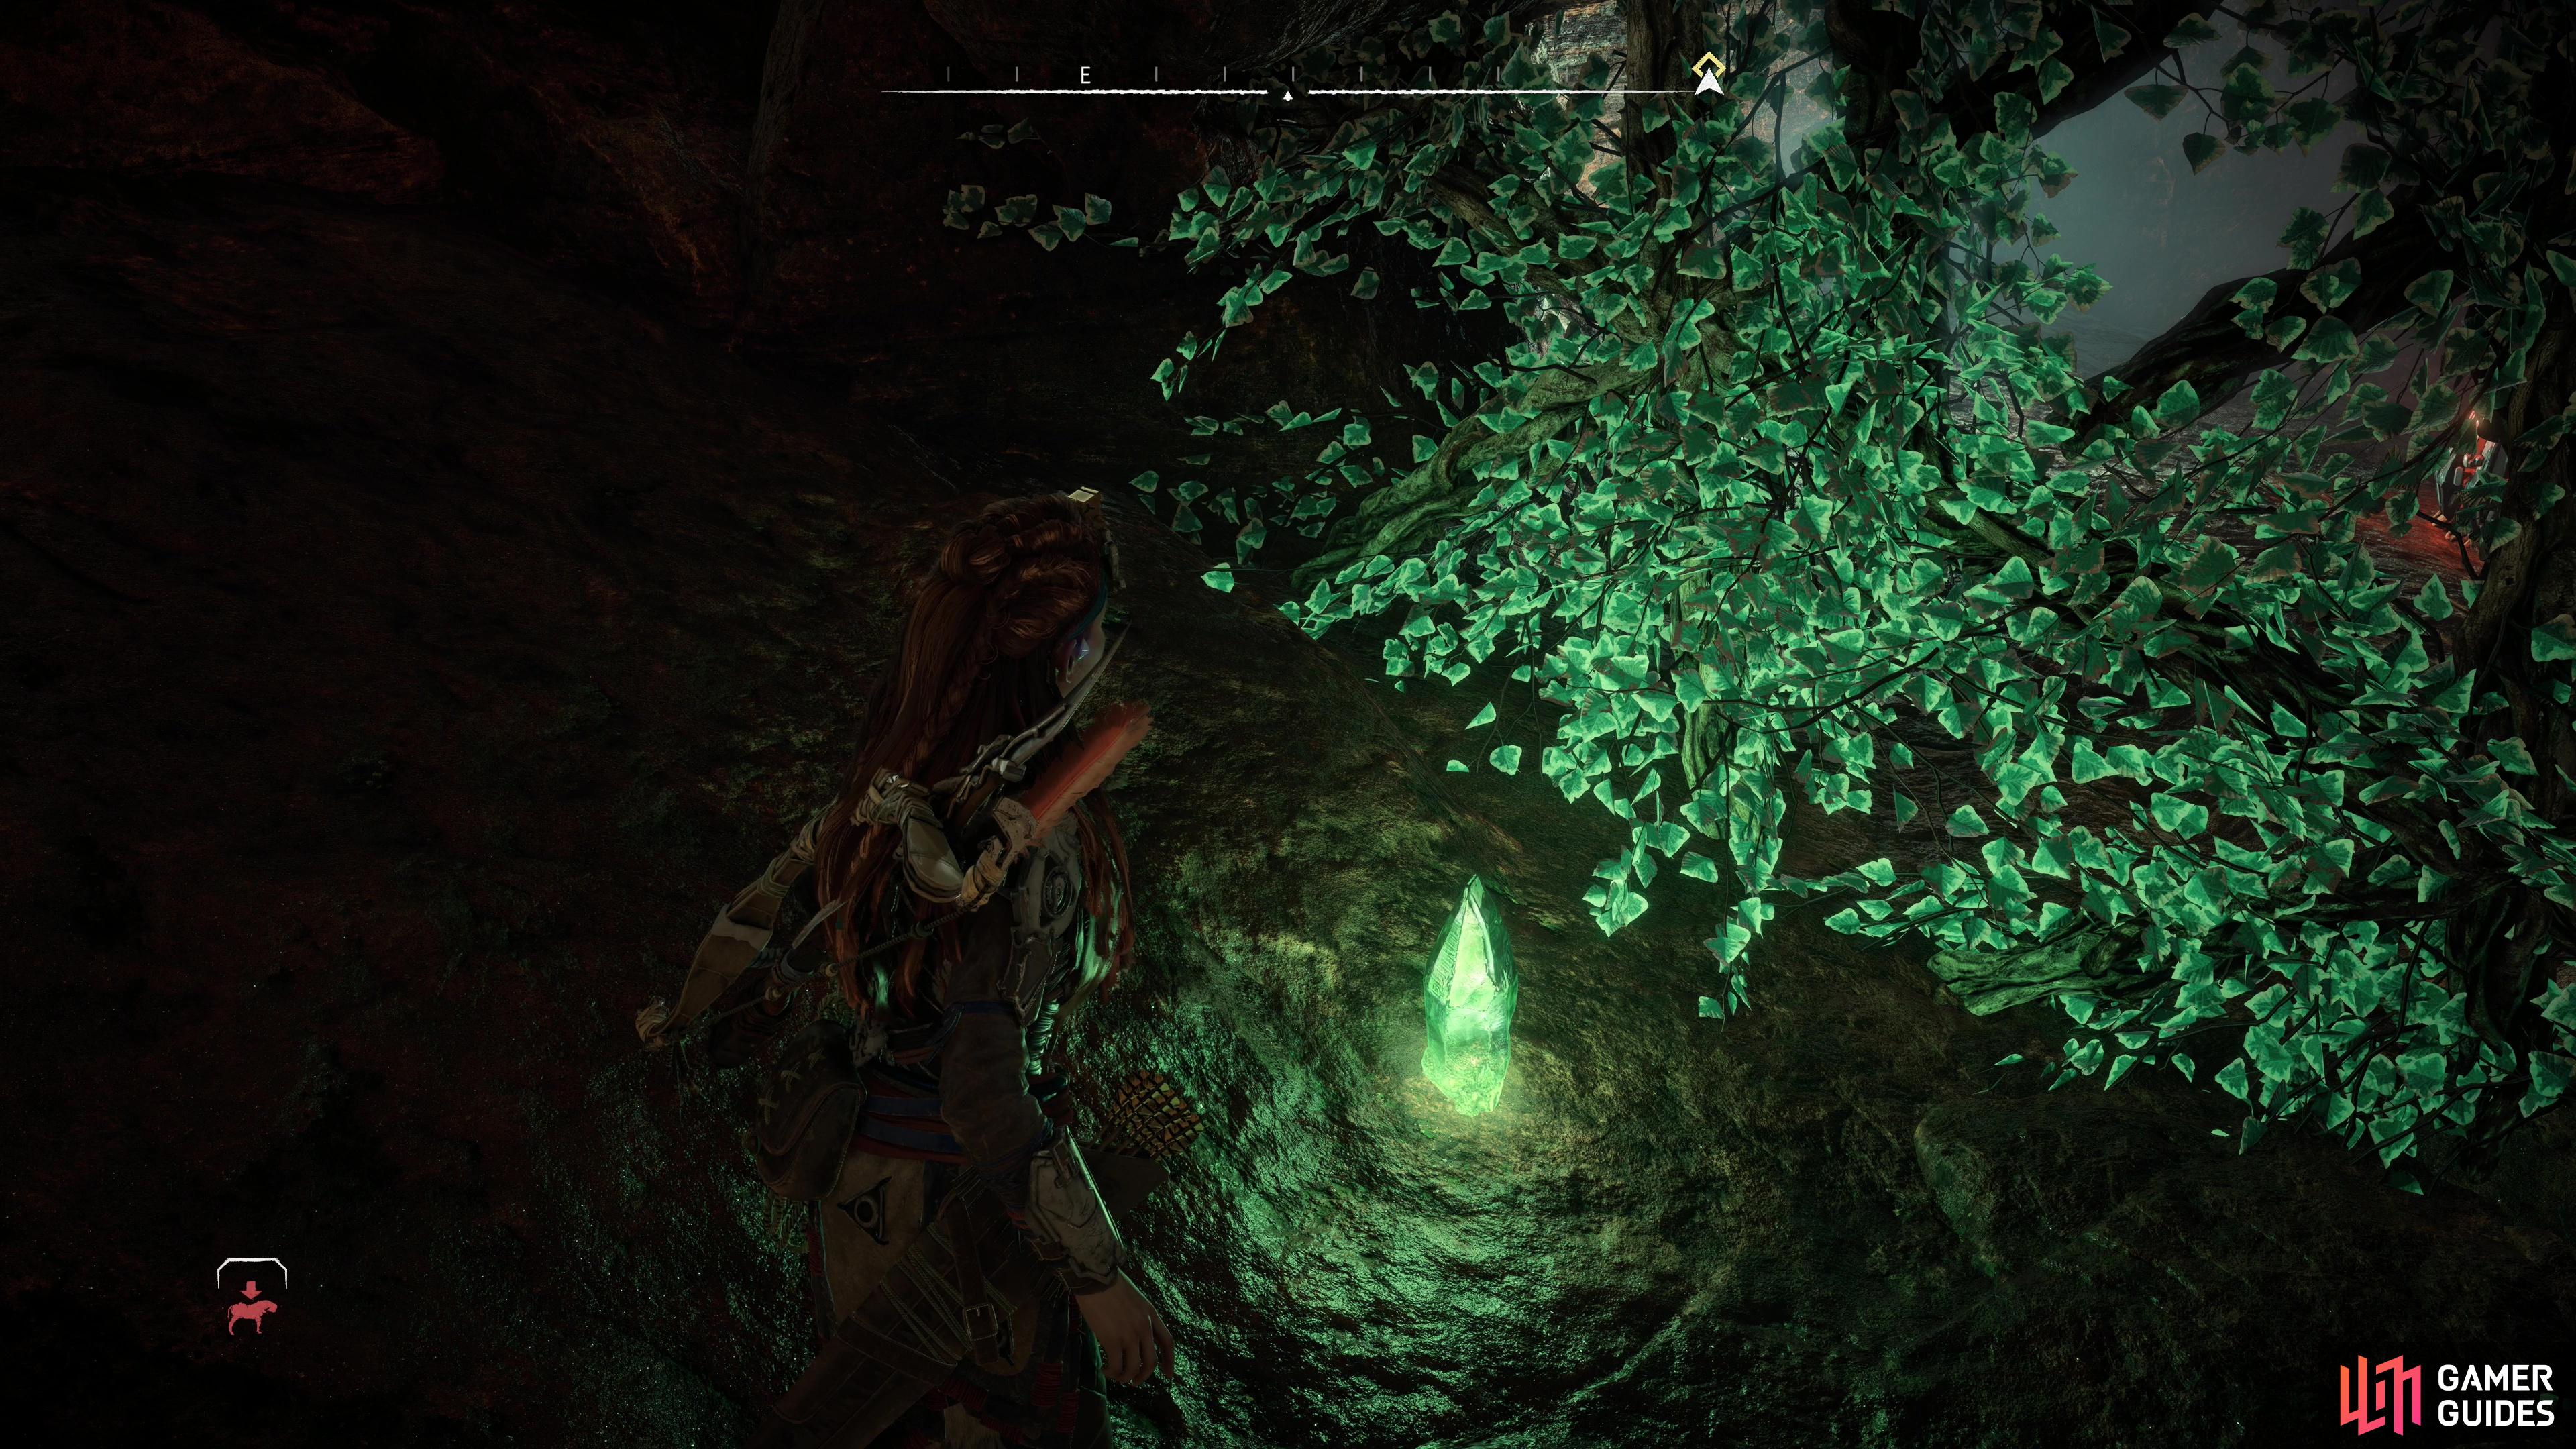
Follow the path ahead and when you reach a fork, turn left (southeast) to find a Greenshine Sliver, then backtrack to the fork and continue on to the southwest to find yourself back in the large entry chamber with a pool of water at the bottom… albeit higher up than you could previously reach.
Advance and kick down a ladder to the left, then continue forward until you reach a dead-end, where you’ll find a cliff you can climb to the right, should you want to score a bonus cache. Return to the ladder and look southwest to spot a ledge below you with a cache on it. Jump and glide over there, loot the cache, climb back up the ladder, then jump onto the stone pillar to the south, which you can climb.
Climb up and to the left and when you reach a ledge, drop down to the west to score another bonus cache, then return to the ledge and jump and glide onto a rock to the south. From atop this rock look up and to the west to find a grapple point. Jump over to it and grapple up, head northwest along this ledge and climb the northwestern wall, maneuvering right and up.
When you reach another ledge to the north, make your way onto some planks to the east and jump over to a distant rock. Get a running start and jump over towards a grapple point to the east and grapple up. Once you’re on solid ground again, continue north to find another cache, then return to the grapple point, turn southeast, climb the wall, and sidle your way to the right and up.
(1 of 3) Stealthily dispatch some Burrowers to make the task of harvesting Metal Pods easier.
How to Harvest Widemaw Metal Pods
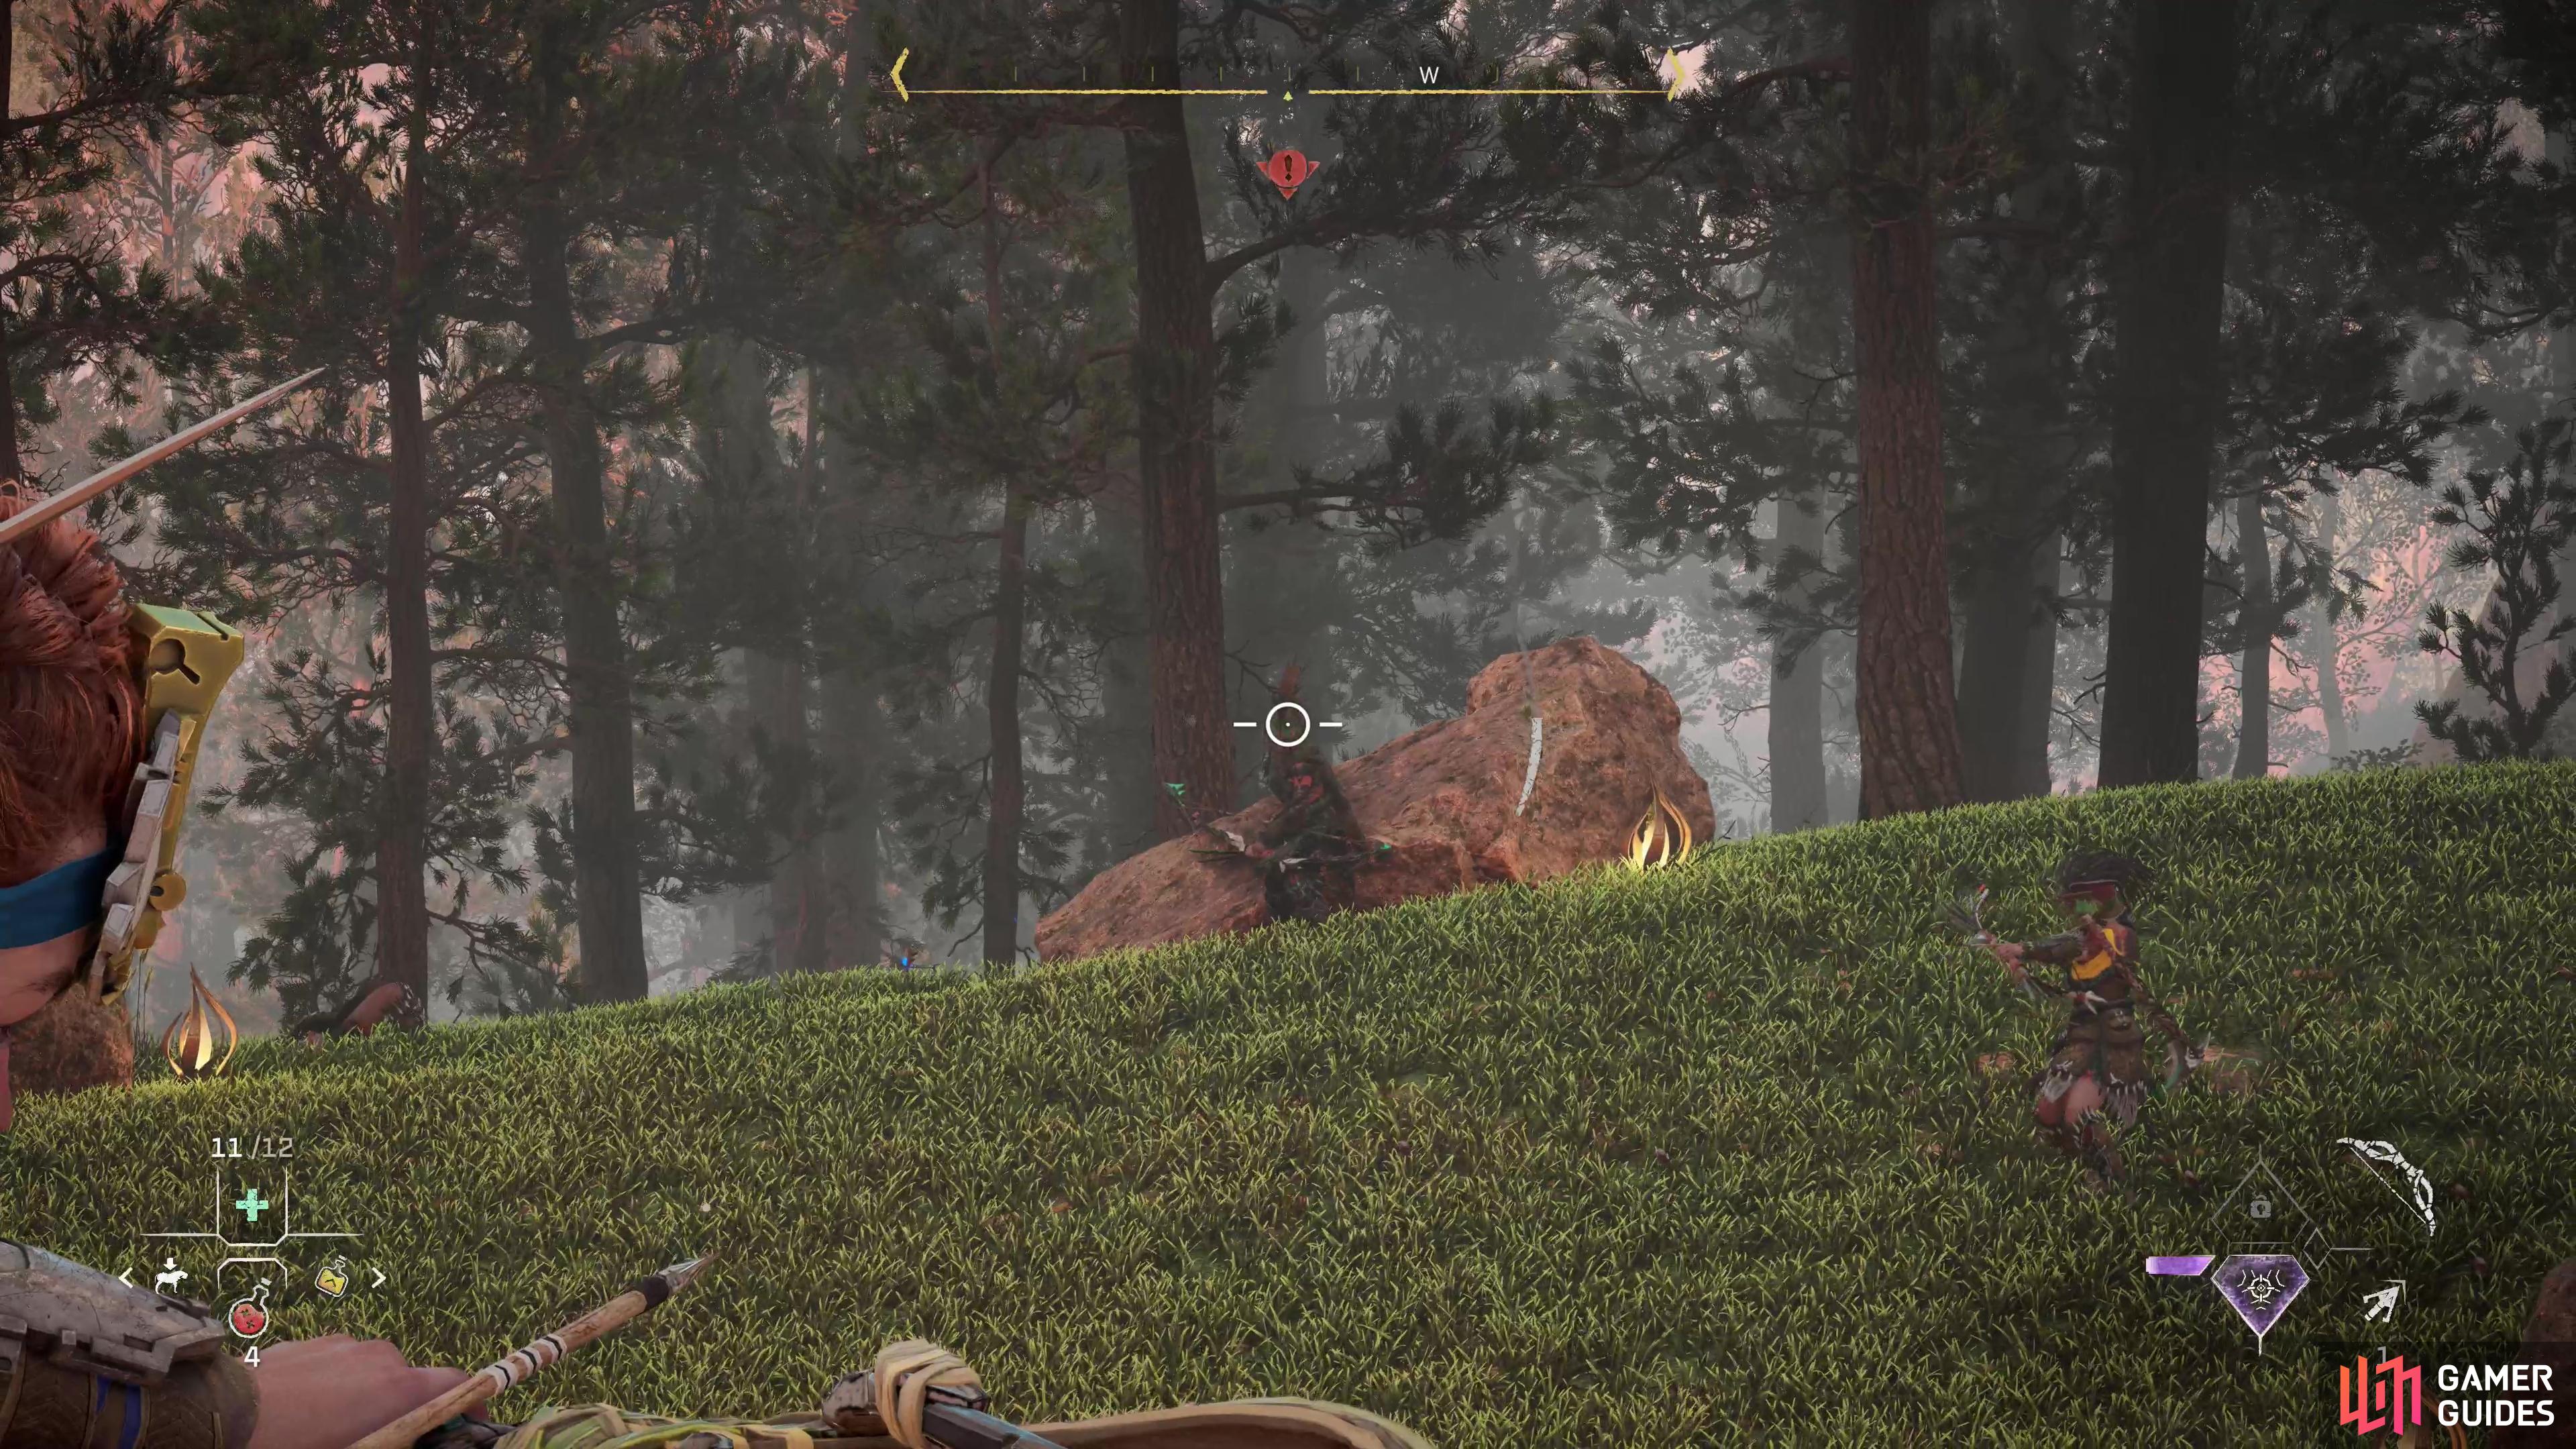
From where you surface, head south and you’ll find yourself on a ledge overlooking some watery lowlands. To the south and southwest amble some [Widemaws], which are attended by a handful of Burrowers. If you watch the machine hippos tromp about, you should see them expel canisters regularly - these are the Metal Pods that Kue wants. Fortunately you don’t need to fight to get them, in fact, killing the Widemaws is counterproductive to this goal - if they’re dead, they’re not producing. The pods will only last a few moments on the ground before they successfully carry out their function and vanish, however, so you’ll need to be quick about it.
While the Widemaws should be left unmolested (if you provoke them, flee back into the hole you climbed out of and wait for the heat to die down), the Burrowers are another matter. These nuisance machines make your task more difficult just by their very presence. Scan them, mark their routes and locations, hide in some grass their route takes them near, and stealthily take them out. Or, if you trust your aim and damage output, wait for them to start looking about and pop them in the eye.
Once the Burrowers are gone, just wait in some grass near a Widemaw’s route (again, scan and tag them to make this easier) and when they eject a Metal Pod near you, grab it. We found the southwestern Widemaw easier to exploit, as several of his pods per route lap landed very close to our hiding spot, making it a trivial matter to collect six pods.
Once you have the required amount of Metal Pods, you can just jump off the cliffs to the northwest and glide back to Riverhymn.
How to Defend Riverhymn
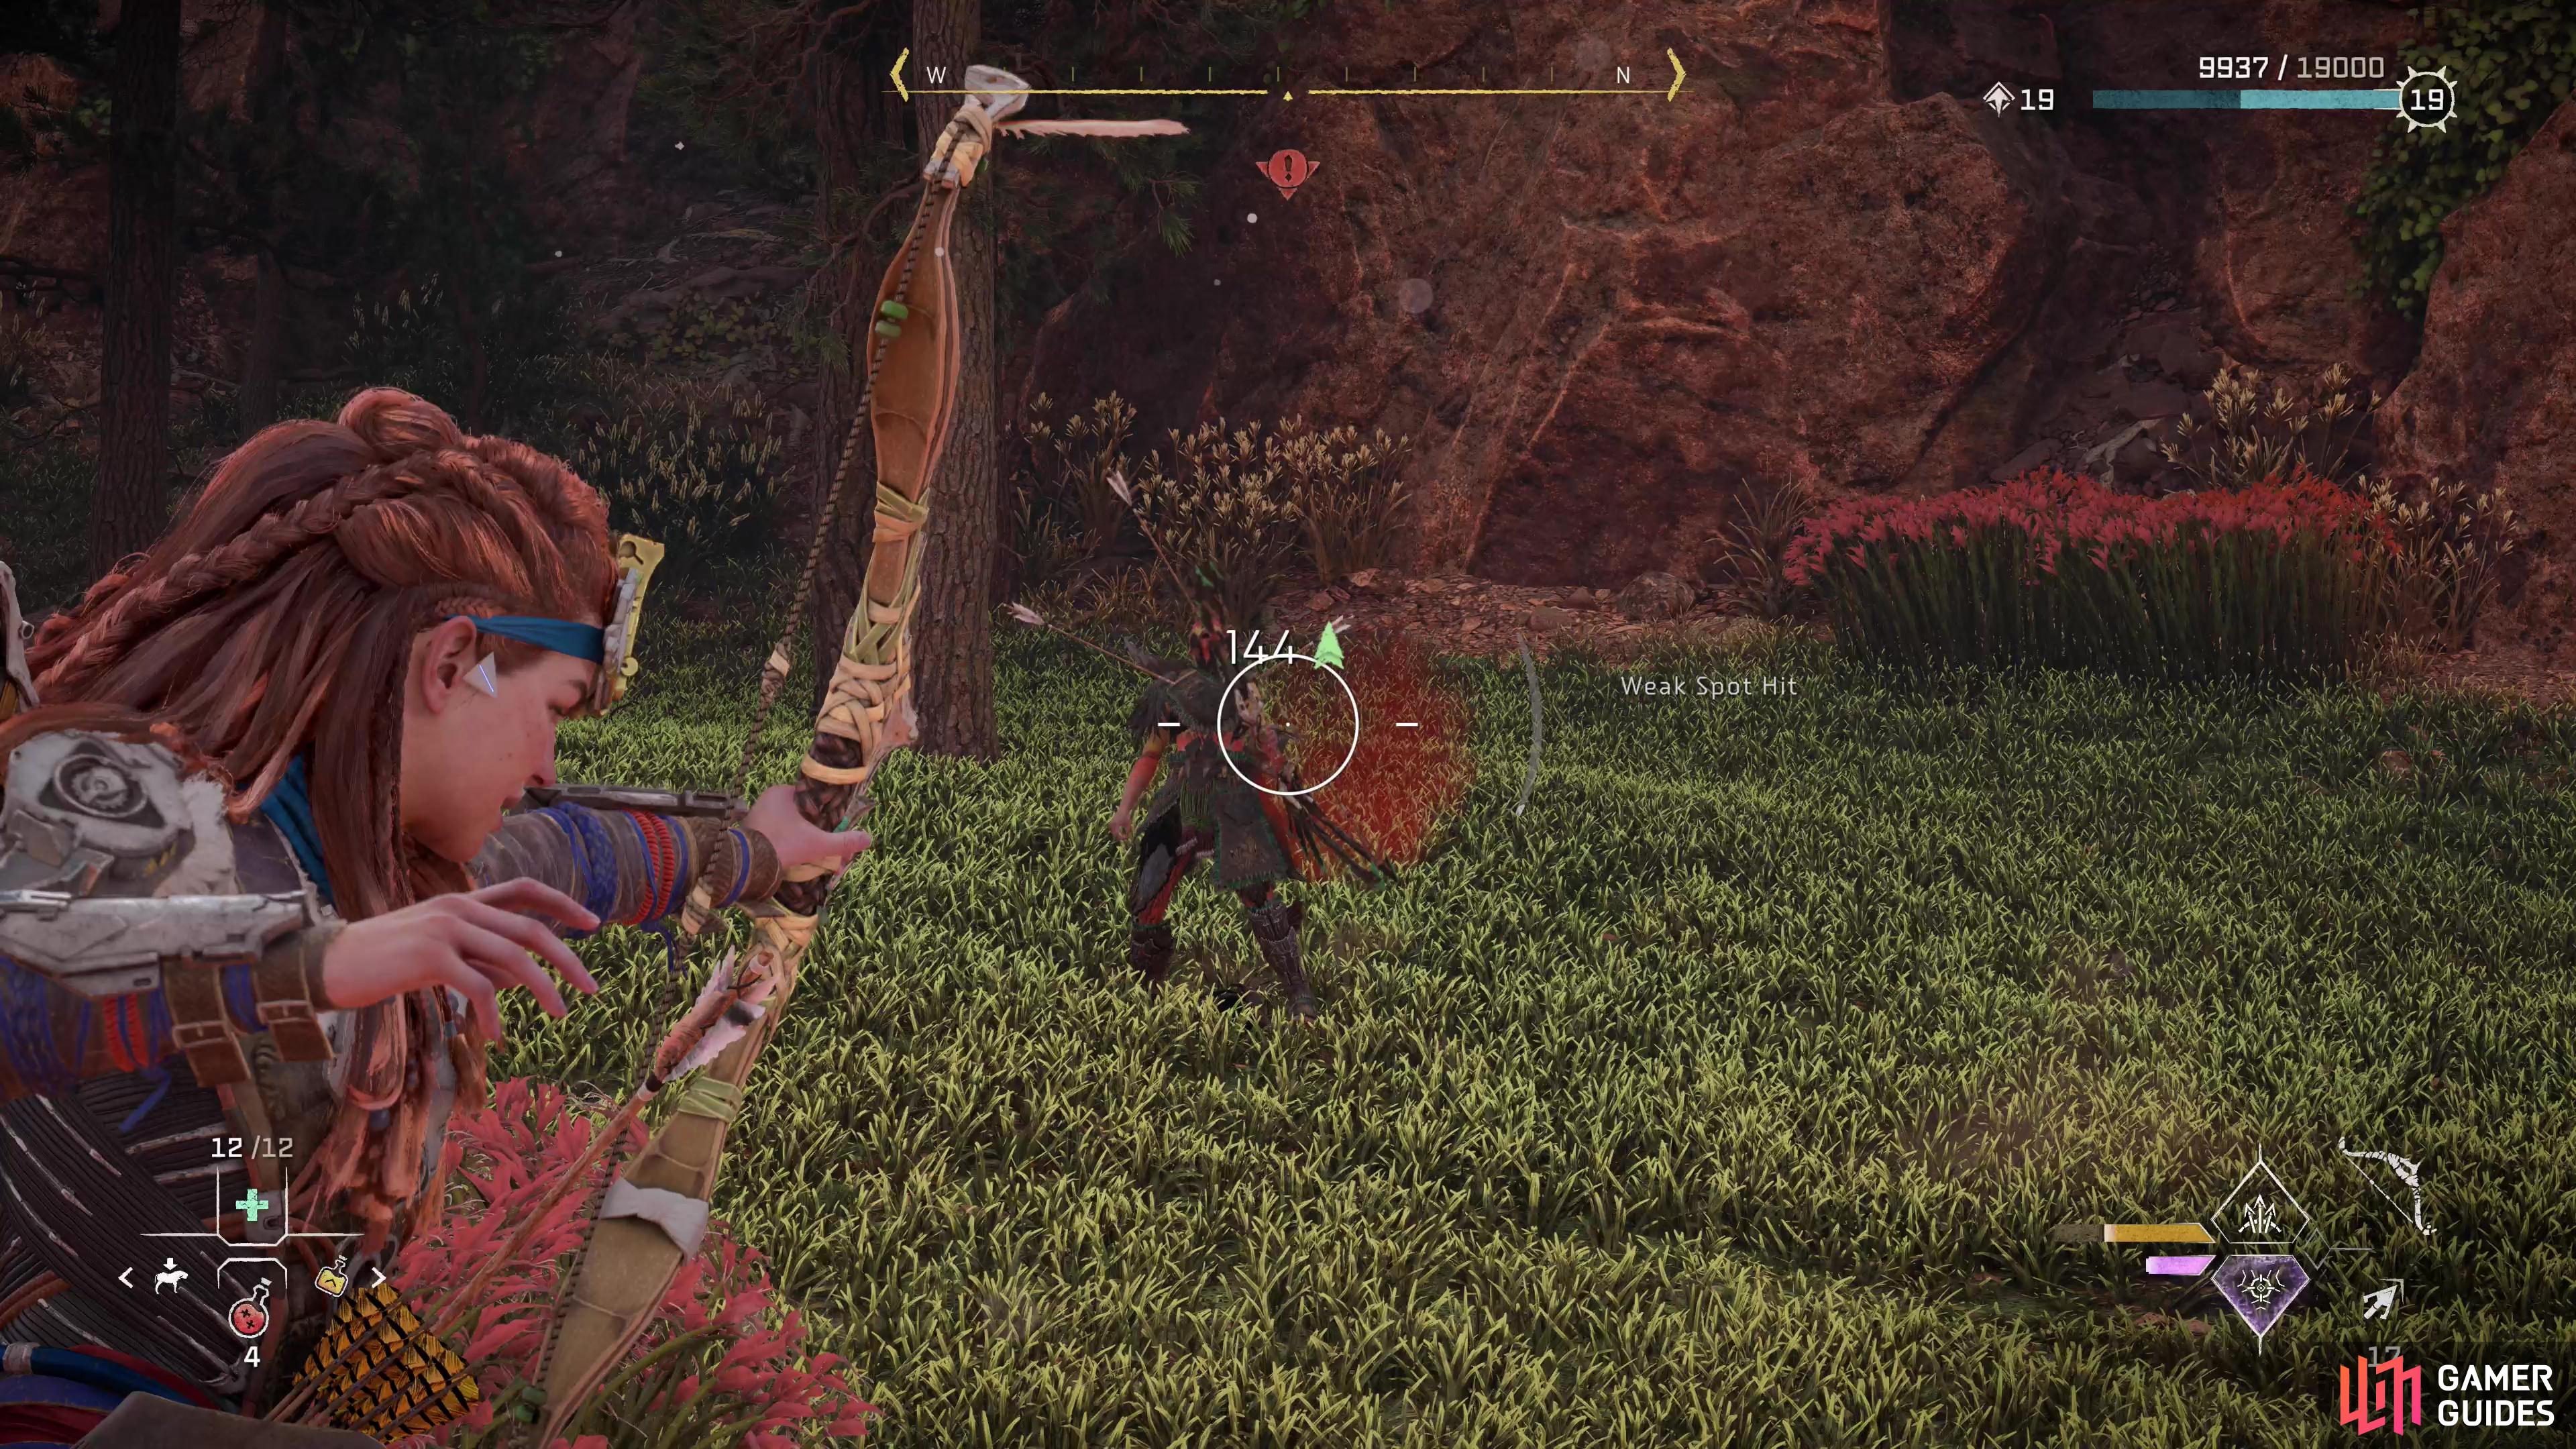
Talk to Kue and, predictably enough, it won’t be long before the rebels attack again. You’ll be transported to the front of Riverhymn, where some defenses have now been set up. They’re some paltry stockades, but they’ll protect you from direct fire, which is better than nothing. Your foes include a great number of rebels - they’re not just more numerous, but they’re more powerful, too, using superior weapons, having more health and making use of various abilities. For the first phase of the fight, stay behind cover and try to score headshots with a Sharpshot Bow. Even if you only soften some of your foes up, you’ll find your newly-equipped allies are more component this time around, making ample use of fire weaponry.
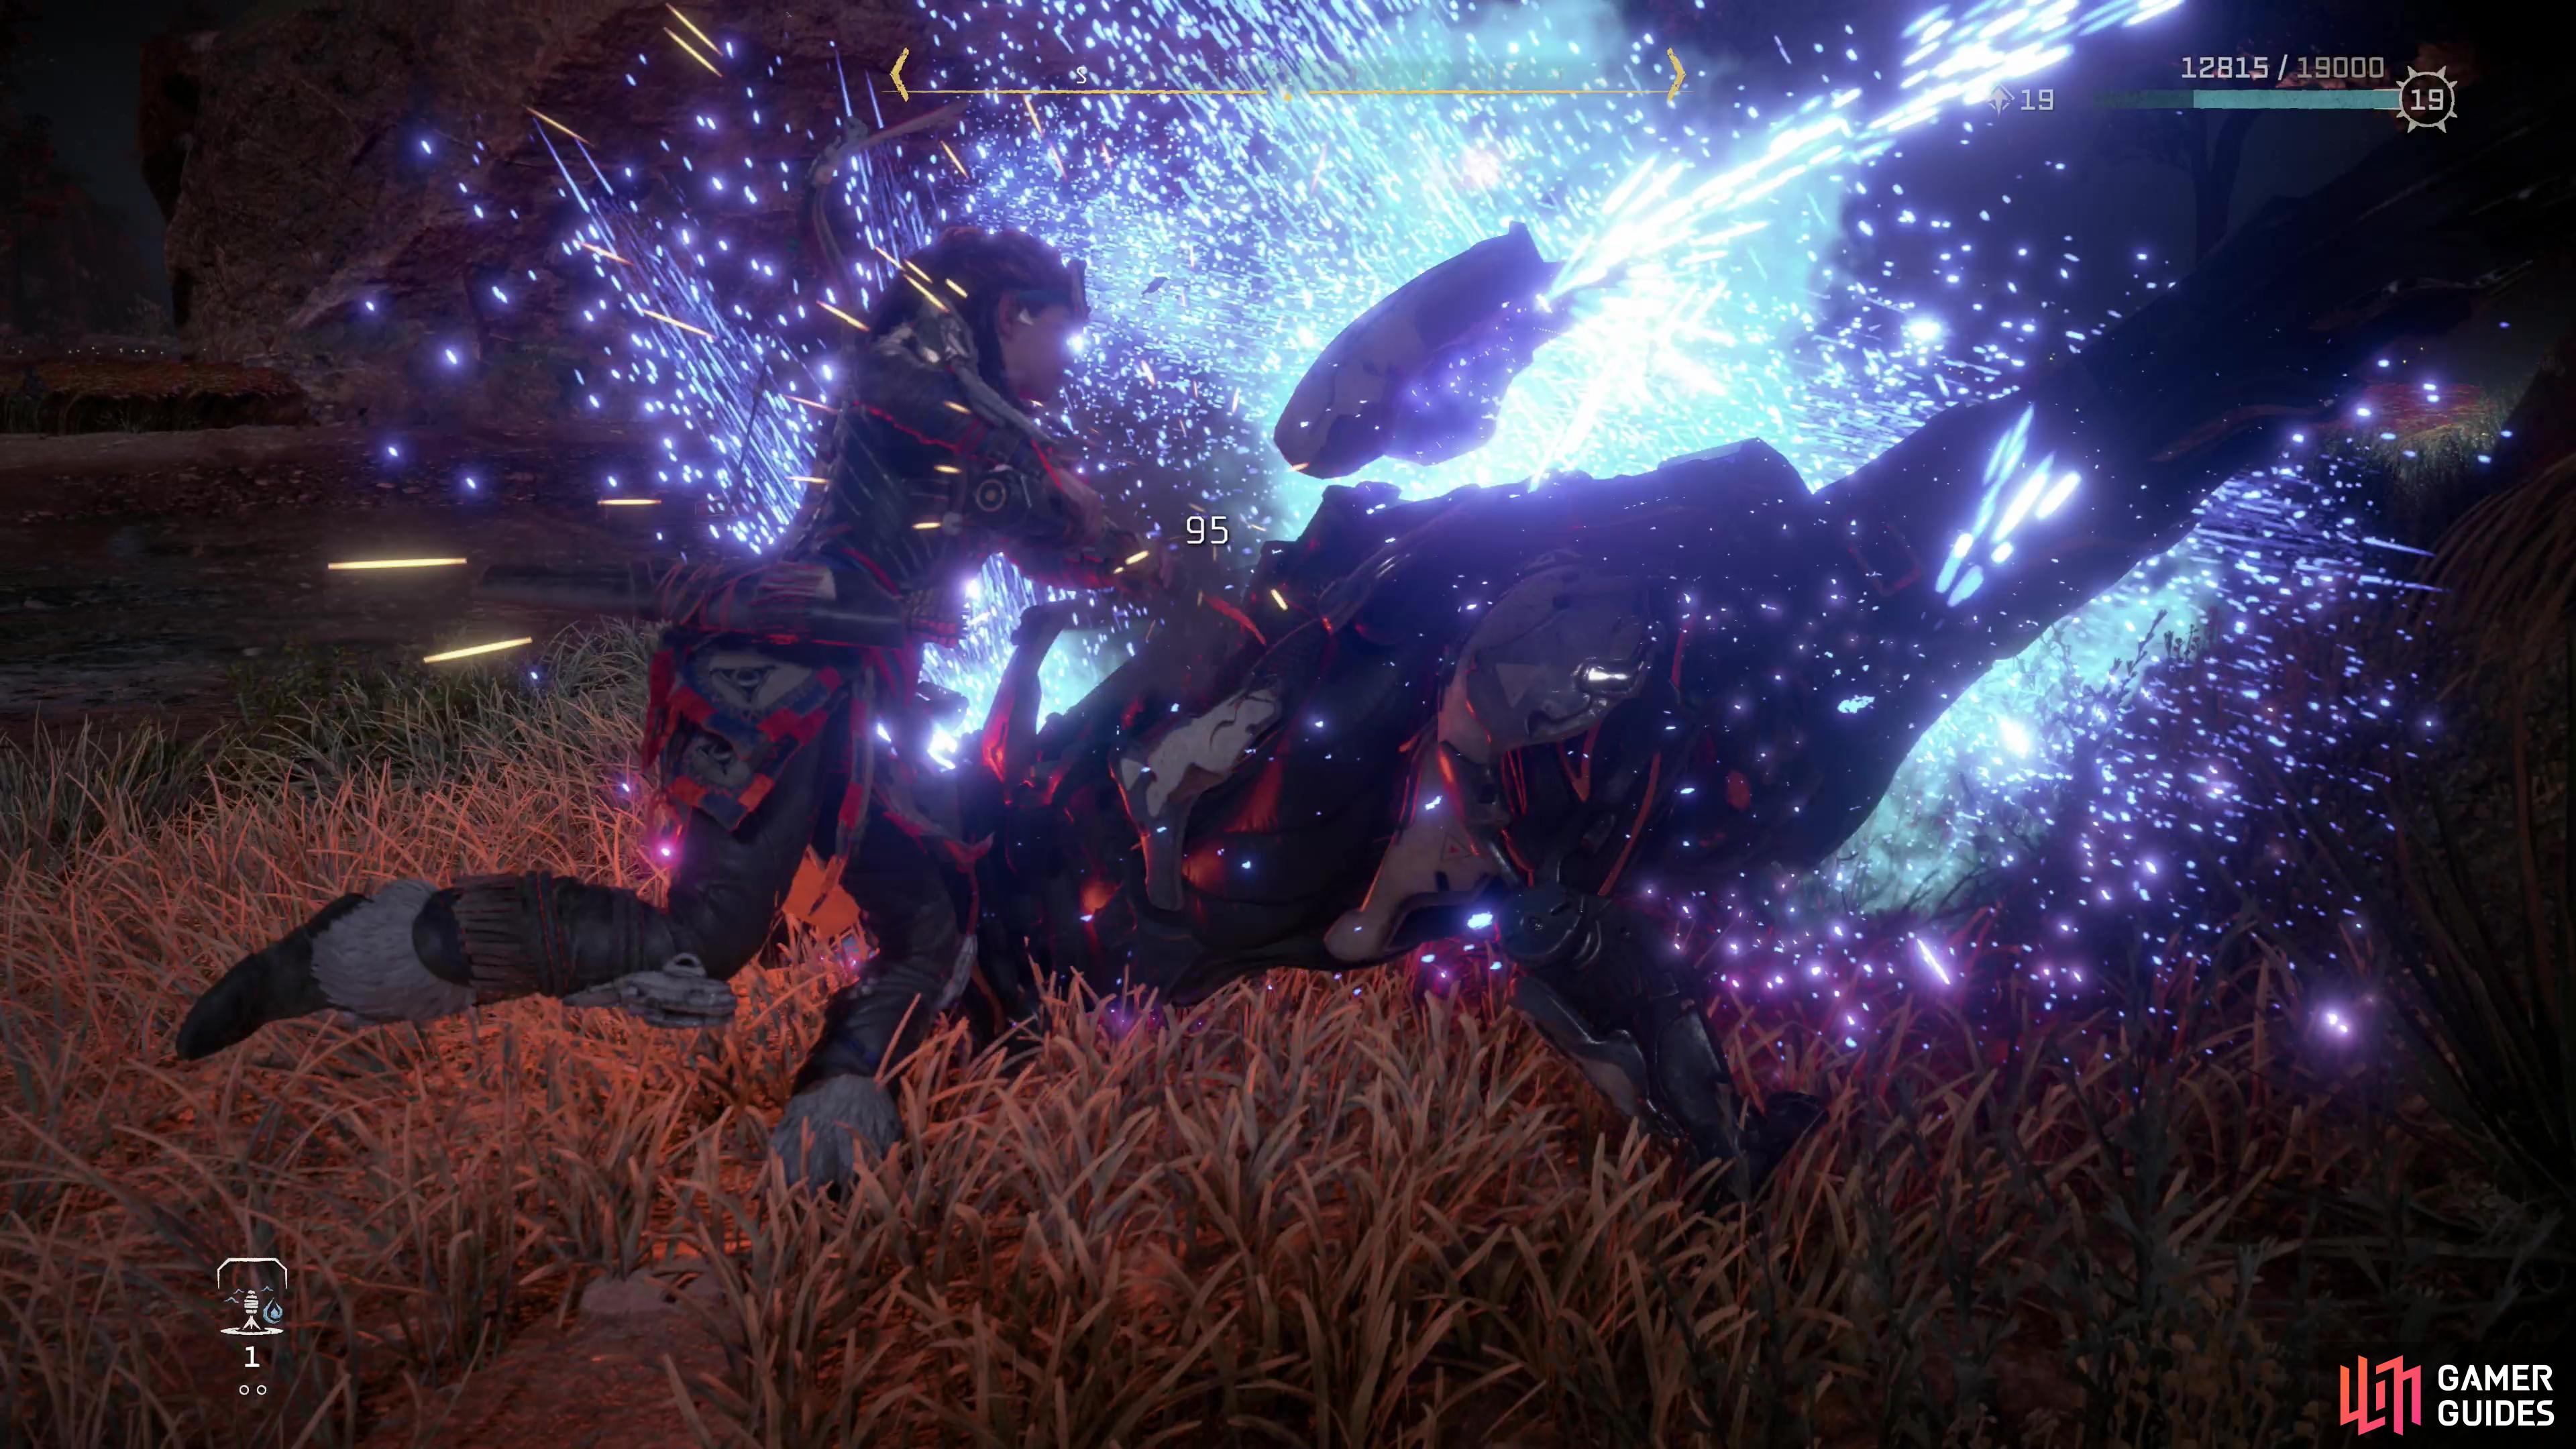
Kill rebels until the machines finally arrive, including two rebels mounted on Acid Bristlebacks and a [Clawstrider]. The Bristlebacks should, by now, hopefully be little more than mere fodder - aim at their Tusks and Acid Canisters and they should fall well before you run out of weakpoints to target.
The Clawstrider is a more dangerous foe, being considerably more durable, quick and aggressive. The Sparker on its stomach is a fine target, as is the Resource Container on its back (over its hips) and its Razor Tail. It’s weak to Shock Damage, so lay into it with that element and when it goes down, try to land a Critical Strike.
Defeat all the rebels and their pet machines and talk to Kue afterwards, who will reward you with Kue’s Sharpshot Bow. It’s relatively easy to upgrade and is certainly an upgrade over the generic Sharpshot Bow, although its range and speed are more akin to a Hunter Bow than your average Sharpshot Bow. The quest will end when your conversation with Kue is finished.
No Comments