
Walkthrough for the main quest, Faro’s Tomb, in Horizon Forbidden West, including how to get to Legacy’s Landfall and find Thebes.
In order to begin this main quest, you will need to have finish the following three main quests:
- The Broken Sky (and the follow up, The Kulrut)
- The Sea of Sands
- Seeds of the Past
Note that after completing one of the above, you will be forced into doing another main quest, called Cradle of Echoes. So, in total, you will need to finish a total of five other quests before Faro’s Tomb becomes available.
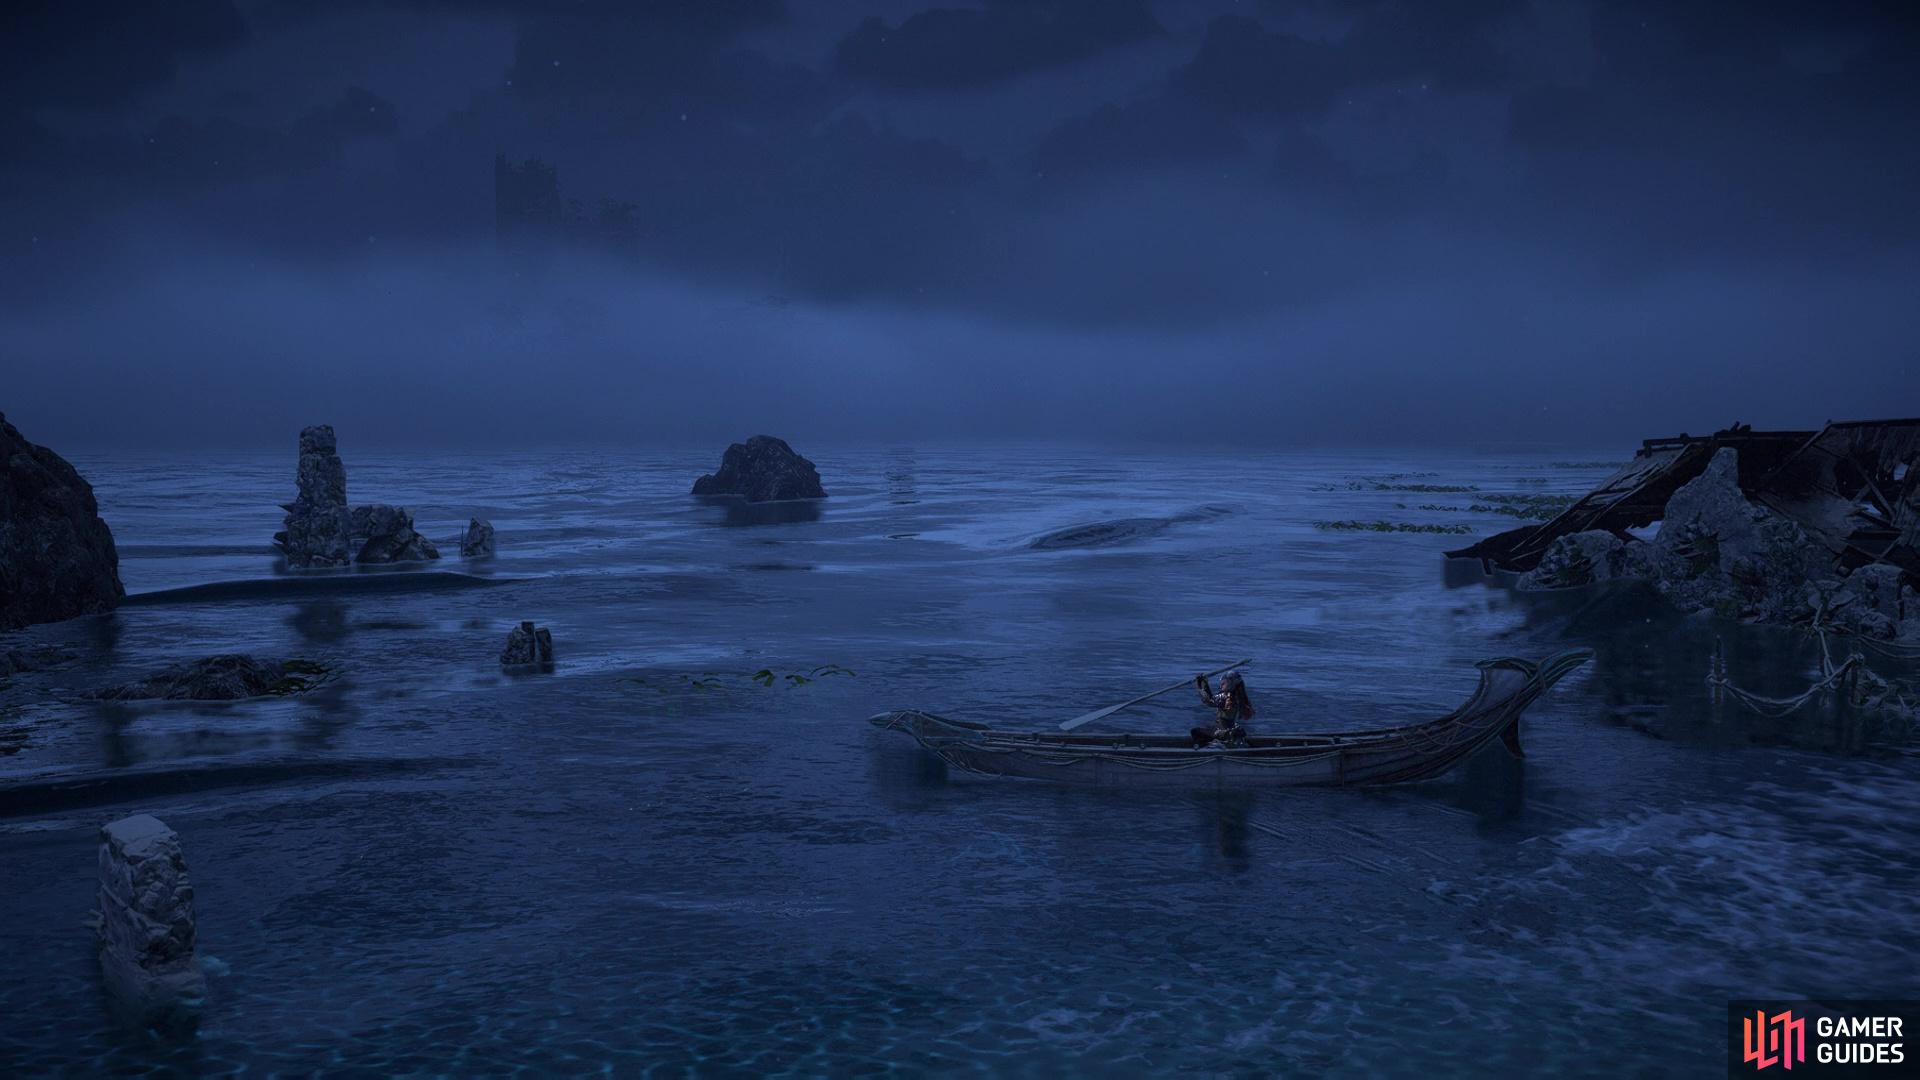
You will be taking a boat to reach the Isle of Spires
| Starting Location | Prerequisite | Level | Rewards |
|---|---|---|---|
| The Base | See above | 26 |
Finding Legacy’s Landfall
You now have DEMETER, POSEIDON and AETHER, so GAIA will now be able to absorb HEPHAESTUS, but there’s a slight problem with that. HEPHAESTUS is not in a centralized location, so they plan on drawing it to a specific spot to make things easier. Before you can do that, though, you will need better clearance, which comes in the form of Ted Faro’s Omega Clearance. That means you will be heading to the island to the west, which is the ruins of San Francisco. To begin, you will have to go to the western coast, so it’s a good idea to pass through some of the settlements, not just because it’s convenient, but you can check for new weapons and outfits/armors.
Be mindful of the Slaughterspine in the distance, if you’re coming from that direction
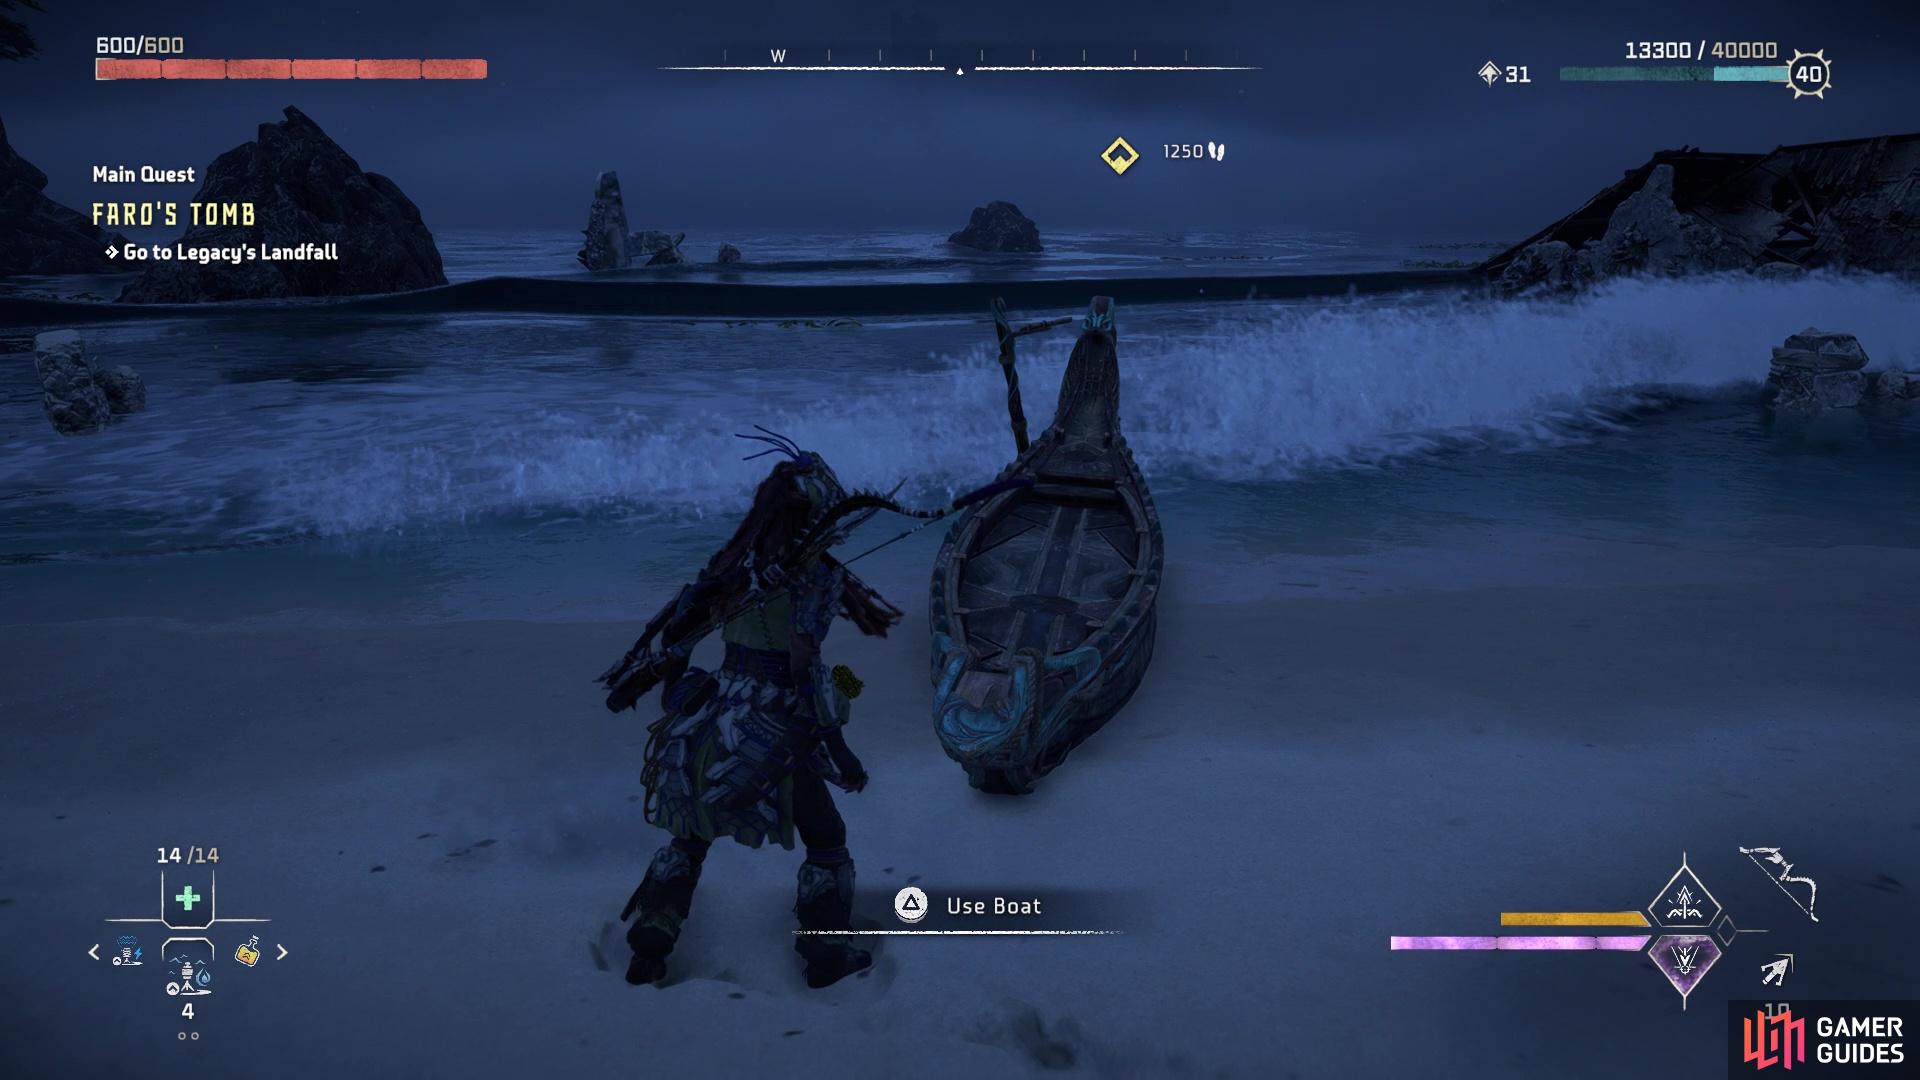
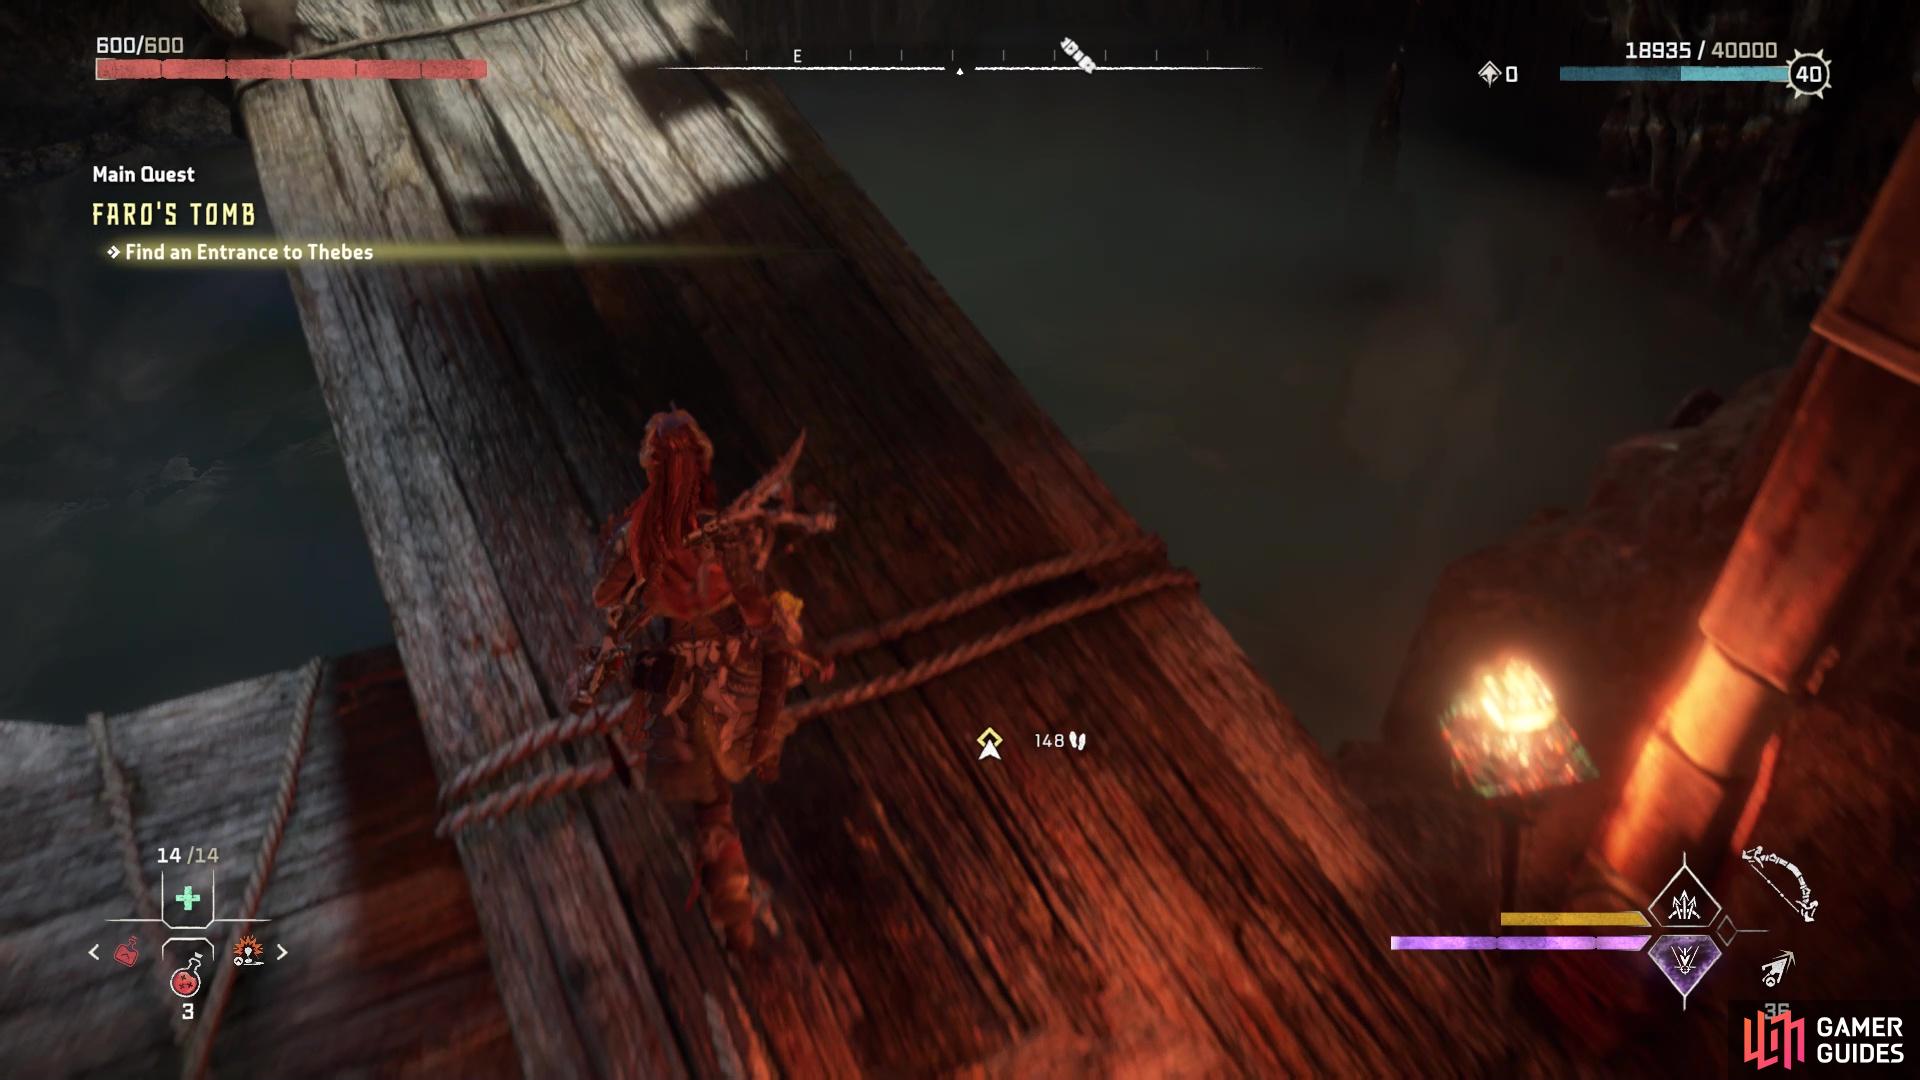
Go to the tip of the boat to get the prompt to leave
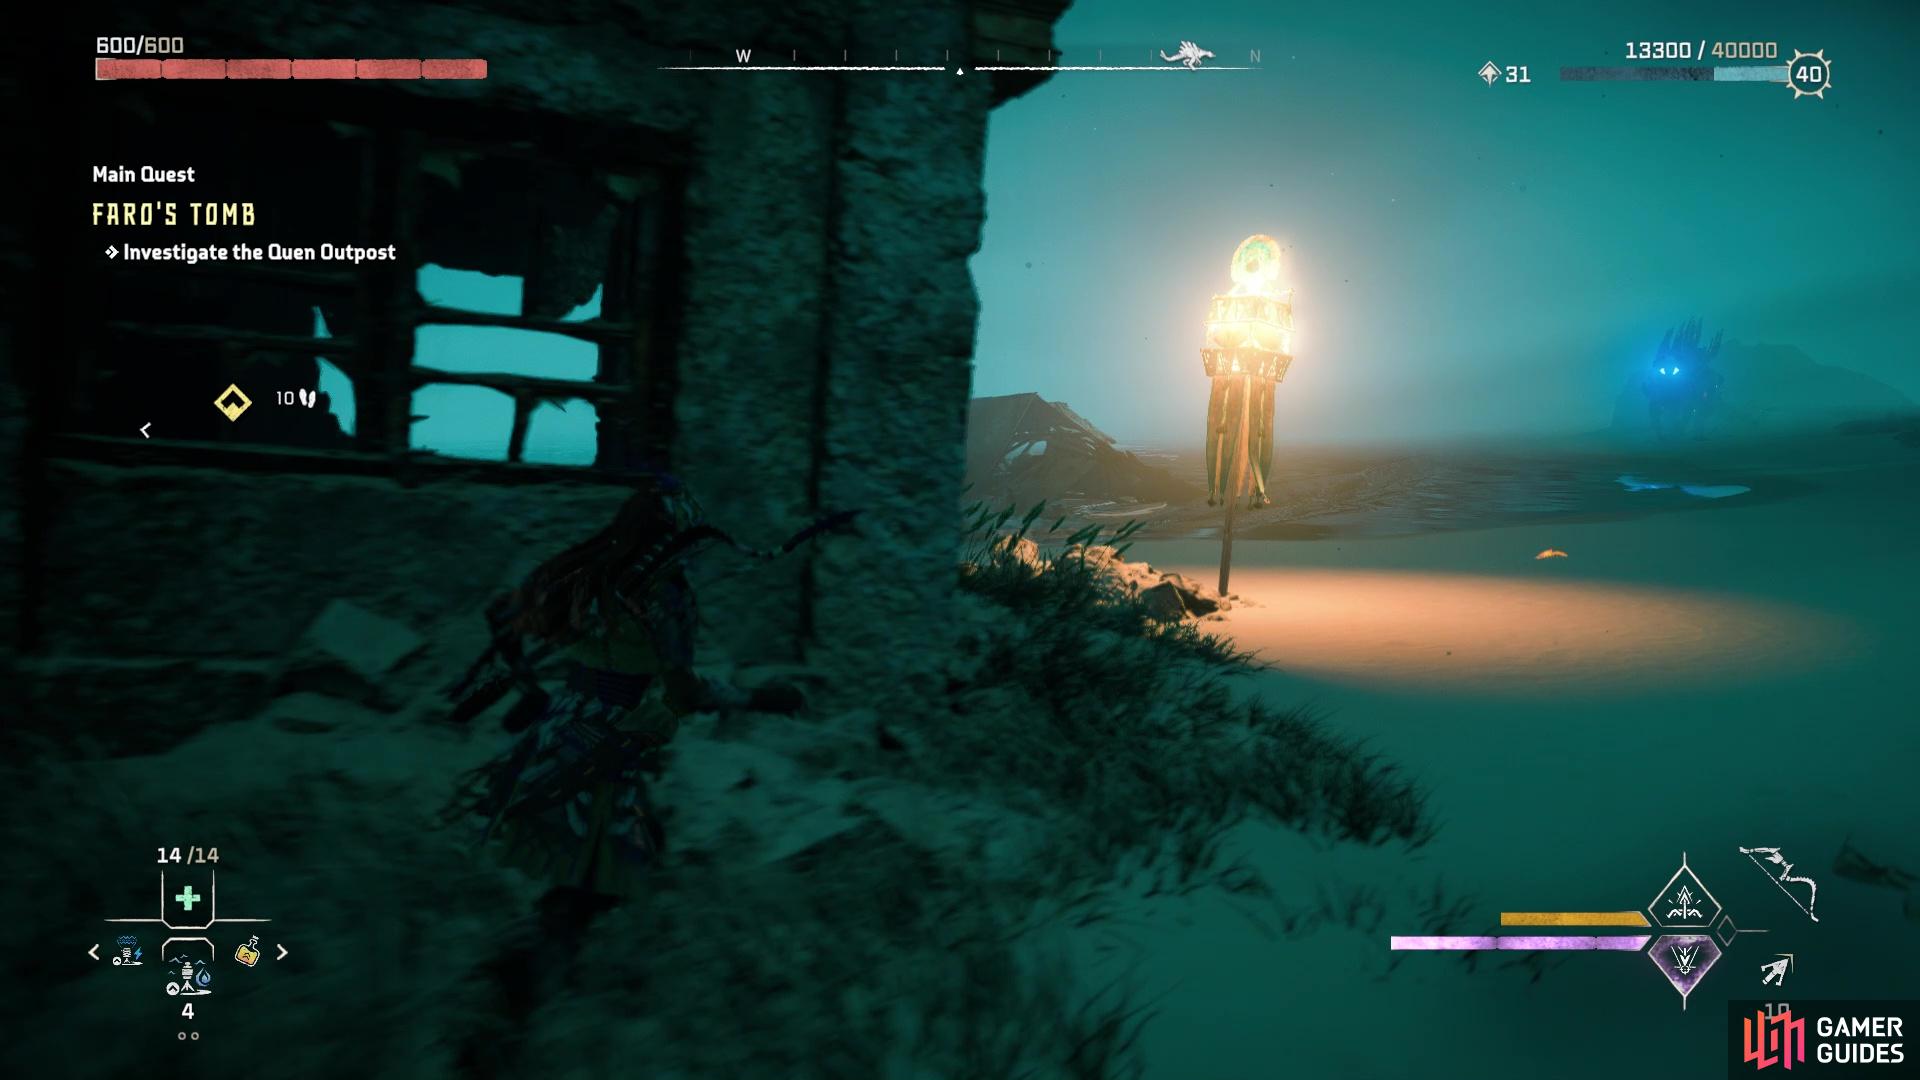
Of particular importance is Thornmarsh, one of the bigger places. From there, head west, until you find the path along the coast, then follow it northwest-west, until you reach a little trail leading down to the beach. Go inside the hut, which is a Quen Outpost, and see that there is no one and nothing in there. Nothing’s stopping you from taking a boat, so go back outside and check the one end of the boat to be able to use it, sending you off to the Isle of Spires. Upon regaining control, you will have to journey to the northeast to find Legacy’s Landfall, the Quen settlement that Alva told you about earlier. To the east of your landing spot, there is the Landfall Tallneck, in case you want to do that and clear the map.
If you follow the main path, you will run into some machines, but you don’t need to fight them and can just run right past them, as they are not too dangerous. You will also see a Stormbird fly by, but it’s not going to bother you, so ignore it. Upon finally reaching Legacy’s Landfall, you will be stopped by the guards out front, then brought inside. You’ll learn that the Quen have found Thebes already, but cannot get inside. You can ask some questions to the leader of the expedition, but to continue, you will need to learn of the machine attacking the Thebes team. It is a Thunderjaw, specifically an Apex variant, so you will need to be ready for that.
Before setting off, feel free to explore Legacy’s Landfall, although you won’t find too much here. The only merchant NPC not here is a Hunter, but you can find the other basic ones, so stock up on potions.
Kill the Apex Thunderjaw
Whenever you’re ready, leave Legacy’s Landfall and head northwest from it to find Thebes. As you approach the gate, the guards inside will warn you about a killer machine on the loose, prompting the Apex Thunderjaw to appear. It appears that it’s missing some health, as well as some components, so the battle will be a little easier than normal. That being said, it is still highly dangerous, so be extremely careful in dodging all of its attacks. The first things you should do is shoot off the one Disc Launcher it still has, as well as the blaster on the side of its head. This will completely remove those attacks from its arsenal, leaving you to only have to worry about the melee ones.
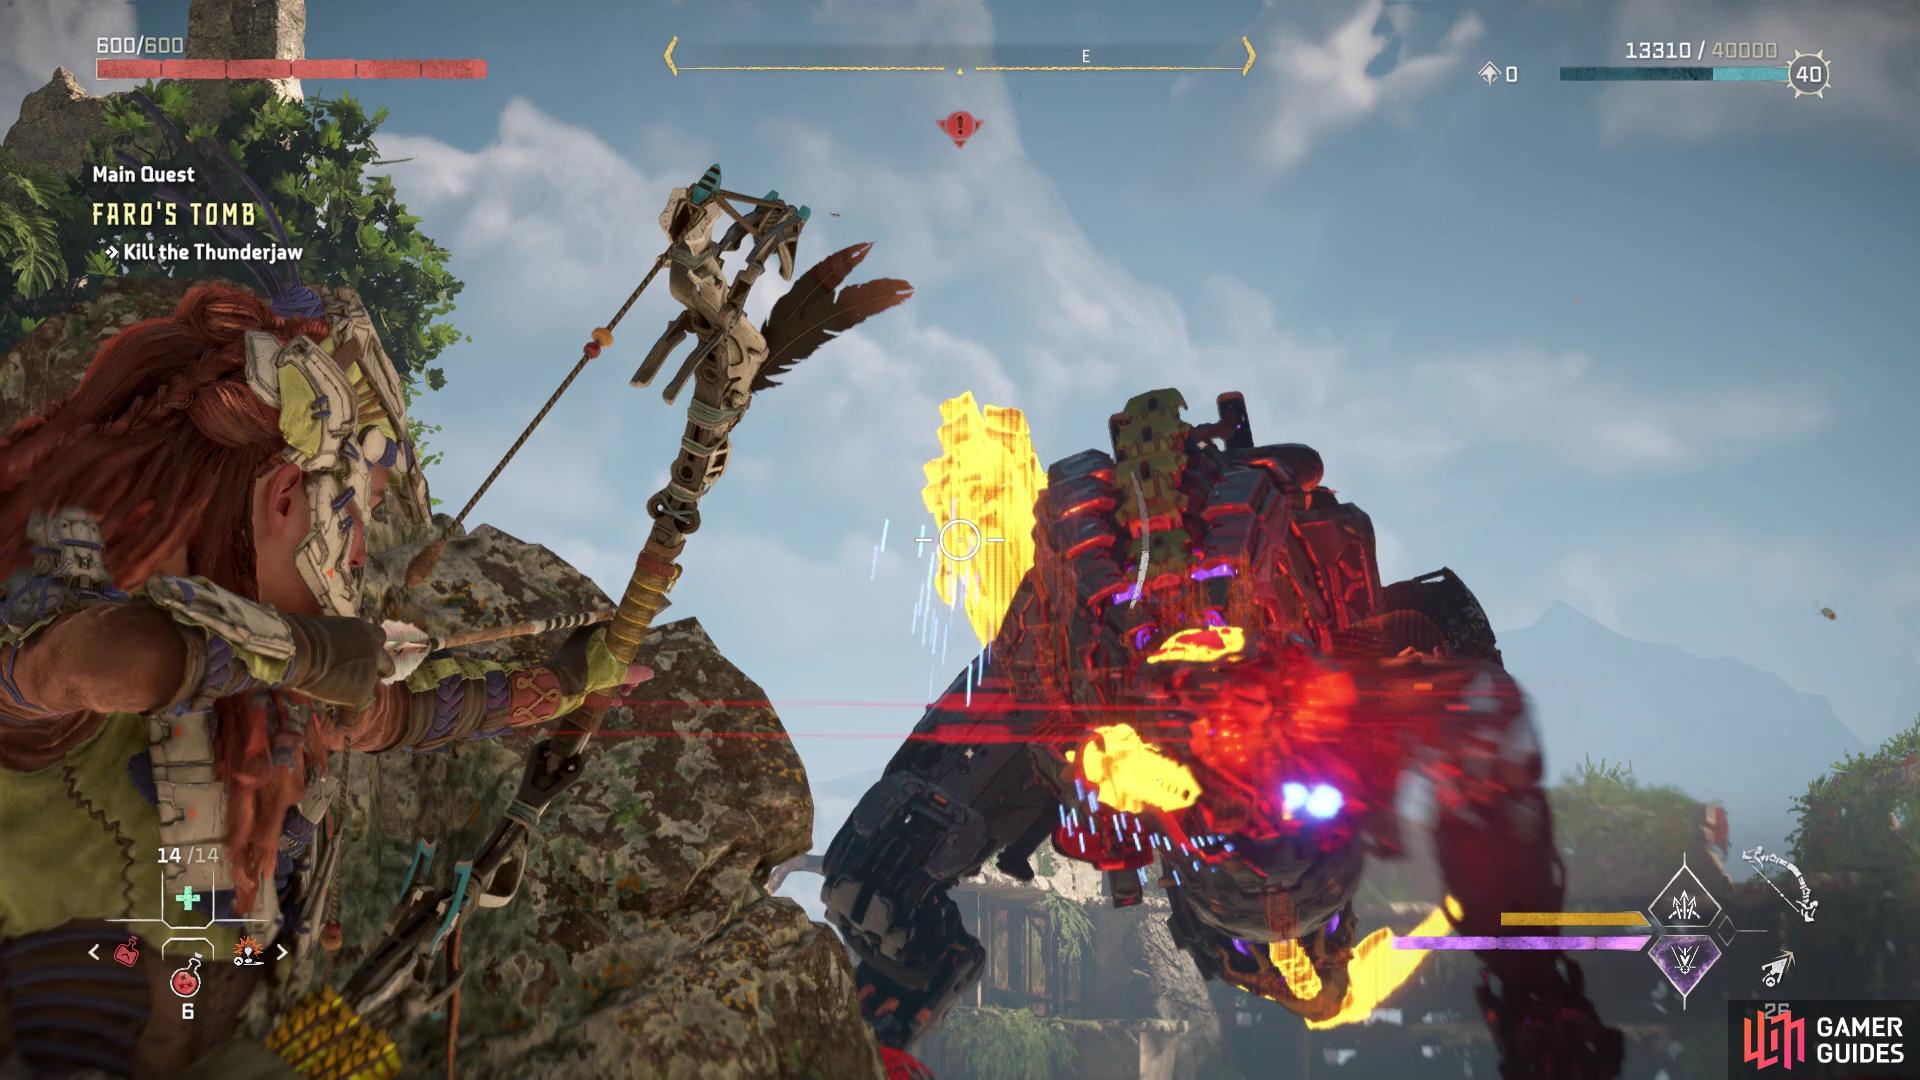
Of course, the melee attacks can be some of the more dangerous, as the Thunderjaw will be in your face during it, making things difficult to see what it’s doing exactly. By far, the worst move is the charge attack, as you can easily get clipped by its feet during it. If you know how to dismantle a Thunderjaw, though, it’s a pretty easy fight and the Apex variant is just a stronger version of the base one. If you want some exclusive loot, then aim for knocking off the tail, but it can be quite difficult to hit. If all you want to do is defeat the creature, grab the Disc Launcher after knocking it off to use it against the machine, as it does great explosive damage.
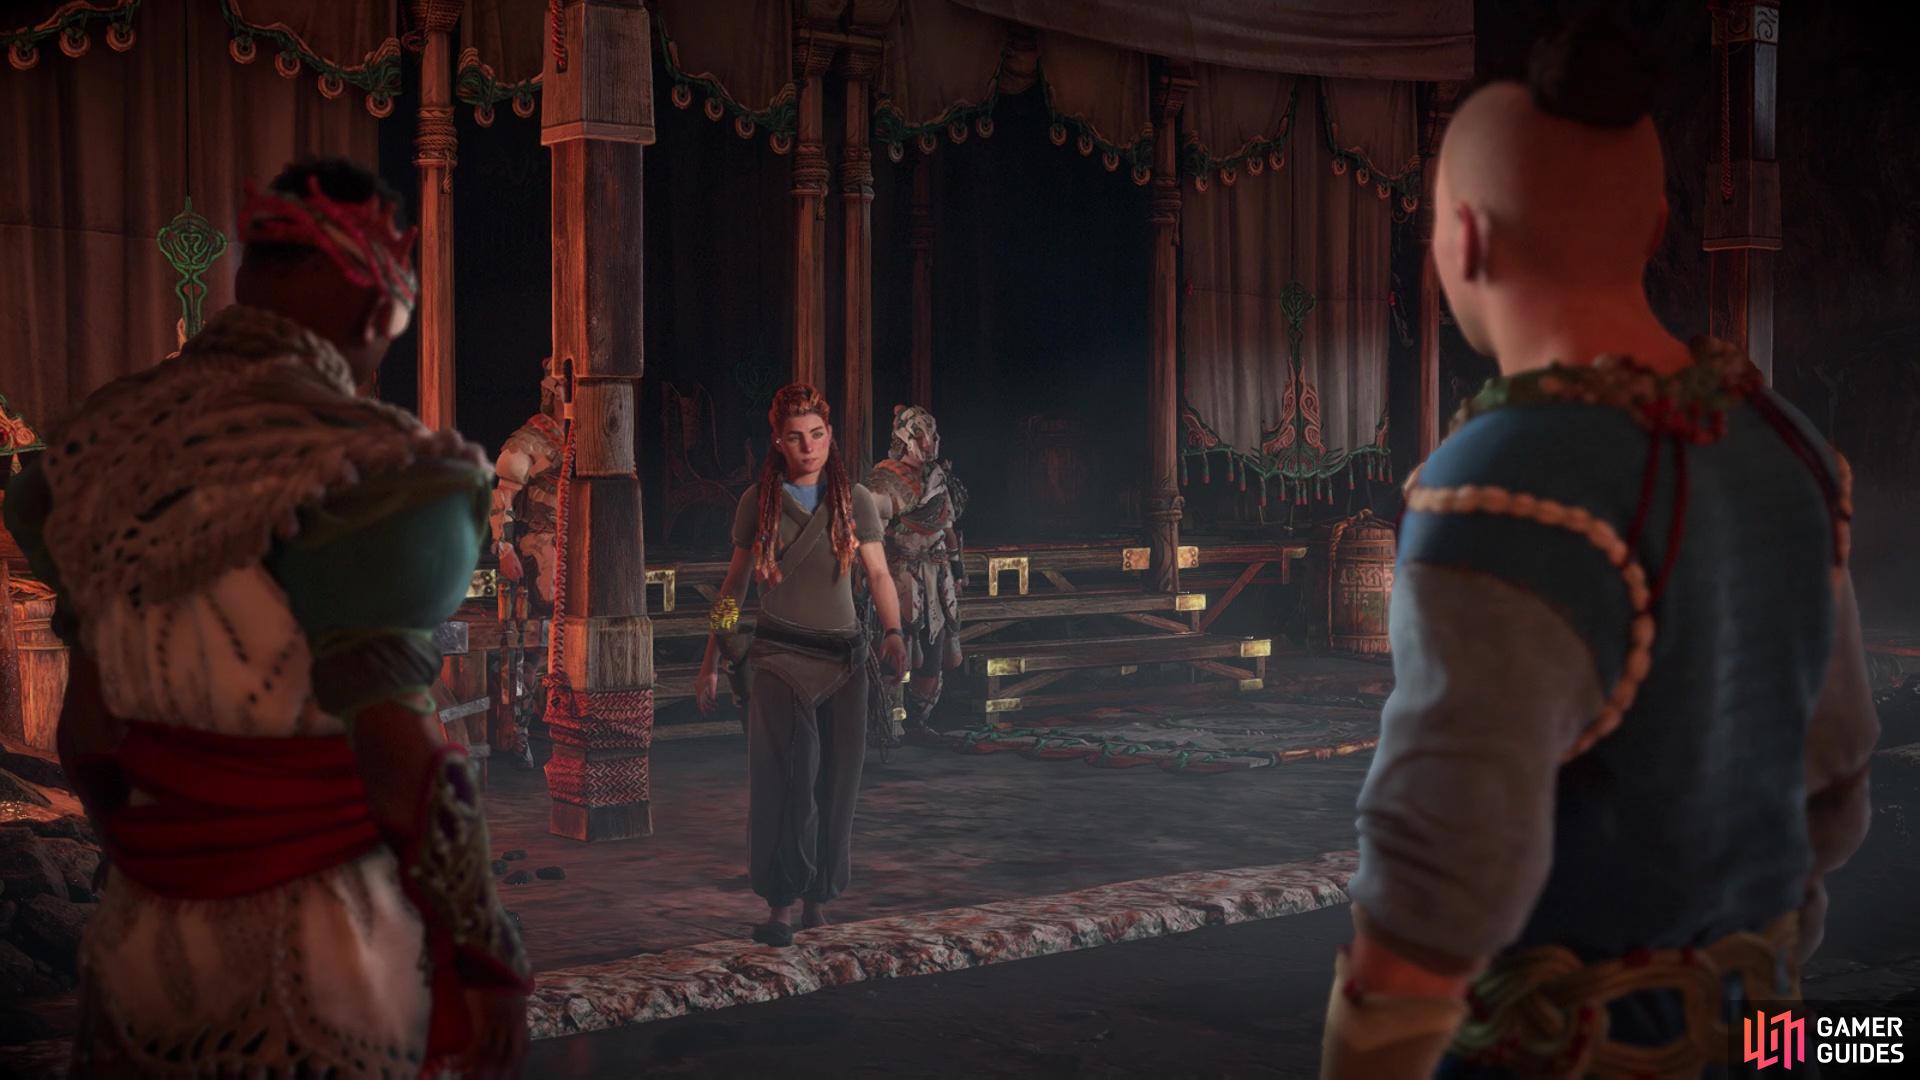
Upon killing the Thunderjaw, loot its carcass, then return to the wooden gates to be let inside The Digsite. There is a Hunter merchant NPC here, but you only need to speak with Alva to continue. This will trigger a scene with the leader of the expedition arriving, and everyone heading inside Thebes. Of course, the door is locked and only tuned to Ted Faro’s DNA, so you will need to find an alternate entrance.
How to Enter Thebes
As soon as you have control after the scene in front of the entrance to Thebes, jump into the water that will be right in front of you. Swim deeper and find the tunnel, taking it and staring at the lava at the bottom of the large chasm. Ignore that and continue swimming straight forward here, with there being a ruptured pipe you can enter at the end. There’s only one way to go in this little section, with it taking you to a large tunnel with some turbines. Swim west and wait for the one turbine to stop spinning, then hurry past it before it turns back on and makes mincemeat out of you.
There will be another turbine beyond that one, but this one will stay on, so you’ll need to find a way to shut it off. Luckily, there’s a doorway off to the side, leading to a room with a panel that will shut off the turbine. Swim back to the tunnel and past the now defunct turbine, then look for the next hallway to the side that will allow you to surface. You will now be in some kind of recreational area, so explore it for any Datapoints or chests. Pry open the one door in the initial room to make it to the main area, where you can take either hallway on the northern end to eventually reach a large room. On the one end will be the main door, so hit the control there to open it, letting the Quen inside.
You will be forced into a specific outfit at this point, the Sobeck Raiment, and you cannot change back into your normal armor until the mission is over. Go down the stairs after the scene and pass through the door, entering a large room with a large statue in the middle of it. You will be on the upper level, so go north and through the door, then down the stairs on either side and through the next door to arrive at the bottom level with the large statue. There will be another scene here and what looked like statues, will come alive, as they are really machines.
You will be forced to change outfits/armors for the rest of the mission
Kill the Corruptors
If you’ve played the first game, then you may remember these machines, as they were quite prevalent. In this game, they are very rare, so make sure you scan them, if you are planning to unlock the All Machine Types Scanned trophy. Should you not do it at this point, then you will be able to find Corrupters in the Arena, so you’re not totally locked out of the trophy. First and foremost, you should target the two components that are highlighted upon scanning the machine, as that will get rid of its one projectile attack (they are super easy to hit). They can also toss rocks at you with their tail, and there’s nothing you can do about that.
You will have Alva with you here and despite the others leaving, they will actually join in the battle from the catwalks above, so don’t be alarmed if you see projectiles coming down from there. The extra help really does make things a lot quicker in bringing down the two Corrupters, so this battle shouldn’t take too long.
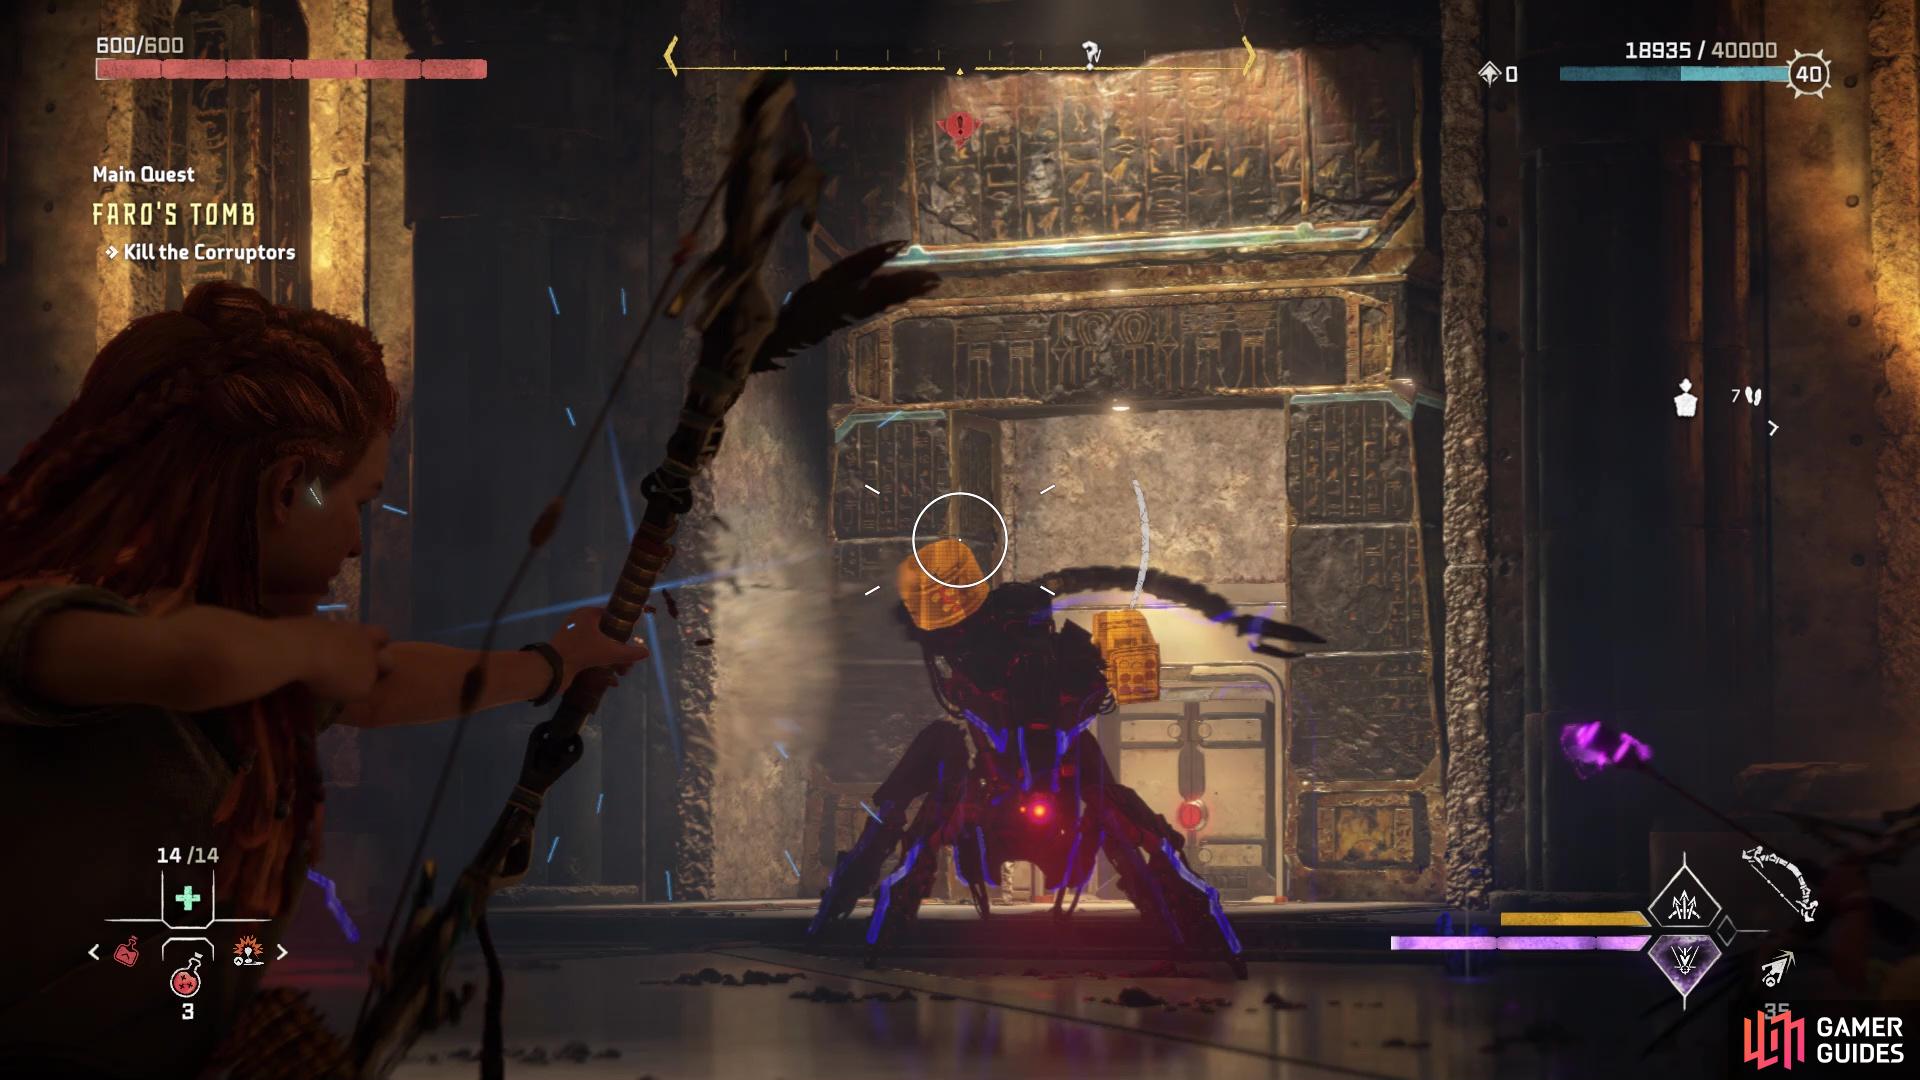
You should remove the two canister-like objects, as they control some ranged attacks
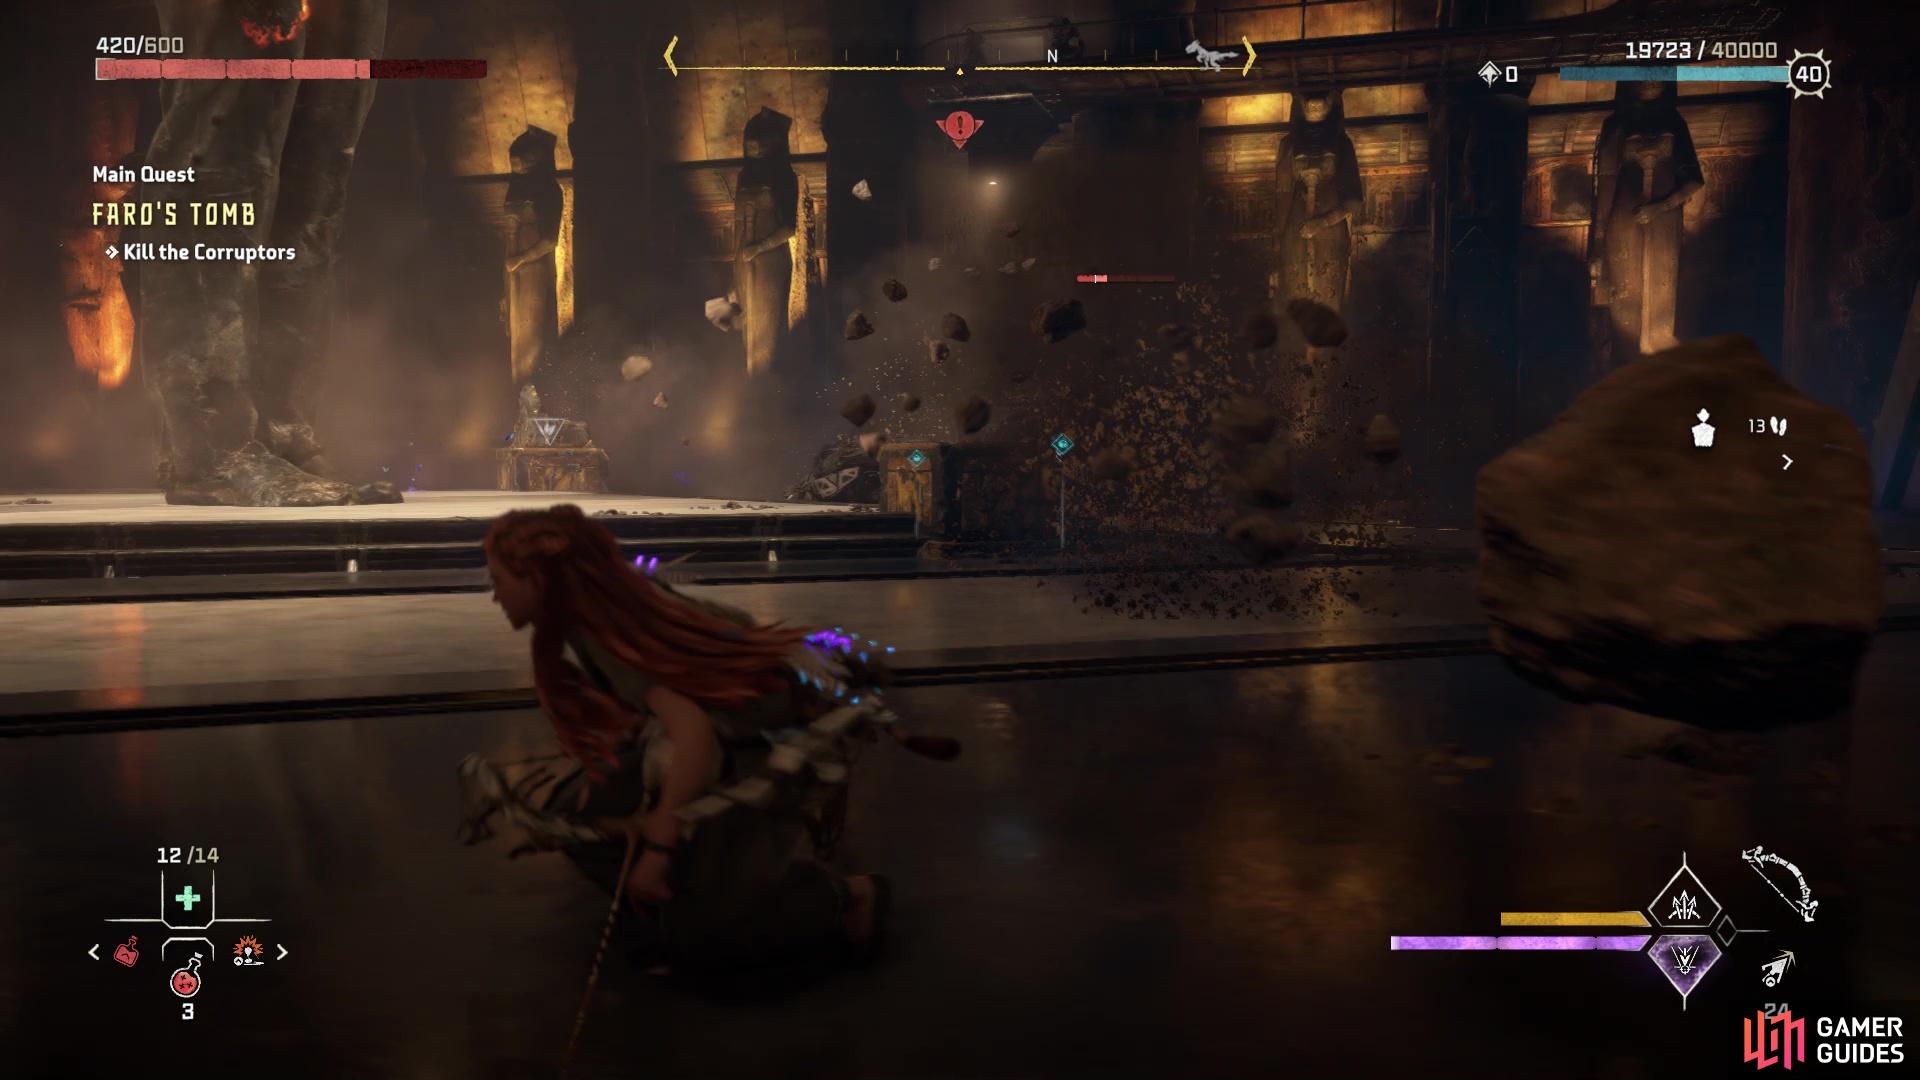
Always be on the lookout for the boulder they can sling at you with their tail
Search Thebes for Omega Clearance
When you’re done, pass through the door that was in between the Corrupters, then continue until you reach another large room with some kind of chair on the opposite end. Feel free to explore to find some chests and Datapoints, then go up to the chair and scan it to view a hologram. As you might have guessed from the equipment, this was a medical room and you will also find out more about Ted Faro and his aspirations. Once the scene is over, find the one door that was previously locked (two guards were next to it) and continue that way, until you reach another locked door.
While Ceo and his men try to break it down, you opt to find another way through it. Over the railing, right next to the locked door, look towards the top of the wall to find a vent. Use your Pullcaster to pull it down, then grapple yourself to the vent itself. Crawl through it and into the next room, where you can access the console and finally get Omega Clearance. This will lead to a lengthy cutscene, that results in betrayal, so it’s time to fight back. As soon as you regain control, get ready to fight, but use your Focus to determine who is good and who is the enemy here, as you do have some friendlies helping.
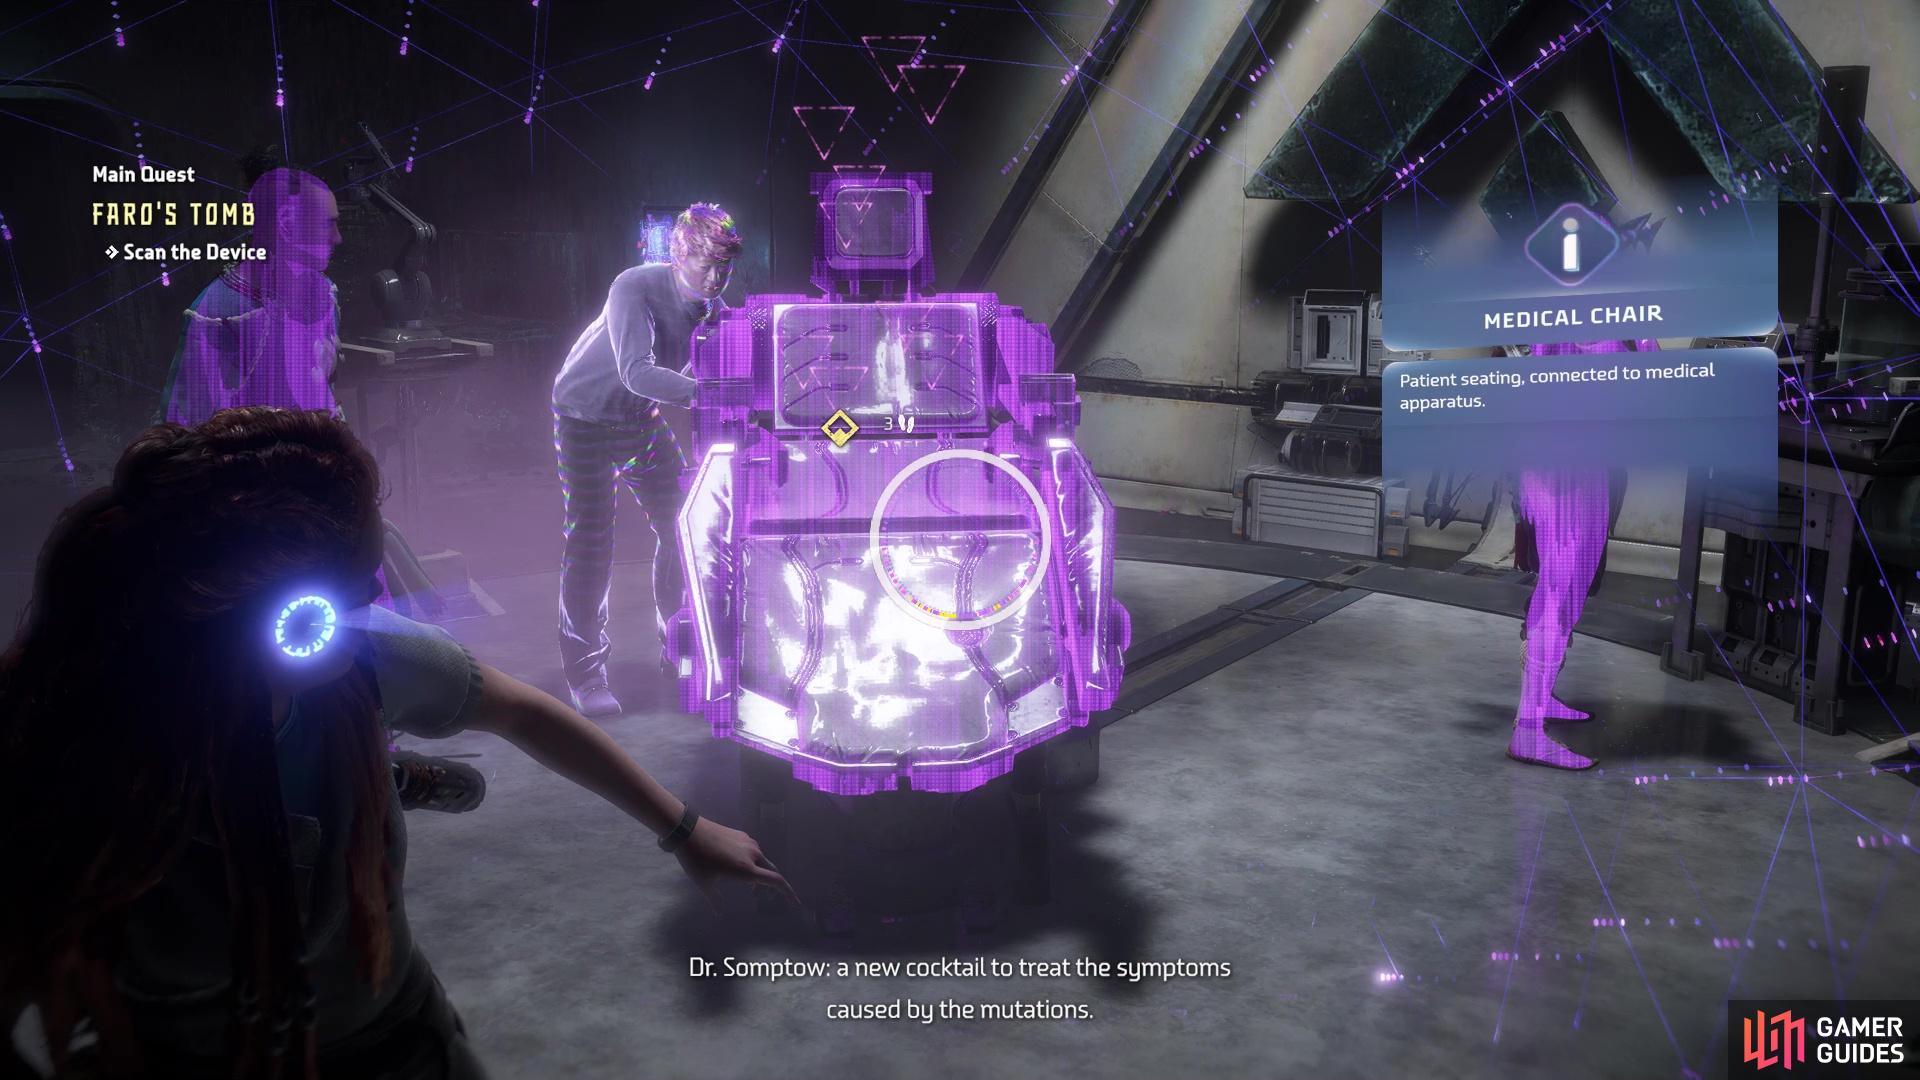
Scan the medical chair to continue the quest
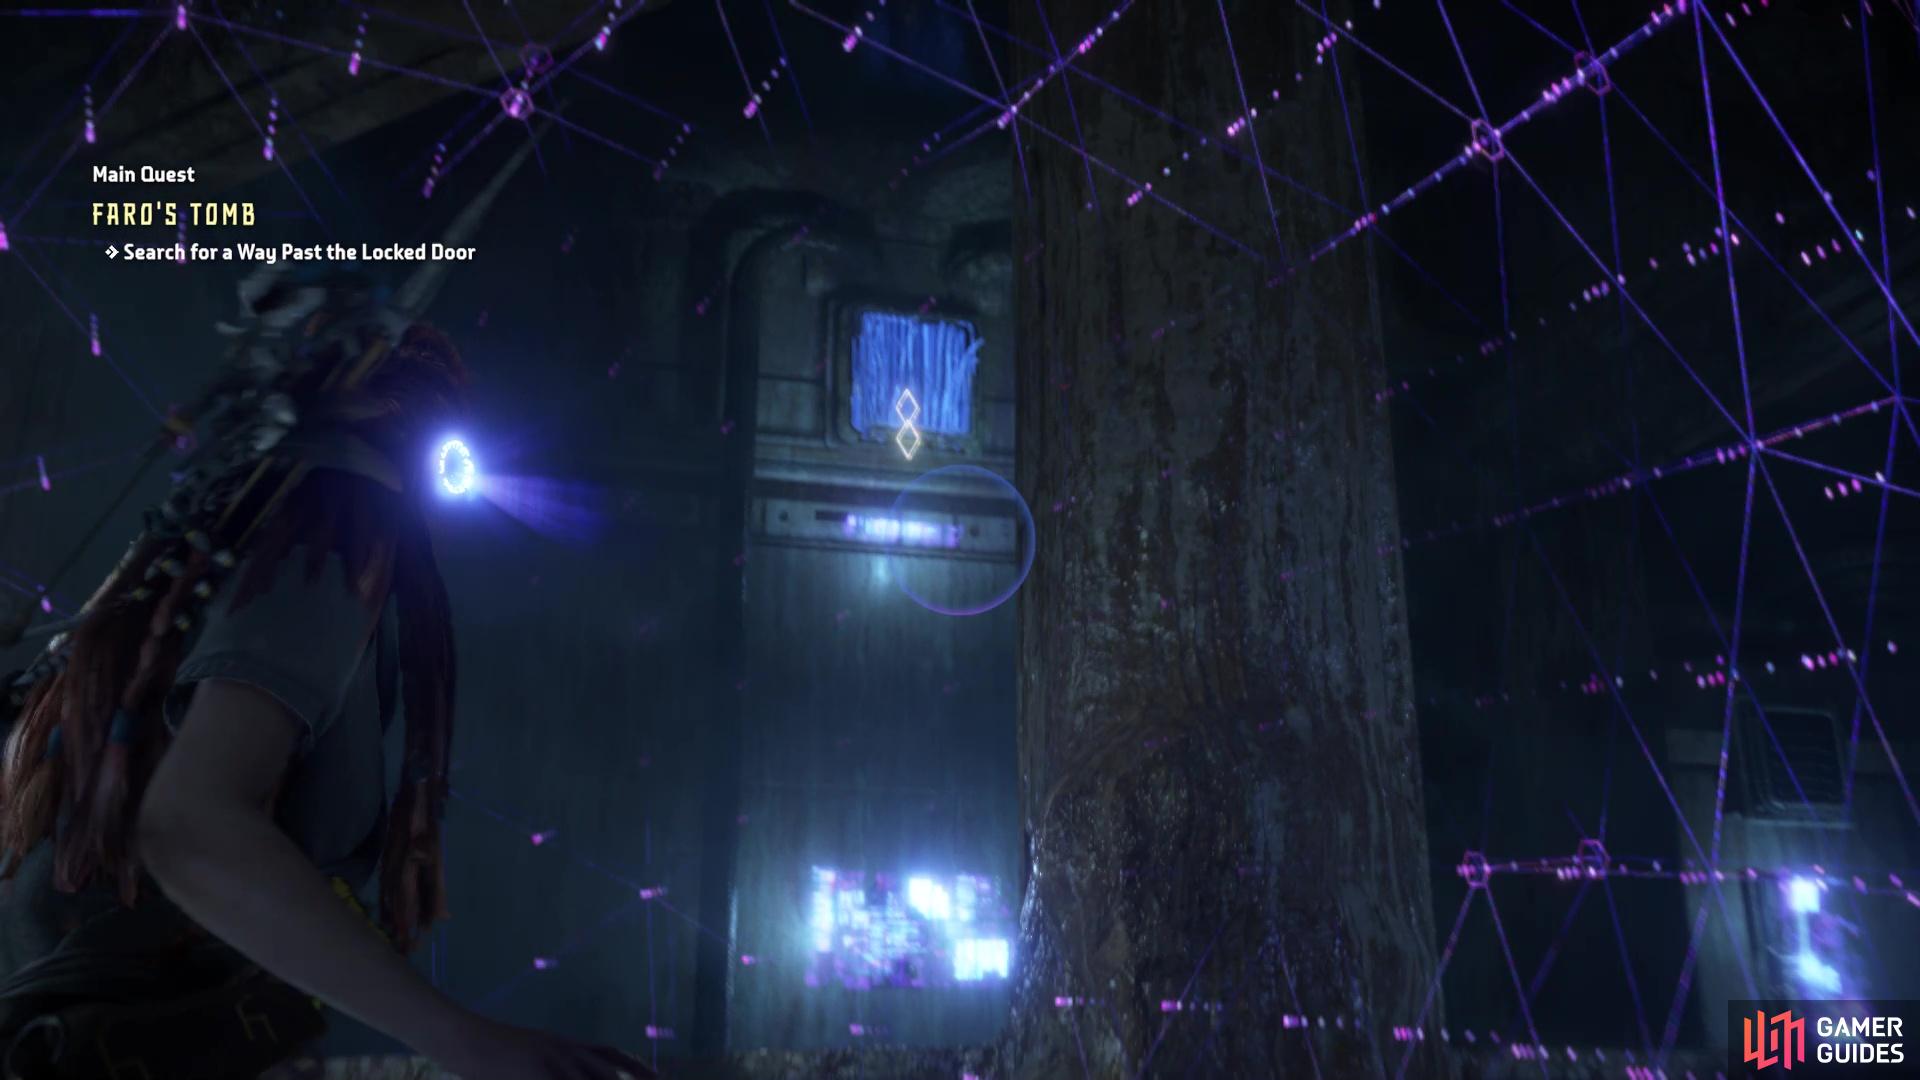
The vent is on the wall to the right of the locked door
Escape Thebes
Well, thanks to their little actions, Thebes is now in self-destruct mode and it’s time to escape. Be very careful with the lava coming out of the pipes, as it can hurt you pretty badly. You will be backtracking now, but along the way, you will find some Quen who will attack you, so be on your guard. You will need to be careful in the medical room, as you have to hop from debris to debris on the ground in the middle of it, or else you will take a lot of damage from the magma. Upon reaching the room with the giant statue, there will be a short scene here, then you have to find a way out of there.
As before, look for the “stable” ground and follow the path around the room. After using the pillars as little walkways, pass through the next doorway and up some stairs (more enemies here). The rest of the way to the exit from here on is pretty linear, so you will finally escape from the place and witness a scene at the top. When that scene ends, so will the quest.
No Comments