
Walkthrough for the Side Quest Shadow in the West in Horizon Forbidden West. This includes information about obtaining the Whisper Hunter Bow and strategies for defeating Vezreh.
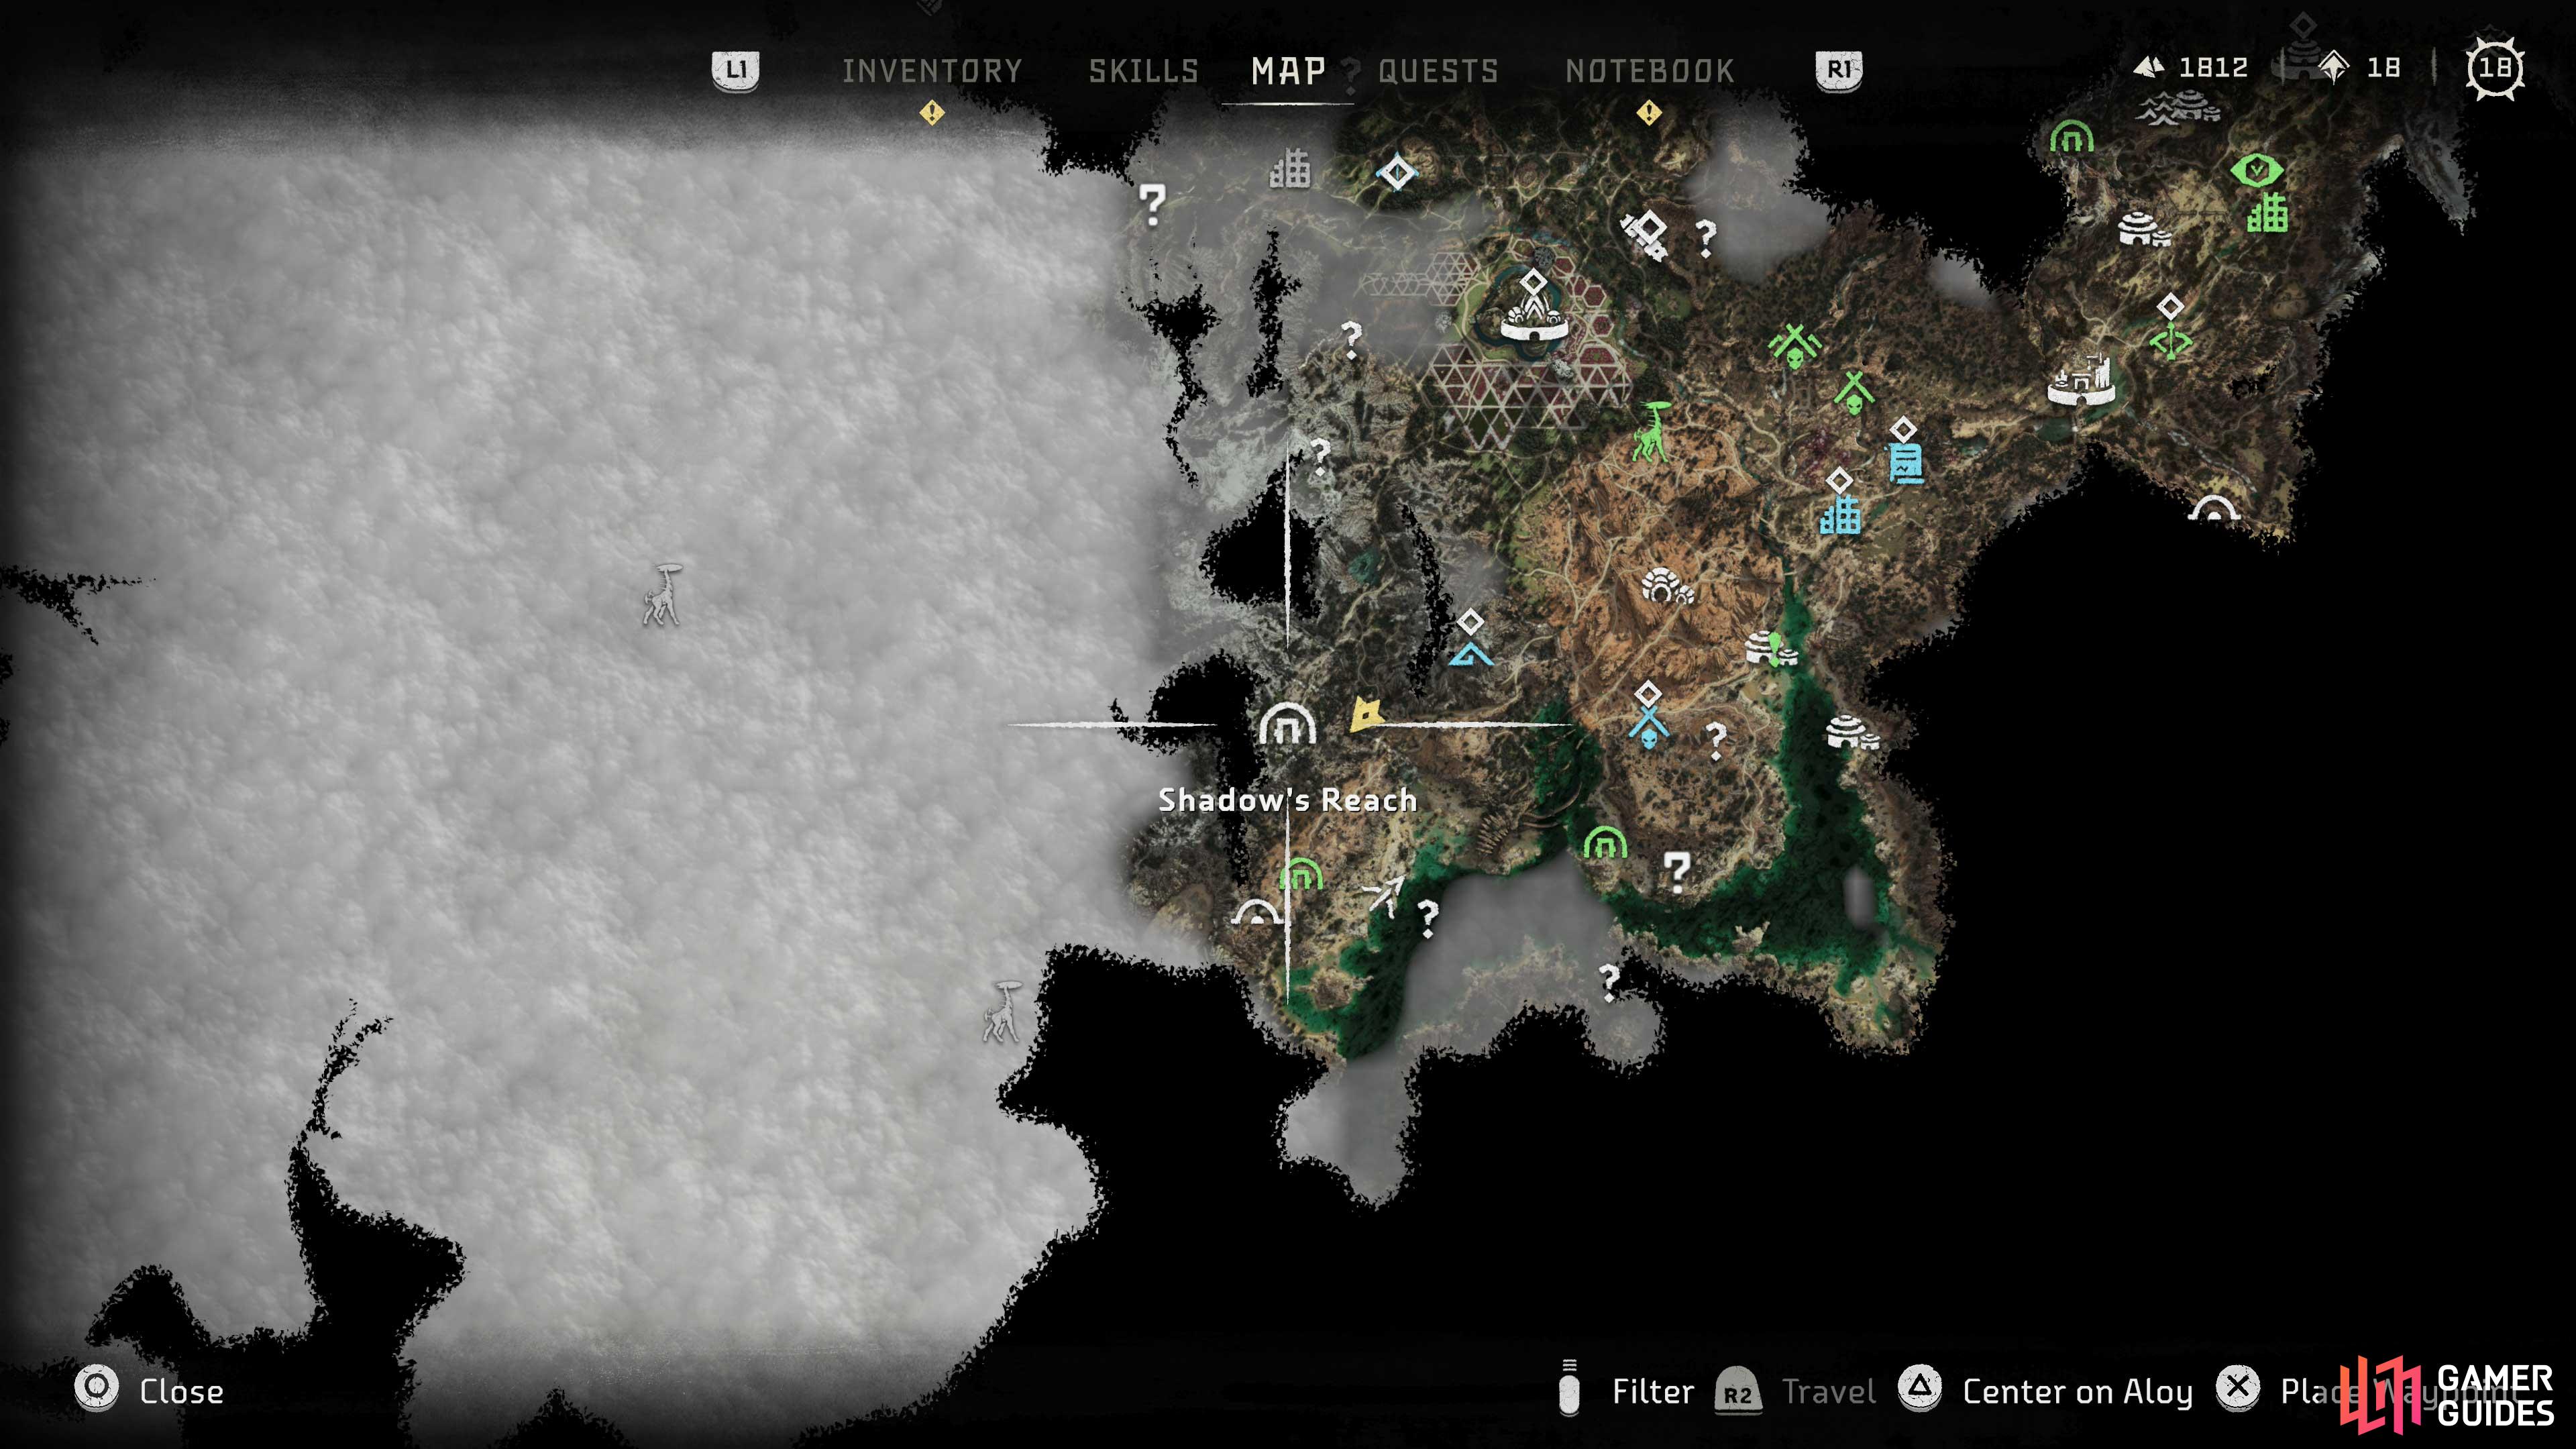
You’ll have to make your way to the distant Shadow’s Reach ruins to progress this quest.
How to Start Shadow in the West
This side quest will begin automatically after completing Shadow From the Past. You’ll also need to complete the main quest [The Embassy] to gain access to the Forbidden West beyond The Daunt, where this quest’s objective is located.
| Quest Giver | Starting Location | Prerequisite | Level | Rewards |
|---|---|---|---|---|
| Conover/Ybril | Barren Light | Complete Shadow From the Past, Complete [The Embassy] | 10 |
Once you have access to the Forbidden West you’ll need to make your way to some ancient ruins known as [Shadow’s Reach], which are a considerably distance southwest of Barren Light. If you continue on with the main quest Death’s Door you’ll end up exploring Latopolis, which is just to the south of these ruins.
The Scrappers lurking outside of the Eclipse base can be somewhat nasty, due to their plasma attacks.
You’ll save yourself a lot of bother if you execute them via Silent Strikes.
Kill the Eclipse Cultists
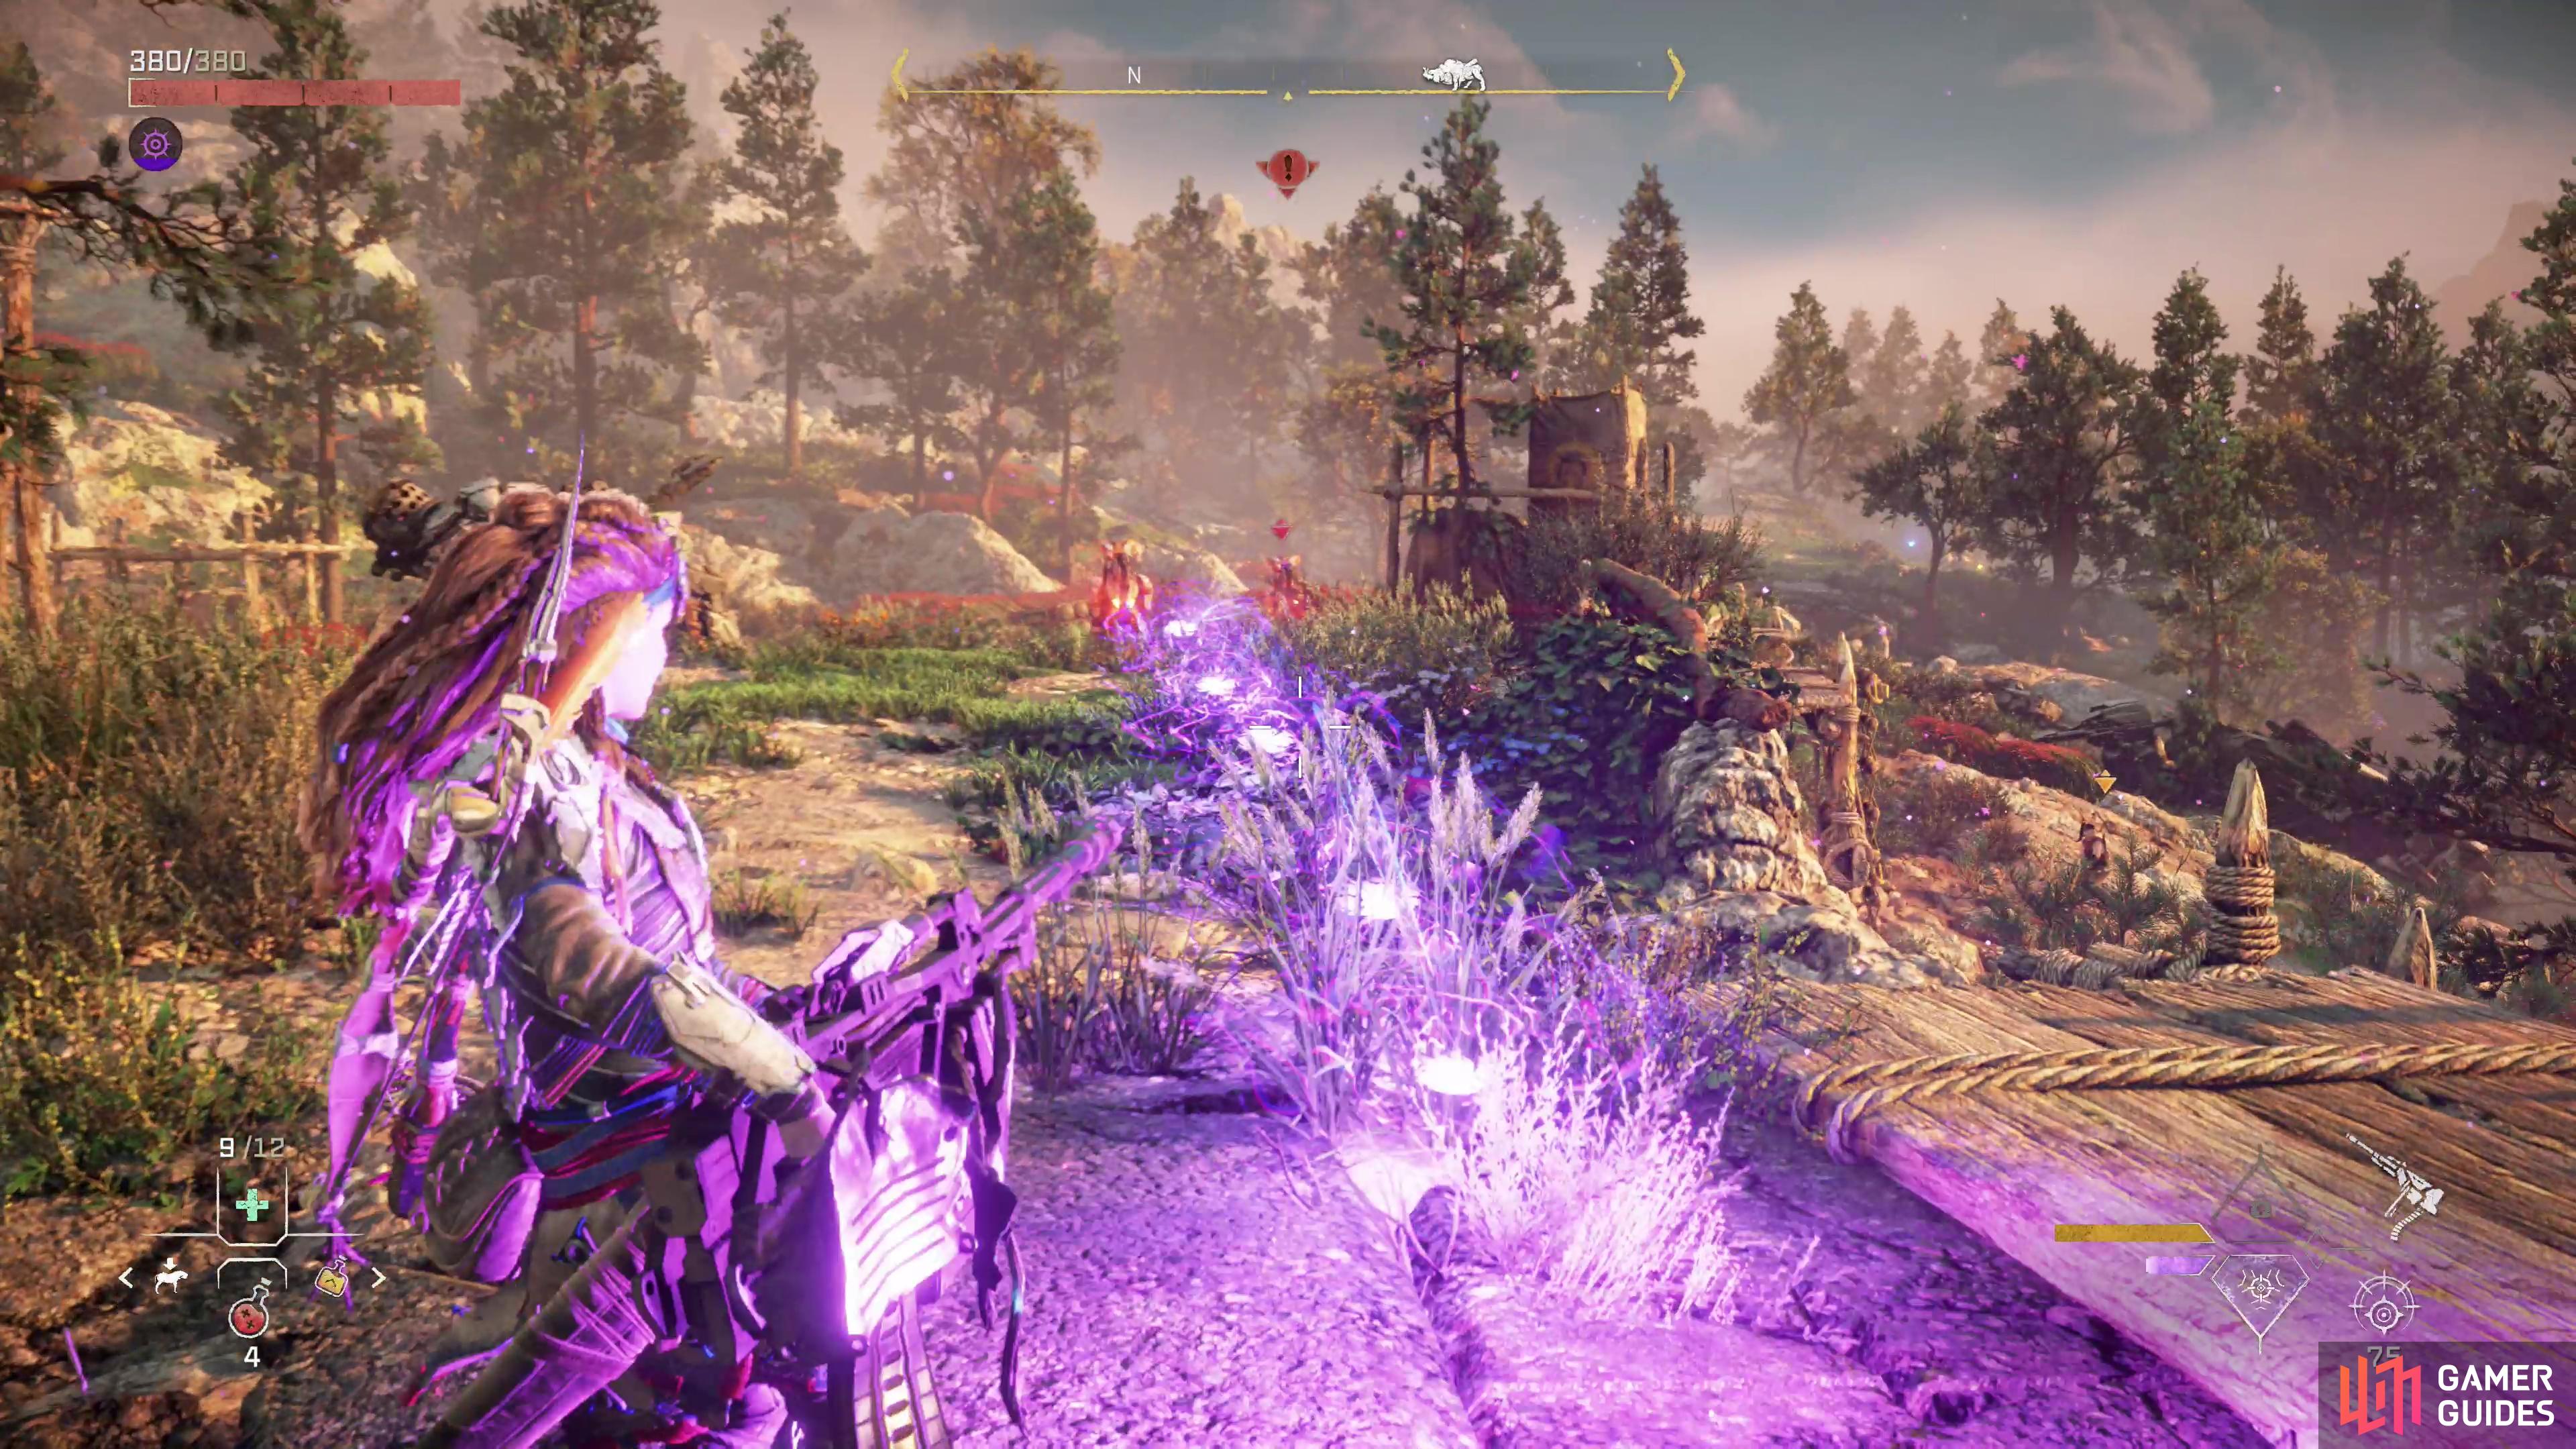
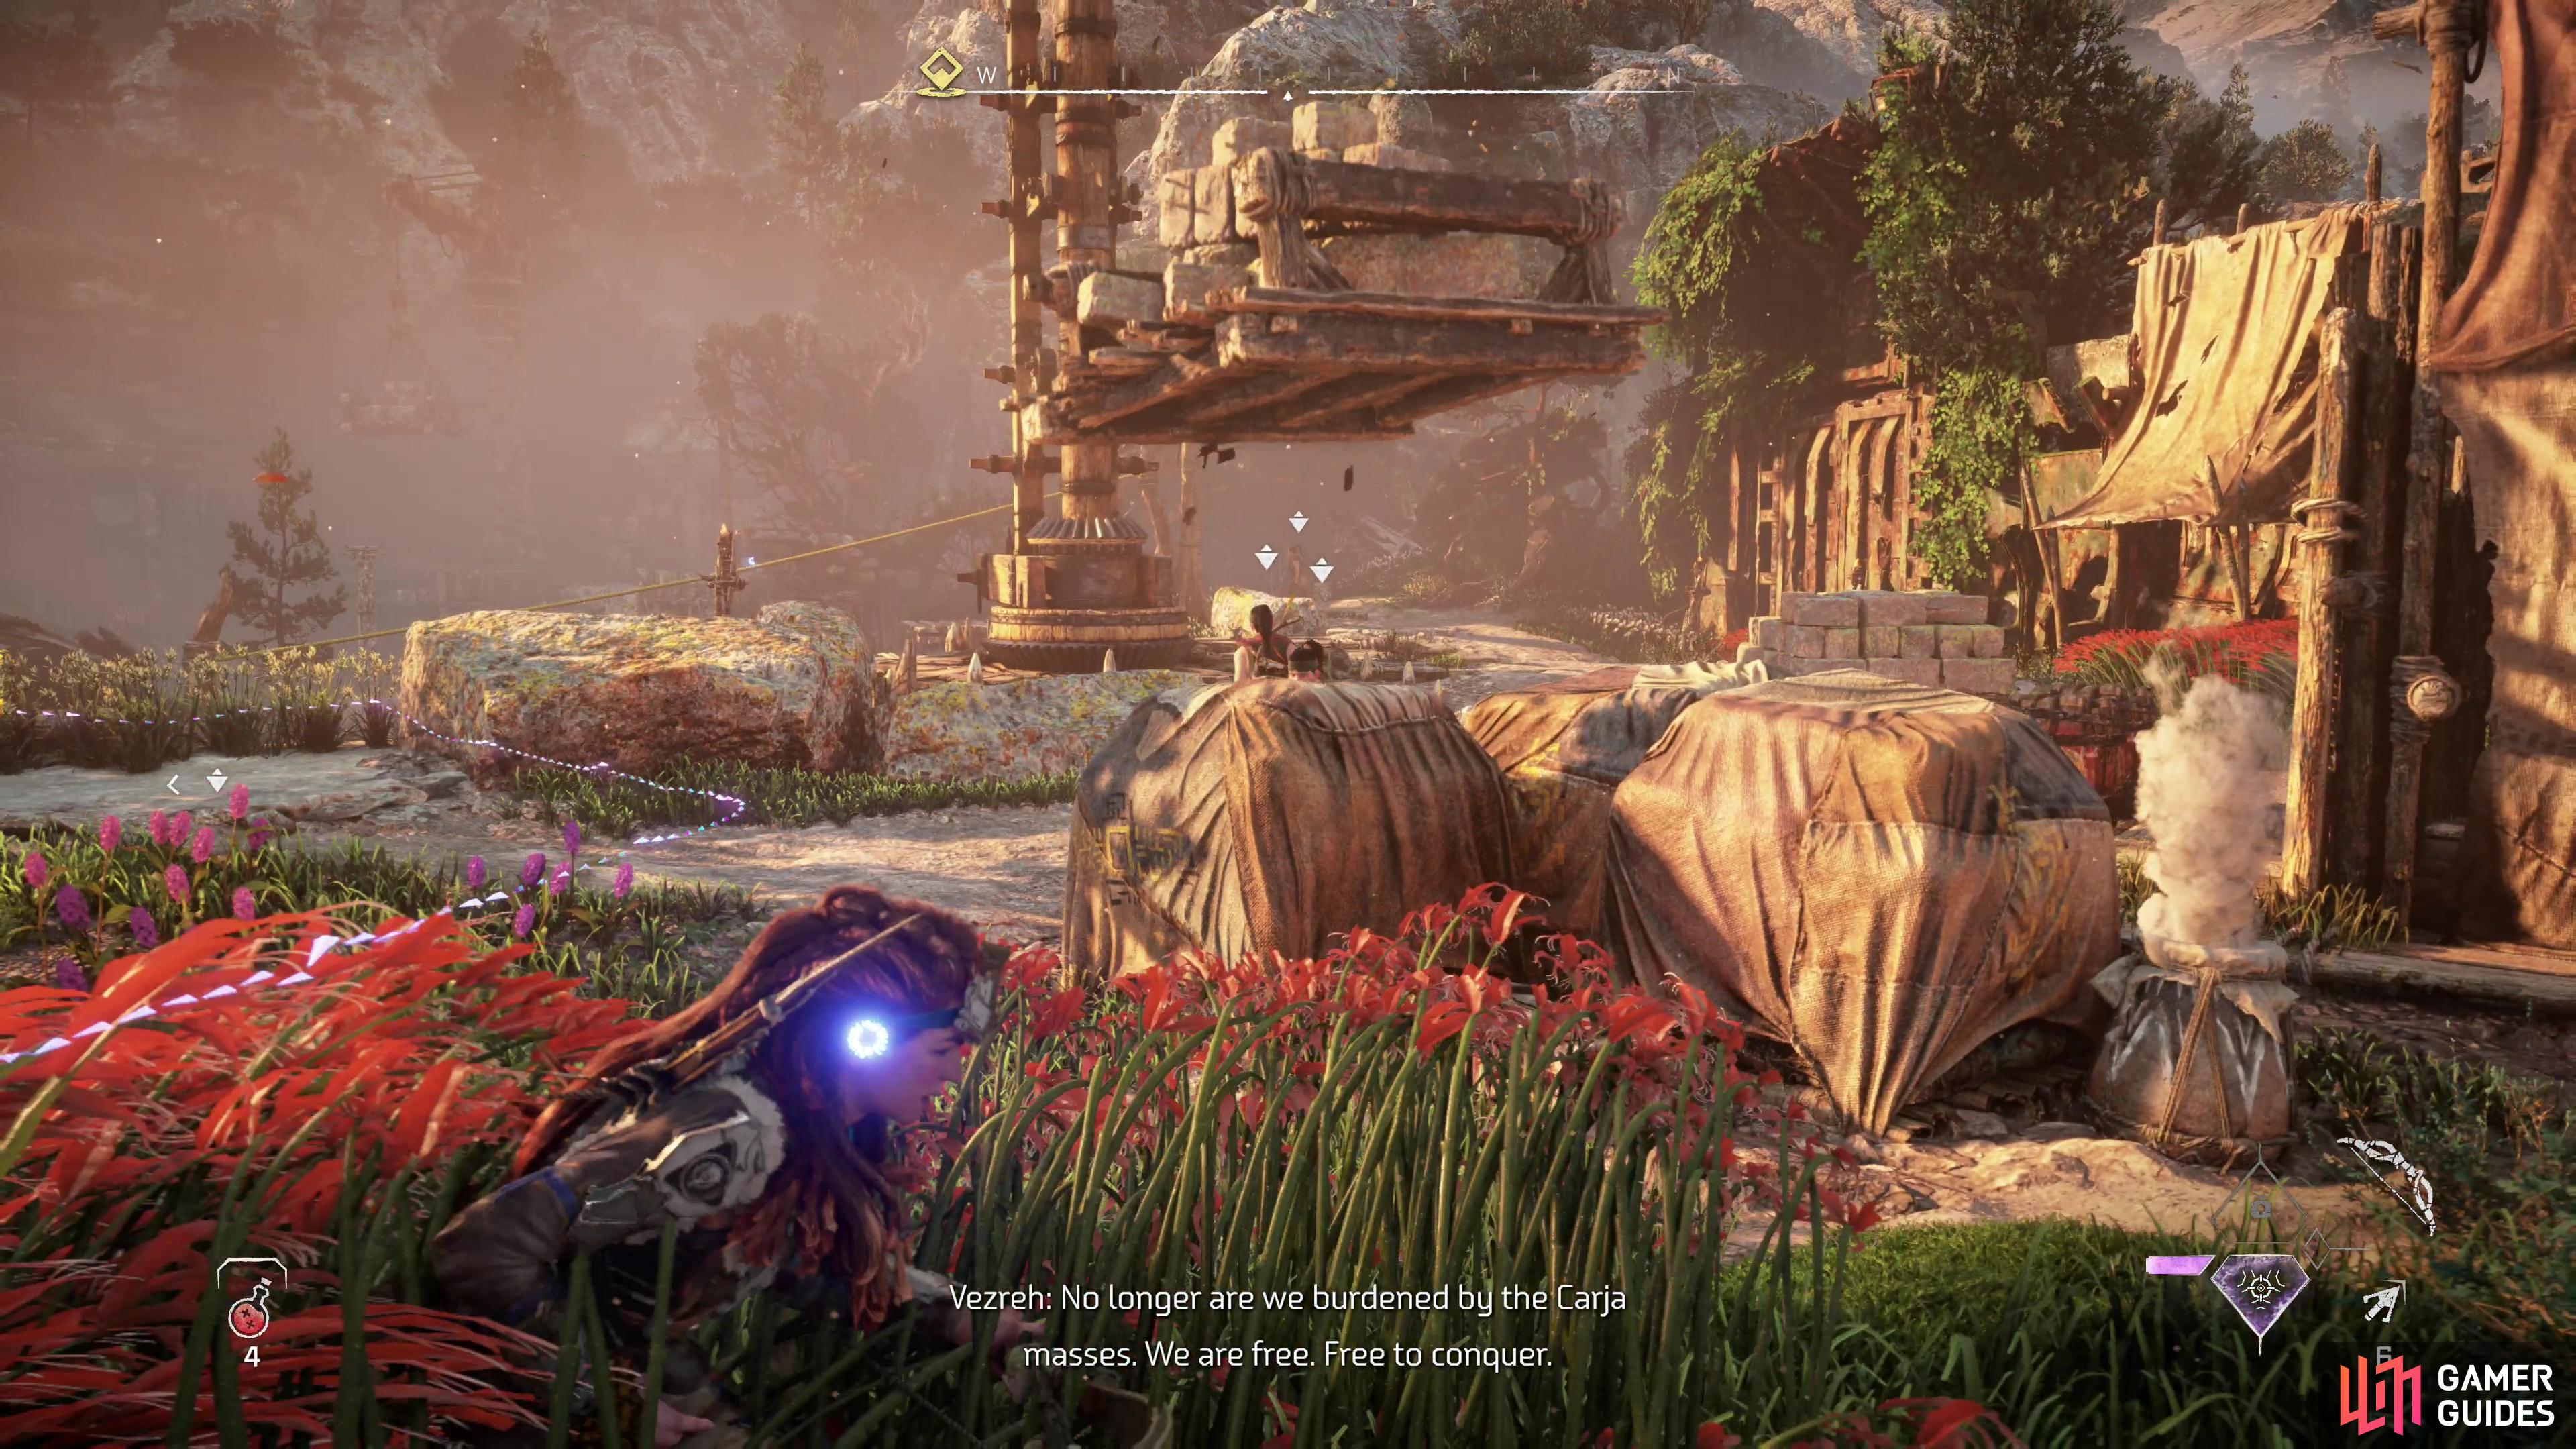
When you arrive near the objective marker it’ll turn into a search area and you’ll be tasked with eliminating the Eclipse Cultists nearby. There are around half a dozen cultists joined by three [Scrappers] who are equipped with plasma weaponry. Striding on in and brazenly engaging your foes is probably not the best option, given their offensive potential, and while the Scrappers are the real threat here, there’s also an Eclipse Punisher armed with a Deathbringer Gun. It can be used to deadly effect against Aloy, but in your own hands its limited ammo capacity and slow spin up time makes it considerably less appealing.
Fortunately, like most Eclipse goons, these ones aren’t the brightest of bulbs, and if you approach from the road running southwest toward the ruins you should be able to pick off at least two of the cultists (including the Punisher) and two of the Scrappers via stealth, which will make the whole affair much, much simpler.
How to Infiltrate the Eclipse Base
Wipe out the cultists and their pet robots outside the base and a slave named Yef will call to you, promising he can help you infiltrate. Find him on some scaffolding near the gear and, during some chatter, he’ll kick down a ladder you can use to climb up once he’s done yammering.
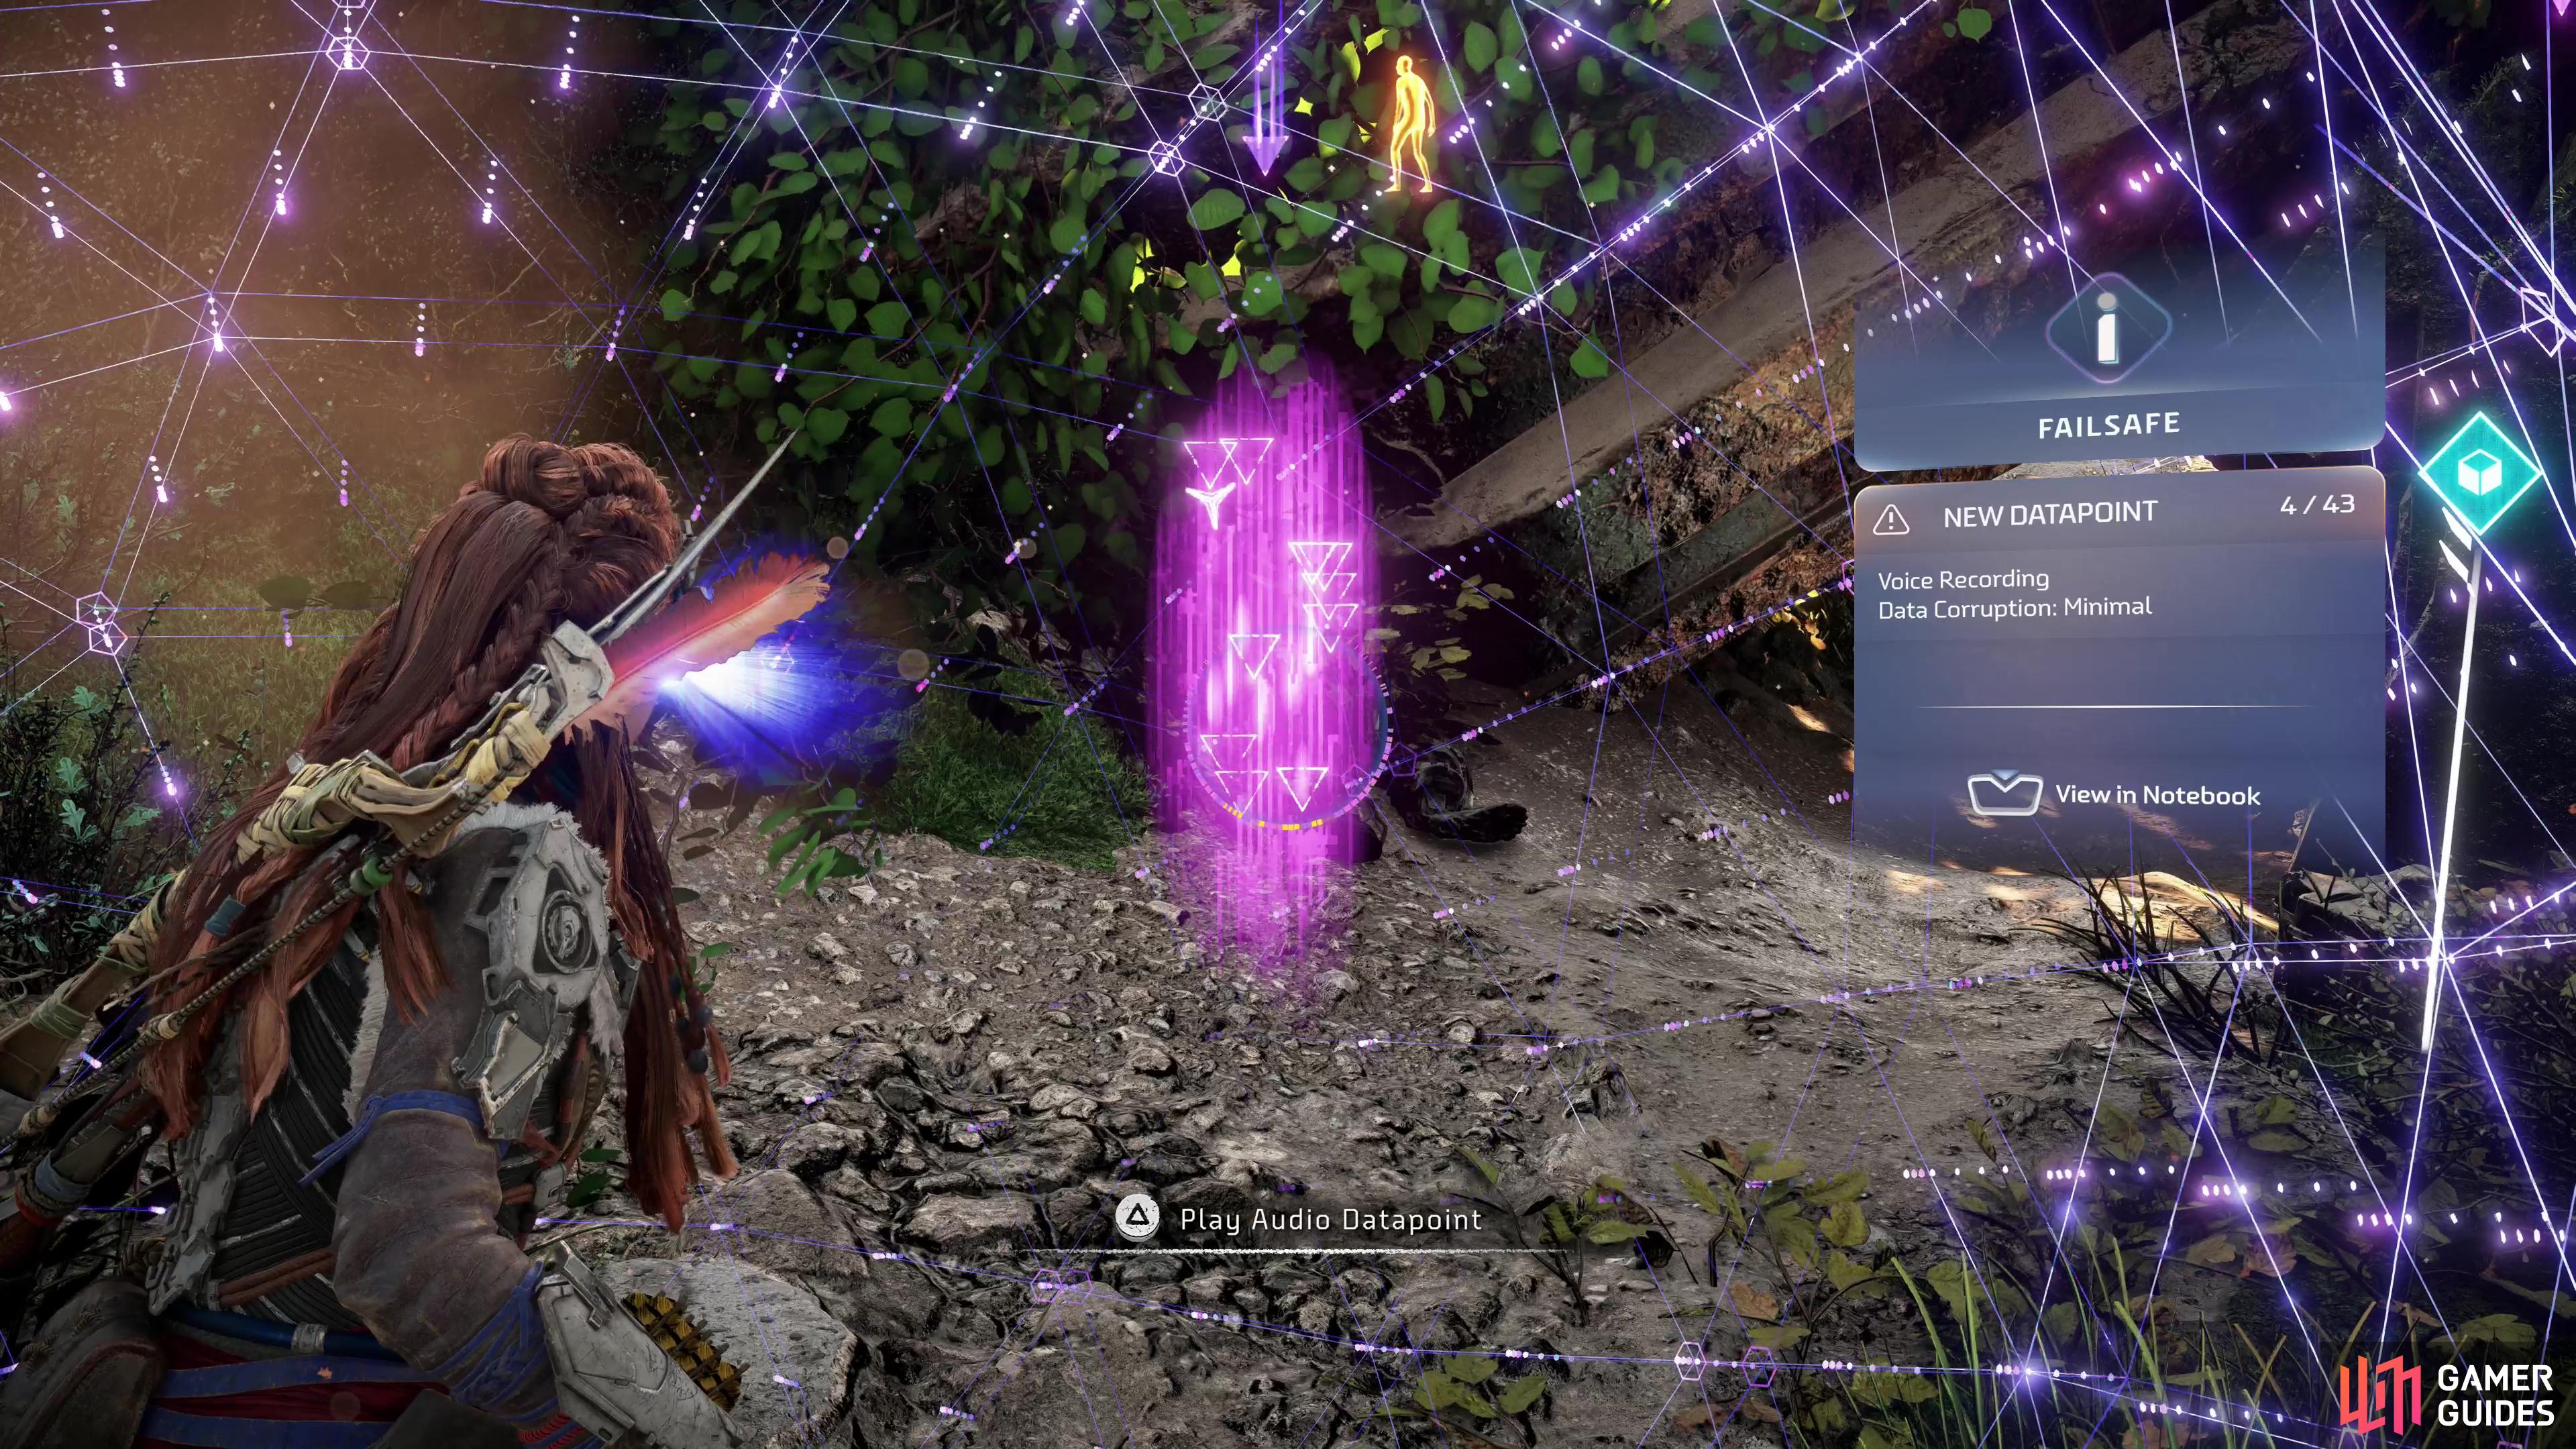
Once Yef is out of the way, climb up on the scaffolding and follow it southeast, then southwest, scanning the Failsafe audio datapoint near an ancient wreckage that obstructs the path as you go. Crawl under the obstruction and when you emerge, kill a guard manning a watchpost to the left and loot a cache to find the Whisper Hunter Bow, a weapon with low base stats, but one that gains significant damage boosts when fired from stealth.
Continue southwest along a wooden walkway from this guard post and climb up to the right to find yourself adjacent to some rather short palisade walls. Make your way west to a ruined tank, then turn northwest to spot a hole in the wall through which you can infiltrate.
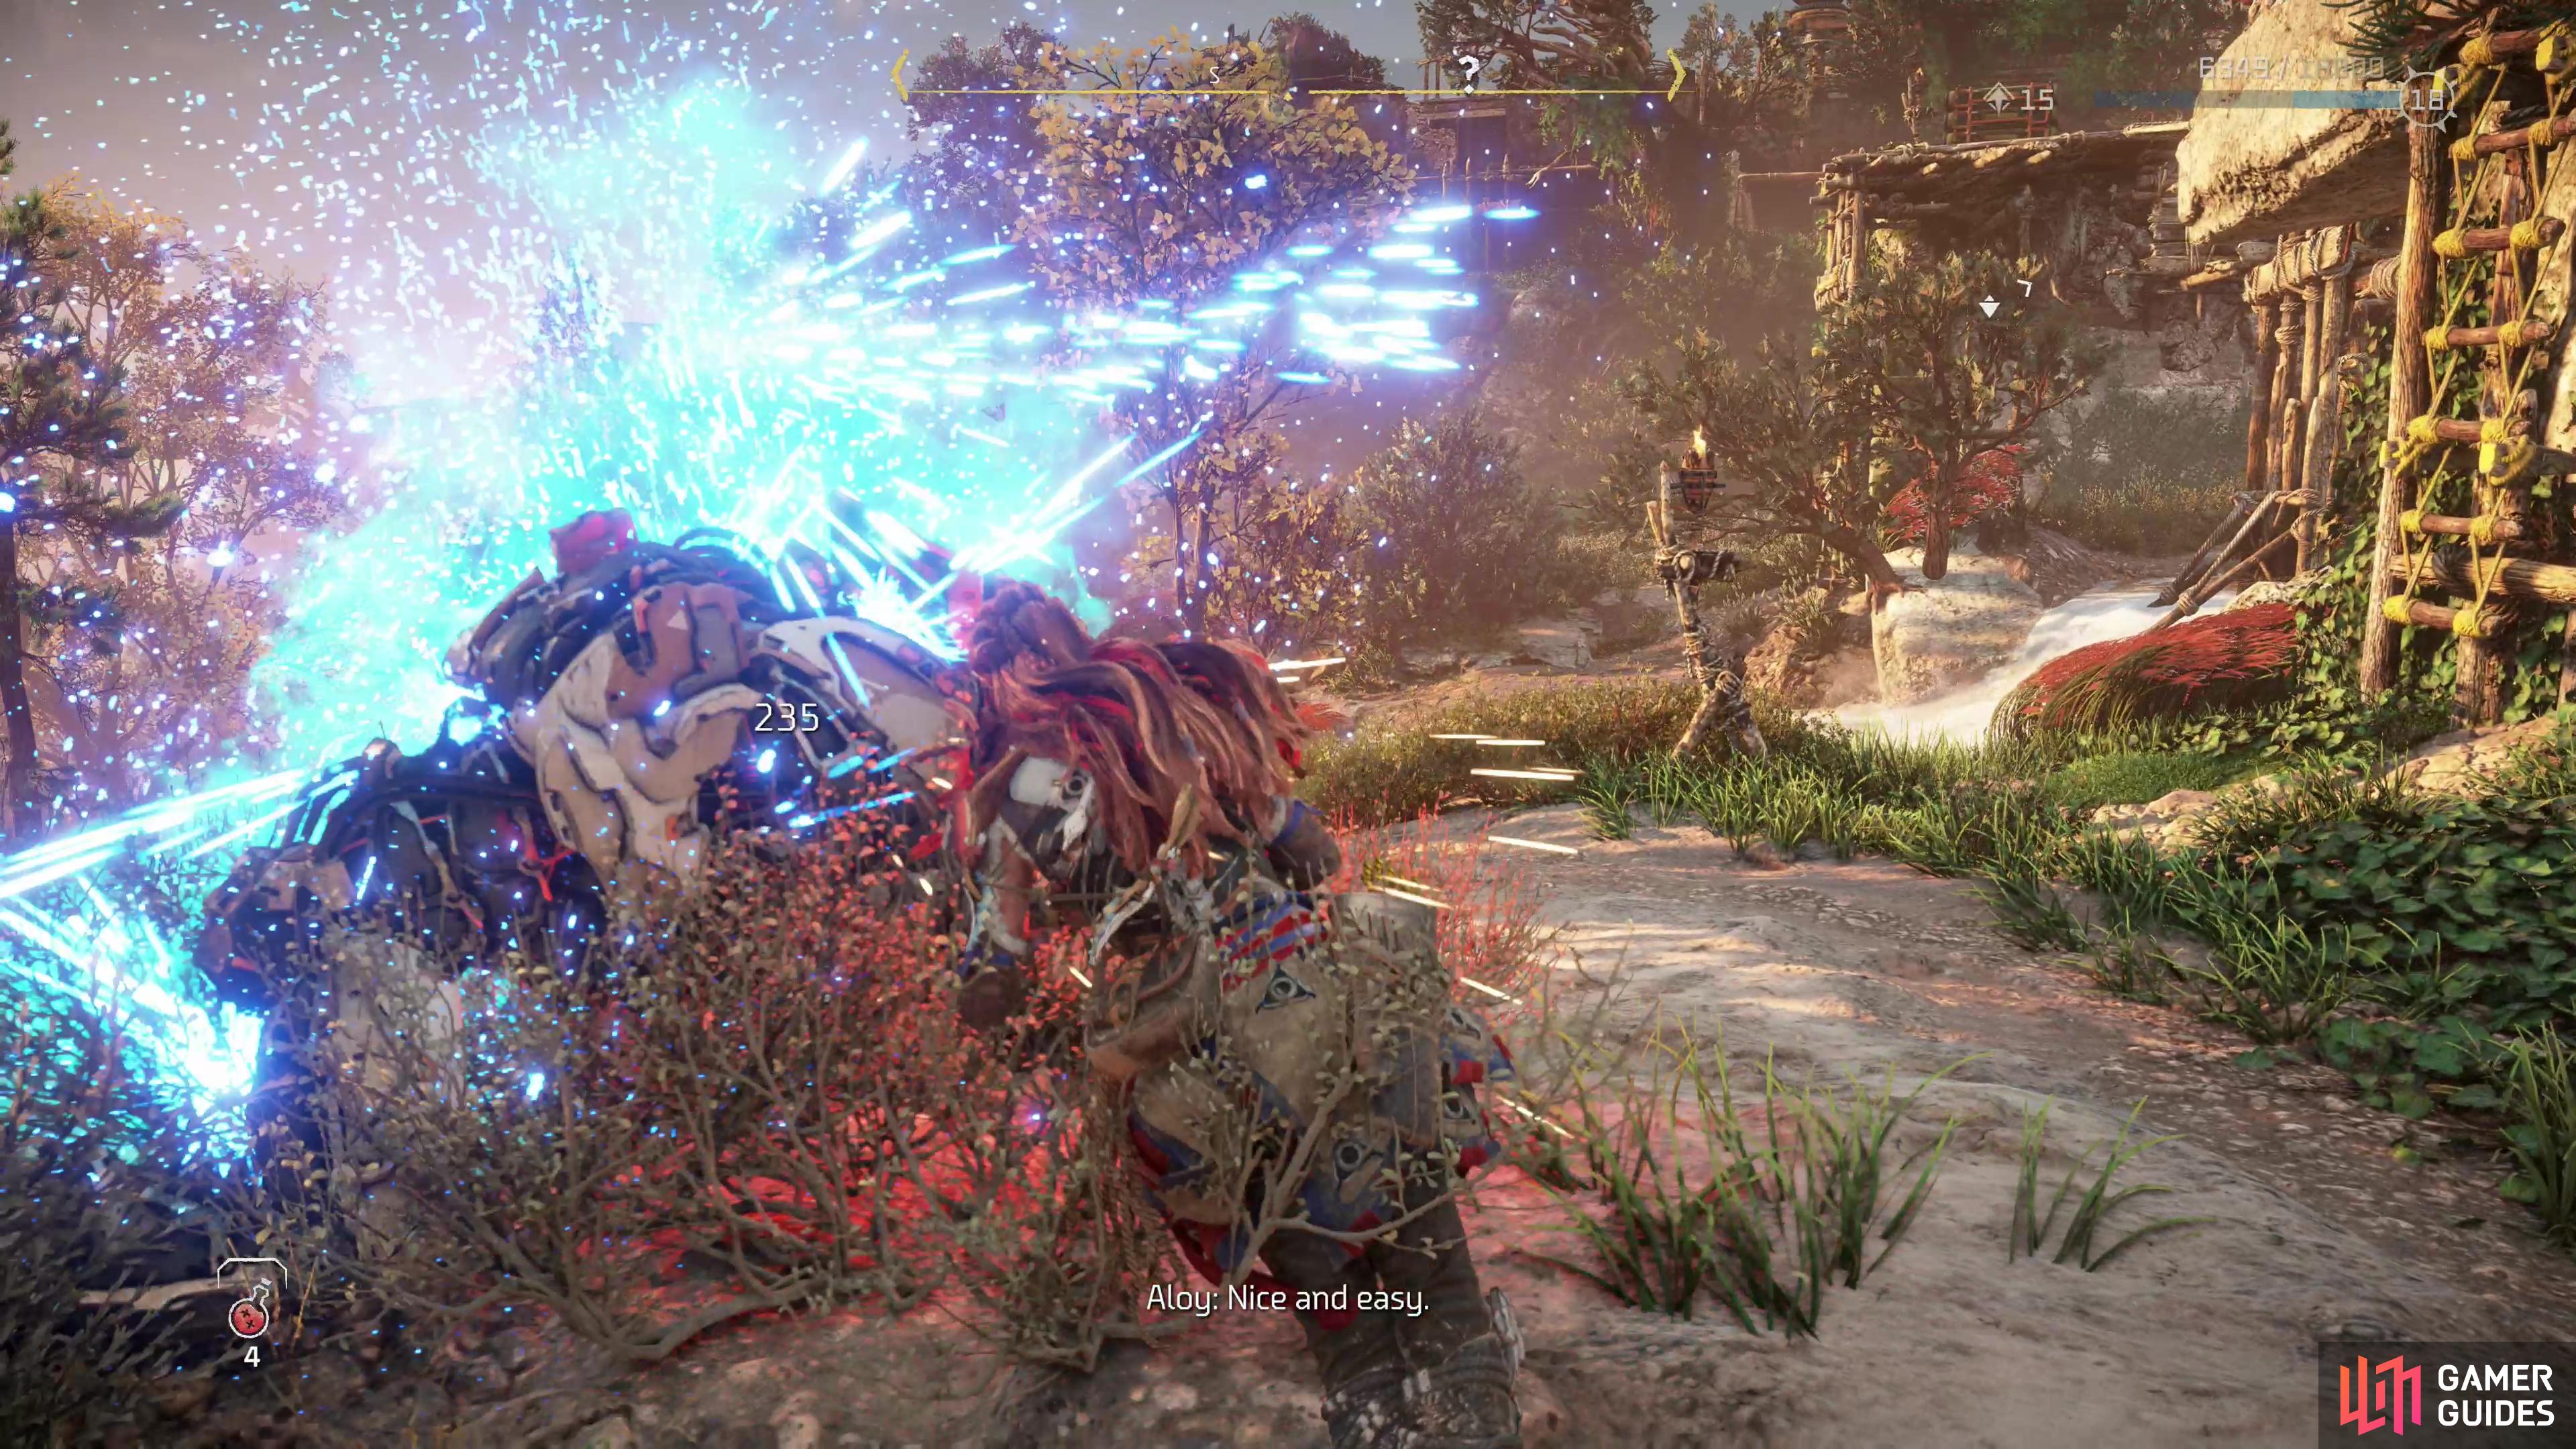
(1 of 4) The enemies inside the base are even easier to dispose of, due to the numerous environmental hazards you can utilize,
How to Clear the Eclipse Base
Inside the walls you’ll find more of the same - around a half dozen cultists and their pet machine. In this case you’re dealing with a lone [Longlegs], which isn’t nearly as dangerous as the three Scrappers from earlier were. If you’re a fan of stealth, this place was generously designed to pamper your murderous inclinations. The guards are dumb, have simple routes, and love turning their backs to the wall. There’s also a fair amount of grass to hide in and numerous environmental objects (log stacks, suspended platforms, blaze containers, etc.) you can exploit.
Clear the camp and make your way to the northwestern corner to find a door, wherein you’ll presumably find Vezreh. Head inside and free some captives, then enter their cage and scan the Bad Way to Go audio datapoint.
Make sure you’re healed up and go through a door in the southwestern corner of the room to confront Vezreh.
(1 of 3) Try to keep cover between you and Vezreh while you target the Ravager’s weakpoints.
How to Defeat Vezreh
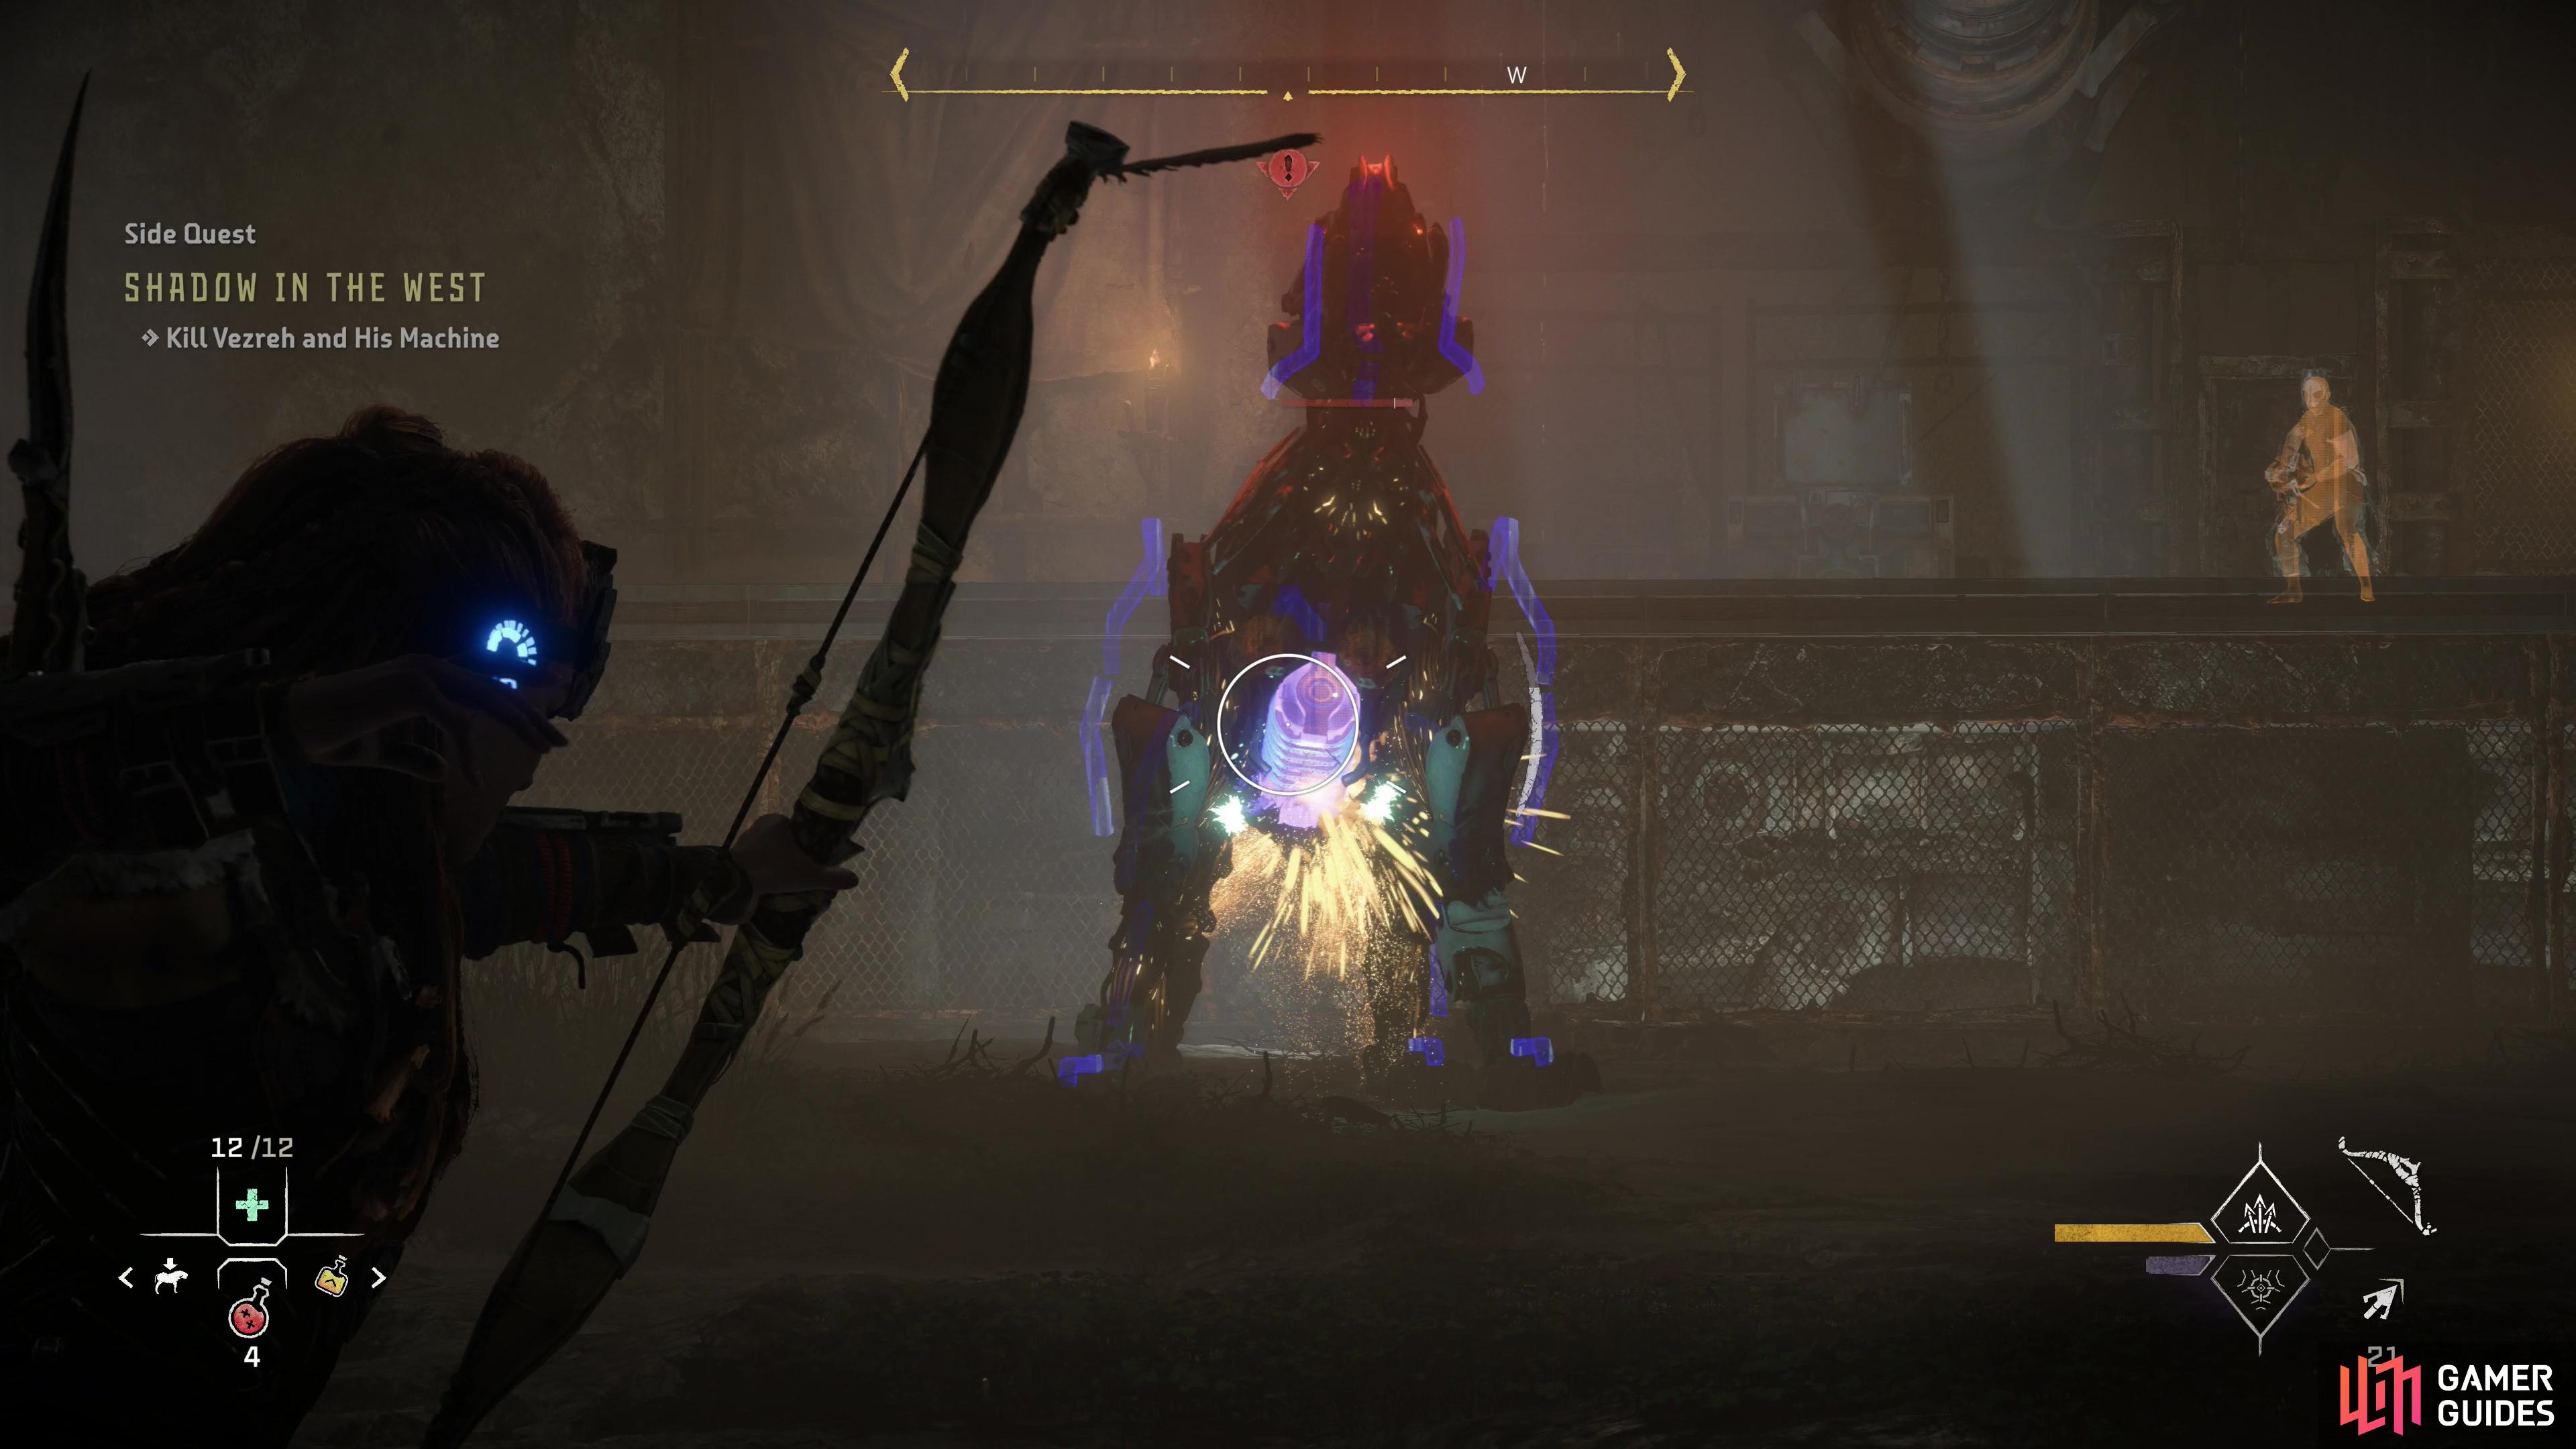
After some chatter with Vezreh, he’ll decide that somehow he and a downgraded [Ravager] are a threat to Aloy. The same Aloy who took down [Thunderjaws] and Deathbringers a few months ago. He’s optimistic, at least.
The Ravager is a midweight machine that’s fairly dangerous, in no small part thanks to its signature Ravager Cannon. This particular model is lacking such a device, which has been commandeered by Vezreh, and he’s not afraid to use it if you make yourself an easy target. Try to stay behind cover (there are pillars and crates you can hide behind, albeit temporarily) and focus on taking down the Ravager.
Despite missing its main armament, the Ravager can still be dangerous, as the feline-like machine is still bulky enough to do damage with its pounces and claws. Depending on what the machine is doing at the moment, target either its belly-mounted Sparker or its back-mounted Glowblast Canisters. Both constitute weakpoints, and if you can lay into them, there won’t be much of the Ravager left by the time they’re detached. The Ravager is also weak to Purgewater and Acid damage.
When the Ravager falls you’ll be free to turn your attention to Vezreh, who is quite content to keep his distance and shoot at you with the Ravager Cannon. Do not stay out in the open for long, as Vezreh can inflict great damage if he’s able to concentrate fire on you for any length of time. A Sharpshot Bow here works wonders - just target Vezreh’s head and he should fall within a few shots.
Investigate Vezreh’s Chamber
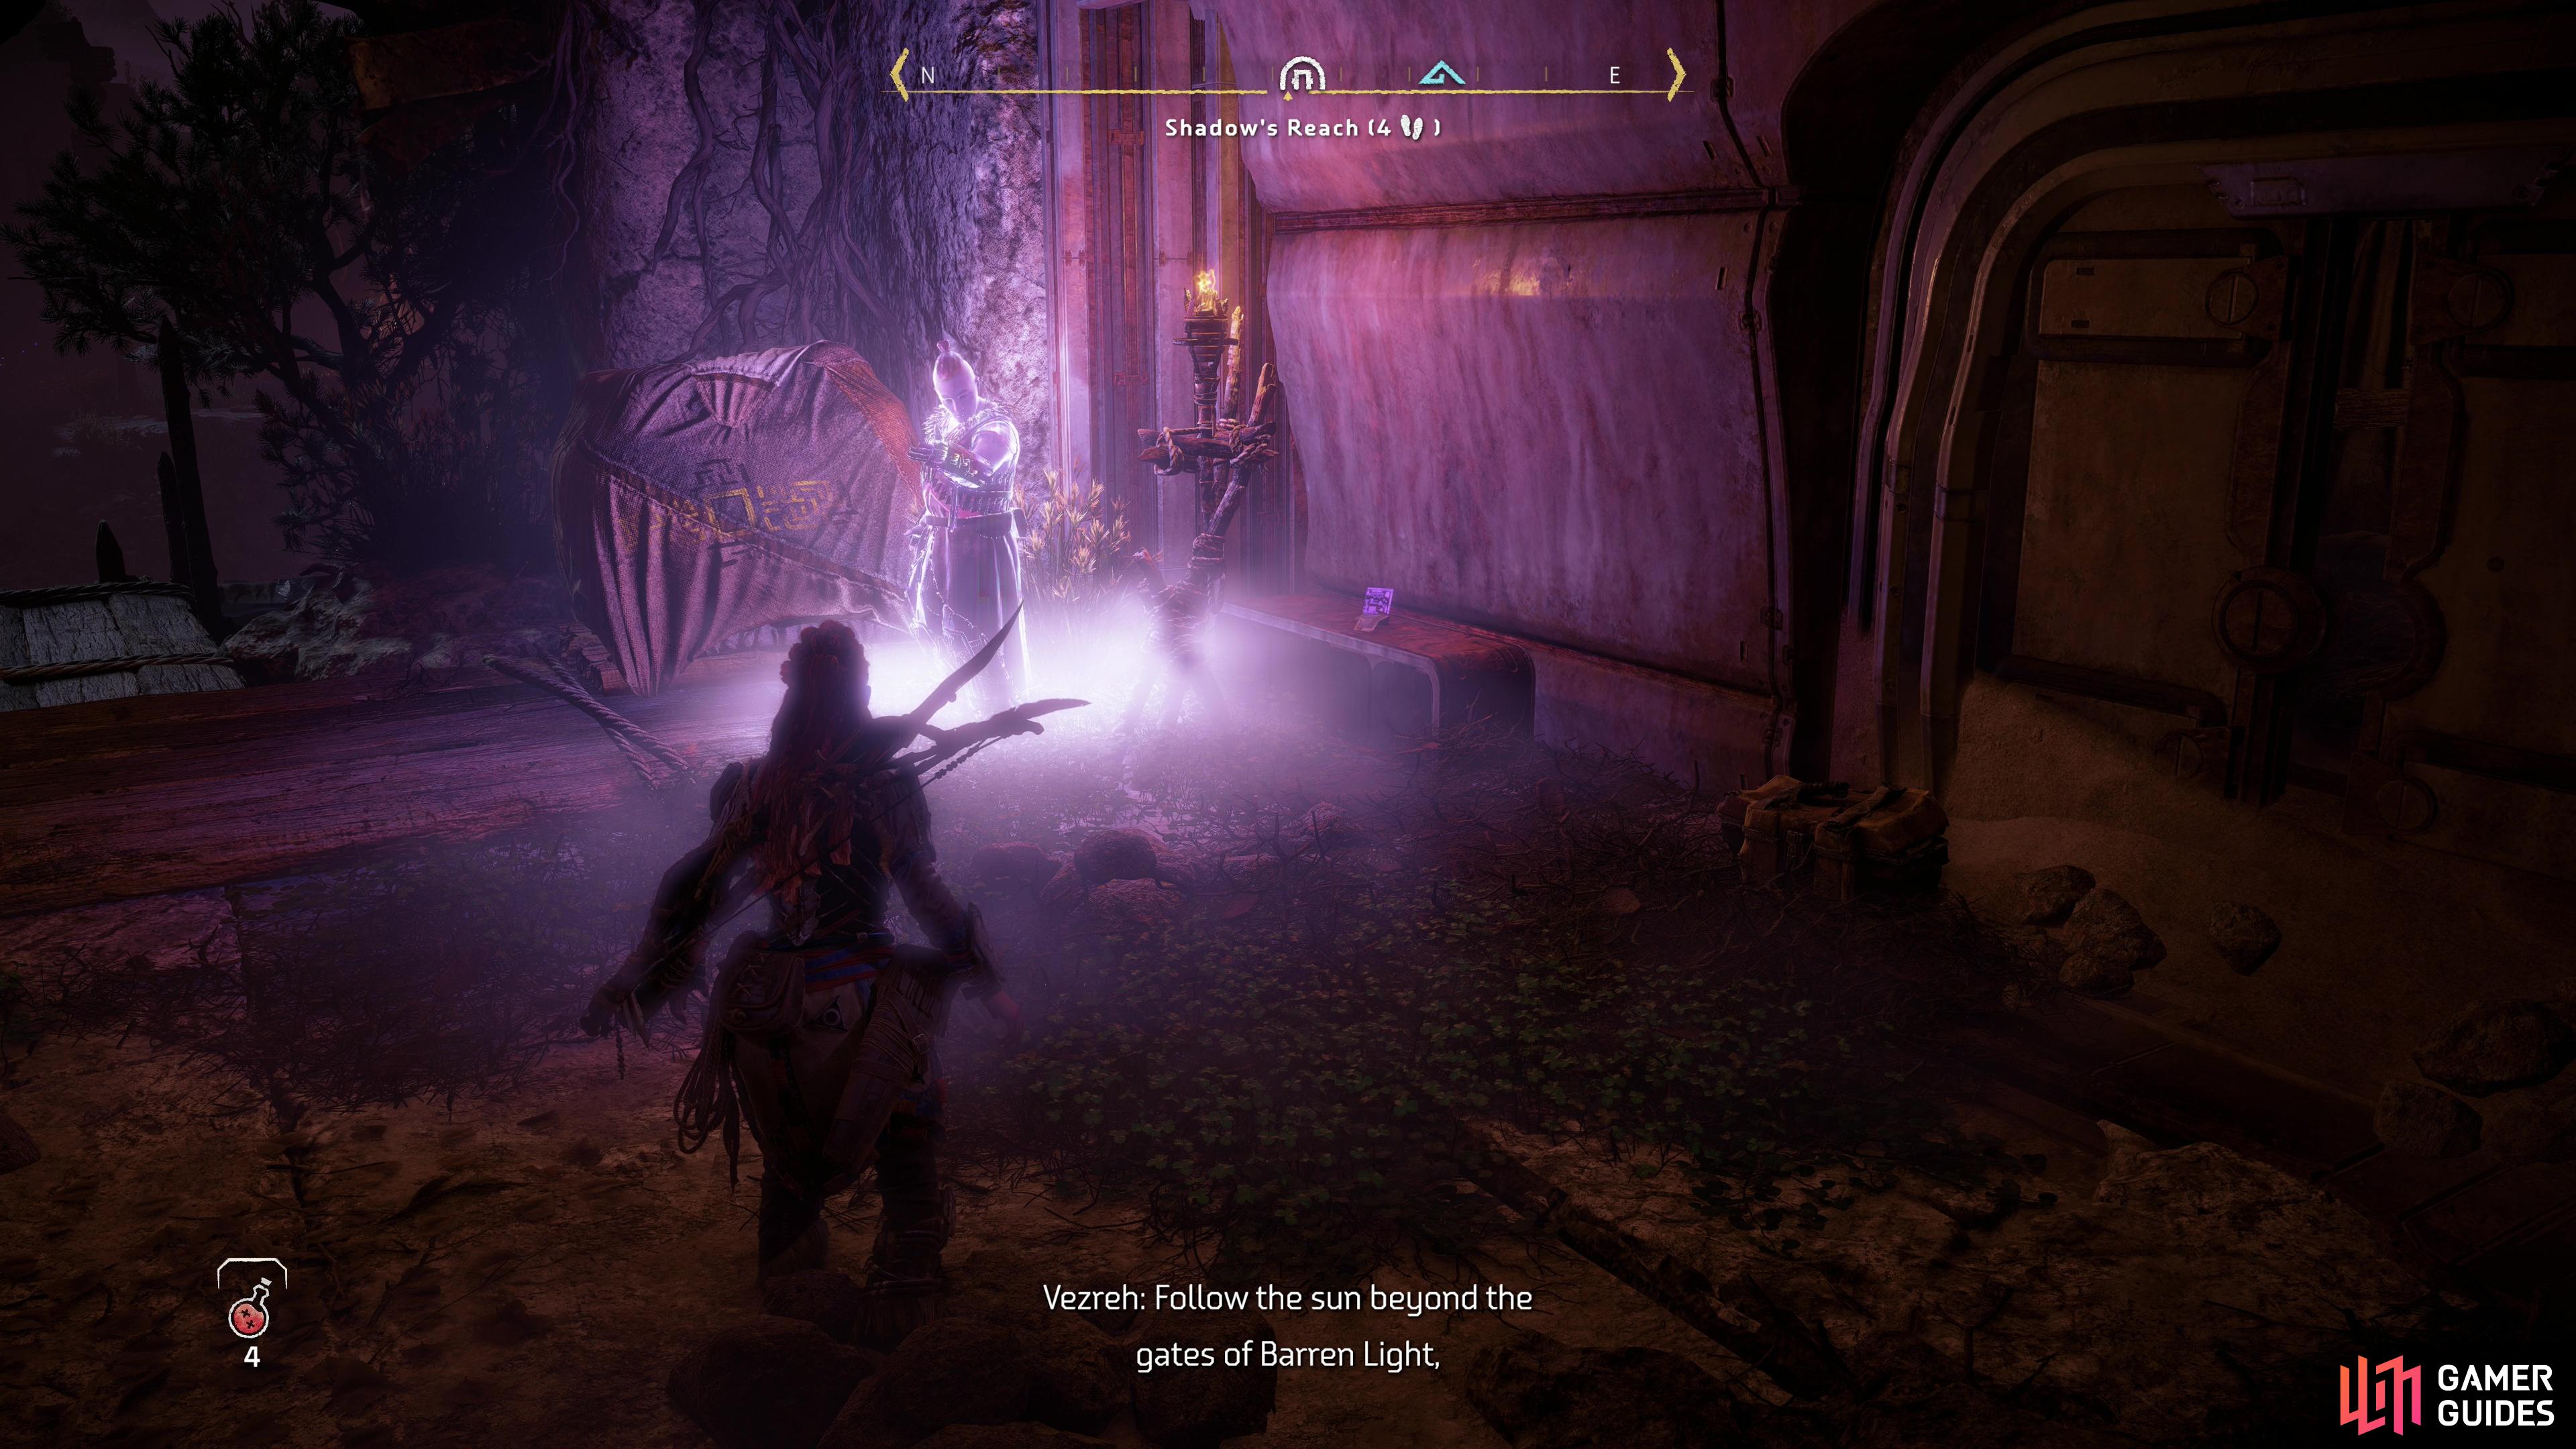
Watch some scenes after the fight and you’ll be in another part of the ancient ruins. When the chatter ends, scan the Vezreh hologram datapoint on a bench near a broken door, then head southwest, turn left (southeast) and go through a door to the left.
Scan The Others audio datapoint on a counter near a brazier, then use your Pullcaster on a vent along the western wall. Once the vent is removed, climb in the duct and continue west through another vent to reach Vezreh’s chambers. Scan the Five Tribes audio datapoint, then return to Yef to complete this quest.
No Comments