
Walkthrough for the Main Quest The Sea of Sands in Horizon Forbidden West, including information about how to craft the Vine Cutter, how to find DEMETER and how to defeat the [Dreadwing].
This quest will begin immediately after completing The Eye of the Earth, where it will be one of three different main quests you can pursue in any order you wish. Seeds of the Past is the highest level quest out of the three, although it’s not entirely too difficult at slightly lower than levels than what the game recommends.
| Starting Location | Prerequisite | Level | Rewards |
|---|---|---|---|
| The Base | Complete The Eye of the Earth | 24 |

You will be headed to a place called The Greenhouse
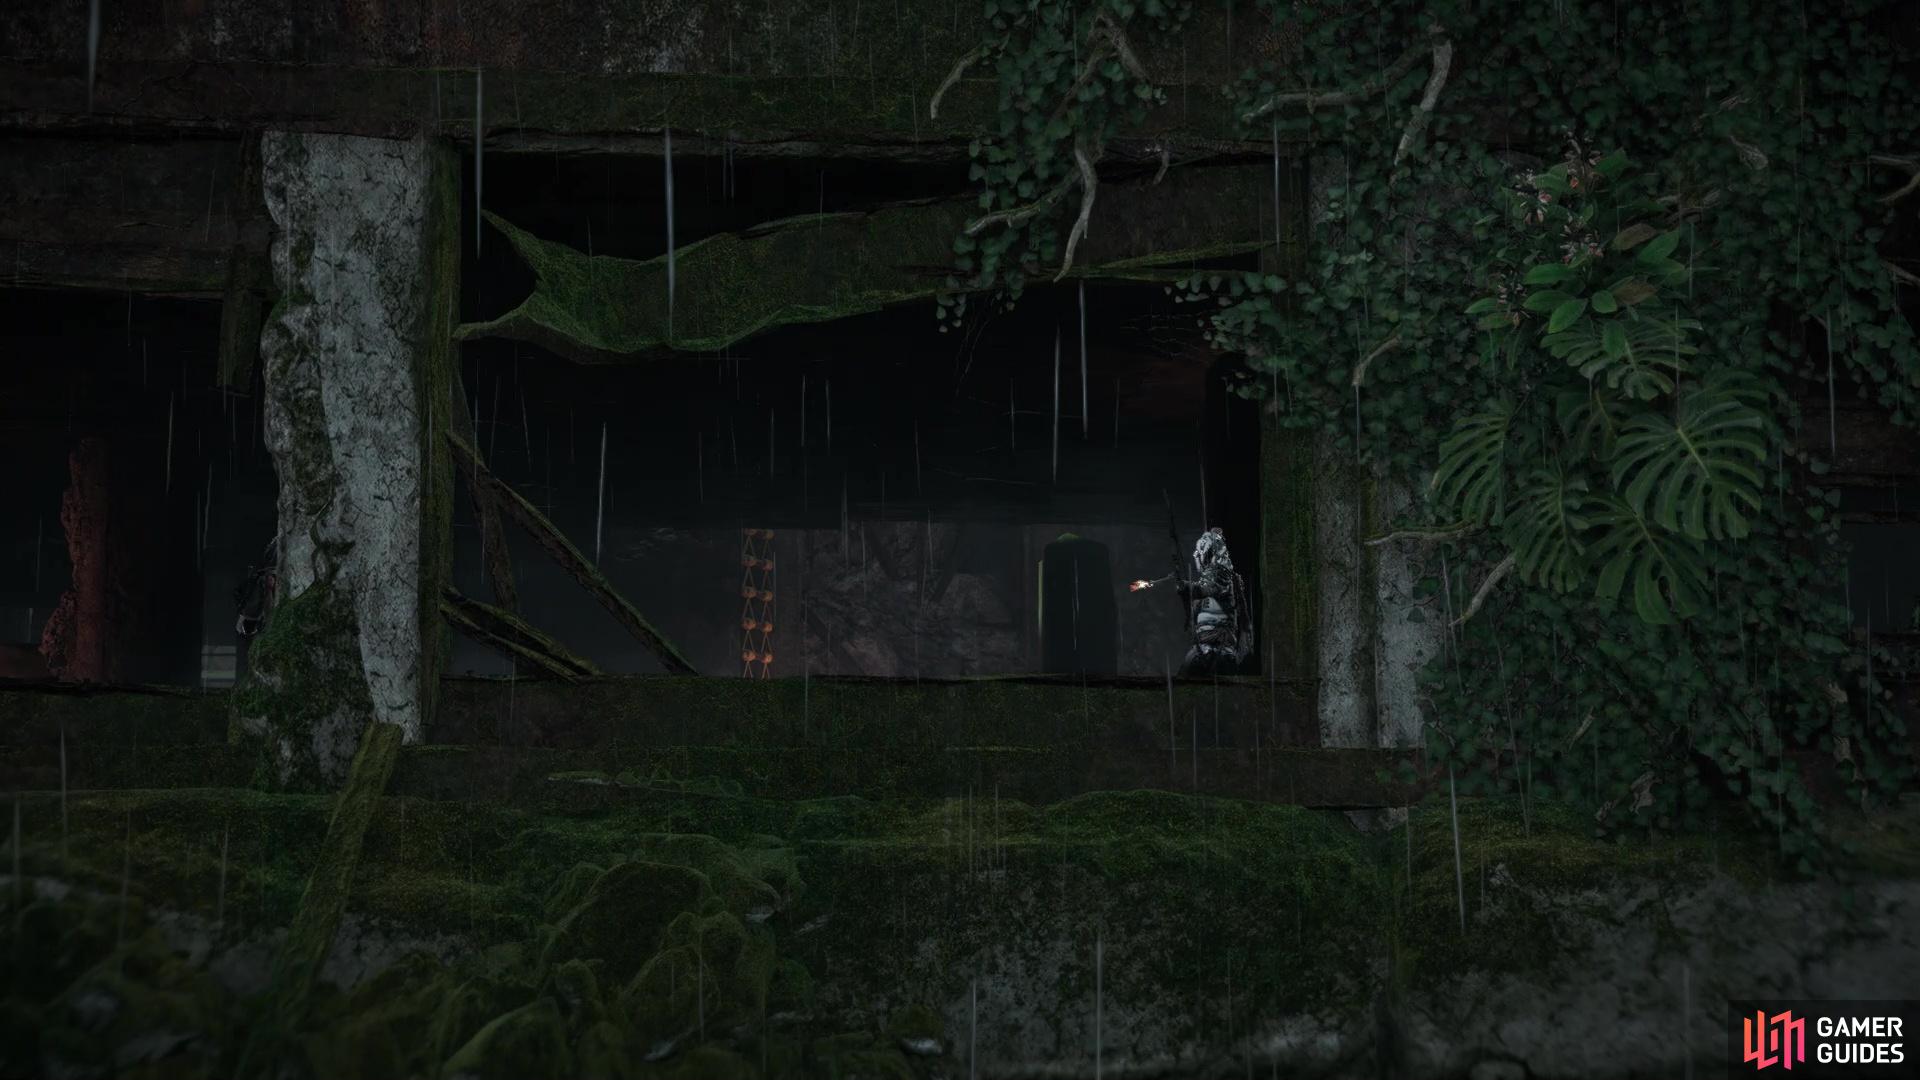
As you approach the facility, you will be ambushed
How to Find DEMETER’s Coordinates
You will need to journey to the northwest portion of the main section of the map, as that is where you will find DEMETER. If you can see the Tallneck in the area (The Stand of the Sentinels), then you will need to go northwest from it. You are looking for a facility called The Greenhouse, but it seems there is only a single way inside the place. Despite being able to squeeze through some of the spaces on the perimeter, there are invisible walls in place, prohibiting from entering the compound from those spots. You are looking for a small bridge to the southeast of the marker’s destination on your map, which is how you will enter.
Kill the Ambushers
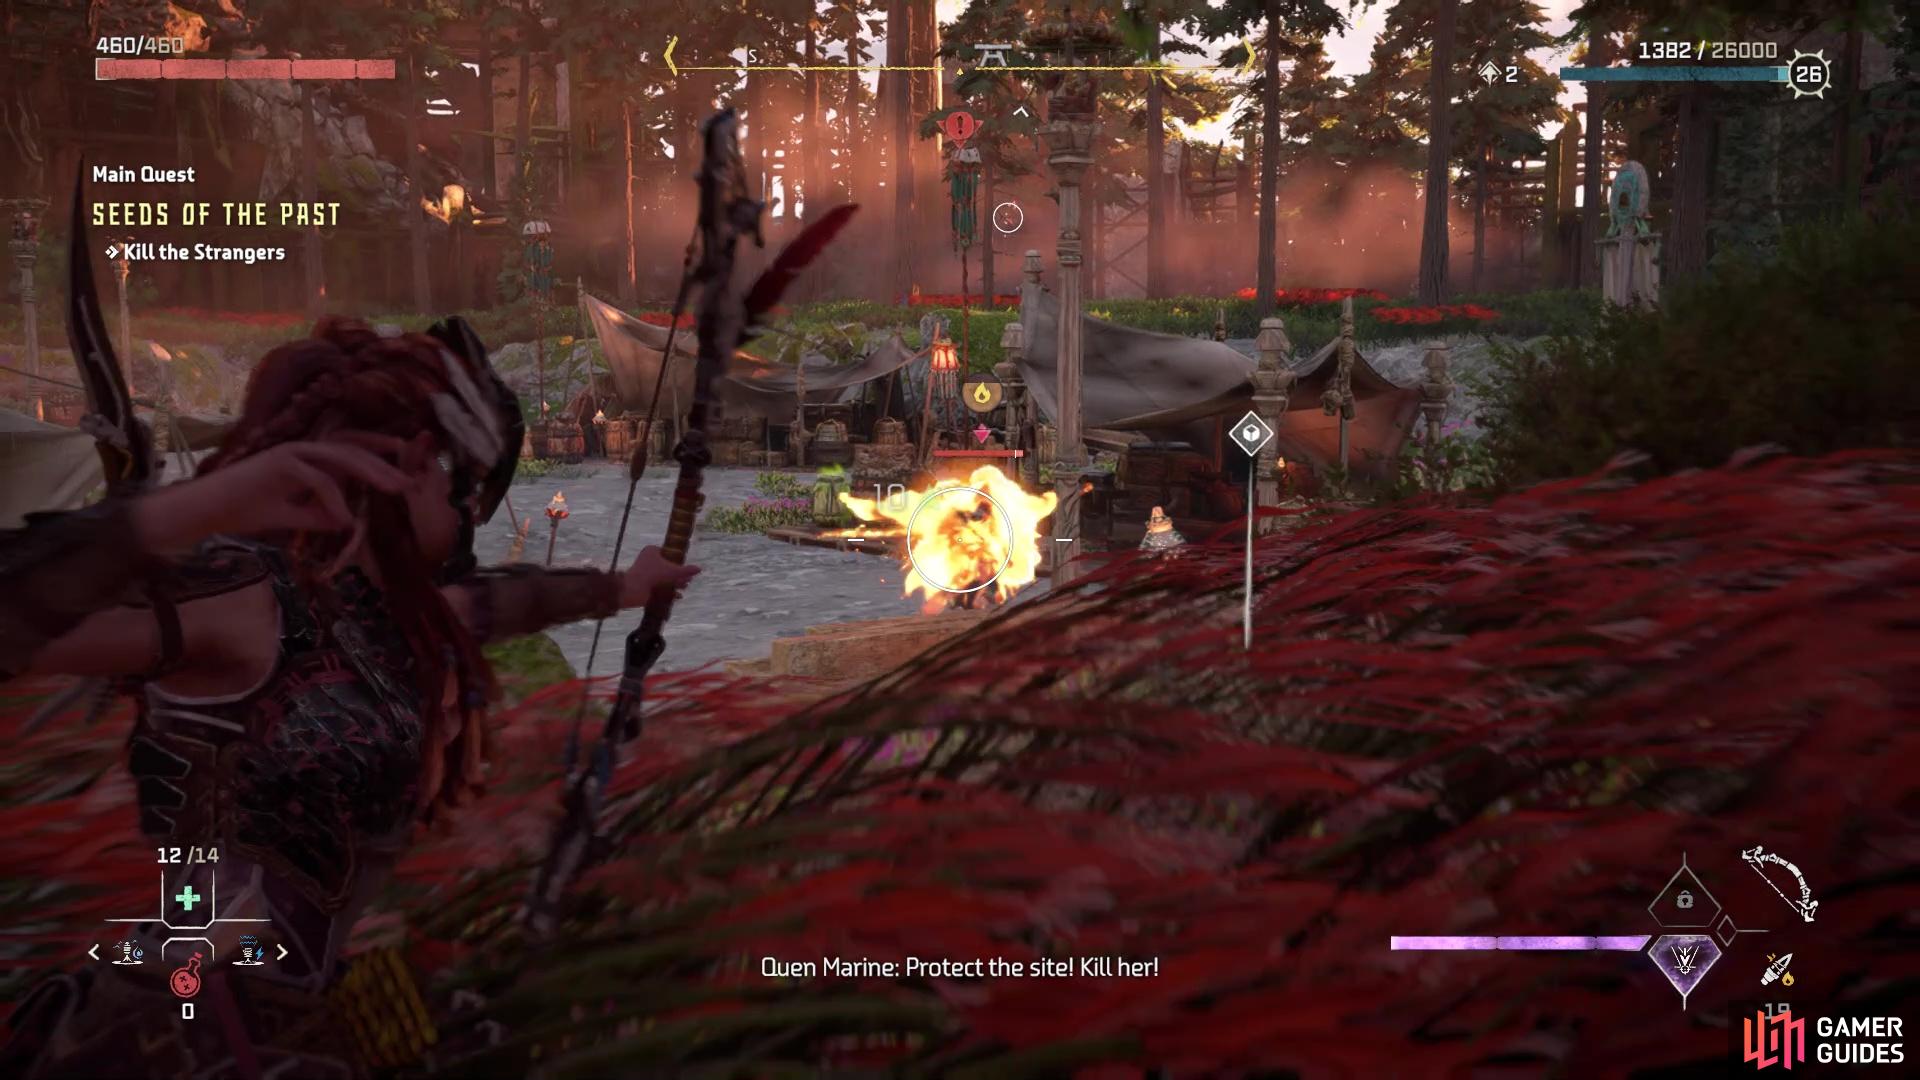
As you approach the ruined building, there will be a cutscene and you will be ambushed by someone. Despite not really knowing who these ambushers are, they are from the Quen tribe. There aren’t too many of them, but some of the Quen will be in the building, on the second floor, raining down arrows on you, so it’s best to quickly establish some cover in the area. You will regain control right behind a car, but there will be a larger vehicle (a bus) to your right. Some of the Quen will come out of the building and rush you, so be aware of these enemies and be ready to counter their melee attacks with some of your own.
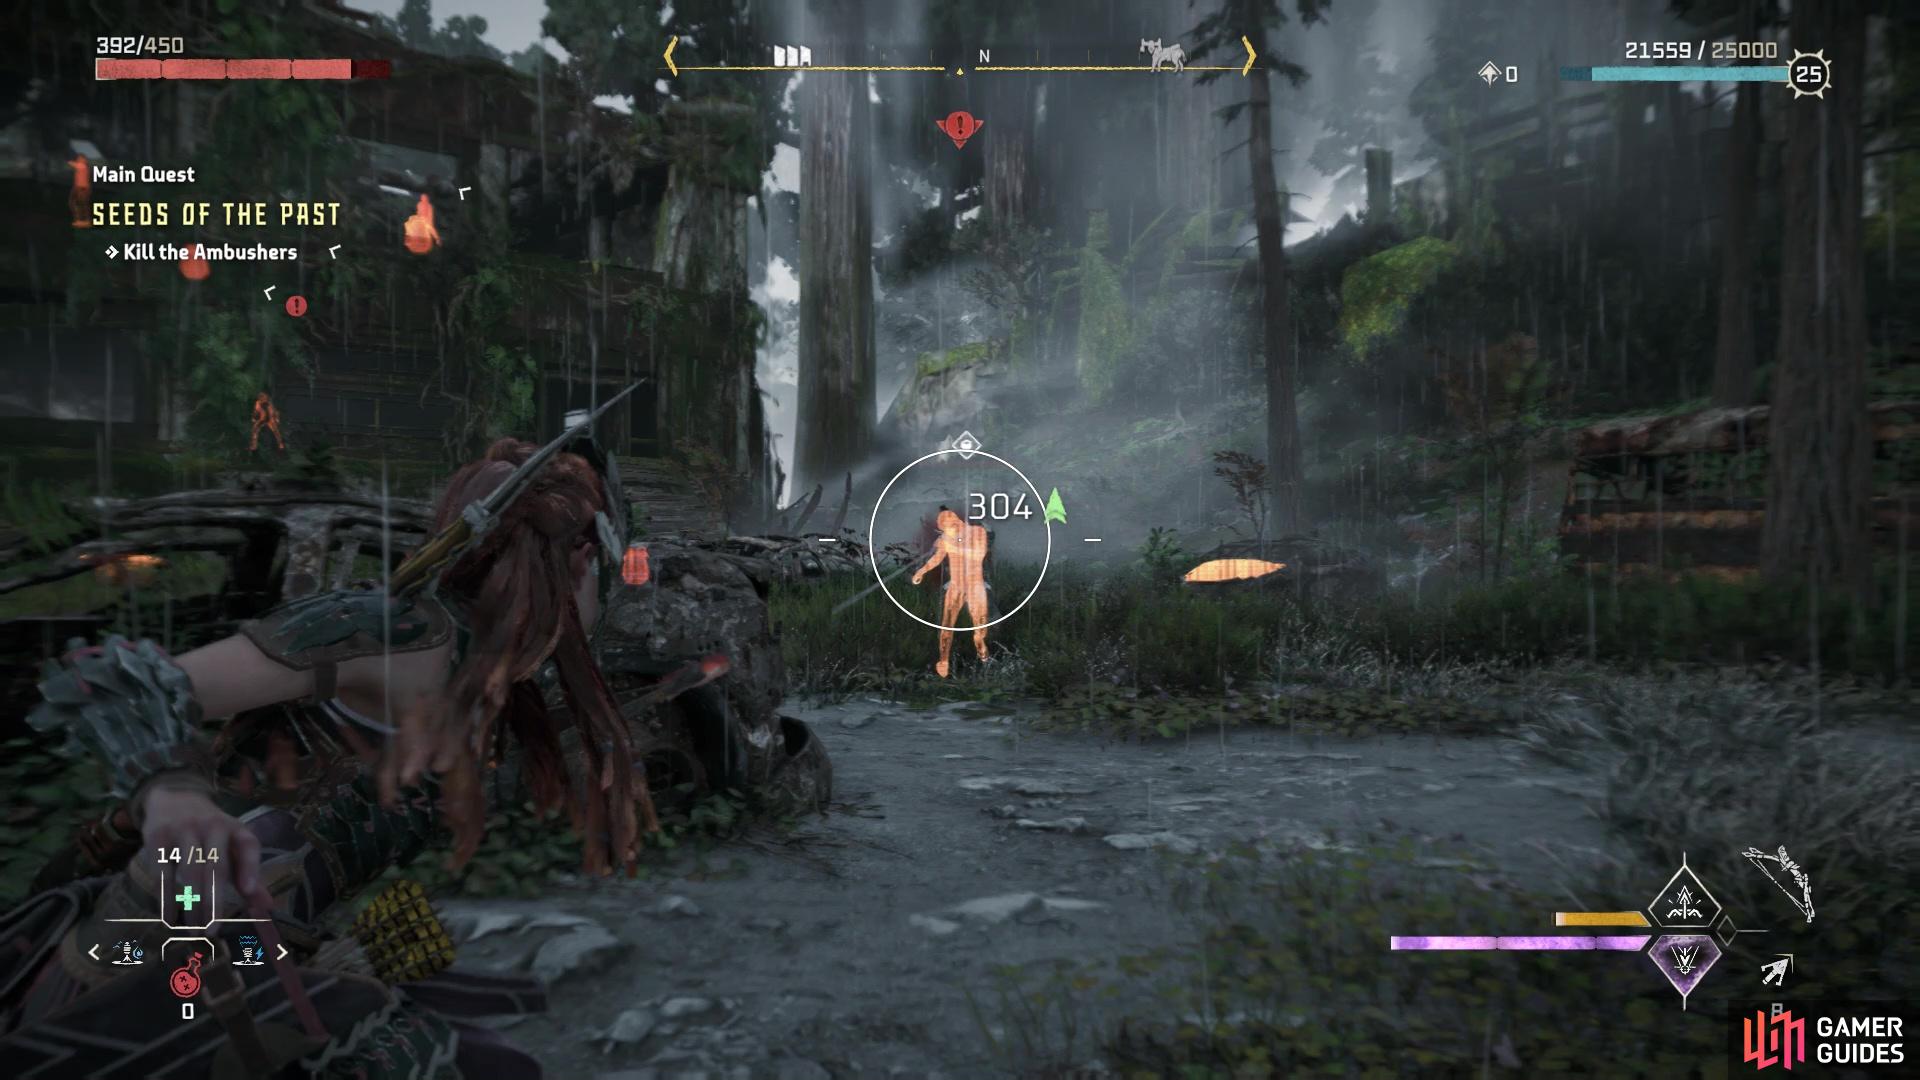
Be mindful of the Quen that will come straight after you

You can use fire ammo to detonate the barrels throughout the compound
Should you have any fire ammo, there are a bunch of Blaze barrels sitting around, especially in the windows of the upper floor of the building. As mentioned before, there aren’t too many enemies here, so they should go down fairly quickly. Feel free to loot the bodies after the fight is over, as well as go inside the building to find some chests with more loot. To continue on with the quest, return outside and head around the building where you just fought, where you will find the entrance to The Greenhouse itself.
Searching The Greenhouse
Upon getting close to the escalator, a Holo Projector will activate, greeting you and welcoming you to The Greenhouse. Continue forward, to the end, where Aloy points out that DEMETER is behind the vines, but a Metal Flower is blocking your way and you have no way to get past it right now. To the right of the Metal Flower, use your Focus to scan the ADMTN_WRTH/BRN_DREAM_1 Datapoint. To the left of the Metal Flower, go through the doorway to find a metal clamp on the wall, so use your Pullcaster to latch on and destroy the wall, allowing passage. Beyond the clamp, there is a vent panel, so do the same thing to open it up.
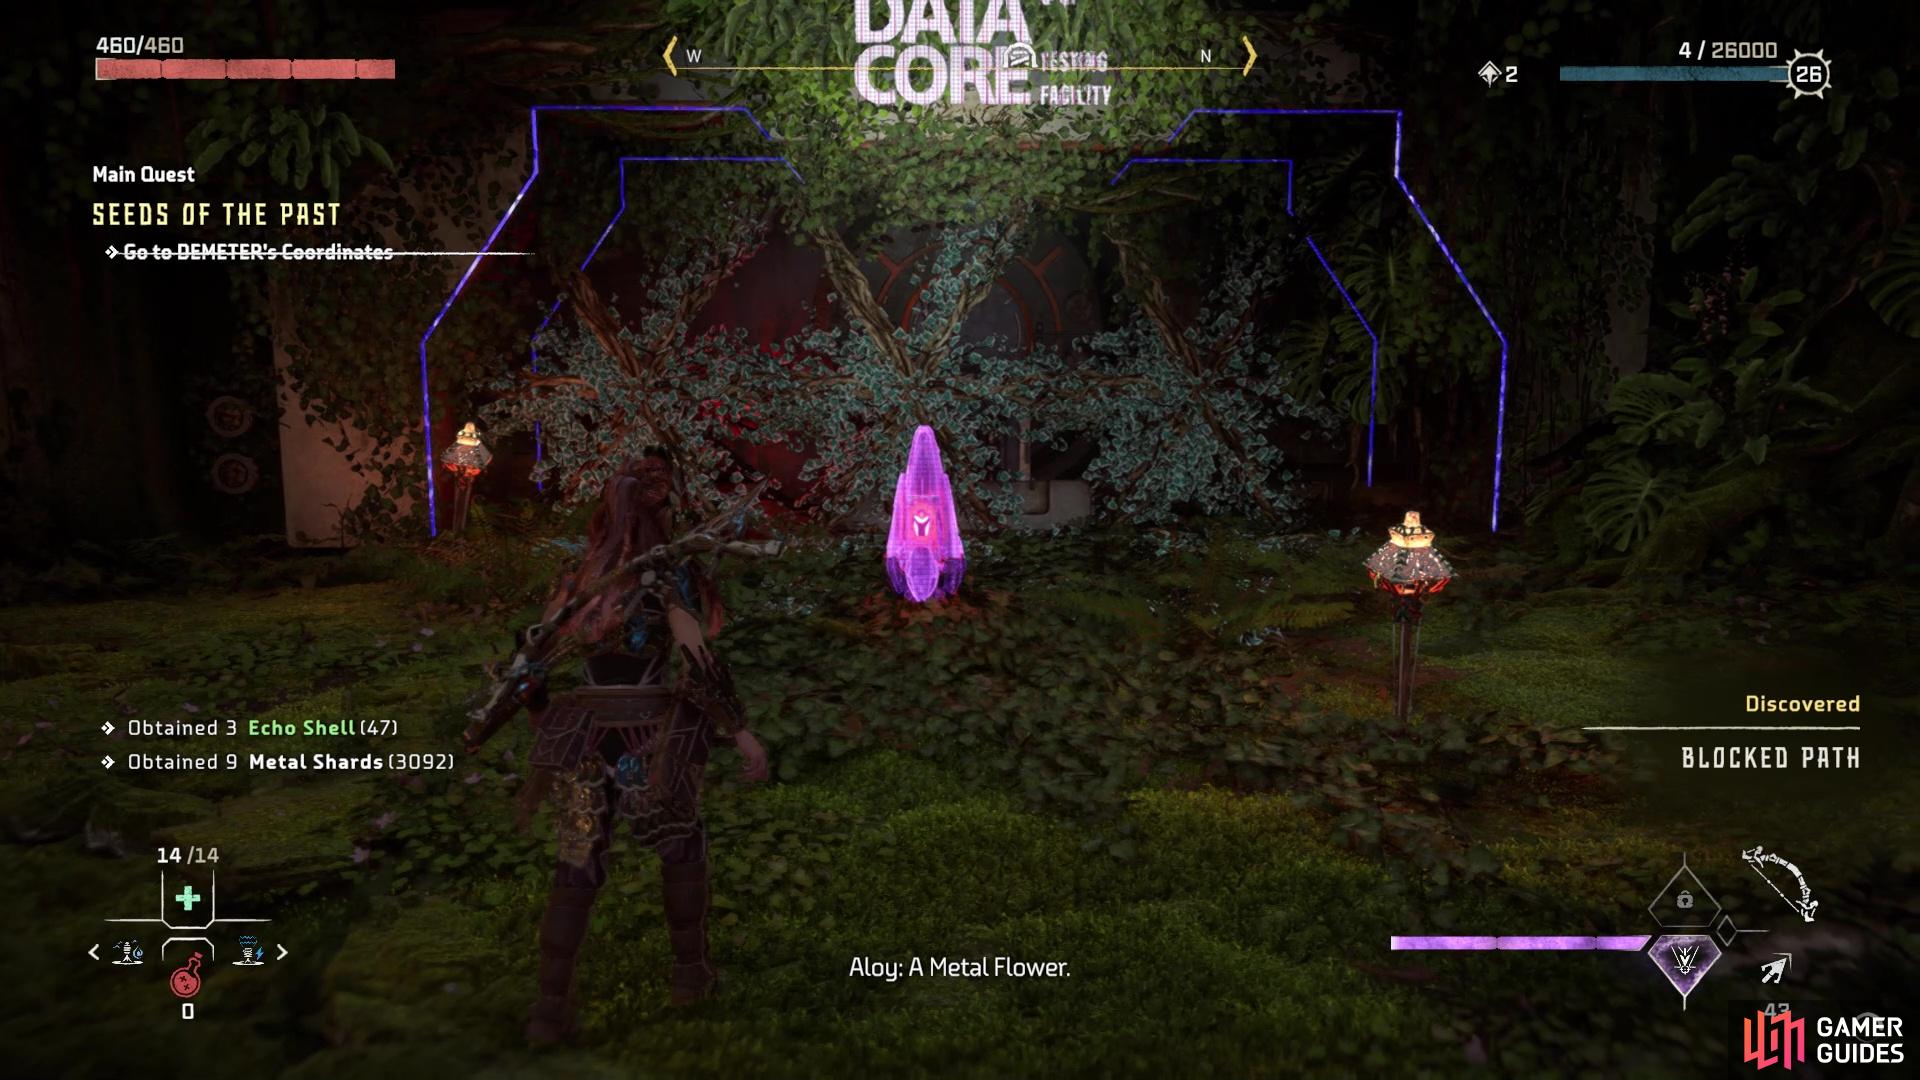
You can’t do anything with the Metal Flower right now
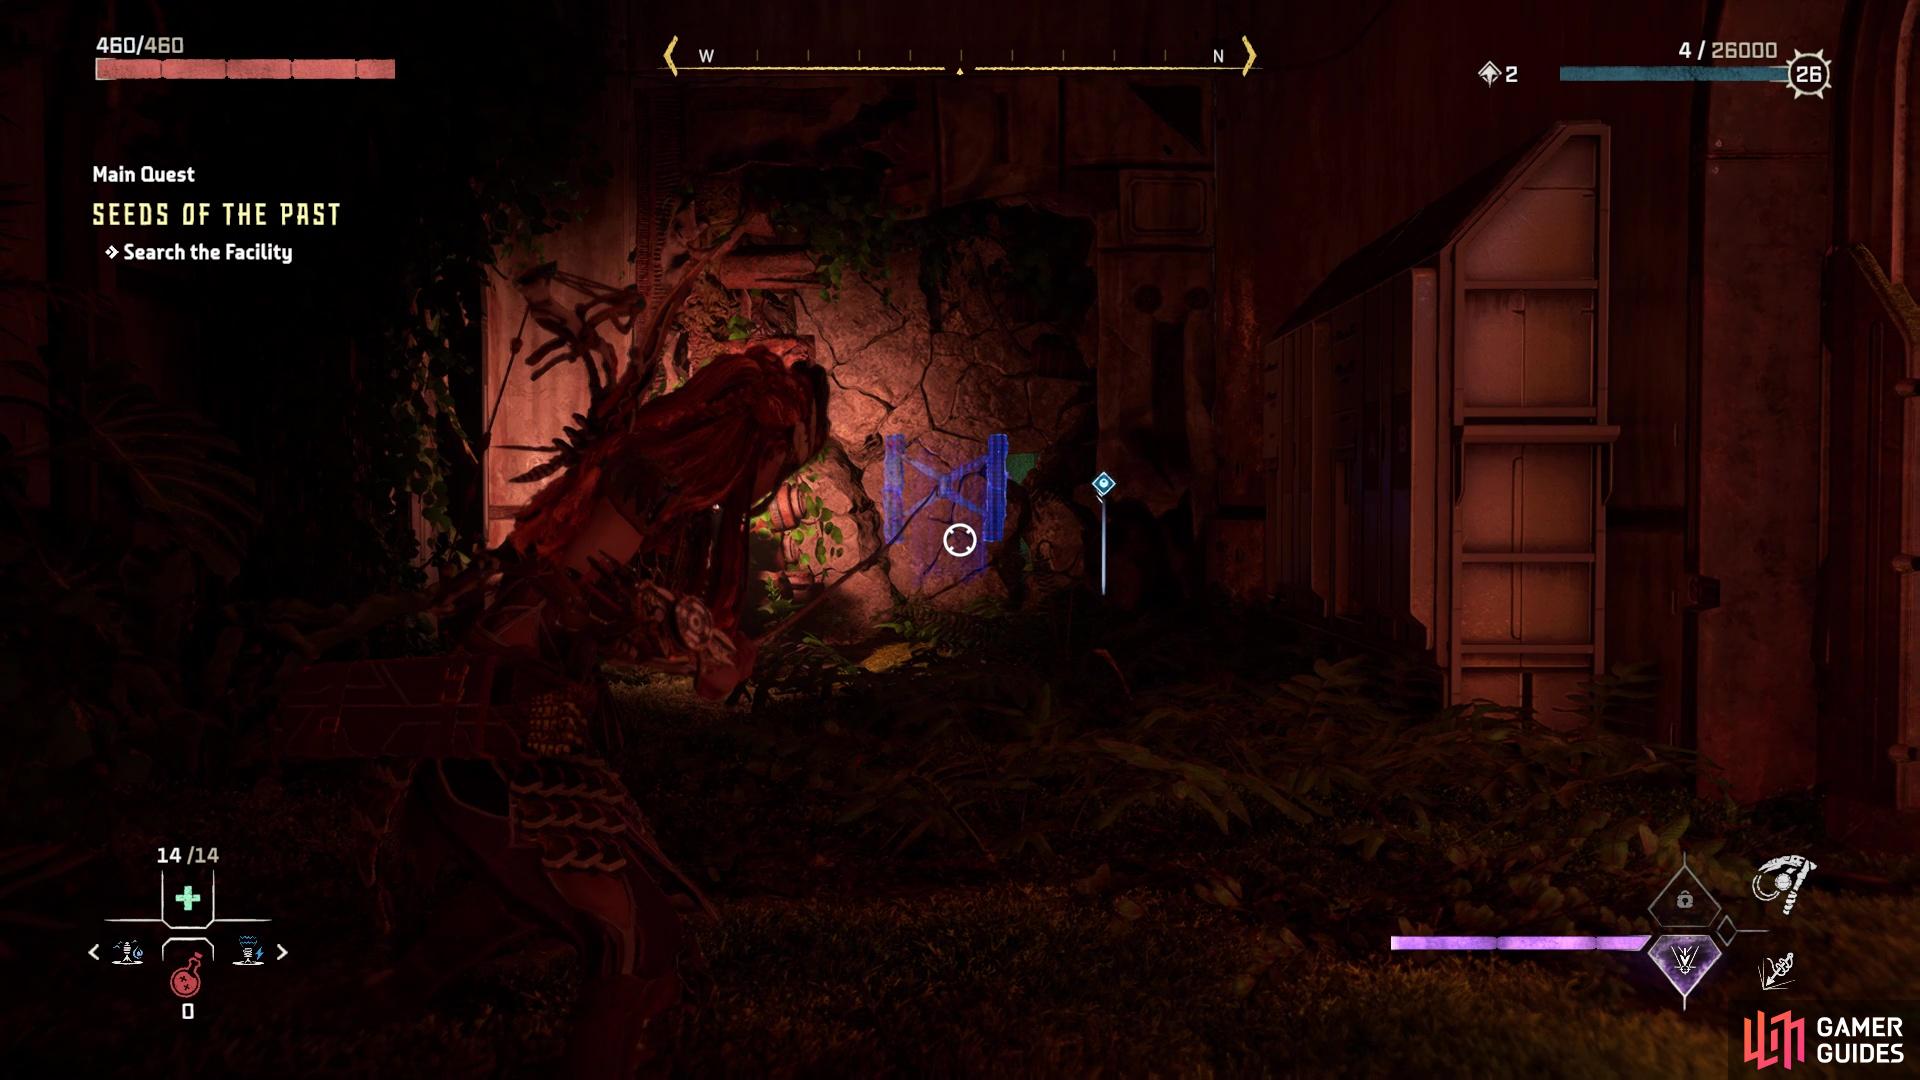
Use the Pullcaster on this clamp to find the way forward
You will be in an elevator shaft, so use a pulse from your Focus to highlight some handholds, giving you direction to climb. Get up to the next opening and into another room, where you can find a new Datapoint, titled A Difficult Beginning. As soon as you arrive in the room, there will be another Holo Projector in front of you, so activate it to learn about the nature of this facility. Your next objective is to find this Test Station Ivy, with Aloy opening the shutters on the windows, overlooking a courtyard-like area with some more of those Quen enemies.
How to Find Test Station Ivy
At first, it looks like there is no way out of the previous room, but approach the window on the eastern end to see a rappel point, allowing you to get to the ground. There will be a number of soldiers here, a little more than in the previous encounter, but nothing you shouldn’t be able to handle. Unlike the previous battle, though, you haven’t initially alerted them, so you do have the element of surprise on your side. Use your Focus to tag all of the enemies in the area, though, before engaging with them, as it gives you a bead on their locations at all times.
There will be a group of three soldiers not far from your location, so you will want to start with them. If going the stealth route, then you will want to use some rocks to break them up and isolate them, if you can. There are also a number of Metalbite containers around the area, so should you have any weapons with Acid ammo, then use those on the containers to trigger an explosion. Most of the soldiers are normal ones, who will either fire at you with normal arrows or run at you to try some melee. There is one, though, an Imperial Guard, who has a bomb launcher, so be wary of that one and take him out if you see him.
After taking out all of the enemies, explore the place a little bit. There is a crafting bench here, in case you need to make/upgrade anything (you will need it a little later), but of important note is a chest underneath one of the tents. Pry it open with your spear, then take a gander inside to find the [Berserker Hunting Bow], a rare hunter bow that allows you to inflict the Berserk state on enemies. This will make enemies attack the closest target, whether they are friend or foe, so it can be useful when facing multiple enemies. When you’re done checking out the area, go to the marker and through the door to initiate a cutscene, introducing a new NPC named Alva.
You’ll be able to check out some dialog options with Alva, which will properly introduce you to the Quen and why they are here. When you’ve exhausted all options, pick the one to continue the quest and you will find a way forward. Run over to the other console and activate it (there’s a Datapoint named Growing Concern right next to it) to open the hatch, letting you enter the underground pipe.
Searching for an Exit
Once you’re down in the sewer-like area, with a quick quip from Alva about it being a maze, just follow the tunnels until you come to a Firegleam. Ignite it to destroy the wall, then scan for the ADMTN_WRTH/BRN_DREAM_2 Datapoint before finding yourselves in what appears to be a dead end. On the wall right next to the one chest will be a clamp you can latch onto with the Pullcaster, so do that to destroy the wall and make an opening. This will place you in another set of sewers to explore, complete with more chests to loot of course. Eventually, you will reach a ladder that leads to a hatch, which you can open to get back above ground. You will see a giant flying machine pass by once back outside, then Aloy with spot some other machines.
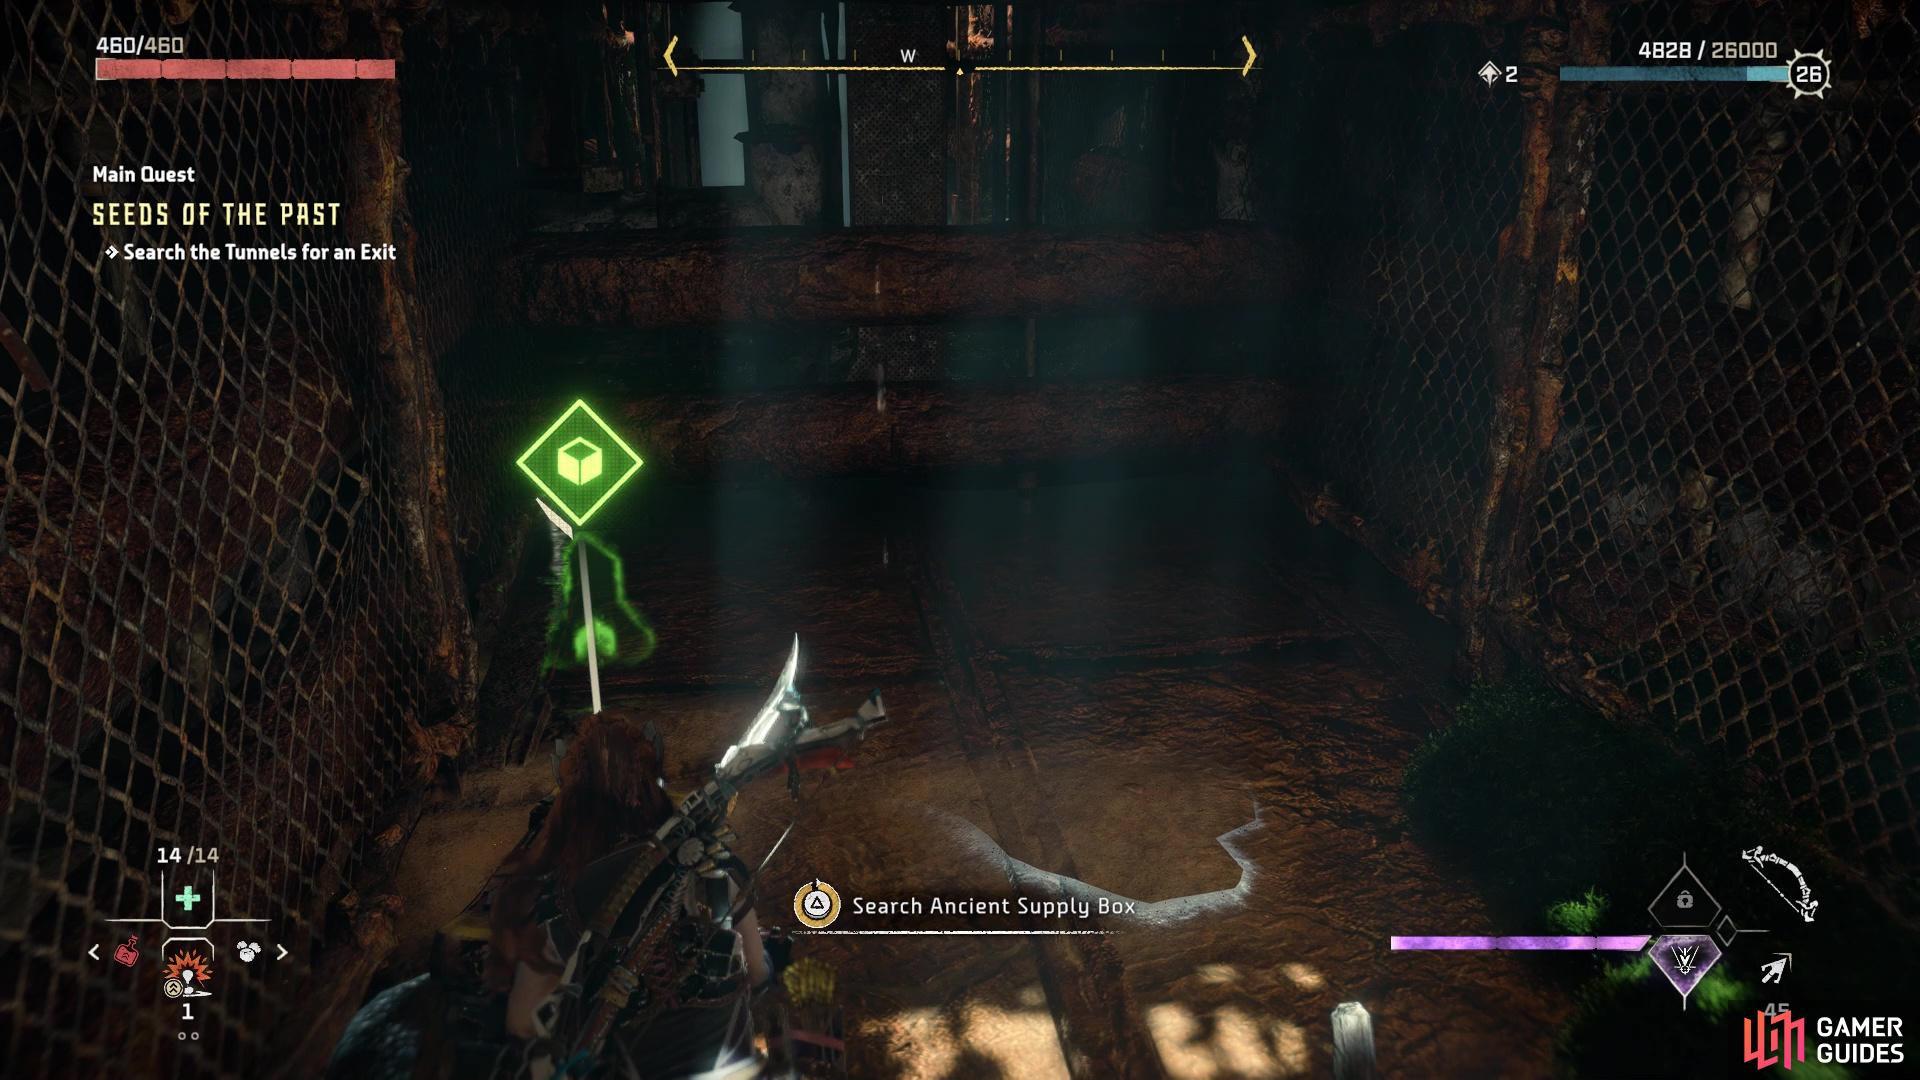
There will be a number of chests underground, at the dead ends
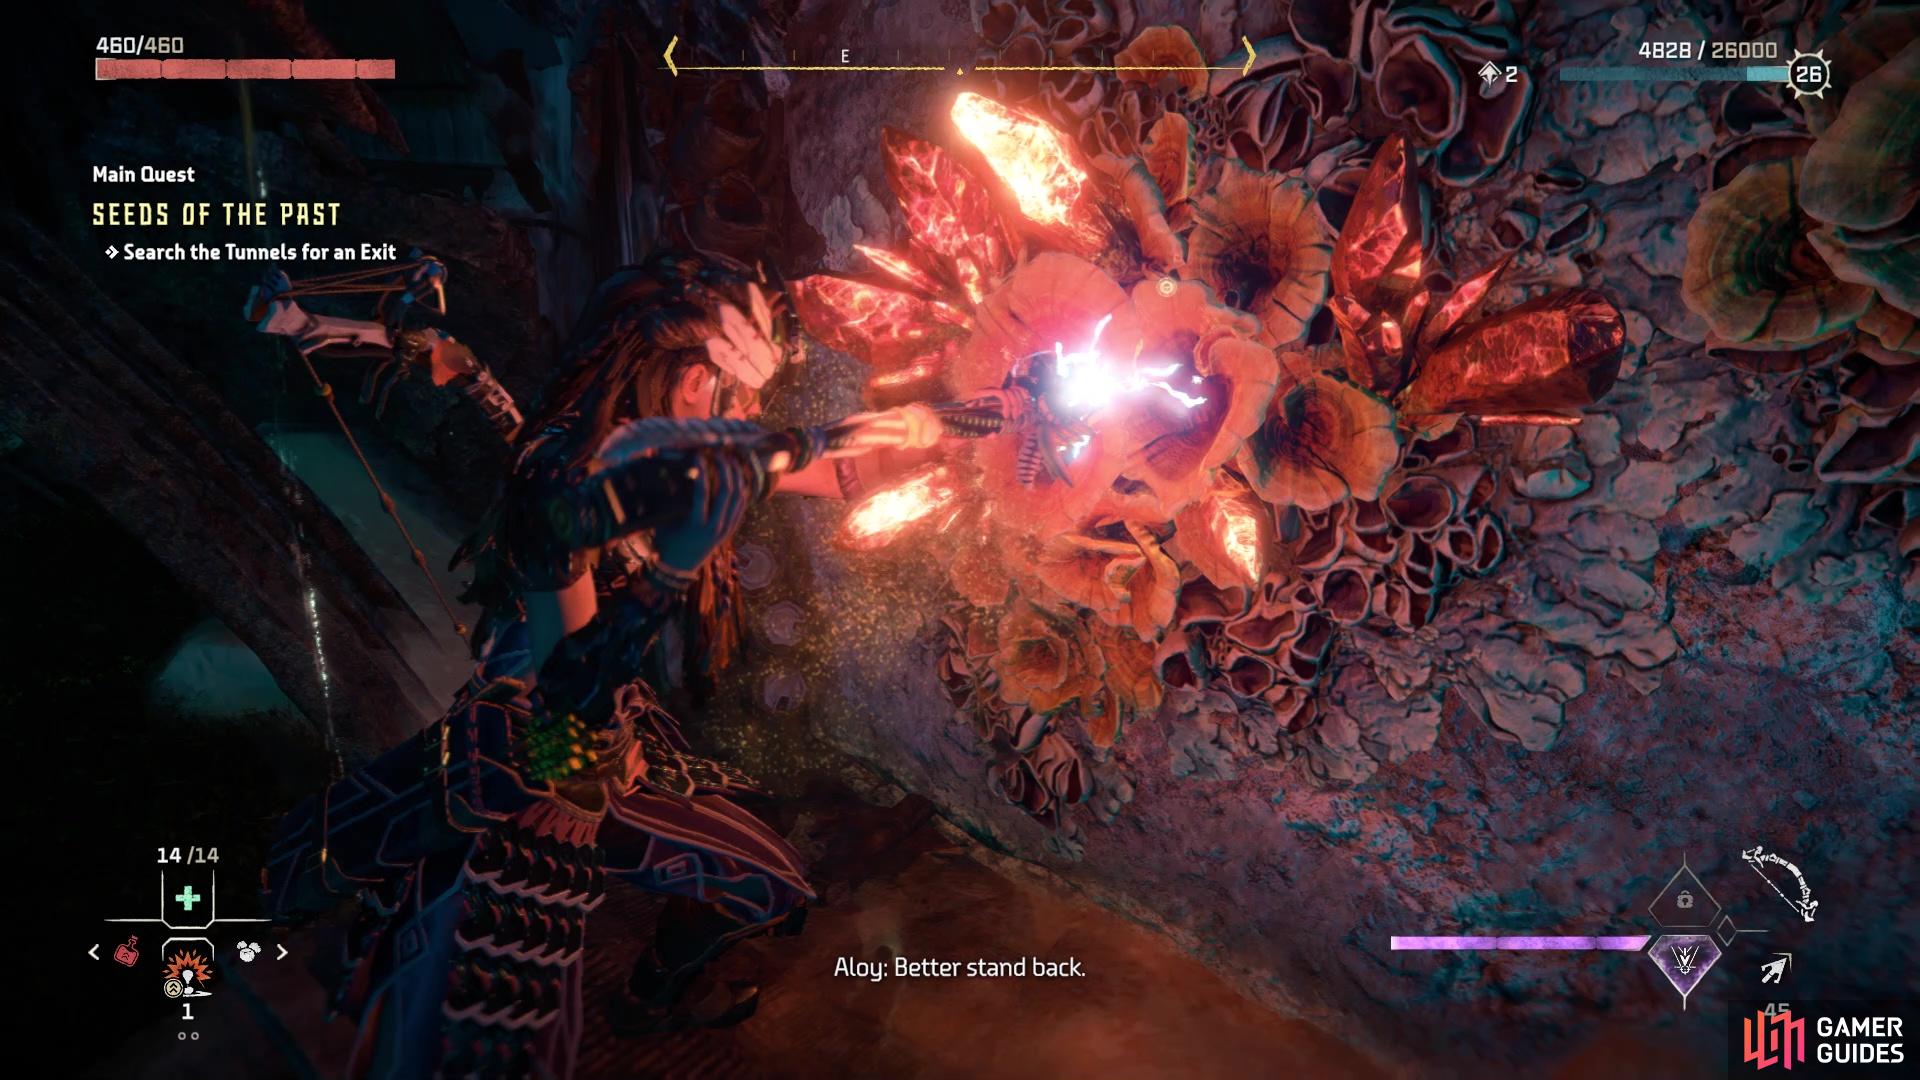
Ignite the Firegleam here to blast open a hole to continue
Find an Entrance to Test Station Elm
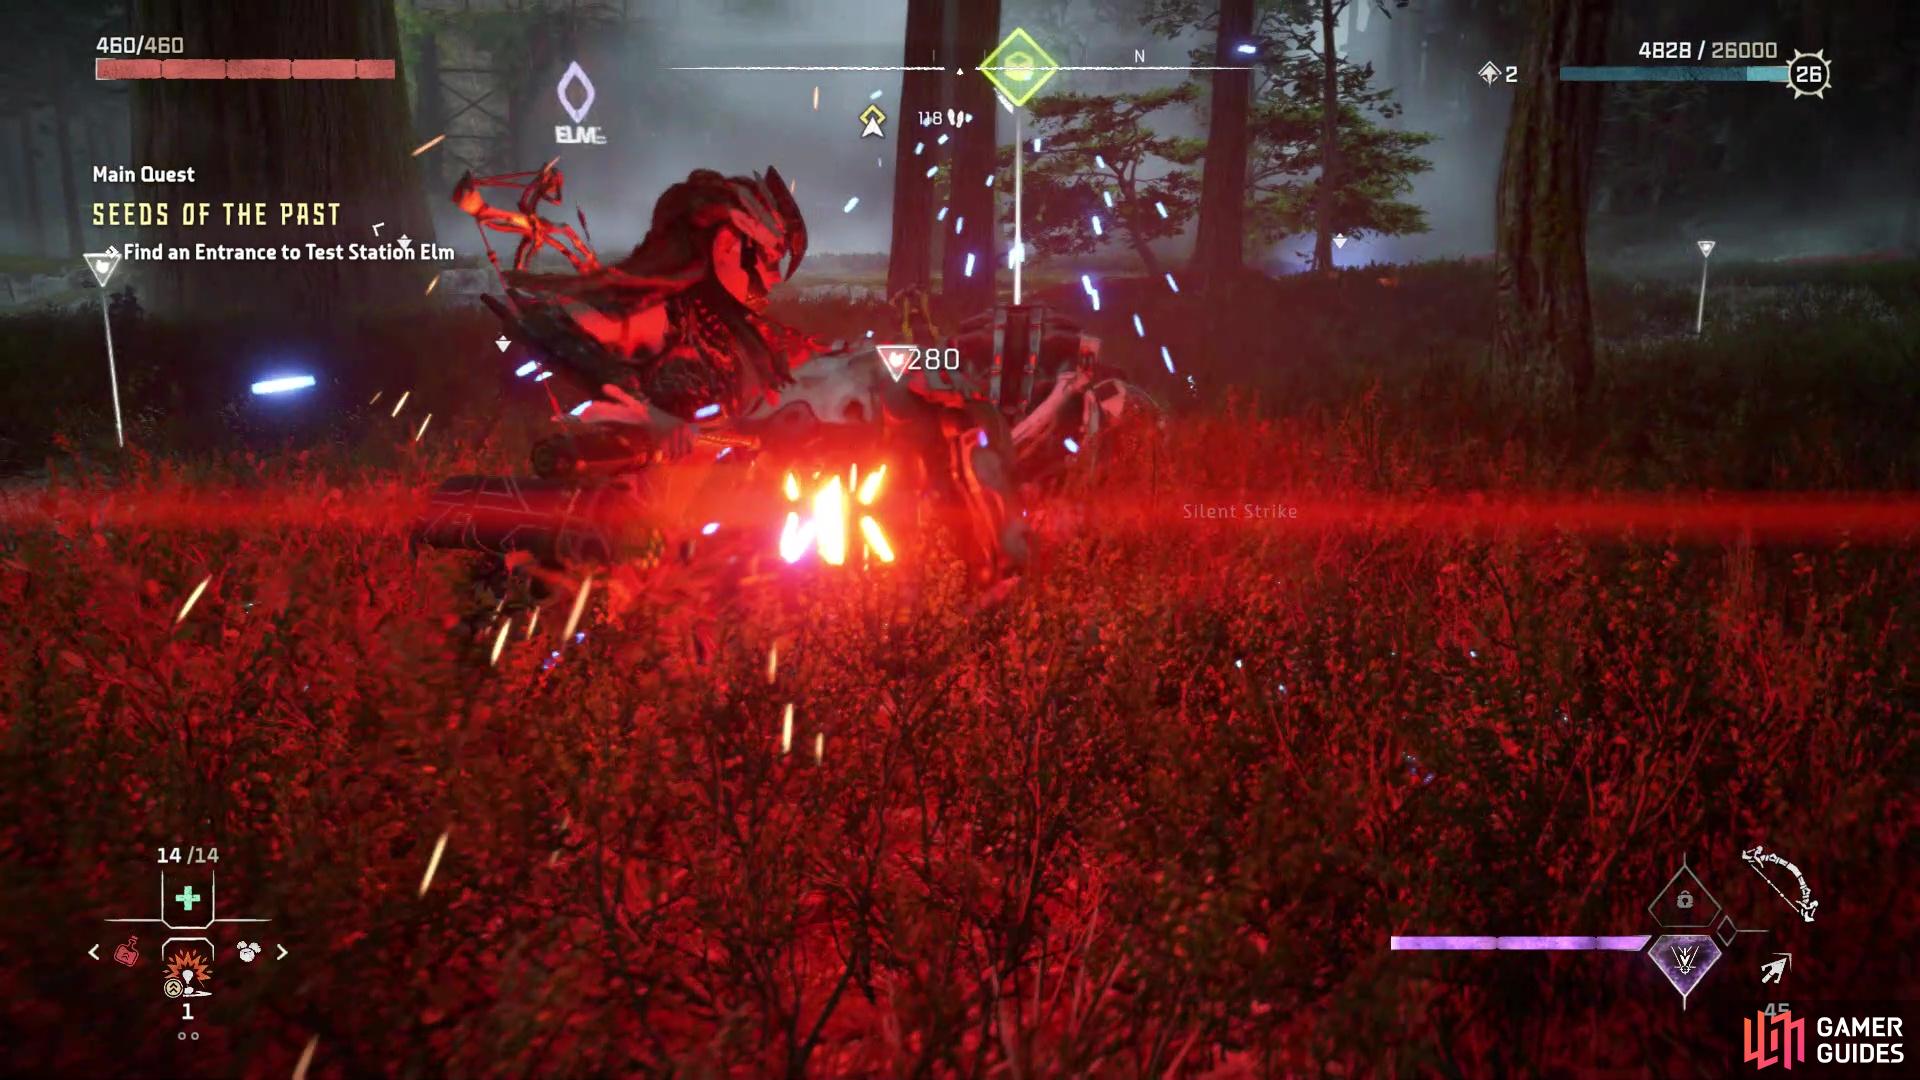
If you search right by where you exited the underground area, you will find a Datapoint called Life in the Hothouse. Otherwise, look for the marker that is a passage bringing you down to where the machines are roaming. You are mostly up against some Tracker Burrowers, a Longleg and a Fire Clawstrider. None of these should be new to you, although you might not have found an elemental Clawstrider while exploring the map yet. While normal Clawstriders tend to be more focused on melee attacks, elemental ones can shoot their respective element at you in addition to that. Overall, they can be a little easier to deal with, too, since their tails have a heavy weapon you can shoot off and use.
You will have Alva with you in combat, so you’re not entirely going to have to depend on yourself here. If you wish to do some stealth, you should be able to easily dispatch the Burrowers with a Silent Strike, then you would only have to contend with the Clawstrider and Longleg. Upon killing all of the machines, go around and loot your spoils, then head on over to the entrance of Test Station Elm. You should be able to see where you need to go, but you might not notice how to get there.
On the side of the building, there is a ladder being held up by a little metal latch, so you will need to shoot the red thing in order to lower the ladder. Climb up it, then hop across the beams, and use your Pullcaster on the vent panel at the end. Crawl through the vent and you will finally be inside the Test Station Elm.
Opening the Hatch in Test Station Elm
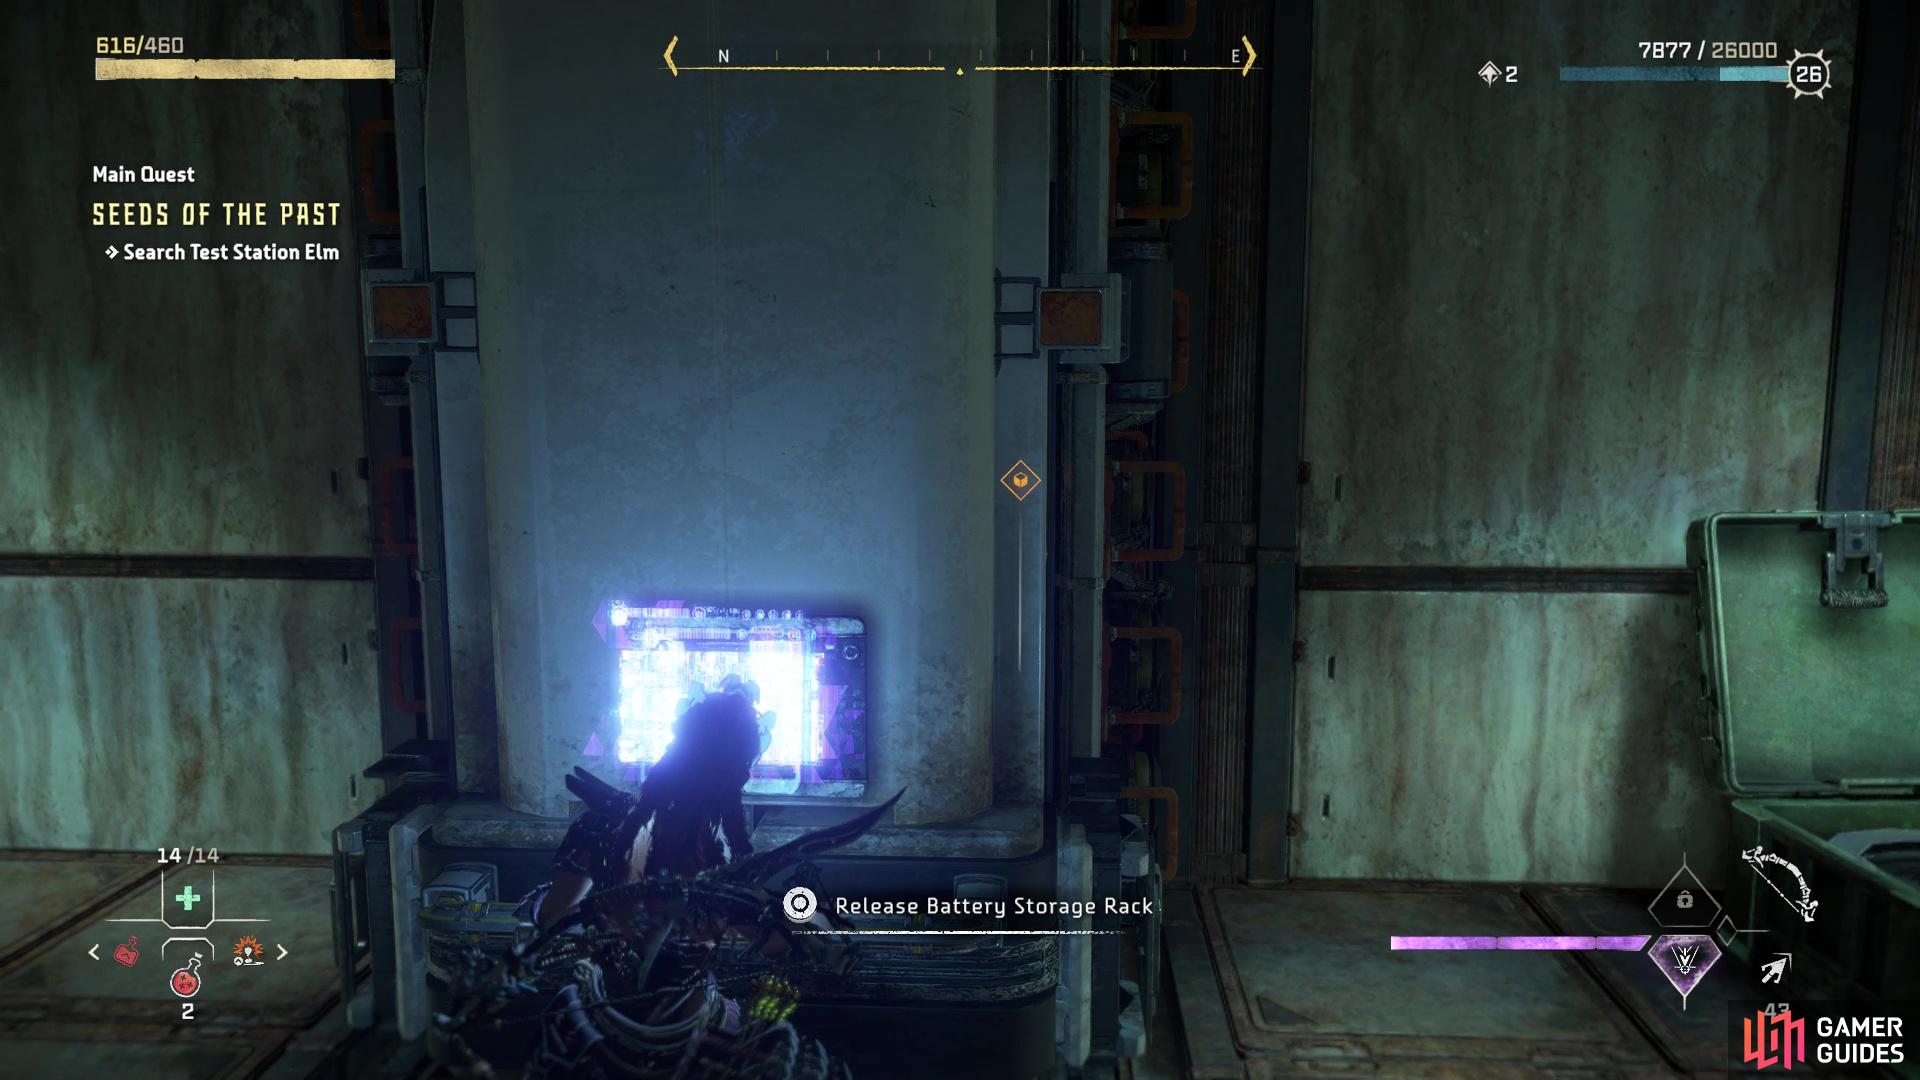
The hatch, of course, is locked, so you will need to find a way to open it. There are consoles in the rooms up top, but the doors are locked. To begin, drop down to the floor below you and look to the sides to find some Battery Storage Racks. You can actually grab these and pull them out of the wall, although the lone one on the southern side seems to be stuck. Go to the northern side and pull out the racks there, with one having a chest behind it and the other hiding a Maintenance Bypass Key. Look for the console on the same side and insert the key, which will open the nearby door and allow you to move the Storage Unit inside it.
Drag it backwards until you can’t move it anymore, prompting Alva to hop on top of the unit. Once she’s secure, start moving it towards the middle of the room until the game stops you again. Alva will jump off of the unit and into the one room with a console. While she can’t read any of the data up there, Alva does manage to unlock the one rack you couldn’t move from before, so drag it out of the wall to find an energy cell. Ignore it for right now, though, as you need to find a way into the generator room. If you look southeast from the rack you just pulled out, you will notice a vent panel on the wall.
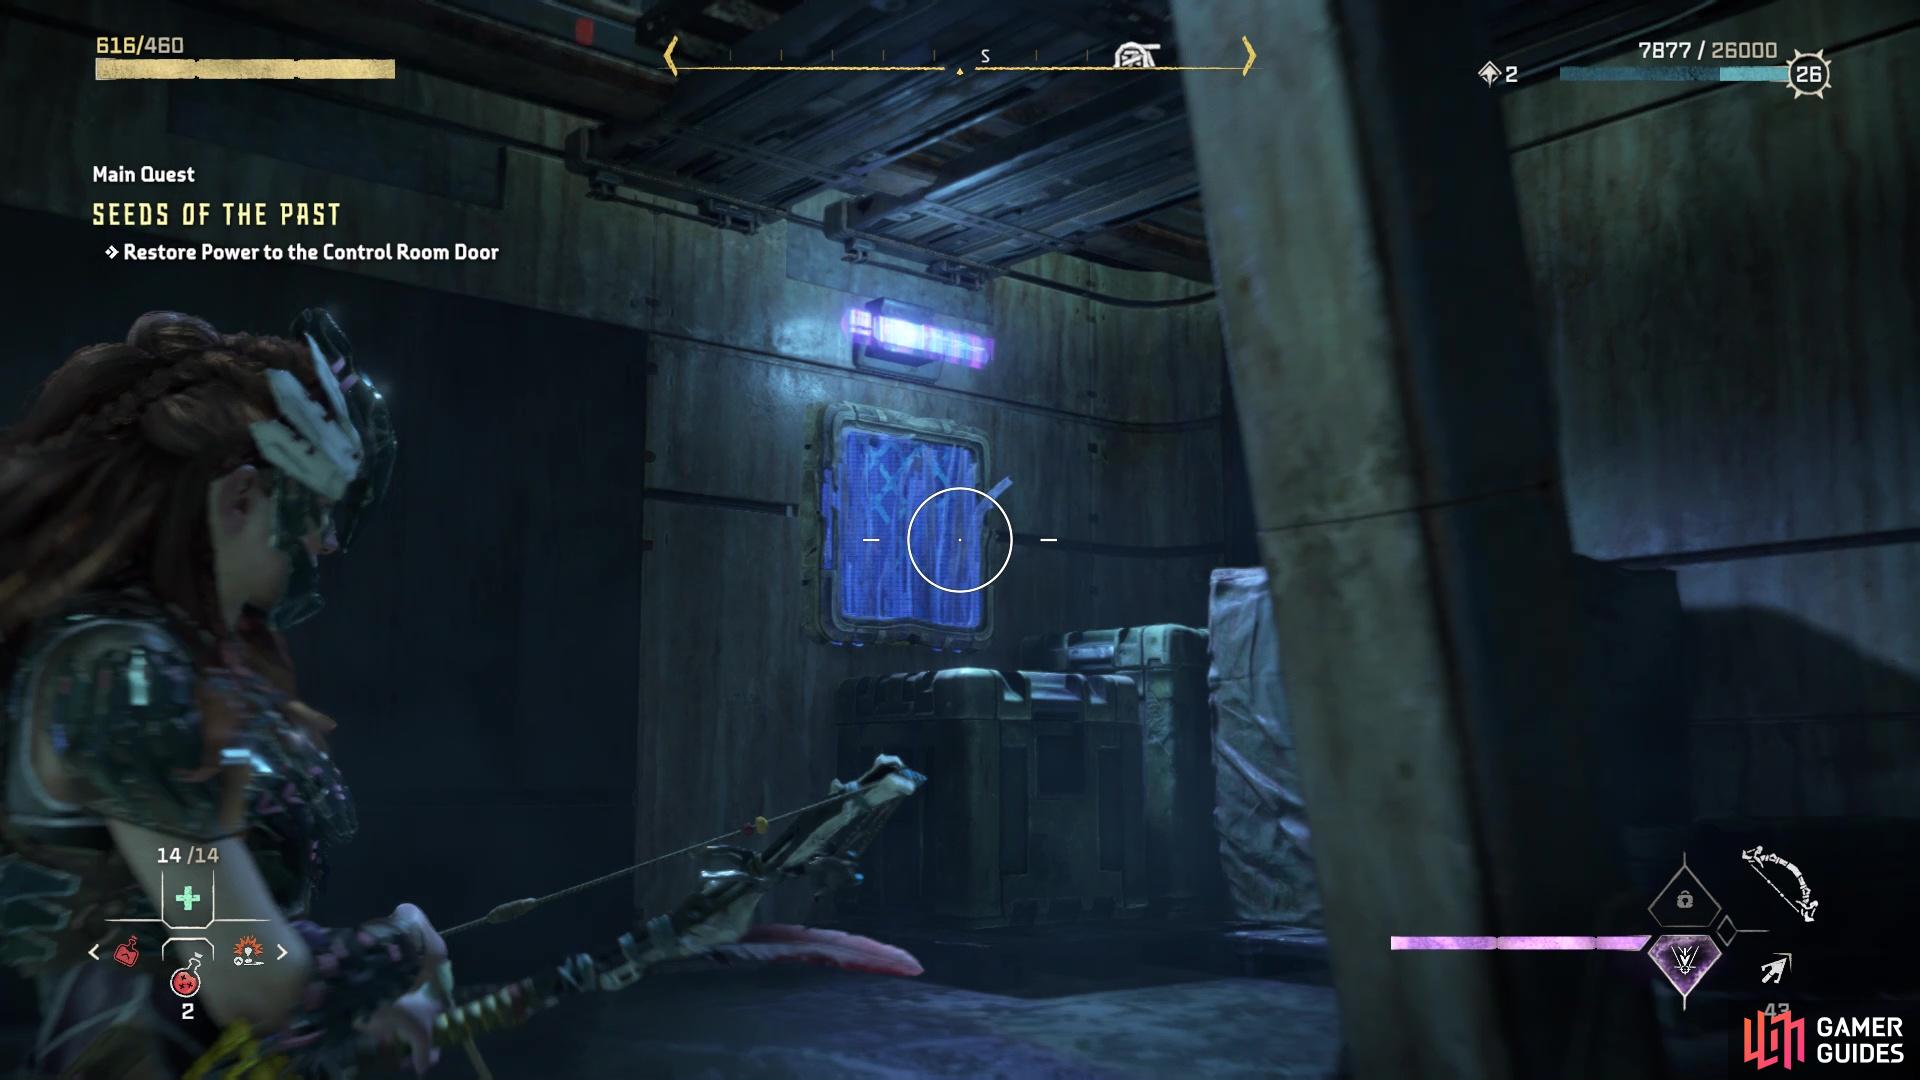
Use your Pullcaster to pull it off the wall, then climb through the opening and ignite the Firegleam inside to blown out the wall, creating your own entrance. Grab the energy cell from the one rack and bring it into the room, placing it into the slot on the far wall. This will have brought power back to the doors, so you can now reach the room with Alva. Climb back up to the ledge overlooking the room and enter the room with Alva. She will mention that both consoles need to be used at the same time to open the hatch, so head to the opening past her and hop over into the other room, using the storage unit. Hit the console there to initiate a scene, detailing some bad things that happened.
After the scene is over, enter the newly opened hatch and you’ll be back in the underground tunnels from earlier. While it’s a bit more maze-like, the dead ends will have some chests for you to loot, but the path is still fairly linear and there’s only one way to continue. Upon reaching the next ladder, climb it to get out of the underground area and back topside. Look for the opening to find some shallow water (and the ADMTN_WRTH/BRN_DREAM_4 Datapoint on the rocks), allowing you to enter the area where the test took place earlier. As you approach the marker showing the exit, the large flying machine you saw earlier will now attack you.
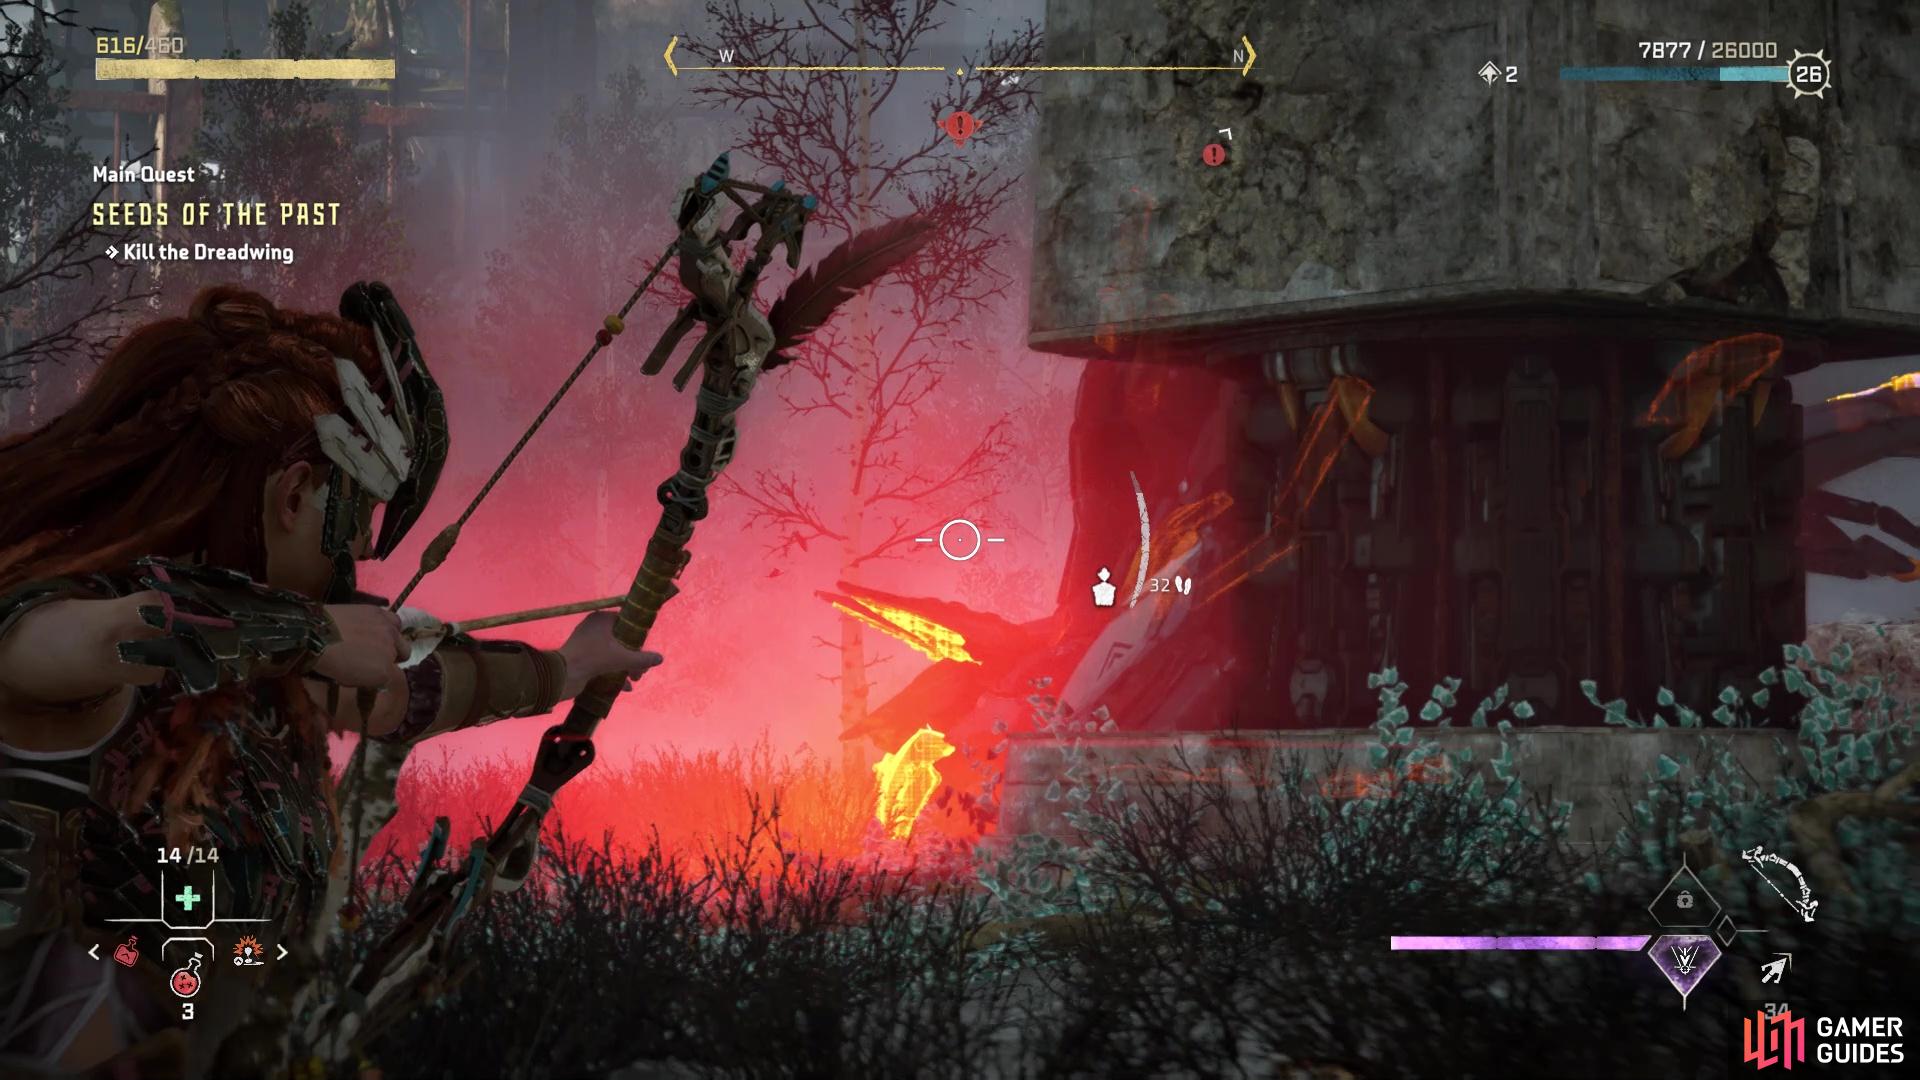
Kill the Dreadwing
The Dreadwing can be quite the challenging machine to fight, as it is akin to something like the Stormbird, although with its own tricks. First and foremost, the Dreadwing has the ability to camouflage itself, turning itself almost completely invisible. While it’s in this state, you will be able to scan it with your Focus, so you will have to use your eyes to see the slightly visible outline of its body. As long as saw it turn invisible, then you should still be able to keep track of its movements. To disable its ability to camouflage, you will have to detach the Stealth Generator, which is on the back of the machine. It does seem like the Dreadwing doesn’t use all of its attacks while camouflaged, so it doing that might actually be a good thing, despite not being able to scan it.
Outside of the above, there are a number of dangerous attacks the Dreadwing can use against you. It can launch a series of bombs at you, from its Bomb Launcher located on the chest. Detach it and you will have yourself a heavy weapon to use against the machine. The creature can also spit balls of acid at you, causing damage and Acid Buildup, so be careful in dodging these to avoid the damage over time from that state. You might also see a noxious gas from it, which will actually prevent you from healing, should you be hit with it. There are Flash Blinders on the top part of its head, which it can use to temporarily blind you with a flash of bright light, but you can detach these to disable that move.
The Metal Fangs on its mouth are special loot exclusive to the Dreadwing, so try to knock them off, if you can. While on the ground, it will lunge at you while trying to swipe with its wings. It can also divebomb towards you while in the air, attacking you with its feet. You might also see some frost bombs being dropped by the machine as it moves across the battlefield. The Dreadwing is weak to fire damage, while being strong against frost, shock and acid. Being neutral to Purgewater means you can make it susceptible to frost and shock, so that can be a huge advantage. Outside of that, your best option is to just pick it apart by knocking off/destroying its parts.
Loot the Dreadwing after clipping its wings to find a Metal Flower on it, then head through the door you saw earlier, before you were rudely interrupted. There will be another Datapoint inside (Feeding the World), but what you came in here for is in the adjacent room, by activating the Holo Projector. Listening to this log will get you the Dissolution Code Module, as well as the schematics for the Vine Cutter, which is just what you needed to get into the room with DEMETER. Of course, you just need a workbench to craft the tool, which you might remember was in the one area with the Quen soldiers.
Crafting the Vine Cutter and Obtaining DEMETER
When you’re done talking with Alva, pry open the door to the side and follow the hallway (look for the Marjane Nafisi Has Resigned Datapoint along the way) to another elevator shaft. Climb your way out of it, then use the zipline to return to the area with the workbench. Craft the Vine Cutter (under Special Gear) and you will finally be able to get rid of the Metal Flower and its vines. Backtrack to where you saw the Metal Flower when you first came here (northeastern side) and you will be told how to operate the Vine Cutter. You will have to strike the Metal Flower with melee attacks until it opens up, then you will see a button prompt to install the Vine Cutter Module.
Doing this will get rid of any vines connected to the Metal Flower, which in this case, will allow you to access the data core and obtain DEMETER. Open the big door and insert the GAIA Kernel into the pedestal to finally get DEMETER. There will be some scenes following this, but you’ll be done at The Greenhouse now. Upon regaining control, make your way back to The Base and deliver DEMETER to GAIA to finish the quest.
No Comments