
Walkthrough for the Side Quest The Bristlebacks in Horizon Forbidden West.
After completing the main quest [The Point of the Lance] you’ll travel to The Daunt. Once off the lift, make your way southwest to Chainscrape and when you talk your way inside turn south to find a Carja named Javad the Willing arguing with an Oseram named Ulvund. Talk to them and after some chatter the quest will start.
| Quest Giver | Starting Location | Prerequisite | Level | Rewards |
|---|---|---|---|---|
| Javad the Willing | Chainscrape | Complete [The Point of the Lance] | 7 |
Talk to the Carja Magistrate
Enter the tavern and talk to Javad the Willing, who, amidst much whining about Ulvund, will give you a clue about the origins of the Bristlebacks now infesting the Daunt.
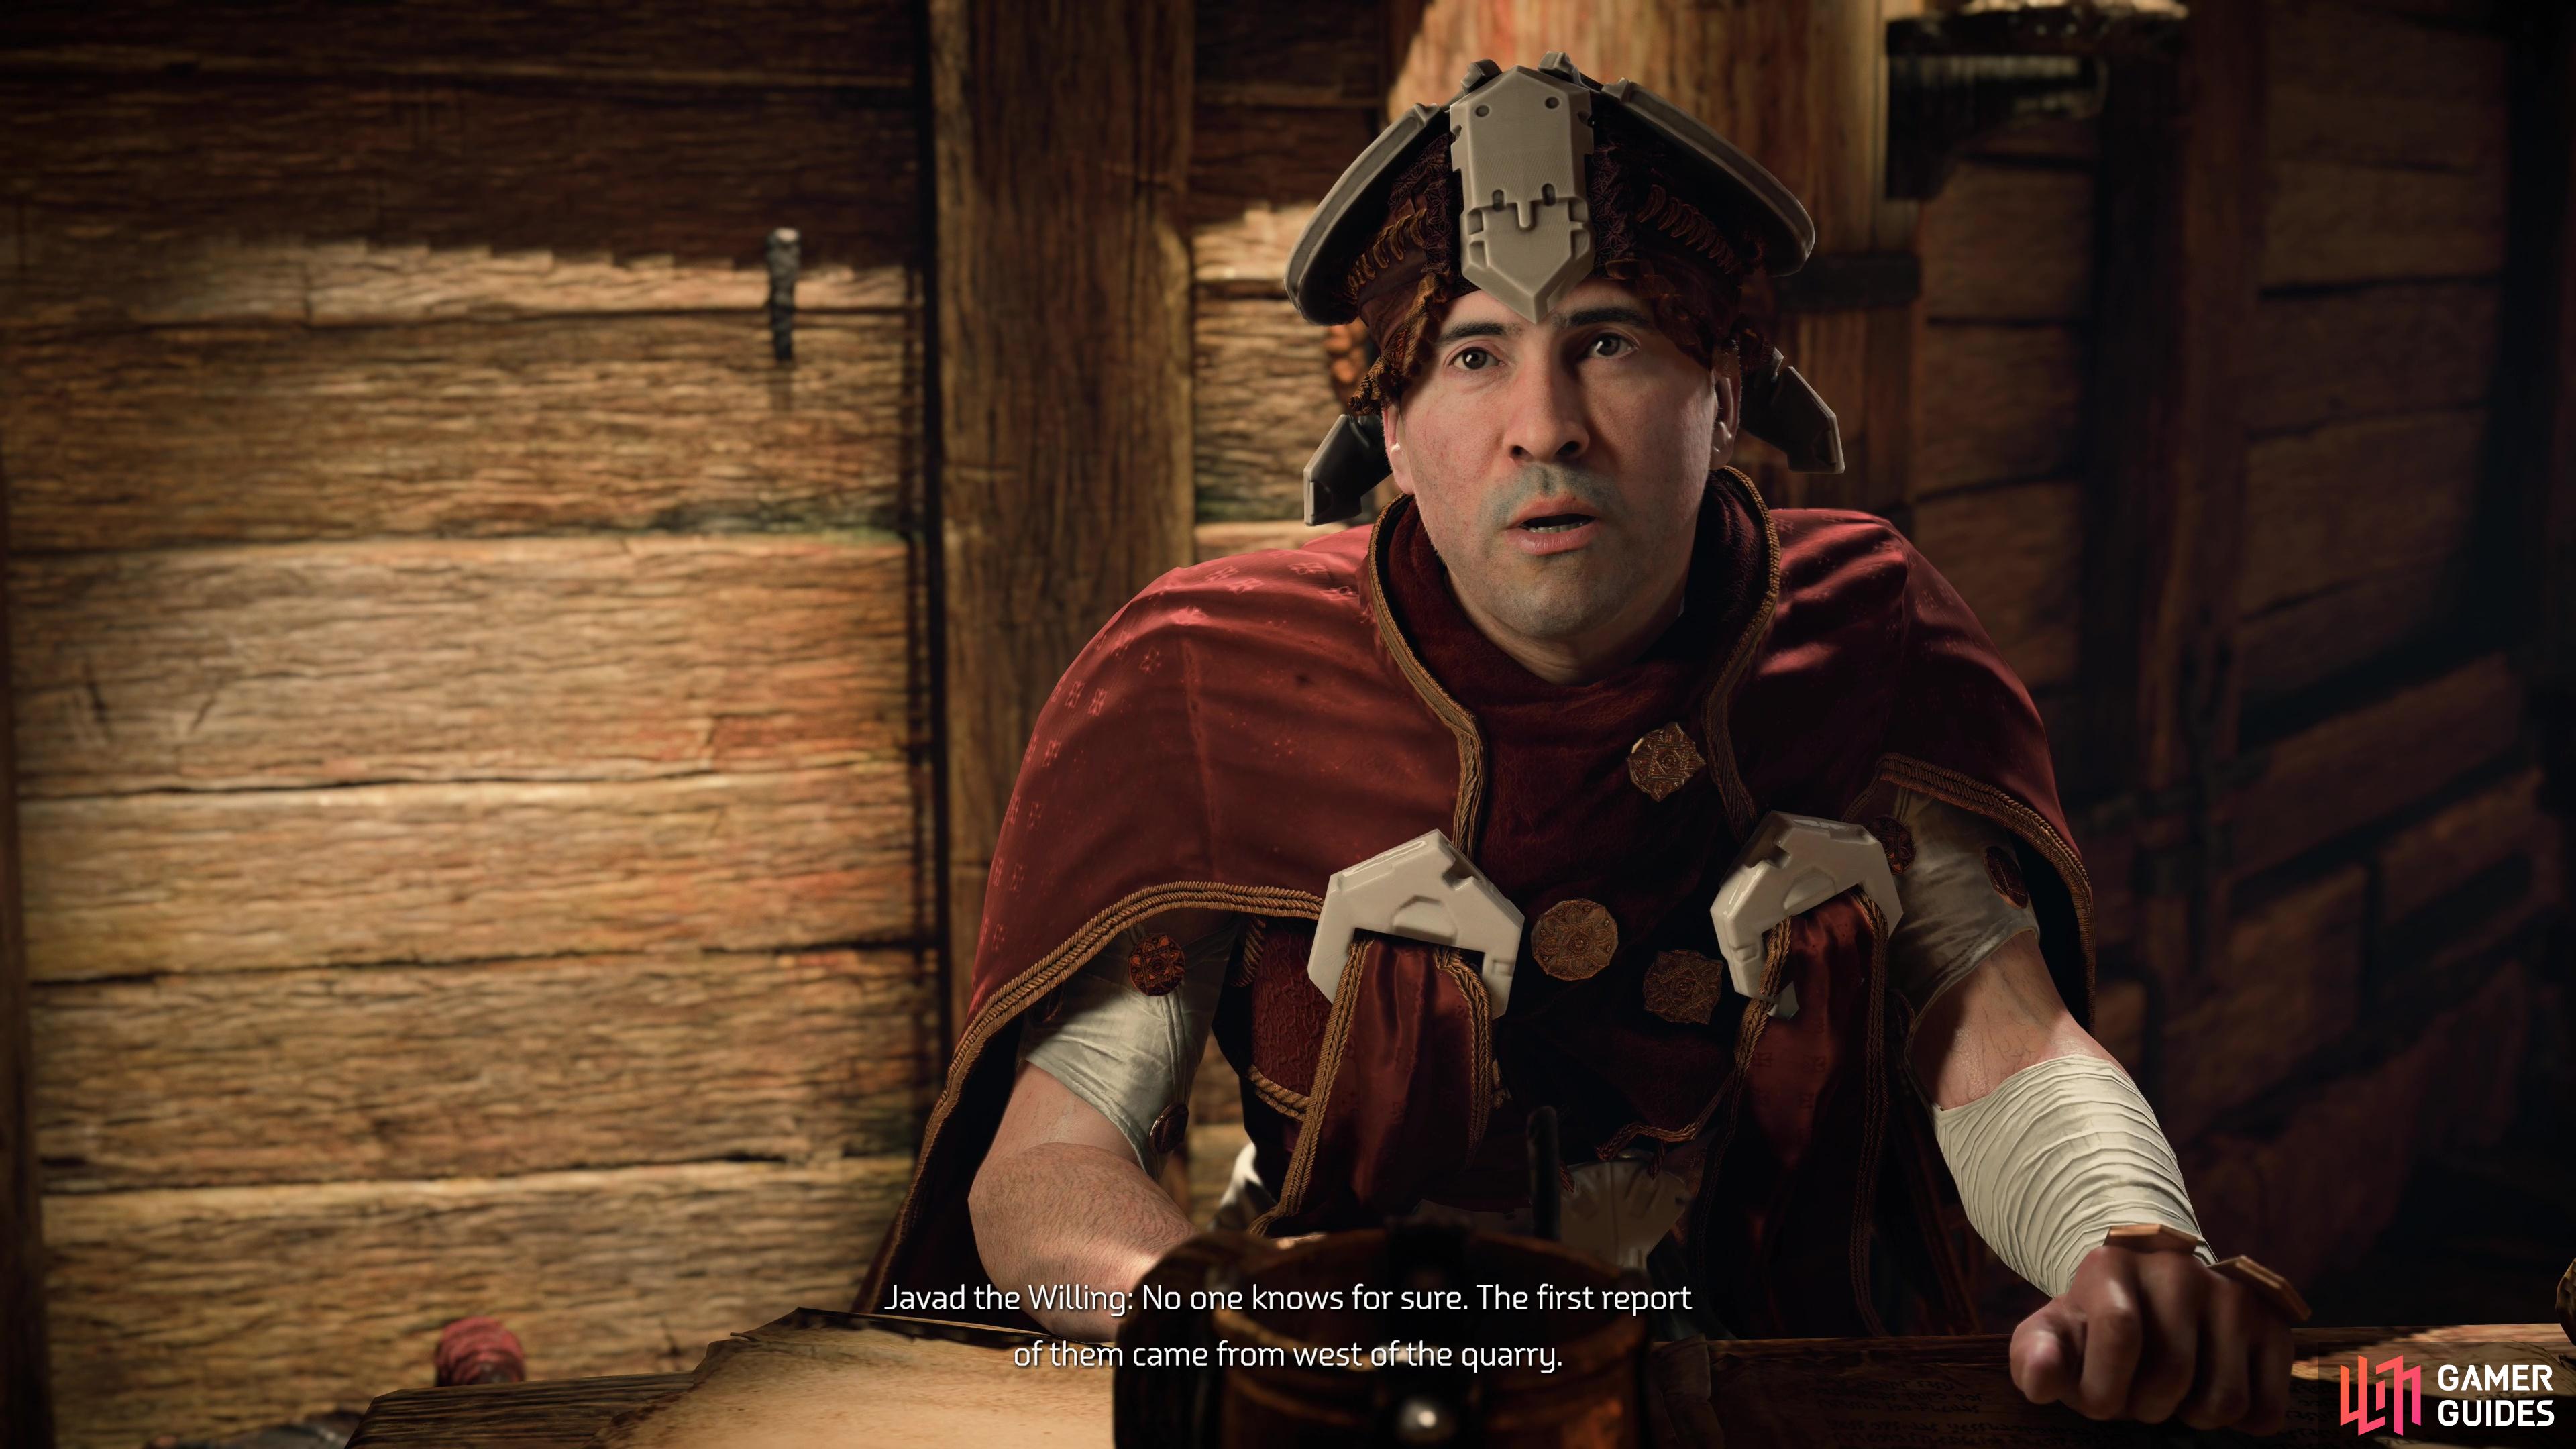
Talk to Javad the Willing in Chainscrape after his argument with Ulvund.
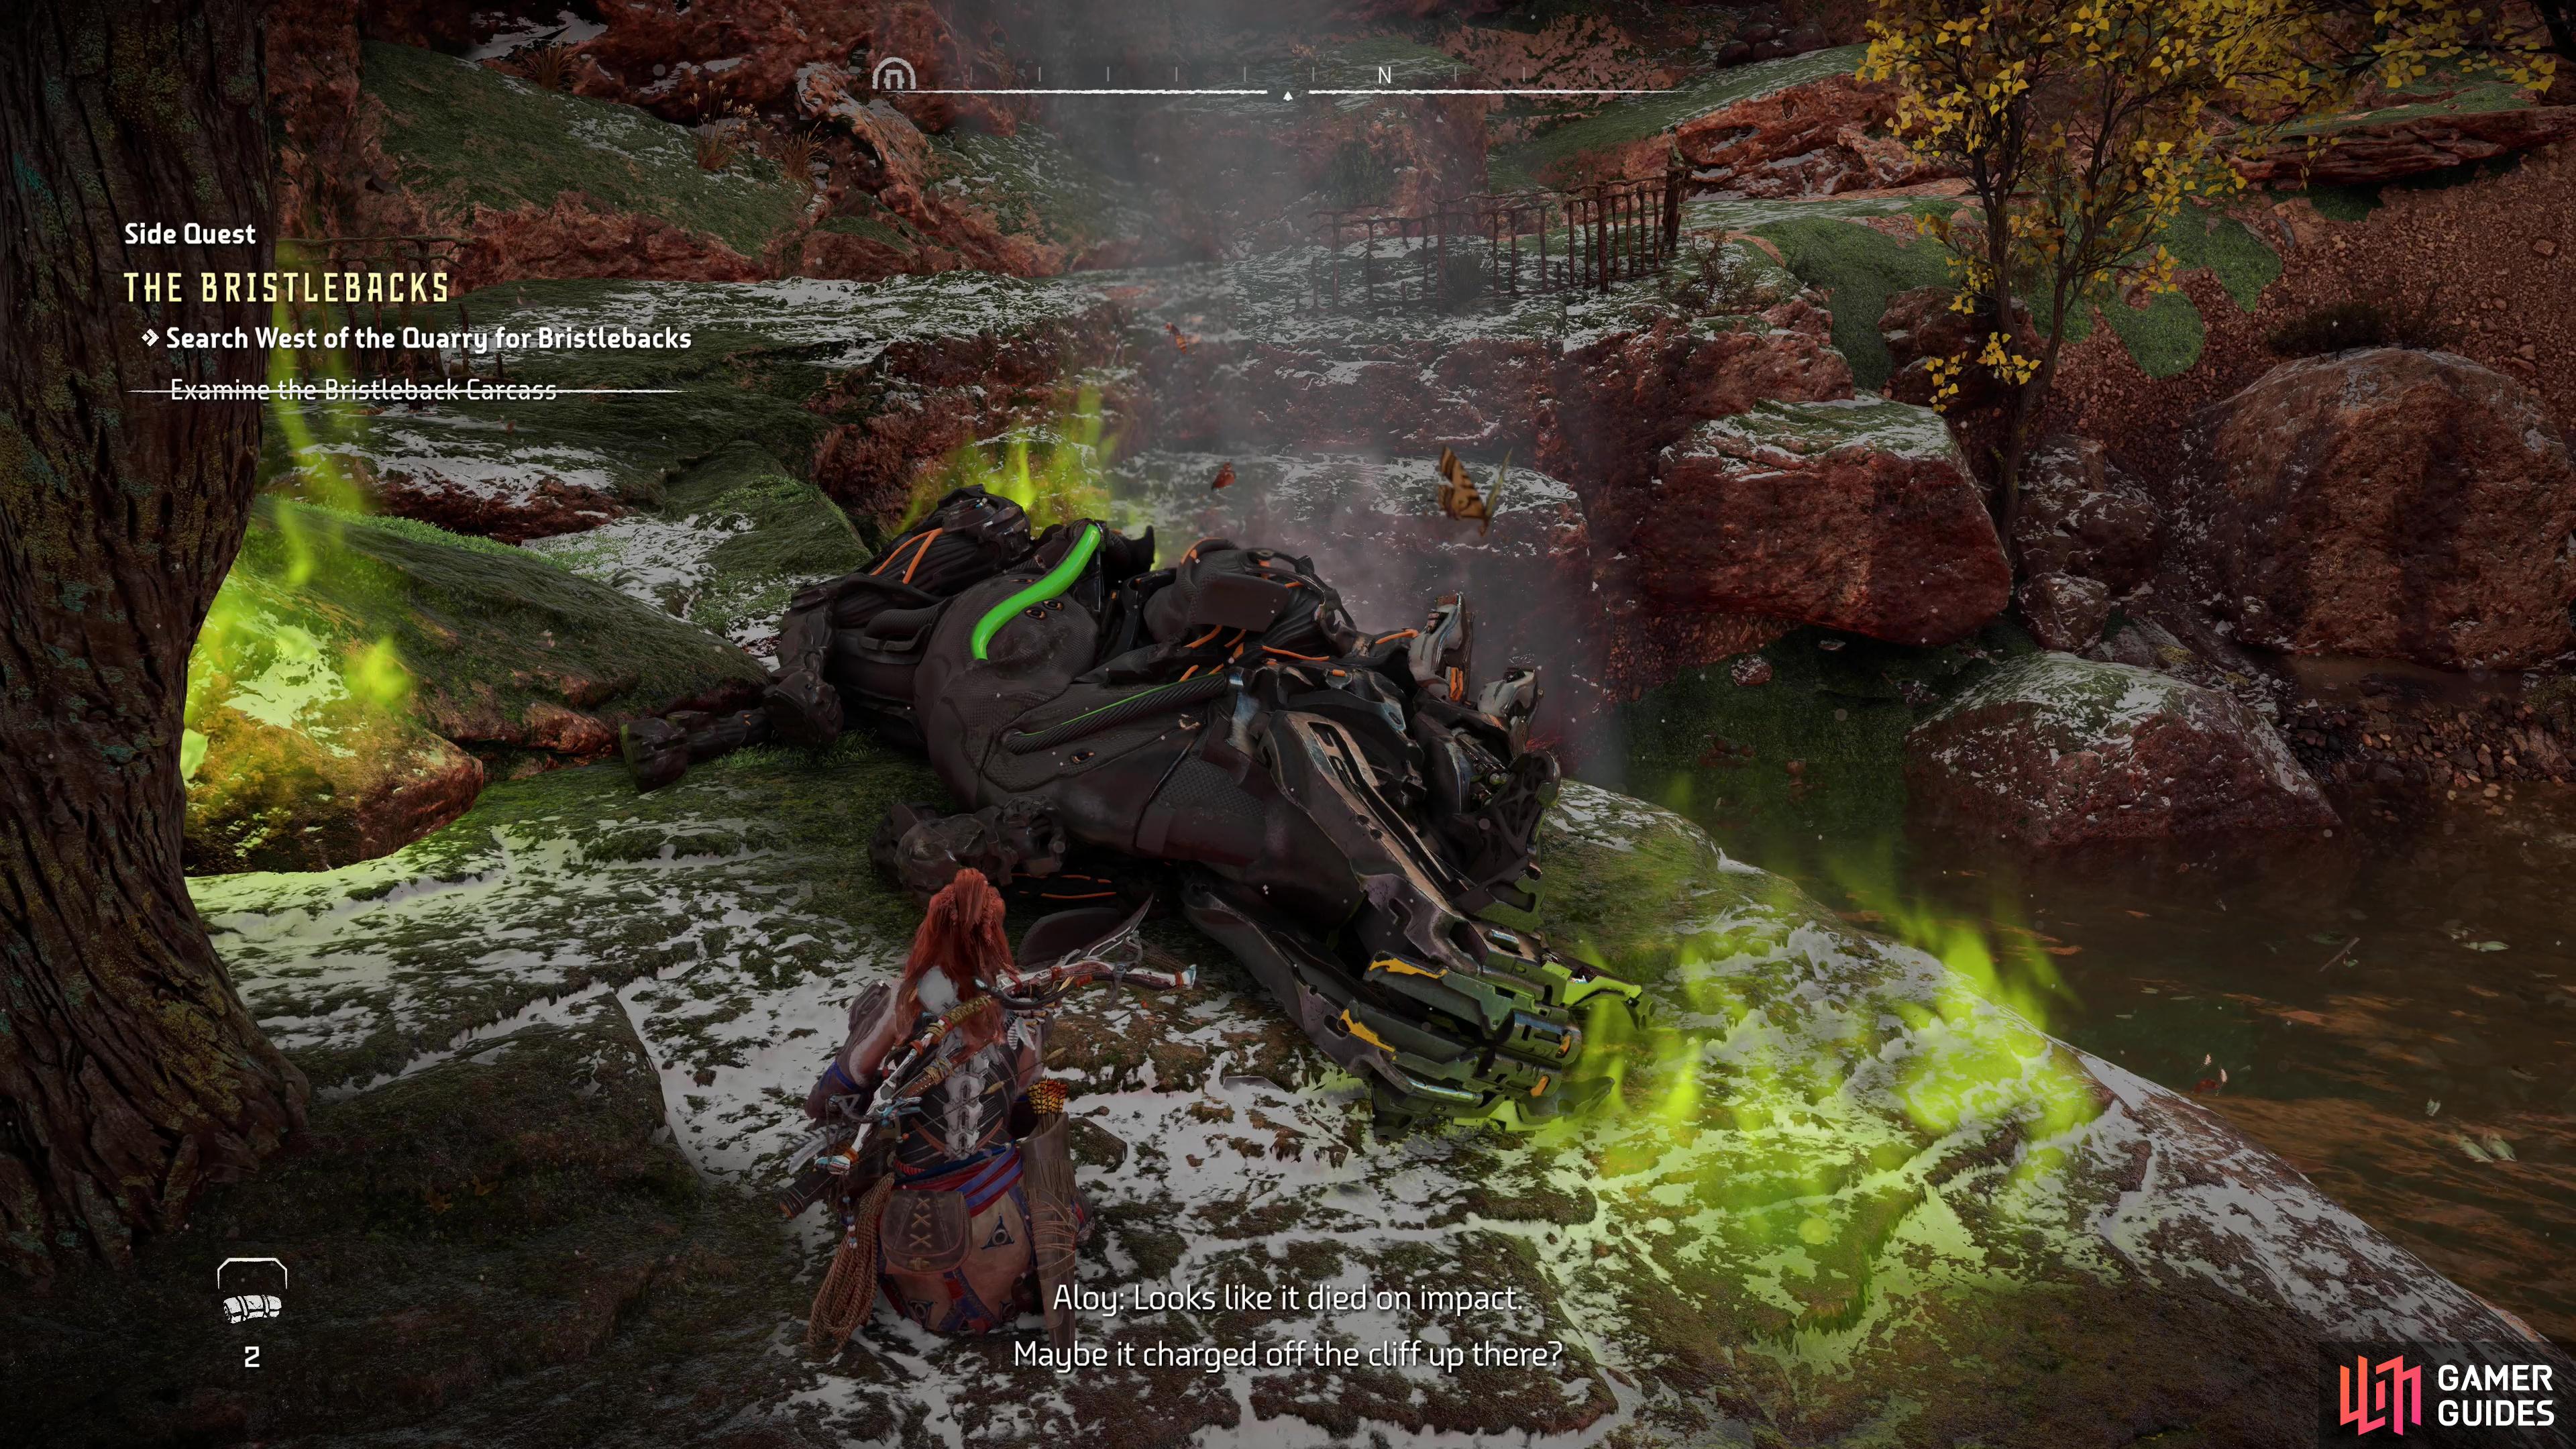
Along the trail to Split Crag examine a destroyed Bristleback.
Search Split Crags for the Origins of the Bristlebacks
To continue the quest, you’ll need to search for the origins of the Bristlebacks past the quarry, which is southwest of Chainscrape. If you follow the road you may find a wounded Bristleback that’ll lure you, and if you haven’t finished [The Brink] you may encounter an Oseram Trapper named Thurlis who is cornered by some Scroungers while an even bigger fight awaits at the quarry, where you’ll run afoul of around a half-dozen [Bristlebacks] and a few Burrowers.
Deal with these encounters however you wish - you’re not penalized for ignoring them and you’re not obligated to engage with them. As you head up the mountain trail Aloy will comment on a downed Bristled back just off the road. Examine it and she’ll hypothesize the machine fell to its doom. Keep ascending and you’ll find the entrance to a mine, marked on your map as Split Crag. You can examine another fallen Bristled back near the mine entrance (near a waterfall) which supports Aloy’s guess, but this is unnecessary.
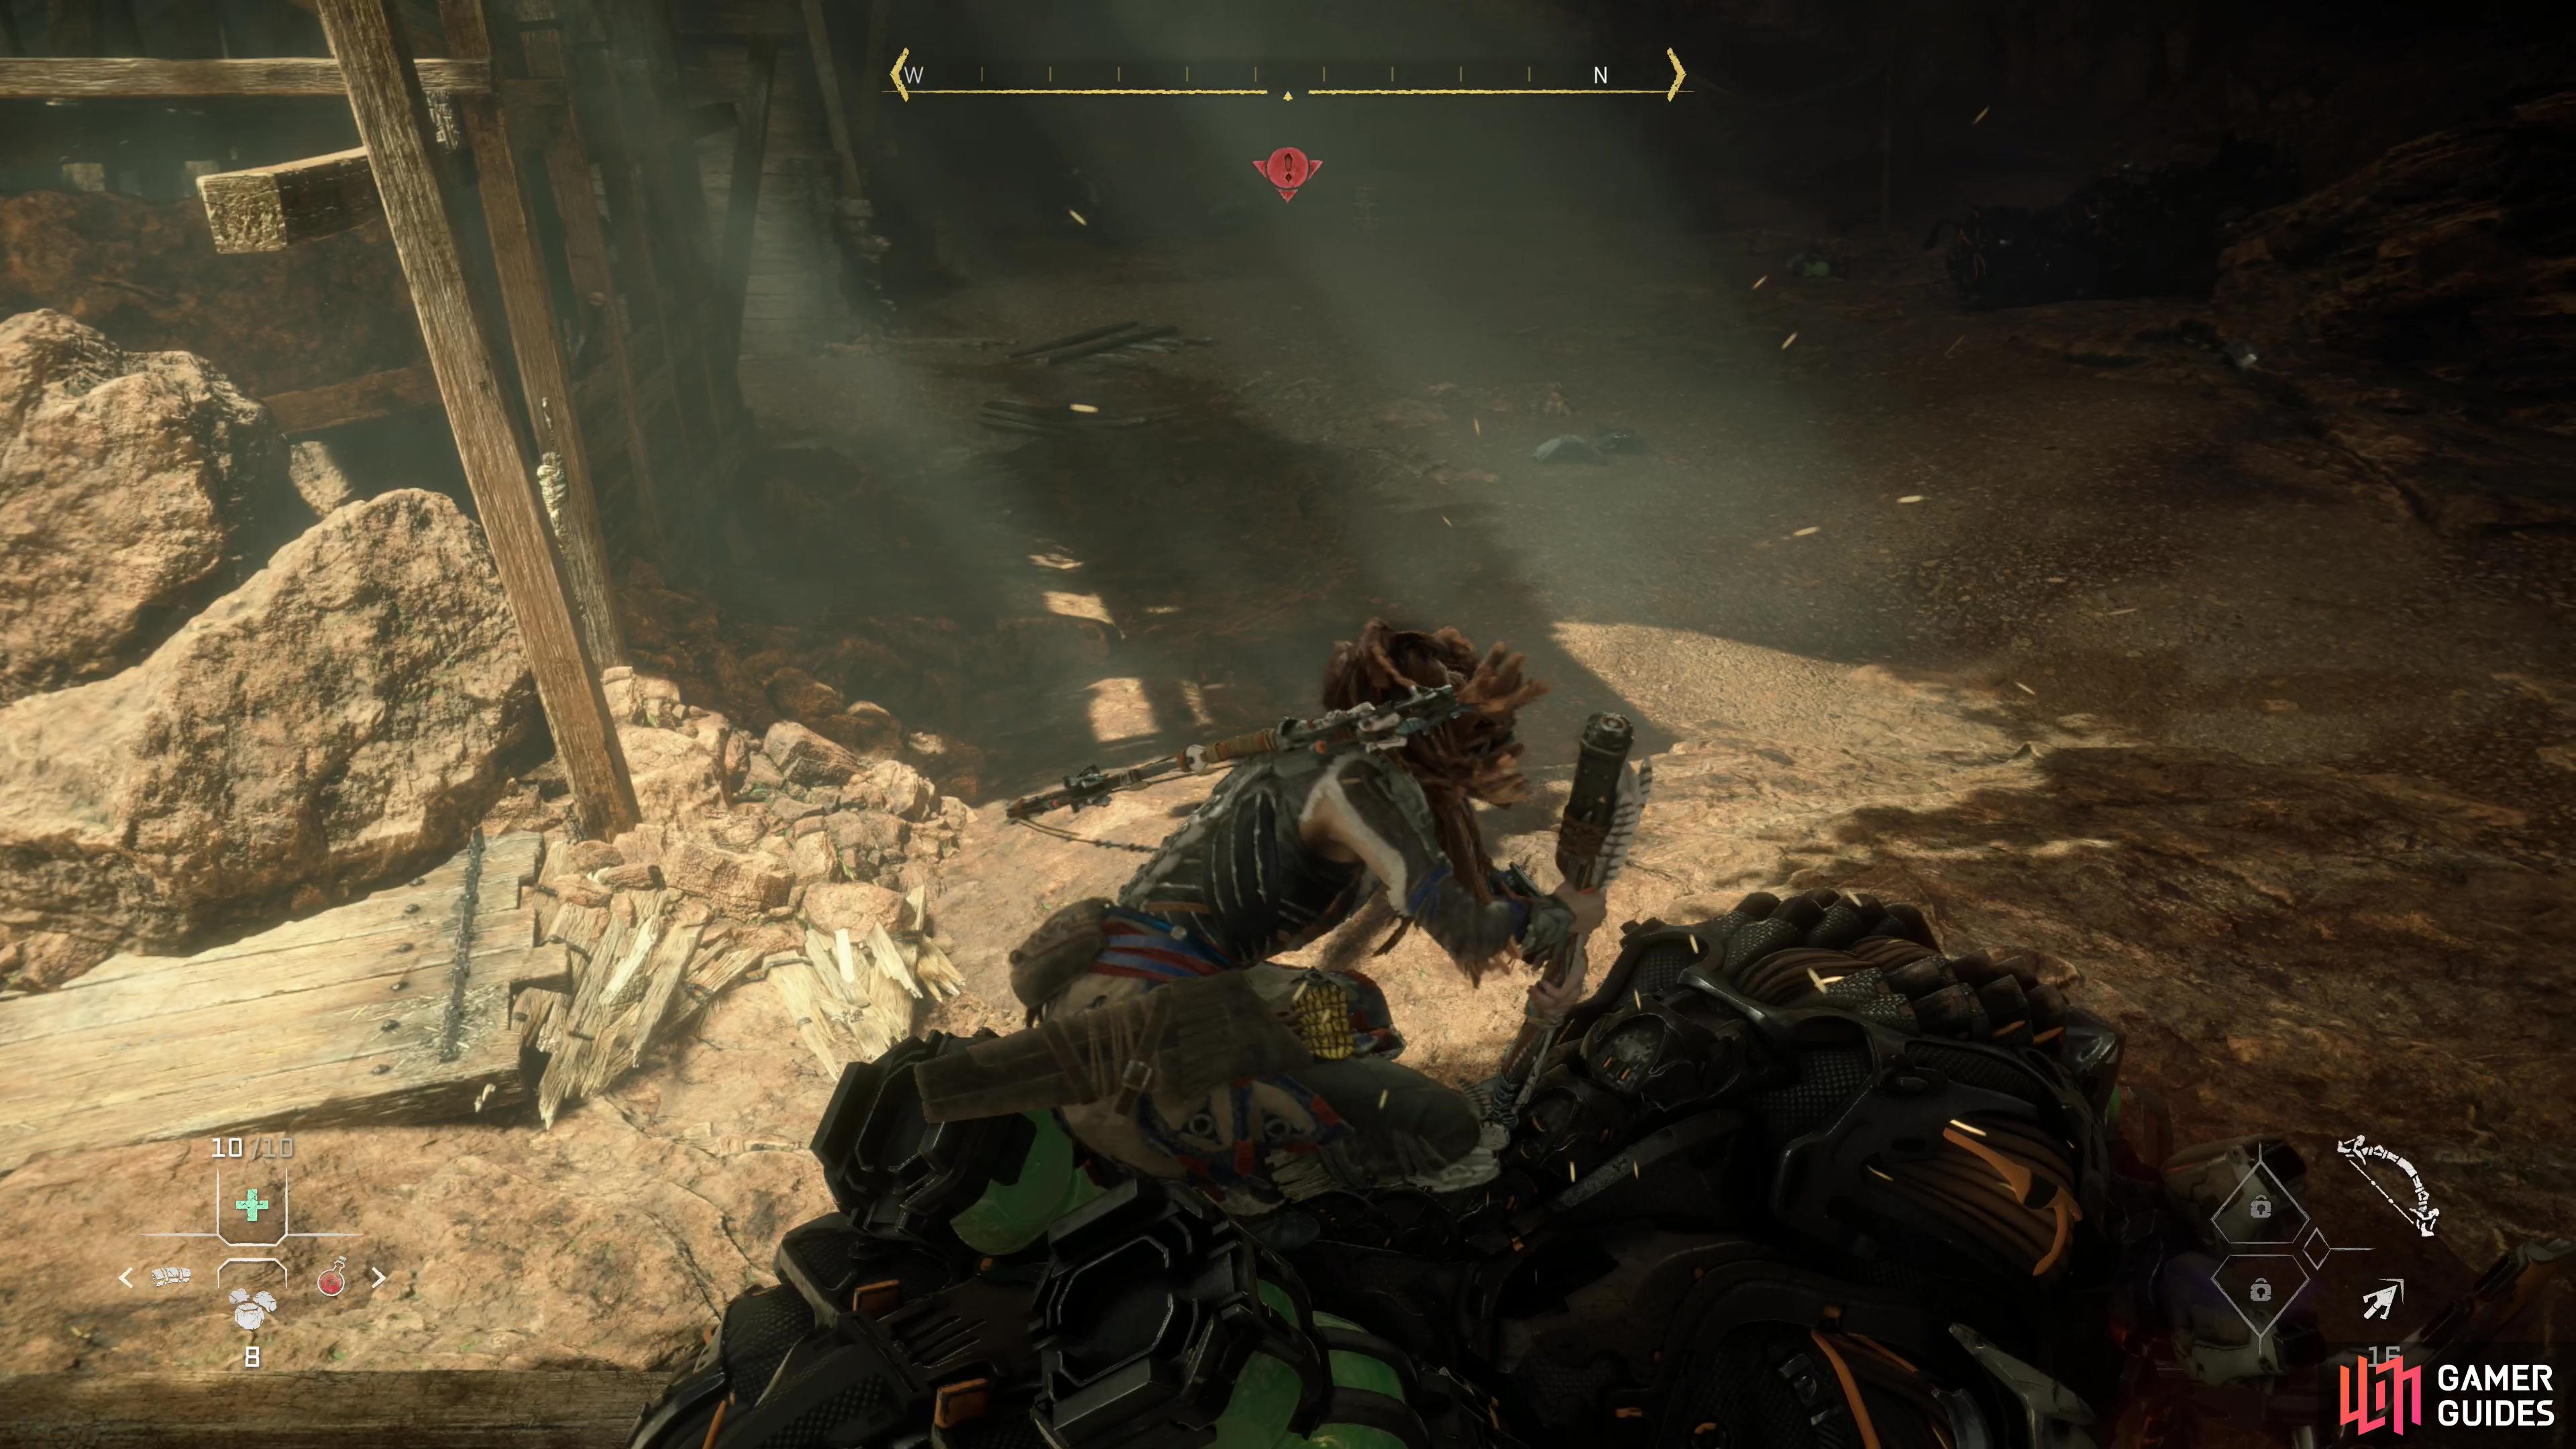
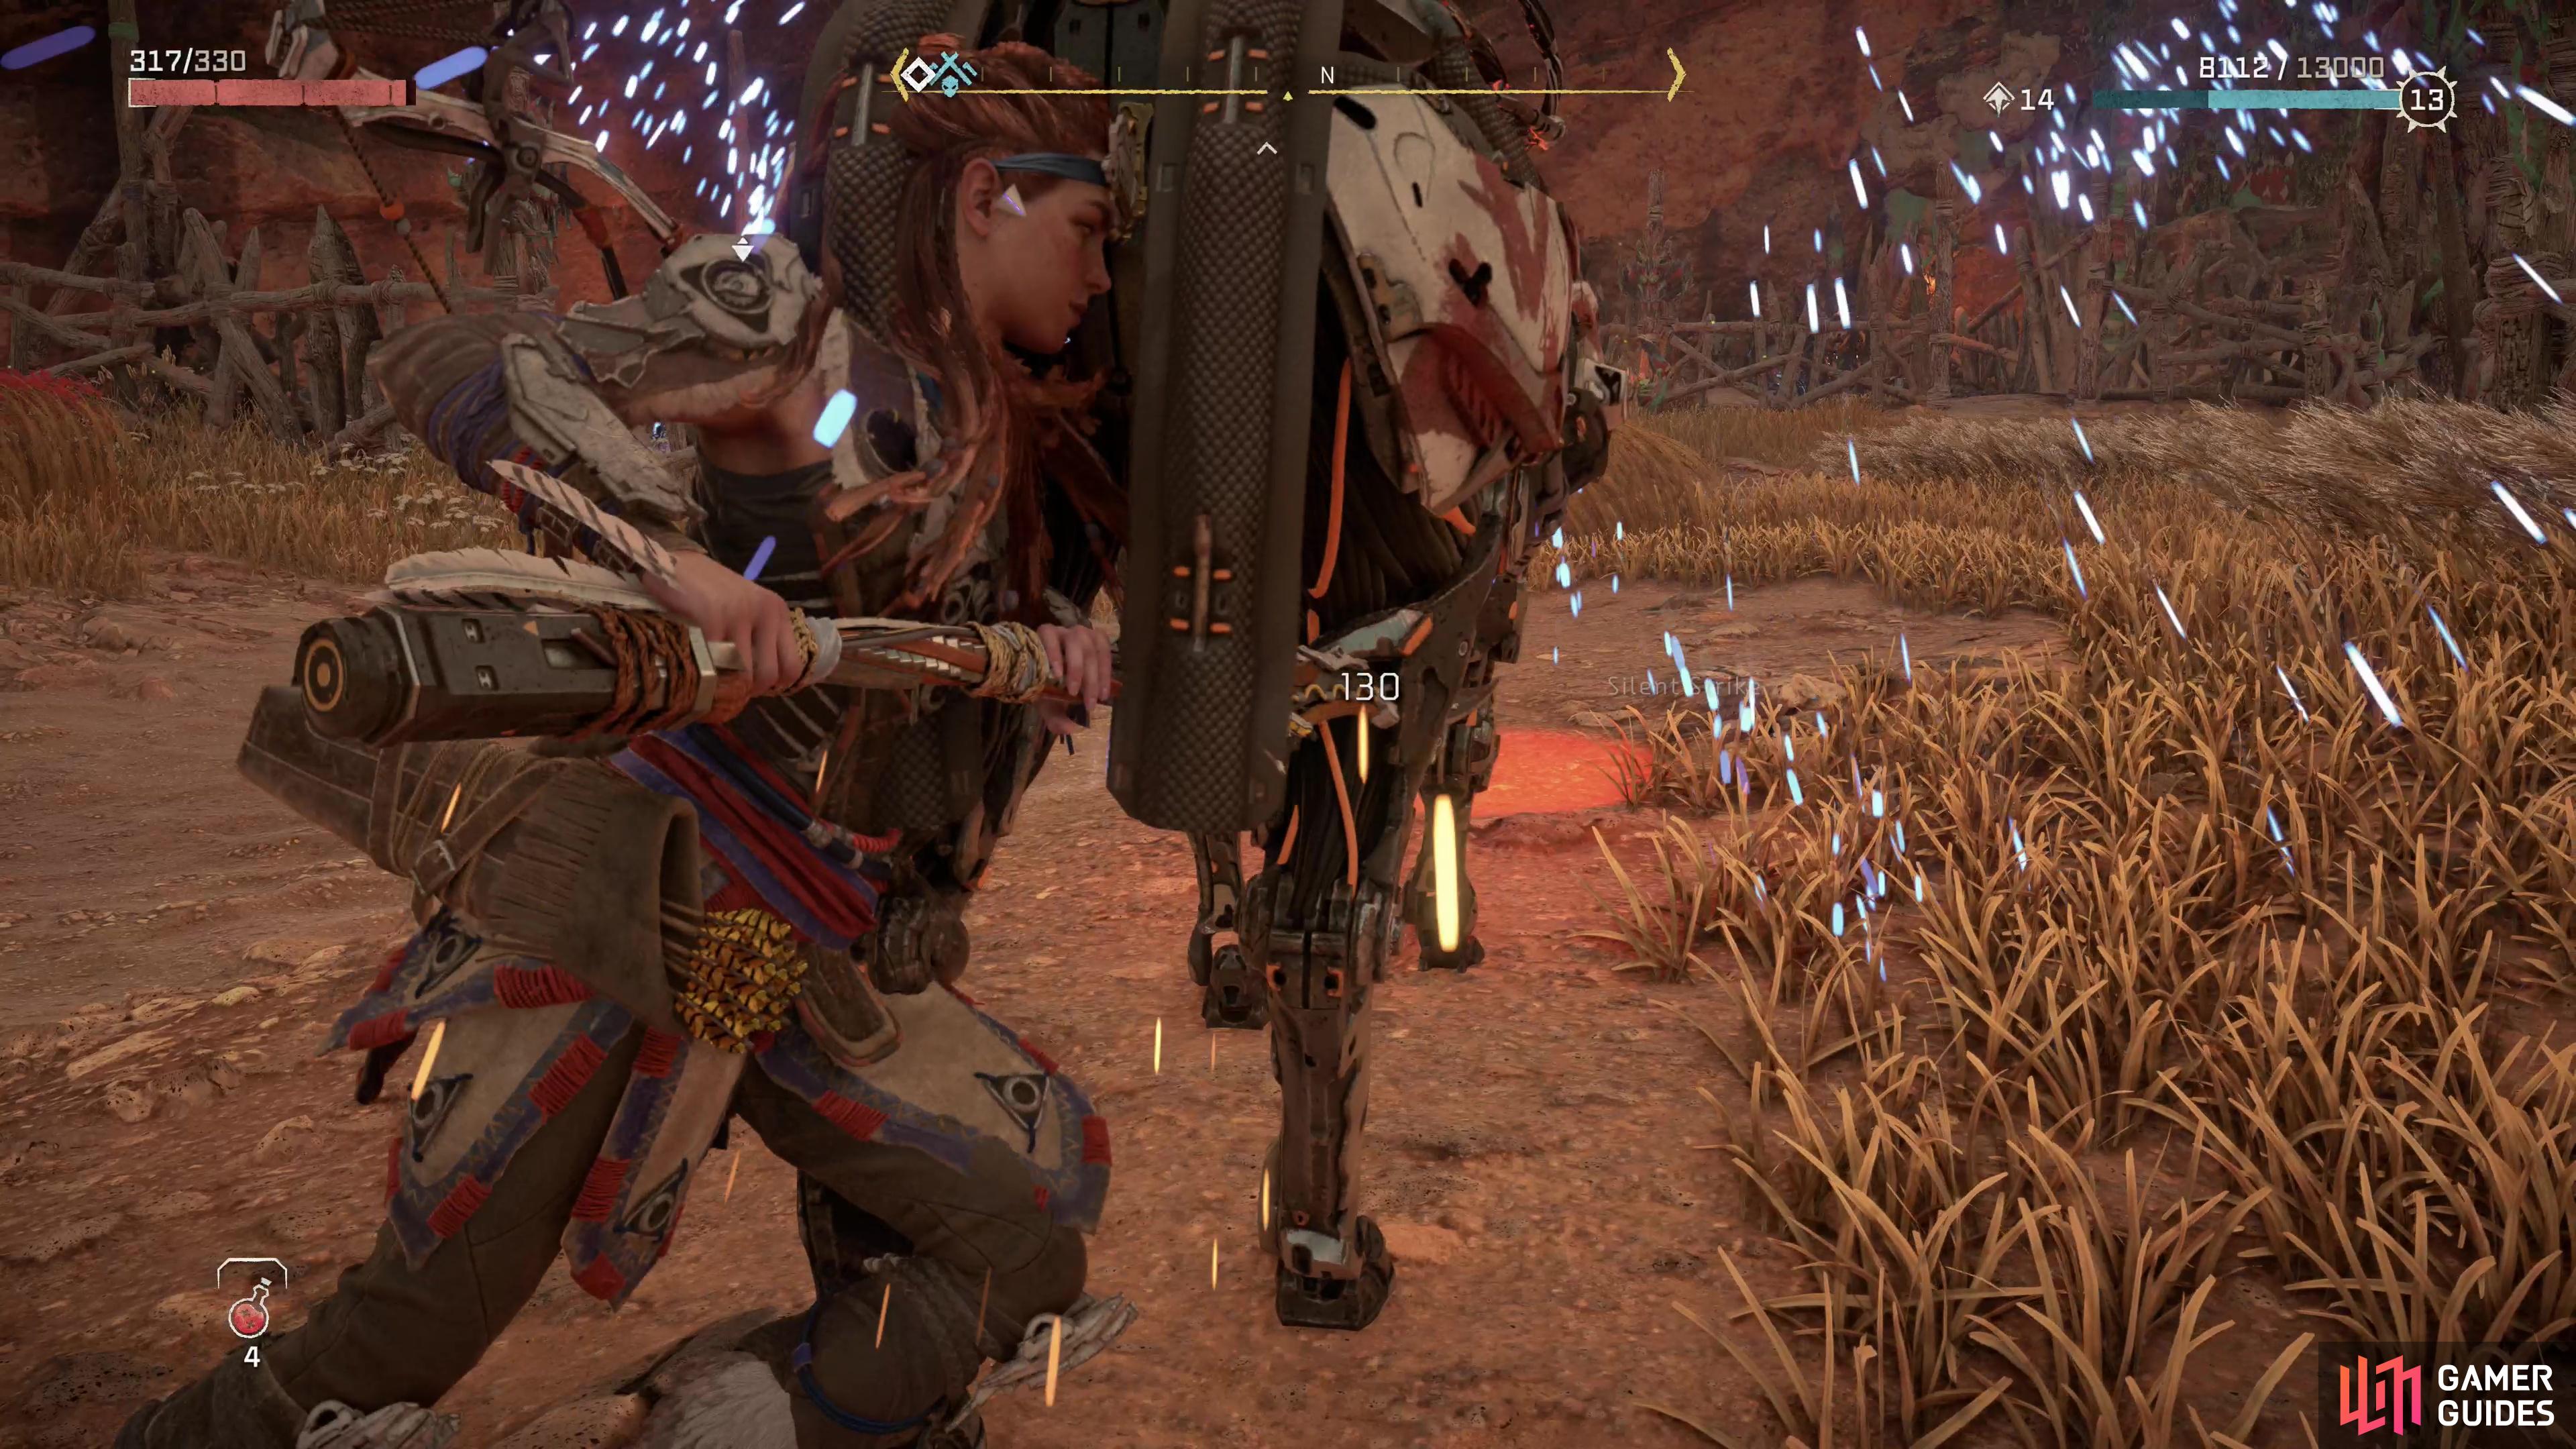
(1 of 3) The Bristlebacks in the mine can be heavily damage or destroyed outright by performing a Strike From Above or Silent Strike.
When you’re ready, enter the mine and follow the linear path ahead until your progress is blocked by a pit. If you climb down into it Aloy will find a third Bristleback, confirming they were in these mines. Turn right (northeast) before the pit and follow the path ahead until you reach a cliff. Climb it and continue on into a larger cavern where you’ll find two Bristlebacks, which you’ll need to dispose of.
This fight can be incredibly easy if you’re careful. Try to get Silent Strikes (or Strike from Above) on a Bristleback, and when it’s momentarily stunned afterwards, shoot it in its back-mounted Acid Canisters for heavy damage. You can also try to knock down some platforms housing barrels of Blaze, then set the barrels alight with fire (or provoke a Bristleback into charging/diving into it) to score some massive damage. There are also some Concealing Omen fungal pods you can swat, causing them to release spores which you can then use to regain stealth. More conventional methods also work in a pinch, and if you’re in a rough spot, you can always retreat back the hole you climbed up to shake off the machines.
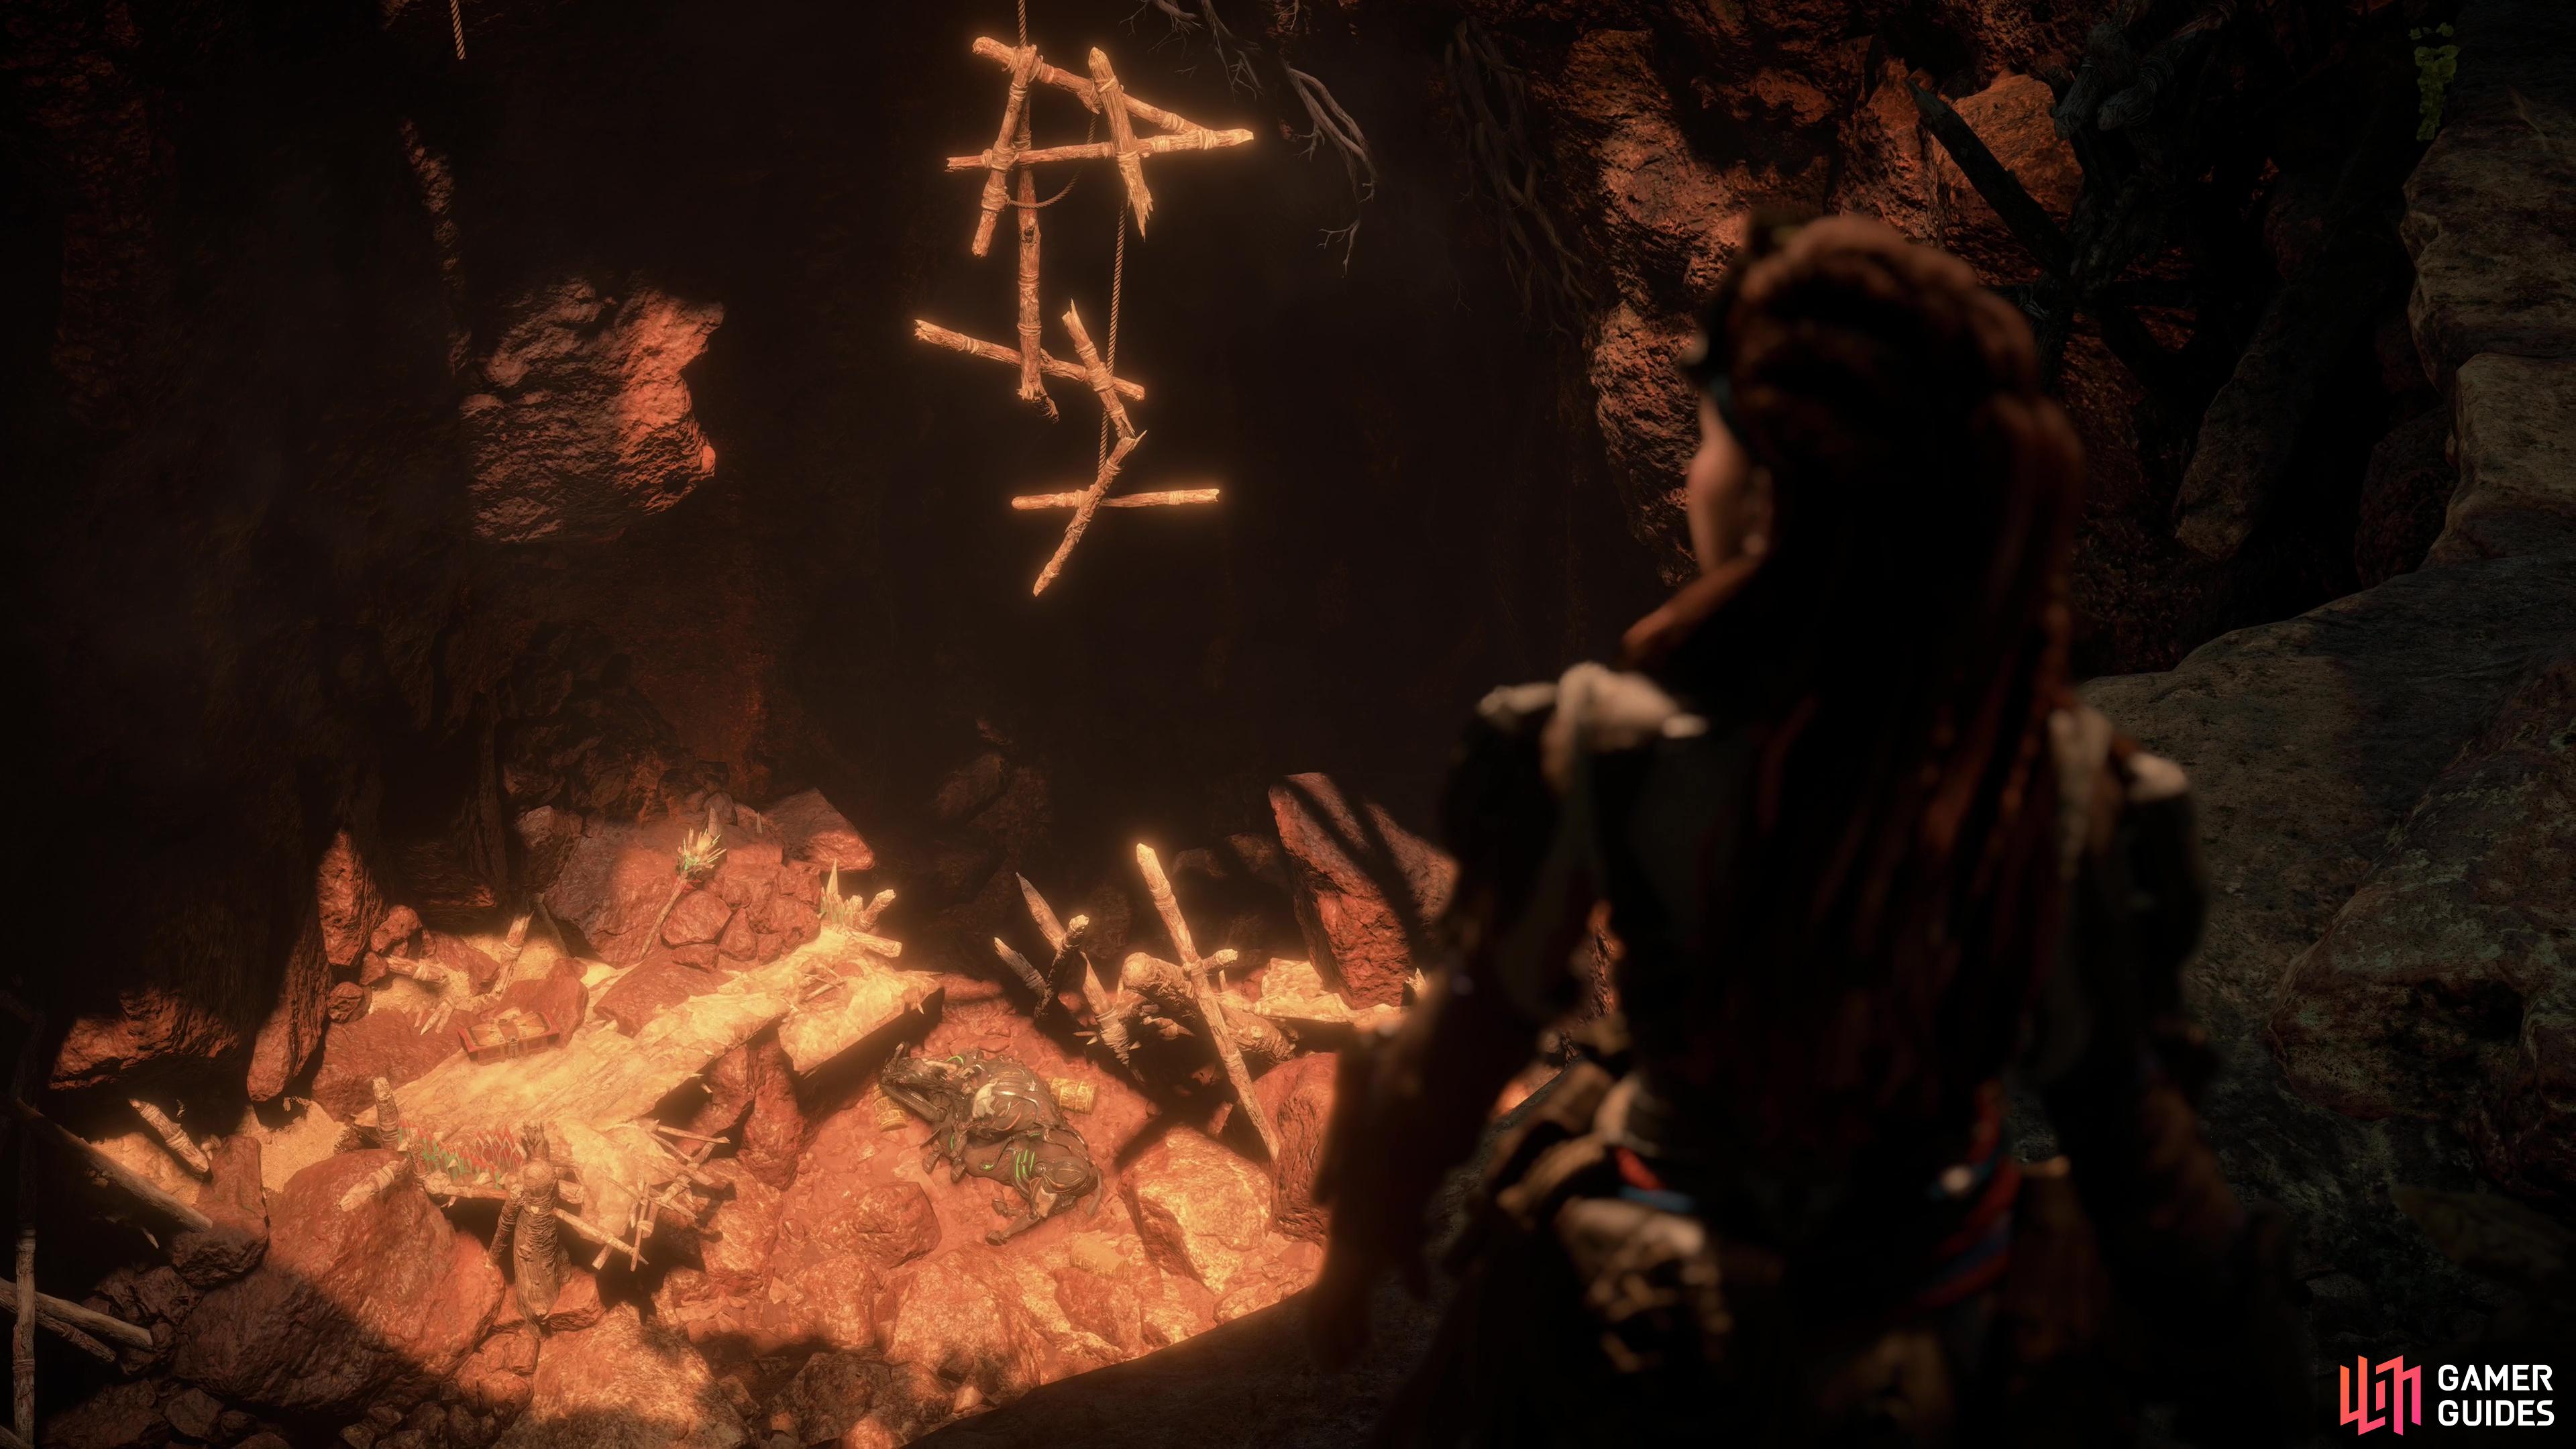
Once the machines have been dealt with, loot the chamber, head up a ramp to the northwest, then turn left (southwest) and drop down into a pit full of blaze barrels. Read a piece of parchment to gain some useful intel, then loot a Generous Cache before you grapple out of the pit.
Leave the mine and return to Javad the Willing in Chainscrape and tell him what you found, after which this quest will go dormant until you complete [The Embassy].
Pick off the rebel soldiers,
then dispose of the Chargers.
Search the Deadfalls
After you complete [The Embassy] you’ll be able to continue this quest, and Aloy will hypothesize that sinced Regalla’s mounted troops attacked from the north, they might have a camp up that way. As with most of Aloy’s speculation, she’s right (well, technically the camp is to the northwest), and you’ll need to clear out [The Deadfalls], a task which is considerably easier than it may seem.
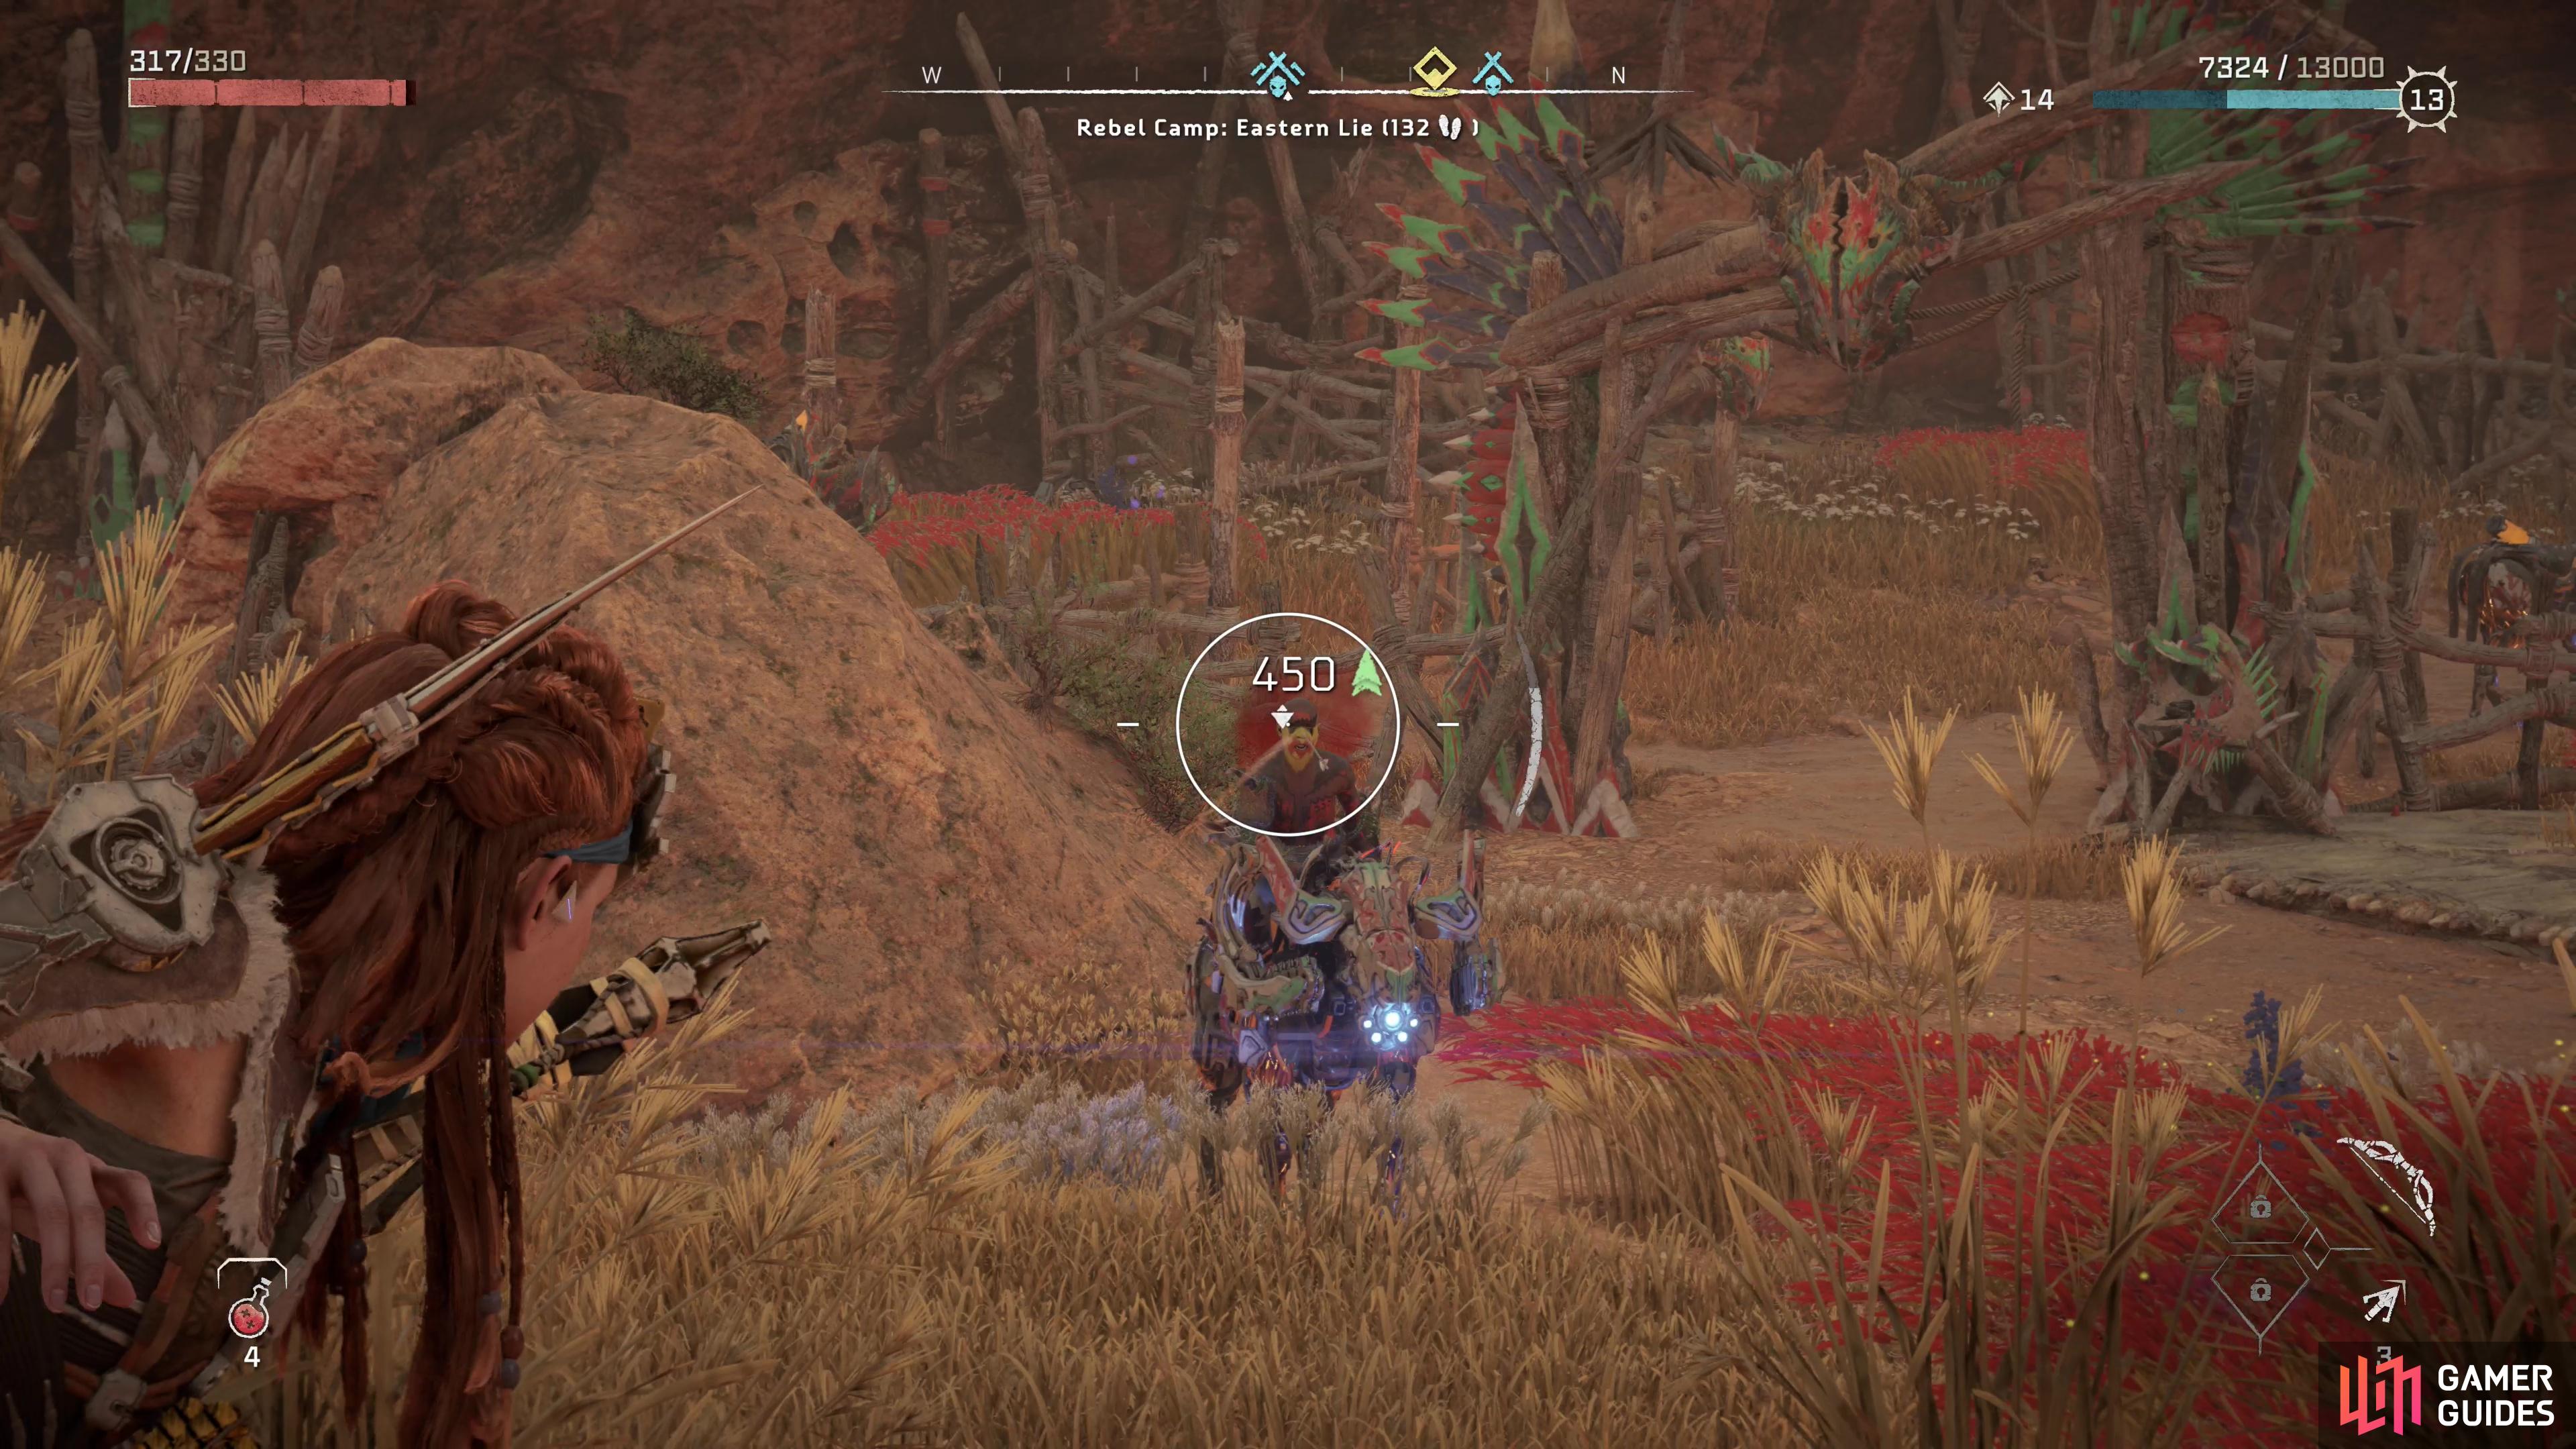
Make your way to the outskirts of the [Deadfalls] - following the roads will get you to the south/southwestern edge of the camp, but you can also get up to the cliffs east and north of it, if you’re willing to go off the beaten path. Either way, it doesn’t matter too much, as both approaches will yield numerous vantage points you can scale and shoot down at the hapless inhabitants from.
There are four Rebel Soldiers inside (one of which is mounted) and five [Chargers]. If you stick to high ground, there’s little the Chargers can do, but the rebels can and will shoot back at you, and perhaps even deploy Slingblast bombs. Of course, dropping down off the wall to the outside will cause them to lose interest in time, so this is something of a turkey shoot - with some patience and a [Sharpshot Bow] you can easily pick off all the rebels, after which the Chargers are easy enough to take down with Silent Strikes. If you’d rather be more up close and personal with your spear, you can also use a nearby river, which snakes up north past the walls and allows you to climb ashore and infiltrate the camp at various points.
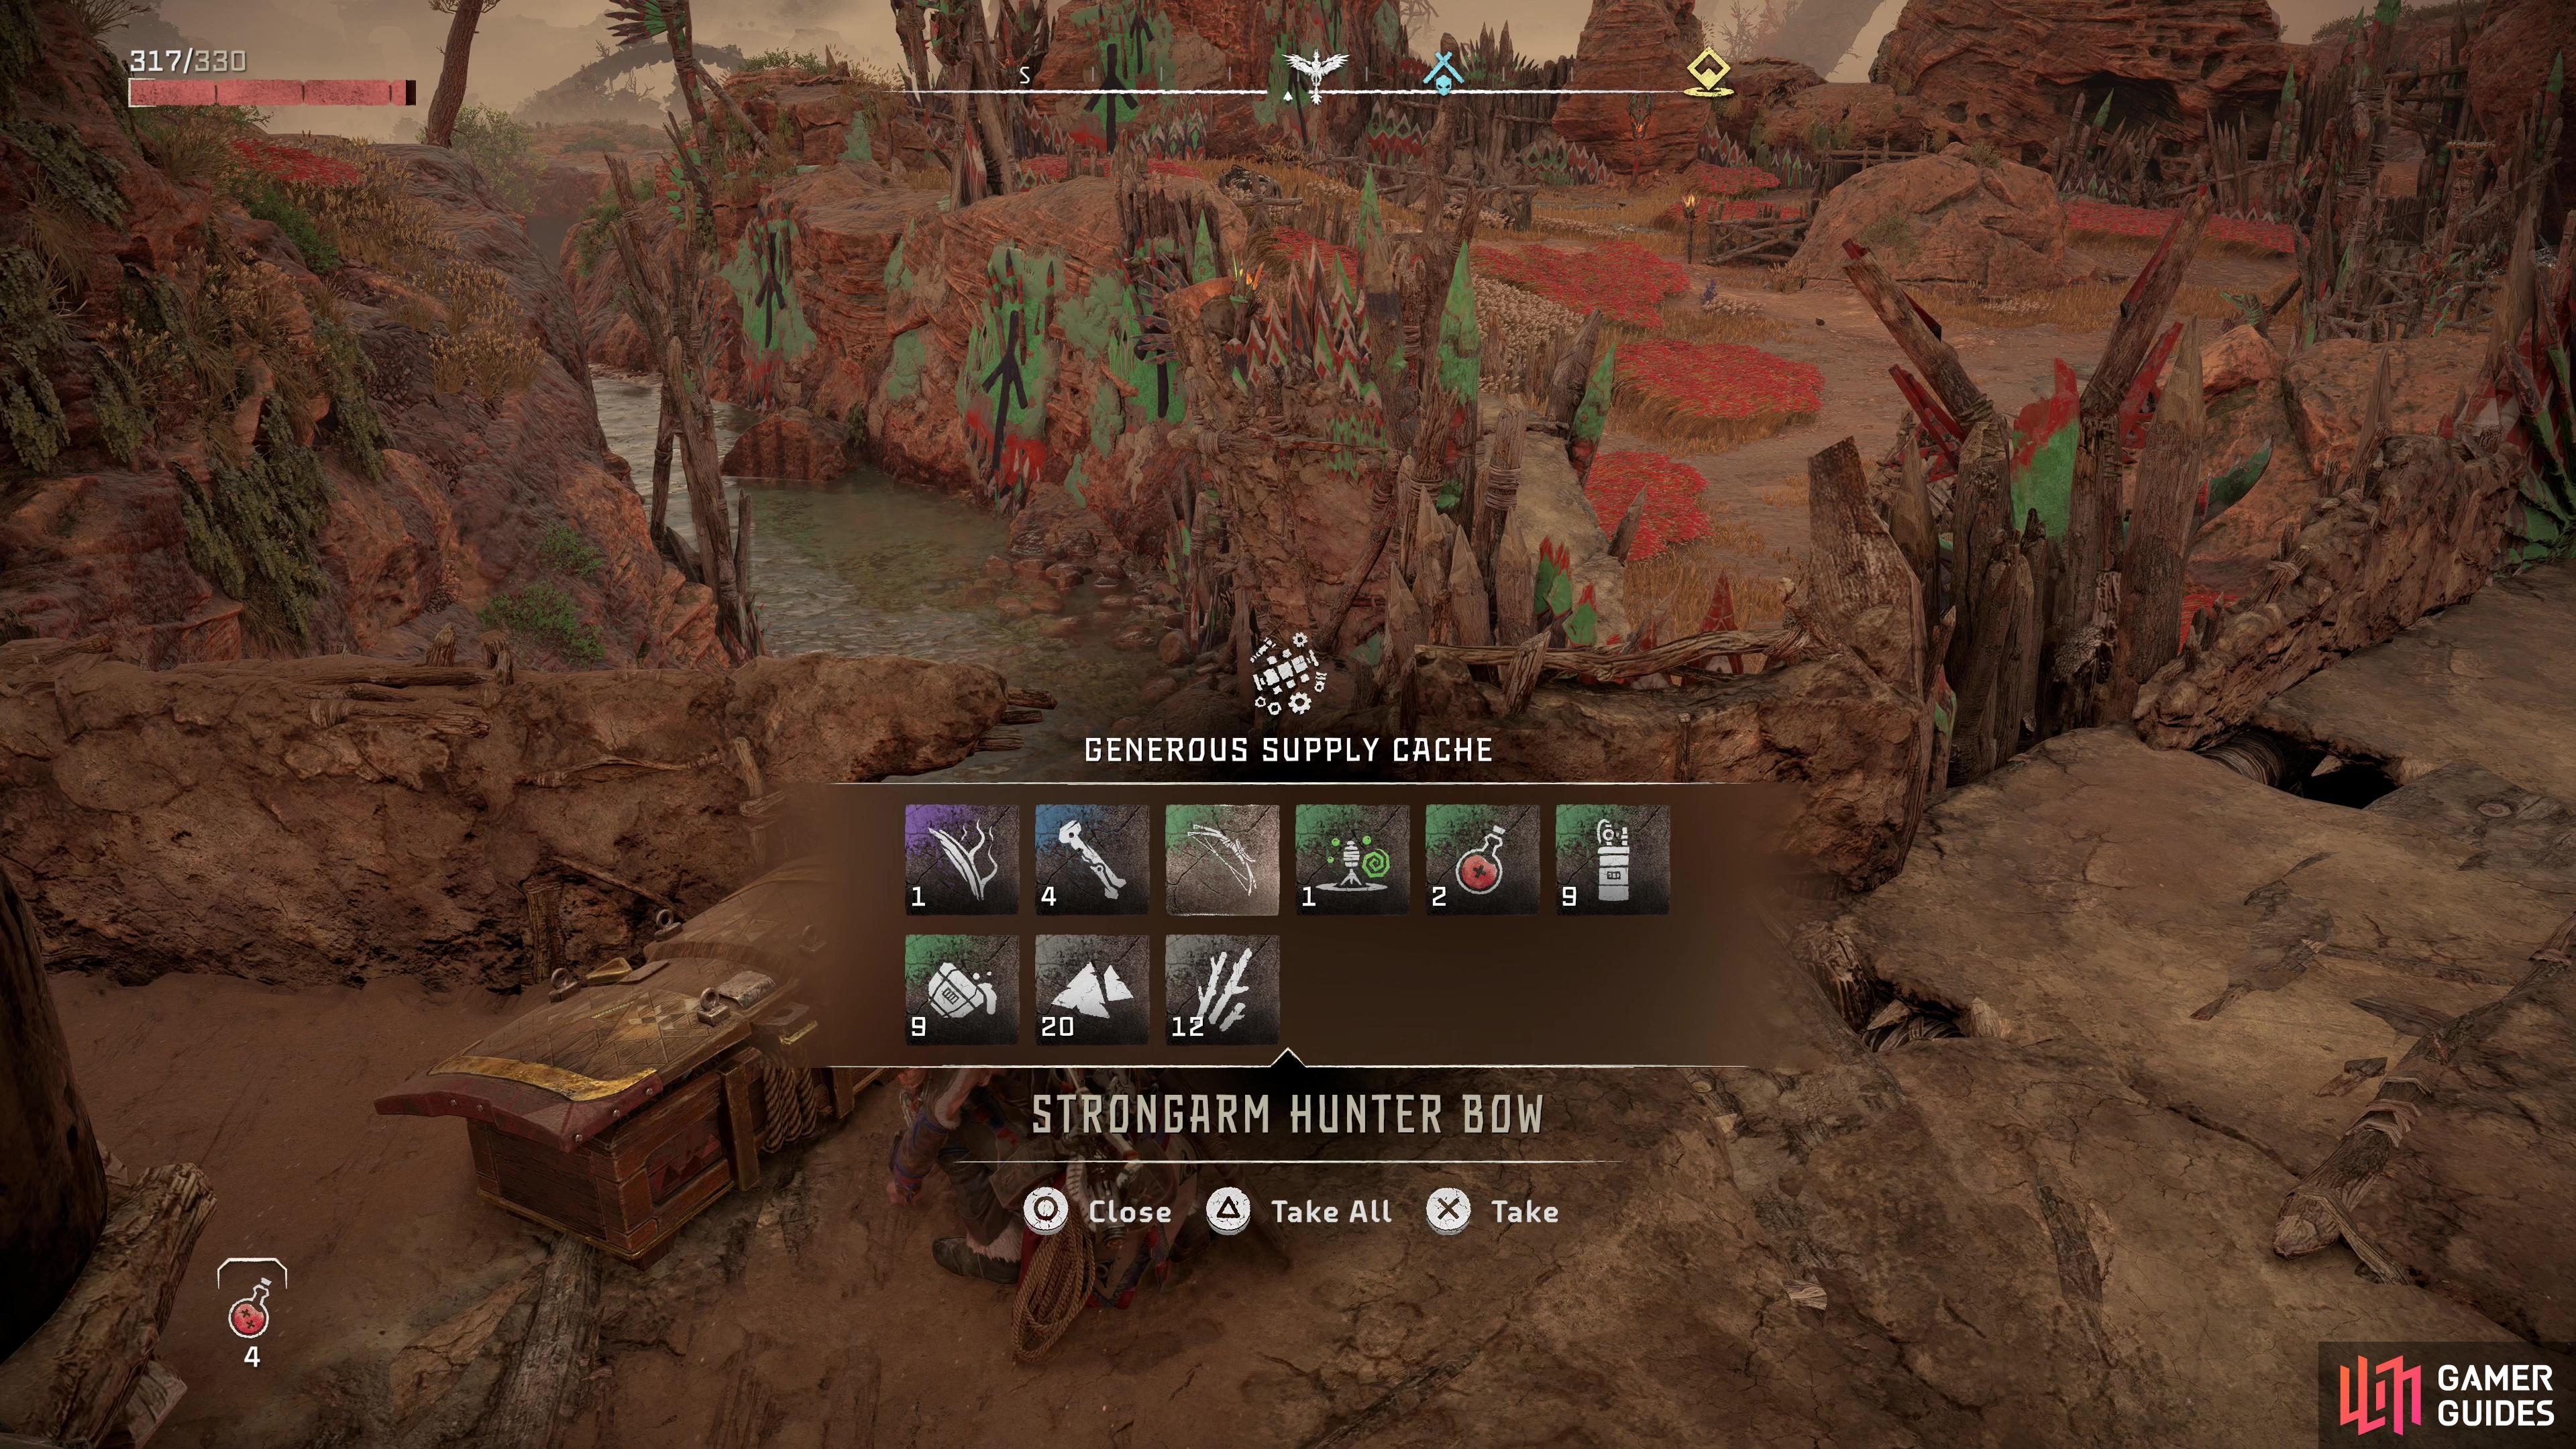
Loot a Generous Supply Cache to find the Strongarm Hunter Bow,
then examine a pit to figure out exactly how the Bristlebacks ended up in the Daunt.
However you manage it, once all the rebels and their machines are dead, make your way up some ramps along the northeastern end of the camp to find a raised drawbridge. Keep the drawbridge in mind, then turn right (southeast) and keep your eyes peeled, as you’re looking for a Generous Supply Cache which contains the Strongarm Hunter Bow.
Once that’s yours, return to the drawbridge and use the wheels to lower the part you have access to, then shoot some ropes holding the far side of the bridge up to create a path forward. Explore to the northeast to find a pit that confirms Aloy’s suspicions, after which you’ll be free to leave and return to Javad the Willing in Chainscrape.
Talk to Javad the Willing and, after a good bit of chatter and some well-deserved comeuppance, this quest will end.
No Comments