
Walkthrough for the Side Quest The Burning Blooms in Horizon Forbidden West.
How to Start The Burning Blooms
After completing the main quest [Death’s Door] you’ll find yourself in Stone’s Echo. Seek out a woman named Mian who will just barely find the time to tell Aloy some useful information while expressing her contempt for foreigners. Apparently some Carja huntress passed through along with her “thrush”… sounds like an old acquaintance.
| Quest Giver | Starting Location | Prerequisite | Level | Rewards |
|---|---|---|---|---|
| Mian | Stone’s Echo | Complete [Death’s Door] | 15 |
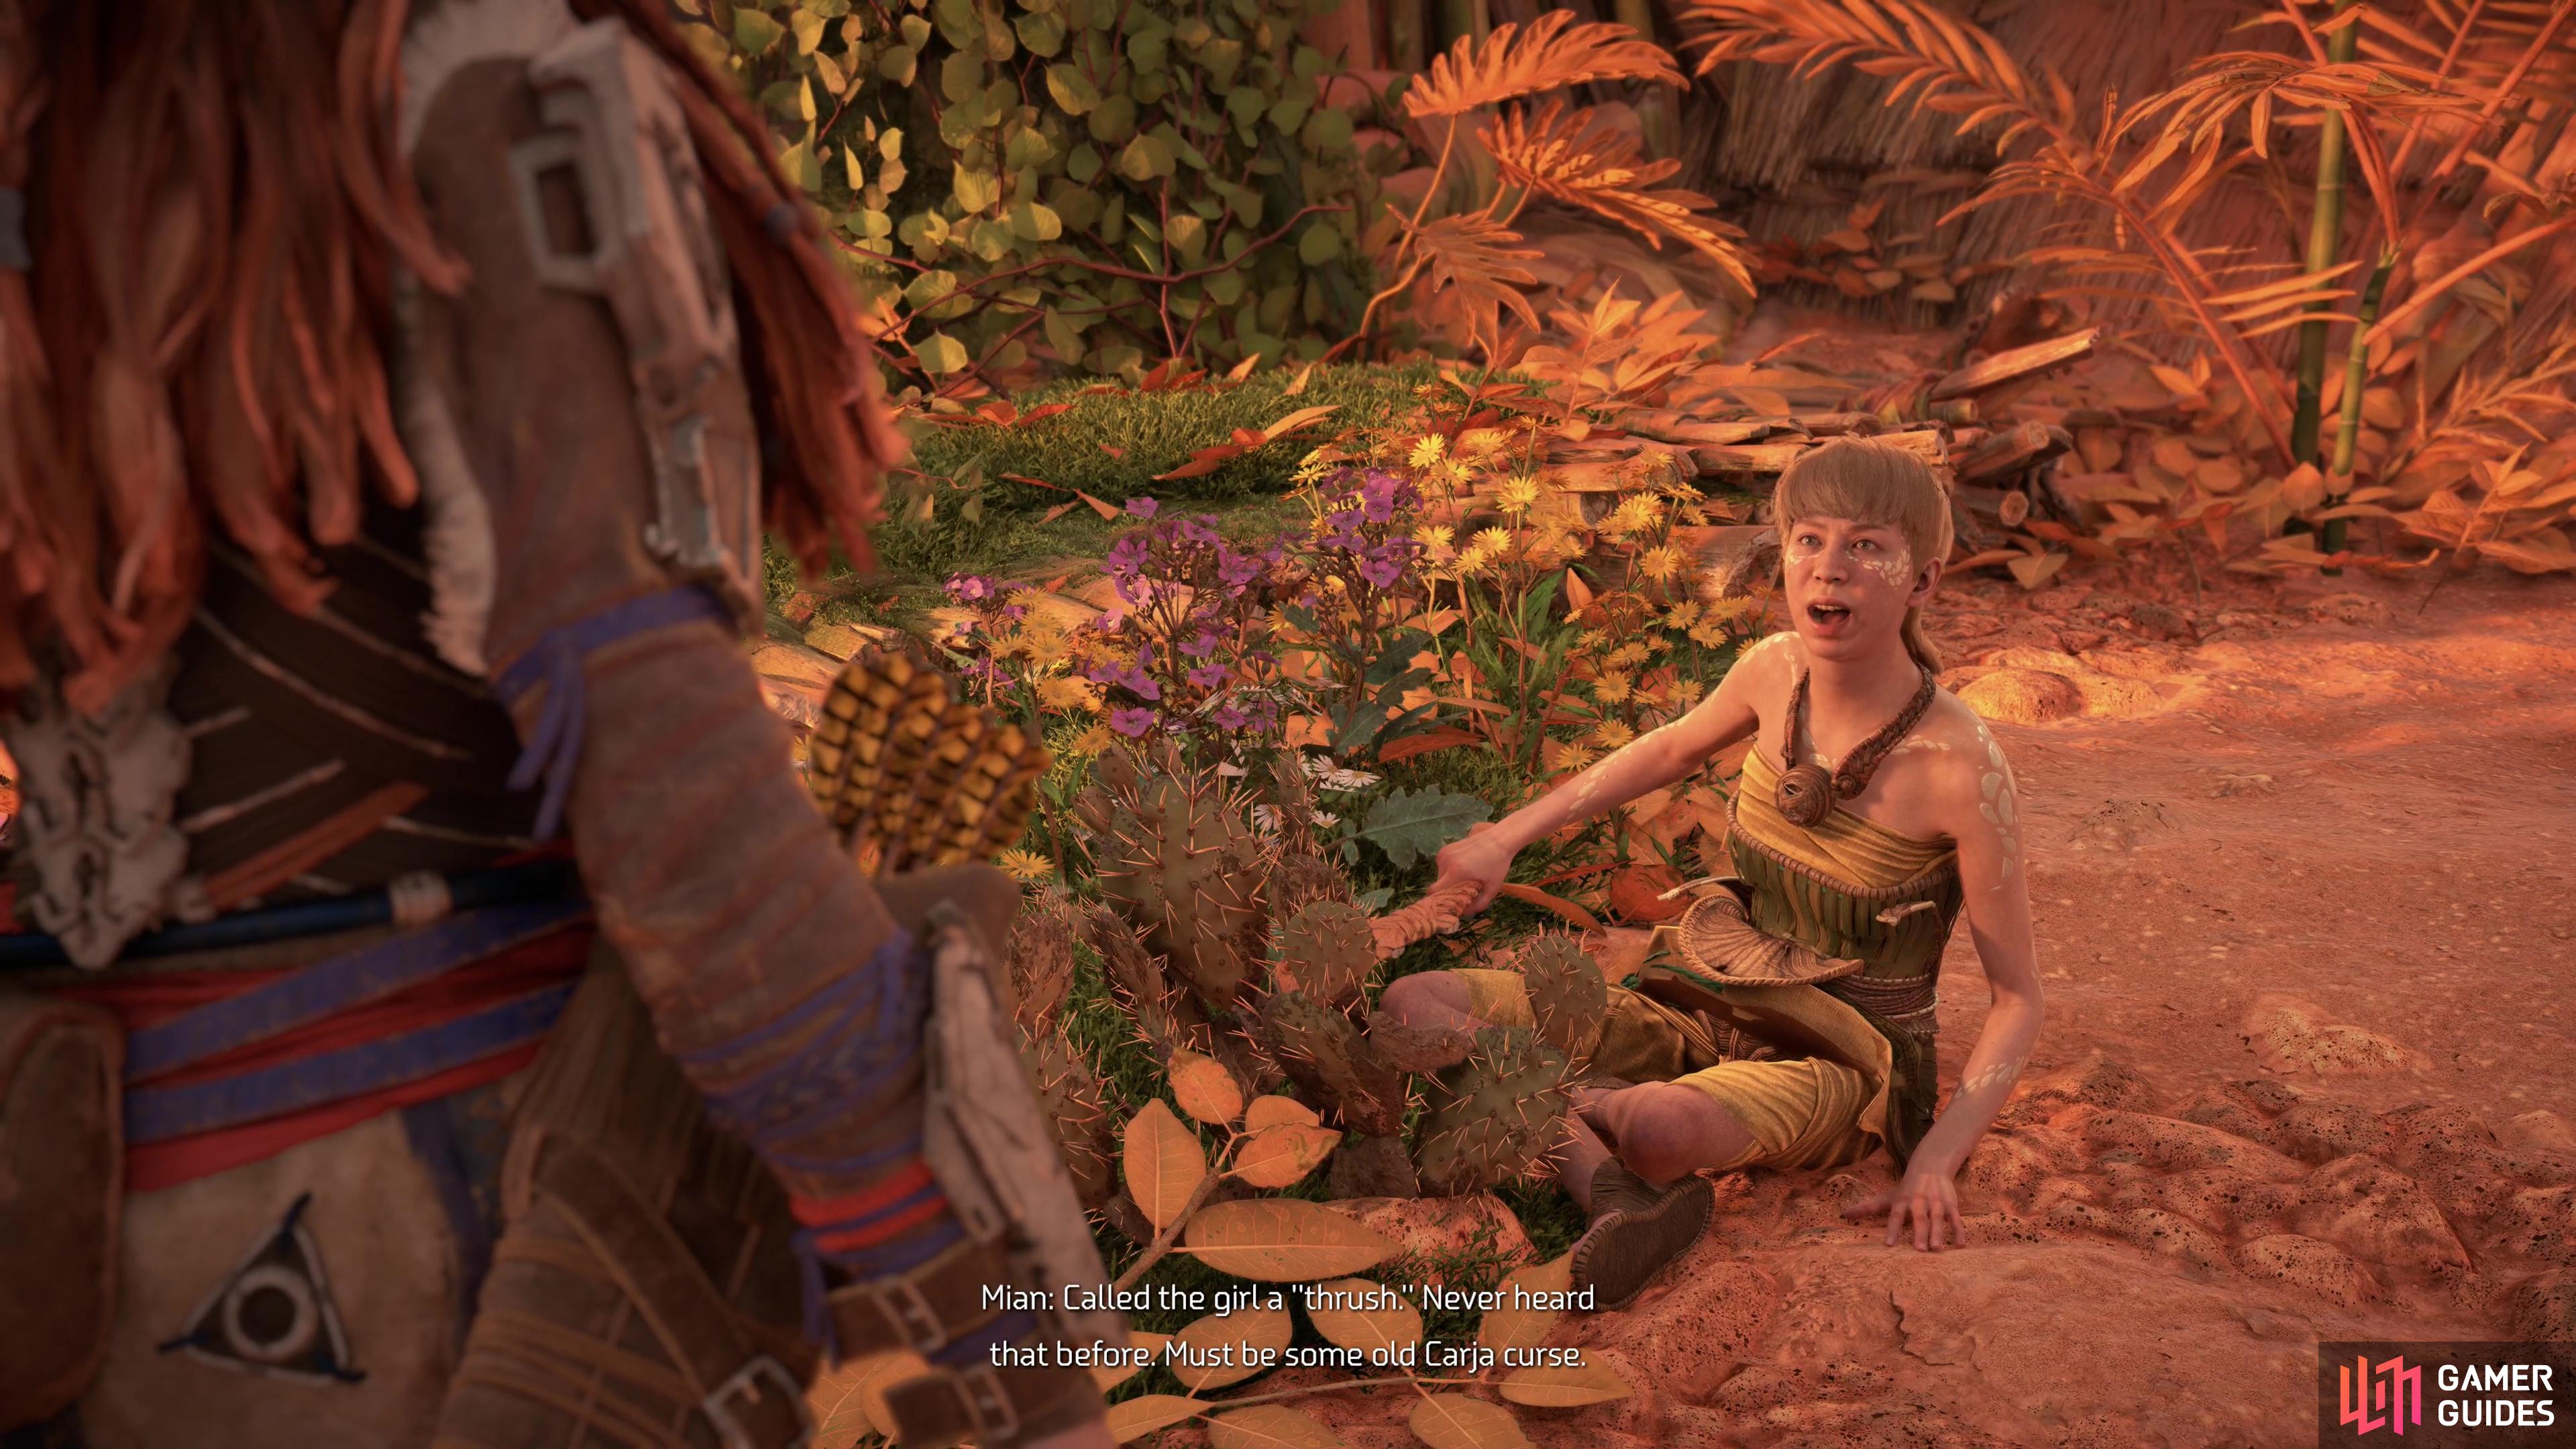
Talk to a xenophobic woman named Mian in Stone’s Echo to start the quest,
then seek out the Carja huntress Mian mentioned, fending off some machines when you find said huntress.
Where to Find the Carja Huntress
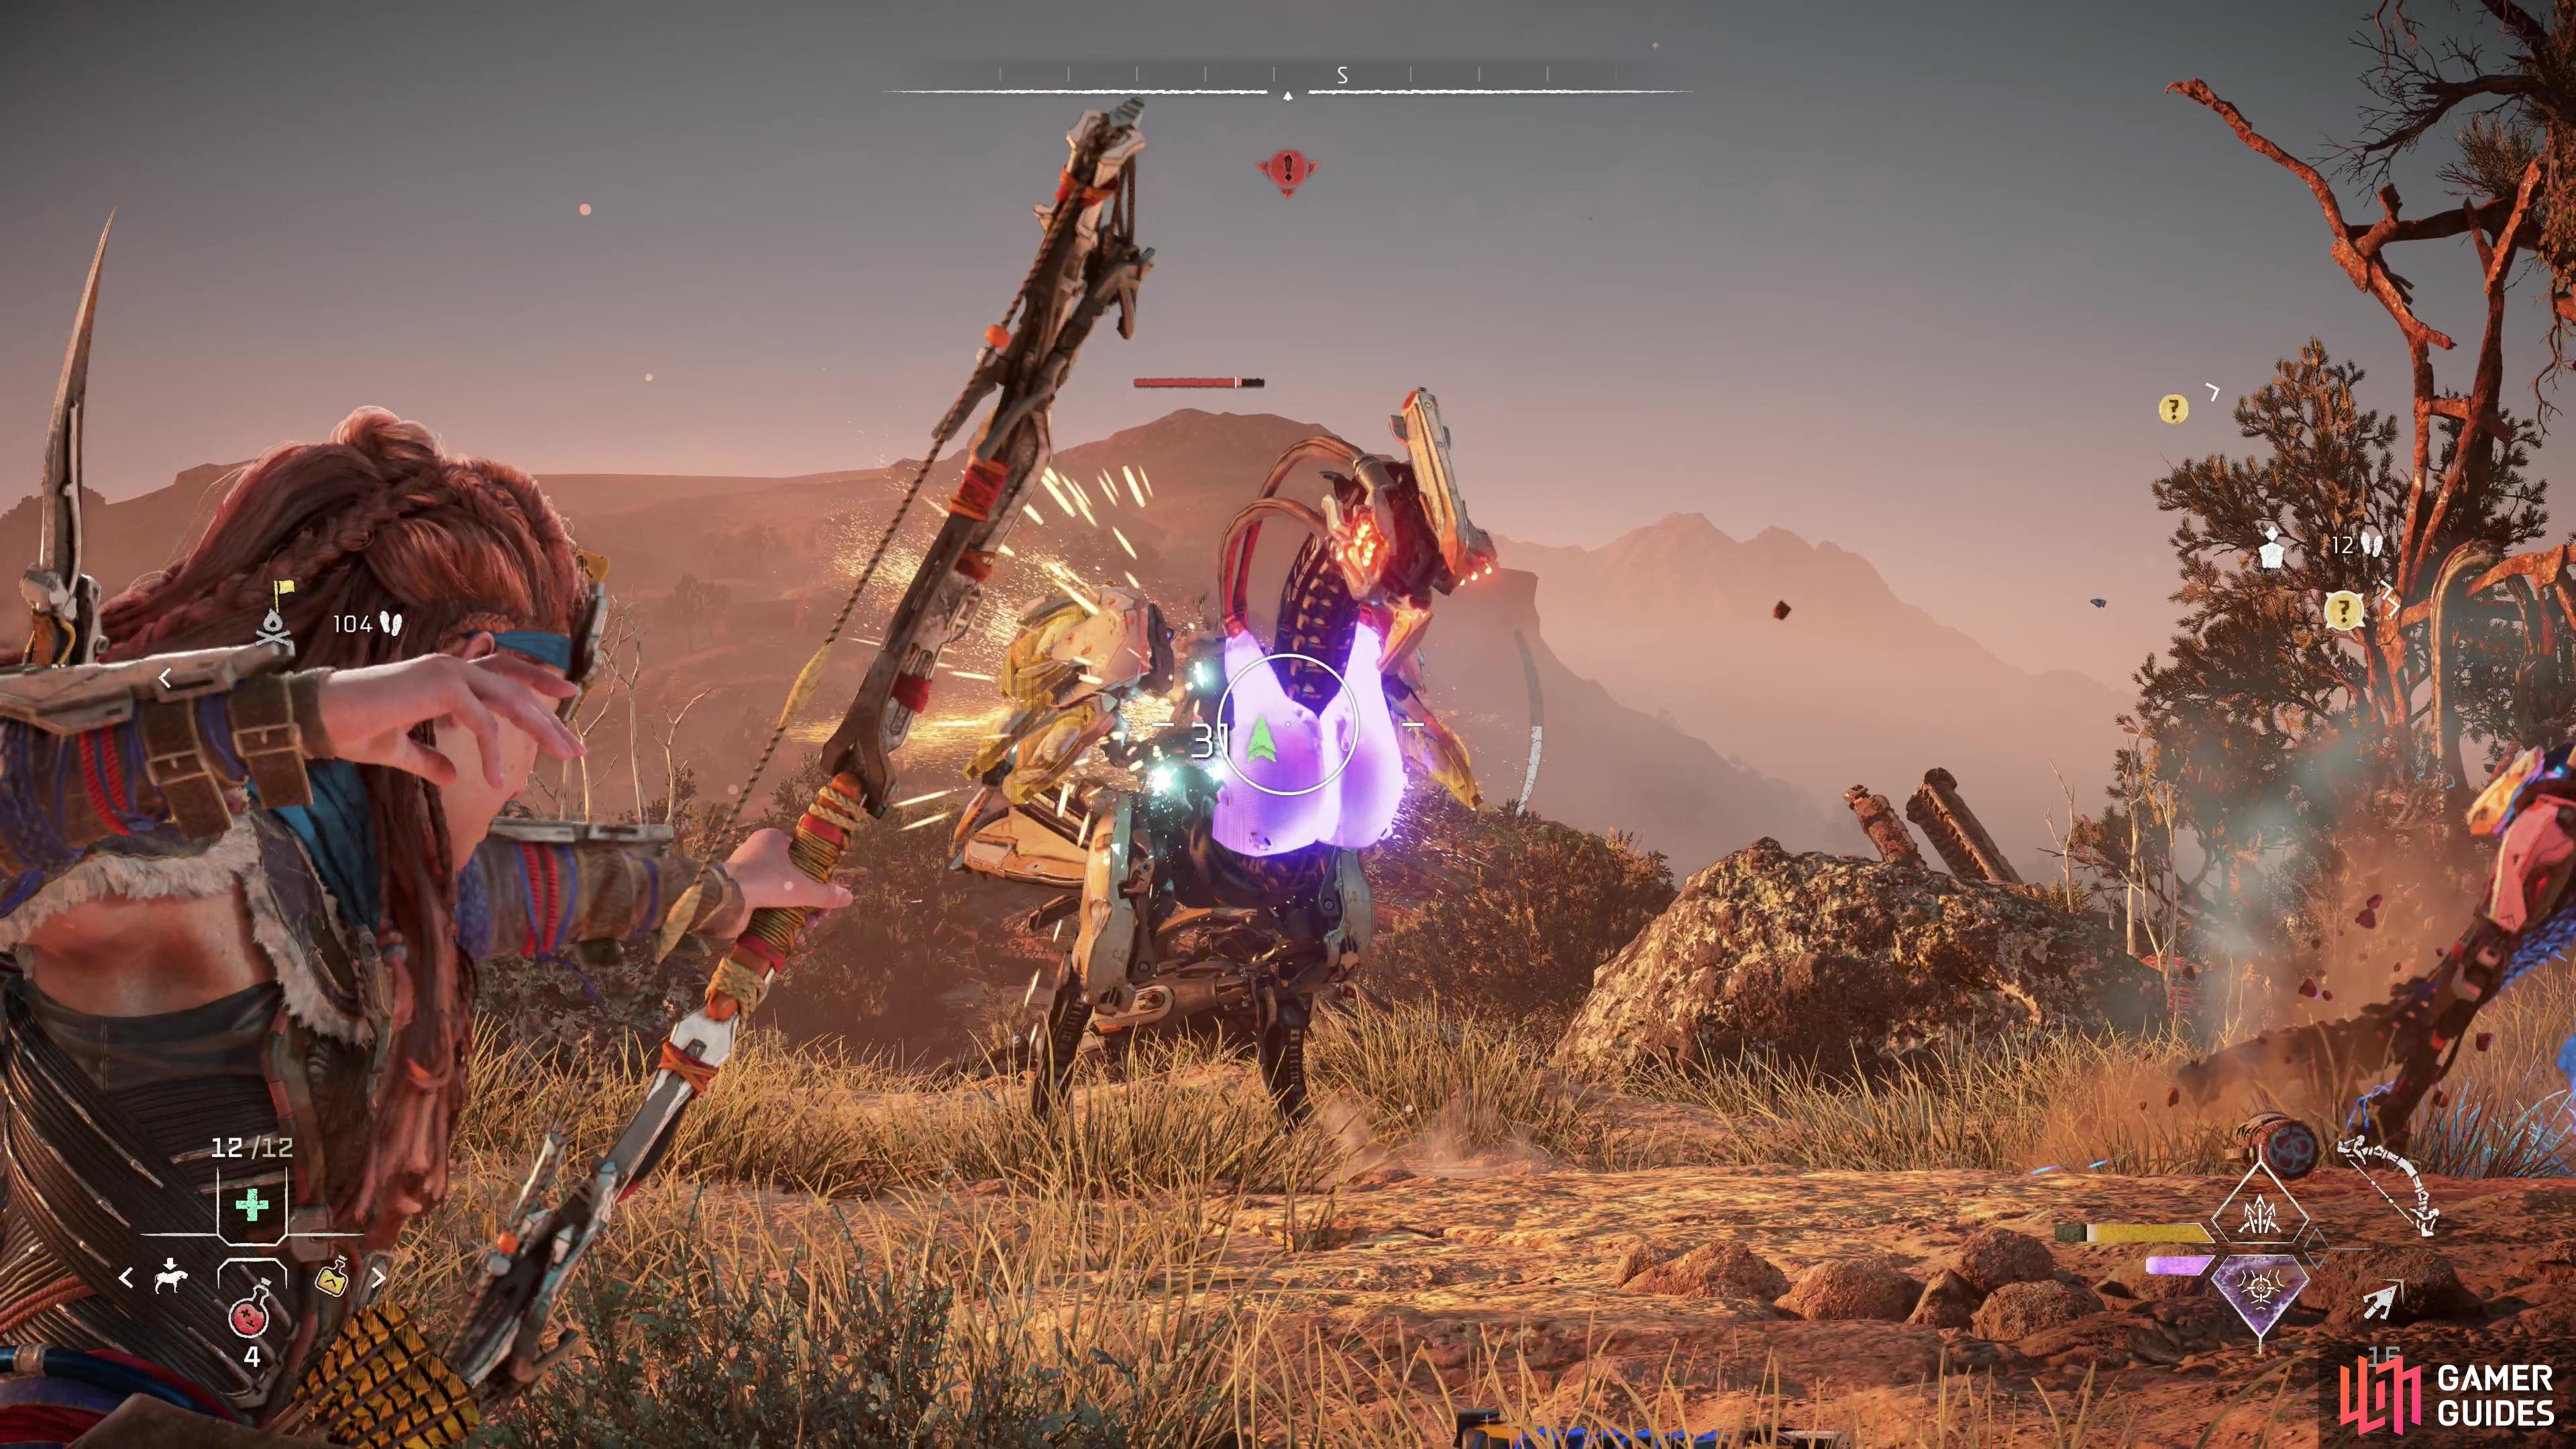
The search area for the Carja Huntress you’re looking for is southwest of Stone’s Echo, due south of the [Cauldron: MU]. When you approach you’ll find this Carja Huntress, Talanah, and her “Thrush”, Milu, under attack by some machines, including a [Longlegs] and some [Leapslashers]. After an introductory cutscene you’ll be invited to join the fight, which should be a rather simple matter, considering that there are three of you. With so many targets to focus on, you should be able to pick your shots.
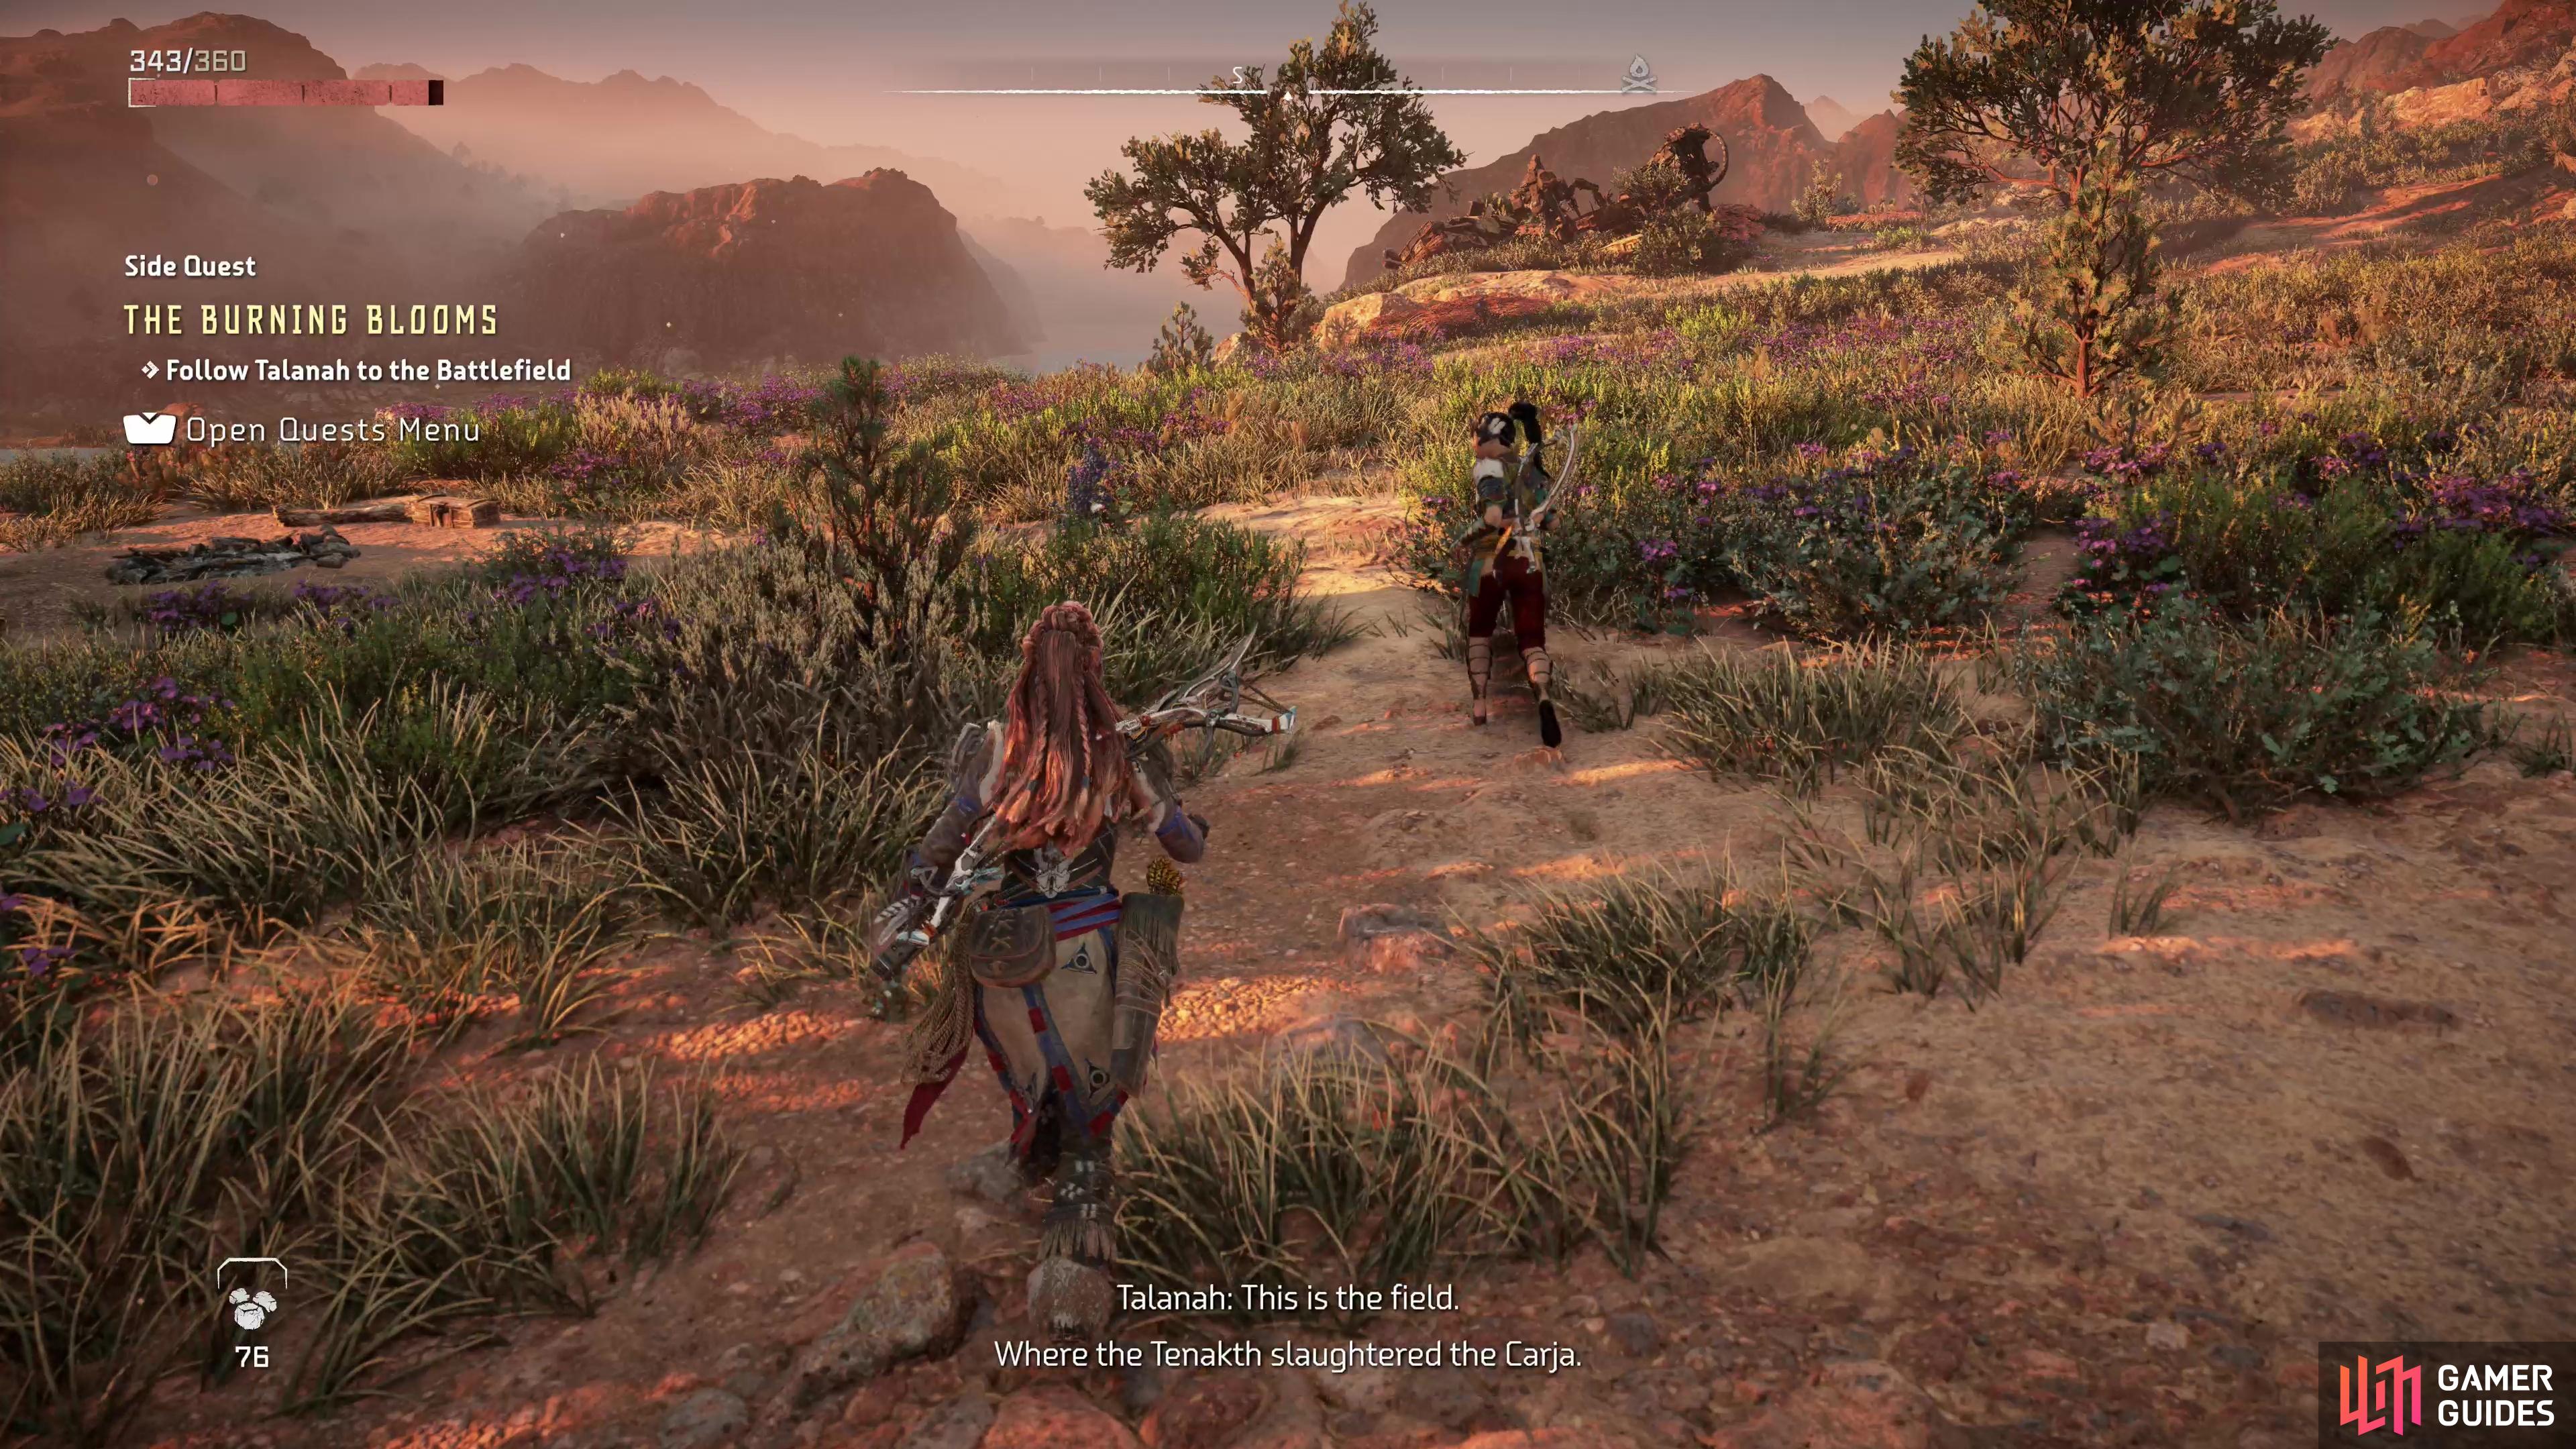
Search the Battlefield and Track Amadis
Talk to Talanah and Milu after the machines are defeated and Talanah will tell you why she’s out here, without getting into specifics. After Milu is sent away, you’ll need to follow Talanah to the “Battlefield”, where she hopes to find clues about her friend’s whereabouts. Follow her southwest past a [Longneck Site] and when you reach the battlefield you’ll need to search for some tracks.
Press Triangle to examine the footprints near where Talanah is crouching, then head south, southwest to find some more footprints. Scan them with your Focus, then examine them, and finally use your Focus to highlight a trail. Follow the tracks until you find an old man named Lel, who will provide you a lead.
The next phase of this quest is less ambiguous - simply follow the road southwest until your progress is impeded by the emergence of a [Shellsnapper].

(1 of 5) The Shellsnapper, while sturdy, has many weakpoints you can target, including its Shell Bolts.
How to Defeat the Shellsnapper
At Level 27, the Shellsnapper may be one of the most powerful machines you’ve yet encountered, especially if you’re coming here shortly after [Death’s Door]. The machine is a bruiser, no doubt, and can absorb quite a bit of punishment, especially if you’re still using your starting gear (however highly upgraded it may be).
Fortunately, you’re not alone. Talanah will draw aggro, dish out some damage, and toss you ammo (usually acid or fire arrows). She’s not immortal and you shouldn’t rely on her to do much of the heavy lifting, but the distraction she provides can be invaluable, and if she goes down, find an opening and go revive her so she can continue being useful.
The Shellsnapper can attack by lopping huge balls of ice or by shooting out cones of frost at close range targets via its several Frost Blasters. Don’t be fooled by the name, however, as these Frost Blasters can also be used to fire explosive shells, which deal heavy damage should they hit. It can also utilize its Kinetic Dynamo to dish out damage at a range, but this weapon needs to charge - every hit that lands ineffectually on its shell will empower this weapon, so try to be accurate to deprive it of another means of offense. Failing those ranged options, the Shellsnapper is just as happy to lash out with its appendages at close range or perform a leaping slam attack. This latter attack can be difficult to dodge due to the sheer size of the machine.
Perhaps the most annoying ability the Shellsnapper has is its penchant for burrowing. It can hide beneath the sands with startling alacrity, then resurface either far away to shoot some ice blasts, or close by - often emerging leaping from the ground with the intention of landing on its victims.
Make ample use of the generous cover strewn about the battlefield - hide behind rocks to avoid attacks, scan the machine frequently to reveal its weakpoints, use your concentration to take aim at targets of opportunity, and any time you’re not aiming, try to keep something solid between you and the Shellsnapper. When it burrows, run, and if it emerges far away, seek cover, and if it tries to land on you, you’ll already be moving.
Aiming for the Shell Bolts is a safe, if conservative approach to fighting a Shellsnapper. There are quite a few of them on the edges of the machine’s shell, and destroying some may expose more vulnerable components underneath. The Frost Blasters are also reasonably simple weakpoints to target, and while destroying them won’t reveal more vulnerable weakpoints, it will limit the Shellsnapper’s offense. If you can pry off a piece of its shell by targeting the bolts, you’ll have a way of dishing out greater damage going forward, but you can win the fight just as well by picking away at targets of opportunity as they present themselves.
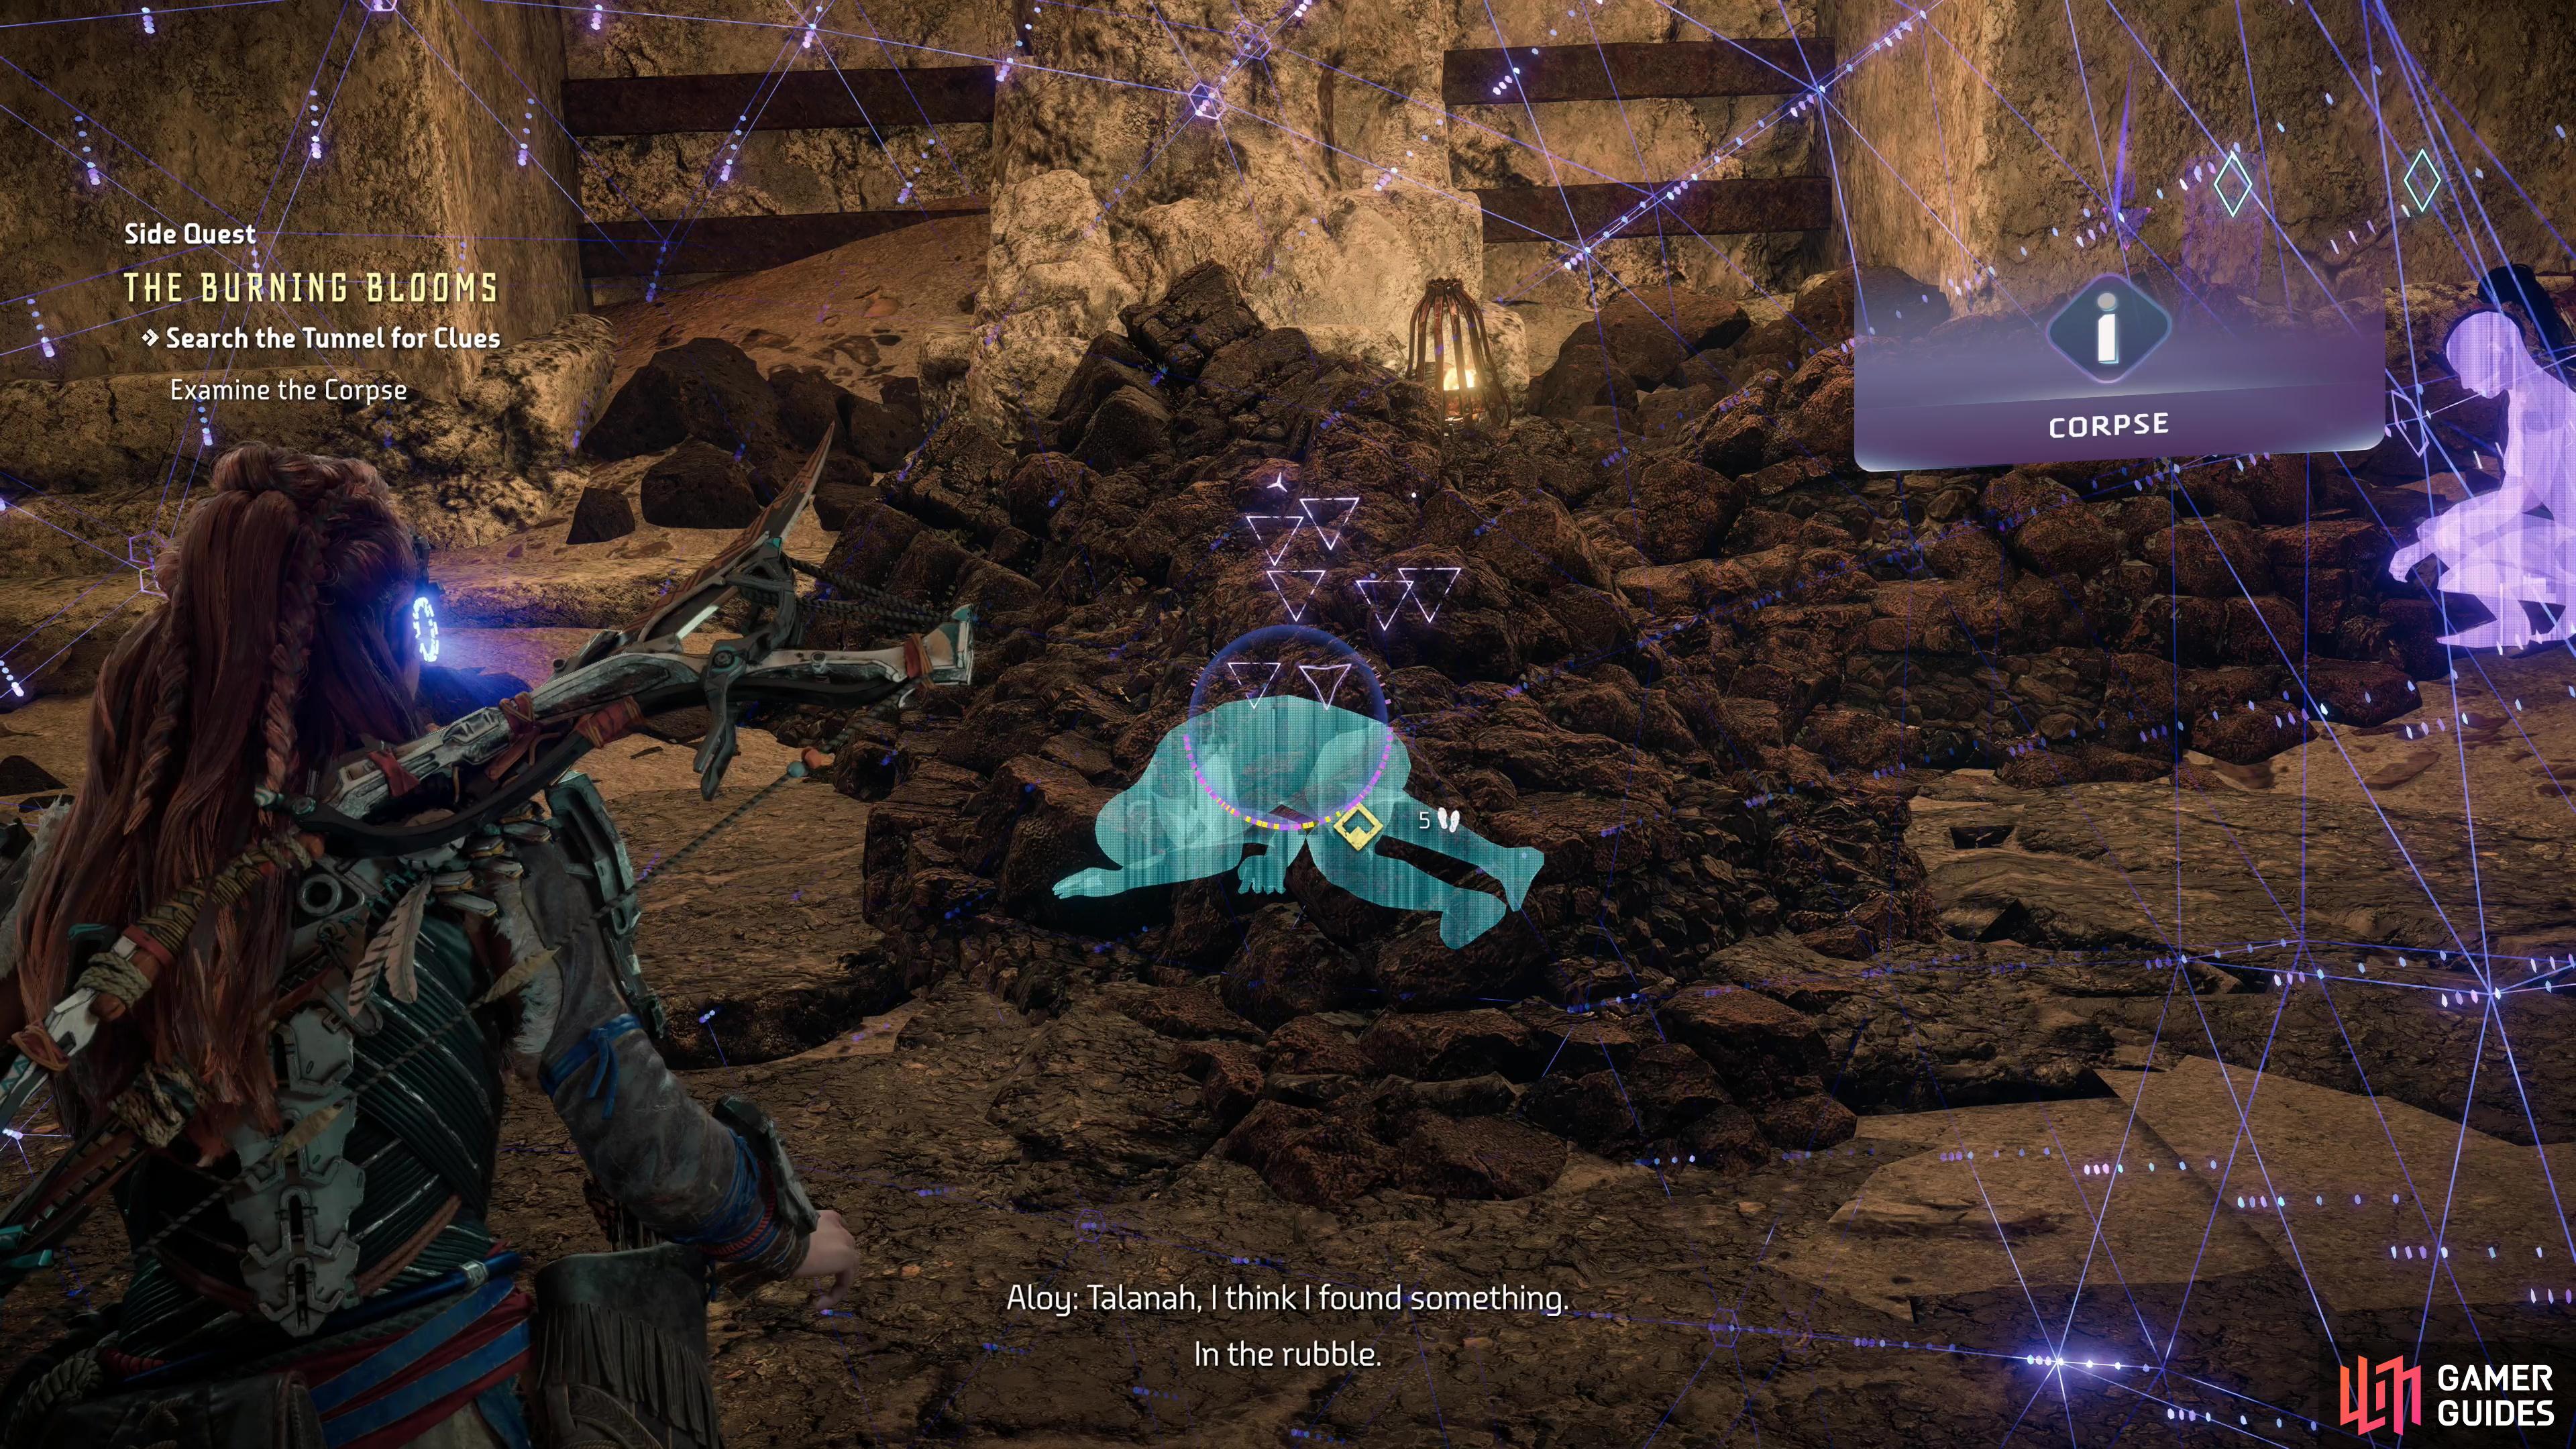
When you reach the tunnel, scan some rubble to find a buried body.

After getting this far, the followup quest may go on hold until you find a way over the mountains.
Search the Tunnel
When the Shellsnapper is vanquished, loot it then continue following the road southeast to reach a tunnel. Use your Focus to scan some rubble to the left, revealing a buried body. Examine the rubble and after some chatter this quest will end. The followup side quest [Need to Know] will begin immediately afterwards, but you’ll have to progress the main questline to start it properly.
No Comments