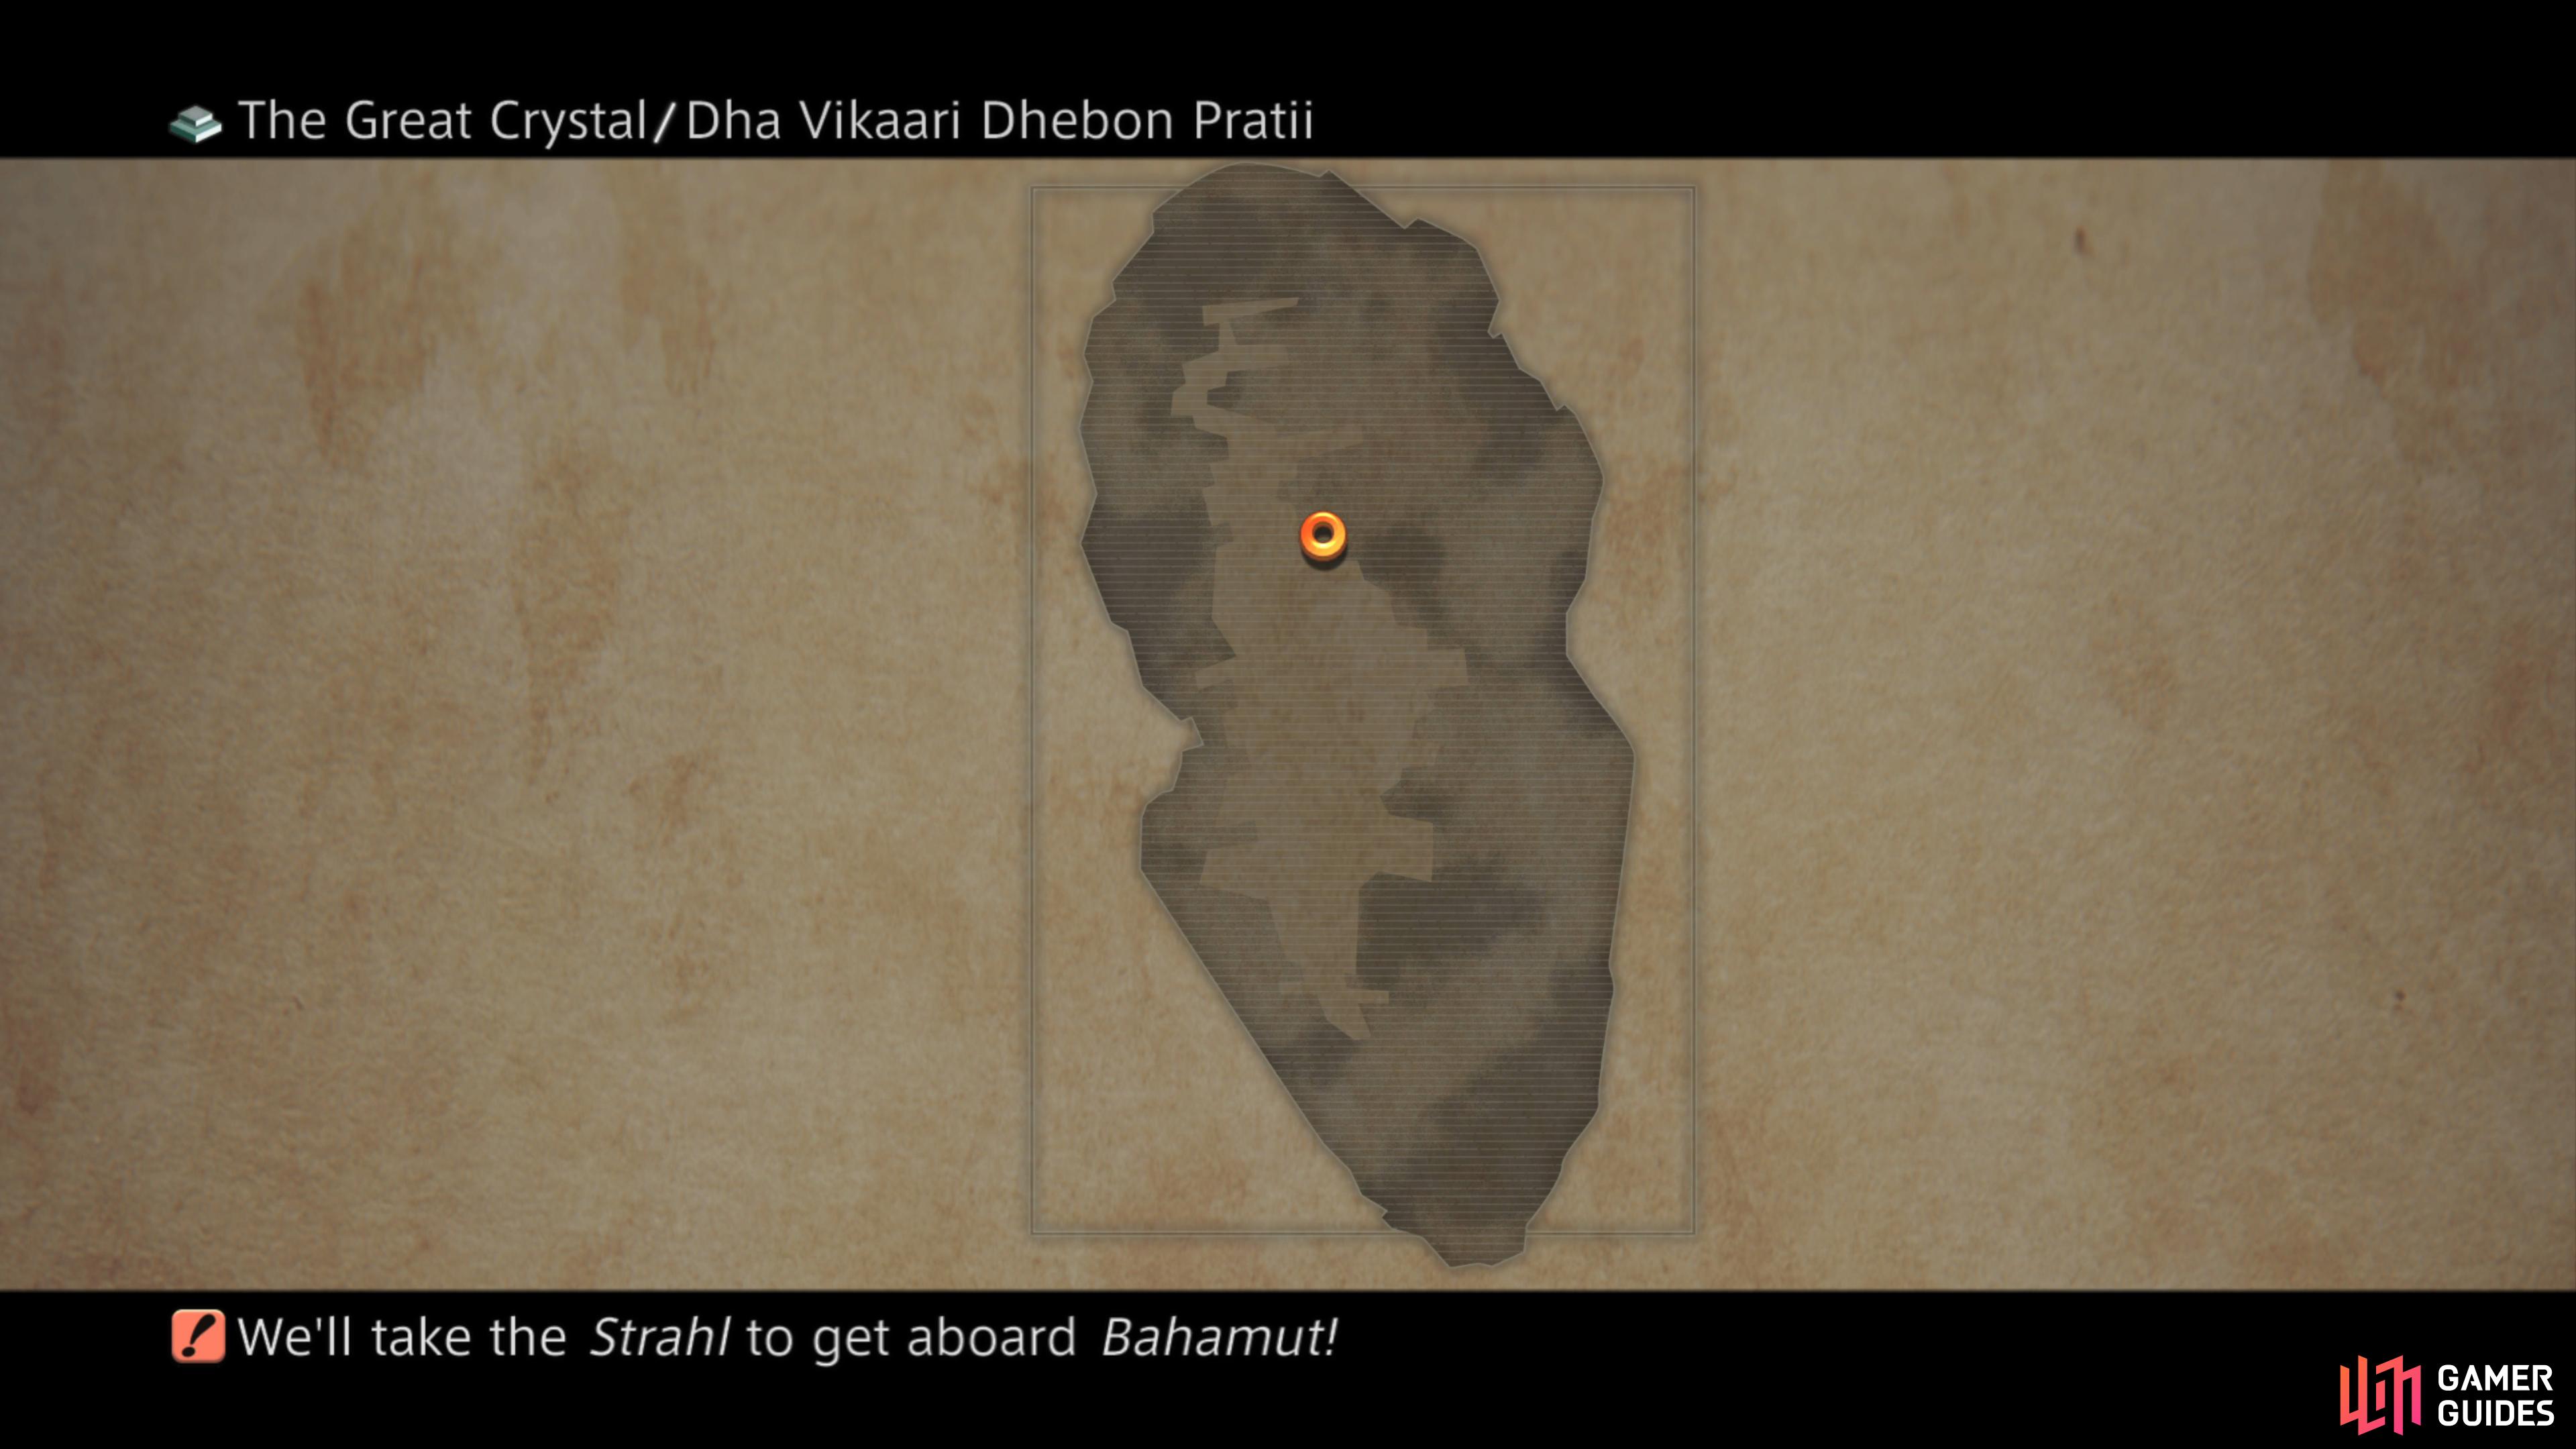
Dha Vikaari Dhebon Pratii
| Regular Treasure |
Diamond Armlet |
Respawns (Y/N) |
| – |
– |
– |
| Enemies |
Weakness |
Steal |
Loot |
| – |
– |
– |
– |
This is one of the possible entry points to the Sirhru level and you’ll reach it by taking Waystone XII on the Dhebon level. As with most entry levels, there’s not much to see or do here and there’s only two exits available to you.
- Exits:
1. Northeast - Sthaana Leo
2. Southwest - Sirhru Phullam Udiiprati
3. Waystone XIV - A Vikaari Sirhru Pratii (back to the Dhebon level)
Sthaana Leo
| Regular Treasure |
Diamond Armlet |
Respawns (Y/N) |
| – |
– |
– |
| Enemies |
Weakness |
Steal |
Loot |
| Necrophobe |
Holy |
Sky Jewel, Shock Mote, Hermes Sandals |
Dark Crystal, Bacchus’s Wine, Sky Jewel, Capricorn Gem |
As soon as you enter this room, Necrophobes will attempt to ambush you. Beware of their ability to Divide or you could end up with a large group of them to deal with. Once dispatched, you’ll find the Leo Gate Stone in the center of the room which, when activated, will open the nearby Gate to the north of this room along with one in the center of this level.
- Exits:
1. North - Sirhru Phullam Pratii’Vaa
2. Southwest - Dha Vikaari Dhebon Pratii
Sthaana Leo
| Regular Treasure |
Diamond Armlet |
Respawns (Y/N) |
| Shellga |
Shellga |
N |
| Meteorite (5%) |
Meteorite (5%) |
Y |
| Enemies |
Weakness |
Steal |
Loot |
| Necrophobe |
Holy |
Sky Jewel, Shock Mote, Hermes Sandals |
Dark Crystal, Bacchus’s Wine, Sky Jewel, Capricorn Gem |
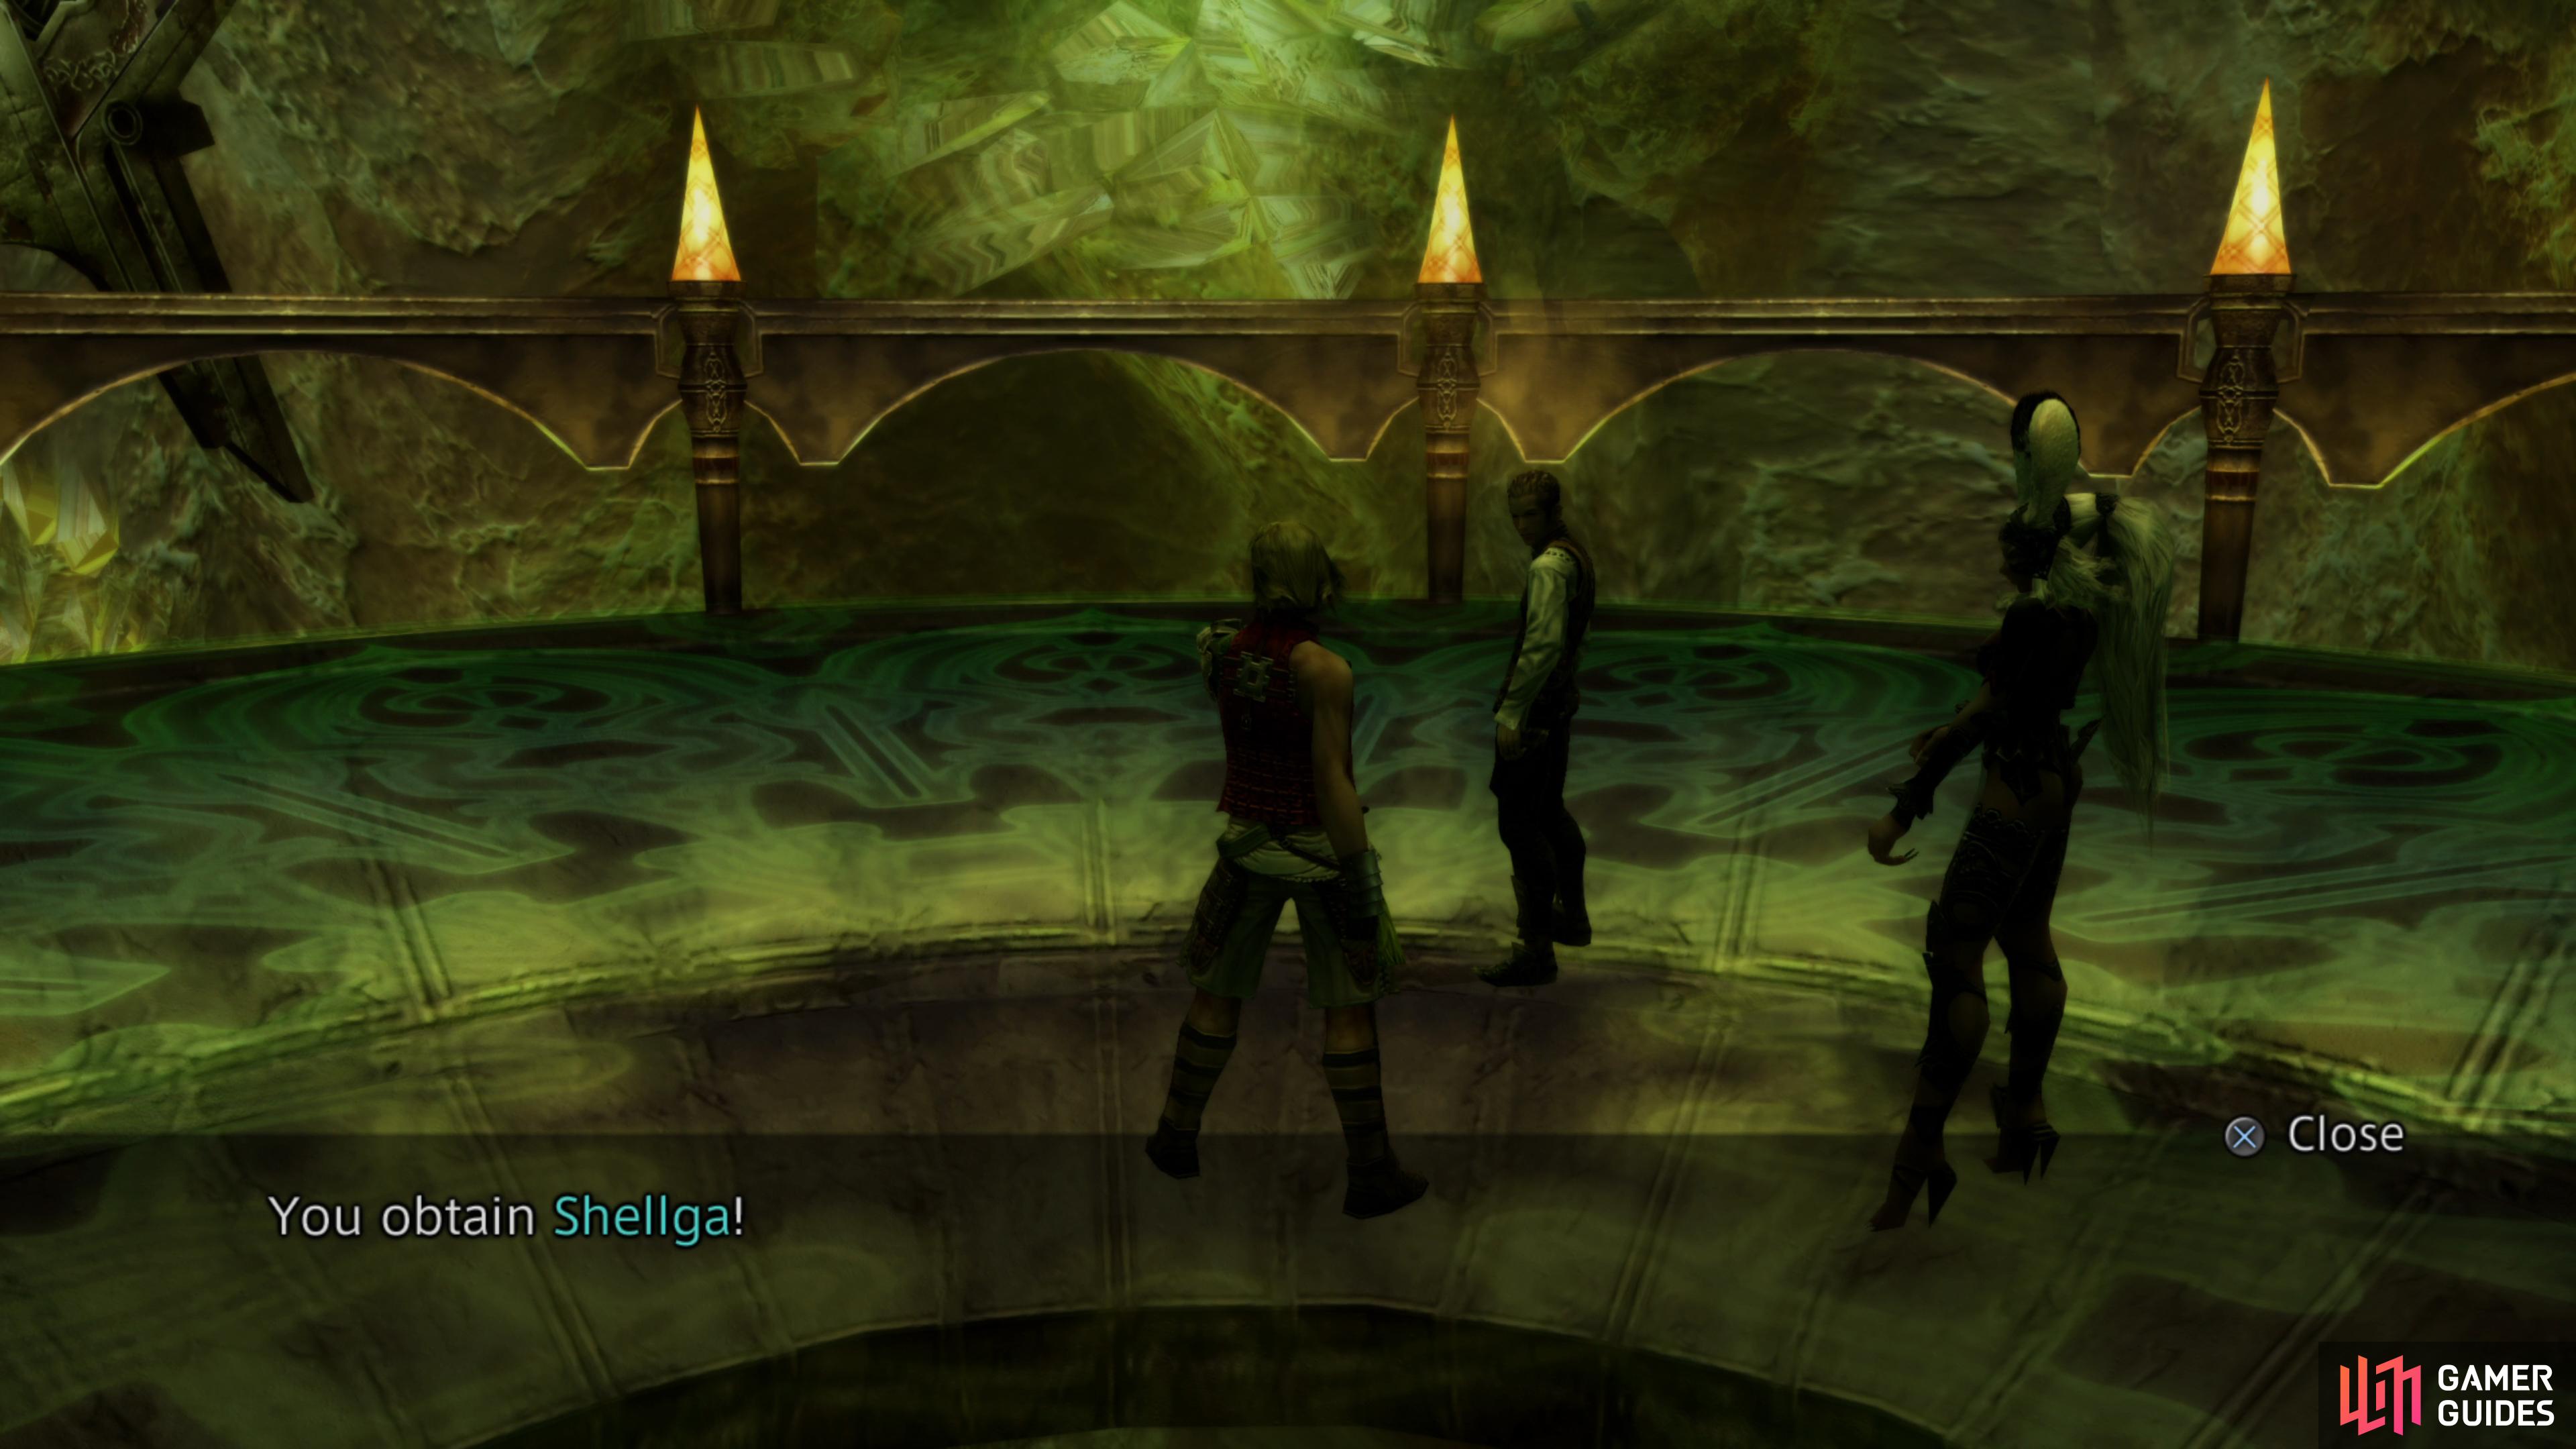
Upon entry to this room, you’ll have another large group of Necrophobes ambush you, be sure to deal with them quickly so that you have enough time to open the gate here. In the center, you’ll find one guaranteed chest in the form of the incredibly useful Shellga Magick along with a second that may spawn containing either Gil or a Meteorite. Regardless, this is a dead end with the Shellga spell being the prize here so return to the previous room and activate the Leo Gate Stone once more.
- Exits:
1. South - Sthaana Leo
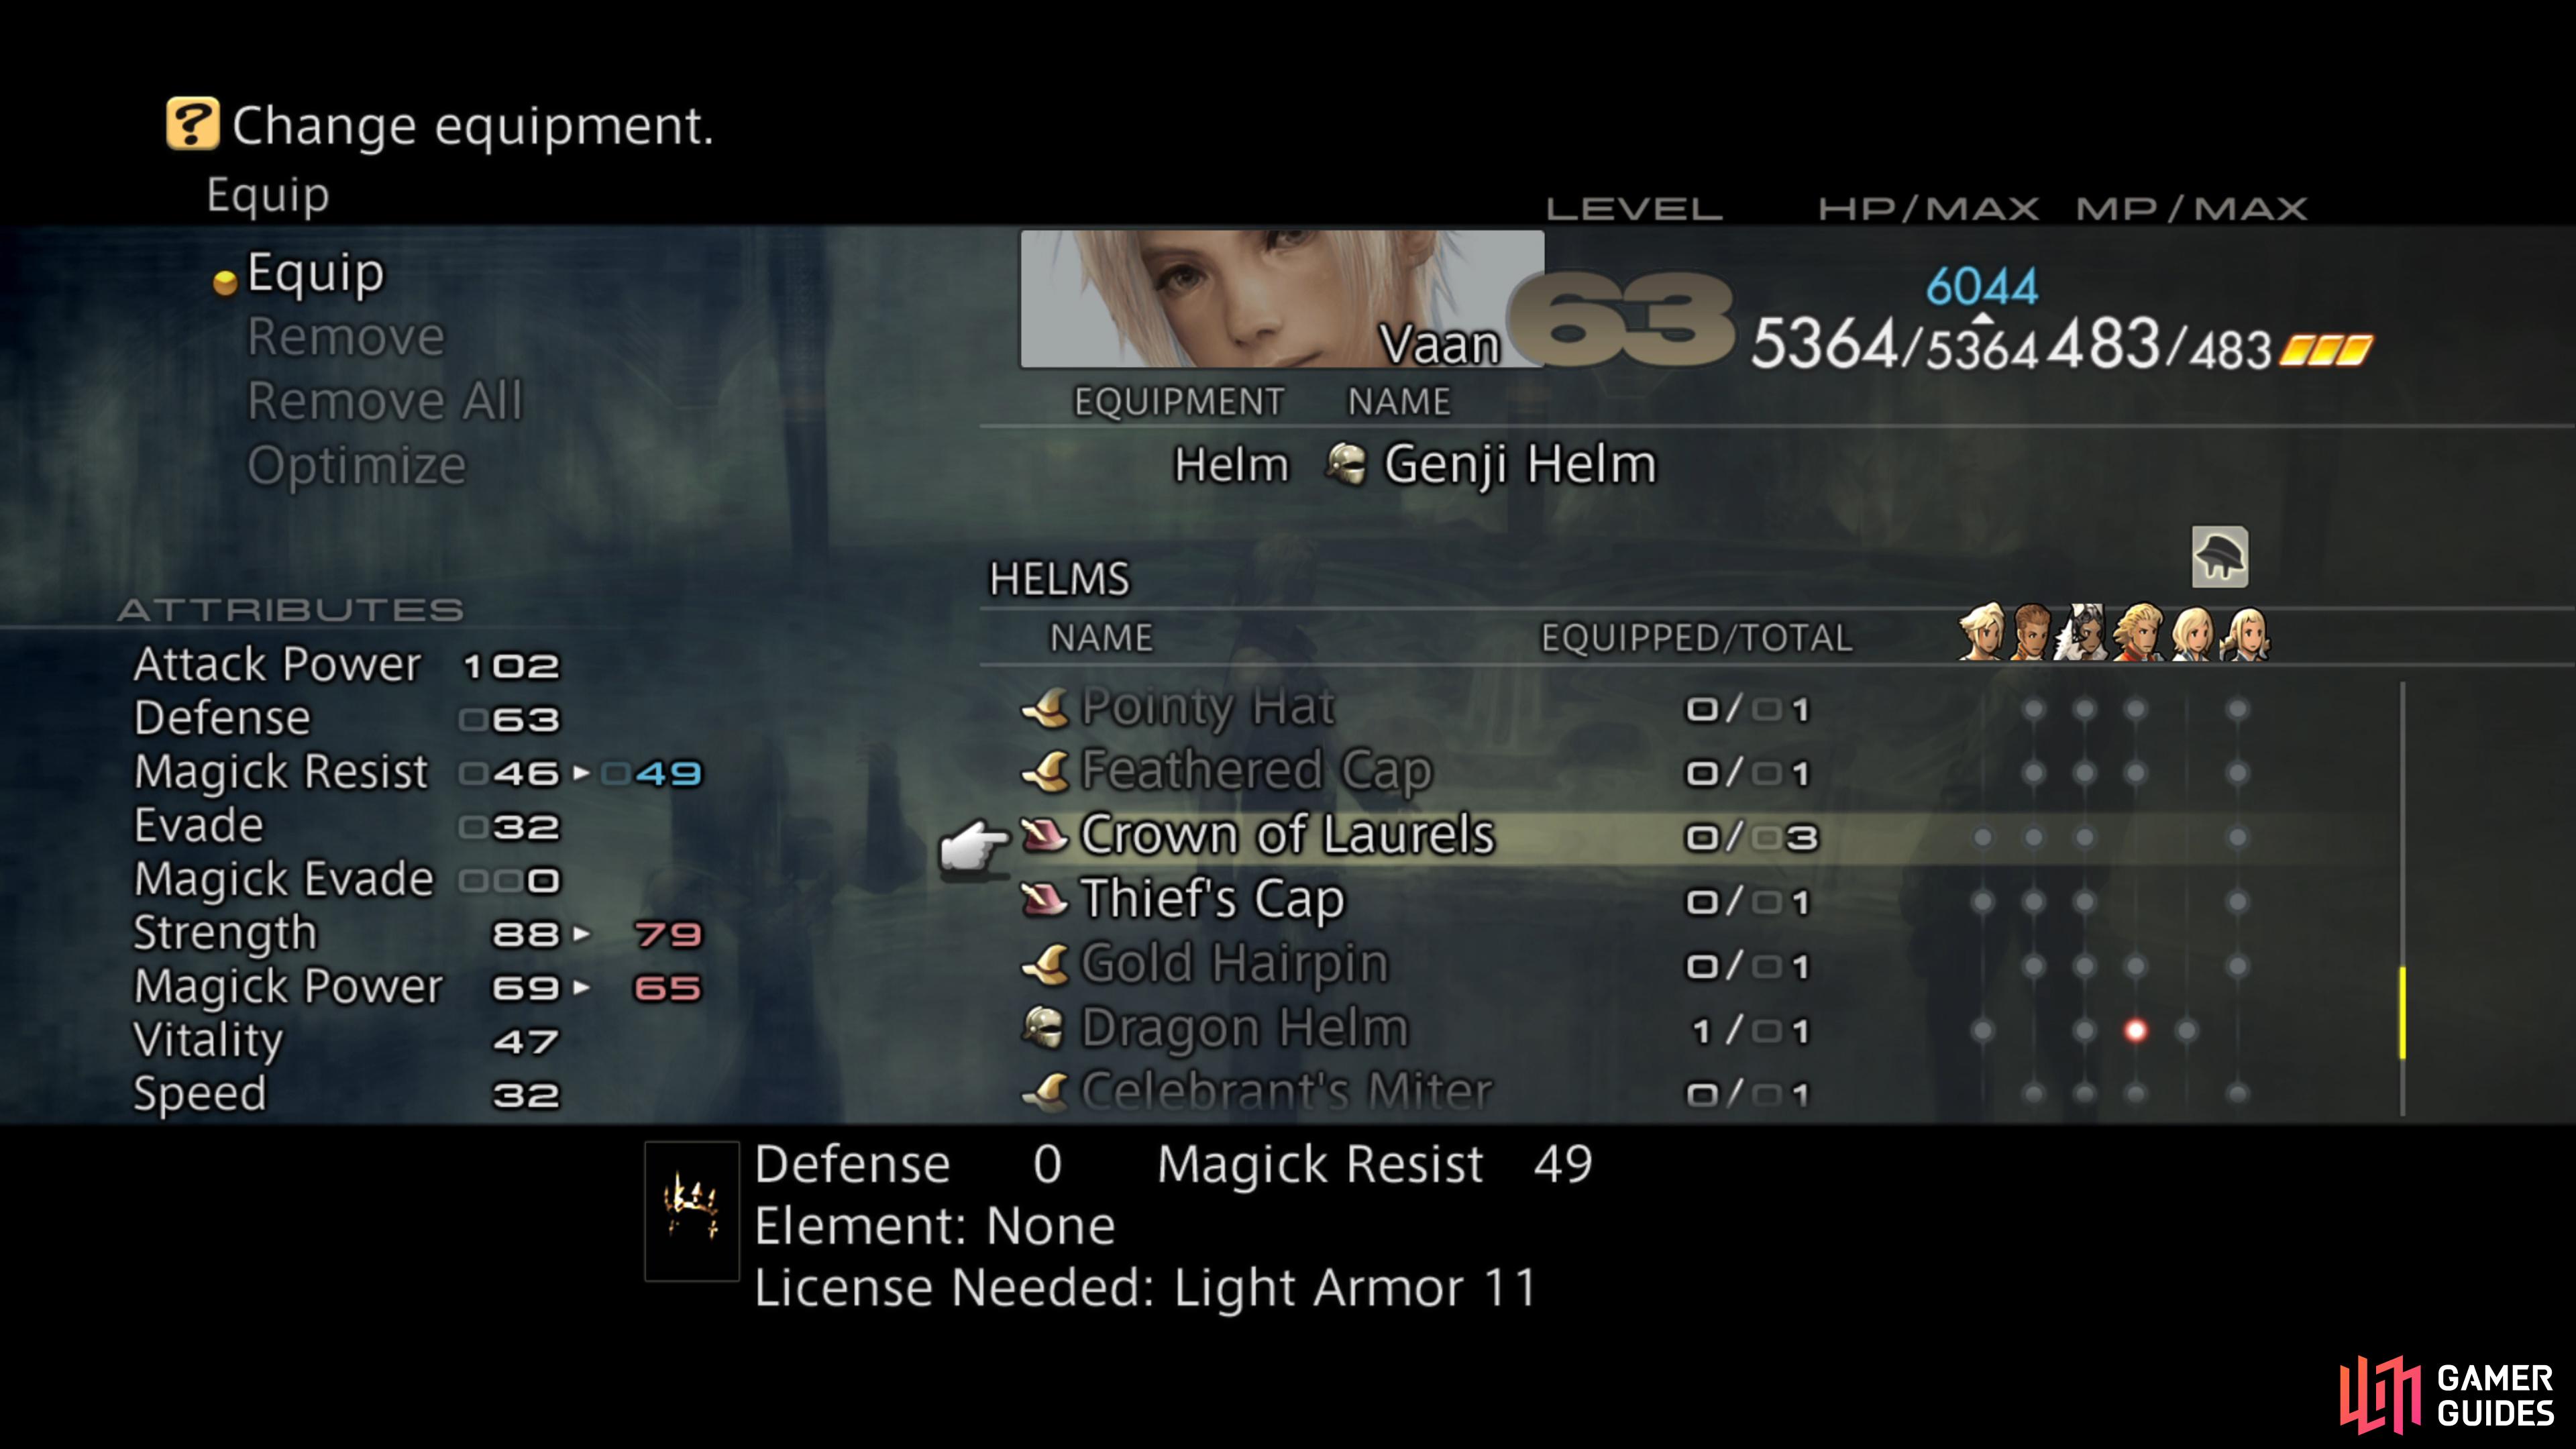
Shellga is useful White Magick to prevent magick damage
while Crown of Laurels is a useful piece of headgear.
Sirhru Phullam Udiiprati
| Regular Treasure |
Diamond Armlet |
Respawns (Y/N) |
| Crown of Laurels |
Crown of Laurels |
N |
| Meteorite (5%) |
Meteorite (5%) |
Y |
| Enemies |
Weakness |
Steal |
Loot |
| Necrophobe |
Holy |
Sky Jewel, Shock Mote, Hermes Sandals |
Dark Crystal, Bacchus’s Wine, Sky Jewel, Capricorn Gem |
What appears to be a running theme on the Sirhru level, you’ll be ambushed by Necrophobes upon entry. Once you get some breathing space, you’ll find a chest with the Crown of Laurels in the center and perhaps another with a Meteorite, this one will respawn. If you’re visiting this room on the way to the Leo Gate further in, hold down the Flee button and dash through to avoid wasting precious seconds.
- Exits:
1. Northwest - Sirhru Jilaam Pratii’Dii
2. Northeast - Dha Vikaari Dhebon Pratii
Sirhru Jilaam Pratii’Dii
| Regular Treasure |
Diamond Armlet |
Respawns (Y/N) |
| – |
– |
– |
| Enemies |
Weakness |
Steal |
Loot |
| Shadonir |
Holy |
Storm Crystal, Charger Barding, Aries Gem |
Charger Barding, Storm Crystal, Teleport Stone, Aries Gem |
A rather unremarkable room with not much to see or do other than a battle against a Shadonir, an Undead version of the Sleipnir. Once again, if you have the Leo Gate Stone timer ticking down, hold down the flee button and ignore the room.
- Exits:
1. Northeast - Sirhru Jilaam Pratii
2. Southeast - Sirhru Phullam Udiiprati
Sirhru Jilaam Pratii
| Regular Treasure |
Diamond Armlet |
Respawns (Y/N) |
| – |
– |
– |
| Enemies |
Weakness |
Steal |
Loot |
| Shadonir |
Holy |
Storm Crystal, Charger Barding, Aries Gem |
Charger Barding, Storm Crystal, Teleport Stone, Aries Gem |
Like the previous room, not much to see and do here other than defeat the two Shadonirs that spawn on you. There is, however, a choice of exits this time.
- Exits:
1. North - Sirhru Jilaam Pratii’vaa
2. Southwest - Sirhru Jilaam Pratii’Dii
3. Northwest - Sirhru Pis Pratii
Sirhru Jilaam Pratii’vaa
| Regular Treasure |
Diamond Armlet |
Respawns (Y/N) |
| Yagyu Darkblade (25%) |
Yagyu Darkblade |
N |
| Meteorite (5%) |
Meteorite (5%) |
Y |
| Enemies |
Weakness |
Steal |
Loot |
| Shadonir |
Holy |
Storm Crystal, Charger Barding, Aries Gem |
Charger Barding, Storm Crystal, Teleport Stone, Aries Gem |
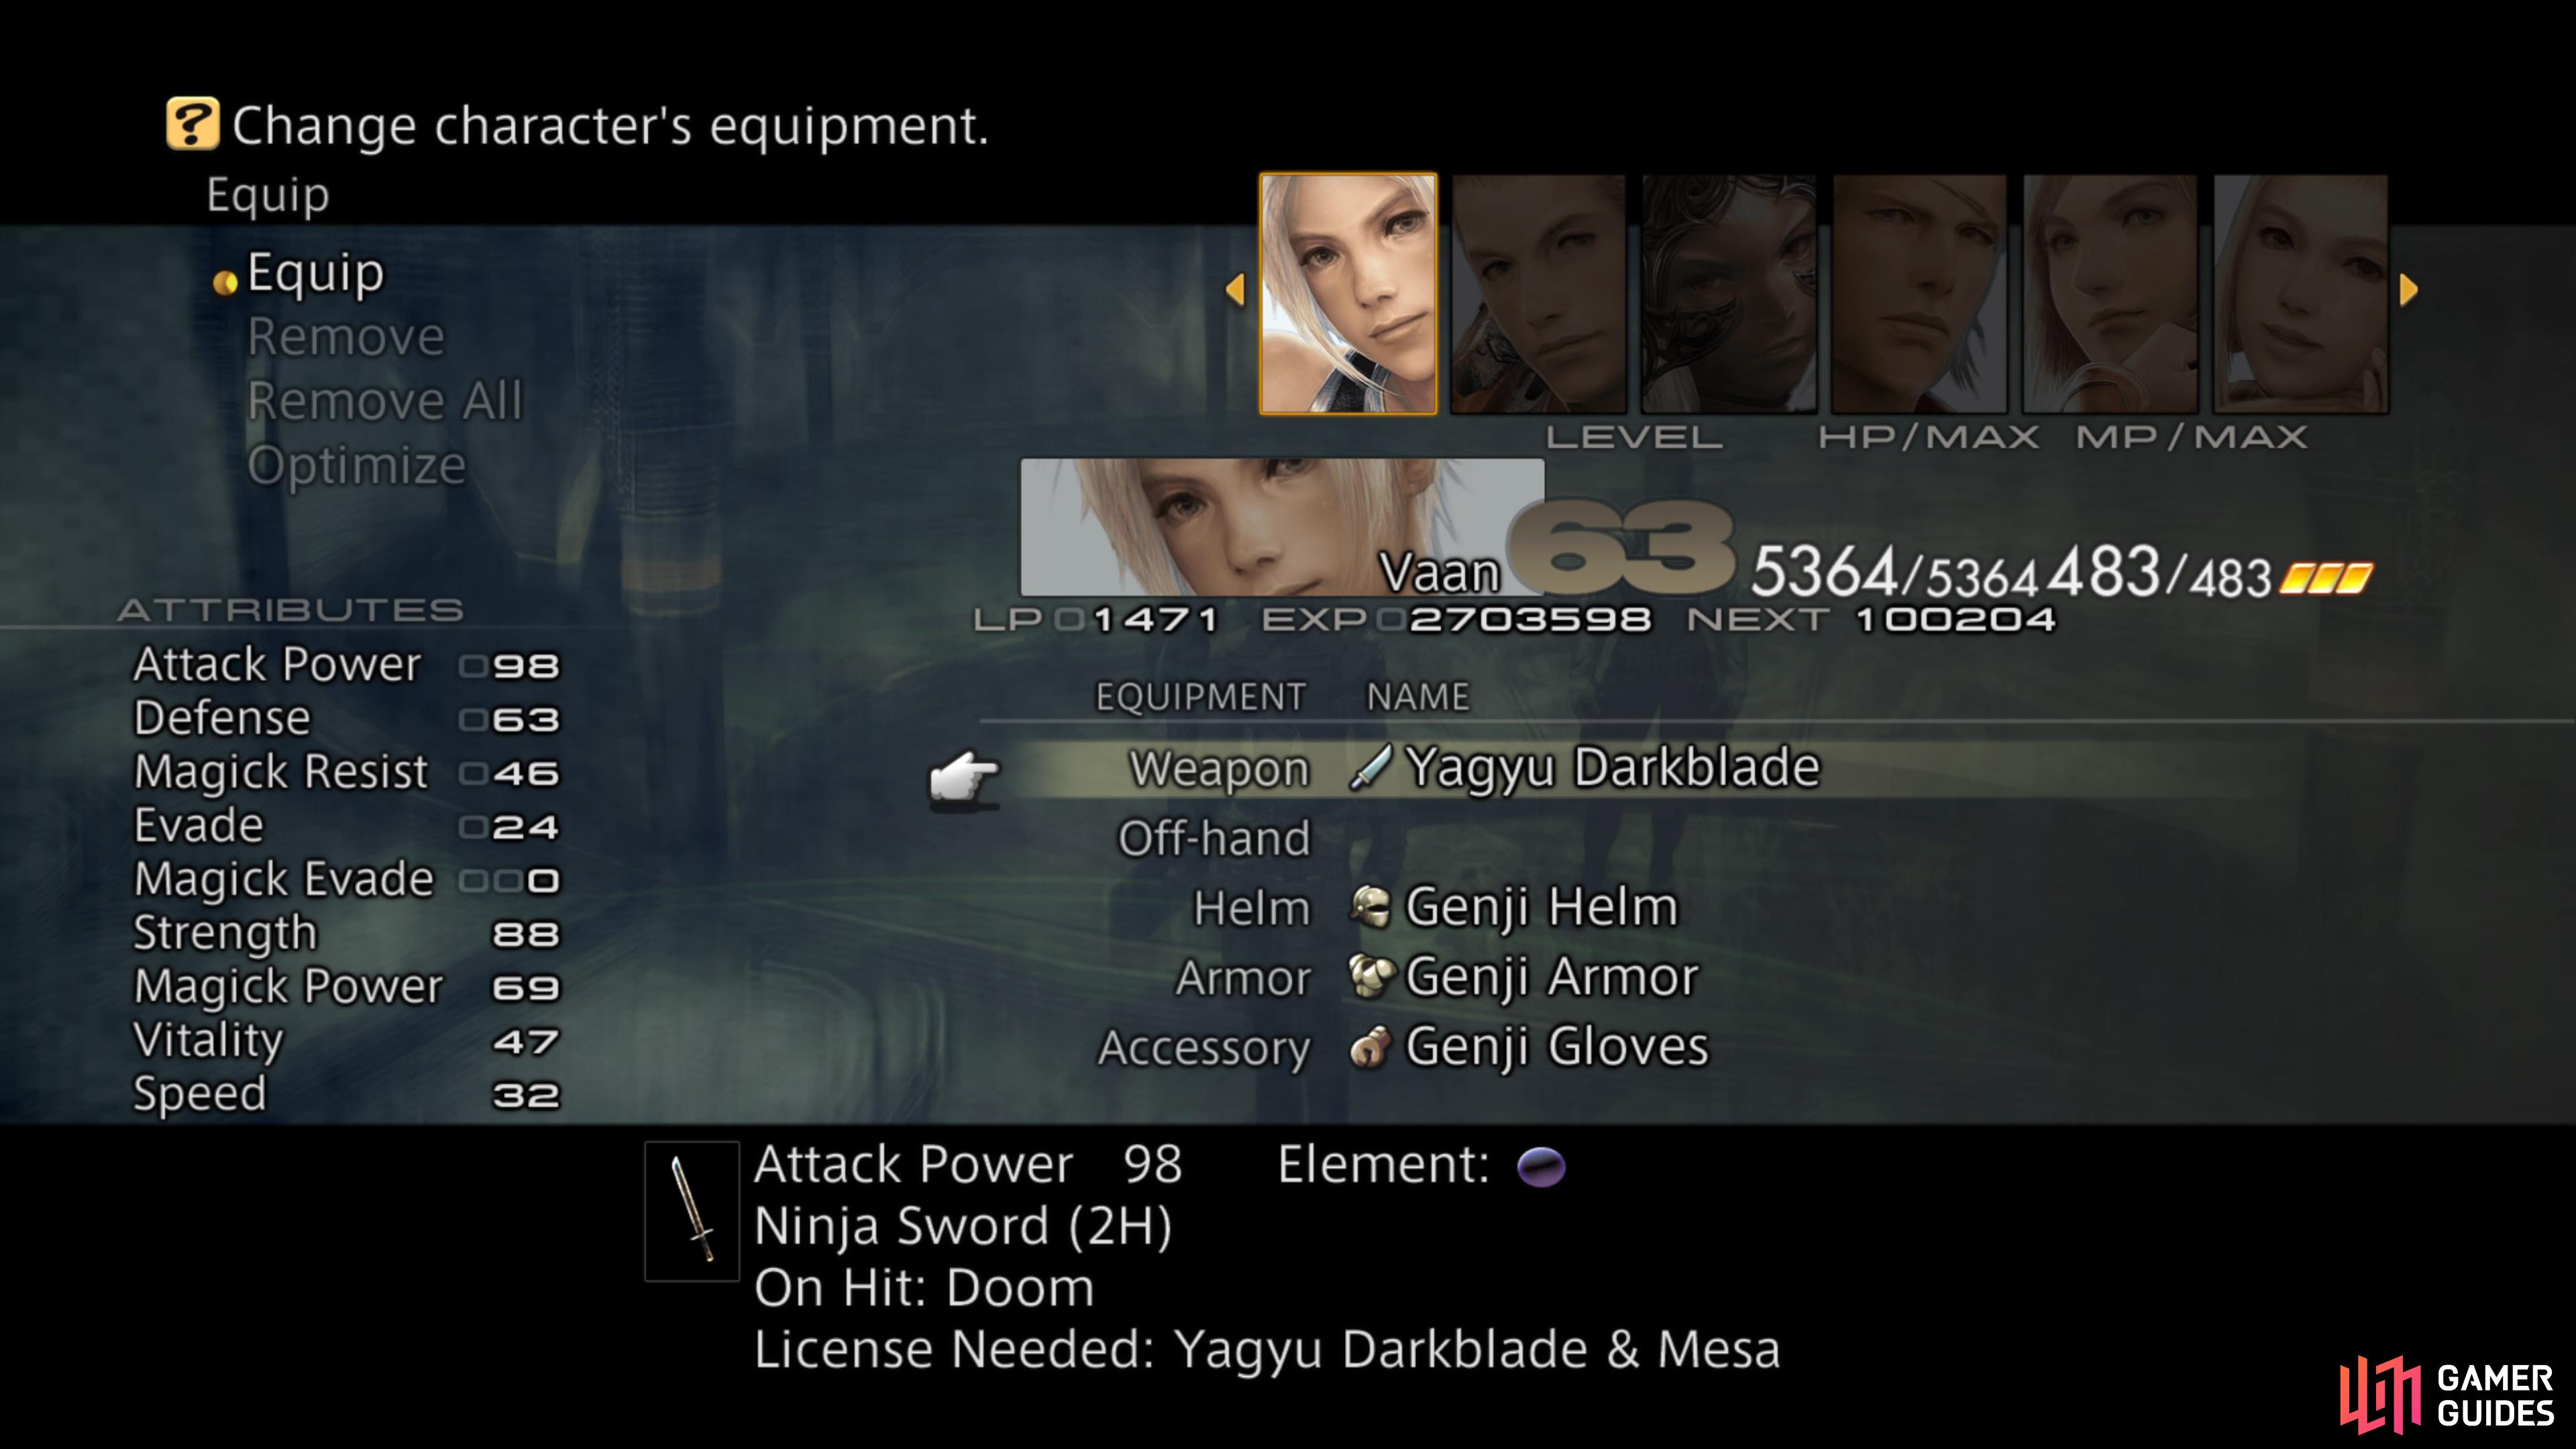
In this dead end, you’ll encounter more Shadonirs while there’s a Stasis Trap in the center, inflicting Disable and Reverse on your characters should you step on it. More importantly, there’s a 25% chance that a chest with the Yagyu Darkblade, will spawn within said Trap. This is one of the better weapons in the game and effective for taking on the toughest Mark out there. If the weapon doesn’t spawn for you, return to the previous room and then immediately re-enter, keep repeating this until the chest appears.
- Exits:
1. South - Sirhru Jilaam Pratii
Sirhru Pis Pratii
| Regular Treasure |
Diamond Armlet |
Respawns (Y/N) |
| – |
– |
– |
| Enemies |
Weakness |
Steal |
Loot |
| Shadonir |
Holy |
Storm Crystal, Charger Barding, Aries Gem |
Charger Barding, Storm Crystal, Teleport Stone, Aries Gem |
Another room with not much to see or do aside from killing the two Shadownirs that attack.The northwest exit to this room is also the location of another Leo Gate so you’ll need to get here in time in order to continue to the center of this large level.
- Exits:
1. Northwest - Sirhru Pis Avaa
2. Southwest - Sirhru Jilaam Pratii
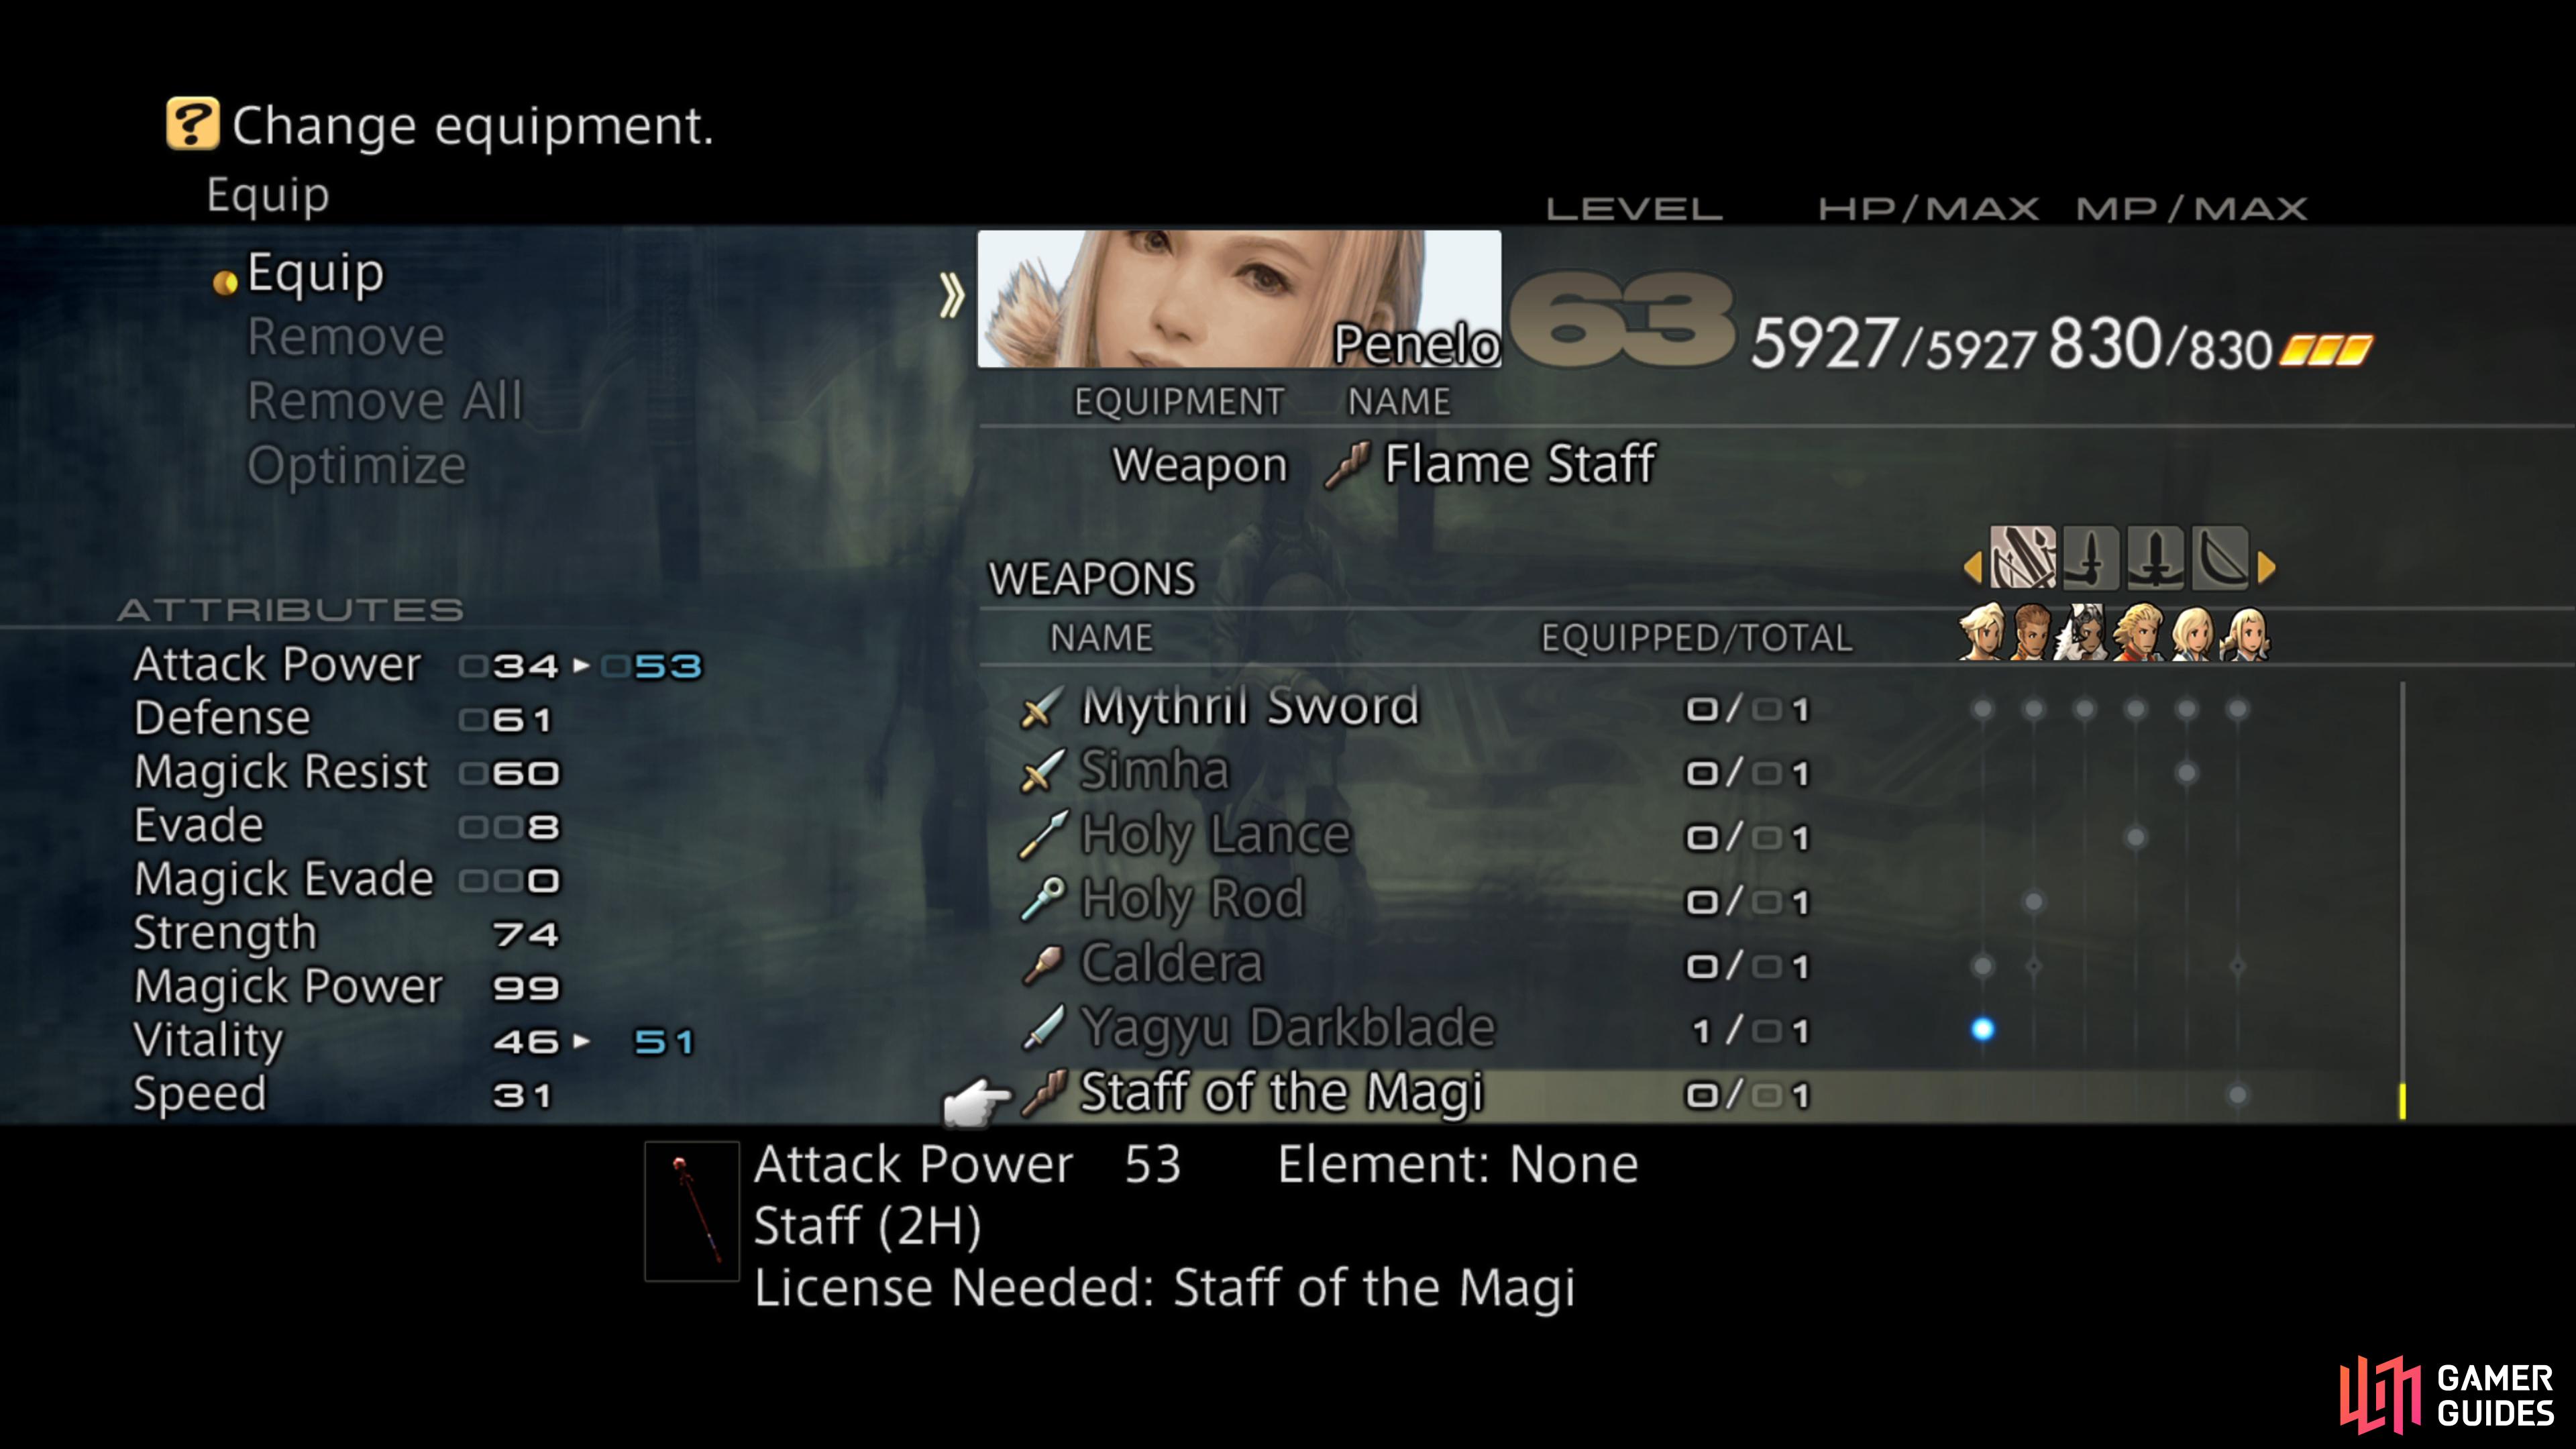
Staff of the Magi is the strongest Staff and will boost Holy, Ice and Wind magick potency
while Yagyu Darkblade will make life a lot easier against the toughest Mark in the game.
Sirhru Pis Avaa
| Regular Treasure |
Diamond Armlet |
Respawns (Y/N) |
| – |
– |
– |
| Enemies |
Weakness |
Steal |
Loot |
| Ash Wyrm |
Earth |
Wind Crystal, 800 Gil, Leo Gem |
Ring Wyrm Scale, Wind Crystal, Koga Blade, Leo Gem |
This room acts as the central crossroads for the Sirhru level and as such, you’ll be visiting here many times. To even gain access to the room, you’ll have to either come via Waystone XIV and the Leo Gate or via Waystone XIII and the Gemini Gate. Once in the room, you’ll need to deal with a fearsome Ash Wyrm however it does have the ability to drop some rare loot.
- Exits:
1. Northeast - Sirhru Jilaam Avaapratii
2. Southeast - Sirhru Pis Pratii
3. Southwest - Sirhru Pis Praa
4. Northwest - Sirhru Jilaam Avaapraa
Dha Vikaari Dhebon Praa
| Regular Treasure |
Diamond Armlet |
Respawns (Y/N) |
| – |
– |
– |
| Enemies |
Weakness |
Steal |
Loot |
| – |
– |
– |
– |
This room is your main entry point from the Dhebon level if you took Waystone XI and this deals with the left side of the level along with the Gemini Gates.
- Exits:
1. Northwest - Sirhru Phullam Praa
2. Southeast - Sthaana Gemini
Sirhru Phullam Praa
| Regular Treasure |
Diamond Armlet |
Respawns (Y/N) |
| Caliper |
Caliper |
N |
| Meteorite (5%) |
Meteorite (5%) |
Y |
| Enemies |
Weakness |
Steal |
Loot |
| Necrophobe |
Holy |
Sky Jewel, Shock Mote, Hermes Sandals |
Dark Crystal, Bacchus’s Wine, Sky Jewel, Capricorn Gem |
You’ll be ambushed by a large group of Necrophobes in this room as you enter. Once the area is clear, head into the center to snag the Caliper, a Measure that will inflict Haste on the targets it strikes. There’s also the possibility of another chest to spawn here containing a Meteorite should you care to cause it to spawn.
- Exits:
1. North - Sirhru Phullam Praa’Vaa
2. Southeast - Dha Vikaari Dhebon Praa
Sirhru Phullam Praa’Vaa
| Regular Treasure |
Diamond Armlet |
Respawns (Y/N) |
| Staff of the Magi (25%) |
Staff of the Magi |
N |
| Meteorite (5%) |
Meteorite (5%) |
Y |
| Enemies |
Weakness |
Steal |
Loot |
| Necrophobe |
Holy |
Sky Jewel, Shock Mote, Hermes Sandals |
Dark Crystal, Bacchus’s Wine, Sky Jewel, Capricorn Gem |
Another room with a seemingly endless barrage of Necrophobes but more importantly, there’s a 25% chance for a chest containing the Staff of the Magi to spawn, one of the better Staves in the game and will boost the potency of Holy, Ice and Wind spells, a boon for your Black Mage and should complete the spell boosting set alongside the Flame Staff and the Cloud Staff.
- Exits:
1. South - Sirhru Phullam Praa
Sthaana Gemini
| Regular Treasure |
Diamond Armlet |
Respawns (Y/N) |
| – |
– |
– |
| Enemies |
Weakness |
Steal |
Loot |
| Necrophobe |
Holy |
Sky Jewel, Shock Mote, Hermes Sandals |
Dark Crystal, Bacchus’s Wine, Sky Jewel, Capricorn Gem |
Another large group of Necrophobes to deal with here and once dispatched, you’ll find the Gemini Gate Stone in the center of the room which, when activated, will open two Gates further to the north of this level.
- Exits:
1. Northeast - Sirhru Jilaam Praa’Dii
2. Northwest - Dha Vikaari Dhebon Praa
Sirhru Jilaam Praa’Dii
| Regular Treasure |
Diamond Armlet |
Respawns (Y/N) |
| – |
– |
– |
| Enemies |
Weakness |
Steal |
Loot |
| Shadonir |
Holy |
Storm Crystal, Charger Barding, Aries Gem |
Charger Barding, Storm Crystal, Teleport Stone, Aries Gem |
An empty room whos only purpose is to provide the route further towards the center of the level and to provide Shadonirs that may attempt to slow you down as you race towards the Gates.
- Exits:
1. Northwest - Sirhru Jilaam Praa
2. Southwest - Sthaana Gemini
Sirhru Jilaam Praa
| Regular Treasure |
Diamond Armlet |
Respawns (Y/N) |
| – |
– |
– |
| Enemies |
Weakness |
Steal |
Loot |
| Shadonir |
Holy |
Storm Crystal, Charger Barding, Aries Gem |
Charger Barding, Storm Crystal, Teleport Stone, Aries Gem |
No treasure in this room but more Shadonirs to contend with as you continue your dash towards unlocking the Gemini Gates, with the first one being located via the northern exit in this room.
- Exits:
1. North - Sirhru Jilaam Praa’Vaa
2. Northeast - Sirhru Pis Praa
3. Southwest - Sirhru Jilaam Praa’Dii
Sirhru Jilaam Praa’Vaa
| Regular Treasure |
Diamond Armlet |
Respawns (Y/N) |
| Rubber Suit |
Rubber Suit |
N |
| Meteorite (5%) |
Meteorite (5%) |
Y |
| Enemies |
Weakness |
Steal |
Loot |
| Shadonir |
Holy |
Storm Crystal, Charger Barding, Aries Gem |
Charger Barding, Storm Crystal, Teleport Stone, Aries Gem |
Upon entry to this room, you’ll spot a lone Shadonir in the center however, as you approach it, two more will ambush you from behind. With the room clear, you’ll find at least one chest in the center containing the Rubber Suit, Light Armor that makes the target immune to Lightning. There’s also the possibility of locating a second chest here containing the ever present Meteorite.
- Exits:
1. South - Sirhru Jilaam Praa
Sirhru Pis Praa
| Regular Treasure |
Diamond Armlet |
Respawns (Y/N) |
| – |
– |
– |
| Enemies |
Weakness |
Steal |
Loot |
| Shadonir |
Holy |
Storm Crystal, Charger Barding, Aries Gem |
Charger Barding, Storm Crystal, Teleport Stone, Aries Gem |
An unremarkable room that serves no purpose but to provide Shadonirs to waste precious seconds in reaching the Gate beyond this room. If you’re low on time, hold down the Flee button and bypass the room as quickly as possible.
- Exits:
1. Northeast - Sirhru Pis Avaa
2. Southwest - Sirhru Jilaam Praa
Sirhru Jilaam Avaapraa
| Regular Treasure |
Diamond Armlet |
Respawns (Y/N) |
| – |
– |
– |
| Enemies |
Weakness |
Steal |
Loot |
| Skulwyrm |
Holy |
Dark Crystal, Wyrm Bone, Sweep |
Battlewyrm Carapace, Dark Crystal, Hi-Potion, Charger Barding |
An empty room aside from the addition of a new enemy, the Skulwyrm. These tricky undead Wyrms have the ability to not only cause Curse but also Disablega which can cause mayhem if you’re not prepared for it. More interestingly, these enemies are your best source for Wyrm Bones, loot needed to create one of the strongest Hammers, Scorpion Tail.
- Exits:
1. Northeast - A Vikaari Uldobi
2. Southeast - Sirhru Pis Avaa
Sirhru Jilaam Avaapratii
| Regular Treasure |
Diamond Armlet |
Respawns (Y/N) |
| – |
– |
– |
| Enemies |
Weakness |
Steal |
Loot |
| Skulwyrm |
Holy |
Dark Crystal, Wyrm Bone, Sweep |
Battlewyrm Carapace, Dark Crystal, Hi-Potion, Charger Barding |
This room is identical to Sirhru Jilaam Avaapraa in every way, including the same enemy, a Skulwyrm. With that in mind, you can make this loop to build a Skulwyrm chain and increase your odds of getting some of the rarer loot it has to offer.
- Exits:
1. Northwest - A Vikaari Uldobi
2. Southwest - Sirhru Pis Avaa
A Vikaari Uldobi
| Regular Treasure |
Diamond Armlet |
Respawns (Y/N) |
| – |
– |
– |
| Enemies |
Weakness |
Steal |
Loot |
| Larva Eater (Rare Game) |
Ice |
Scorpio Gem |
Mina, Demon Eyeball |
The final room on this lengthy level and once again, there’s the possibility for Larva Eater to spawn here. Indeed, this might be the best floor to try and reach the conditions as there are many rooms with plenty of Necrophobes to build a chain up quickly. Aside from this, you’ll find Waystone XV which will take you up to the Uldobi level.
- Exits:
1. Southwest - Sirhru Jilaam Avaapraa
2. Southeast - Sirhru Jilaam Avaapratii
3. Waystone XV - Dha Vikaari Sirhru (up to the Uldobi level)


No Comments