| Bestiary |
|---|
| Imperial Elite • Judge Ghis |
| Items In This Area |
|---|
| Brig No. 1 Key • Crossbow • Infuse • Iron Armor • Iron Helm • Iron Sword • Manufactured Nethicite • Nishijin Belt (Steal from Ghis) • Partisan • Ringmail • Sallet (Steal from Mastiff) • Sleep • Shepherd’s Bolero • Systems Access Key • Vega • Zwill Blade. |
In Chains Again
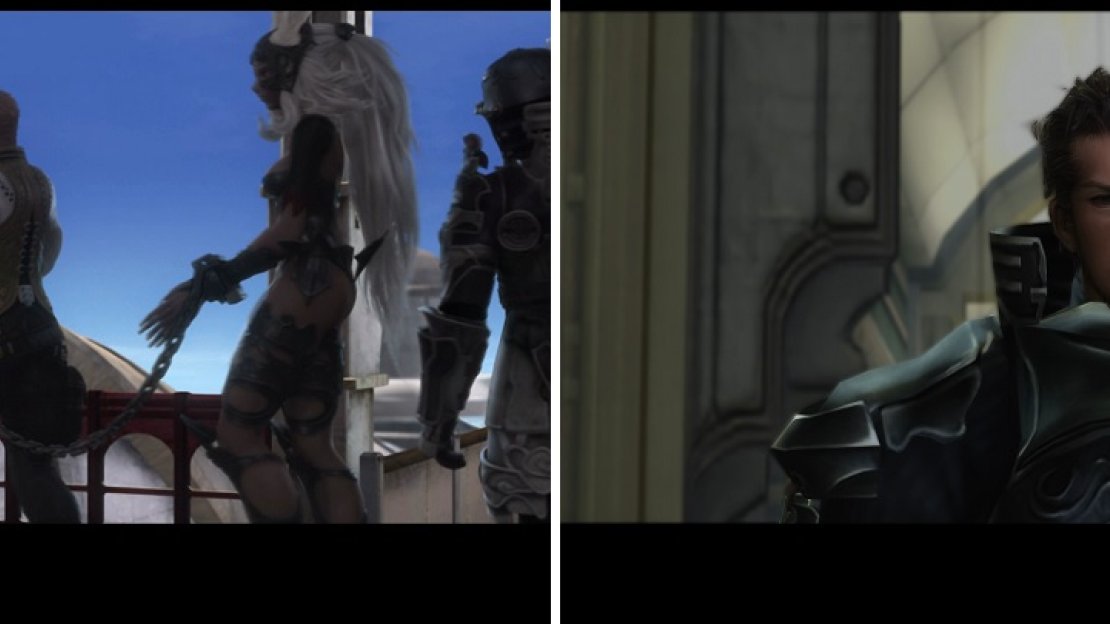
So, it appears you’ve been captured by the Imperial Army and brought onto one of their airships. There, you meet up with Amalia again, who, it turns out, is really Princess Ashelia B’nargin Dalmasca. Guess Larsa wasn’t the only one that was hiding their identity, huh? Seems to be a popular royal past time in Ivalice. As you’re led away Basch and Balthier will chatter, to the irritation of the guards. When one of the guards finally has enough of their babbling, he’ll take an ill-advised swing, only to prove himself no more competent than your standard, armored, Imperial henchman. Some things remain the same no matter what game, movie or comic it’s in.
The team is captured again (left). With some help from Vossler, they are free from Imperial control (right).
After the tussle you’ll be joined by Vossler - Basch’s former comrade-in-arms, now a high-ranking Dalmascan resistance officer. It seems that not only are the individual henchmen incompetent, the entire Imperial security clearance apparatus leaves much to be desired. Anyway, take a look at his gambits, and note that he is going all out with attacks, including one set for a flying foe. Hmm, is that foreshadowing something? Look at the skills available to him, he doesn’t have too much. Souleater consumes HP to deal damage to a single foe, Traveler does damage to all foes in range depending on the total number of steps taken, Wither lowers an enemy’s attack and Expose lowers their defense.
Port Section
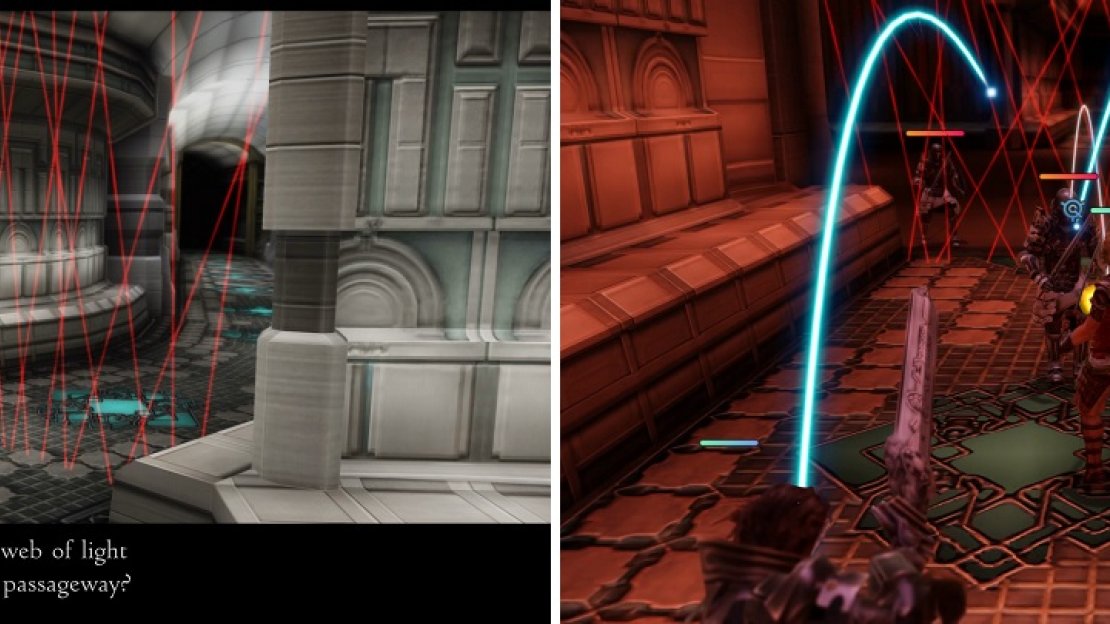
Reassign them as you wish, save at the Save Crystal, then open the door to the east to access the Port Section. Before you get too far, Vossler will show off some lasers that act as a security system. Basically, if you happen to step through it, guards will come as the alarms sound. The alarms will naturally die down on their own, usually after defeating your pursuers. Of the three paths going south, there will be lasers on the eastern and western ones, so unless you like fighting (which is always good for tasty XP and LP), avoid them and head down the middle path for now, then go down the western path to come to a square-shaped room. If you look to the dead end to your south, you might find a chest there that contains a Partisan , but upon snatching the contents, a laser grid will block you in, forcing you to fight some Imperials.
Mastiff:
Speaking of Imperials, you will be fighting mostly Swordsmen and Magi here, but there is a new enemy to talk about, the Mastiff. This guard dog, while technically part of the Imperial Army, does not count as one in regards to the Battle Chain, so your chain will break should you happen to kill one. They are not really much different in terms of strength when compared to the Swordsmen you are fighting, so they should go down easily. These hounds of the Imperial Army use Lunge (stronger than normal attack) and Fangs for attacks. They don’t drop anything, but you can steal a Potion, Hi-Potion or Sallet from them.
Back to the action, you likely got greedy (who wouldn’t, of course) and went for the chest in the dead end, so you’ll need to pass through the lasers and trigger the alarm. After taking out the enemies that come for you, continue east and north to another square-shaped room. Just east of that is a horseshoe-shaped room with two exits, both leading to the Large Freight Stores area. However, a treasure urn can spawn on the eastern side here, which may contain a Crossbow . When you’re ready to continue, head south into the next area.
The large, red laser grids (left) will cause an alarm to set off if you step through them, summoning some Imperial forces for you to fight (right).
Large Freight Stores
While you could more or less skip this area and continue east to the next zone, there are some treasures on the ground floor here, two of which are guaranteed to spawn and nothing is better than free, guaranteed treasure. Fight your way downstairs and clear the Imperials awaiting you, then turn your attention to looting. In the southeaster corner of this lower area, by some stairs, you’ll find a chest that might contain a Shepherd’s Bolero, while another chest in the northeast corner might yield a suit of Ringmail . In the center of this area you should also spot four chests stacked together, two of which contain Reflectga Motes. These do not respawn. Reflectga can be a powerful tool in your arsenal, as you are able to bounce spells off your party members, so save these for later when they have a greater use. When you’ve had your fill of plundering (should such a thing even be possible), head back upstairs and exit the area via one of the area transitions to the east to reach the Starboard Section.
Starboard Section
This maze-like area is similar to the Port Section, so be ready for lasers and redundant hallways. Makes you wonder who designed this ship. Anyway, if you traveled here by using the southern-most area transition in the Large Freight Stores area you’ll find yourself in a room, in the southeastern corner of which you’ll find a chest which houses the Sleep magick (Black Magick 4). If you used the other area transition… well, just head down the hallway to the south to reach this room. Getting this magick now will mean that a chest in an upcoming area will disappear, but it will be the same contents either way, so the earlier, the better.
Once you’ve claimed that treasure continue north into a big room, off which two hallways branch. Take the western hallway and follow it west, the north to reach another room, from which you can head north, then east (ignore the two passages to the north as you go east) and finally south, where you’ll spot a chest at this dead end that might contain some Iron Armor . However, going here and nabbing the treasure will cause you to be trapped with lasers to the north and west, meaning you’ll have to trigger one of them.
Grab the treasure if you want it, then backtrack north, and when you reach the fork, ignore the western path down whence you originally came and continue north. Follow the tunnel as it curves and if you pass through another laser barrier, so be it. When you reach a jumble of intersections, note your options - if you head south or southeast you’ll just end up back where you were before, while going north through a security laser, then turning west will lead down a dead-end tunnel which contains two chests, one of which may reward you with an Iron Helm . Of course, this prize may be of dubious value, considering you probably managed to nab a few from the hordes of undead you killed back in Lhusu Mines. Alternatively you can avoid the lasers by heading west, south, west again, then north before turning east, then south to reach the same dead-end tunnel - why take the scenic route when you can just waltz through the lasers and snack on a few Imperials before claiming your treasure?
However you reach this dead-end treasure-tunnel, from here you’ll want to wrap your way around the tunnels to the north, turning west, then south. After you go south turn down the first hallway to the west and when you reach a three-way fork near the western end of the area, turn south again and continue in that direction until you find two short, dead-end hallways. The one to the west has a chest that can contain an Iron Sword , while the southern of the two has one that might yield another Reflectga Mote. However, unlike the previous two you looted, this one does respawn, so it might be a good idea to farm a few here in case of emergencies.
When you’re ready to go on (or perhaps to facilitate faster grinding of the Reflectga Mote) turn north and head up to an east-west running hallway at the northern end of the area. On the wall here you’ll find a “Bulkhead Release” lever, which allows you to access the door to the east, which leads to an area to the north - the Sub-Control Room. Sounds fancy!
Sub-Control Room
Enter the Sub-Control Room area and cut down the Imperials within. Once you’re done with your bloody business, look to the east of the entrance to this room to potentially find two chests, one of which (the nearest one) can hold a Vega . Next head down the stairs to the north and immediately turn west to find a dead-end that doesn’t quite conform to the map. Sneaky. Here you’ll find two chests, the one at the elbow of the hallway always contains the Infuse technick.
This technick is of dubious value, as it takes all of the user’s MP and transfers it to another character, setting that character’s HP to ten times the amount of MP sacrificed. Note that it doesn’t add on to their existing HP, but sets it that amount. As an example, if Fran uses Infuse with 50 MP on Basch, who has 1000 HP, then his HP will be set to 500, making it lower. It’s essentially useless, especially once you gain access to the Bubble magick, which will always double your HP.
From this chest turn south to find another chest at the dead-end, which can contain a Zwill Blade , a far less interesting bit of loot. Return back to the chamber to the east, likely passing through a security grid along the way. Once the Imperials have been dealt with, search the northern wall (more specifically, the northern wall east of the northern-most cubby) to find another “Bulkhead Release” lever. Pull it and the door down the stairs to the south will open, allowing you to progress to the Airship Berth Access zone.
Boss - Judges
| Judges | . |
|---|---|
| Level | 11 |
| Weaknesses | N/A |
| Resistances | Dark, Earth, Fire, Holy, Ice, Lightning, Water, Wind (Halves) |
| Immunities | Disable, Lure, Petrify, Reverse, Stop |
| Safety | Yes |
| Drop | Nothing (40%), Hi-Potion (25%), X-Potion (3%) Vaccine (1%) |
| Steal | Potion (55%), 300 Gil (10%), Hi-Potion (3%) |
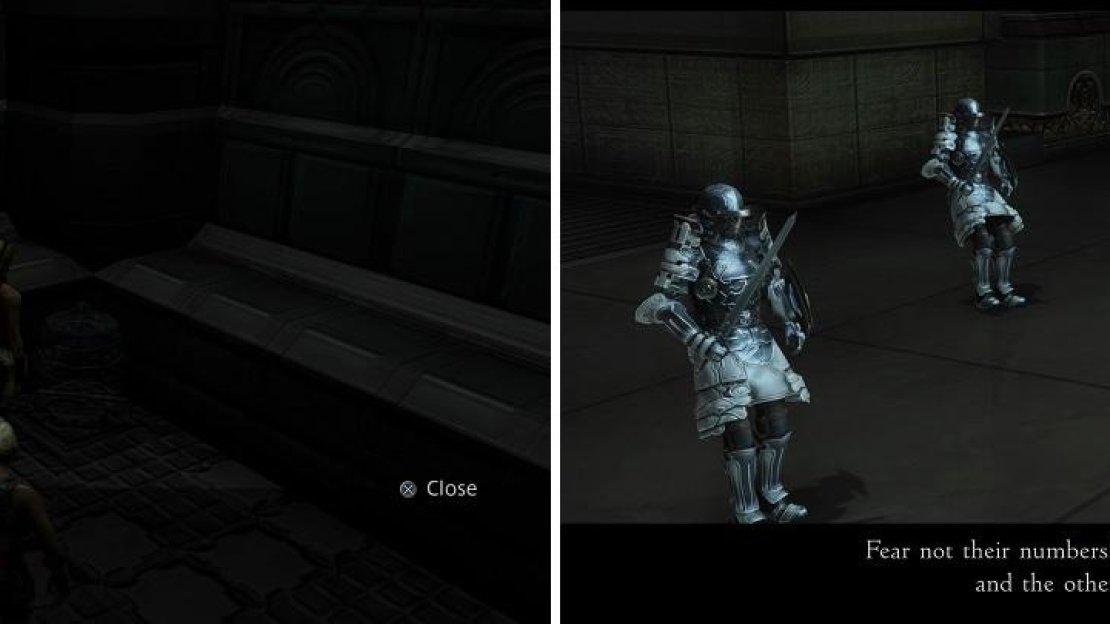
Make your way to the Airship Berth Access area and venture south until you reach a fork, at which point continue south and pass through a door to reach the Central Brig Access area. This is where Ashe is being held, and it’s suitably well-guarded by a pair of Judges. Never fear, all Judges aren’t made equal, and these seem barely worthy of the title. They don’t come alone, however, as one will be escorted by two Imperial Swordsmen and the other’s retinue includes an Imperial Swordsman and an Imperial Magus, totaling six enemies. Lucky for you, you only need to defeat the two Judges to win the battle, so you can focus them down to get this over with quickly. They can use Lunge, as well as Tri-Attack, the latter of which can inflict Slow on whoever it hits. If you wish to get more LP and XP, then kill the fodder first and concentrate on the Judges after the fact.
Don’t forget to pick up Infuse while on the ship (left). Take heed of the advice and defeat the Judges to make the other enemies run away (right).
Brig No. 1
After thrashing the Judges you’ll obtain the Brig No. 1 Key , which can be used to enter the door to the south, which leads to the Brig No. 1 area. This area consists of four cells: to the northeast in C-203 you’ll find a pair of Moogles, Lulucce and Tetran, the latter of which is a merchant selling a wide variety of goods. Most everything that was sold in Bhujerba, with the addition of the Round Shield (Shields 2). Buy what you need, replenish your stock of curatives, then leave the Moogles to their escape.
In the northwestern cell, C-201, you’ll find an urn containing a Systems Access Key and a Save Crystal, making this a fine place to replenish yourself and save your game. The southeastern cell is empty, so open up the southwestern cell to find Ashe, who will finally join your group for good. As usual, assign her a job class (her high Magick Power score makes her a natural mage - Black Mage/Monk, White Mage/Machinist and White Mage/Time Battle Mage are all fine choices) and spend her License Points, then go ahead and do some shopping to give some equipment, provided you have extra Gil and/or you’re going to use her in battle.
Escaping the Leviathan
When you’re done fussing over Ashe, it’s time to leave the brig. When you do, however, the ship’s alarms will go off, and this time they’ll persist. Your goal now is to return to the Port Section area of the ship - the western-most zone where you began your adventures in the Dreadnought Leviathan - and make your escape. Since the alarms will never subside, enemies will randomly attack you throughout your escape. To do this head north through the Central Brig Access area to reach the Airship Berth Access zone. From here continue north until you reach the fork-way fork, at which head either east or west. It doesn’t matter which, these hallways form a large circle and link up to the south, which is your destination. When you reach the southern end of these hallways turn south to find a doorway leading back to the Large Freight Stores area.
Enter the Large Freight Stores area and head up a short flight of stairs, then search the eastern or western walls to find Security Stations. Activate one of them via the Systems Access Key, which will shut down the alarm for 60 seconds. This will buy you a short reprieve, should you care to indulge in one. You could also have found another Security Station in the Sub-Control Room, but why walk that far out of your way just to deprive yourself of the company of Imperials?
Do what you will, then head upstairs and exit this area via one of the two northern area transitions to return to the Port Section area. Make your way west into a square chamber and you’ll run across some old friends. After the scenes that follow you’ll end up richer by one Penelo, who permanently joins the party, at the cost of Vossler. Larsa makes up for borrowing your guest by handing Penelo a chunk of Manufactured Nethicite , for what that’s worth. Penelo will have retained the same job class (if any) that you assigned her earlier, but she will have leveled up to keep pace, and will likewise have gained License Points. Invest them if you wish and upgrade her equipment if you care to bring her along. When you have finished with Penelo, make your way north and west to the Port Launch area, where you’ll come face-to-face with Judge Ghis.
Boss - Judge Ghis
| Judge Ghis | . |
|---|---|
| Level | 14 |
| Weaknesses | N/A |
| Resistances | N/A |
| Immunities | Confuse, Disable, Disease, Doom, Immobilize, Oil, Petrify, Poison |
| Safety | Yes |
| Drop | N/A |
| Steal | Potion (55%), Dark Mote (10%), Nishijin Belt (3%) |
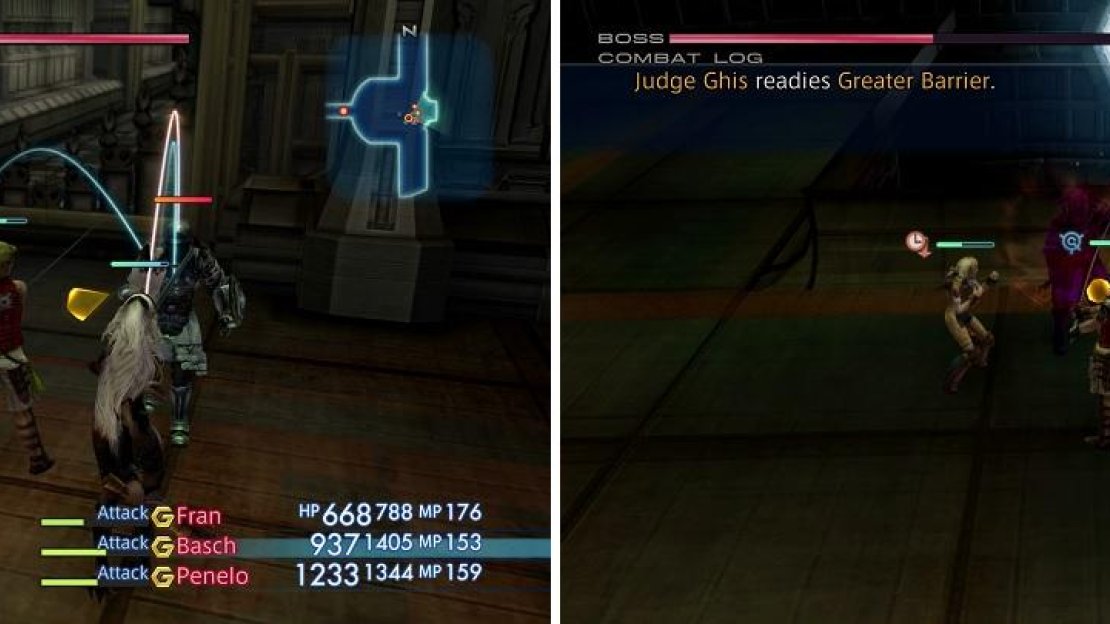
Ghis can put up a bit of a fight, as he is a formidable combatant in his own right, and he’s accompanied by three Imperial Swordsmen that are stronger than the ones you’ve fought throughout the Leviathan. The sole reason the latter are stronger is because of Tri-Attack, which can deal upwards of 200+ damage, so you will want to start the battle by getting rid of the three stooges before anything else. If you rush them right from the start, you will have a bit of time before Ghis joins the fray, allowing you to thin the herd a bit.
Ghis himself, has access to Protect and Aero, with the latter being an area-of-effect spell, meaning it will hit your whole party if they are close enough. Of course, Ghis can be silenced and doing that will negate the use of Aero, so you will probably want to make use of Silence if you have access to it. If you can also inflict Slow on top of that, you’ll end up with a sufficiently neutered Ghis, as all he’ll be able to manage are physical attacks. That reduces his repertoire to his regular attack, Kick and Lunge. Do note that when his health gets low enough, he will use Greater Barrier, which will grant him Protect, Shell and a reduction in damage. Judge Ghis doesn’t drop anything, but you can steal a Potion, Dark Mote or a Nishijin Belt . The battle will end when Ghis’ health gets below 25%.
Take out the small fry first (left) before going after Ghis. Greater Barrier casts both Protect and Shell, so make sure you Dispel the buffs (right).
After beating up the old man, watch as your heroes commit some grand theft airship and escape the incompetent empire, returning with much (imaginary) fanfare to the Bhujerban Aerodome. In the scenes that follow it’ll be pressed upon you that you must seek out Marquis Ondore again, who is playing a dangerous game by all but waging a proxy war against the Archadian Empire by supporting the Dalmascan resistance. The enemy of your enemy is your friend, so the saying goes, and when your enemy has dreadnoughts, you need all the friends you can get.
Now that you finally have a full party for the first time since your adventure began, there’s a bit more you can see and do around Bhujerba and Rabanastre, like defeat Nidhogg and do some shopping. These tasks and the meeting with Ondore, will all be covered in the section “Post Leviathan Business”. If you can’t be bothered to complete the Nidhogg hunt and scrounge up a great new weapon, go talk to the Marquis, then skip ahead to the section “Ogir-Yensa Sandsea” to continue with the story or to the section “Exploring the Westersand” if you, for some reason, want to do that bit of optional exploration, but not this bit.


No Comments