


Shopping in Bhujerba
When you’re finally finished with everything you can reasonably do in Rabanastre, the surrounding areas and Trial Mode, it’s time to go after Penelo. Travel to the Westgate area (on foot or via Moogling) then enter the Aerodome area to the north, which is open now that many Imperials have left following the Consul’s scheme. Once inside feel free to talk to various travelers, some of which tell you about how the Aerodome works. Unfortunately, you’re not booking a flight, so none of their advice really matters right now. Talk to Balthier and push through his warnings about leaving to finally take to the skies. Onward, to Bhujerba!
It appears that Balthier wasn’t lying when he said he is a sky pirate, as he has his own airship, the Strahl. You’ll see some scenes here showing off the obligatory hardware for Balthier’s profession, after which you’ll be treated to a glimpse into Penelo’s captivity. Upon landing in Bhujerba’s Aerodome, you’ll see a scene of some Imperial soldiers scurrying about, looking for someone. When you regain control, touch the Gate Crystal, then exit the Aerodome to get a gander of the Skycity of Bhujerba. Before you get to go explore the city (what little you can at the moment, anyway) you’ll be pestered by a kid who rudely inserts himself into your party. Balthier, of all people, indulges the kid - who calls himself Lamont. Then again, he allowed Vaan to follow him around. Maybe he just can’t say no to kids who want to accompany him into danger? Speaking of Vaan being an idiot, he drops Basch’s name literal moments after Balthier told him not to. If anybody deserves to be kicked out of the airship mid-flight, it’s Vaan.
You now find yourself in control with the whole city of Bhujerba open before you or so it seems, anyway. Unfortunately, you won’t be able to fully explore Bhujerba just yet, as the Imperial presence in the city will prevent that. Head east for now and in the first clearing, you will see a Moogle that will sell you some maps for the city itself, along with Lhusu Mines, so purchase both of them if you can.
| Cartographer’s Guild - Maps | . |
|---|---|
| Bhujerba | 70 Gil |
| Lhusu Mines | 650 Gil |
Rithil’s Protectives:
The Lhusu Mines lie to the south, and while there’s little else you can do besides head in that direction, you might as well check out all the shops along the way. The first one is Rithil’s Protectives, northeast of the Cartographer Moogle you bought maps from. Check out the wares, as he sells a variety of tier 2 and tier 3 armor, much of which you likely don’t possess at the moment.
Targe’s Arms:
Continue south from Rithil’s Protectives to find Targe’s Arms, a store that’s doing much better business. Guess the Bhujerbans are more fond of offense than defense? As with the armor shop, Bhujerba’s arms dealers sell more advanced weaponry, although nothing that’s above tier 2. If you find an upgrade, purchase it - you’ll find a way to earn plenty of money in the Lhusu Mines.
Mait’s Magicks :
From Targe’s Arms continue west, then south to find a magick shop - Mait’s Magicks - to the east. This shop is superficially noteworthy for hiring clerks that show a bit of skin to try and sell spells, but it stands on its own merits, as well, as you can buy both the Shell (White Magick 3) and Protect (White Magick 3) magicks here. If you’ve never played a Final Fantasy game before, Shell helps in mitigating magick damage, while Protect will help with physical damage. Both are incredibly useful buffs which you should acquire immediately. Your party will thank you for it.
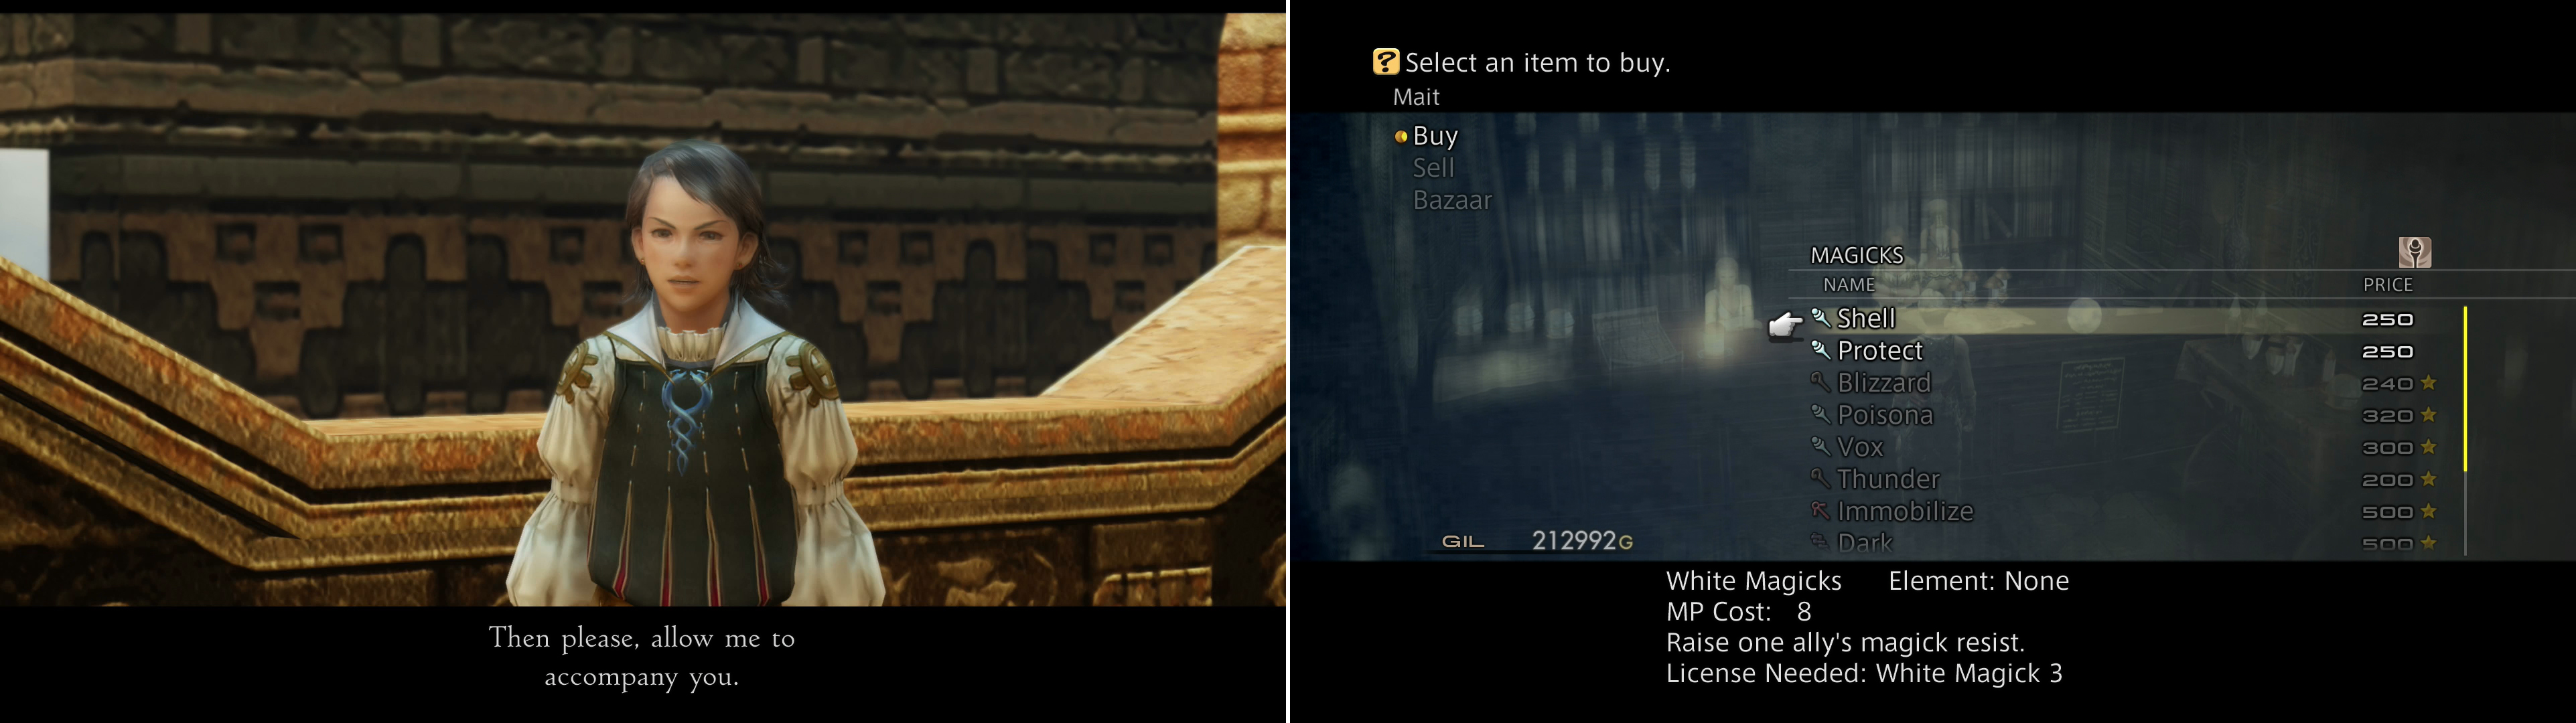
When you leave the Aerodome in Bhujerba a kid named Lamont will join your party as a guest (left). As you make your way through the city, be sure to do some shopping (right) to obtain new magicks.
Clio’s Technicks:
After doing whatever business you could afford at Mait’s Magicks, leave the shop and continue south, then east to reach the next area - Miner’s End. From the entrance to this area just continue east to find Clio’s Technicks which naturally sells technicks. There should be one new Technick available, Charge, which can only be used on oneself and it restores a certain amount of the user’s MP. However, it has a chance to fail and should that happen, then your MP will be reduced to zero. The amount restored ranges from the value of the user’s level to 1.5 times that minus 1 (hence a level thirty character would restore 30 - 44 MP with Charge). The probability of Charge failing is the percentage of the user’s remaining MP plus 1%. One of the best uses for Charge is to pair it up with the gambit for “Self: MP
Bashketi’s Gambits :
Leave Clio’s Technicks and make your way east, north, east, then north again to find another store, again to your east. This store - Bashketi’s Gambits - may be the least intersting shop in Bhujerba, as it has no new Gambits compared to Nalbina or Rabanastre. Still, if you devise some new scheme and have the Gil, here’s where you can spend it.
Into the Lhusu Mines
From Bashketi’s Gambits head north, then northeast to reach Lhusu Square, which is right outside of the Lhusu Mines. The mines themselves are at the northern end of this area, but be sure to talk to the Seeq Street Vendor to stock up on any basic curatives, then save your game at the nearby Save Crystal. When you’re done, continue north down some stairs to trigger another scene, which makes it painfully apparent that this Lamont kid shows off more information about the empire than he should rightfully know. Once inside the first area of the mines continue down several more flights of stairs to witness a few more scenes showing off some politics, after which Lamont will again display more knowledge on various subjects than a normal kid would possess, and Vaan will only deepen this impression by ignorantly and petulantly interjecting. When the scene ends, you will finally be able to explore Lhusu Mines.
The notes about stealing the Karkata are wrong. Or its been patched. It appears the RNG for the item you steal is locked in from Stage 1. I reloaded the auto save in trial mode for the Flowering cactoid battle to steal the karkata, and 50 straight times over the period of about 40 minutes I stole a longsword. I never got anything else. The only way to get a different result is to start over from stage 1 every time. What a chore. In addition, you state you can get more than one diamond armlet from stage one. Also wrong. The diamond armlet is replaced by a headband after you first loot it.
The notes about stealing the Karkata are wrong. Or its been patched. It appears the RNG for the item you steal is locked in from Stage 1. I reloaded the auto save in trial mode for the Flowering cactoid battle to steal the karkata, and 50 straight times over the period of about 40 minutes I stole a longsword. I never got anything else. The only way to get a different result is to start over from stage 1 every time. What a chore. In addition, you state you can get more than one diamond armlet from stage one. Also wrong. The diamond armlet is replaced by a headband after you first loot it.