| Bestiary |
|---|
| Vyraal (Mark) |
| Items In This Area |
|---|
| Aegis Shield, Dragon Scale, Halberd |
The last hunt you’ll do before hitting the next optional dungeon, the hunt for Vyraal requires you to travel back to Balfonheim Port to meet up with the Petitioner, a Viera Wayfarer. If you picked up this hunt in Balfonheim Port, good news! The Petitioner can be found in the very same tavern the Notice Board is in. If not, return to Quayside Court area of Balfonheim and enter The Whitecap, where you’ll find the Viera Wayfarer sitting on a window ledge. Chat with her, hear her rather terse request, then accept to start the hunt.
As the Viera said, she was attacked on the Cerobi Steppe, specifically The Northsward area, and like the Insecure Seeq from the Darksteel hunt, the Viera Wayfarer will join you on this hunt. Far from being useless like the Insecure Seeq, however, she’ll readily cast buffs on the party during the fight (Protect, mostly), and she has the good sense to stand back and attack at a distance… just don’t expect too much out of her in terms of damage.
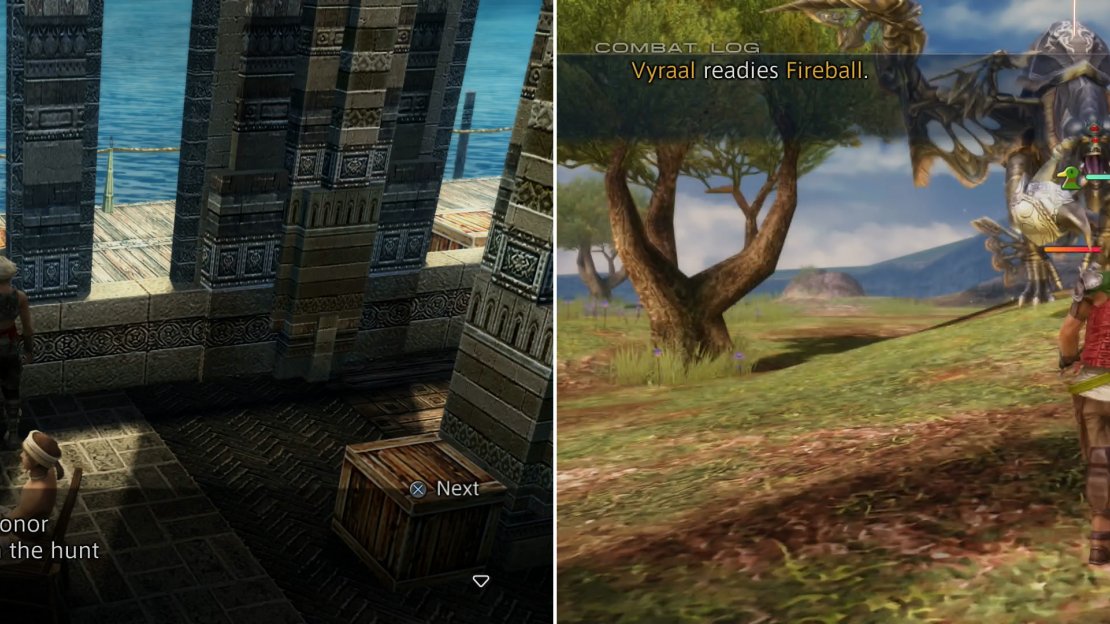
Talk to the Viera Wayfarer to learn the details of the hunt (left), then head to the Cerobi Steppe to face off with the beast (right).
Get My Stuff Back!
You might as well keep the same party you were using against the Lindwyrm for the fight against Vyraal, because like Lindwyrm, it’s weak to Wind. This means a Black Mage with Aeroga is still your best bet, and a Bushi wielding Ame-no-Murakumo is a fine tank who can also dish out plenty of damage. The third choice is of less consequence - a Shikari can make use of the Zwill Crossblade, while a White Mage will keep the Black Mage/Monk from having to focus on healing so they can instead do terrible work with Aeroga.
| Vyraal | . |
|---|---|
| Level | 41 |
| Weaknesses | Wind |
| Resistances | Earth (Absorbs), Dark, Fire, Holy, Ice, Lightning, Water (Halves) |
| Immunities | Disable, Disease, Doom, Immobilize, Oil, Petrify, Poison, Reverse, Sap, Stop |
| Safety | Yes |
| Drop | N/A |
| Steal | Spiral Incisor (55%), Charger Barding (10%), Leo Gem (3%) |
When you arrive in The Northsward (whereupon the Viera Wayfarer joins you), simply continue north to find Vyraal lurking north of the windmills in the area. Vyraal boasts over 100,000 HP and its attacks can inflict Confuse, so equipping Bowline Sashes on your party will definitely make this fight easier. In addition, it can use the Haste and Immobilizega magicks - the latter of which you’ll just have to endure, as preventing Confuse is a higher priority. As for technicks, Vyraal will make use of Fireball, Lunge, Magick Barrier, Restore and Sonic Fangs - nothing you haven’t seen before.
There’s a chance that, when it’s sufficiently damaged it’ll flee the fight - too fast to be caught - only to return later with some of its HP restored. Vyraal can also respond to severe damage by using Magick Barrier to protect itself from magick attacks, in response to which you may wish to switch out your Black Mage for a Shikari with a Zwill Crossblade, or simply equip your Black Mage/Monk to a Zephyr Pole and attack in melee. Futhermore, Vyraal will attack instantly once its nearly dead, so be wary of the near-death boost it’ll get. It also Ignores your Evade stat, so again, you’ll have to weather its assaults, rather than hope of deflecting them.
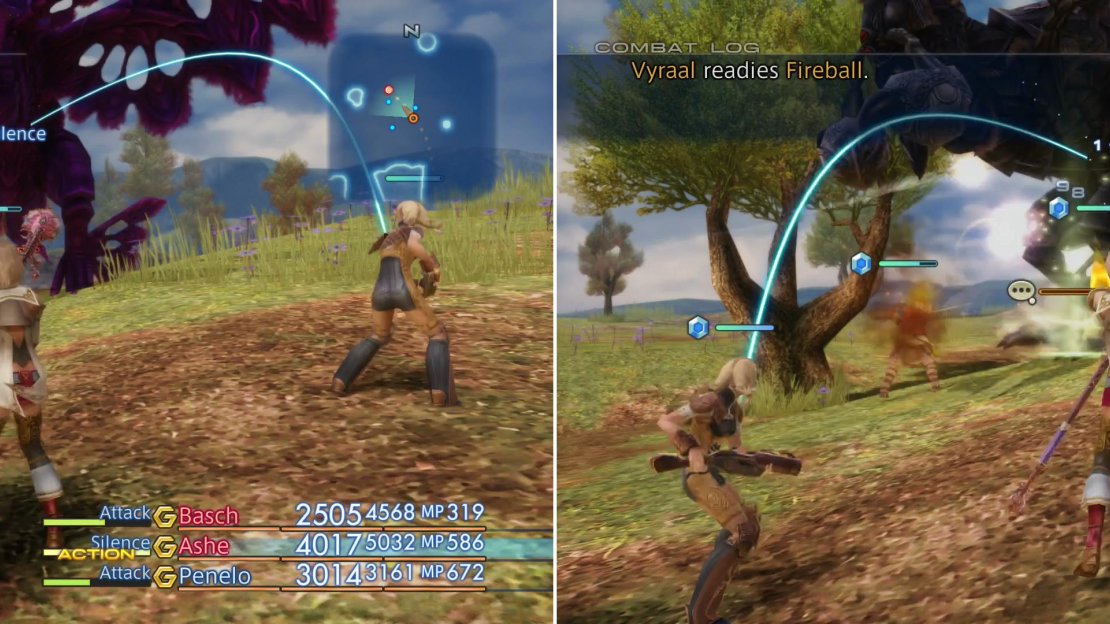
Blind and Silence magicks will help blunt Vyraal’s offense (left) and Aeroga will deal massive damage (right).
Much like Lindwyrm, simply cast Decoy on your Bushi when you enter the area, take control of them, and have them lead the way to Vyraal. Don’t rely on the Viera Wayfarer for your buffs, apply Protect and Bubble on the Bushi yourself to ensure they’re sturdy enough to withstand Vyraal. Once you engage, switch to the Black Mage and apply Blind and Silence, then - assuming you have appropriate curative Gambits - just pelt away with Aeroga until you’re victorious.
After the battle you’ll obatin a “Viera Rucksack” the owner of which will thank you before walking off. Why didn’t she just take her belongings back here? Why make you walk all the way back to Balfonheim Port? Because that’s how the quest-flow was designed, of course. When you finish this pointless errand she’ll thank you, and more importantly, reward you. If that’s not enough, she’ll also find one of Vyraal’s scales when examining her luggage and hand it over to you as the rightful conquerer.
| Objective | Reward |
|---|---|
| For completing the hunt “Get My Stuff Back!” | 3,500G, Aegis Shield x1, Dragon Scale x1, Halberd x1 |
With that, it’s time to take a break from hunts for a while and give the Zertinan Caverns the attention they’ve long deserved.


Hello, it seems that there are missing sections for this walkthrough: Zertinan Caverns, Cerobi Steppe quest, and the hunt club etc.