


Bestiary
| Enemy | Type | Location |
|---|---|---|
| Basilisk | Normal | White Magick’s Embrace, Ice Field of Clearsight, The Edge of Reason |
| Cerberus | Normal | Walk of Stolen Truth |
| Crypt Bunny | Rare Game | Walk of Stolen Truths |
| Deadly Nightshade | Normal | Walk of Flitting Rifts |
| Golem | Normal | Walk of Flitting Rifts, Walk of Stolen Truths) |
| Holy Elemental | Normal | Walk of Flitting Rifts, Walk of Dancing Shadows, Walk of Stolen Truths |
| Juggernaut | Rare Game | White Magick’s Embrace |
| Mirrorknight | Normal | Walk of Stolen Truths, Walk of Dancing Shadow, White Magick’s Embrace |
| Mu | Normal | The Feywood (Walk of Flitting Rifts, Walk of Dancing Shadow) |
| Preying Mantis | Normal | White Magick’s Embrace, Ice Field of Clearsight, The Edge of Reason |
| Rafflesia | Boss | Redolent Glade |
| Tartarus | Normal | Walk of Flitting Rifts, Walk of Dancing Shadow, Walk of Stolen Truths |
Items in this Area
| Items | Info |
|---|---|
| Dispelga | |
| Embroidered Tippet | |
| Francisca | Drop from Cerberus |
| Golden Amulet | |
| Judicer’s Staff | Steal from Golem |
| Mirror Mail | Drop from Mirrorknight |
| Muramasa | Drop from Crypt Bunny |
| Pheasant | |
| Netsuke | Steal from Mu |
| Power Vest | Steal from Tartarus |
| Ring of Renewal | Poach from Deadly Nightshade |
| White Mask | Drop from Juggernaut |
When you’re finally ready to give chase to Doctor Cid, use any convenient Gate Crystal and teleport to the Golmore Jungle… or to the Eruyt Village, as all things considered it’s closer to your destination. You goal now is to reach the southern-most area of the Golmore Jungle, The Rustling Chapel (where you fought the Grave Lord earlier and hunted the Vorpal Bunny) and exit via an area transition on the southern edge of the area, which leads to the Feywood.
Walk of Flitting Rifts
There are no walkways in the Feywood, no artifices of man or Viera to guide you, instead the areas are dirt paths that honeycomb around massive trees. This is a good thing, as unlike the Golmore Jungle and Salikawood, the Feywood actually resembles… you know, a forest? The first few areas of the Feywood have little loot of interest, which gives you ample opportunity to acquaint yourself with the new foes. There are several varieties of new enemies in this first area (Deadly Nightshade, Golem, Holy Elemental, Mu, Tartarus), as detailed below, but otherwise this area is merely a hub to other zones. Along the northeastern end of the zone you’ll find an area transition leading to the Paramina Rift (Icebound Flow), while to the south are two area transitions leading deeper into the Feywood. The southeastern exit will take you to the Walk of Stolen Truths while the southwestern exit leads to the Mist-heavy Walk of Dancing Shadow. Go to the former, first.
Deadly Nightshade:
What was once a boss deserving of its own fanfare is now a common enemy. Such is the way of RPGs. You may remember this tomato-headed fiend from another, far earlier encounter, as the Rogue Tomato you hunted at the beginning of the game was such a beast, stripped of its powers by its long journey north to the deserts of Dalmasca. These ones in their native Feywood have no such handicap, however, having over 3,000 HP and the capacity to use a great many technicks. They can utilize Joyous Soundwave (heals for a sum equal to around 1/3 of their maximum HP), Pollen (inflicts Poison, Sleep and Slow), Scream (inflicts Blind or Silence) Vespersong and Warsong, otherwise resorting to Ram to dish out damage. They can drop a Succulent Fruit, a Fire Crystal, a Chronos Tear or a Virgo Gem, you can steal a Fire Crystal, a Succulent Fruit or a Screamroot, while they can be Poached for a Succulent Fruit or a Ring of Renewal. They are weak to Water.
Golem :
The Feywood is a more dangerous area than the Golmore Jungle, and fittingly the animated flora populating this place is also significantly stronger. Golems have over 11,000 HP and further protect themselves with magicks like Haste, Protect and Shell. As for technicks they can use Lunge, Restore (to heal themselves), Tri-Attack and Wild Charge (deals double damage, but they take half the damage they deal). They drop Quality Lumber, an Earth Crystal, a Remedy or an Aquarius Gem, while you can steal Quality Lumber, an Aquarius Gem or a Judicer’s Staff . They can be Poached for Quality Lumber or a Mystletainn. It is weak to Wind.
You’re getting pretty late in the game, and this means you’ll now be finding some of the most high-quality loot out there, which in turn will unlock some very desirable Bazaar bundles, and the Golem’s loot is a prime example. The Aquarius Gem and Mystletainn are both loot items that contribute to unlocking very fine Bazaar bundles. To get an Aquarius Gem (you’ll need four of them) you can rely on drops, or attempt to steal them. With Thief’s Cuffs you have a 30% chance to steal them, making it an ideal option. Mystletainn (2) is a rare Poach, but also a Monograph drop (5% chance). It’s highly recommended that you do the work to obtain loot items mentioned this way, but keep in mind that if a component isn’t mentioned in this way, that doesn’t mean it’s not valuable - there might be an easier way to get them later on, whereupon it’ll be mentioned.
Holy Elemental:
Having a mere 20% to spawn in any area it can be in (Walk of Flitting Rifts, Walk of Dancing Shadows, Walk of Stolen Truths) this creature is one of the Feywood’s more elusive residents. Like other elementals, it’s docile unless you provoke it by attacking or casting magick nearby. That said, it’s not so much stronger than other elementals that it should give you worry, possessing 14,000 HP and using magicks like Aerora, Blizzara, Fira, Holy and Thundara. It can drop Holy Magicite, a Holy Stone, a Feystone or a Holy Crystal, while you can steal Holy Magicite, a Feystone or a Holy Crystal. It is weak to Dark and absorbs Holy.
Mu :
The species to which the Rare Game Spee belonged, Mus diverge from the normal “Happy Bunny” critters in two ways. First, they’re not docile, and second they have their own bestiary entry. As with many Feywood fauna they have around 3,000 HP and can harass you with a wide array of magicks and technicks. The former include Berserk, Blizzara, Confuse, Fira, Regen and Thundara, while the later consist of Lunge, Mach Punch, Time Requiem (just like the Mindflayer ability, can afflict Stop on the entire party), Vespersong and Warsong. They can drop a Fire Crystal, Eye Drops, Blood Wool or an Aries Gem, you can steal Blood Wool, an Aries Gem or a Pheasant Netsuke and they can be Poached for Blood Wool or Moondust. They are weak to Water.
The loot to look out for with them is Moondust (2), and the best way to get it is arguably by just killing them, as you have a 6% chance to get it if you possess the Hunter Monograph. Fire Crystals (8) are also useful for many bundles, but there are many, many creatures that drop them, so don’t feel pressed to harvest them… just getting the two units of Moondust will likely leave you with plenty.
Tartarus :
Another Hyena palette-swap, the Tartarus is slightly stronger than its next-door neighbor, the Hellhound. Their HP ranges from mid-3,000 to low 4,000, but their attacks are the same either way, Lunge, Screech (inflicts Confuse) and Sonic Fangs. They’re actually one of the least annoying foes in this place, as they’ll only inflict you with one status effect… albeit a nasty one. They can drop a Prime Pelt, a Dark Crystal, an X-Potion or a Libra Gem, while you can steal a Dark Crystal, a Libra Gem or a Power Vest. They are weak to Holy and absorb Dark.
Prime Pelts (9) being their common drop should be easy enough to get, and they contribute to two Bazaar bundles. Libra Gems (3) contribute to a Bazaar bundle of dubious value, but being an uncommon steal (30% chance with Thief’s Cuffs) they arguably easier to get here than by killing Bandercoeurls in the Cerobi Steppe.
Walk of Stolen Truths
This area is much less diverse than the last area, housing only Tartarus and Golem enemies, although each Tartarus in this zone has a good chance of being replaced by a Cerberus every time they spawn. In addition, if you kill at least six Cerberus enemies and all the Tartarus enemies in the area, there’s a chance the Crypt Bunny Rare Game will spawn. As for loot, search a dead-end along the northeastern end of the zone to find a decorative urn with map of the Feywood inside it, which is the sole item of interest in this area. Aside from the exit returning back to the Walking of Flitting Rifts area, there are three more exits, two along the western end of the zone which both lead to the Walk of Dancing Shadow area, and one to the south, which leads to the Antiquity’s End area. When you’re done here make your way west to the Walk of Dancing Shadow via whichever of the two area transitions you prefer.
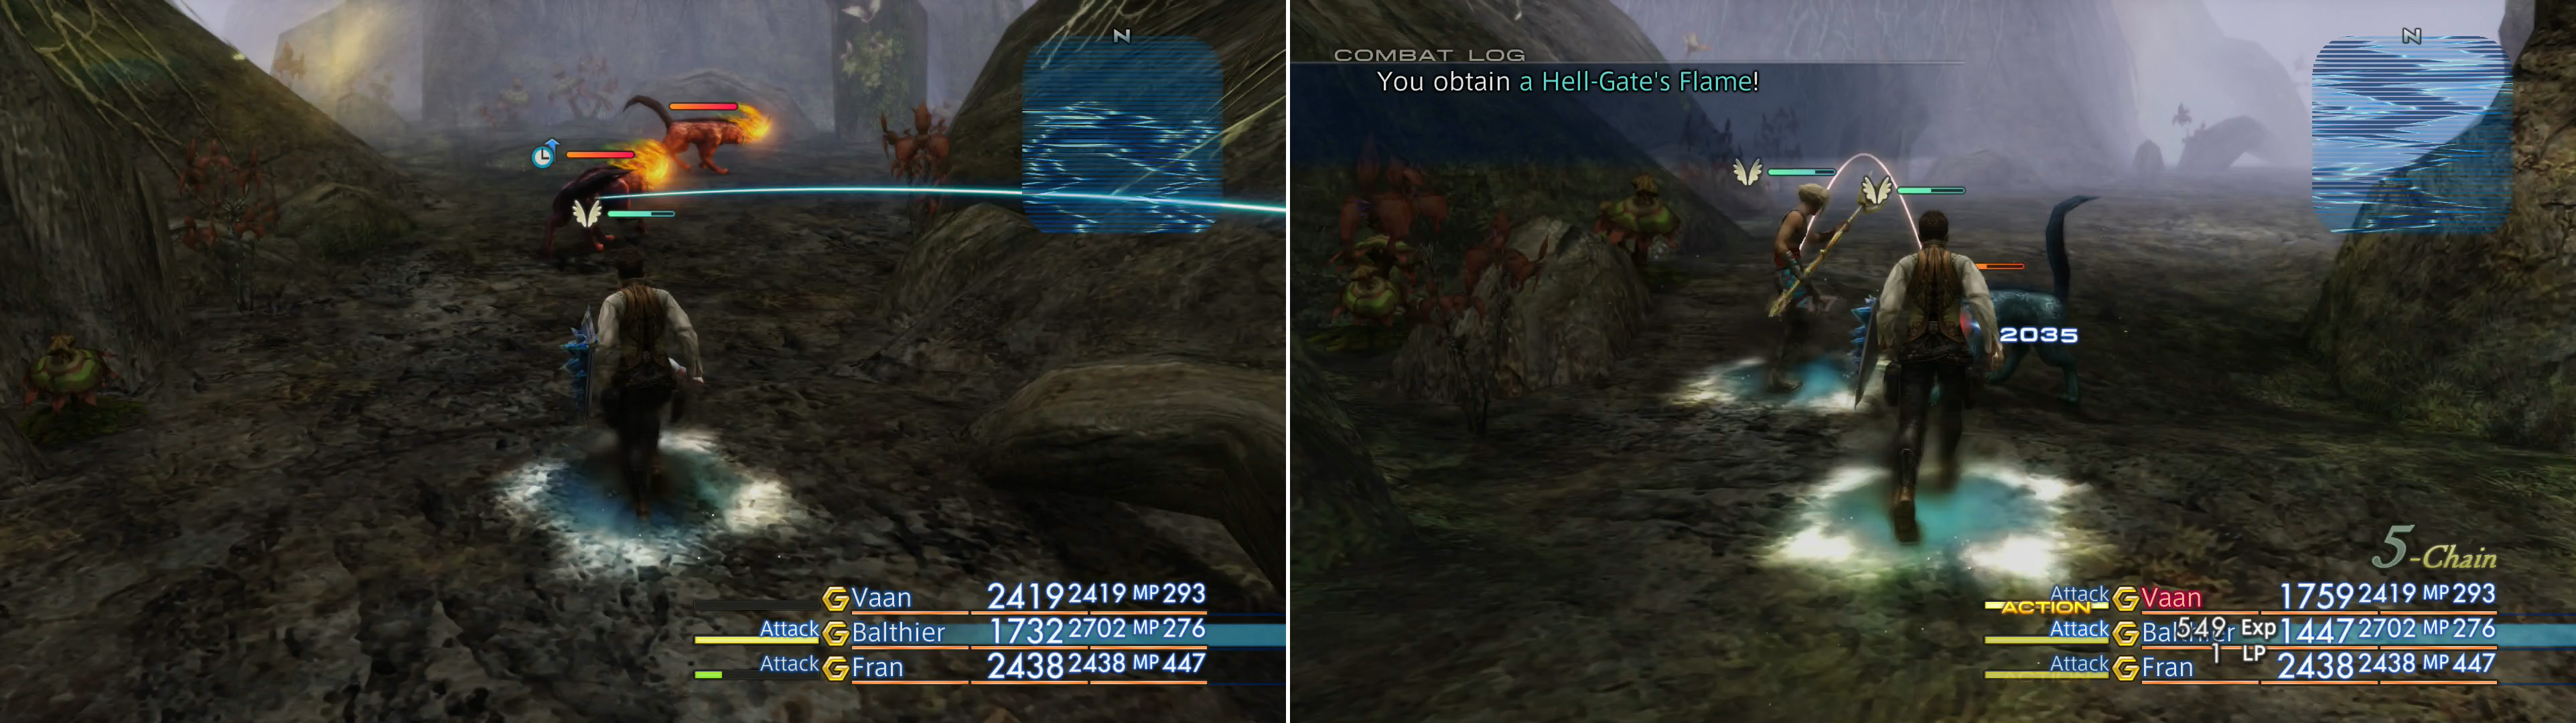
The Cerberus has a chance to spawn in place of a Tartarus (left) and can drop the valuable Hell-Gate’s Flame loot (right).
Cerberus :
Essentially a slightly stronger Tartarus, the Cerberus boasts between 4,400 and 5,000 HP. In addition to all the attacks the Lunge and Sonic Fangs attacks the Tartarus has, the Cerberus also has Eerie Soundwave. Lacking Screech, however, they’re if anything less of a threat than their kin. They can drop a Prime Pelt, a Fire Crystal, a Francisca or a Libra Gem, you can steal a Fire Crystal, a Prime Pelt or a scrap of Festering Flesh and they can be Poached for a Prime Pelt or a Hell-Gate’s Flame. They are weak to Water and absorb Fire.
Of all the items you can get from them, the most interesting is by far the Hell-Gate’s Flame, which is another component required to make Gemsteel, which in turn is used to create a few top-tier weapons. Speaking of which… remember Anchag, the Rare Game from Paramina Rift? Yeah, not that far away, actually, and his Damascus Steel loot is another component required for Gemsteel. That aside, you’ll want six Hell-Gate’s Flames for Bazaar purposes, and fortunately they’re a Monograph drop from the Cerberus (5% drop, Hunter Monograph required). It’s still tedious to get them, but it’s far easier than Poaching. After you clear the zone, simply head south through the Antiquity’s End zone, then east into Walk of Dancing Shadow, then return to respawn the enemies in the Walk of Stolen Truths.
Crypt Bunny:
Kill six Cerberus foes and all the Tartarus enemies in the area and Crypt Bunny may spawn near your location. Given the requirements for this Rare Game to spawn, it’s just begging to be done while you’re grinding for Hell-Gate’s Flame. Two birds, right? The Crypt Bunny is, like most Happy Bunny enemies, docile unless provoked. In the latter case it’ll use magicks like Aeroga, Aquaga, Blizzaga, Darkra, Firaga and Thundaga, as well as technicks like Bunny Slam, Hero’s March, Lunge, Mach Punch and Time Requiem. Some of these attacks are rather annoying (Time Requiem) and its physical attacks can inflict Petrify, but fortunately for you, Crypt Bunny prefers to flee than to fight. It can drop Drab Wool or a Muramasa and you can steal a Holy Mote from it. It’s weak to Fire and absorbs Water.
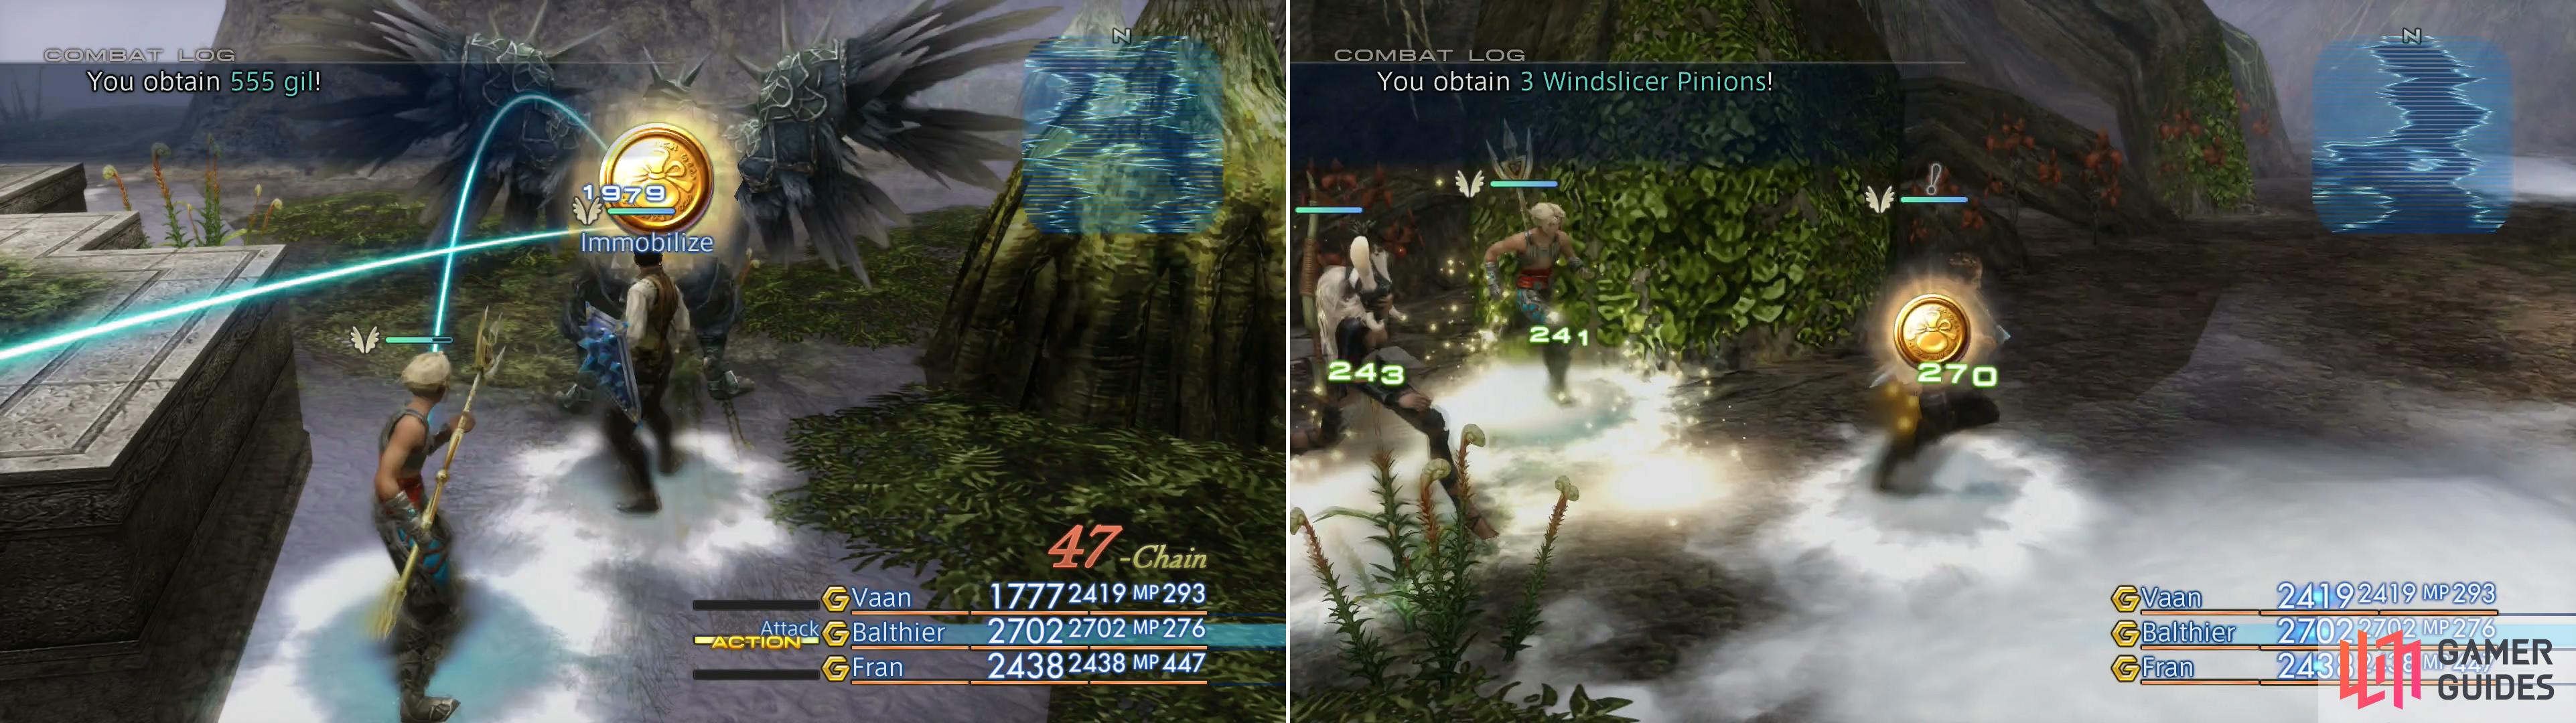
By sticking to the central and southern bits of the Walk of Dancing Shadow area you can chain Mirrorknights (left), which can drop Windslicer Pinions (right).
Walk of Dancing Shadow
Diversity is again down in this area, but all that forgiven for the sake of the new enemy that dwells here - the Mirrorknight. Other than that you can encounter some Tartarus foes along the eastern end of the area, near the two exits to the Walk of Stolen Truths, and some Mu enemies in the northwestern corner of the zone, near the area transition to the Henne Mines. Speaking of which… avoid that place for now. The foes within are quite a bit stronger than the ones in the Feywood, and it’ll be some time before you’re really ready to challenge them.
This leaves the entire center and southern end of the area to Mirrorknights, which provides a great grinding opportunity. Fortunately, the Mirrorknights’ loot more than delivers, as its common drop are Windslicer Pinions. These sell for 1,148G each, and a stack of 99 of them will net you a whopping 113,652G. This being the case, it’s a fine place to grind some Gil, should you have a need, and since you can use the area transition to Antiquity’s End in the southeastern corner of the area to zone in and out quickly (just go through Antiquity’s End and enter the Walk of Stolen Truths and return), it’s an easy grind. In addition they can drop Wind Crystals, Mirror Mail and Aries Gems and, if you have the Hunter Monograph, Mirror Scales. Windslicer Pinions are the real money-makers, but everything else contributes, and possibly unlocks more Bazaar bundles…
Mirrorknight :
As for their combat stats, Mirrorknights have over 5,000 HP and as their name suggests are fond of protecting themselves with Reflect. Since they take half damage from all elements (save Earth, which they’re weak to), you might want to avoid attacking them with magicks. In addition they can case Aerora and Curaga and use the Screech and Slap technicks. They can drop (as noted above) a Windslicer Pinion, a Wind Crystal, Mirror Mail or an Aries Gem, you can steal a Wind Crystal, an X-Potion or an Aries Gem, while they can be Poached for a Windslicer Pinion or a Mirror Scale.

In the Antiquity’s End area you can find a chest containing an Embroidered (left). To the south, a mist barrier blocks your way (right).
Antiquitys End
Talked about a few times now, Antiquity’s End can, of course, be reached via the Walk of Dancing Shadow and Walk of Stolen Truth areas. It’s more than a convenient short area you can use to respawn enemies via zoning in and out (although it serves that purpose well, too!), as it also houses a Save Crystal. In addition, there’s a chance an urn will spawn along the western edge of the level, near a stone pillar. Inside you will always find an Embroidered Tippet , and once looted the urn will not respawn.
More importantly you’ll find a Mist-shrouded passage to the south, and at your first attempt to pass through you’ll be repulsed. In the cutscene that follows, however, the Mist will disperse before Ashe, who is beckoned onward by another delusion of Rasler. Before you continue on, adjust your party so one character with the Silence magick is with you (a Red Battlemage or Black Mage will suffice), but otherwise don’t go too heavy on the magick. In fact, if you have a Nihopalaoa, equip it and take your three most melee competent characters. Make sure you have plenty of curatives, as Remedies and X-Potions will come in handy.

Boss - Rafflesia
| Rafflesia | . |
|---|---|
| Level | 43 |
| Weaknesses | Wind |
| Resistances | Earth (Absorbs), Dark, Fire, Holy, Ice Lightning, Water, (Halves) |
| Immunities | Confuse, Disable, Disease, Doom, Immobilize, Oil, Petrify, Poison, Reverse, Stop, |
| Safety | Yes |
| Drop | N/A |
| Steal | Screamroot (55%), X-Potion (10%), Putrid Liquid (3%) |

Since your MP will quickly drain, you’ll have to substitute items for healing (left). After Silence, just keep up the pressure and Rafflesia should fall quickly enough (right).
When you head to the area south of Antiquity’s End you’ll be ambushed by a massive plant monster - the Rafflesia. This encounter is tricky for one reason - the entire fight your MP will be draining at a rapid rate, limiting your ability to respond to certain situations via magick, namely healing and debuffing. Obviously this will also neutralize your ability to act offensively with magick as well, hence the melee-focused party… although you can equip a caster with a Turtleshell Choker if you absolutely must have one in your party.
On top of the MP drain Refflesia employs many attack that inflict status effects, including Curse (inflicts Confuse, Disease, Poison and Sap), Nectar Volley (inflicts Sap), Pollen Dance (inflicts Confuse), Toxify (inflict area-of-effect damage and Poison). Worse still, it’ll occasionally use Cry for Help to summon Malboros, which can use attacks like Bad Breath and Cloying Breath to inflict status effects of their own. Basically you’ll be dealing with foes who are using status effects to inflict Confuse, Poison and Sap, amongst other status effects. Needless to say, Bowline Sashes are incredibly useful for this battle.
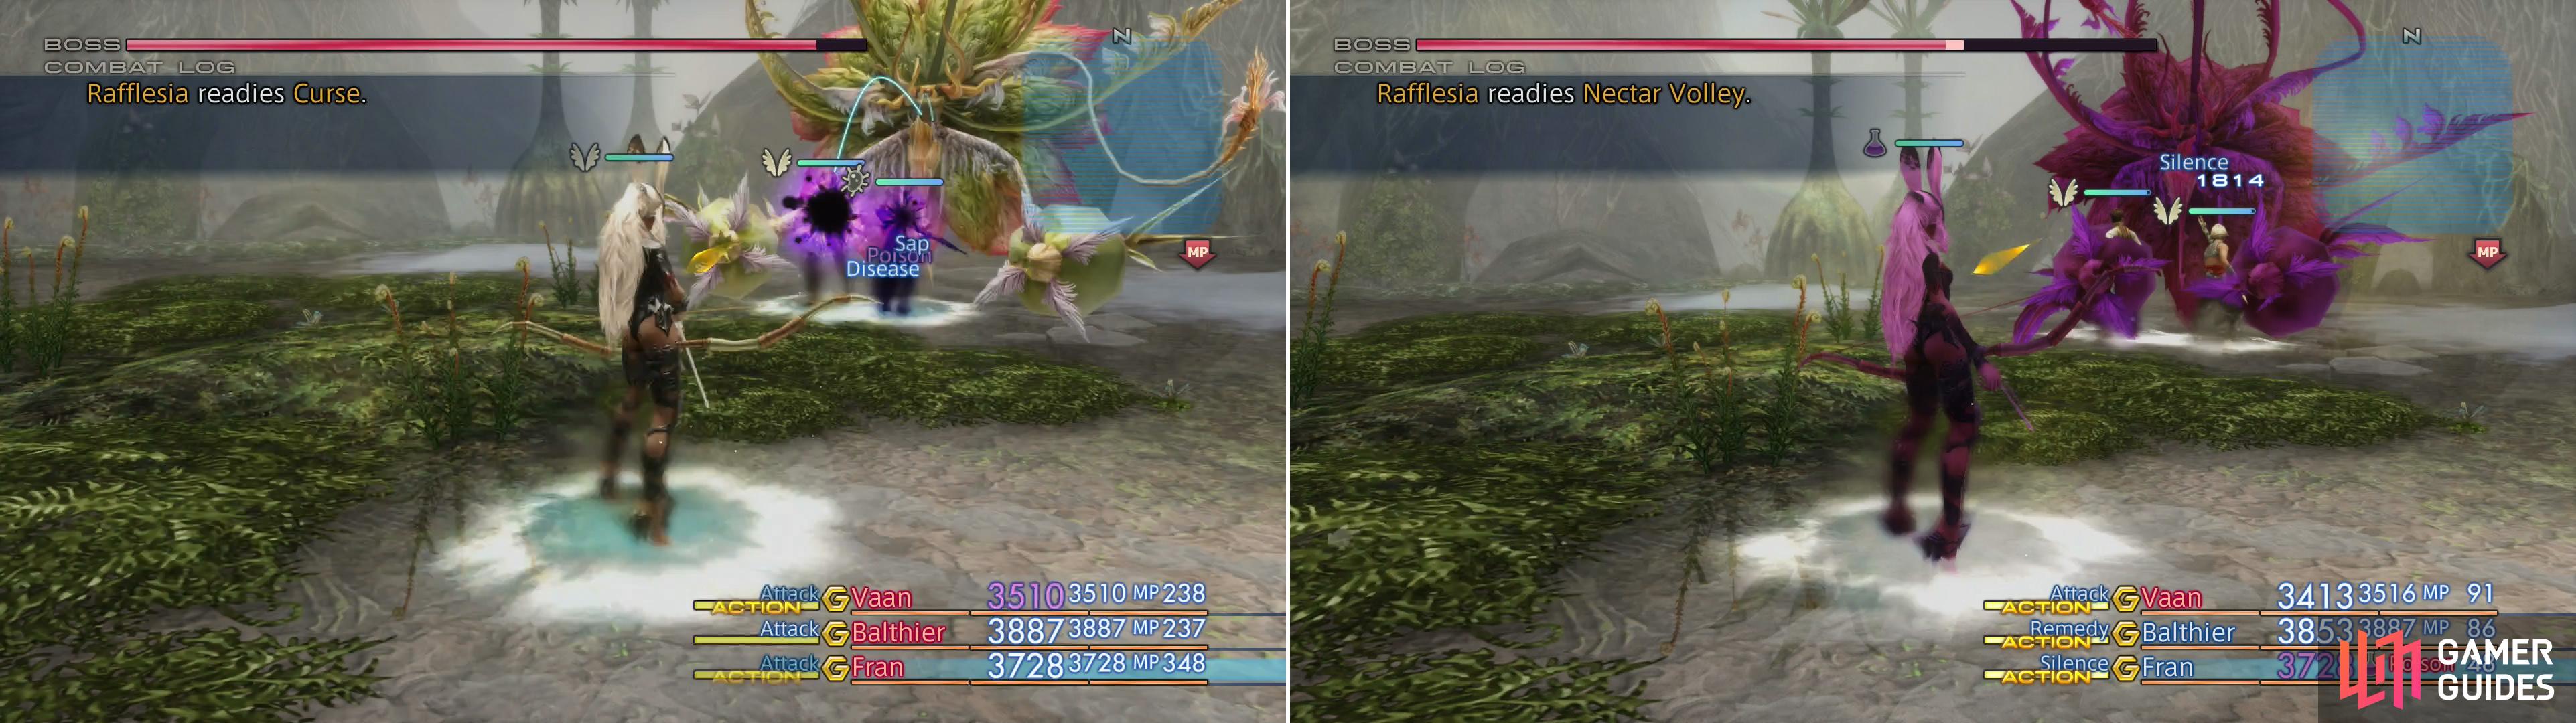
Rafflesia can inflict a variety of status effects on you (left), but you can return the favor by casting Silence, which will greatly simplify the battle (right).
Unfortunately for Rafflesia, two can play the status effect game. It can be inflicted with Blind, Sap, Silence and Slow, with the most important of which being Silence, as it’ll prevent Rafflesia from summoning Malboros. In fact, once Silenced all Rafflesia can do is use its Nectar Volley and Pollen Dance technicks, which are hardly a threat if your party is wearing Bowline Sashes. Use the glorious Nihopalaoa + Remedy trick on it to inflict what status effects you can, or simply use Silence. Either way, be sure to hit it with Dispel first to remove the buffs it starts with (Haste, Regen and Shell) to even the playing field. Once it’s debuffed and afflicted with Silence, just go to work on it with melee attacks. It takes half damage from most elements (save Wind, which it’s weak to, and Earth, which it absorbs). If you suffer from a status effect, use a Remedy or the appropriate lesser curative and heal with X-Potions.
Well, that was… interesting. After the battle, return back up to the Antiquity’s End area and touch the Save Crystal to restore your expended MP and cure up whatever status effects you were inflicted with at the end of the battle, then return to the area where you fought Rafflesia - the Redolent Glade. Search the western edge of the zone, just south of the area transition to Antiquity’s End, and you’ll find an urn that contains a “Bottle of Domaine Calvados”, an odd concoction that’ll bestow the Bravery status on an ally. Another urn near an area transition along the southern end of this zone contains an X-Potion. Both are guaranteed finds, but the urns holding them will not respawn afterwards. When you’re ready, continue through the area transition to the south to reach the White Magick’s Embrace zone.
Excellent this was very informative
Excellent this was very informative