


| Bestiary |
|---|
| Ancbolder • Anubys • Biding Mantis • Grimalkin • Killbug • Kris • Melt • Myath • Rageclaw • Wendice |
*All enemies listed are Trophy Rare Game
| Items In This Area |
|---|
| Ensanguined Trophy • Eternal Trophy • Frigid Trophy • Metallic Trophy • Mind Trophy • Odiferous Trophy • Scythe Trophy • Sickle Trophy • Slimy Trophy • Whiskered Trophy |
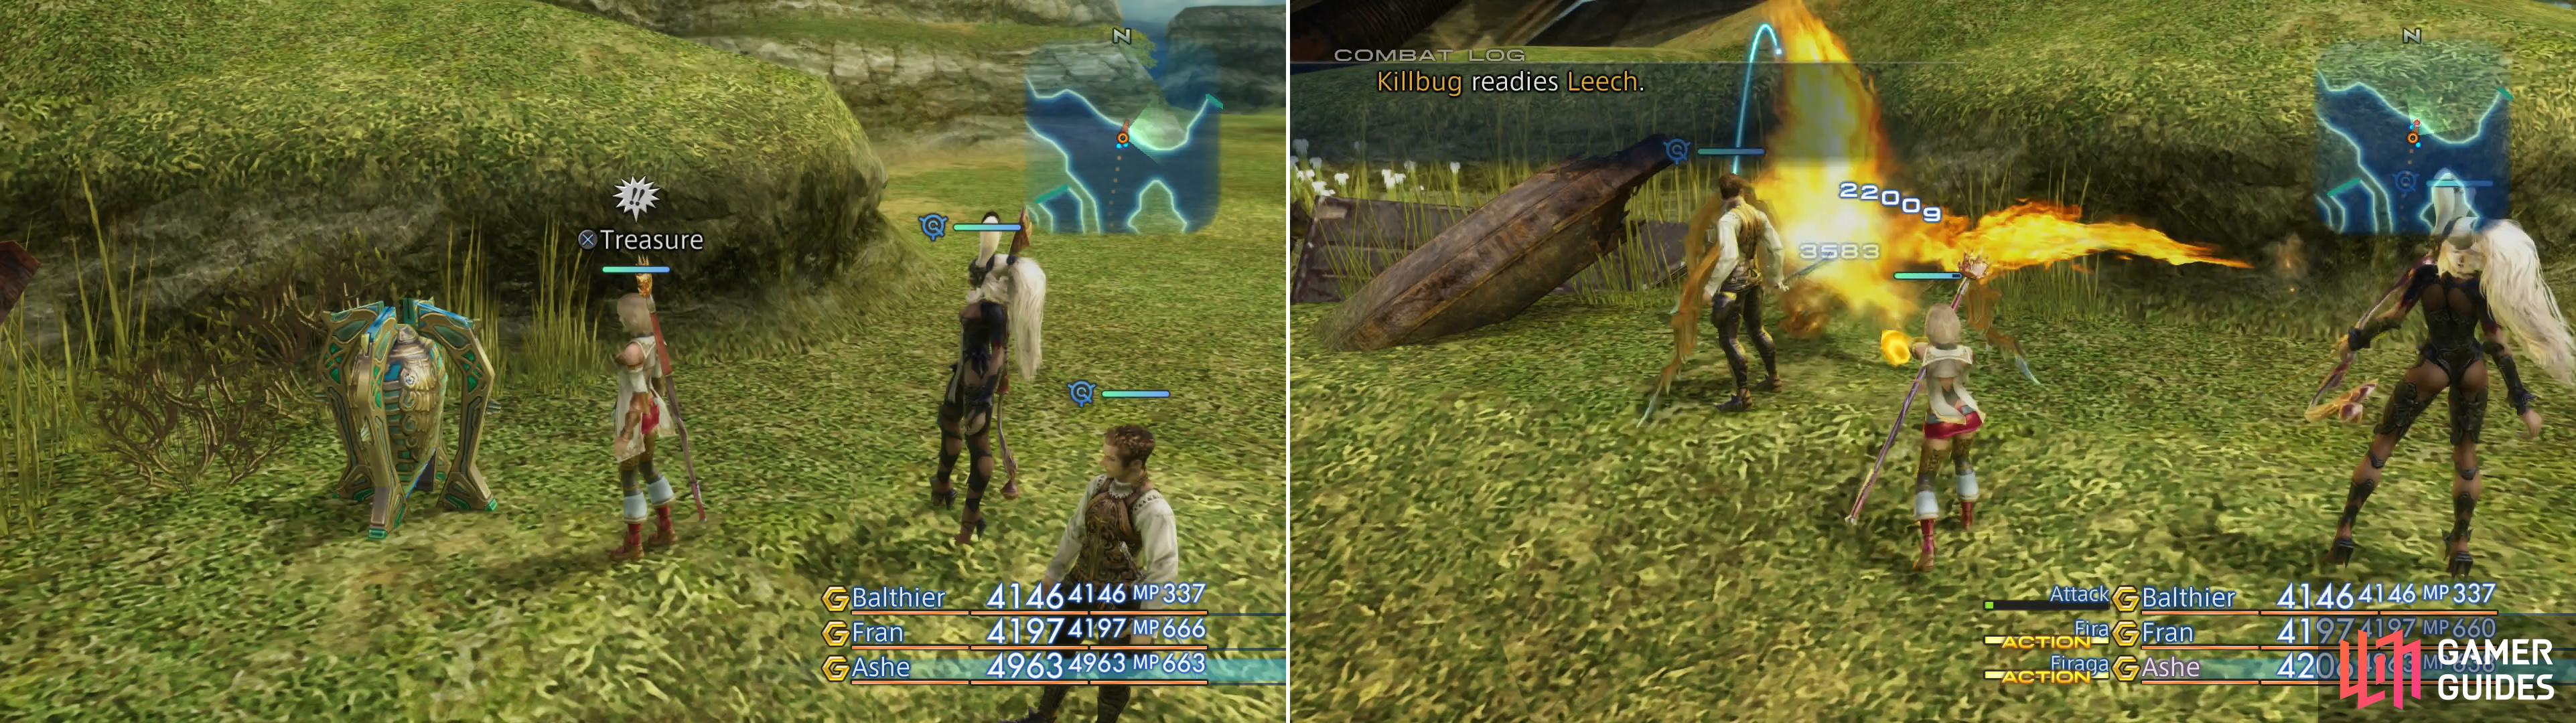
Killbug makes a poor attempt at hiding, mimicking a rather large, out-of-place chest (left). Teach it not to trick people with promises of treasure (right).
Killbug
A fairly straight-forward critter, the Killbug can be found in the Ozmone Plain, in the Switchback area, along the northern edge of the area, between the area transitions leading to the Field of Fallen Wings and the Dagan Flats, just northeast of the ramp leading down to the Zertinan Caverns. It - in true mimic fashion - appears as an unusually large and out-of-place chest (the normal treasure containers on the Ozmone Plain are urns), which will of course reveal itself when tampered with. It only spawns when the minute digits of the game clock are between 10 and 39 minutes.
There’s not too much to say about the fight, either. It’s fairly average as far as Trophy Rare Game go, having a level in the mid 40s and just shy of 30,000 HP. It’s Attack Power isn’t terribly worrisome, and it only makes use of the Leech and Lunge technicks. It’s weak to Wind and absorbs Earth, and is only susceptible to Silence and Oil status effects, the latter of which, in conjunction with Fire-boosting weapons like the Burning Bow and the Flame Staff provide a fine means of dealing terrible damage with Firaga and Fira.
Dismantle it to score a Metallic Trophy .
Flip the switch in the Pithead Junction B area for a chance to spawn Melt (left), which ironically can be… melted… with fire magicks (right).
Melt
Quite possibly the most dangerous Trophy Rare Game you’re going to fight in this section of the guide, Melt is a slime-type monster that dwells in the bowels of the Henne Mines. Rent a Chocobo from Jahara, ride through the brush at the eastern end of the Haulo Green to reach the southern end of The Shred area, then enter the Henne Mines. Specifically, this critter can be found in the Pithead Junction B area, which contains the lever that manipulates the gates in the adjacent Crossover A and Crossover B areas. When you play with that lever, Melt has a 50% chance to spawn along with the usual Jelly foes.
Melt’s level is in the high 40s and has over 60,000 HP, and Attack Power that rivals Victanir. While not devastating, it’s still respectable. So what makes it so dangerous? Largely its technicks, including Phantasmal Gaze (inflicts Confuse) and Mythril Bubbles (inflicts Confuse and Poison). You’ll be well served by wearing Bowline Sashes to this fight to prevent Confuse. It also has access to the Bleed and Slap technicks, as well as Silence and Thundaga magicks, and in case that’s not annoying enough, it’s one of the Rare Games that can turn the tables on you by inflicting Sleep with its physical attacks. It, on the other hand, is immune to all status effects save Blind and Oil, the latter of which can, of course, be exploited with the Burning Bow and Flame Staff to inflict massive Fire damage via Fira and Firaga. Alternatively, it’s weak to Ice, so simply using Blizzara and Blizzaga will work well, too. It absorbs Lightning.
Defeating Melt will earn you a Slimy Trophy .
Biding Mantis
Another time-sensitive Trophy Rare Game, the Biding Mantis can be found in the Golmore Jungle, in The Needlebreak zone. It appears on the southern edge of the zone, on the walkway that connects The Rustling Chapel area transition to the southern of the two area transitions leading to the Paths of Chained Light area. As mentioned early, it’s time-based, so you’ll need to wait until the minute digits on the game clock are between 30 and 59 minutes. At least, that’s where the beast will start, it’ll move around after spawning, but you’re almost certain to find it on the southern end of the map.
When you do encounter Biding Mantis, you’ll find a foe that has nearly 70,000 HP and an Attack Power comparable to Victanir. It possesses few attacks (Cannibalize, Gnaw) but its combo rate is high and its max combo hits are, as well. It also does more damage at full health, gains a defense boost when it has low health, and its attacks happen instantaneously… making its Haste status rather redundant. It’s immune to all status effects save Reverse and Oil, and you probably want to avoid the former. The latter, of course, can be paired with Fire-boosting weapons (Burning Bow and Flame Staff) to cause Firaga and Fira to do downright silly damage. Otherwise the beast absorbs Dark and is vulnerable to Holy.
Consider stealing a Tattered Garment from it during the fight, as it’s one of only two critters which possess it. You can sell the Tattered Garment to unlock the “Gilt Phylactery” (Golden Amulet) at the Bazaar.
Exterminating Biding Mantis fittingly rewards you with a Scythe Trophy .
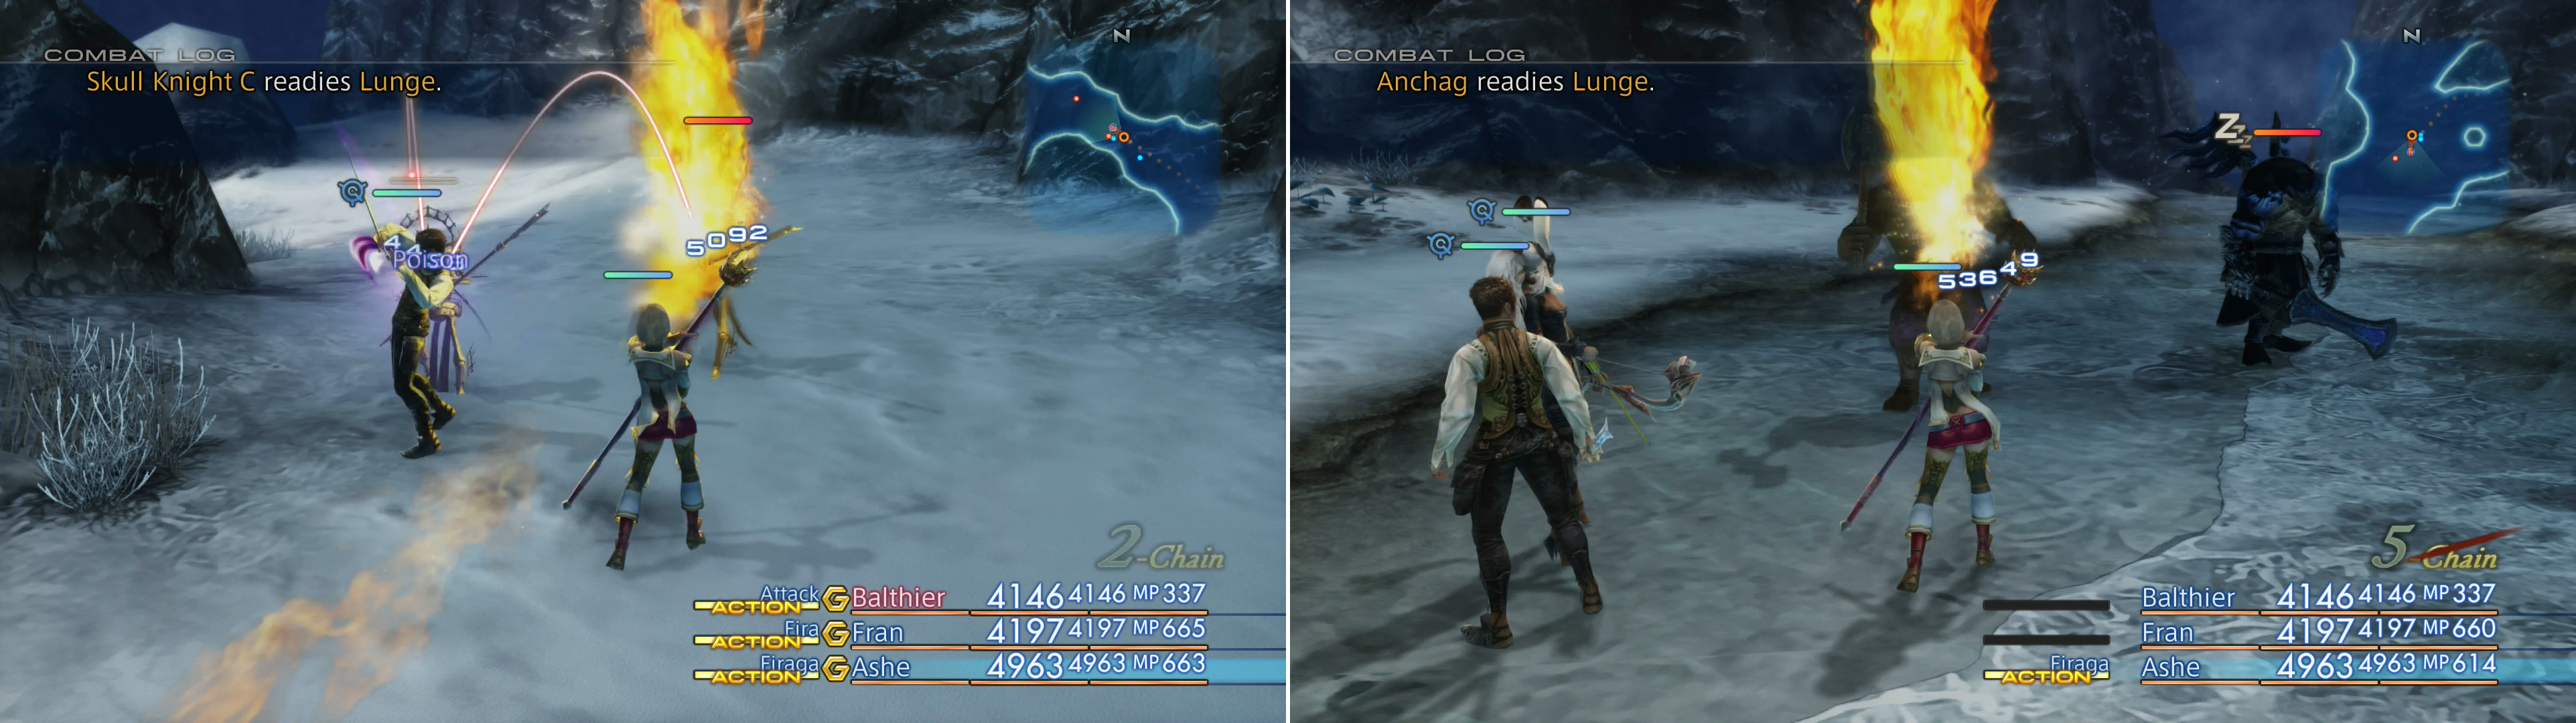
Kill all the monsters in the Karydine Glacier area to lure out Ancbolder (left), then put the headless foe down with the good old Sleep, Oil and fire magick combo (right).
Ancbolder
By far the weakest of the Trophy Rare Game you’ve fought so far, Ancbolder (wonder if he’s friends with Anchang?) can be lured out by slaughtering all the monsters in the Paramina Rift’s Karydine Glacier area. This might take more doing than it initially seems, because undead lurk unseen, so you just have to run about until they show up to be smote. You’ll also have to pick a fight with the poor, neutral Wild Onions in the area, too. When every foe (or potential foe, as the case may be) in the area has been smote, Ancbolder will appear in the middle of the level.
Being at best level 30 and with around 14,000 HP, Ancbolder’s is easily squashed by any reckoning. His Attack Power is half of what some previous Trophy Rare Game boast, and he’s only got access to the Lunge, Rage and Tremor technicks as well as Protect magick. On top of that, he’s vulnerable to a host of status effects, including Sleep, Disable, Immobilize, making any preferred means of eradicating him more a means of sheer whimsy, rather than of tactical consideration. He’s weak to Wind, but absorbs Earth.
Humiliate Ancbolder to obtain a Mind Trophy .
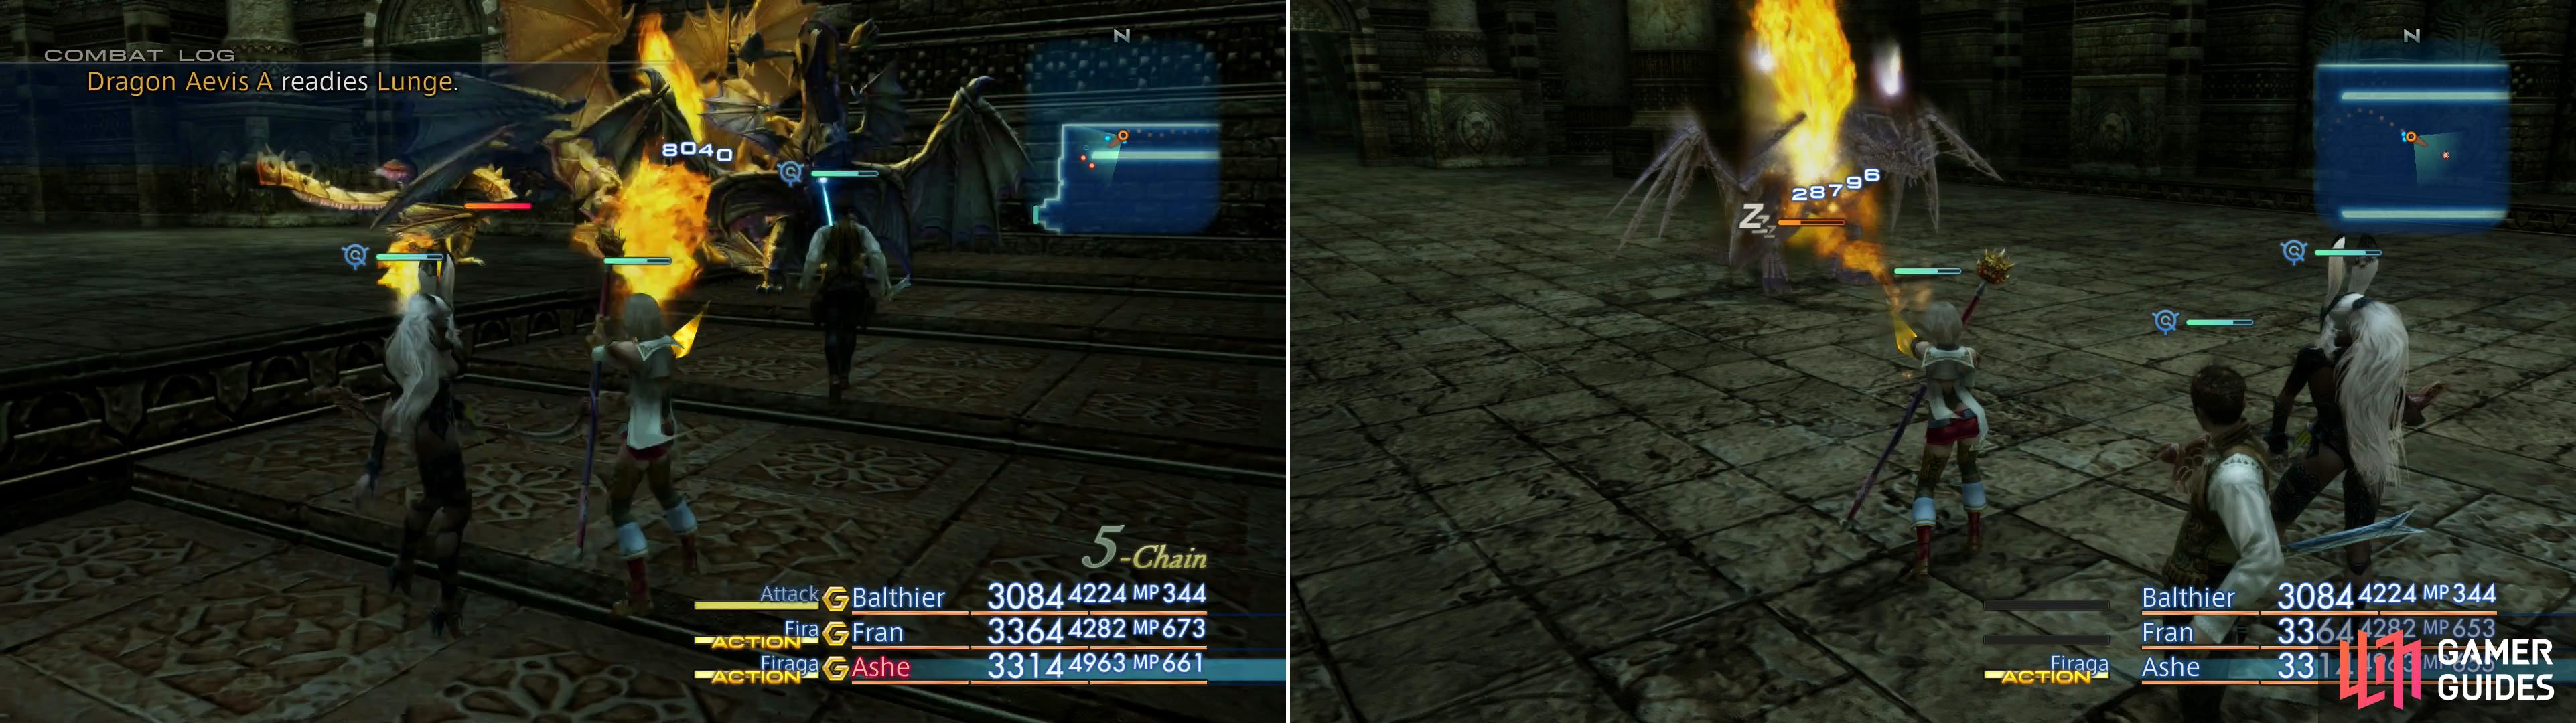
Kill the Dragon Aevis foes in the Ward of Velitation area (left) to draw out Myath, who can be defeated in much the same fashion (right).
Myath
Myath is more of your standard Trophy Rare Game, a welcome change after the token resistance Ancbolder was able to mount. To get Myath to spawn, you’ll need to kill the Dragon Aevises in the Ward of Velitation area of the Stilshrine of Miriam. Once that area is clear (the Dragon Aevises should be your only foes) leave the area and return, and Myath should be standing in the middle of the chamber.
Myath’s level is in the low 40s and he possesses just over 50,000 HP and a relatively mediocre Attack Power. He makes up for this somewhat with a fine array of magicks (Berserk, Blizzaga, Firaga, Thundaga) and a few technicks (Fire Ball, Lunge). Furthermore, he gets a boost to his Attack Power and defense when low on HP, for what that’s worth. Unfortunately for him, he’s susceptible to Blind, Confuse, Silence, Sleep and Oil, of which, of course, Sleep is the most important. You know the drill by now, hit him with Sleep and Oil, then torch him with Firaga and/or Fira, preferably while equipped with a Burning Bow or Flame Staff. He’s weak to Holy and absorbs Dark. If you wish to give it a try, you can steal a Leo Gem from Myath.
Defeating Myath will earn you a Eternal Trophy .
Rageclaw
Rageclaw is a strange beast in many ways, starting from how it’s spawned to it battle capabilities. To spawn it you’ll need to head over to the Salikawood’s Piebald Path area, enter the zone, and wait for sixty seconds without killing any enemies, after which Rageclaw will show itself, appearing at another area transition.
While its base stats are fairly good, Rageclaw can become a much more dire threat by using Cannibalize to feed upon the lesser monsters in the area, gaining strength by increasing its level after every meal. If it does this too many times it can become very difficult for a mid-level party to defeat, at which point you might as well just move two zones away to despawn it, then try again. If you enter via the area transition in the south (which connects to the Grand Bower area) you should be able to wait out your time without much hassle in terms of enemies, and in this case Rageclaw should spawn near the western of the two northern area transitions (which connects to the Corridor of Ages area).
As for Rageclaw’s strength should he not Cannibalize any (or many, as the case may be) enemies… his level isn’t terribly impressive, ranging from the mid to high 30s, and he has just under 40,000 HP. The odd Cannibalize or two will put up around the strength of Terror Tyrant, which isn’t ideal, but it’s doable. Rageclaw prefers to rely on physical attacks, so don’t expect much in the way of dynamic offense, the sole strategy of this monster is to gain strength via Cannibalize and overwhelm you. Slightly complicating the matter is the fact that Rageclaw’s physical attacks can inflict Disable. Rageclaw is susceptible to Blind, Disease, Oil, Reverse, Silence and Slow, most of which are of dubious value, although Blind will slow him down a bit… as will, of course, Slow. He is weak to Water and absorbs Fire, making a pure elemental assault somewhat less viable against Rageclaw than it was against most other Trophy Rare Game.
Survive Rageclaw’s ravenous hunger and you’ll obtain proof of your valor in the form of a Sickle Trophy .
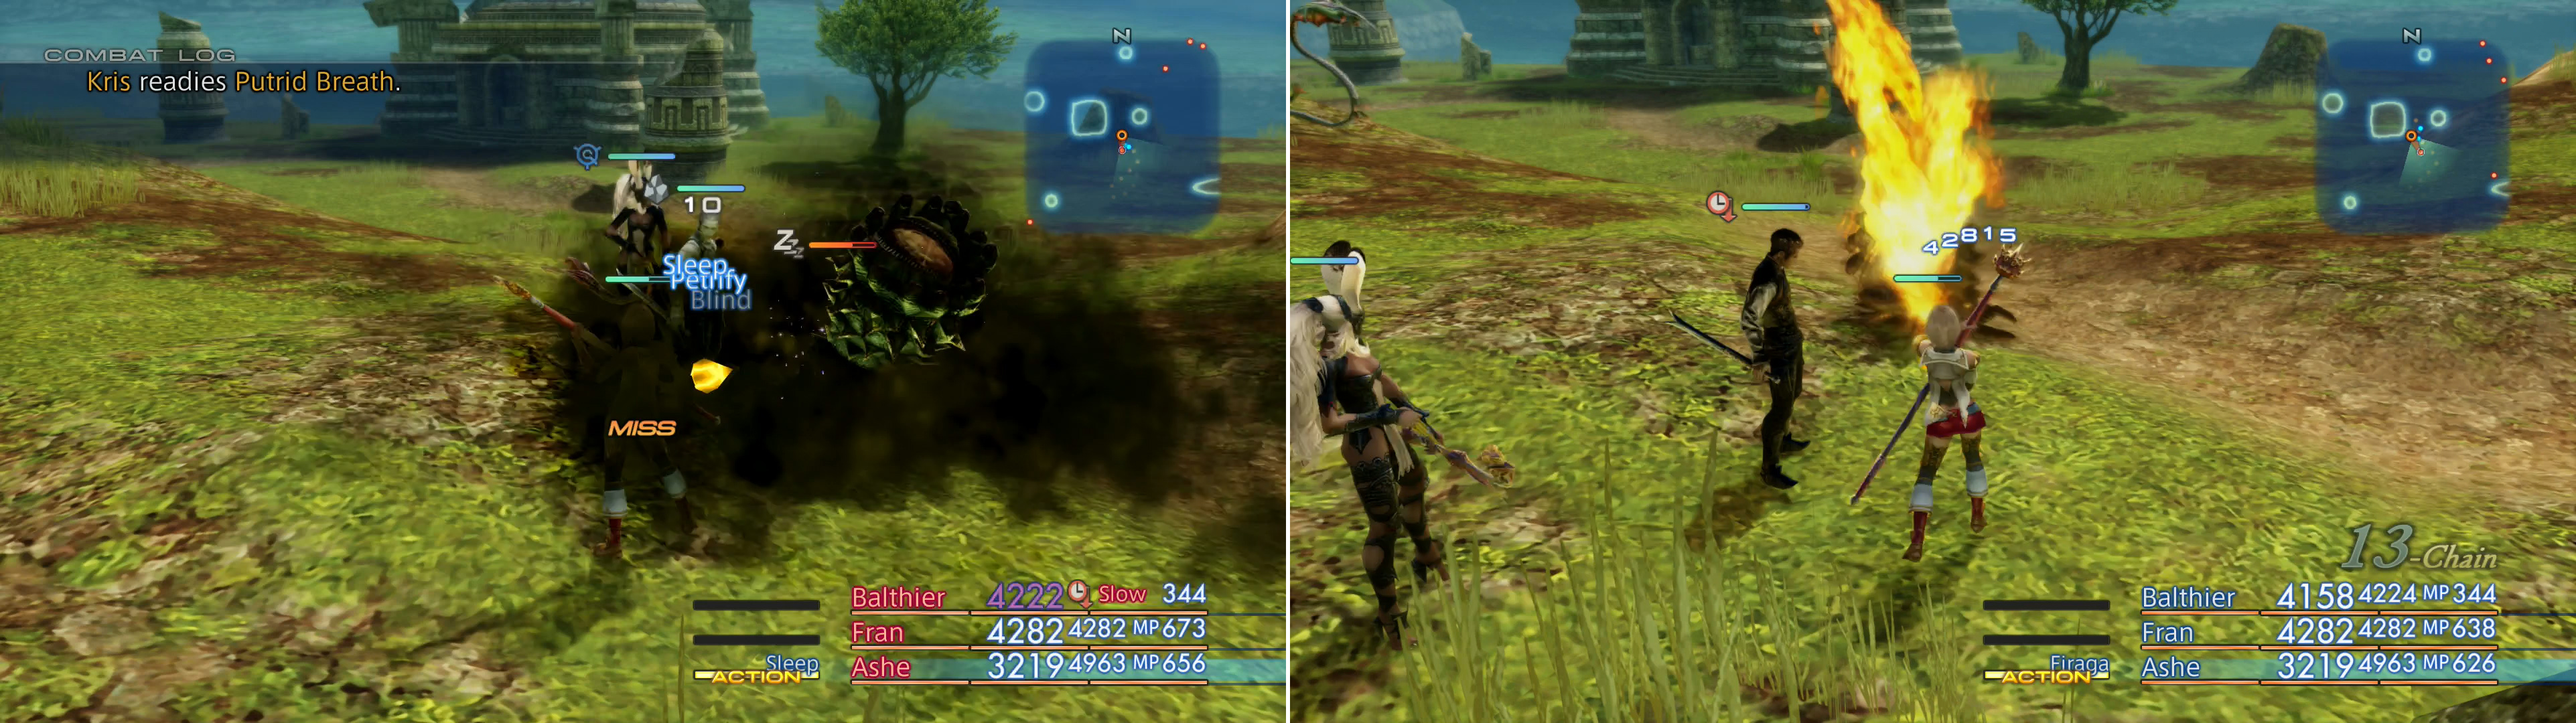
Beware Kris’s potent breath attacks (left) and respond with overwhelming magickal attacks of your own (right).
Kris
Kris spawns in The Highlands area of the Tchita Uplands, which is just east of the small area that houses the Gate Crystal - The Chosen Path. Kris has a chance of spawning every time you enter the area in one of two locations, either near the circular building just south of the area transition to The Chosen Path, or along the southeastern end of the level, near the building near the area transition to the Garden of Life’s Circle zone. Complicating matters somewhat is the fact that Kris looks nearly identical to Malboro Overkings, which roam the area in numbers. If you see a Malboro with a status-effect of some sort near its life bar (it always spawns with Protect and Haste active), it’s probably Kris.
Kris’s modest level (high 30s) belies some odd traits, namely its highly variable HP (topping off around 47,000) and relatively high Attack Power. Being a Malboro, however, you’ve more to fear from its technicks, including Bad Breath, Cloying Breath, Hero’s March, Lunge, Purify and Putrid Breath, and if that’s not enough annoying status effects, its physical attacks can inflict Confuse. Suffice to say, it’s another foe worth equipping a few Bowline Sashes for. If it uses Hero’s March, be sure to hit it with Dispel to remove its buffs.
While Kris will gladly afflict many status effects on you, the plant itself is also vulnerable to a few choice status effects, namely Sleep and Oil. While it’s weak to Wind, you’ll probably do more damage with a combination of Oil, a Fire-enhancing weapon (Burning Bow or Flame Staff) and Fira/Firaga. It absorbs Earth.
Wilting Kris will score you a Odiferous Trophy .
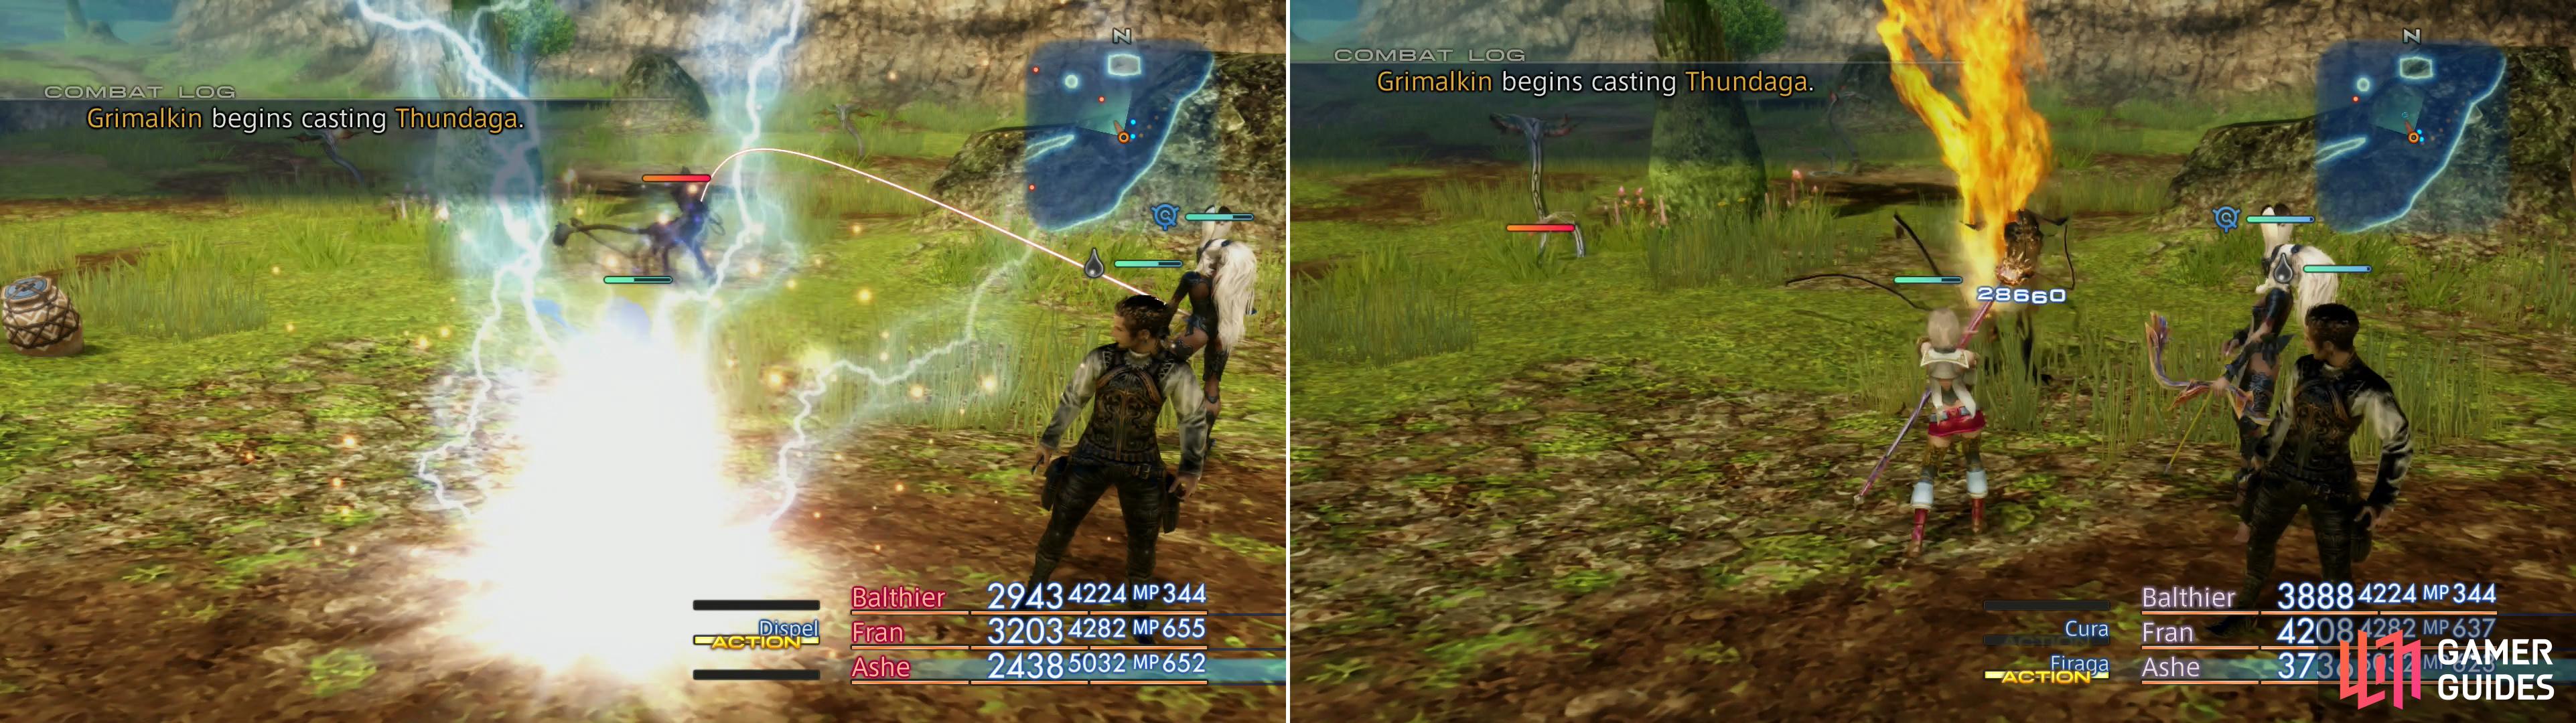
Grimalkin will challenge your mastery of magick with high-powered elemental spells of its own (left). Use elemental-boosting weapons and the Oil effect to prove your superiority (right).
Grimalkin
Another foe in the Tchita Uplands, Grimalkin spawns in the Uazcuff Hills area (the eastern-most area), having a chance to replace one of the Coeurls that normally spawn here. If it doesn’t appear, just zone out twice (heading east through The Shaded Path to the Cerobi Steppe is faster than going through The Lost Way or the Sundered Path to the west).
Like Kris, Grimalkin’s level is in the upper 30s and it possesses a measly 23,000 HP, with an Attack Power more or less on par with Rageclaw, albeit without the ability to power up via Cannibalize. Grimalkin, being a Coeurl, does have many of the annoying Coeurl technicks, such as Blaster, Hawk Glare, Hell Blaster, Rake and Stone Gaze. Esuna will serve you well during this fight, as will White Magick in general, since Grimalkin will certainly devastate at least one character with Hell Blaster (inflicts Blind, Disable, Immobilize, Petrify, Poison, Sap, Silence, Sleep and Slow) and does massive damage. Their magicks are thankfully limited to Thundaga.
Fortunately, Grimalkin is susceptible to Slow as well as Oil, and is weak to both Ice and Fire, while absorbing Lightning. The strategy, then, it clear - inflict Sleep, recover from Hell Blaster, if necessary, then either inflict Oil and smite the whiskered fiend with Fira/Firaga, or just use Blizzaga.
When felled, Grimalkin will leave behind a Whiskered Trophy .
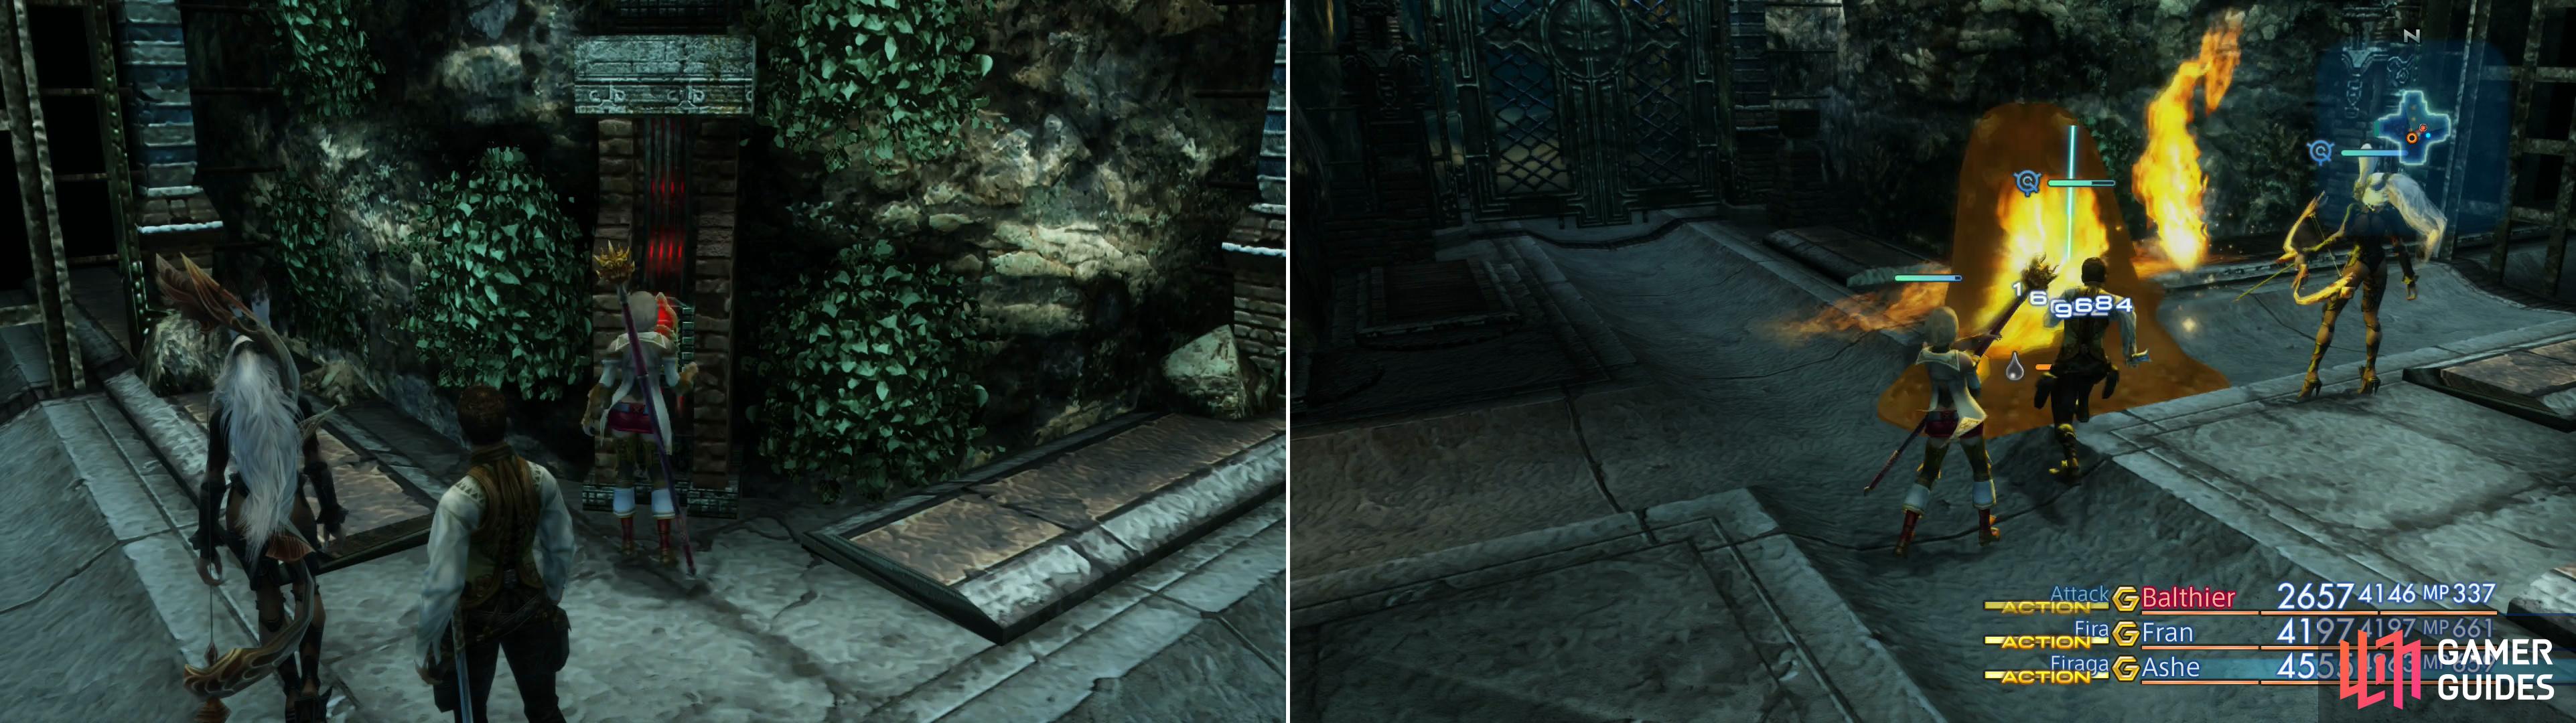
Anubys
Anubys is one of two Trophy Rare Game in the Sochen Cave Palace, and reaching it requires you to complete the waterfall puzzle (see the “Sochen Cave Palace” section for more information). Assuming you’ve solved it, simply make your way to the Falls of Time zone via one of the two western area transitions in the Mirror of the Soul area, then cross a bridge to the central island and take the central area transition on the southern end of the map to return to the Mirror of the Soul zone. Go through the Pilgrim’s Door (note that this area isn’t represented accurately on the mini-map, appearing as a tiny sliver) and enter the octagonal room beyond, where Anubys dwells, dropping down from the ceiling when you approach the center of the room.
In battle, Anubys is nothing special, having a level in the mid 30s, and just shy of 20,000 HP. Its normal attacks can cause Confuse, but otherwise its offense consists of Eerie Soundwave, Gnaw and Leech. It’s immune to Sleep, but it can be afflicted by Oil, if you fancy using Fire to take it down. It’s weak to Holy and absorbs Dark.
One Anubys is knocked out of the sky, you’ll be rewarded with a Ensanguined Trophy .
Murder four Wendigo (left) and Wendice will show up to participate in their demise (right).
Wendice
Wendice can be found in the halls just north of where you fought Anubys, in the center of the Destiny’s March area. To provoke Wendice into spawning, you’ll need to slay at least four Wendigos, first, which is easy enough to do just by running around the area.
Like the previous few Trophy Rare Game, Wendice has a level in the high 30s, and his 30,000 or so HP is superior to what Anubys offered, although its Attack Power is hardly more impressive. Wendice uses the Ice Break, Lunge, and Tri-Attack technicks in battle, so it’s not difficult from a attack standpoint, either, and inflicts no status effects with its physical attacks. Like Anubys, it’s immune to Sleep, but afflicted by Oil, and given its appearance, it should be no surprise that Wendice absorbs Ice damage. It’s also weak to Lightning, should you feel the need to exploit another elemental weakness… Not that you really need any exploits to deal with a foe that possesses such an unimpressive offense, mind you. You can steal a Gemini Gem from it, if you care to bother.
After smiting Wendice, you’ll claim the Frigid Trophy .
With that, you’re done hunting down Trophy Rare Game in past areas. You should have vanquished sixteen of the beasts, earning the same number of trophies, which will allow you to unlock a few items at the Outfitter, should you turn them in. The best goodies require more trophies, however, and more Trophy Rare Game will be covered as you explore and continue the story. On that note, next up is the “Cerobi Steppe” section, where you’ll find many of the items you could otherwise obtain via the Hunt Club… and a few more Trophy Rare Game lie there, as well.
No Comments