| Bestiary |
|---|
| Abaddon • Avenger (Trophy Rare Game) • Bune • Crusader • Dragon Lich • Fenrir (Boss) • Necrofiend • Reaver |
| Items In This Area |
|---|
| Agate Ring • Bamboo Arrows • Black Belt • Bowline Sash • Crown of Laurels (drop from Crusader) • Dragon Mail • Fuzzy Miter • Gil Toss • Gungir (drop from Bune) • Lead Bolts • Minerva Bustier • Muramasa • Muramasa (steal from Avenger) • Oil Bombs • Opal Ring • Quasimodo Boots • Rose Corsage • Rubber Suit (poach Abaddon) • Sash • Tourmaline Ring • Tula • Zeus Mace |
When you first arrive in Second Ascent, you will be in a familiar large, circular room. There will be some more altars here - Altar of Wealth, Altar of Steel, Altar of Magicks, Altar of Knowledge - but these aren’t the same as the ones in the First Ascent, as should be evidenced by their names. Before anything else, there is another Save Crystal located in the northwest, should you need it. Each of these altars corresponds to something of yours, like the Altar of Knowledge linking up with your mini-map in the upper right corner. It is here that you will have to make a choice as to what you will sacrifice, as you head into the next area.
Altar of Steel (northwest) makes it so you won’t be able to use the Attack command. Altar of Wealth (northeast) negates the use of your items. Altar of Knowledge (southeast) will block your use of the mini-map in the upper right corner of the screen. Lastly, the Altar of Magicks (southwest) will remove your ability to use any kind of magicks. Choosing one will unlock the door behind it, allowing you to progress further into the dungeon. Of the four, the least troublesome is the Altar of Knowledge, since it only blocks your mini-map. You can still use your full map by hitting the [Touchpad], as well as the overlay map accessible with the [L3] button. When you’re ready, touch the altar of your choice and go through the door it opens and up the stairs to continue.
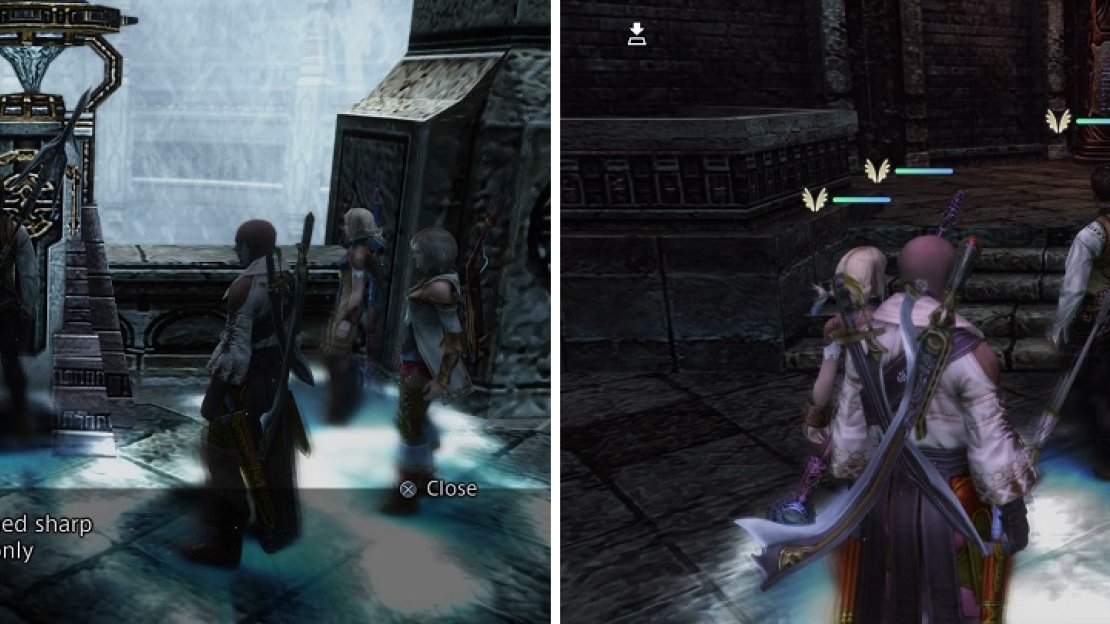
Each altar will take away one of your basic functions, like attacking (left). Even with the minimap gone, you can use other maps to easily bypass that sacrifice (right).
Station of Banishment
Depending on which sacrifice you made, you will enter this zone from one direction over clockwise. As an example, if you chose Altar of Knowledge, then you will enter this zone from the southwest (this guide will assume you took that option, since it’s the lesser of the four sacrifices). The floors in the Second Ascent all similar in nature, as they will be divided into four sections, sometimes with those areas connecting via paths in the north/south. For the first area - the Station of Banishment - your primary enemy will be the undead Crusaders in the four corners, while you will encounter Abaddons in the inner ring area.
Crusader :
Definitely one of the more challenging normal enemies in Second Ascent, due to their numbers. Their magicks include Blindga, Slowga and Darkra, plus the technicks they can use include Lunge, Smite of Rage and Tremor. You will find they drop a Blood-darkened Bone, Dark Crystal, Crown of Laurels and a Capricorn Gem. For steals, you can get a Blood-darkened Bone, X-Potion or a Capricorn Gem, and poaching them will get you nothing. They are weak to Holy, but absorb Dark.
Abaddon :
A stronger version of the toad enemy you’ve faced, Abaddons aren’t that much more of a threat. They have the typical Angelsong, which will grant them Regen, plus Gnaw and Blitz Tongue as physical attacks. Aqua Bubble is the only threat here, as it has a chance to inflict Sap on characters. They drop a Dark Crystal, Serum, Solid Horn or Aries Gem, while stealing will net you a Solid Horn, Teleport Stone or Aries Gem. Poaching will yield either a Solid Horn or Rubber Suit . They are weak to Holy, but absorb Dark.
This guide will assume you have chosen the Altar of Knowledge, so it will be starting from there on the map. From where you enter in the southwest, head west one room to possibly find a chest with a Fuzzy Miter inside. The stairs to reach the next area is to your west, but you’d have to go around to the south and west (only a few rooms) to get to it, plus you’d be forfeiting some loot. Back in the first room, go south twice and east once for another chest, which will contain an Opal Ring - this chest will not respawn once looted.
The quadrant in the southeast doesn’t have any treasures at all, so the next destination is going to be to the northwest section of the level. Make your way to the inner ring portion of the map, where you’ll be finding the Abaddon, as mentioned before, then enter the northwestern sector.
From the very first room there, go west two rooms to find a chest that will contain a Minerva Bustier (doesn’t respawn). Return to the first room, then go north and into the northern of the two rooms to your west for a chance at a Bowline Sash from the chest that can spawn there. Continue into the northeastern section of the map, either via the northern pathway or the circular one in the middle. From the stairs in that area, go north, east and north for a chance at a Rose Corsage . Now, go south two rooms to find another chest, this one containing some Quasimodo Boots (doesn’t respawn).
Once all that treasure is yours, it’s time to move on to the next floor. From the room with the Quasimodo Boots, head north, then east, then south to find a set of stairs leading to the next floor. Note that you may encounter a Reaver or Bune at the stairs to the next floor.
Reaver :
Similar to the Behemoth you’ve faced in Feywood, but they don’t have a few of their abilities. The only magick they know is Haste, so you don’t have to worry about offensive magicks. Their techicks are mostly the same, which are Ram, Smite of Rage and Tail Swipe; they also have Sandstorm, which is a lightning-elemental area of effect. They can drop a Wind Crystal, Beastlord Hide, Domaine Calvados or a Gemini Gem, while you can steal a Beastlord Hide, Serum or Gemini Gem. Poaching will yield either a Beastlord Hide or a Gemini Gem. They are weak to earth.
Bune :
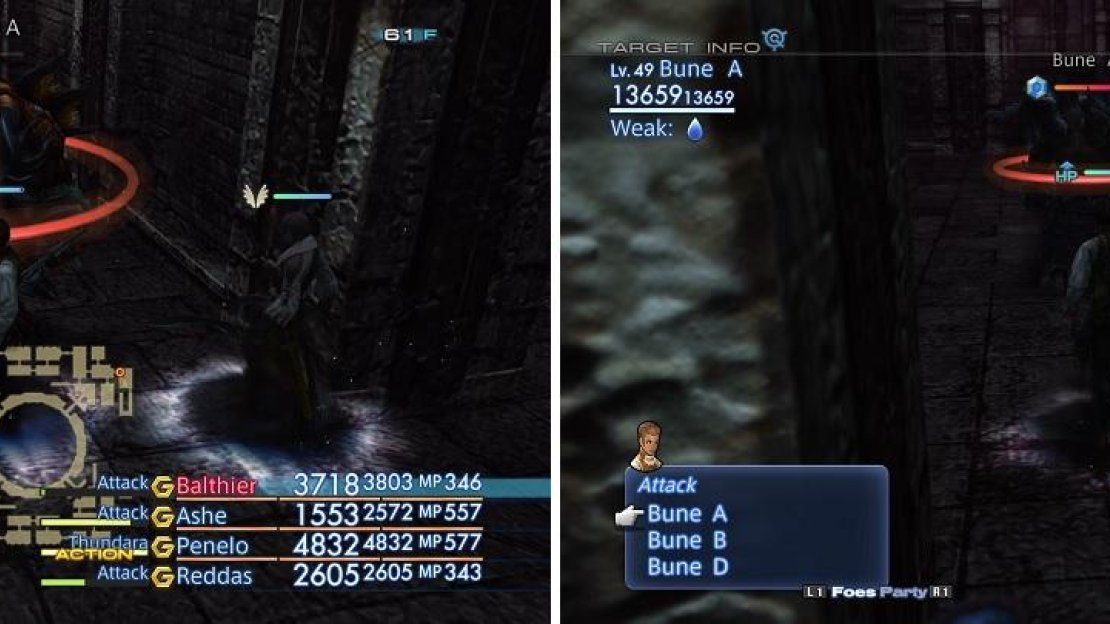
The slightly stronger version of the headless enemies you’ve fought in Sochen Cave Palace, with similar capabilities. They have the ability to cast Protect and Haste on themselves, plus they can use Darkra on your party. Their physical attacks include Lunge, Tri-Attack, Smite of Rage and Pulsar Wave (can inflict Disable). They can drop a Fire Crystal, Forbidden Flesh, Gungnir or a Gemini Gem. Stealing can get you a Gold Needle, Forbidden Flesh or Gemini Gem, and poaching will yield either a Forbidden Flesh or Damascus Steel, with the latter also being a Monograph (Knight) drop. They are weak to water, but absorb fire.
As you continue your ascent, the normal enemies you fight will only get stronger.
Station of Suffering
Depending on which set of stairs you took on the previous level, you could start in one of two areas, either the southwest corner of the map or in the northeast corner. The walkthrough above will have you going up the northeastern stairs, so it will follow from there. The layout of the floor is similar to the previous one, so you will understand the general gist of where you are at all times - four clusters of rooms in each corner (connected in the north and south, but not east and west) surrounding a central circular walkway. The stairs leading to the next floor will only be found in the southeast corner, though, so you won’t have to worry about two different exits on this floor. You’ll start encountering more Bunes and Reavers on this floor, as well as the usual Abaddons and Crusaders. You may also see a new enemy in the inner ring area, a Dragon Lich.
Dragon Lich:
This skeletal dragon can be a bit annoying, as it knows Fearga, which can drain the MP of your entire party. In addition to that, it can instantly kill a party member with Death, as well as with Crushing Fangs, with Death having a slightly higher chance of connecting than the latter. Other magicks it knows include Bio (can inflict Poison), Blindga, Dispelga, Darkra and Stop. Technicks it has are Fireball and Lunge, in addition to Crushing Fangs. It can drop a Dark Crystal, Hi-Potion, Charger Barding and Hastega Mote, while stealing will net you a Charger Barding, X-Potion, or Corpse Fly. Poaching will get you nothing, but its Monograph drop (Warmage) is the Corpse Fly loot item. It is weak to holy, but absorbs dark.
The only real noteworthy item that you can get from the Dragon Lich is the Corpse Fly, which is used in the Bazaar recipe for the best Pole weapon. This is the only normal enemy that you can get the item from, with a 6% chance to steal it and a 12% chance of getting it as a Monograph drop. Considering you need three of them, your best bet would be to hope for the drop. Note that you will run into these in an optional area later, but the Dragon Liches you encounter here are weaker.
From where you begin (in the northeastern corner), head west two rooms and there will be a long hallway to your west - this is the southern of the two hallways connecting the northeast corner and the northwestern one. There might be a chest in this hallway that can cough up an Agate Ring . Backtrack east to the previous chamber and turn north, then west into the northern of the two hallways, which is occupied by two Bune enemies. Kill them, and continue west twice to find a chamber containing the familiar green urn that will give you the map for the Second Ascent.
Return to the room to the east and turn south to find a door, which can only be opened from this side. Fortunately you’re on the right side of the door, eh? Go through the door to the south and continue south until you find some stairs leading southeast into the inner ring at the center of this zone, but don’t go there just yet. If you look at your map, there is a small hallway off to the northeast and east, which is where you want to go. This leads to a dead end and a chest that contains the Tula crossbow, the strongest one in the game (this chest doesn’t respawn).
That takes care of the northern half of the map, so it’s time to loot the southern half. From where you grabbed the Tula, go south to the central ring and move to the southwest corner of the map. As with the Tula chest, there is a chest at the dead end by the stairs, which can contain a Tourmaline Ring . Double back to the room just beyond the stairs, then head south to a small room and west to another one, where you’ll find a treasure with a Zeus Mac * inside (doesn’t respawn). Note that there is a Fool’s Facade on the southern wall of this room, but there will be nothing at all in the small hidden area.
From where you picked up the Zeus Mace, continue to the east, into the long hallway that will connect to the southeastern corner of the map. There’s nothing of value - or anything, for that matter - on this side, so head straight east and then north to find the door/stairwell that’ll lead to Station of Ascension.
Station of Ascension
The structure of this floor is very similar to Station of Suffering, with you starting in the southeast corner of the map. There’s nothing of note here, though, so find your way to the central ring, where you might find a chest just to the west of the stairs there. This is assuming you didn’t pick up Gil Toss in Draklor Laboratory, as that is what this chest would contain. If you did, you won’t even find a chest waiting for you.
Head on over to the southwestern section of the map, opting to check the dead end by the stairs (similar to the previous floor) for a chance at a chest with a Black Belt inside of it. From the room just beyond the stairs, go west into the big room and then south to find a guaranteed chest with a Dragon Mail . There is one new enemy you can find here, as well as an old one. The Zombie Warlock can sometimes be found popping out of the ground, and it’s the exact same (abilities and drops) as if you fought it in Sochen Cave Palace - the new enemy is the Necrofiend.
Necrofiend :
The Necrofiend is your typical wraith-like enemy, meaning it can teleport around, so you might be whiffing some attacks when that happens. Its worst skill is Curse, which can inflict Disease on multiple characters, so you should have a gambit to toss Remedies (Ally: status - Disease -> Remedy) if you have a character that has access to Remedy Lore 3. Other magicks include Blizzaga, Darkra, Firaga and Thundaga. Its technicks include Hawk Glare (Immobilize), Maser Eye and Phantasmal Gaze (Confuse). You can get a Sky Jewel, Dark Crystal, Capricorn Gem or Bubble Mote as drops, while stealing will get you a Sky Jewel, Hi-Potion, or Lifewick. There are no poachables, but it can drop a Lifewick for its Monograph (Warmage) drop.
The only worthwhile loot from the Necrofiend is the Lifewick, which is used in a single Bazaar recipe - one of the best one-handed swords. You need three of these for that recipe, so your best chances are with the Monograph drop, which is a whopping 18% - this is better than trying to chance the 6% steal rate.
That is all you will find in the southern half of the map, so return to the central ring and make your way to the northeastern sector. The single room to the east of the stairs might have a chest that can contain Oil Bombs , while the dead end narrow hallway will house a treasure with a Sash . Use the hallways in the north to get to the northwestern corner, where you won’t really find much. There is a chest in the dead end by the entryway (by the central ring), which might net you some Bamboo Arrows , plus you might find a Trophy Rare Game just before the stairs leading up to the next area, named Avenger. Of course, if you haven’t started the Trophy Rare Game sidequest yet, then you won’t find it here. The stairs will be right there to bring you to the next floor.
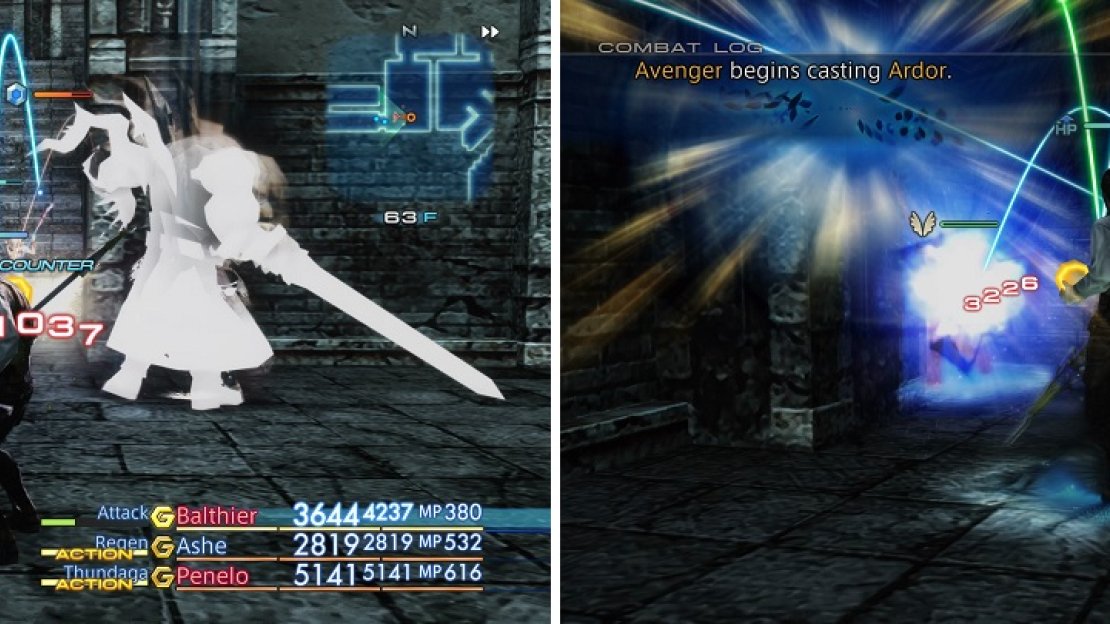
Avenger is a powerful Trophy Rare Game, with powerful physical attacks (left) and magicks (right).
Avenger:
Avenger is quite a powerful Trophy Rare Game, with access to the Renew, Hastega and Protectga magicks. One of the more dangerous skills it has is Ardor, which can hit multiple characters for fire damage. Other than that, it has the same technicks that the Bune does (Lunge, Smite of Rage, and Pulsar Wave), although Rage is a new physical attack you may not have seen yet. It is definitely one of the tougher Rare Games out there, with a whopping 100K+ health and an attack power that easily outmatches anything fought in Pharos, including the main story bosses. It might be best to come back later, should you not be able to vanquish it at this time. As a Trophy Rare Game, it will always drop its designated trophy (Vile Trophy) and you can steal a Muramasa from it. Avenger is weak to water, but absorbs fire.
Reach of the Damned
There’s nothing on this floor, save a Save Crystal, so use that to replenish your HP/MP and save, then look for the stairs in the southwest corner to reach The Bounds of Truth. Right before the door that leads to the obvious boss room, you will find two chests, one with a Hastega Mote (south) and another with a Muramasa (north). Enter the room to fight your next boss.
Boss - Fenrir
This fight all depends on what you sealed at the beginning of the Second Ascent, although the smartest choice was arguably sacrificing the mini-map by using the Altar of Knowledge. Fenrir is weak to Earth, but absorbs Wind and is immune to all other elements. It can counter your attacks and has increased evasion, plus Fenrir will gain instant physical attacks when it gets low on health. The physical attacks can be boosted with Bravery, so you might want to set up a gambit to use Dispel whenever Bravery is casted.
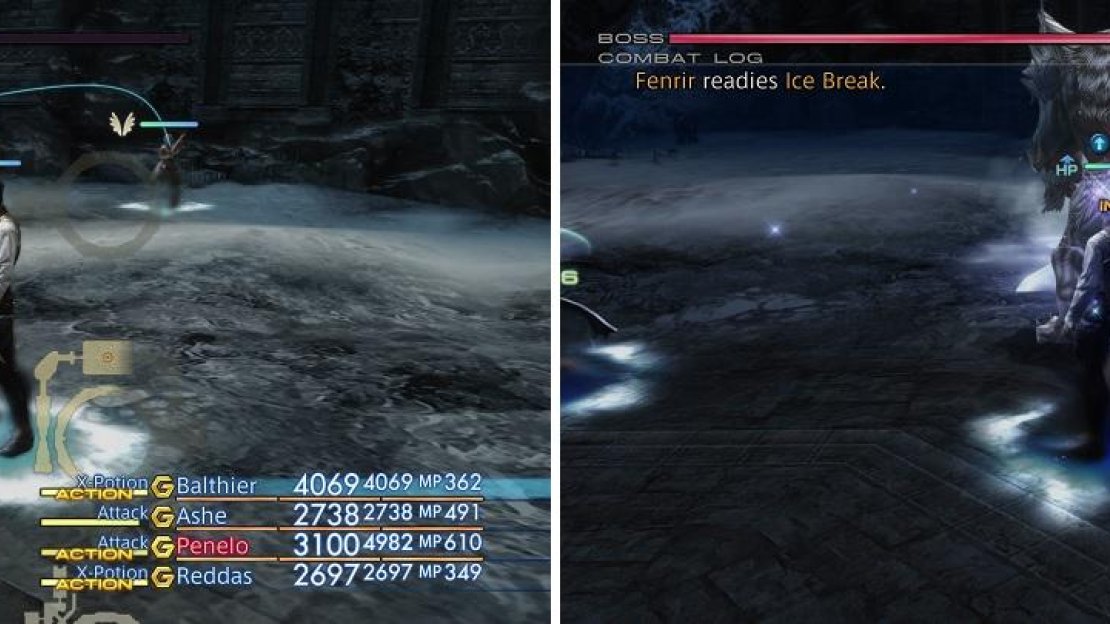
Outside of that, Fenrir can use Wail, which has a chance to inflict Silence or Blind. There’s also the standard physical attacks, such as Ram and Smite of Rage, as well as Ice Break for an area of effect ice attack. A good idea might be to use a Bacchus’ Wine on Reddas, but he also has access to Arise, should the situation need it, so stick with ordinary Reddas. If you have someone who can’t use magicks or anything, then you could always bestow Berserk upon them to pile on the damage. Make sure you get rid of the Silence or Blind and you shouldn’t have too much trouble with this battle. You can steal a Beastlord Hide, Beastlord Horn or Behemoth Steak from Fenrir.
It can be expect that Fenrir hits hard physically (left), but he also has access to Ice Break for elemental damage (right).
| Fenrir | . |
|---|---|
| Level | 49 |
| Weaknesses | Earth |
| Resistances | Wind (Absorbs), Dark, Fire, Holy, Ice, Lightning, Water (Immune) |
| Immunities | Blind, Confuse, Disable, Disease, Doom, Immobilize, Petrify, Poison, Sap, Silence, Slow, Stop |
| Safety | Yes |
| Drop | N/A |
| Steal | Beastlord Hide (55%), Beastlord Horn (10%), Behemoth Steak (3%) |
After the battle is over, exit the boss’ room, keeping in mind the Undin Entite might be waiting for you right outside, like on the First Ascent. Search the circular walkway for the altar that you used at the beginning of the Second Ascent and interact with it to get back whatever you sacrificed. Doing this will also cause an elevator to appear, preteniously named the “Dias of Ascension”. Ride it up to the next floor (67F) where you will find a Save Crystal up there, as well as another Way Stone that will bring you to the Third Ascent.


No Comments