Information and walkthrough for the Ruin-Strewn Precipice in Elden Ring, including details about how to defeat the Magma Wyrm Makar, how to reach the Atlas Plateau, and how to obtain the Ash of War: Barbaric Roar, the Serpent-God’s Curved Sword, the Magma Wyrm’s Scalesword and a Dragon Heart.
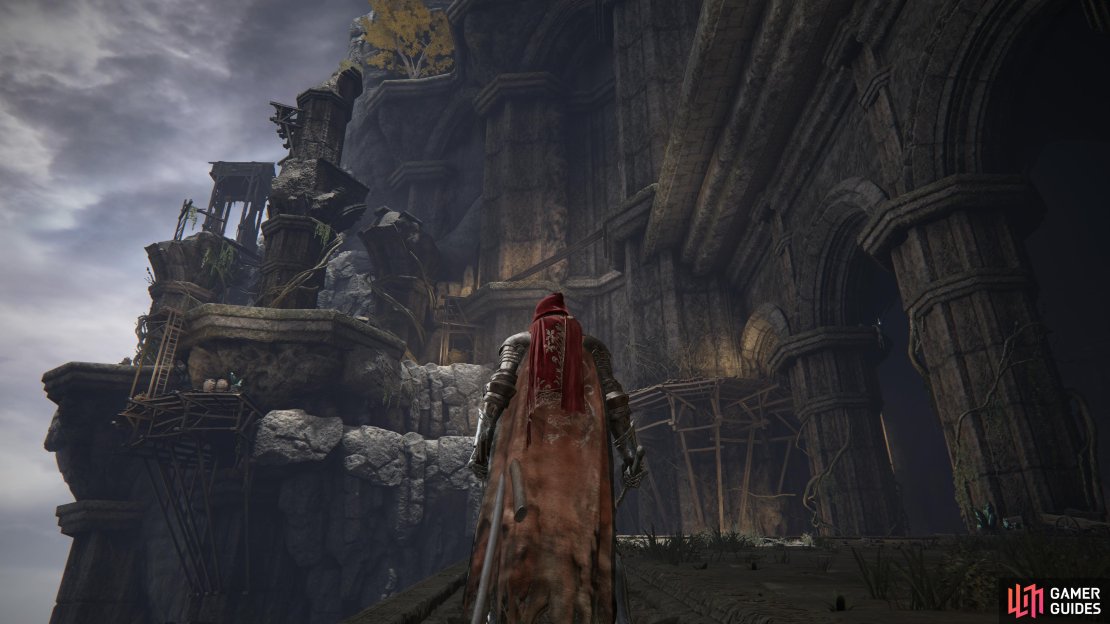
The Ruin-Strewn Precipice, halfway up the ascent.
How to Find the Ruin-Strewn Precipice in Liurnia of the Lakes, Elden Ring
The Ruin-Strewn Precipice can be found along the northeastern end of Liurnia. It can be found just northwest of the Grand Lift of Dectus, which is fitting, as going through the Ruin-Strewn Precipice is the only other way to ascend to the Atlas Plateau besides using the aforementioned lift.
To reach this location you’ll have to go through the shallow lake that sprawls across most of Liurnia, working your way to the lake’s northern end until you’re along the cliffs upon which Caria Manor is perched. Find a ravine running northeast and ride up it until you reach the end, where you should find the Ravine-Veiled Village Site of Grace. From here you’ll need to climb some ladders and go through some mines to reach the lift that’ll take you up to the Ruin-Strewn Precipice Site of Grace.
Best Loot in the Ruin-Strewn Precipice
| Item | Location |
|---|---|
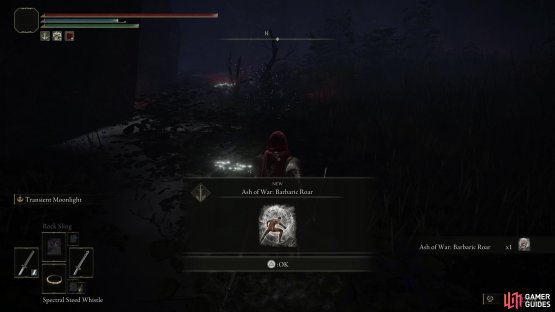
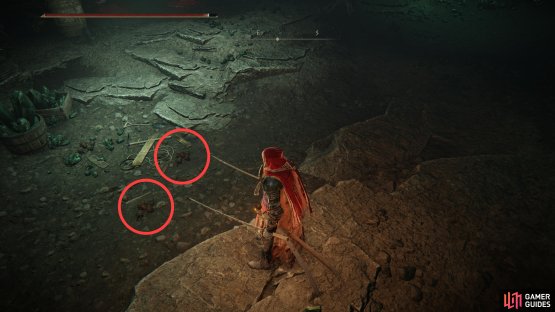
| Ash of War: Barbaric Roar | Search the rocks north of the shack near the Ravine-Veiled Village Site of Grace for a scarab, which will drop this item if defeated. |
| Dragon Heart | Defeat Magma Wyrm Makar. |
| Magma Wyrm’s Scalesword | Defeat Magma Wyrm Makar. |
| Serpent-God’s Curved Sword | From the lift leading up to Magma Wyrm Makar, head up a ladder to the north, then drop down onto a sloped surface occupied by a Giant Land Octopus. Kill it and loot a corpse behind it. |
Enemies in the Ruin-Strewn Precipice
| Enemies | Runes | Drops | Notes |
|---|---|---|---|
| Giant Bat |  172 172 |
Golden Rune | - |
| Giant Land Octopus |  707 707 |
Land Octopus Ovary, Octopus Head, Strip of White Flesh | - |
| Giant Poison Pod |  367 367 |
- | - |
| Land Octopus |  25-52 25-52 |
Land Octopus Ovary, Octopus Head, Strip of White Flesh | - |
| Magma Wyrm Makar BOSS) |  24000 24000 |
Dragon Heart, Magma Wyrm’s Scalesword | Optional Boss. |
| Miner |  275 275 |
Explosive Stone, Pickaxe, Smithing Stone (4) | - |
| Singing Bat |  261 261 |
Golden Rune | - |
| Vulgar Militiamen |  177-213 177-213 |
Vulgar Militia Armor, Vulgar Militia Gauntlets, Vulgar Militia Greaves, Vulgar Militia Helm, Vulgar Militia Saw, Vulgar Militia Shotel | - |
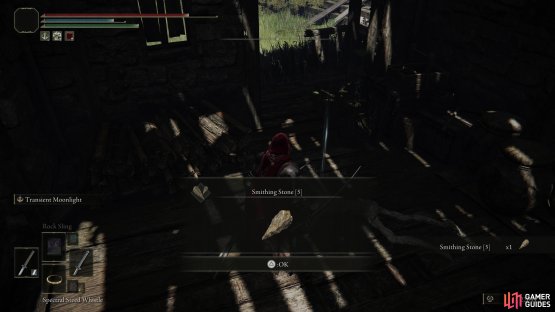
(1 of 2) Search an abandoned shack to find a Smithing Stone (5),
Search an abandoned shack to find a Smithing Stone (5), (left), then kill a scarab along the nearby cliffs to obtain the Ash of War: Barbaric Stomp. (right)
How to Complete the Ruin-Strewn Precipice
To complete the Ruin-Strewn Precipice, you’ll first have to reach it, which you can do by climbing some ladders found on some wooden platforms erected alongside the cliff at the end of the ravine. Before you do so, however, search inside a shack to find a Smithing Stone (5), then search among the jagged rocks near the waterfall north of the shack to find a scarb, which will yield the Ash of War: Barbaric Roar if you kill it. Be wary of the Giant Bats lurking around, though.
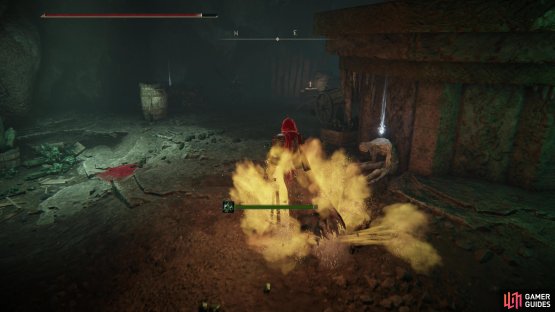
Climb the ladders until you reach the entrance to a mine. Head inside and climb a ladder (the mineral deposits here and the Miners who mine them can be looted for Smithing Stones (4)), then continue through a passage into a cavern that appears empty at first glance. There are, in fact, several Vulgar Militiamen lurking around, waiting for you to get ensnared by their traps. Kill one to the left, then be wary of an unassuming depression in the center of the chamber, as it’s filled with piles of spiked metal balls which will release poison gas if you step on them, inflicting massive poison buildup. Triggering such a trap will also provoke the Vulgar Militiamen.
(1 of 2) Be wary of poison traps laid by Vulgar Militiamen in the mines.
Be wary of poison traps laid by Vulgar Militiamen in the mines. (left), If you step on them they’ll inflict massive poison buildup. (right)
If you want to avoid the traps, just hug the wall to the right and enter a side chamber to the south, where you’ll find a lift. You’ll likely still have to kill the Vulgar Militiamen (including one hiding behind some crates near the lift), but aside from some smoke bombs they’re not too much trouble. If you search the chamber thoroughly you’ll be able to plunder some Smithing Stones (3) and Smithing Stones (4).
Ride the lift and follow the linear passageway ahead, killing any Miners that get in your way. Eventually you’ll find a side chamber to the southwest, some stairs to the northeast, and a tunnel continuing west.
If you explore the side chamber you’ll be ambushed by two Vulgar Militiamen hiding behind a wooden wall, and further on are some more poison gas traps. Your reward for this hassle? You can loot a corpse for some Lightning Grease.
If you head upstairs you’ll reach a makeshift church, where two more Vulgar Militiamen wait in ambush, as well as two Miners who are sitting out in the open. You can loot a corpse near an altar to obtain a Rune Arc, then search near a pillar northwest of the stairs to find a Somber Smithing Stone (4) and a Smithing Stone (4).
Once you have explored those side areas, continue down the aforementioned western tunnel where you’ll find an explosive scarab. Kill it and dodge the ensuing explosion (or not) to obtain another Somber Smithing Stone (4). Continue outside to find the Ruin-Strewn Precipice Site of Grace.
When you’re rested, ride a lift to the north, then ascend some wooden stairs, being wary of Giant Bats as you go. These flying rodents will be your main opposition as you make your way north. Kill everything in your path until you find a ladder leading up, but before you climb up this ladder, turn south to find another ladder leading down the nearby cliff face. Descend it to find a Miner working away - kill him and continue along the wooden walkway until you reach the end, where you’ll find a Somber Smithing Stone (4).
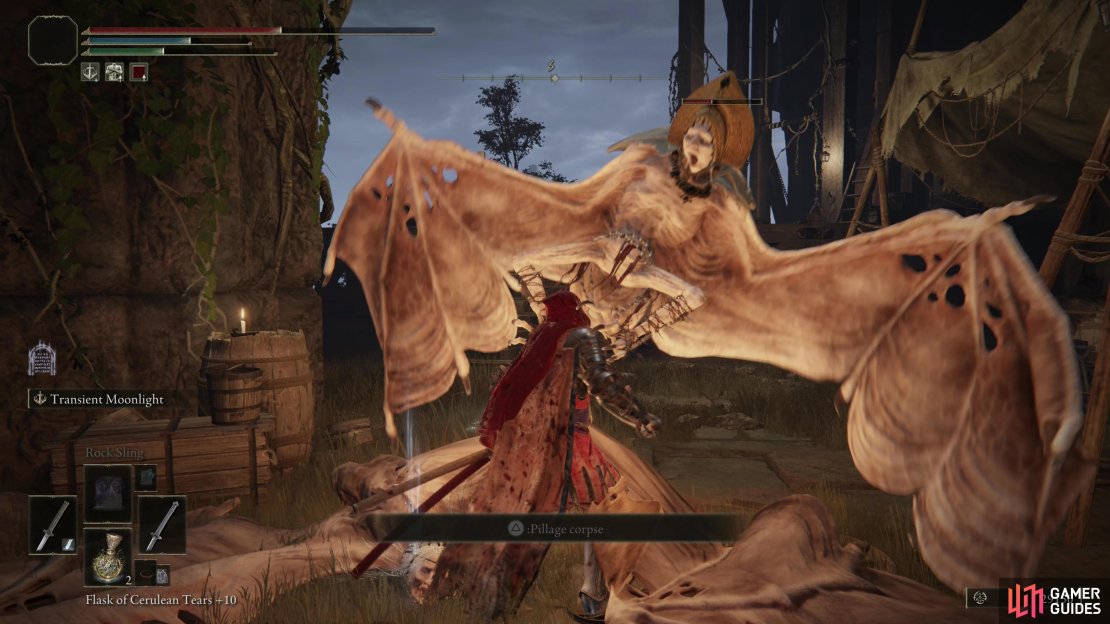
Be wary of Singing Bats - they’re far more dangerous than Giant Bats, in no small part due to their painful grapple attack.
Climb back up the ladder, then climb up the other ladder you ignored previously. Make your way west under some arches, kill some Giant Bats, then turn southwest and head onto a platform where a Singing Bat perches. The Singing Bat is more powerful than the Giant Bats you’ve been fighting, can inflict poison buildup, can cast the Glintstone Pebble sorcery and shoot out an array of slow-moving skulls. Worst of all, they have a very potent grapple attack.
Climb the ladder the Singing Bat was guarding, kill some more Giant Bats and Land Octopus enemies as you work your way to another ladder. Climb it and note that you can head west to find a ladder, or southwest to find a platform guarded by more Land Octopus enemies and two more Singing Bats.
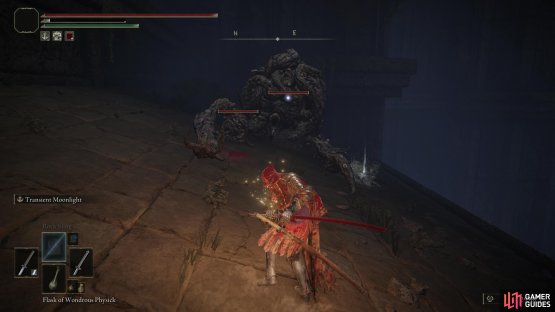
(1 of 2) Defeat a Land Octopus,
Defeat a Land Octopus, (left), and claim the Serpent God’s Curved Sword. (right)
If you go west and climb the ladder, make your way north across some planks, then drop down onto a sloped surface. Kill some small Land Octopus enemies and a Giant Land Octopus, then loot the corpse they were guarding to obtain the Serpent-God’s Curved Sword. Return back to the platform where the two Singing Bats are perched, kill them, then drop behind it (south) to find a corpse you can loot for a Lost Ash of War.
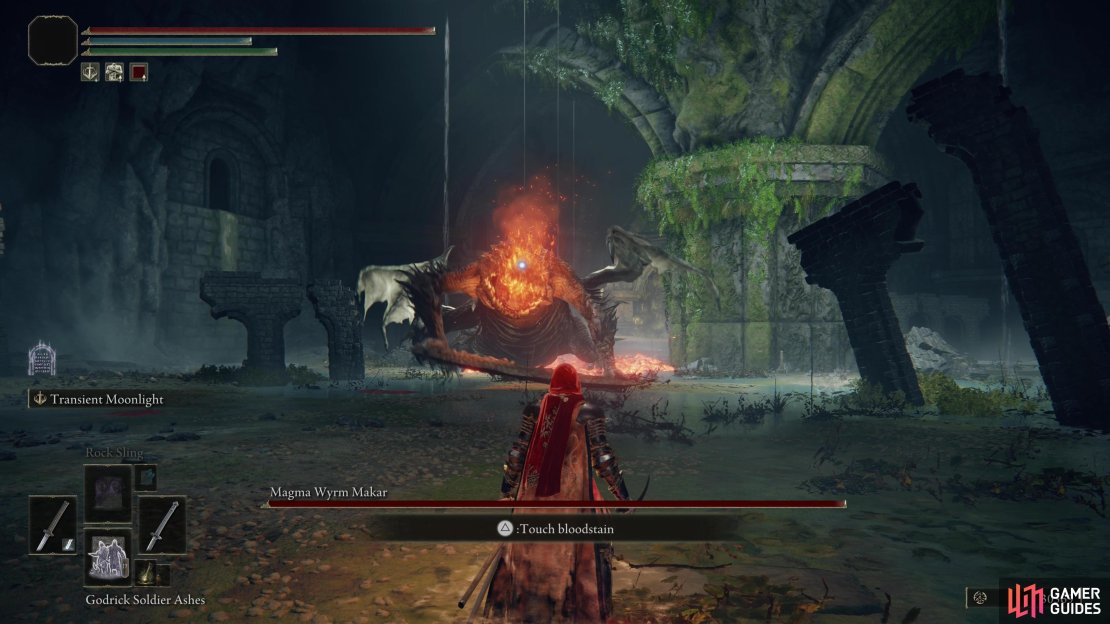
With that done, all you have to do now is ride up one more lift along the platform guarded by the two Singing Bats to reach the Ruin-Strewn Precipice Overlook Site of Grace, a nice checkpoint considering what lies ahead. Continue into a passage and you’ll reach the large chamber wherein Magma Wyrm Makar dwells.
Magma Wyrm Makar challenges the Tarnished to battle.
Magma Wyrm Makar starts out fighting like any other Magma Wyrm you may have encountered, spewing magma (which persists for a while on the ground, damaging you if you come into contact with it) and performing awkward attacks with its massive sword. Aside from its Magma Charge attack it’s generally somewhat lethargic, and if you can dodge its attacks you should have time to get in a few hits, especially if you can reach its flank.
Unlike lesser Magma Wyrms, however, Magma Wyrm Makar will stand up and change its attacks when reduced to 60% of its HP, generally making better use of its sword by performing longer ranged attacks that combo better, albeit at the cost of less dynamic magma attacks. While bipedal, Magma Wyrm Makar is also somewhat more mobile, and generally a bit more difficult to safely land easy hits on in melee.
In both phases, Magma Wyrm Makar’s lethargy makes him fairly easy to deal with if you’re willing to use ranged attacks or spells. His wide AoEs and persistent magma, however, makes summons less reliable. He’s highly resistant to fire, fittingly enough, and moderately resistant to magic, lightning, holy, and physical (slash) damage, while being receptive to both thrust and strike damage.
(1 of 2) Defeat Magma Wyrm Makar to obtain the Magma Wyrm’s Scalesword,
Defeat Magma Wyrm Makar to obtain the Magma Wyrm’s Scalesword, (left), as well as a Dragon Heart. (right)
Defeat him and he’ll drop the Magma Wyrm’s Scalesword and the obligatory Dragon Heart, More importantly, however, you’ll be able to use the lift he guarded to reach the Atlas Plateau. You can also claim the Magma Wyrm Site of Grace which will appear in his chamber.






No Comments