
On this page you can find all the details needed to defeat Hermes, the last boss in the Level 87 Dungeon, Ktisis Hyperboreia in Final Fantasy XIV Endwalker (FFXIV). Details on all the mechanics along with how to tank and heal.
Hermes is the last boss of Ktisis Hyperboreia
Mechanics
Trismegistos
Trismegistos is a room-wide AoE attack. Healers may want to ready a party regen heal like Medica II in preparation for this. Note: After the first time Hermes uses this attack, the edge of the arena will be covered with an AoE that gives you the damage over time Windburn debuff.
Trismegistos is a raid-wide AoE
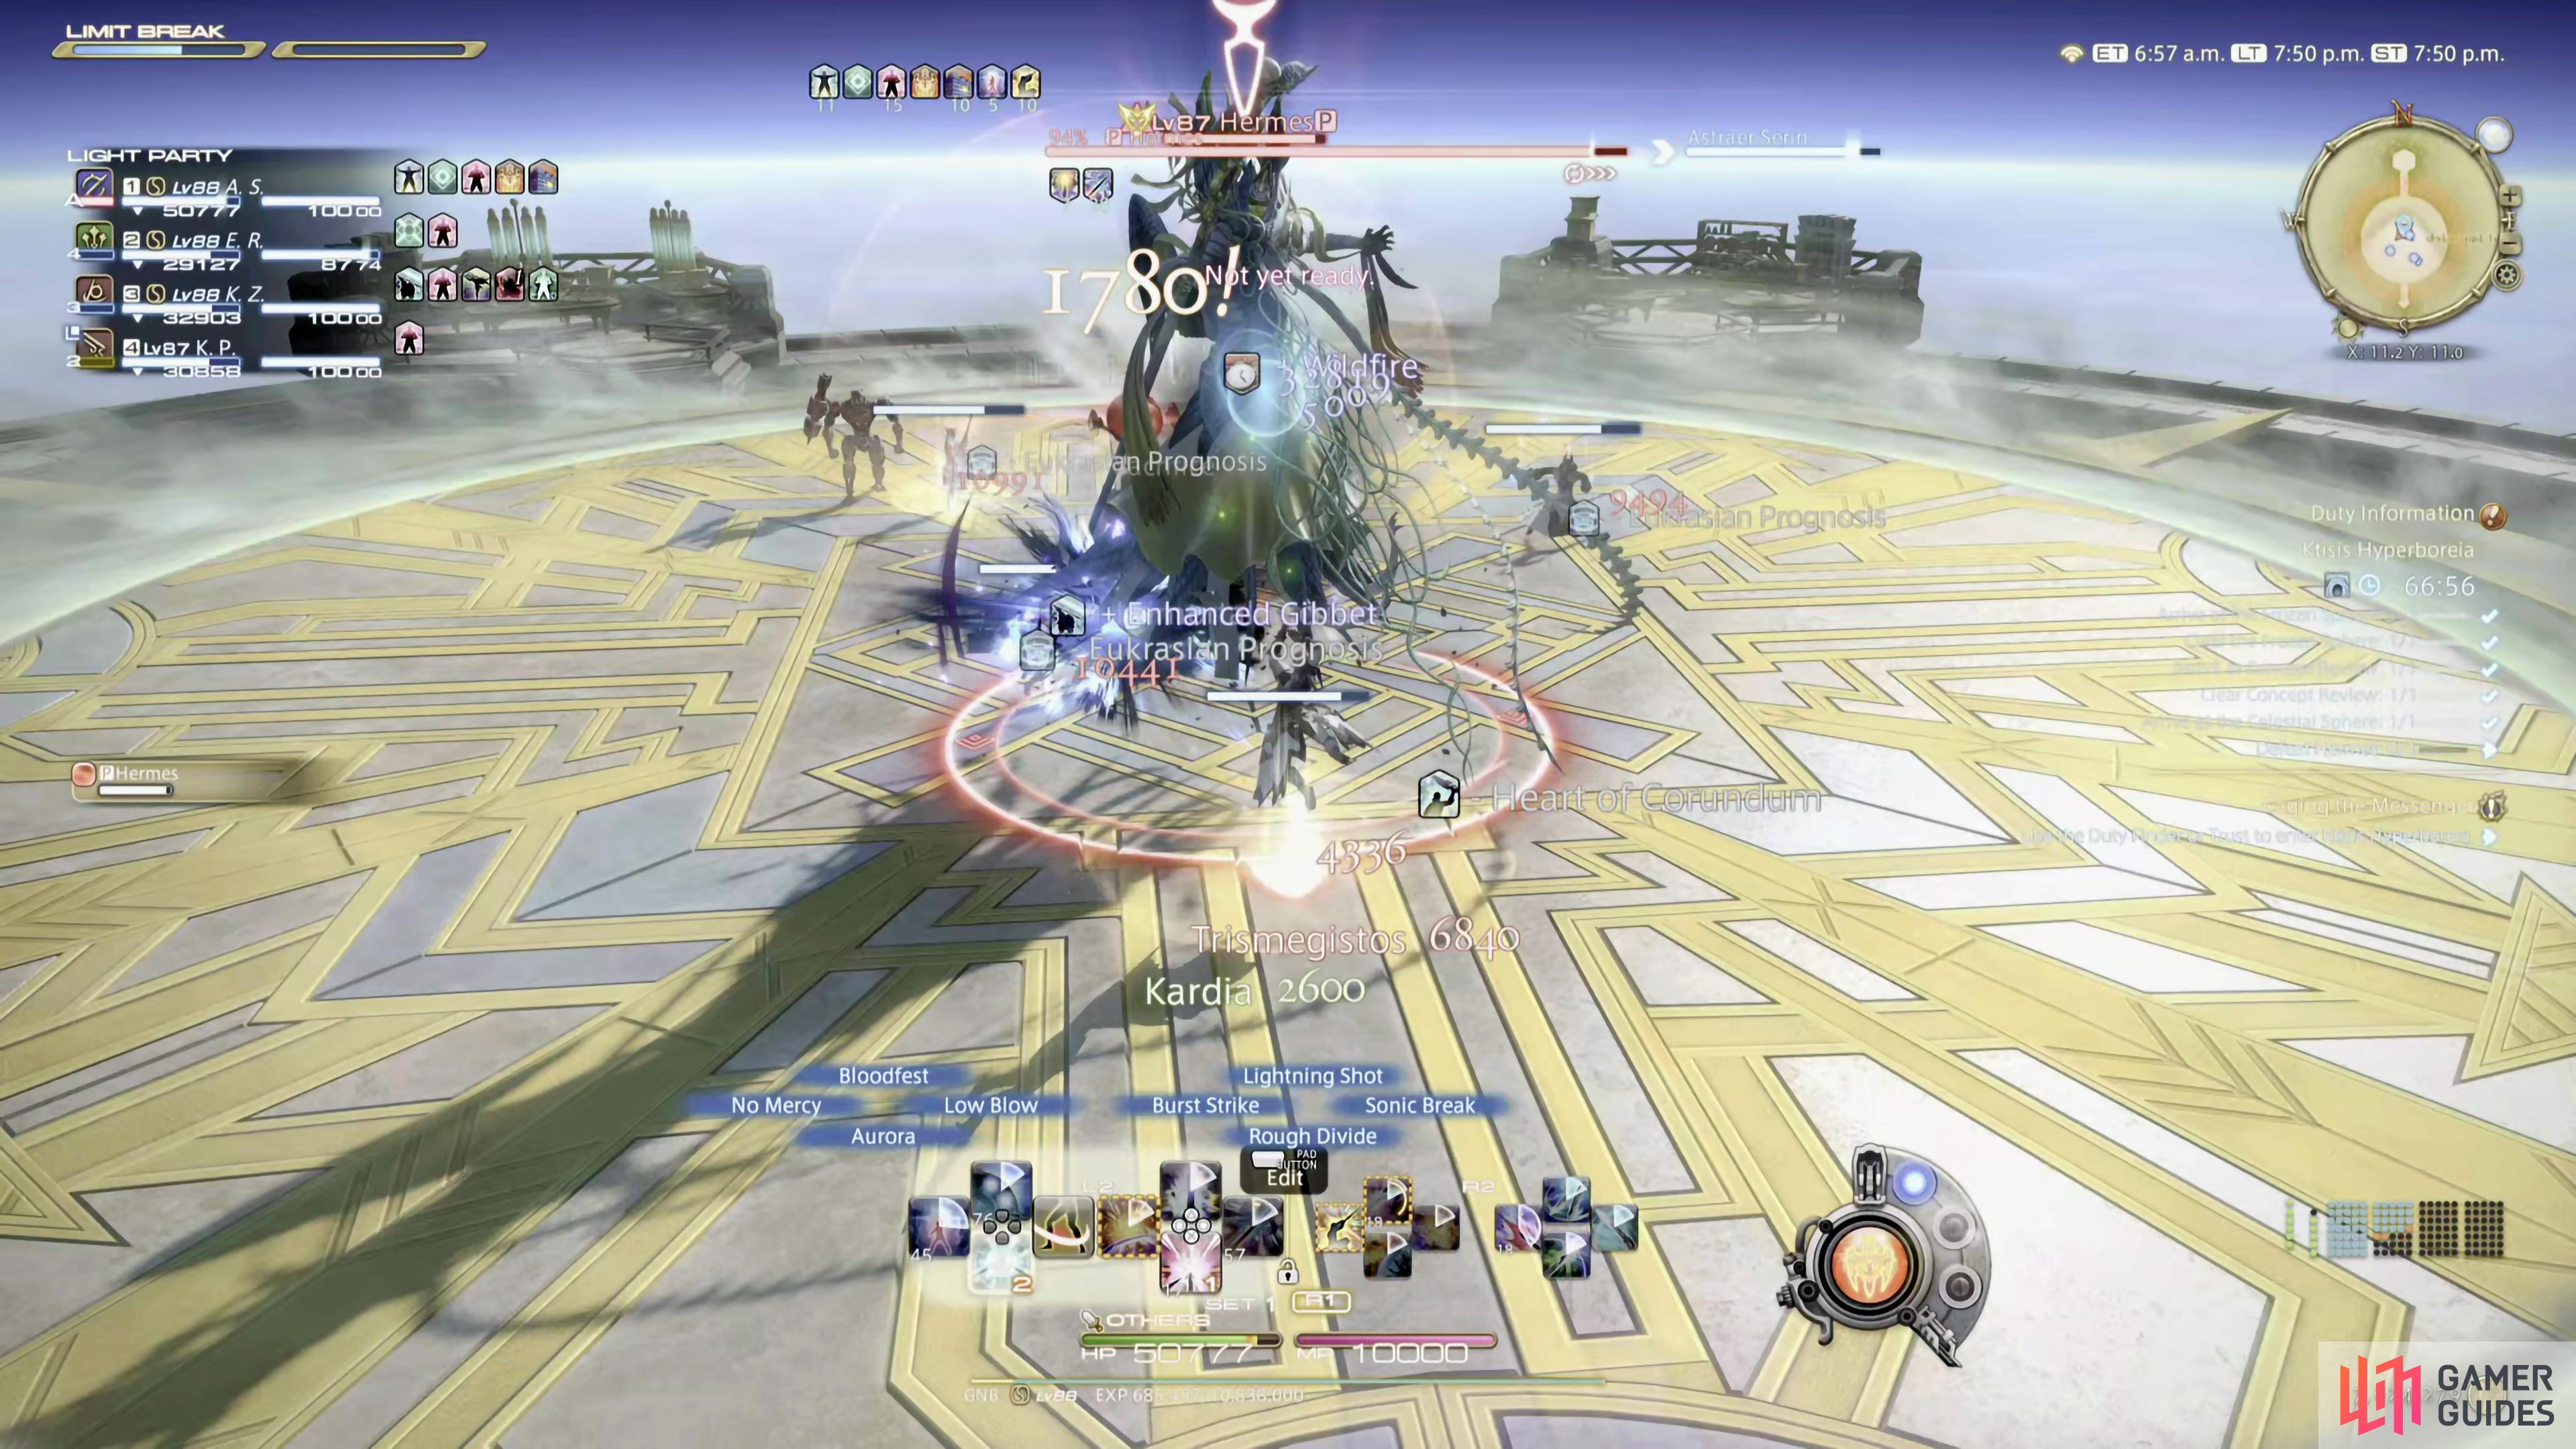
It’ll add a Windburn effect around the arena the first time that Hermes casts it.
True Tornado
This attack is a tank buster. If you’re the tank, make sure you have a defensive cooldown available for it. As a healer, make sure the tank has a healthy level of HP. If Hermes uses this attack after using Double. A small AoE will appear under the tank’s feet which can be dodged.
Double
Hermes will Augment his next spell cast.
Quadruple
Hermes will Augment his next two spells cast.
True Aero:
All party members will be targeted with an unavoidable line AoE. Spead around the arena so you don’t overlap the AoE lines. If Hermes has cast Double before this, another avoidable line AoE will appear after the original has disappeared. Step to either side to avoid it.
True Aero II
Hermes will target you with a purple/pink AoE circle which follows you around. Spread out to avoid overlapping the circles, thus dealing more damage. If Hermes has cast Quadruple before this attack, another AoE will go off straight after it, but this can be avoided by running out of the circle.
True Bravery
Hermes will receive a 20-second damage buff. This can be interrupted.
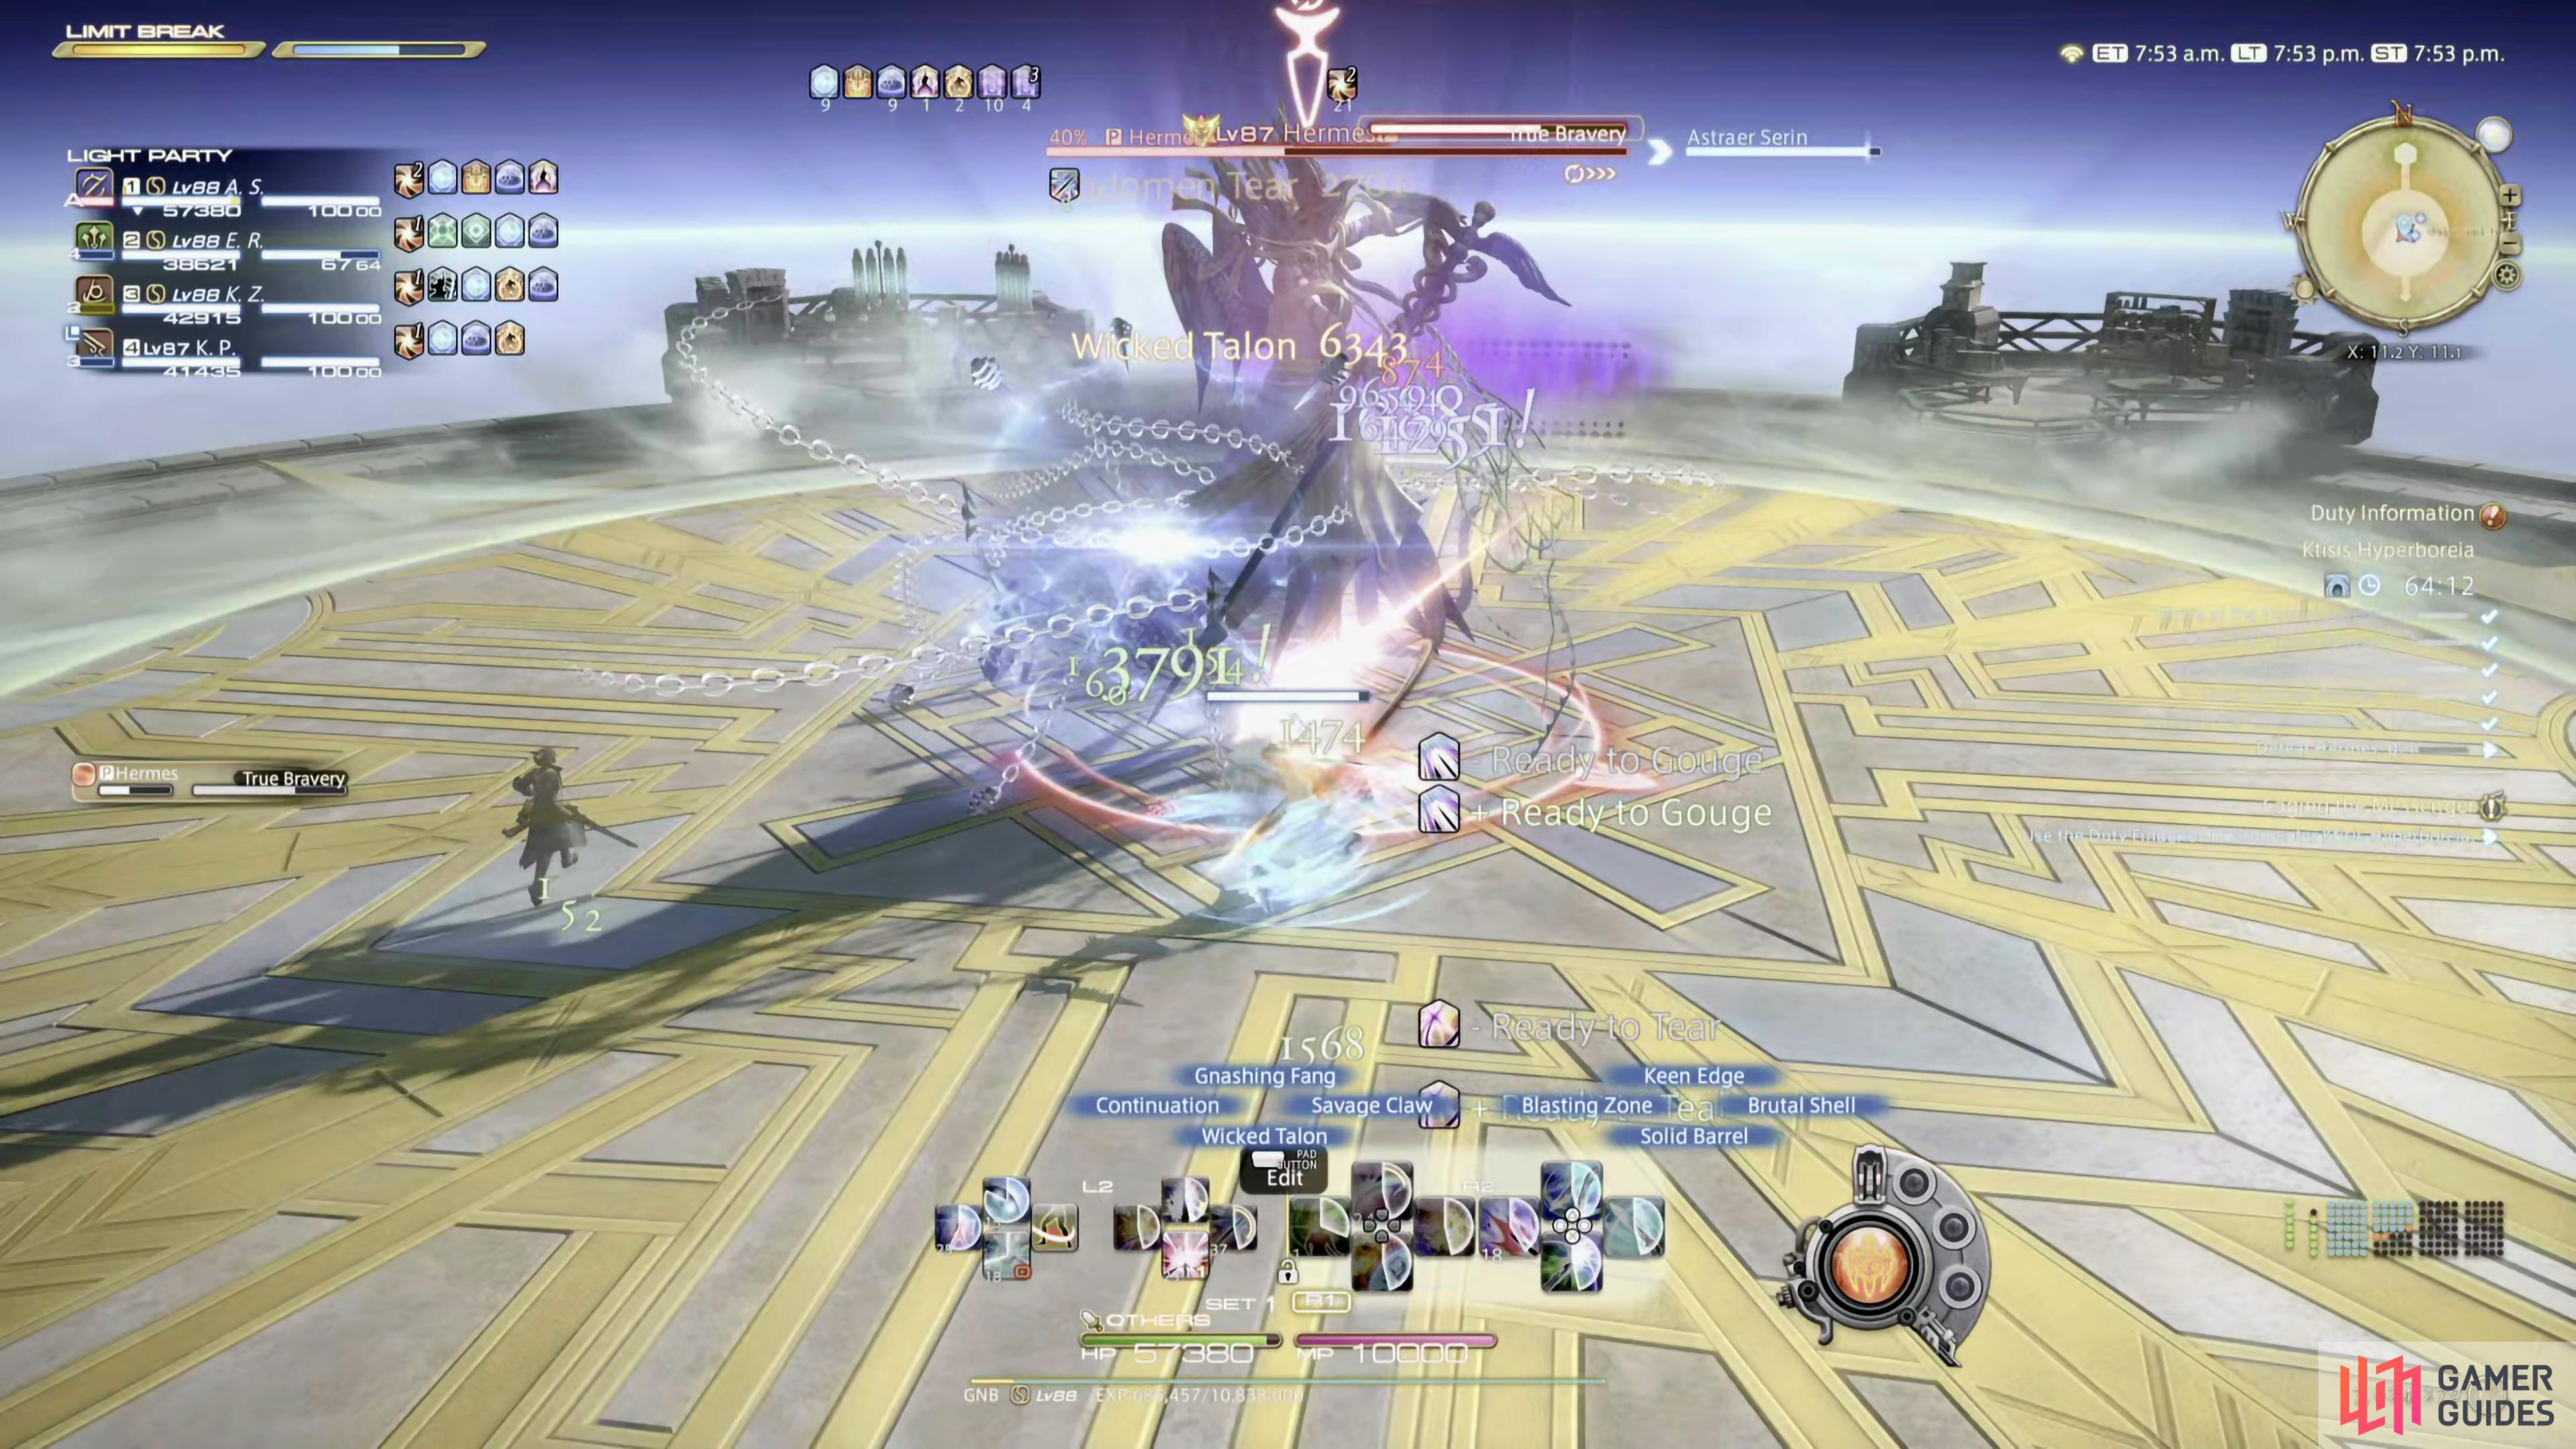
True Bravery will give Hermes a damage buff for 20 seconds
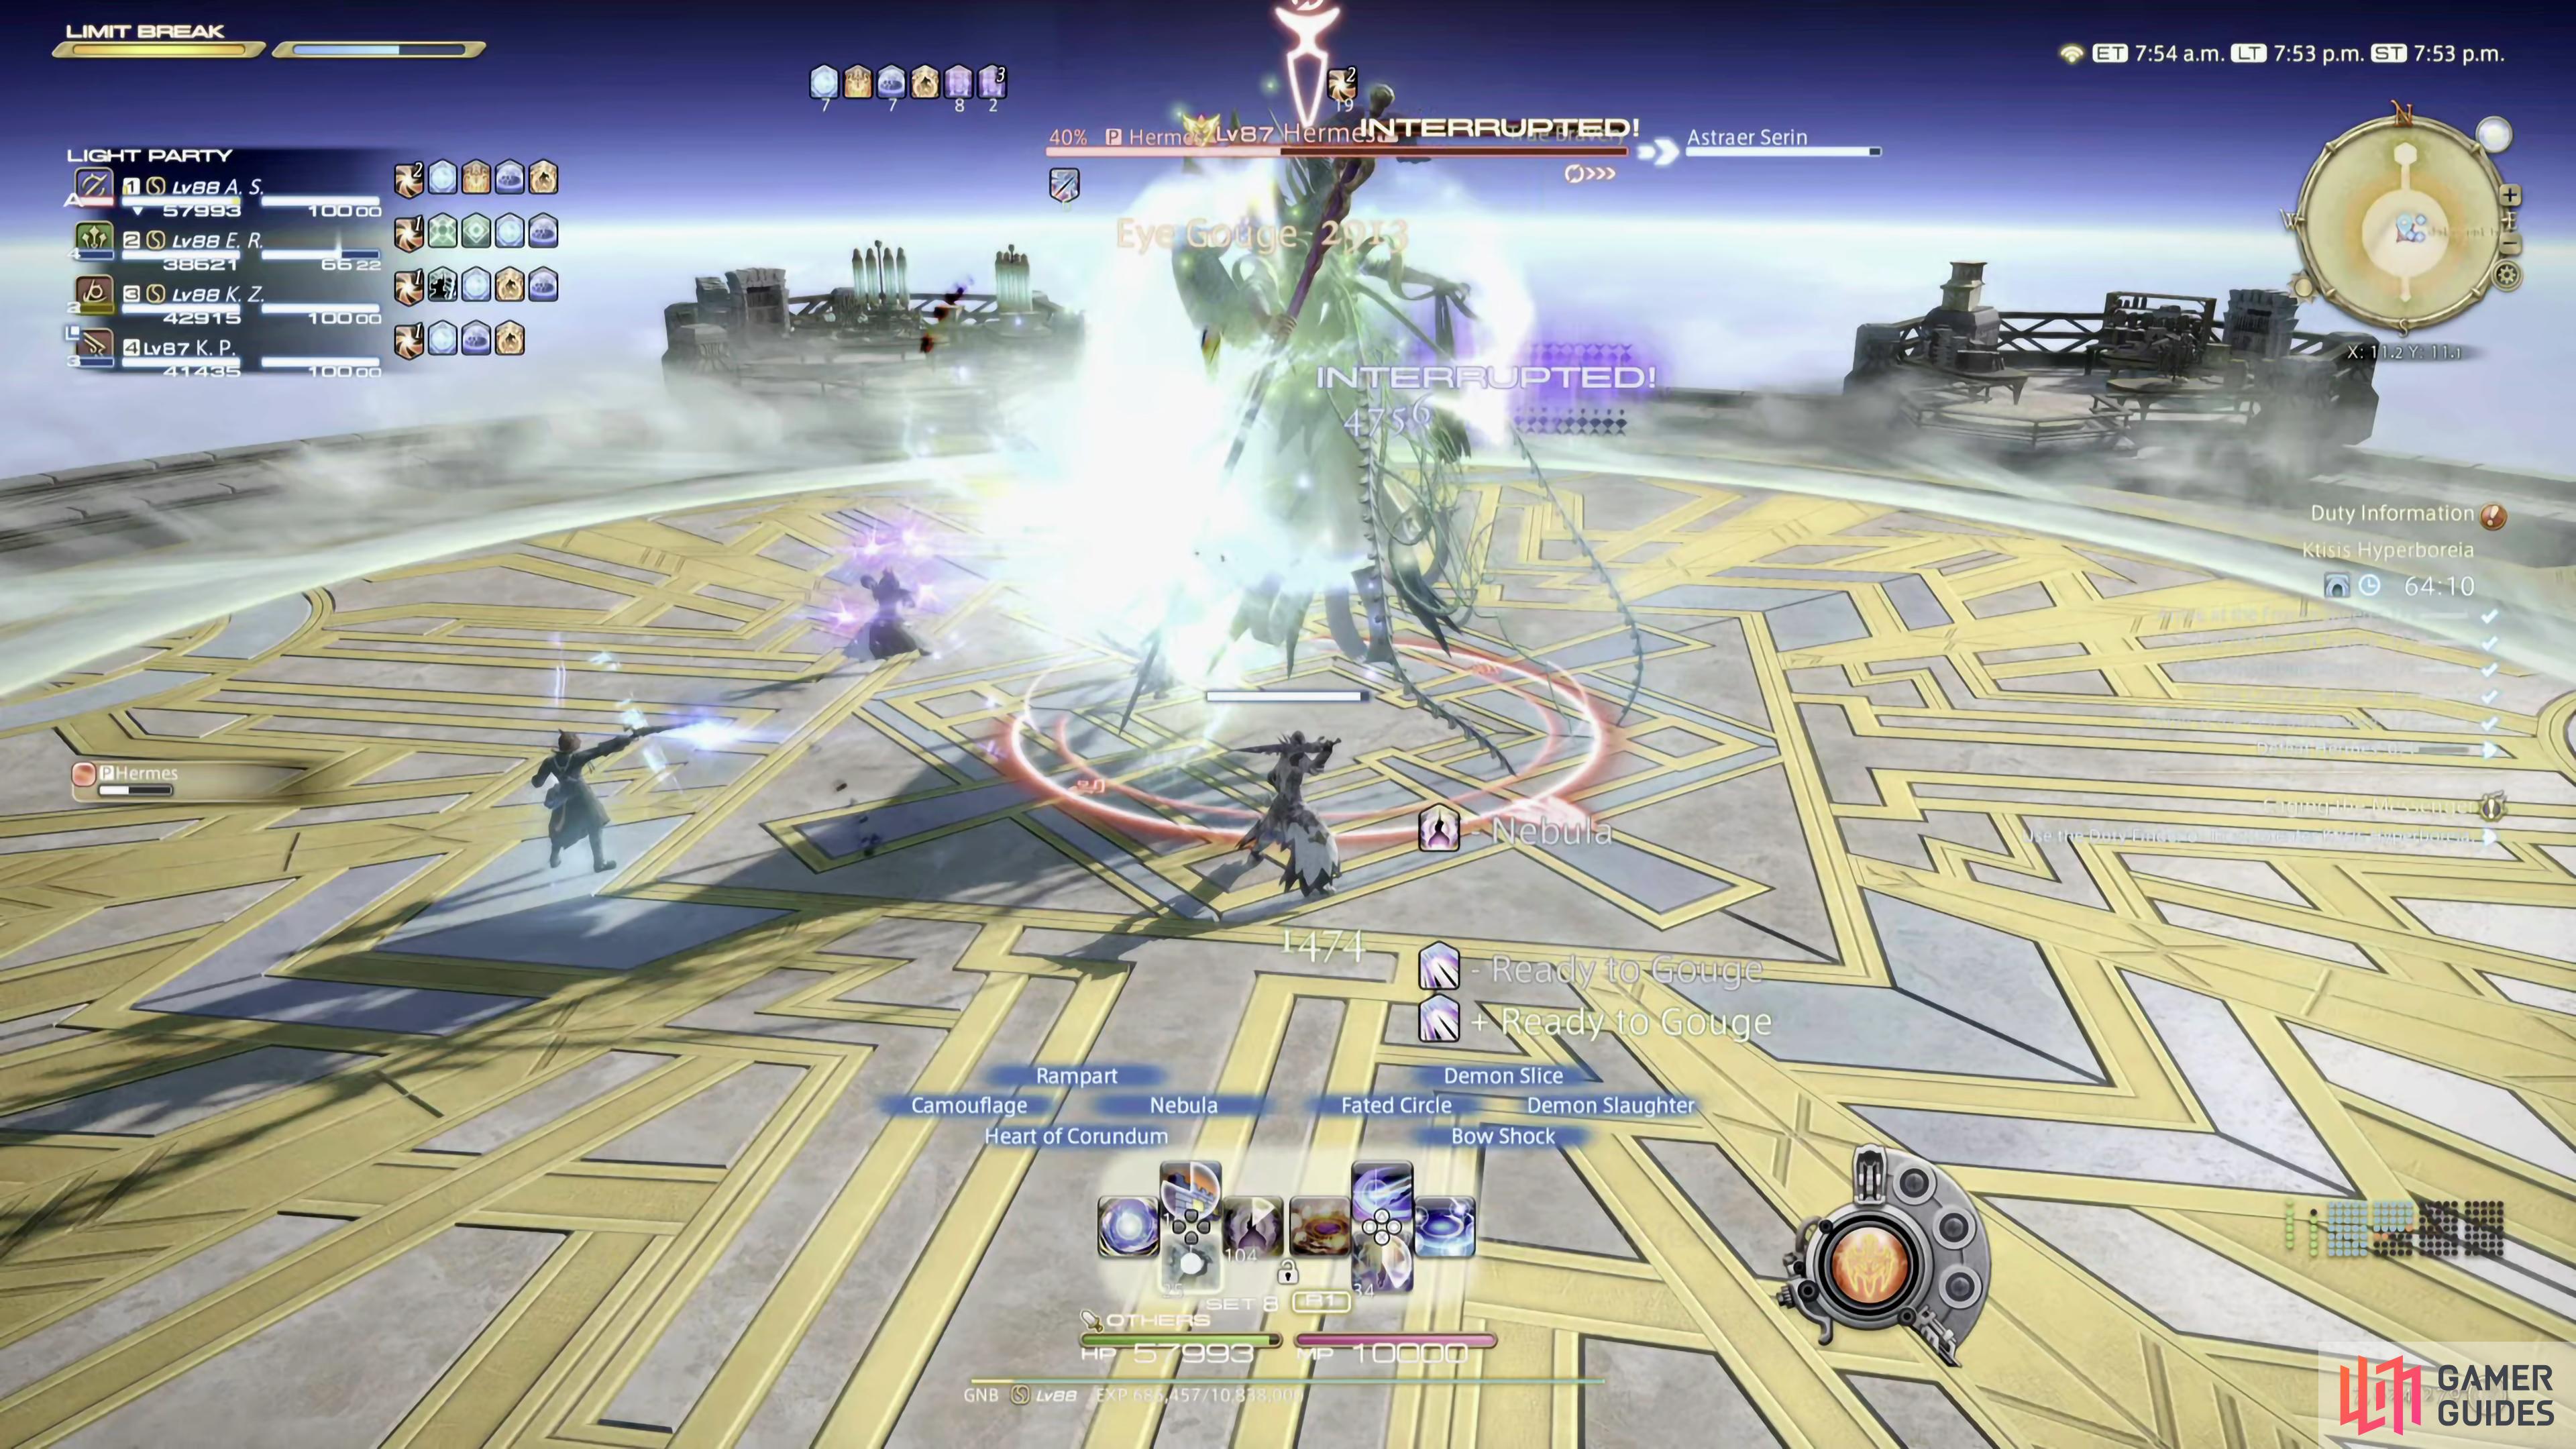
this can, and should, be interrupted.
Meteor
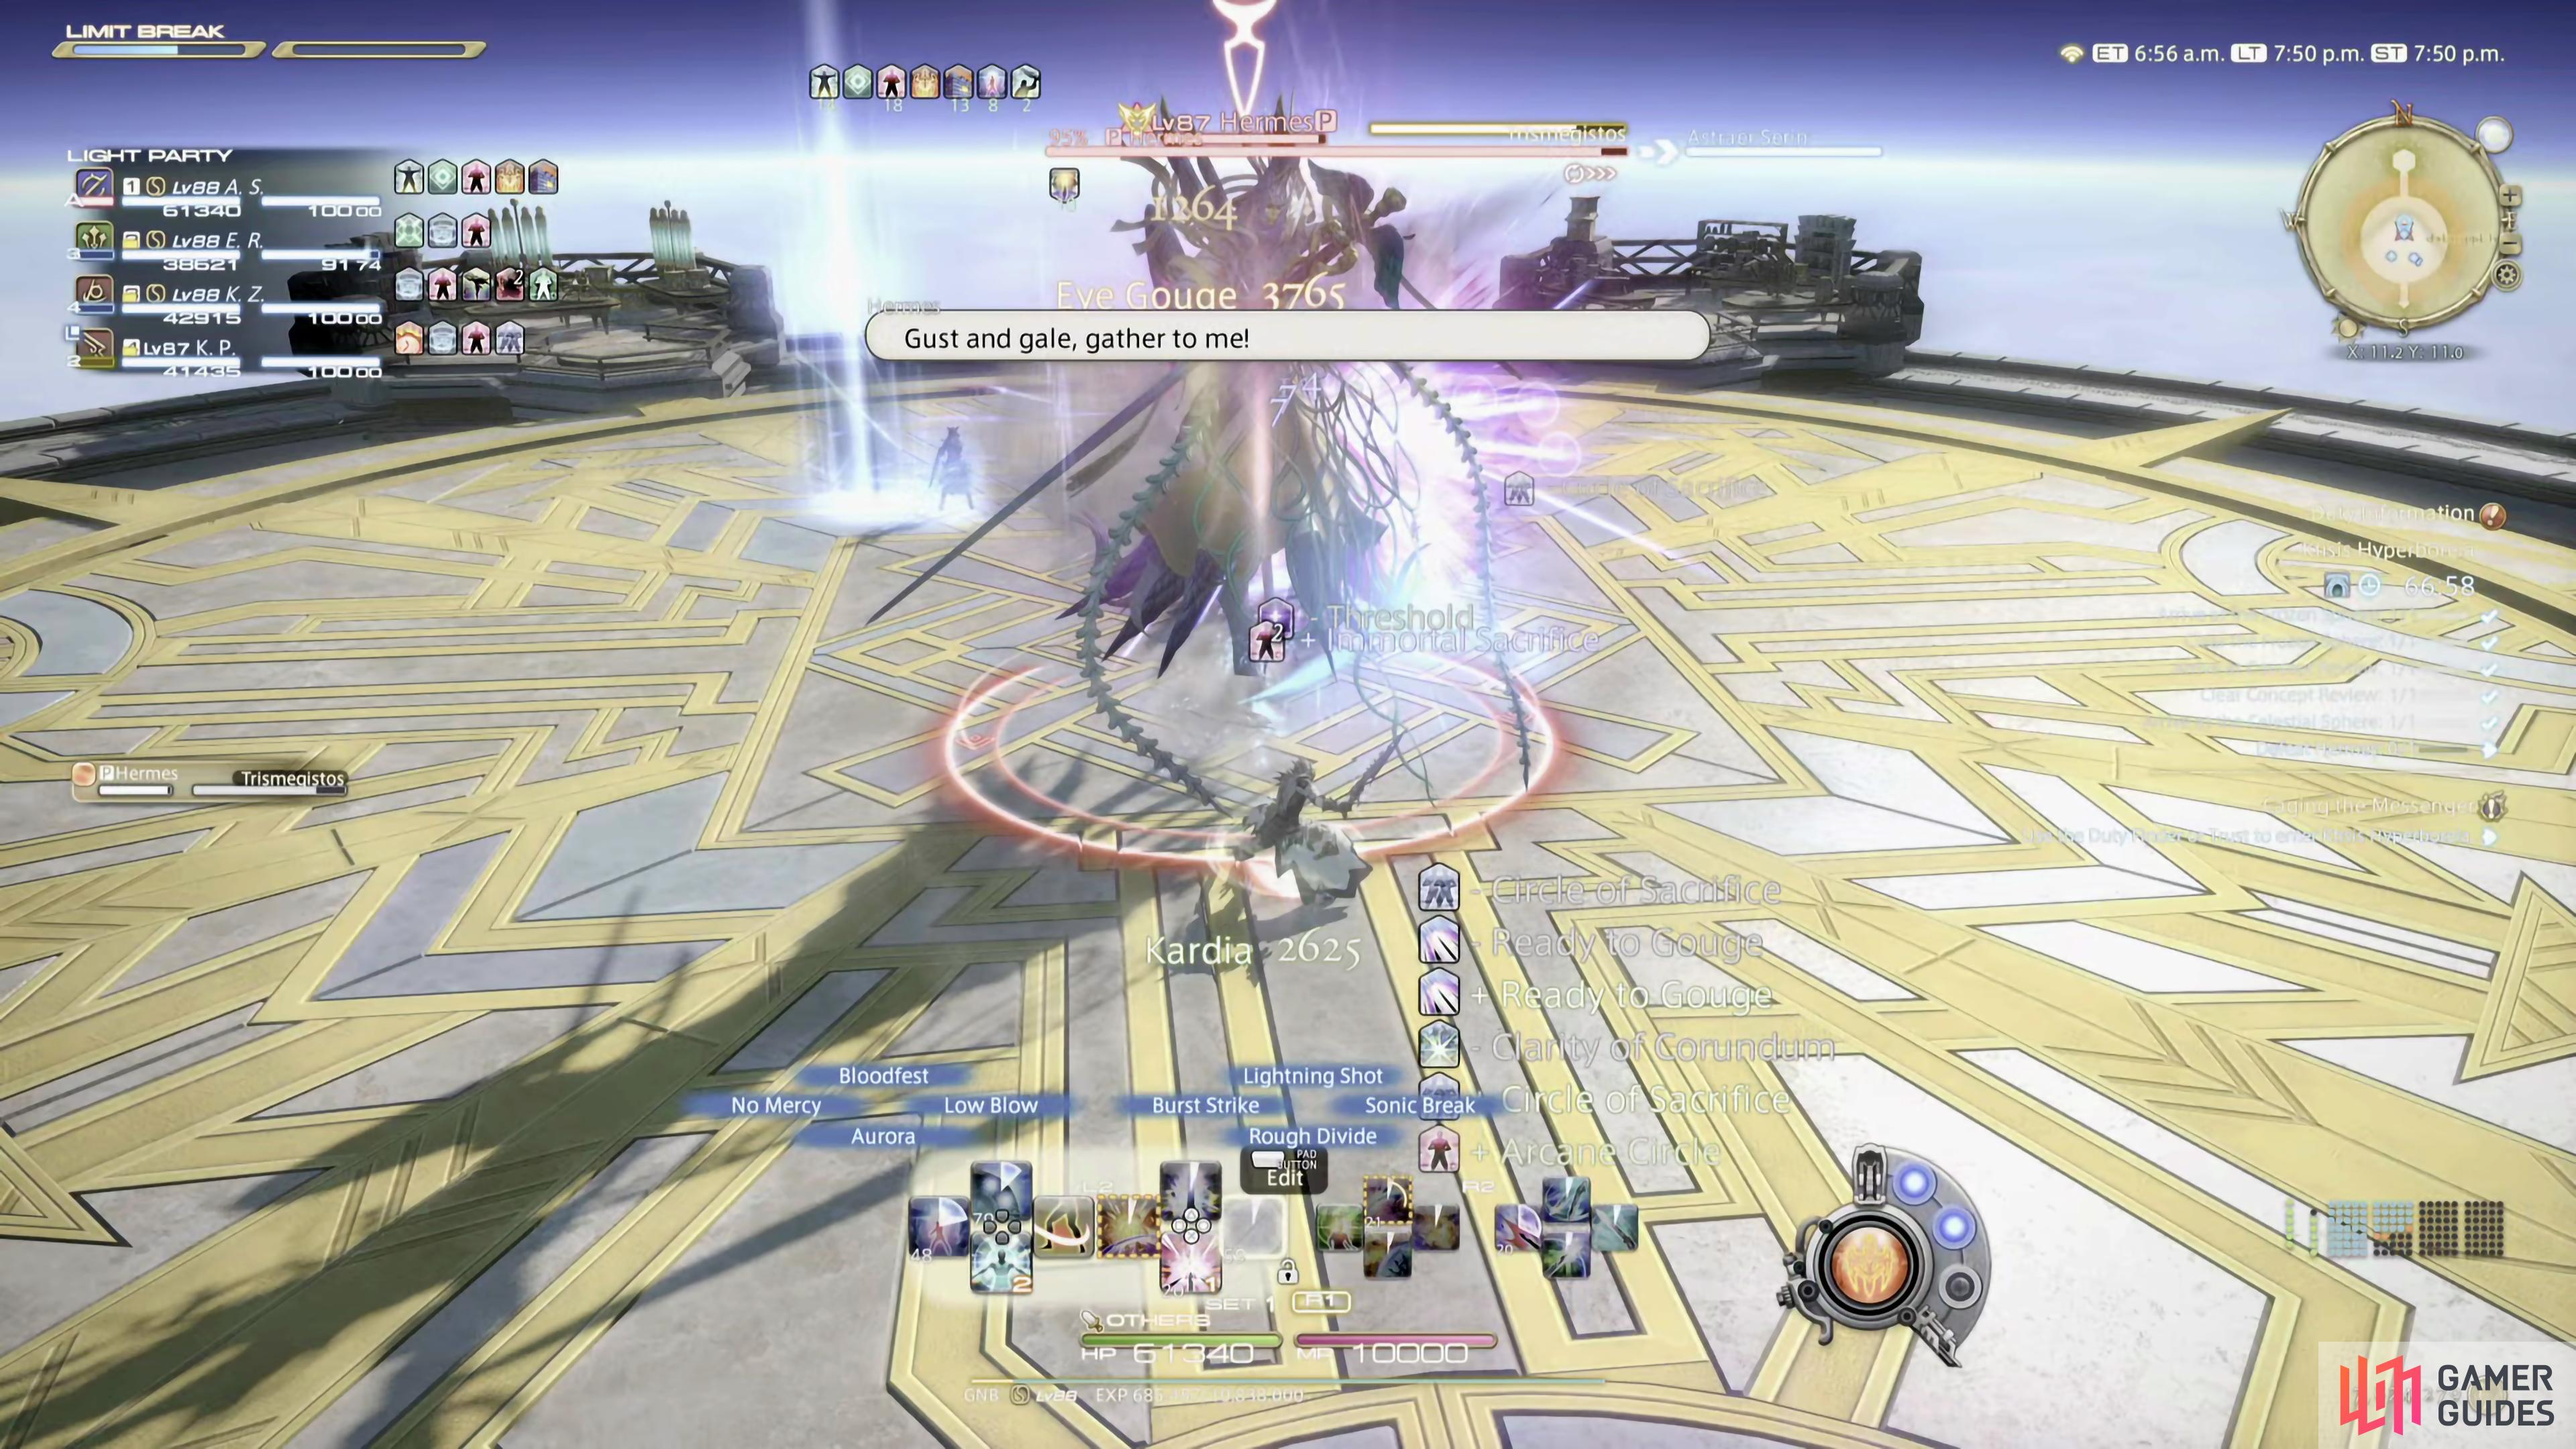
Hermes will cast four meteors in each corner of the arena, indicated by proximity markers. Stand in the middle of the arena to mitigate some damage. Healers should cast shields if you’re Scholar or Sage, and Medica II/Aspected Helios if you’re White Mage/Astrologian. Once the meteors have landed on the arena, use them to block the attack from Hermetica. You can do this by looking at what gates are tethered, and using line of sight to avoid the damage.
Hermetica
Hermes will summon large green gates around the arena. A short while after, the gates will fire off a wide line AoE across the room, knocking back anyone who gets caught into them. This can push you into the Windburn around the arena. He can summon these gates in one of four patterns:
-
Two sets of two gates around the edge of the arena. Stand in the center to avoid.
-
One set of two gates, and another set with one gate on either side of the arena. These will hit around the arena, so stand in the center.
-
If Hermes casts Double before this attack. He’ll summon two sets of four gates. These will fire off in the order they’re summoned, and you must use the meteor without cracks (yellow lines) to break the line of sight for each set that goes off.
-
If Hermes casts Quadruple before this attack. He’ll summon four sets of two gates around each side of the arena. Stand in the center, and move towards the opening that appears next to each set of gates to avoid the attack.
Strategy
The hardest mechanic that Hermes has to offer is Hermetica. If you can manage that, the rest is a cakewalk. When Hermes casts Hermetica, pay attention to if he casts Double or Quadruple beforehand, as that will change what, and how many gates will appear. The gates will fire out a blast across the arena in a wide line AoE, but you won’t be able to see the line, so you need to visualize it.
If there are two sets of two gates around the arena, you can stand in the center to avoid them. If there is one set of two gates in the middle with one gate either side of the arena, they’ll hit the center, so stand in the corner, next to one of the gates.
If Double is cast beforehand, you’ll need to use the uncracked meteor to break line of sight for each set of gates, rotating around the arena when each set goes off. They will go off in the order that they were summoned. Finally, if Quadruple is cast beforehand, you’ll get four sets of two gates that spawn around each side of the arena. Once again, these go off in the order that they appear so stand in the center, and move towards each gate that has just gone off.
For Meteor, Hermes will spawn four of them in each corner of the arena, with each of them having proximity markers. The safest spot here is right in the center, as it’ll mitigate some of the damage. Healers should pre-cast shields/regen heals on the party to mitigate even more damage.
Hermes also has a couple of True Aero spells to deal with. True Aero will cast line AoEs on the entire party, make sure that no-one is overlapping, as it’ll deal more damage. If Double is cast beforehand, a second line AoE will go off straight afterwards, but this can be side stepped to avoid it. True Aero II is a point-blank AoE on every party member, and this is indicated with a pinkish purple circular AoE around you. Once again, spread to minimize the damage taken. If Quadruple is cast beforehand, another AoE will go off straight after, but this can also be avoided by running out of it.
Another thing to note is Hermes can buff his damage with True Bravery, this can be interuppted with Interject or Head Graze. The only other attack that Hermes has is Trismegistos which is a room-wide AoE.
How to Tank
There are no real specific tasks for tanks (outside the general duty of tanking) in this Boss, all his mechanics revolve around the entire party. You’ll want to make sure you pay attention to where the Hermetica’s are around the arena, so you don’t get surprised later, and be ready to use a defensive cooldown when Hermes does its tank buster True Tornado, especially if Double is cast beforehand as a second avoidable AoE will spawn under your feet afterwards.
How to Heal
Hermes is a relatively straightforward boss to heal once you have a good understanding on how the mechanics work. Keep up Regen on everyone throughout the fight and be ready to AoE heal for when he performs Meteor, which places a proximity marker at each corner of the arena that’ll require a precast AoE regen heal/shield.
No Comments