
On this page you can find all the details needed to defeat Livia the Undeterred, the first boss in the Level 89 Dungeon, The Aitiascope in Final Fantasy XIV Endwalker (FFXIV). Details on the mechanics along with how to tank and heal.
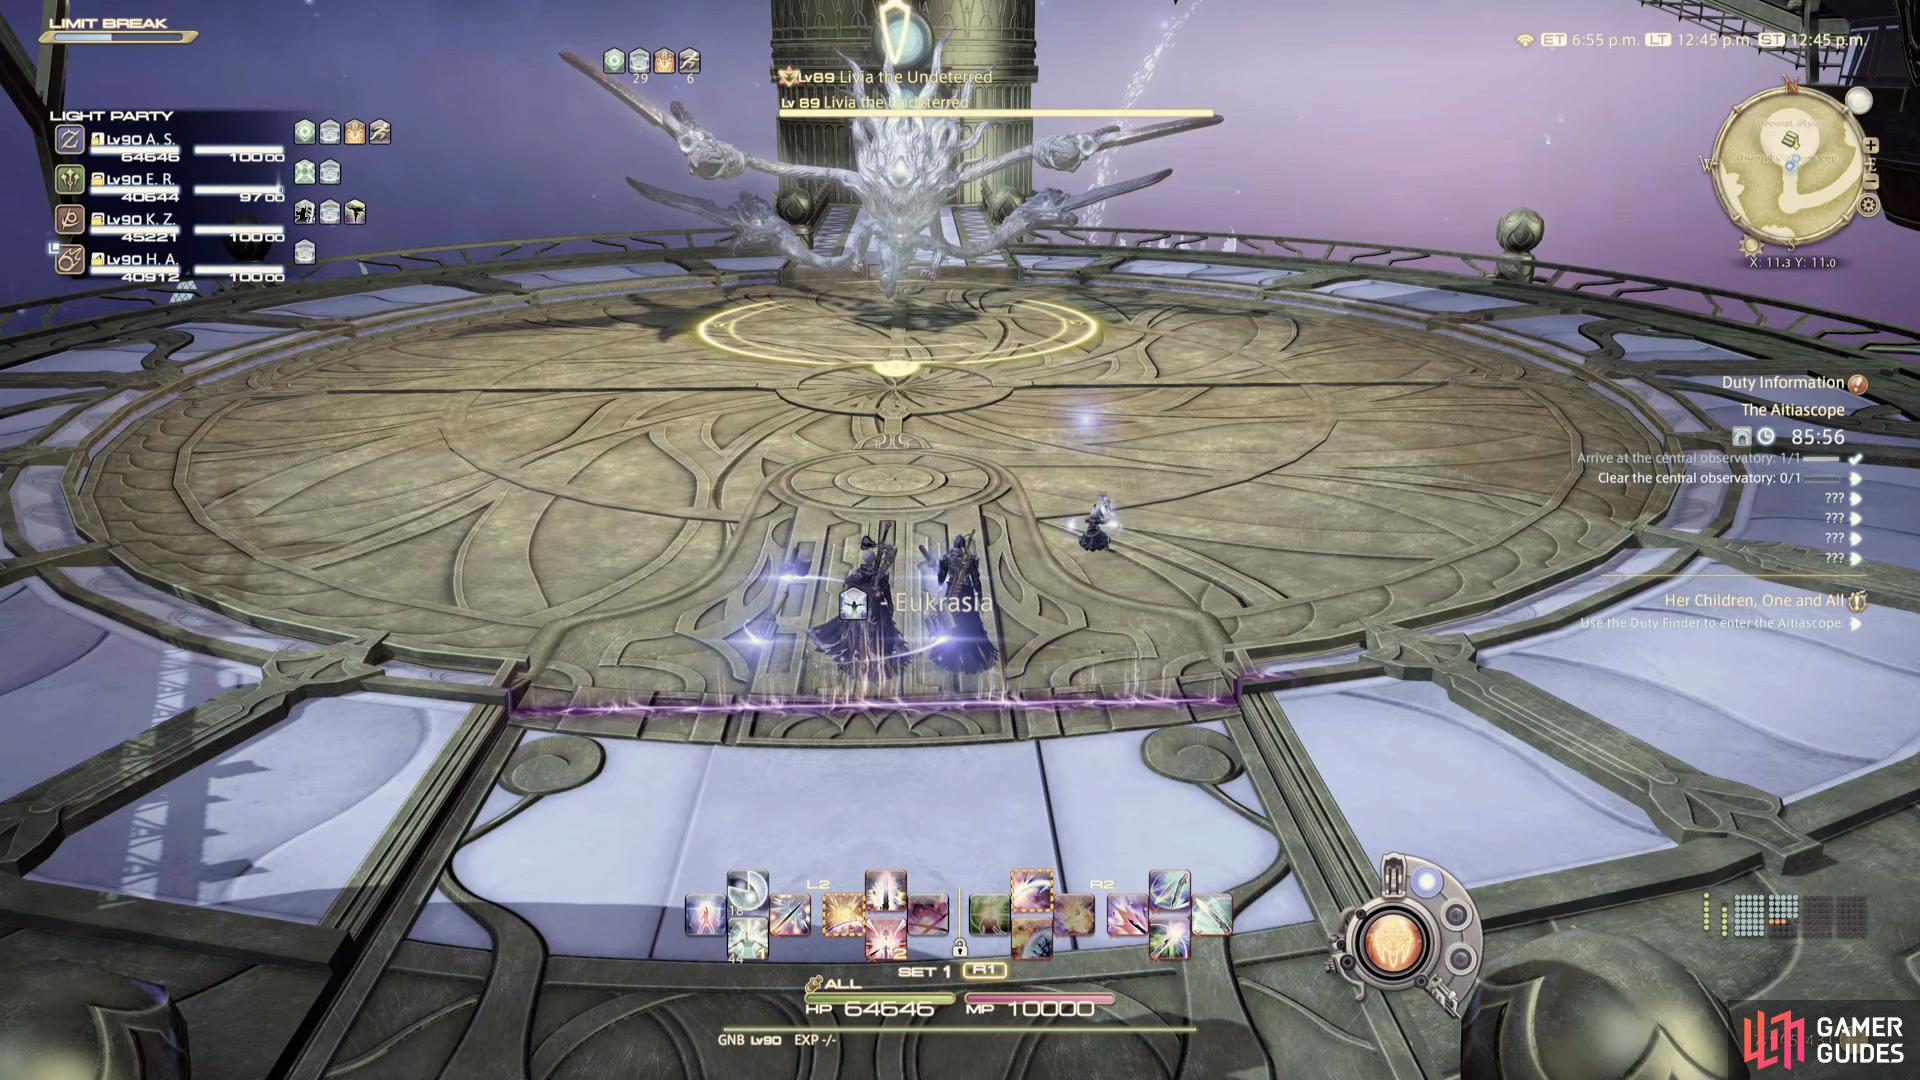
Livia the Undeterred is the first boss of The Aitiascope.
Mechanics
Frustration
This is a group-wide attack that deals moderate damage to all party members. Simply heal up and use Shields to mitigate.
Aglaea Bite
This is a Tankbuster that deals heavy damage only, Shield up and use defensive cooldowns to mitigate it.
Aglaea Climb
Livia will retreat to the center of the arena and two of her arms (one front, one back) will glow, indicating she will hit the quadrants in front of those arms with an AoE. Pay attention and run to an arm that has no glow running down it to avoid this. She will use this mechanic twice, using the arms that didn’t glow the first time around.
Aglaea Shot
Line AoEs will retract from Livia’s position in the center of the arena to all cardinal and intercardinal positions, there will be a safe spot between each point. Once the first attack goes off, the shots will remain as Aethershots on the outside of the arena before firing back in 10 seconds later so be prepared.
Odi Et Amo
This will drop two circle-AoEs on two random party members, before putting a stack marker on a third party member. Avoid the first two circle-AoEs and then dash to the stack marker player to spread the damage.
Disparagement
Livia will cast a conal-AoE on the position of the party member that had the stack marker, get ready to move out of this position once you deal with the stack marker from Odi Et Amo.
Strategy
Livia is a simple boss that gets a bit hectic towards the end when she combines two of her mechanics. She will always begin the battle with Frustration, this is a group-wide AoE that you should already be mitigated against thanks to pre-battle Regen/Shields. Aglaea Bite will quickly follow this, a Tankbuster that deals damage only so the Tank should be ready with a strong defensive cooldown to mitigate it.
You’ll be introduced to the main mechanic of this battle after, Livia will return to the center of the arena and two of her arms will glow, this will always be one from her front and one from her back, in opposite directions. You’ll have a short period of time to quickly get over to the arms that are not glowing and avoid the AoEs on the quadrants in front of the glowing arms. Livia will then repeat this, using the two arms that were not glowing in the first attack.
Livia will then stay in the center of the arena and use Aglaea Shot, shooting line-AoEs out at the cardinal and intercardinal positions so make sure you’re in a safe spot between these lines. It’s important to remember to not dash straight back in after avoiding this, the shots will suspend at the edge of the arena before shooting back in 10 seconds later. Livia will then use Odi Et Amo, which may seem like two simple circle-AoEs to avoid, but she’ll place a stack marker on a third member after the two AoEs drop. Quickly dash over to spread it, then move out to avoid Disparagement, a conal-AoE targeted at the party member who had the stack marker.
The rest of the battle will see Livia combine Aglaea Climb and Shot, meaning you’ll need to get to the correct arms while dodging the line-AoEs. The most confusing part here is remembering to expect the second shot back in towards Livia after dodging the first, this will usually come during the second Aglaea Climb.
How to Tank
As always, ensure you always have a defensive cooldown for the Tankbuster, Aglaea Bite, then pay attention to making sure you avoid the mechanics. There are no specific Tank related instructions to the rest of the battle, so pay attention to Livia’s arms to avoid Aglaea Climb and the rest of the battle should be plain sailing.
How to Heal
In terms of healing, this isn’t too taxing as a Healer, instead, your main priority is to ensure you survive the mechanics that are thrown at you. The biggest issue here is having to deal with Frustration if your party members have been getting hit by the mechanics and thus, accumulating stacks of Vulnerability. Pay attention to Livia’s arms, getting struck by Aglaea Climb one too many times can make this an uphill battle. This aside, ensure you have a Shield/Heal ready for its Tankbuster, Aglaea Bite.
No Comments