
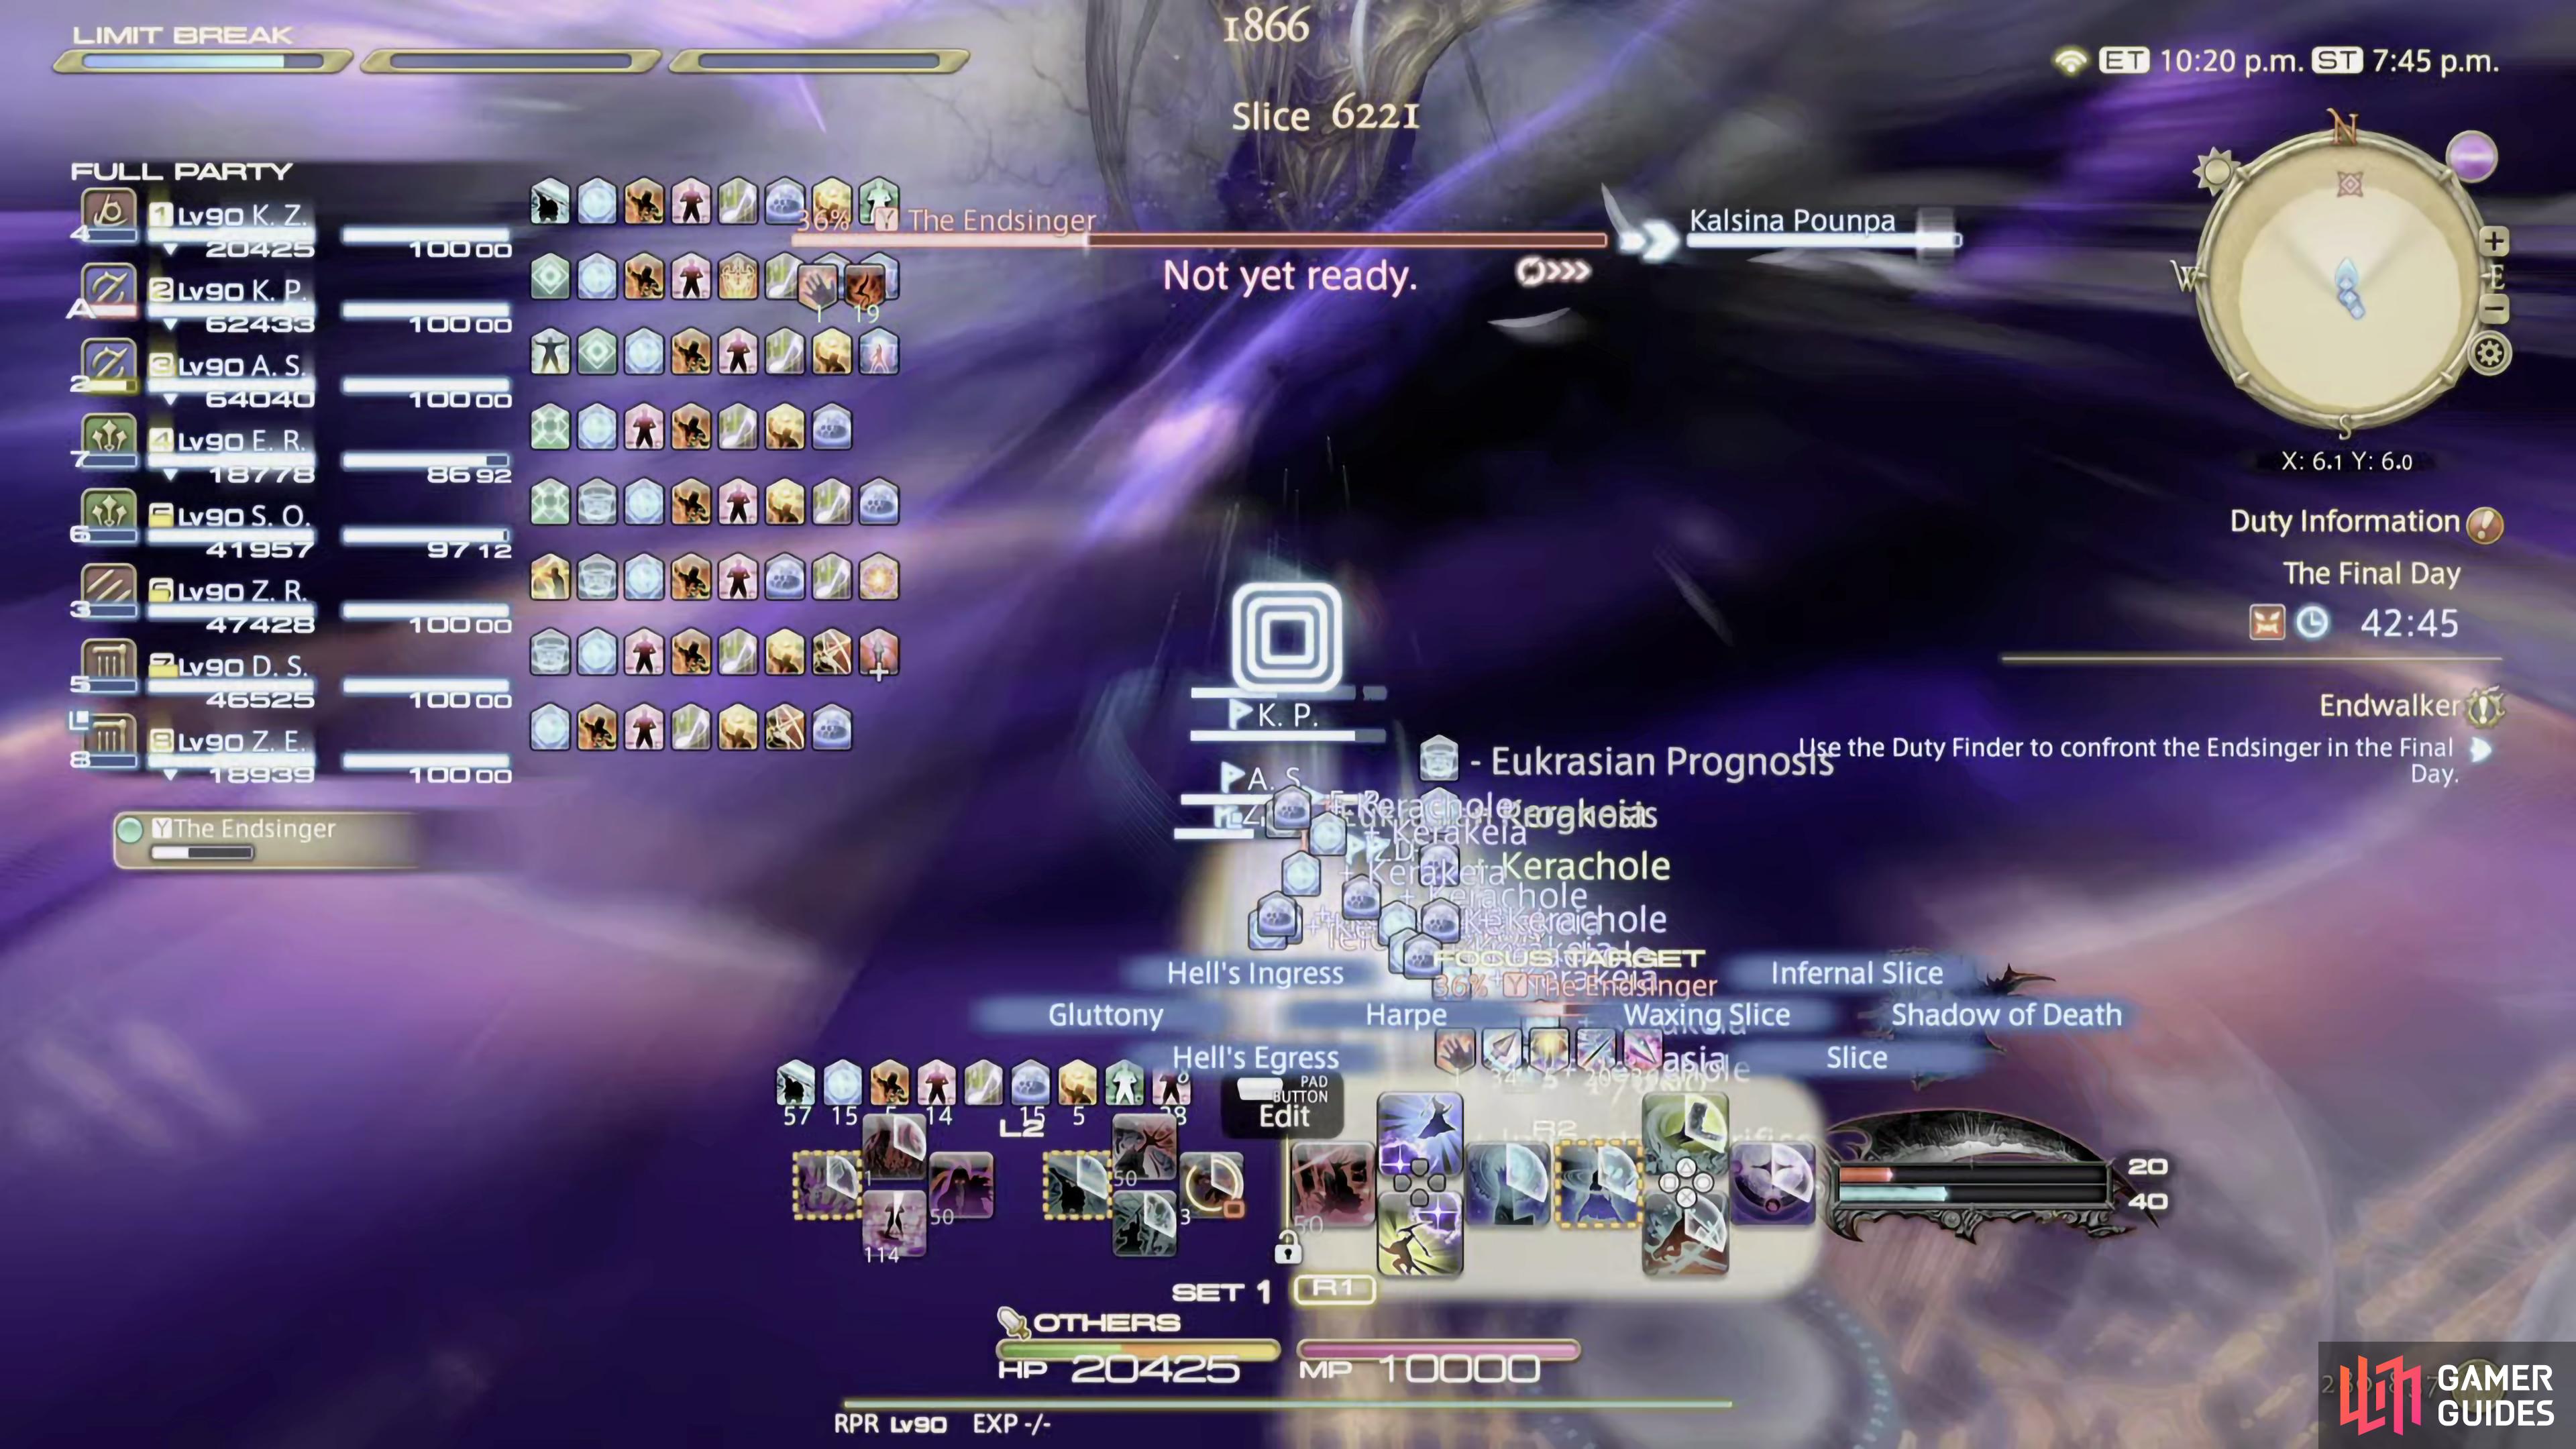
On this page you can find all the details needed to defeat The Endsinger, the final trial in the Endwalkers expansion of FFXIV. Details on the mechanics along with how to tank and heal.
The Endsinger is the final trial in the Endwalker expanison.
Phase One Mechanics
Most of The Endsinger’s attacks come in phase one, where she has 12 different attacks to watch out for.
Elegeia
The Endsinger will do rain down thunder which will do raid-wide damage then instantly spawn two planets that rotates around the arena until they collide, when they do, the slower one will explode releasing a large AoE on the arena. For this attack, you’ll want to pay attention to the slower planet, so you can get on the other side of the arena to avoid the AoE.
Galaxias
The Endsinger will drop a meteor down in the middle, which’ll have a knockback effect. You’ll want to run towards the middle where the meteor is to make sure you don’t get pushed off the arena. Using skills like Arm’s Length that prevent knockback is great here.
Elenchos
This particular attack can have two different mechanics depending on what The Endsinger is doing.
- Mouth glows purple
She’ll shoot out a line AoE through the middle of the arena. Move to the sides of the arena to avoid it.
- Purple tears run down her face
If you see purple tears run down her face, she’ll fire off two line AoE either side. Run into the middle to avoid this attack.
Death’s Embrace
The Endsinger will target every party member with a purple conal line AoE. What you want to do here, is stand in an empty space where you’re not overlapping on one of your party members. After it goes off, it’ll leave feather’s of despair over the arena which’ll have a small AoE go off around them.
Aporrhoia
This attack will spawn four smaller versions of The Endsingers head around the arena, where each of them will fire off a line AoE. Stand in-between the heads to avoid this. You can wait a second for the line AoEs to appear before positioning yourself.
Hubris
This is The Endsingers tank buster. This will target both tanks, with an AoE around them, so the tanks will want to move away from each other, and the party. Both tanks will need to use defensive cooldowns for this attack, and the healers may want to heal them through it.
Hubris is a tankbuster that’ll target both tanks and cast an AoE around both of them.
Tanks should run away from each other as well as the party.
Elegeia Unforgotten
Similar to the first Elegeia attack. She’ll rain down thunder which’ll do raid-wide AoE damage, then make the planets collide, but she’ll freeze the explosion, finally, she’ll reconstruct the moon and cast Fatalism.
Fatalism
This attack always happens within the Elegeia Unforgotten attack window. The Endsinger will tether to the explosion, and rewind time, making the AoE happen again.
Ekstasis
The Endsinger will drop multiple small AoEs over the arena. These AoEs will turn into heads, which gradually start expanding all over the arena. Position yourself right on the edge of the cardinal (N, E, S, W) positions to avoid them.
Interstellar
The Endsinger will change position and shout out “Tis so lonely between the stars”. This will set off a series of cleaves as she flies through the middle of the arena, whilst also targeting four people with markers that deal AoE damage. Run to the sides to avoid the cleaves, and position yourselves so that the AoE markers don’t overlap or hit any of the party.
Nemesis
This attack will place a targeted AoE on every party member. Spread out to avoid overlapping, and taking more damage.
Planetes
This will transition into the add phase initiated by a cutscene.
Add Phase
The Endsinger will spawn an add called Kakodaimon whilst she starts conjuring an orb of oblivion. This is a DPS check as she starts filling up her Despair gauge. If it reaches 100, you’ll wipe.
Kakodaimon has two mechanics that need to be avoided:
- Meteor Radiant
Kakodaimon will spawn multiple planets which’ll be attached with a rainbow-colored tether to the arena. This indicates where each planet will hit the platform. This happens several times, and you’ll need to keep running to the opposite end of the tether to avoid the planets. Finally, it’ll follow the attack up with Meteor Outburst.
- Meteor Outburst
This will place a purple AoE marker around each party member. Spread out to avoid overlapping the markers. Healers should make sure that the party has enough to take the hit. He also has the Katastrophe attack, which’ll deal raid-wide AoE damage.
When Kakodaimon if defeated. The Endsinger will cast her ultimate attack, Ultimate Fate which must have a tank Limit Break 3 used, or you will wipe. Cast the limit break when you see 5 seconds until Oblivion is sealed… so that you won’t mistime the Limit Break. If anyone has a defensive cooldown, they should use it, healers should make sure everyone is at full health, and has shields if at all possible.
The battle will go back to normal, then The Endsinger will cast Fatalism which will rewind time, and do it again! Don’t worry though, as when it goes off, you’ll get a cutscene, and it’ll transition into phase 2.
Phase 2 Mechanics
This phase almost feels like a victory lap. You’ll be empowered by the Prayers of Hope buff that you got from the scions in the cutscene, and from then on, just keep attacking until she dies. Although, you shouldn’t have any problems with this phase. The Endsinger will rotate through a few attacks that shouldn’t give you any trouble. These are:
Telos
This is a raid-wide attack that does AoE damage. Just heal through it.
Telos is a raid-wide AoE
so the healers will have to heal through it.
Telomania
This mechanic has three parts that she will rotate through.
- First part
The Endsinger will use a series of four cleaves in the middle of the arena. You can just mitigate/heal through this.
- Second part
The second part will do another raid-wide attack that does AoE damage, similar to Telos, but with a lot less potency. Heal through it.
- Third part
Finally, for the last part, she’ll spawn some puddles under some players. Just move out of the AoEs to avoid them.
She won’t do anything else in the second phase other than what’s mentioned above, so keep chipping away at her health, and she’ll eventually fall.
Strategy
At first, it can be quite chaotic until you learn her patterns. Most of this battle is done in the first phase, where The Endsinger has 12 attacks that you must watch out for.
Her primary attack is Elegeia which spawns two planets around the outer edge of the arena where they’ll rotate around it until they collide, and explode. This is probably the hardest attack to avoid, but once you understand it, you won’t have any problems.
Keep your eye on the slower moving planet out of the two as that will be the one that explodes, and leaves behind a very large AoE that goes off almost instantly, leaving you no time to avoid it if you’re in the wrong position. To avoid it, you’ll want to be on the opposite edge of the arena to it.
Throughout the battle, she’ll cast Galaxias. This will spawn a large meteor down into the middle of the arena. This will have a knockback effect, and you’ll have to position yourself close to the meteor, so you don’t get knocked out of the arena. If you have any knockback prevention role actions like Arm’s length, now is the time to use them.
Another tricky at first, but easy when you know what to do attack she has, is Death’s Embrace. This will target every party member with a purple conic line AoE that tracks, and moves to wherever you stand. Position yourselves next to your fellow party members so that none of the AoEs overlap.
Occasionaly, The Endsinger will cast Aporrhia. This will spawn four smaller heads of The Endsinger that will each fire out a line AoE. This doesn’t go off instantly, so you can wait a second before position yourself in-between the heads to avoid the attack.
The Endsinger’s tank buster Hubris will target both of the tanks with an AoE attack. Both of the tanks should use their defensive cooldowns to mitigate the damage it does whilst positioning themselves away from each other and the other party members.
At some points throughout the battle, The Endsinger will cast Elegeia Unforgotten. This is very similar to Elegeia, but she’ll follow it up with Fatalism which rewinds time, making the attack go off again. If you’re in the right position for the first explosion, you won’t have problems avoiding the next one.
One mechanic that The Endsinger has, which is tricky, is Ekstasis. This attack will drop multiple AoE puddles around the arena, which expand exponentially until most of the arena has been covered by them. For this mechanic, you’ll want to run to the very edge of the arena in a cardinal (N, E, S, W) position to avoid it.
If you ever hear The Endsinger say “Tis so lonely between the stars” she’ll do the Interstella mechanic. She’ll reposition to the outer middle of the arena, and you’ll see a wide line AoE going through the middle of the platform. At the same time, she’ll place four AoE marker around four seperate people.
Position yourselves either side of the AoE whilst also trying not to hit anyone with the AoEs from the markers. It’s best if two of the party member with markers go either side, as there isn’t a lot of room for all four without dealing a lot of damage to the party.
Finally, The Ensinger can cast Nemesis. This will target every party member with an AoE marker. Simply spead out to avoid overlapping the AoEs on each other.
Around 50-45%. The Endsinger will cast Planetes which will transition into the add phase. During this phase, she’ll spawn the add Kakodaimon which needs to be defeated before the Despair gauge reaches 100, if it does, the party will wipe.
Kakodaimon itself has a couple of tricks up its sleeves. The first being Meteor Radiant. This attack will spawn multiple planets around the outer edge of the arena, which’ll have a rainbow-colored tether from them that’ll end on a specific area of the platform. This indicates where each planet will land, so you’ll have to move around the arena with the add whilst still dealing damage to it.
After several plantes fall, Kakodaimon will cast Meteor Outburst which’ll target every player with a large AoE marker. Simply avoid overlapping with other party members to mitigate some damage. Healers should make sure that the party has sufficient health to take the hit. Finally, Kakodaimon has a raid-wide attack called Katastrophe, but this can just be healed through.
Once Kakodaimon is defeated, The Endsinger will cast her ultimate attack, Ultimate Fate. This attack will wipe the party unless a tank uses Limit Break 3 around the time “5 seconds until Oblivion is sealed…” is spoken by The Endsinger. Healers should make sure the party is fully healed, and has shields if they’re available. If you have any defensive cooldowns, they should also be used.
At 0 seconds, the attack will go off, and then you’ll be able to fight her again for a short while when she’ll cast Fatalism. This will rewind time and cast her ultimate again! When the timer hits 0, you’ll get a short scene, when it ends, phase 2 will begin.
Phase 2 almost feels like a victory lap due to the party having the Prayers of Hope buff. The Endsinger will cast only two attacks which is Telos, a raid-wide AoE which can just be healed through, and Telomania which has three parts to it.
For the first part, The Endsinger will use a series of four cleaves in the middle of the arena. You can just mitigate/heal through this. With the Second part, she’ll do another raid-wide attack that does AoE damage, similar to Telos, but with a lot less potency. Finally, for the last part, she’ll spawn some puddles under some players. Just move out of the AoEs to avoid them.
The Endsinger won’t do anything else in the second phase other than what’s mentioned above, so keep chipping away at her health, and she’ll eventually fall.
How to Tank
How to Heal
The Endsinger Trial is probably the toughest of the three to Heal in Endwalker, as there’s so much going on. Phase One features lots of AoE’s, so you should be fine with performing the odd group heal and keeping Regen. She’ll also perform Hubris which is a Tank Buster, so be ready to shield the tank and top up their HP. Phase Two is arguebly easier then Phase One, but there’s still a few attacks you want to heal through, such as Telos and Telomania.
The Endsinger Rewards
| Icon | Name | Type |
|---|---|---|
 |
Meteion Card | Triple Triad Card |
No Comments